Crispy Chicken Milanese: An Easy Weeknight Meal with Italian Flair
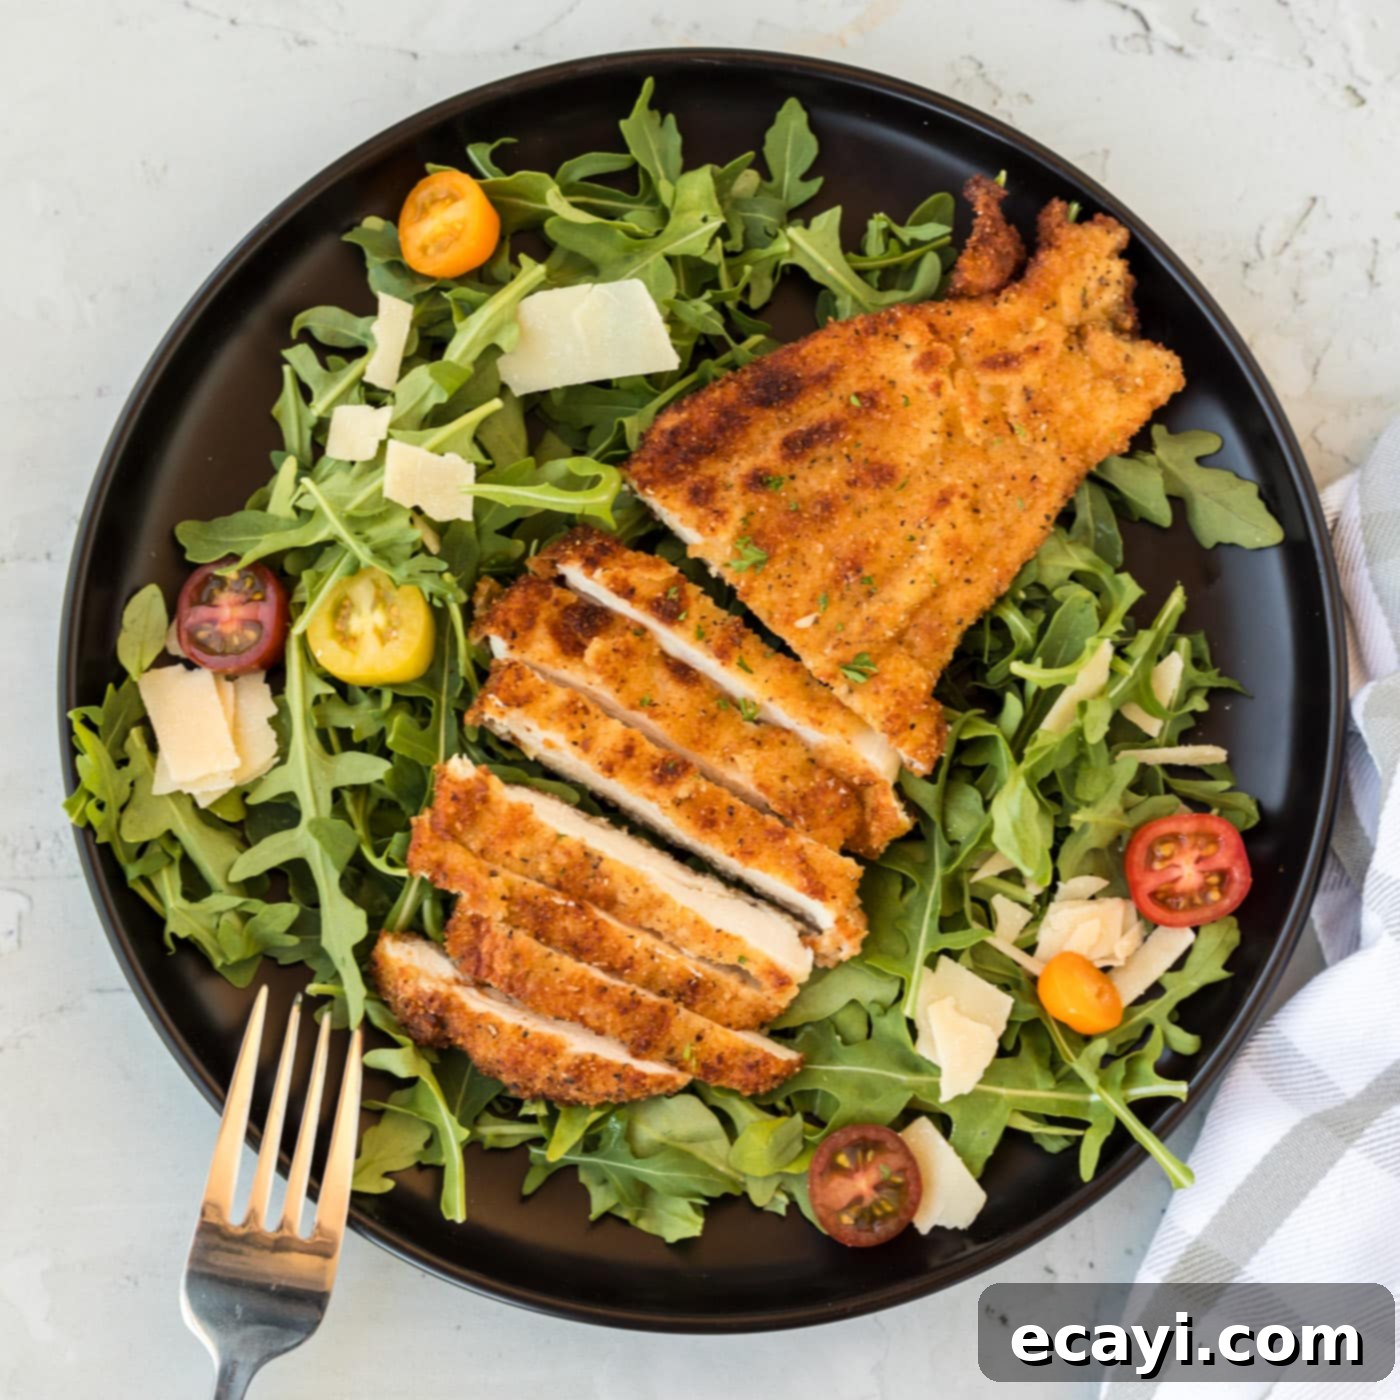
Chicken Milanese is a culinary delight, known for its irresistibly crispy golden-brown coating and tender, juicy interior. This classic Italian-American dish transforms simple chicken cutlets into an impressive meal that’s perfect for a busy weeknight or for entertaining guests. With thinly pounded chicken breasts, a seasoned breadcrumb crust, and a quick pan-fry, you’ll achieve a restaurant-quality dish right in your own kitchen.
Why This Chicken Milanese Recipe Works So Well
This recipe for crispy chicken Milanese stands out for several reasons, making it a beloved choice for home cooks. Rooted in Italian tradition, Cotoletta alla Milanese originally featured thinly pounded veal. Our chicken version offers a lighter, more accessible take on this timeless classic, without sacrificing any of the iconic flavor or texture. The key lies in the preparation method, which is deceptively simple yet yields extraordinary results.
The success of this dish begins with thinly pounding the chicken cutlets. This crucial step not only tenderizes the meat but also ensures a quick and even cooking process, allowing the chicken to remain incredibly moist while the exterior achieves maximum crispiness. The multi-stage dredging process—first in seasoned flour, then egg, and finally breadcrumbs—creates a robust coating that fries up beautifully golden. It’s similar to preparing chicken parmesan, but without the added cheese and sauce, allowing the pure, crisp flavor of the chicken to shine.
The result is a harmonious blend of textures and flavors: a perfectly golden, crunchy exterior that encases a delicate, tender white meat interior. The seasoned breading provides a delightful savory crunch, while the thin chicken cooks through in mere minutes, preventing it from drying out. This straightforward approach makes it an excellent choice for impressing guests with minimal fuss or for enjoying a sophisticated yet easy meal on any given weeknight. Its versatility also means it pairs wonderfully with a variety of side dishes, from fresh salads to roasted vegetables, making it a flexible addition to your culinary repertoire.
Ingredients You Will Need for Crispy Chicken Milanese
Making delicious Chicken Milanese requires a handful of common pantry staples. You won’t need to hunt for exotic ingredients to create this flavorful dish. For precise measurements and detailed instructions, refer to the printable recipe card located at the very end of this blog post.
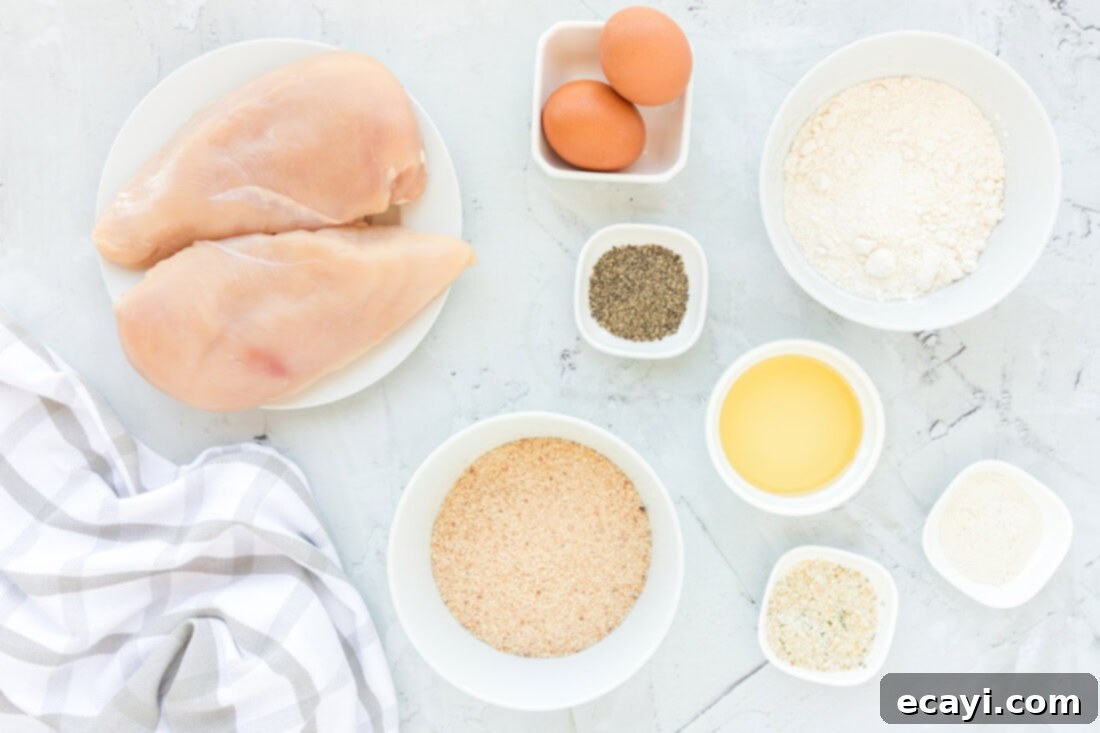
Ingredient Info and Substitution Suggestions
Let’s dive deeper into the key ingredients for your Chicken Milanese and discuss how you can optimize them or make suitable substitutions.
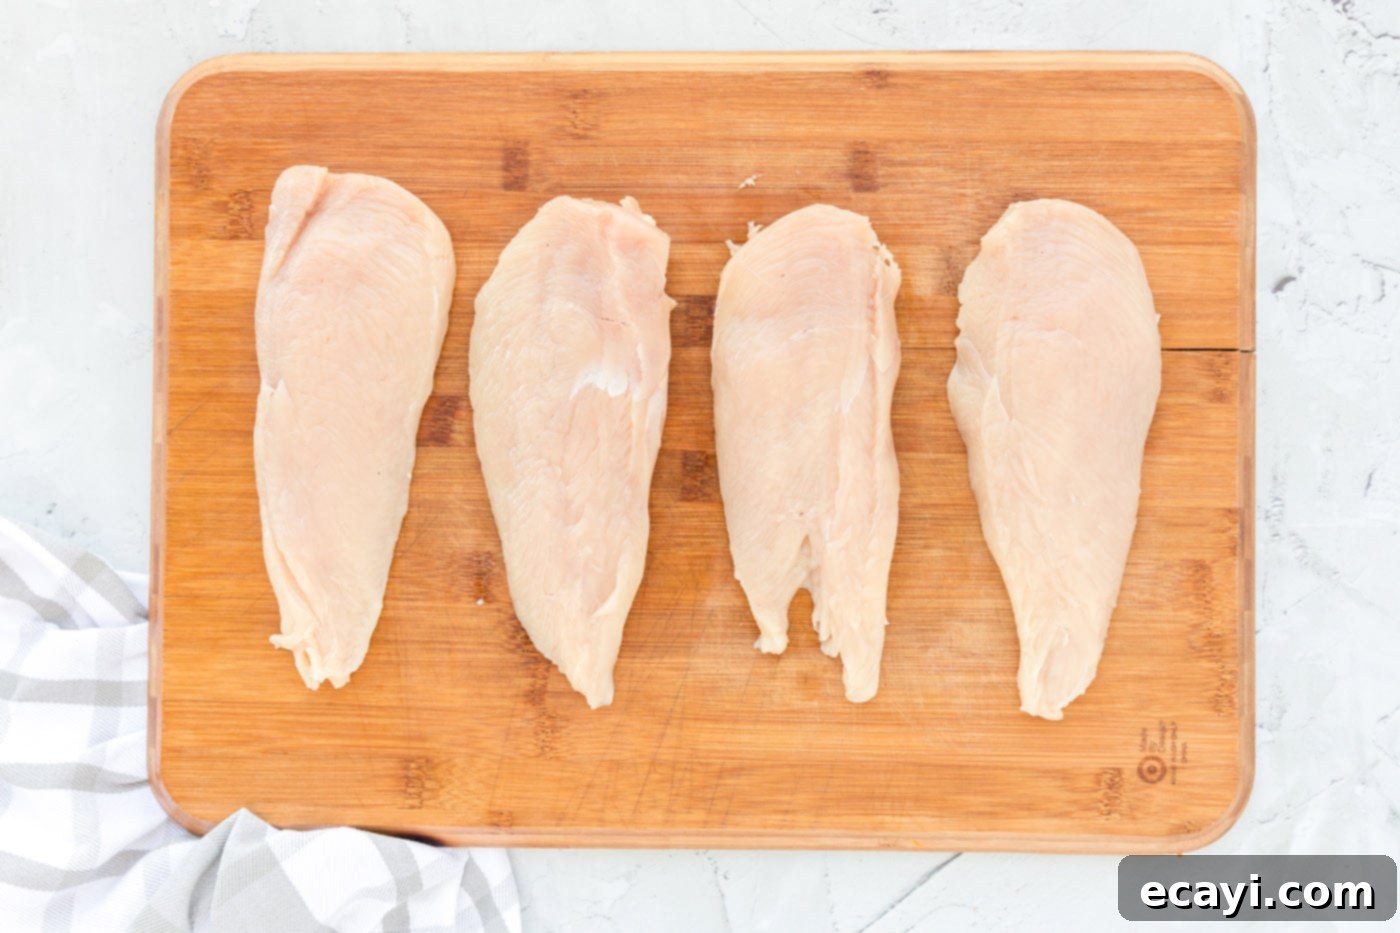
- CHICKEN – We typically use two large chicken breasts, totaling approximately 1 1/2 pounds, which we then butterfly and slice in half to yield four individual cutlets. The most crucial step here is to pound the chicken thinly, aiming for about 1/4 inch thick. Pounding achieves two main goals: it tenderizes the meat, ensuring a succulent result, and it allows the cutlets to cook much faster and more evenly. If you prefer, you can purchase pre-cut chicken cutlets from your grocery store. However, even with pre-cut varieties, it’s wise to check their thickness and pound them further if they are thicker than 1/4 inch. For an even richer flavor, some recipes use boneless, skinless chicken thighs, which offer a slightly different texture and moistness.
- BREADCRUMBS – The breading is what gives Chicken Milanese its signature crispness. Standard plain breadcrumbs work well, but for an extra-crunchy texture, consider using Panko breadcrumbs. These Japanese-style breadcrumbs are coarser and absorb less oil, resulting in a lighter and more airy crisp. For added flavor, you can use Italian seasoned breadcrumbs or mix your own seasonings directly into plain breadcrumbs. A popular addition is grated Parmesan cheese, which adds a salty, umami depth to the crust.
- ALL-PURPOSE FLOUR – Flour forms the foundational layer for your breading. It helps to absorb any surface moisture from the chicken, creating a dry base that the egg mixture can cling to effectively. This ensures a uniform coating and helps prevent the breading from sliding off during cooking. While all-purpose flour is standard, you can also use gluten-free flour blends if needed.
- SEASONINGS – Our recipe calls for garlic salt, black pepper, and onion powder to infuse the breading with savory flavor. These provide a robust, aromatic profile that complements the chicken beautifully. Feel free to adjust these to your taste or experiment with other seasonings. Smoked paprika can add a subtle warmth and color, while a pinch of dried oregano or Italian seasoning can enhance the classic Italian notes. Lemon zest can also be added to the flour for a brighter flavor.
- EGGS & WATER – The egg wash acts as the binder, allowing the breadcrumbs to adhere firmly to the floured chicken. Whisking eggs with a small amount of water or milk thins the mixture slightly, making it easier to coat the chicken evenly and preventing a thick, gummy layer.
- OLIVE OIL – A good quality olive oil is ideal for pan-frying, adding a subtle richness to the chicken. You want enough oil to create a shallow layer at the bottom of your skillet, ensuring direct contact and even browning, but not so much that the chicken is deep-fried. Ensure the oil is hot enough before adding the chicken to achieve that immediate sizzle and crisp crust. Vegetable oil or canola oil are also suitable alternatives due to their high smoke points and neutral flavors.
How to Make Perfect Crispy Chicken Milanese
These step-by-step photos and detailed instructions are provided to help you visualize each stage of making this delicious recipe. For a convenient printable version, complete with all exact measurements and concise instructions, please Jump to Recipe at the bottom of this post.
- Begin by thoroughly rinsing your chicken breasts under cold water, then pat them completely dry with paper towels. Removing excess moisture is crucial for the breading to adhere properly.
- To create four cutlets from two large breasts, carefully cut each breast in half lengthwise, as if butterflying them, but then completely separate the halves with a knife. You should now have four distinct, thinner chicken pieces.

- Place each chicken piece between two sheets of plastic wrap or in a large freezer bag. Using a meat mallet or a heavy pan, pound each breast evenly until it is approximately 1/4 inch thick. Be firm but careful not to tear the meat. This ensures tenderness and quick cooking.

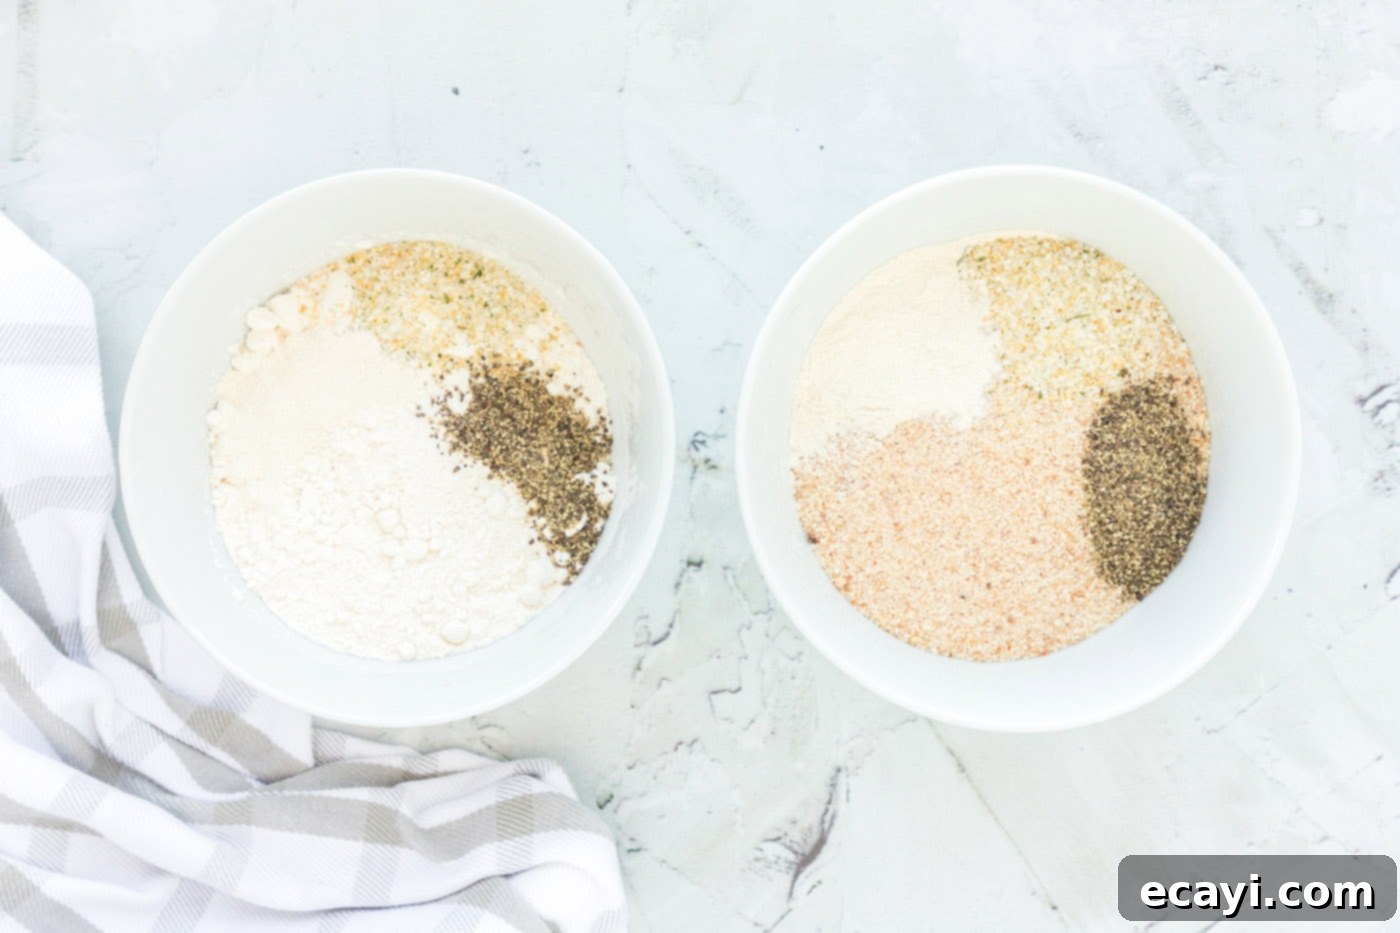
- Prepare your dredging station. In a medium bowl, combine 1 tablespoon of garlic salt, 1/2 tablespoon of black pepper, and 1/2 tablespoon of onion powder with the all-purpose flour. Mix well, then pour this seasoned flour mixture onto a wide, shallow dinner plate.
- In a second medium bowl, combine the breadcrumbs with the remaining garlic salt, pepper, and onion powder. Stir to combine thoroughly, then spread the seasoned breadcrumbs onto a second wide dinner plate.

- In a third bowl, whisk together the large eggs and water until well combined and slightly frothy. Carefully pour this egg mixture onto a third wide dinner plate. Your breading station is now ready.
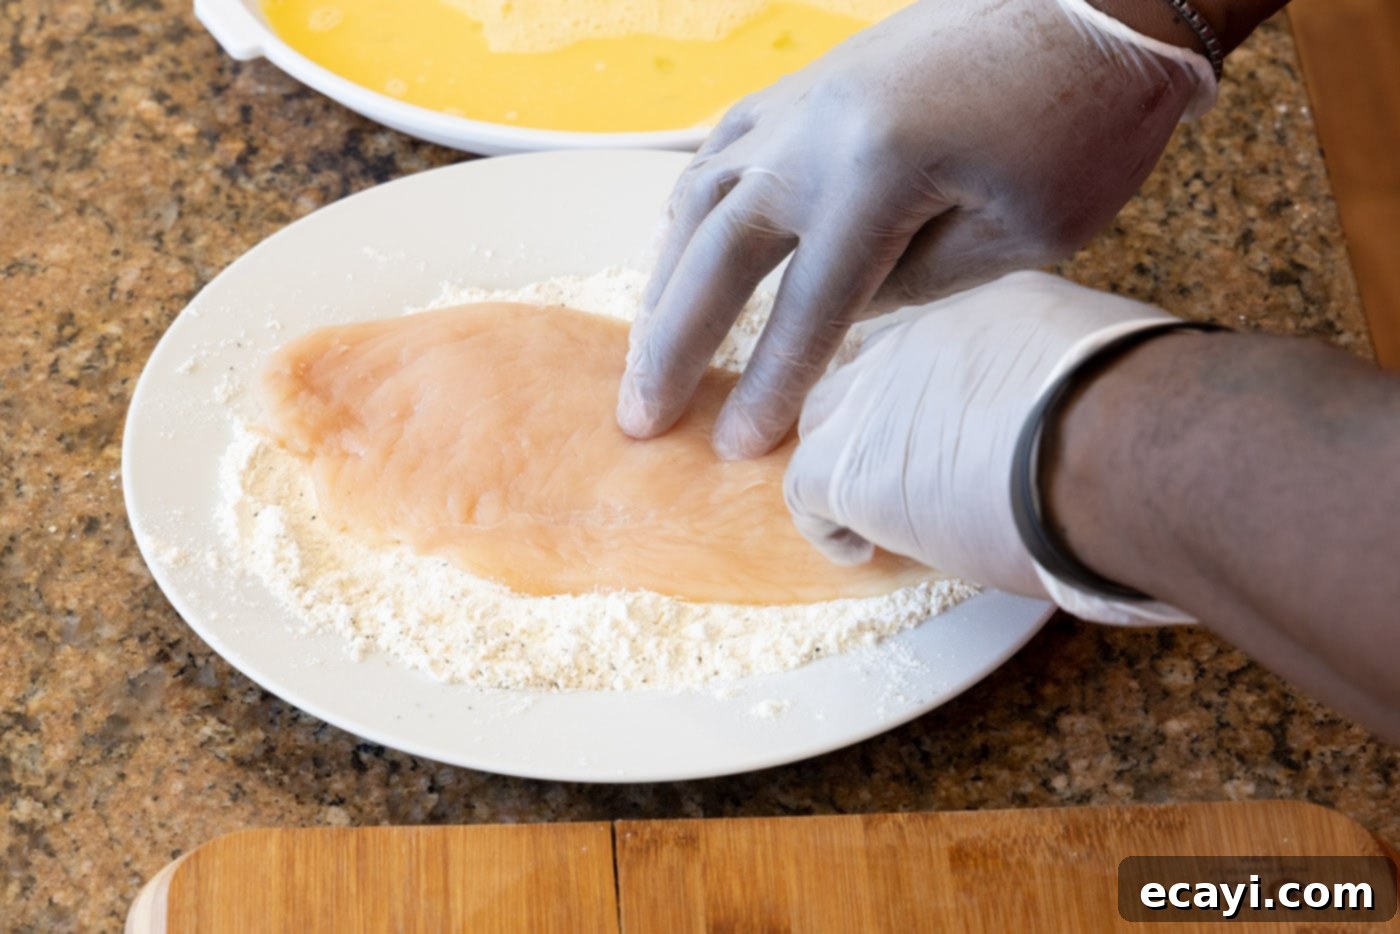
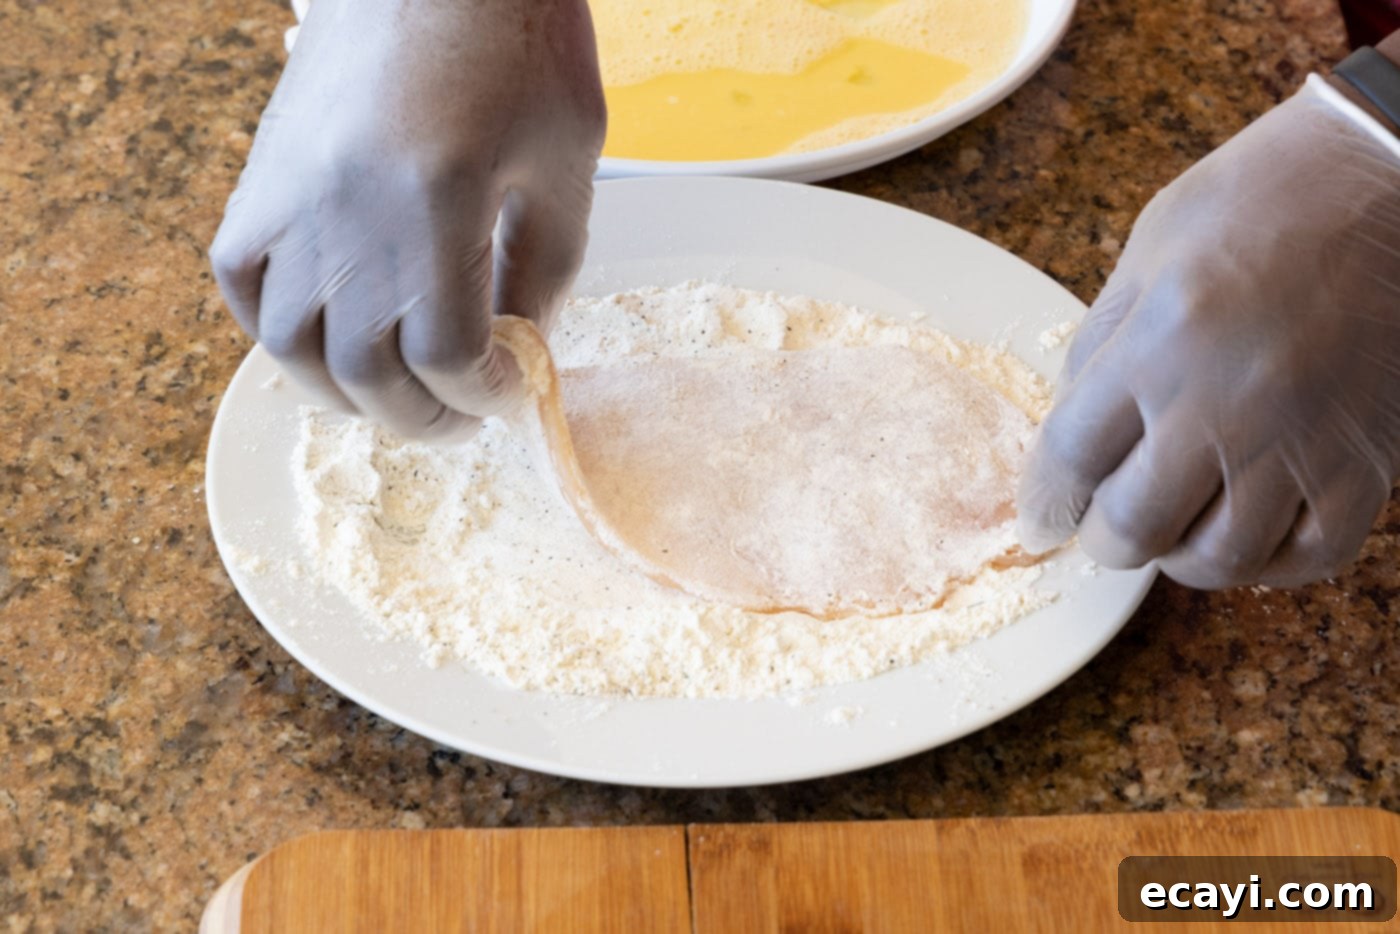
- Using gloved hands for easier handling and to prevent cross-contamination, take one pounded chicken filet and press it firmly into the seasoned flour mixture, ensuring both sides are completely coated. Gently shake off any excess flour.


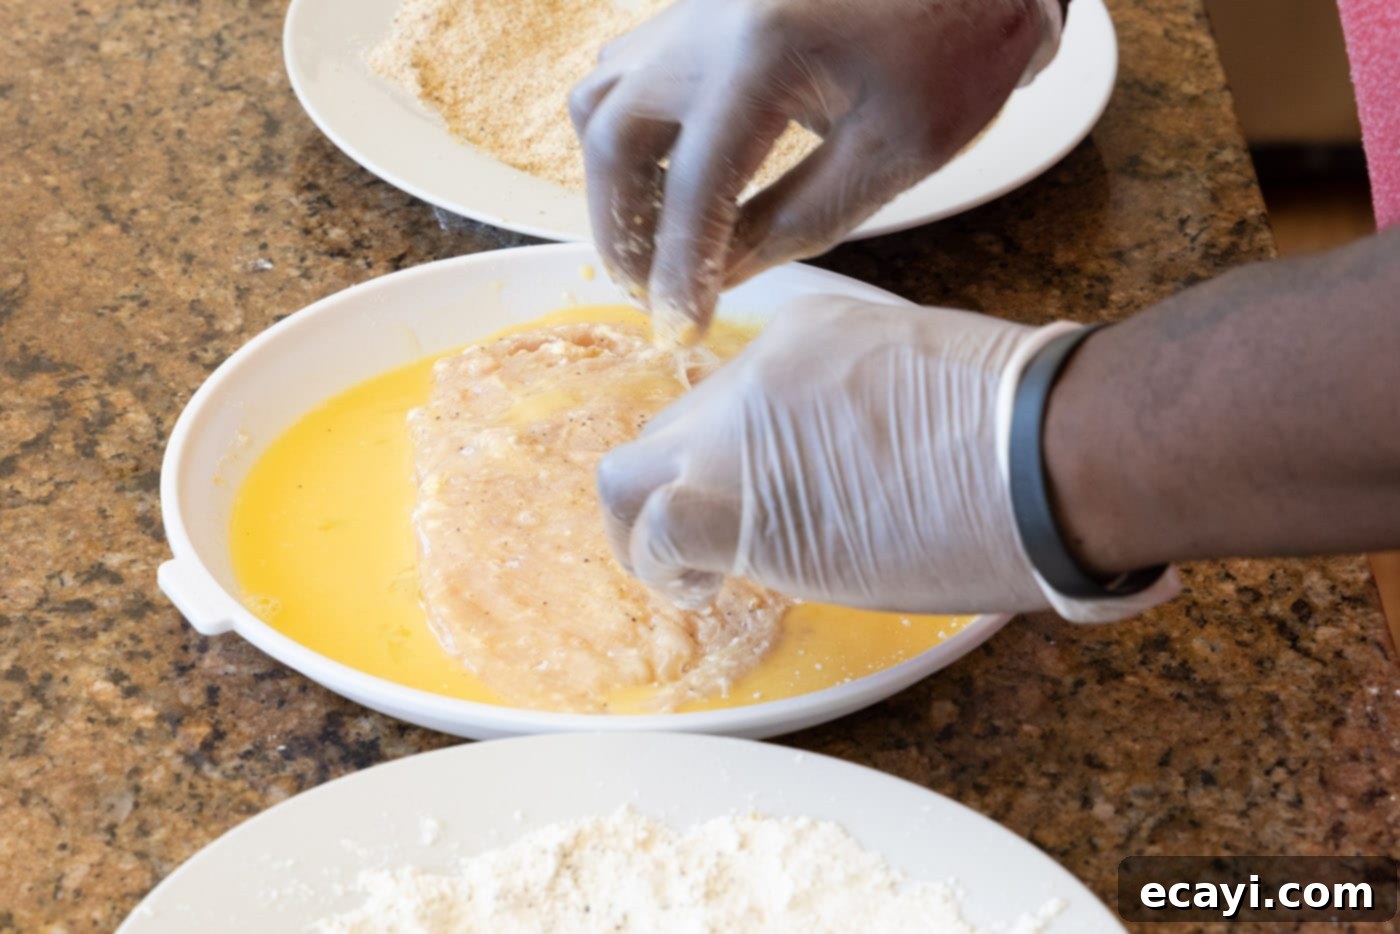
- Next, dip the floured chicken cutlet into the whisked egg mixture, coating both sides thoroughly. Lift the chicken, allowing any excess egg to drip off back into the plate.

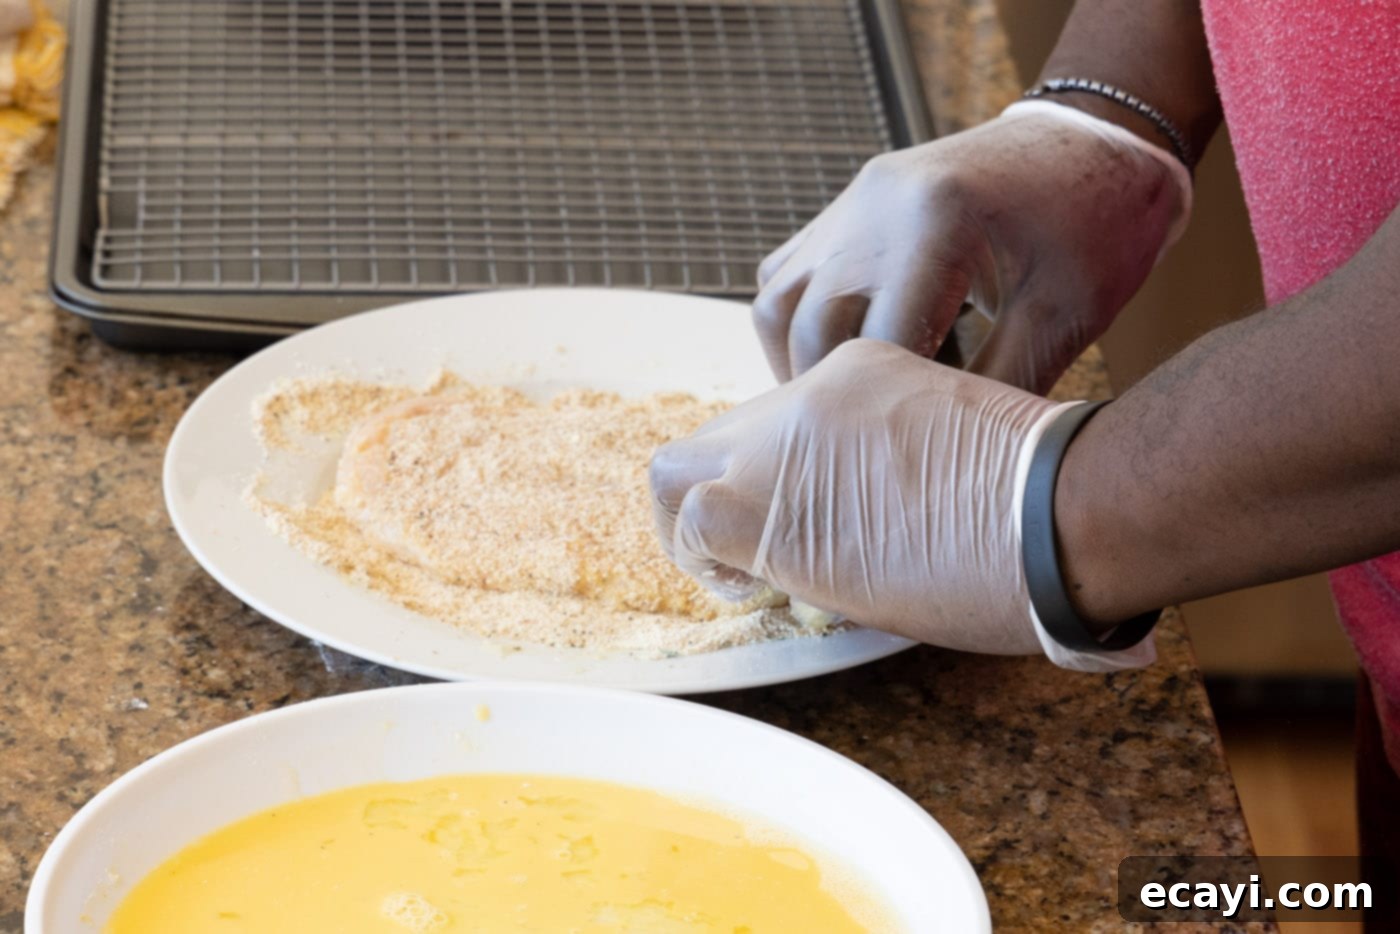
- Finally, transfer the egg-coated chicken to the seasoned breadcrumb mixture. Press gently but firmly on both sides to ensure the breadcrumbs adhere evenly and completely, creating a beautiful crust.

- Place the fully breaded chicken cutlet on a wire rack set over a baking sheet. Repeat this entire breading process for the remaining chicken filets. This resting period on the rack helps the breading to set, preventing it from falling off during cooking.
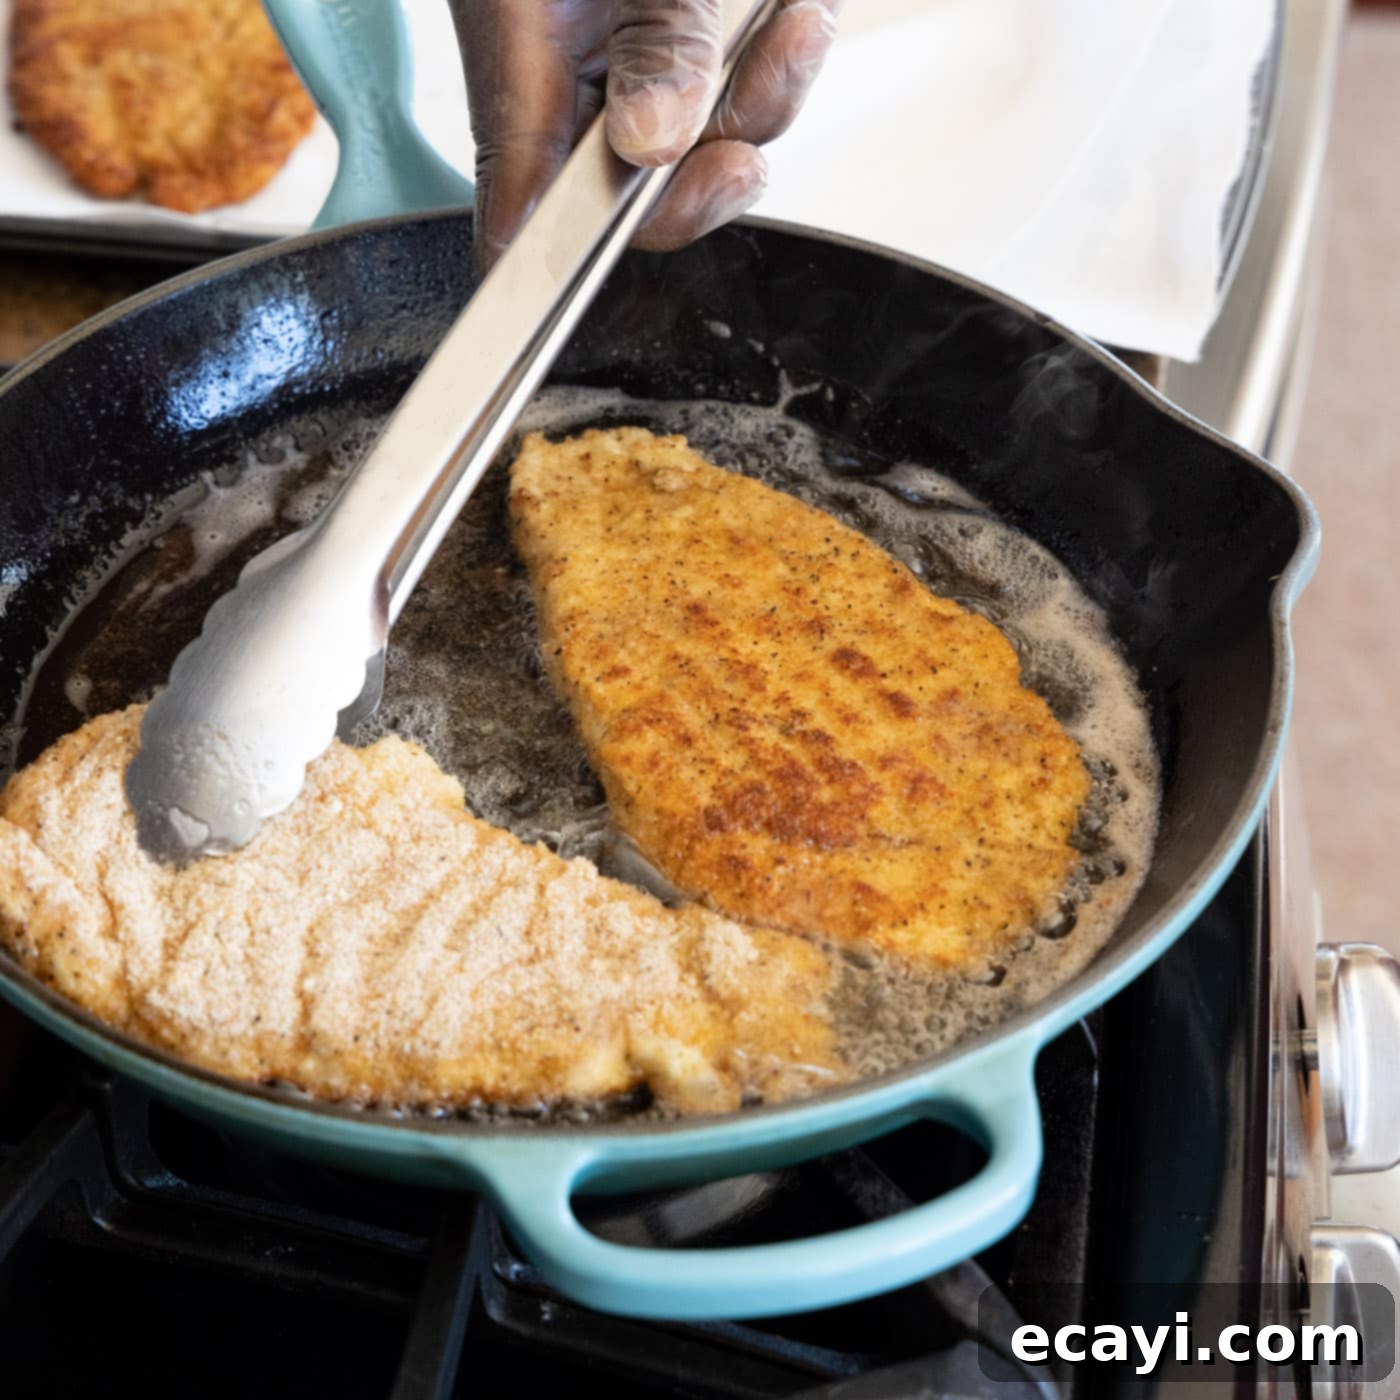
- Heat 3 tablespoons of olive oil in a large, heavy-bottomed skillet over medium heat. You need enough oil to lightly coat the bottom of the pan and come up slightly on the sides of the chicken, but not so much that the chicken is submerged. Heat the oil until it shimmers and a tiny breadcrumb sizzles immediately when dropped in.
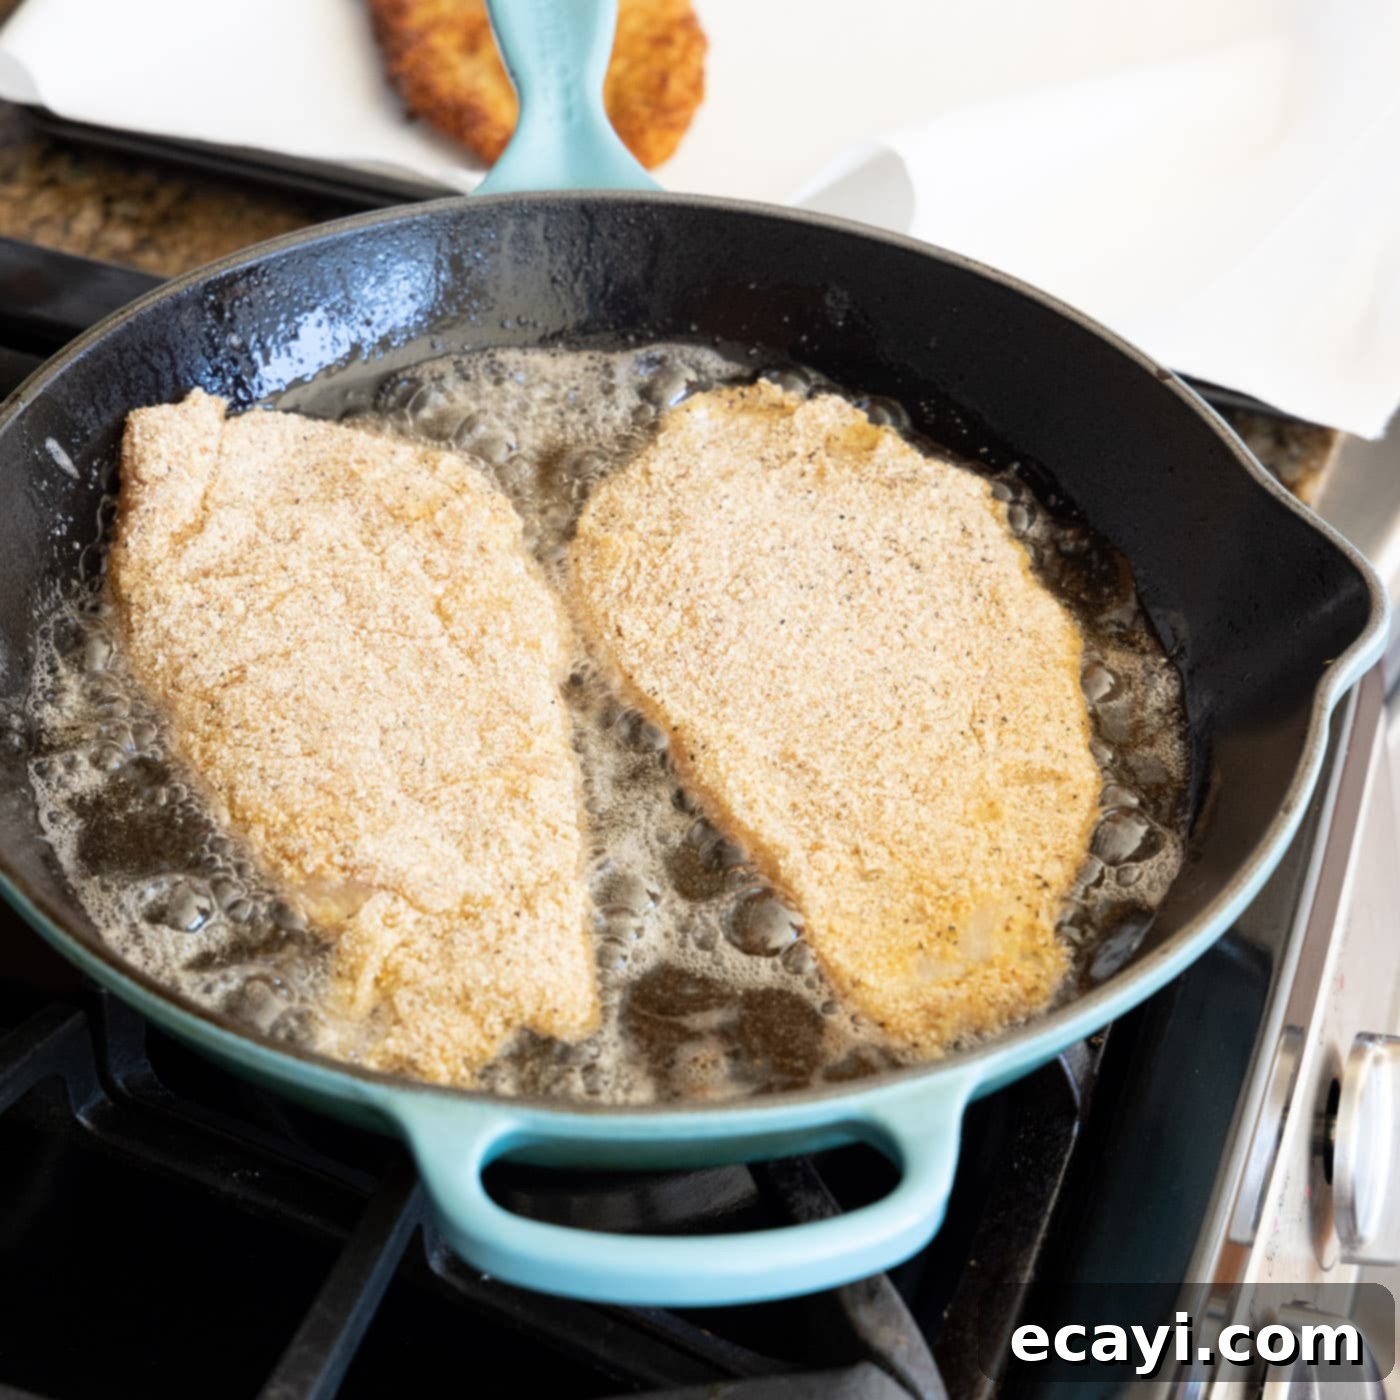
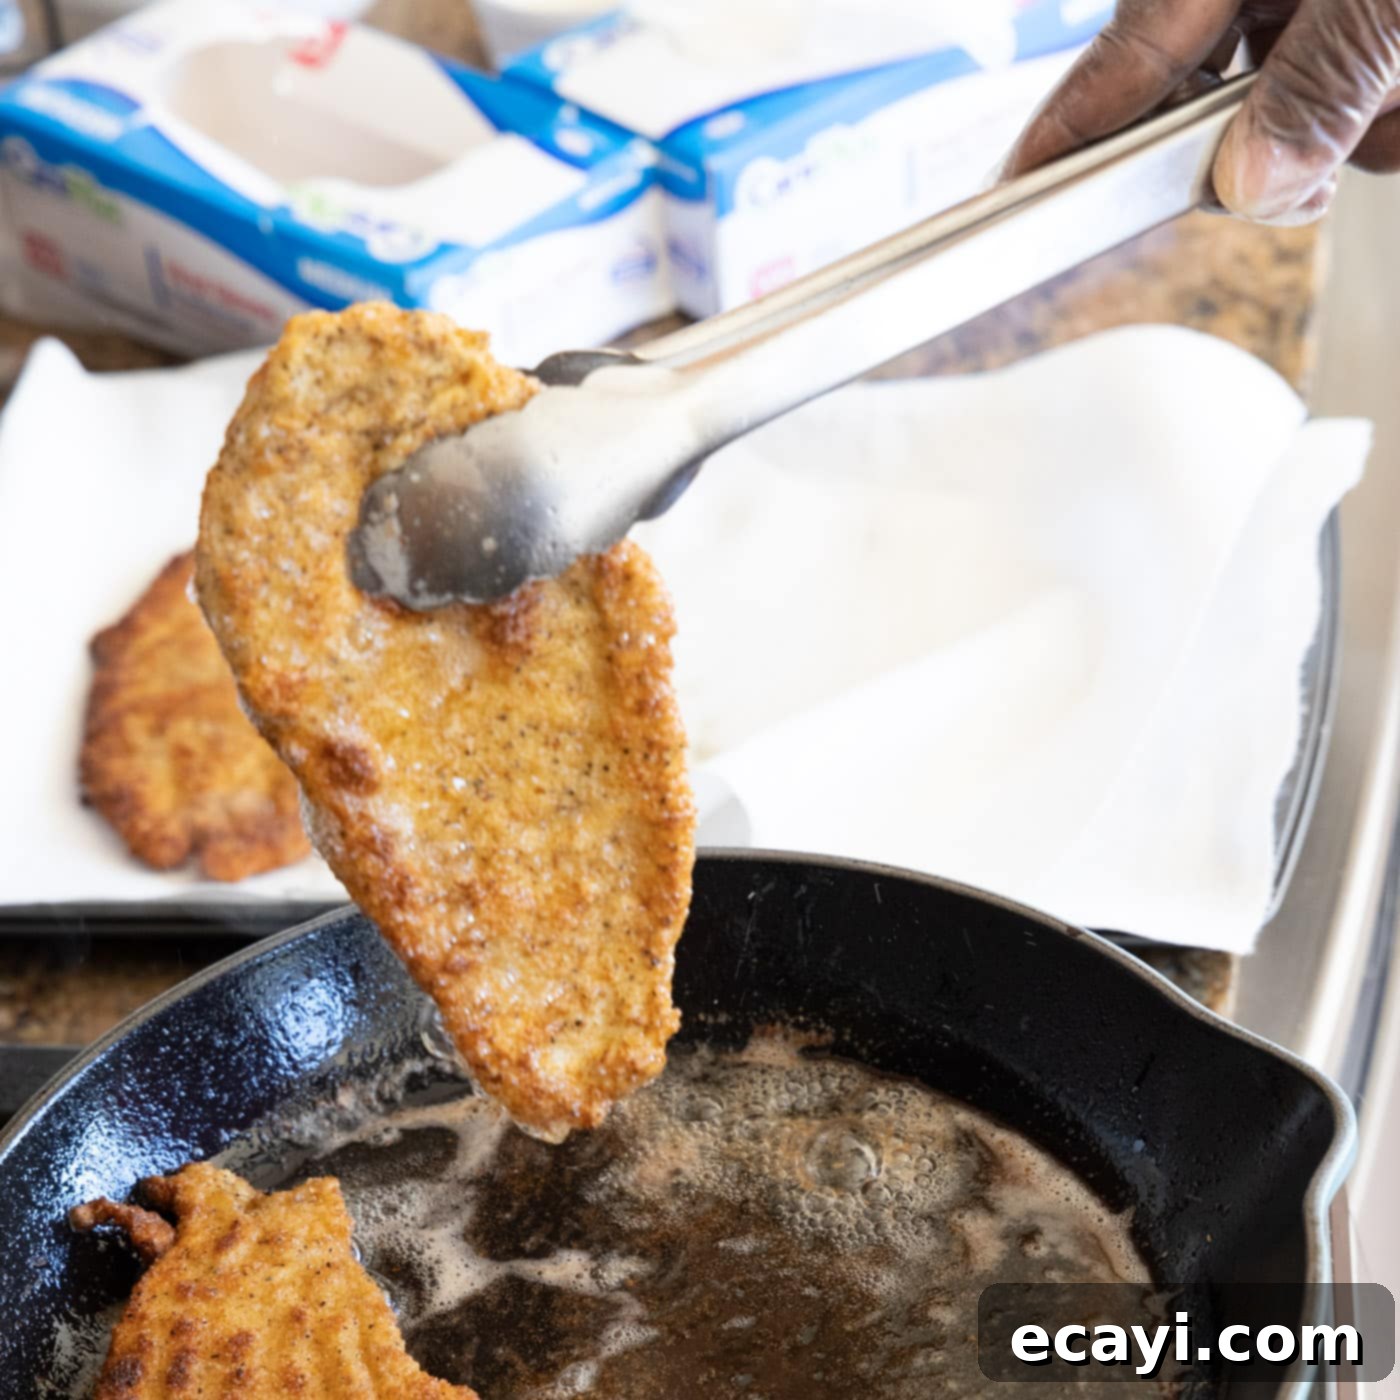
- Cook the chicken in batches to avoid overcrowding the pan. Overcrowding can lower the oil temperature and lead to soggy, rather than crispy, chicken. Place a chicken filet into the hot oil and cook for 2-3 minutes per side, until it’s deeply golden brown and cooked through.


- Once cooked, use tongs to remove the chicken Milanese from the skillet and place it on a clean wire rack lined with paper towels to drain any excess oil. Keep the cooked chicken warm in a low oven (around 200°F / 95°C) while you cook the remaining cutlets. This ensures all pieces are hot and crispy when served.

Frequently Asked Questions & Expert Tips for Chicken Milanese
To maintain its crispness, store leftover Chicken Milanese in an airtight container in the refrigerator for up to 3-4 days. It’s best reheated to restore its texture.
Avoid the microwave if you want to preserve the crisp coating. The best methods are to reheat it in the oven at 350°F (175°C) for 10-15 minutes, or in an air fryer at 375°F (190°C) for 5-8 minutes, flipping halfway. Both methods help revive that desirable crunchy exterior.
Pounding the chicken serves two vital purposes: it tenderizes the meat by breaking down muscle fibers, resulting in a more tender bite, and it ensures the cutlets cook quickly and evenly. Thin cutlets prevent the breading from over-browning before the chicken is cooked through, and vice versa, leading to a perfectly balanced dish.
Absolutely! While plain breadcrumbs are traditional, Panko breadcrumbs are highly recommended for an extra-crispy result due to their lighter, flakier texture. You can also use Italian seasoned breadcrumbs for added flavor, or create your own by adding grated Parmesan, dried herbs, or a pinch of garlic powder to plain breadcrumbs.
Several factors help:
- Pat dry: Always pat the chicken completely dry before flouring. Moisture is the enemy of adhesion.
- Flour first: The flour creates a dry, porous surface for the egg to cling to.
- Press firmly: When coating in breadcrumbs, press gently but firmly to ensure maximum contact.
- Resting period: After breading, letting the chicken rest on a wire rack for 10-15 minutes helps the coating set, reducing the chances of it falling off during frying.
Olive oil is traditional and adds a nice flavor. However, you can also use other oils with a high smoke point and neutral flavor, such as vegetable oil, canola oil, or grapeseed oil. The key is to ensure the oil is hot enough (shimmering, but not smoking) before adding the chicken, and to use enough to coat the bottom of the pan without submerging the cutlets.
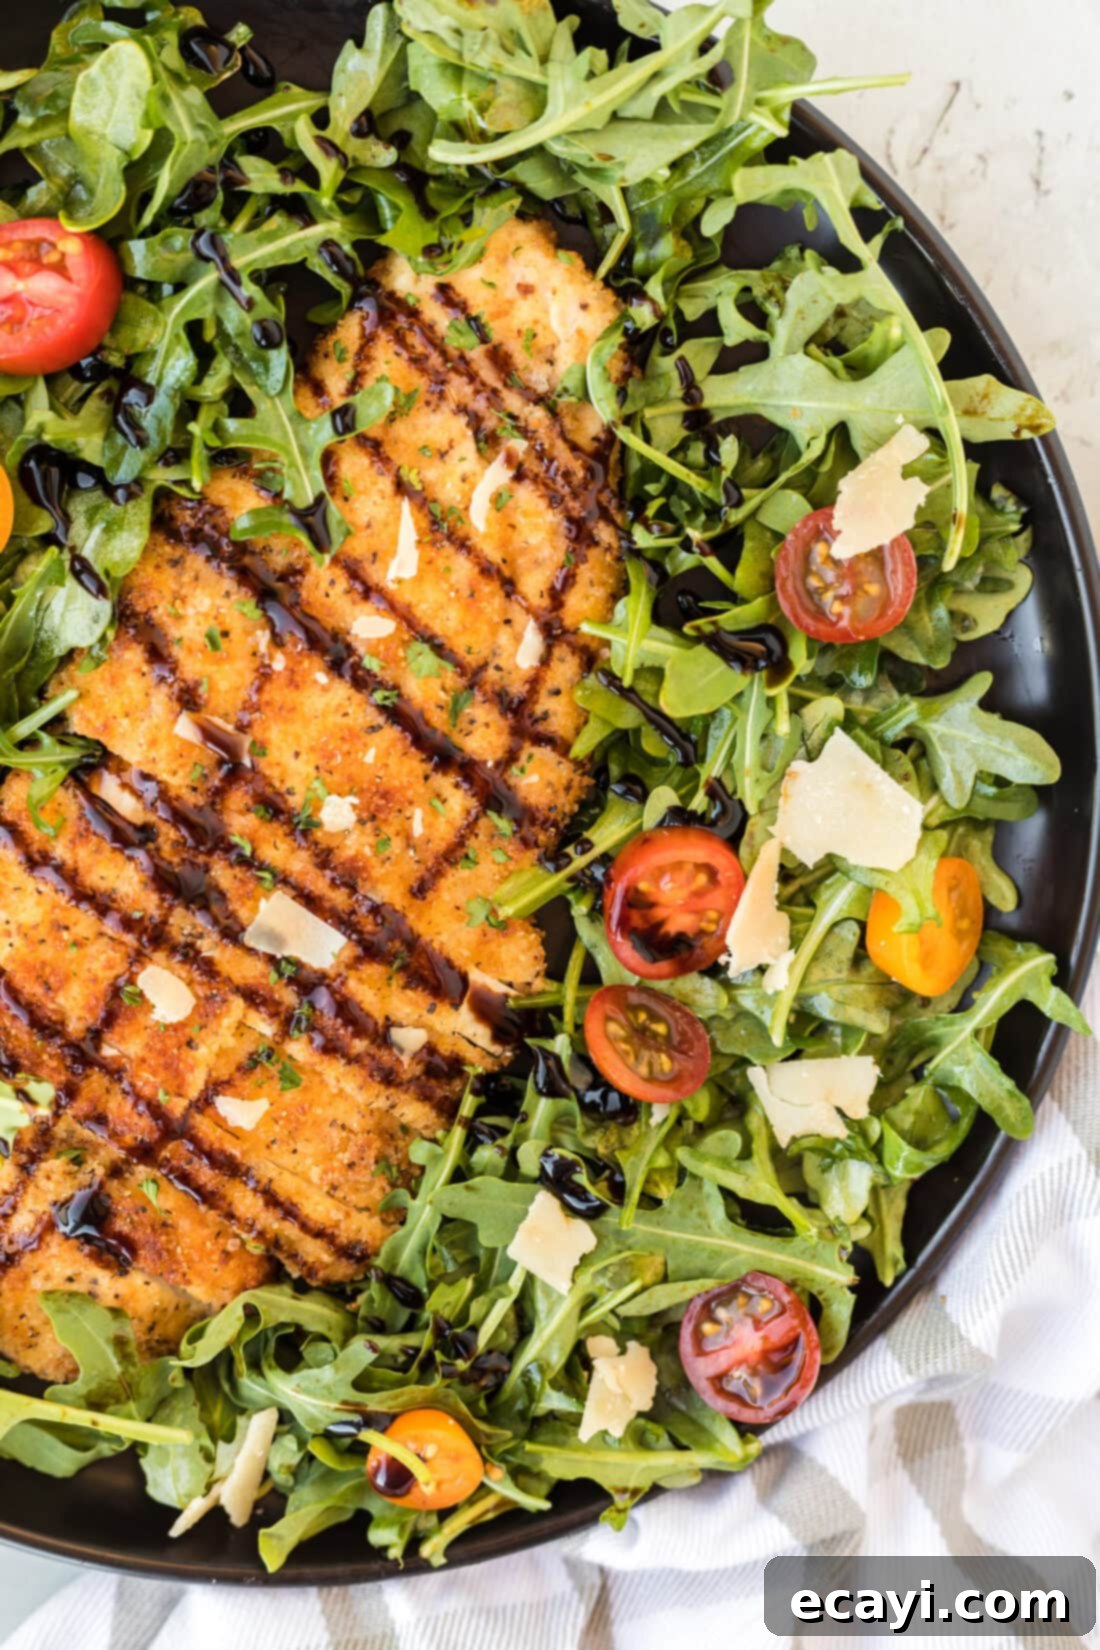
Delicious Serving Suggestions for Chicken Milanese
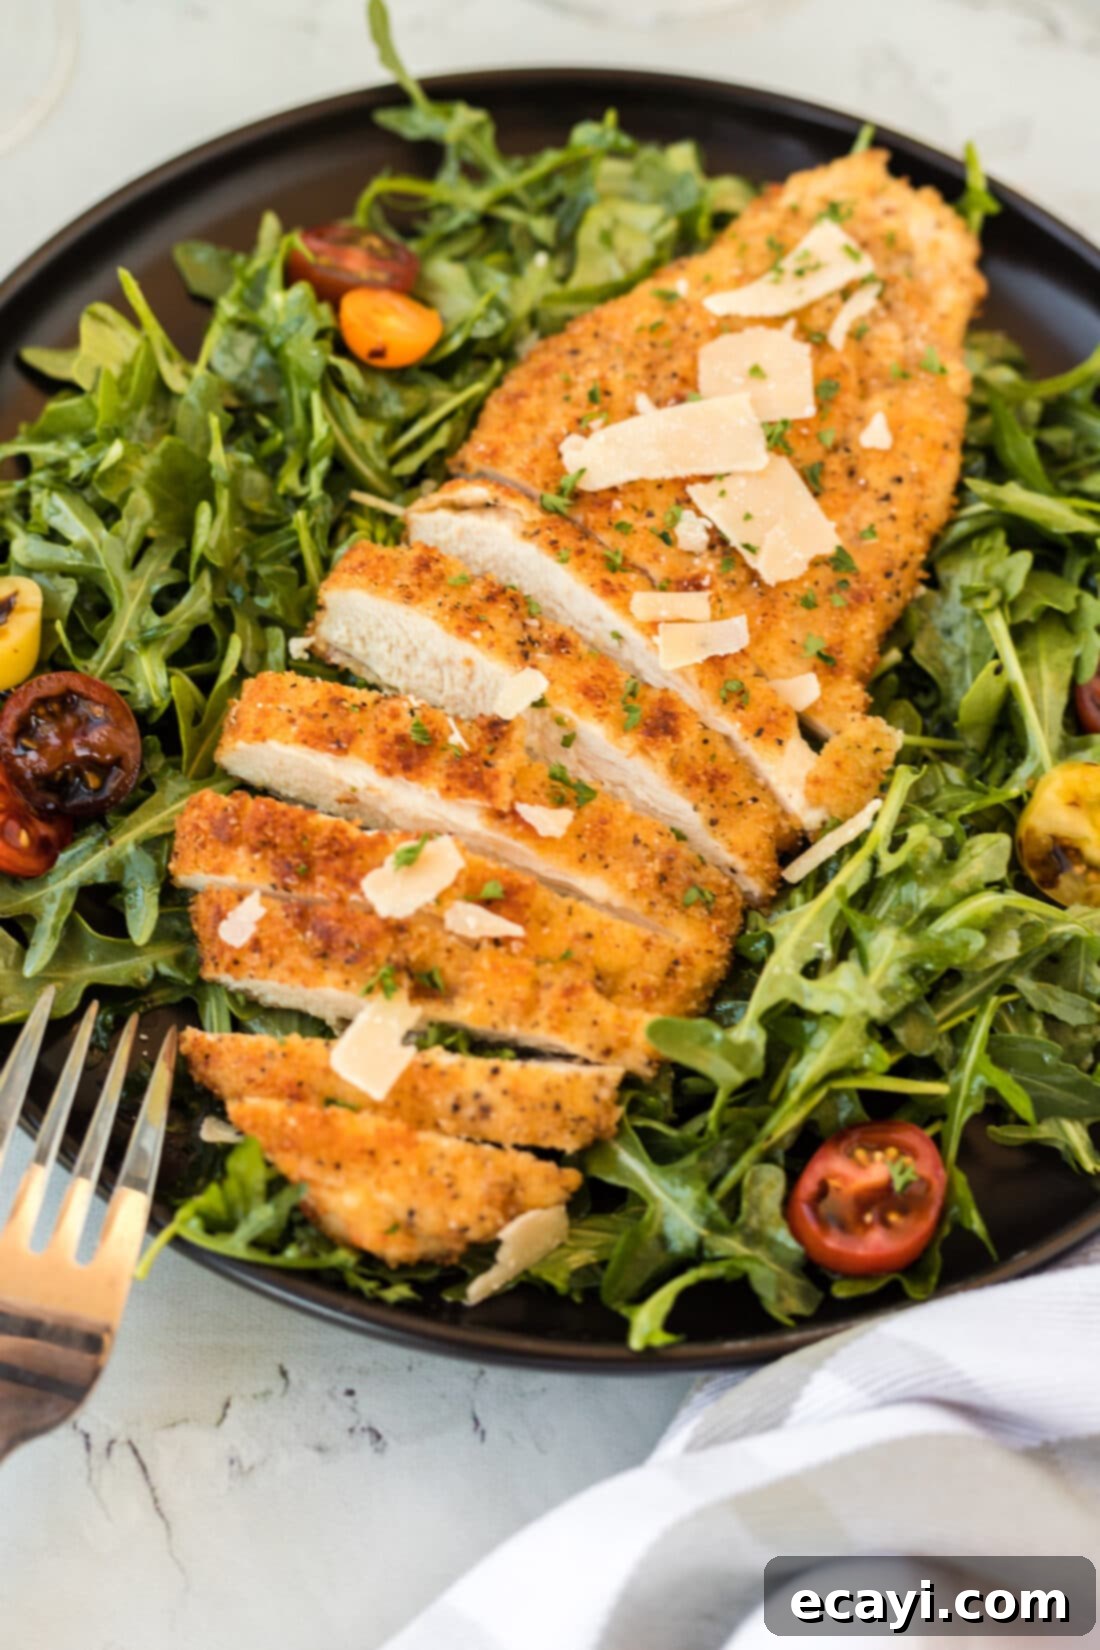
Chicken Milanese is incredibly versatile and pairs well with a multitude of side dishes. Traditionally, it’s served simply with a crisp, leafy green salad dressed with a light vinaigrette and a generous squeeze of fresh lemon over the top, which cuts through the richness of the fried chicken. However, you can easily customize it to create a complete and satisfying meal tailored to your preferences.
Consider these delightful serving suggestions:
- Classic Italian: A simple arugula salad with cherry tomatoes and shaved Parmesan, dressed with olive oil and lemon juice, is a perfect complement. A side of pasta with a light tomato sauce or pesto would also be excellent.
- Roasted Vegetables: Enhance your meal with roasted green beans, roasted Brussels sprouts, tender broccoli, crisp asparagus, or sweet glazed carrots. The earthy flavors and textures of roasted veggies create a wonderful contrast.
- Potatoes: For a heartier meal, serve with creamy mashed potatoes, crispy roasted potatoes, or even a light potato salad.
- Grains: A side of fluffy couscous, quinoa, or a simple rice pilaf can absorb the delicious juices and lemon flavor.
- Sauces: While often served plain with lemon, a light marinara sauce or a caper-lemon butter sauce can elevate the dish further. A fresh salsa verde also offers a bright, herbaceous kick.
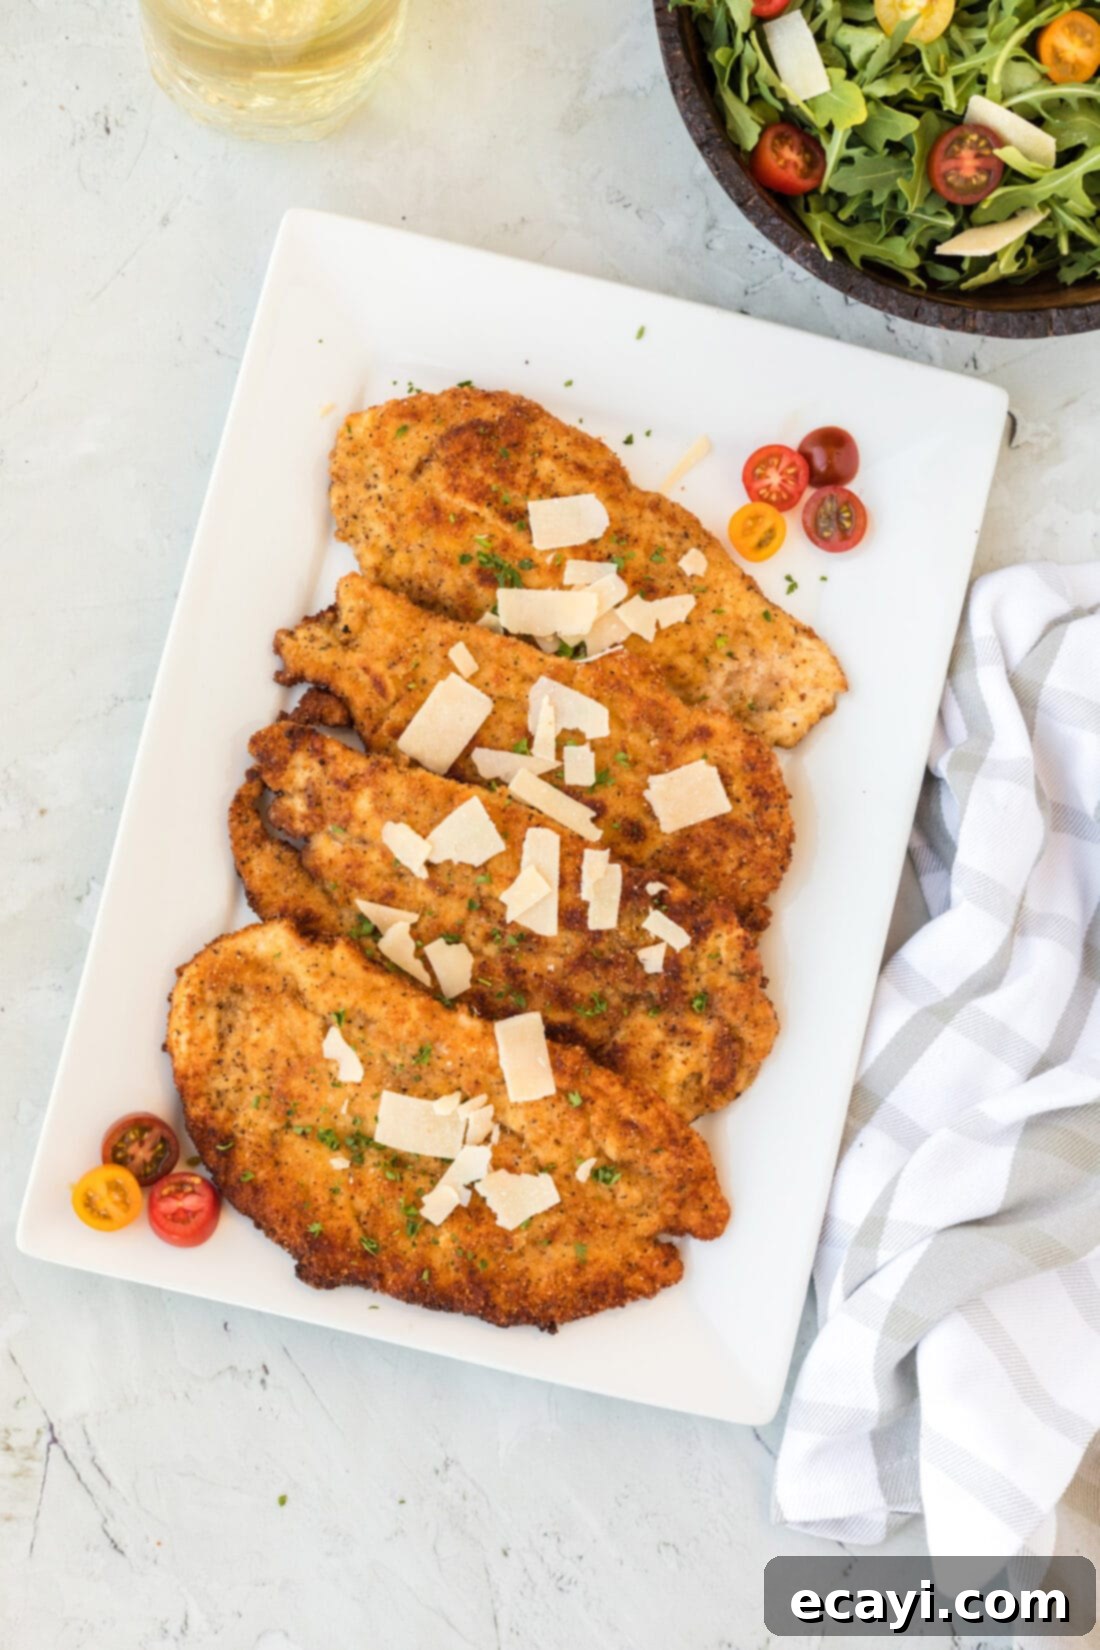
Optionally, garnish your Chicken Milanese with freshly shaved or grated Parmesan cheese and a sprinkle of fresh parsley or basil for an added touch of freshness and flavor.
More Irresistible Chicken Recipes to Try
If you love preparing delicious chicken dishes, you’re in the right place! Explore some of our other fantastic chicken recipes that are sure to become family favorites:
- Chicken Marsala
- Chicken Piccata
- Chicken Cacciatore
- Chicken Cordon Bleu
- Baked Chicken Thighs
- Marry Me Chicken
I love to bake and cook and share my kitchen experience with all of you! Remembering to come back each day can be tough, that’s why I offer a convenient newsletter every time a new recipe posts. Simply subscribe and start receiving your free daily recipes!

Chicken Milanese
IMPORTANT – There are often Frequently Asked Questions within the blog post that you may find helpful. Simply scroll back up to read them!
Print It
Pin It
Rate It
Save It
Saved!
Prevent your screen from going dark
Course: Dinner, Main Course
Cuisine: American, Italian
Ingredients
- 2 large chicken breasts about 1 1/2 pounds
- 2 cups breadcrumbs
- 2 cups all-purpose flour
- 2 Tablespoons garlic salt divided
- 1 Tablespoon black pepper divided
- 1 Tablespoon onion powder divided
- 2 large eggs
- 2 Tablespoons water
- 3 Tablespoons olive oil
Things You’ll Need
-
Large heavy bottomed skillet
-
Vinyl gloves
-
Tongs
-
Meat mallet
Before You Begin
- Since the chicken is pounded very thin, it cooks quickly. Your primary goal is to achieve a beautiful golden-brown crisp on both sides of the breading, ensuring the chicken is cooked through without becoming dry.
- To store, place leftover Chicken Milanese in an airtight container in the refrigerator for 3-4 days. For optimal crispiness when reheating, use an oven preheated to 350°F or an air fryer.
Instructions
-
Rinse chicken breasts and pat dry with paper towels.
-
Cut each breast in half by butterflying them, then separating with a knife. You will now have 4 breasts.
-
Pound each breast fairly thin, about 1/4 inch thick, but not so thin that it falls apart.
-
In a medium bowl, combine flour with 1 tablespoon garlic salt, 1/2 tablespoon black pepper, and 1/2 tablespoon onion powder. Pour contents onto a dinner plate.
-
In a second bowl, combine bread crumbs with remaining garlic salt, pepper, and onion powder. Pour contents onto a second dinner plate.
-
In a third bowl, whisk together eggs and water. Carefully pour contents onto a third dinner plate.
-
Using gloved hands, press the pounded chicken filet into the flour mixture, coating both sides and gently shaking off any excess.
-
Dip floured chicken into egg mixture, again coating both sides and allowing excess to drip off.
-
Finally, press the egg coated chicken into the bread crumb mixture. Gently press both sides of chicken to ensure they are evenly coated.
-
Place chicken on a wire rack and repeat this process for the remaining chicken filets.
-
Add olive oil to a large heavy-bottomed skillet. You want enough oil to coat the bottom of the pan, but not so much that the chicken will be submerged. Heat oil over medium heat until shimmering.
-
You will need to work in batches as the chicken filets are large and you don’t want to crowd them. Place chicken filet in hot oil and cook for 2-3 minutes. Turn chicken over with tongs and cook an additional 2-3 minutes. The breading should be nicely browned and crispy.
-
Remove to paper towels and keep warm while you cook the remaining chicken.
Nutrition
Calories: 724cal |
Carbohydrates: 91g |
Protein: 42g |
Fat: 20g |
Saturated Fat: 4g |
Polyunsaturated Fat: 4g |
Monounsaturated Fat: 10g |
Trans Fat: 0.02g |
Cholesterol: 166mg |
Sodium: 4460mg |
Potassium: 696mg |
Fiber: 5g |
Sugar: 4g |
Vitamin A: 293IU |
Vitamin C: 3mg |
Calcium: 154mg |
Iron: 7mg
Tried this Recipe? Pin it for Later!Follow on Pinterest @AmandasCookin or tag #AmandasCookin!
The recipes on this blog are tested with a conventional gas oven and gas stovetop. It’s important to note that some ovens, especially as they age, can cook and bake inconsistently. Using an inexpensive oven thermometer can assure you that your oven is truly heating to the proper temperature. If you use a toaster oven or countertop oven, please keep in mind that they may not distribute heat the same as a conventional full sized oven and you may need to adjust your cooking/baking times. In the case of recipes made with a pressure cooker, air fryer, slow cooker, or other appliance, a link to the appliances we use is listed within each respective recipe. For baking recipes where measurements are given by weight, please note that results may not be the same if cups are used instead, and we can’t guarantee success with that method.
