Crispy & Delicious Fish Sliders: Your Ultimate Homemade Recipe Guide
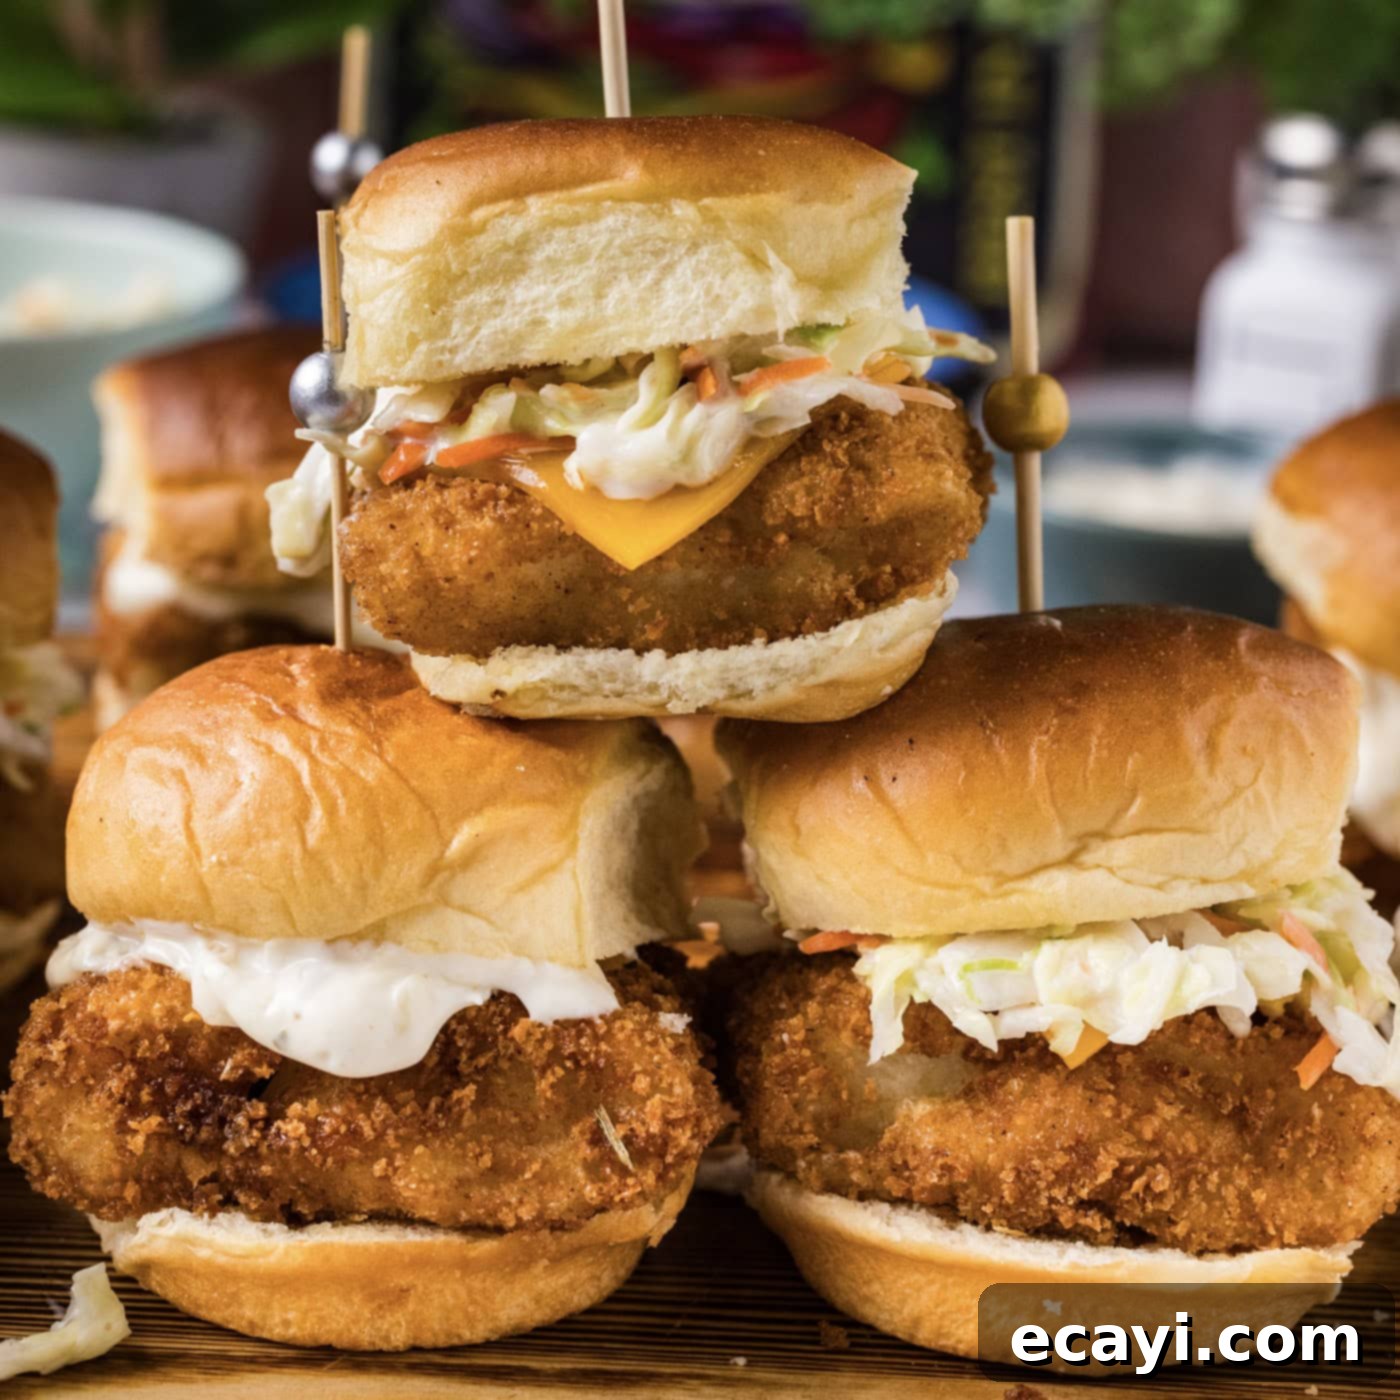
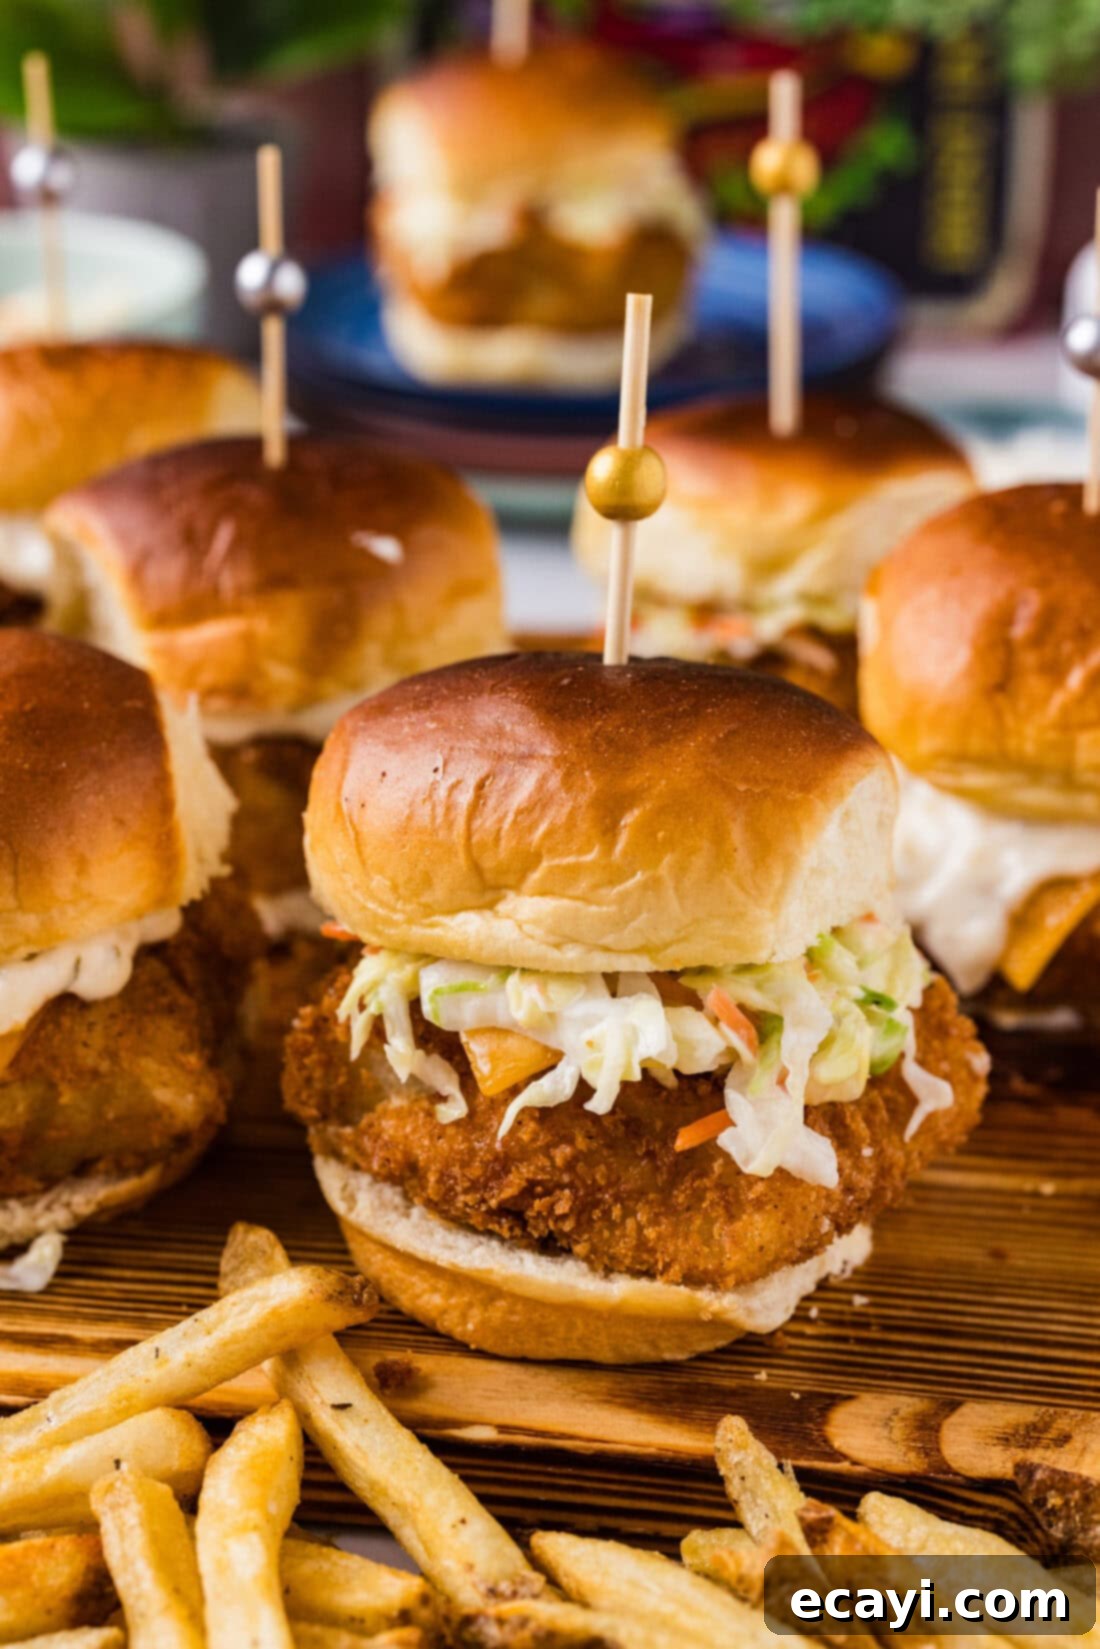
Get ready to delight your taste buds with these incredibly crispy and flavorful fish sliders! Featuring tender, flaky cod enveloped in a golden panko crust, these mini sandwiches are perfect for a family dinner, game day appetizer, or a fun gathering. Whether you prefer classic toppings like cheese, coleslaw, and tangy tartar sauce, or a fresh combination of crisp lettuce, juicy tomato, and sharp onion, these sliders offer endless customization to suit every palate.
Why These Homemade Fish Sliders Are a Must-Try Recipe
There’s something truly special about a perfectly constructed slider, and these homemade fish sliders are no exception. Each bite delivers a burst of big flavor in a convenient, small package, making them universally appealing. Our recipe stands out by utilizing a meticulous dredging process that ensures maximum crispiness and a beautiful golden-brown finish on every fish patty. We start with robust white fish filets, expertly coated in a three-step breading system: seasoned flour, a light egg wash, and finally, a generous layer of panko breadcrumbs. The panko is the secret ingredient here, providing an unparalleled crunch that perfectly contrasts with the tender, flaky interior of the fish.
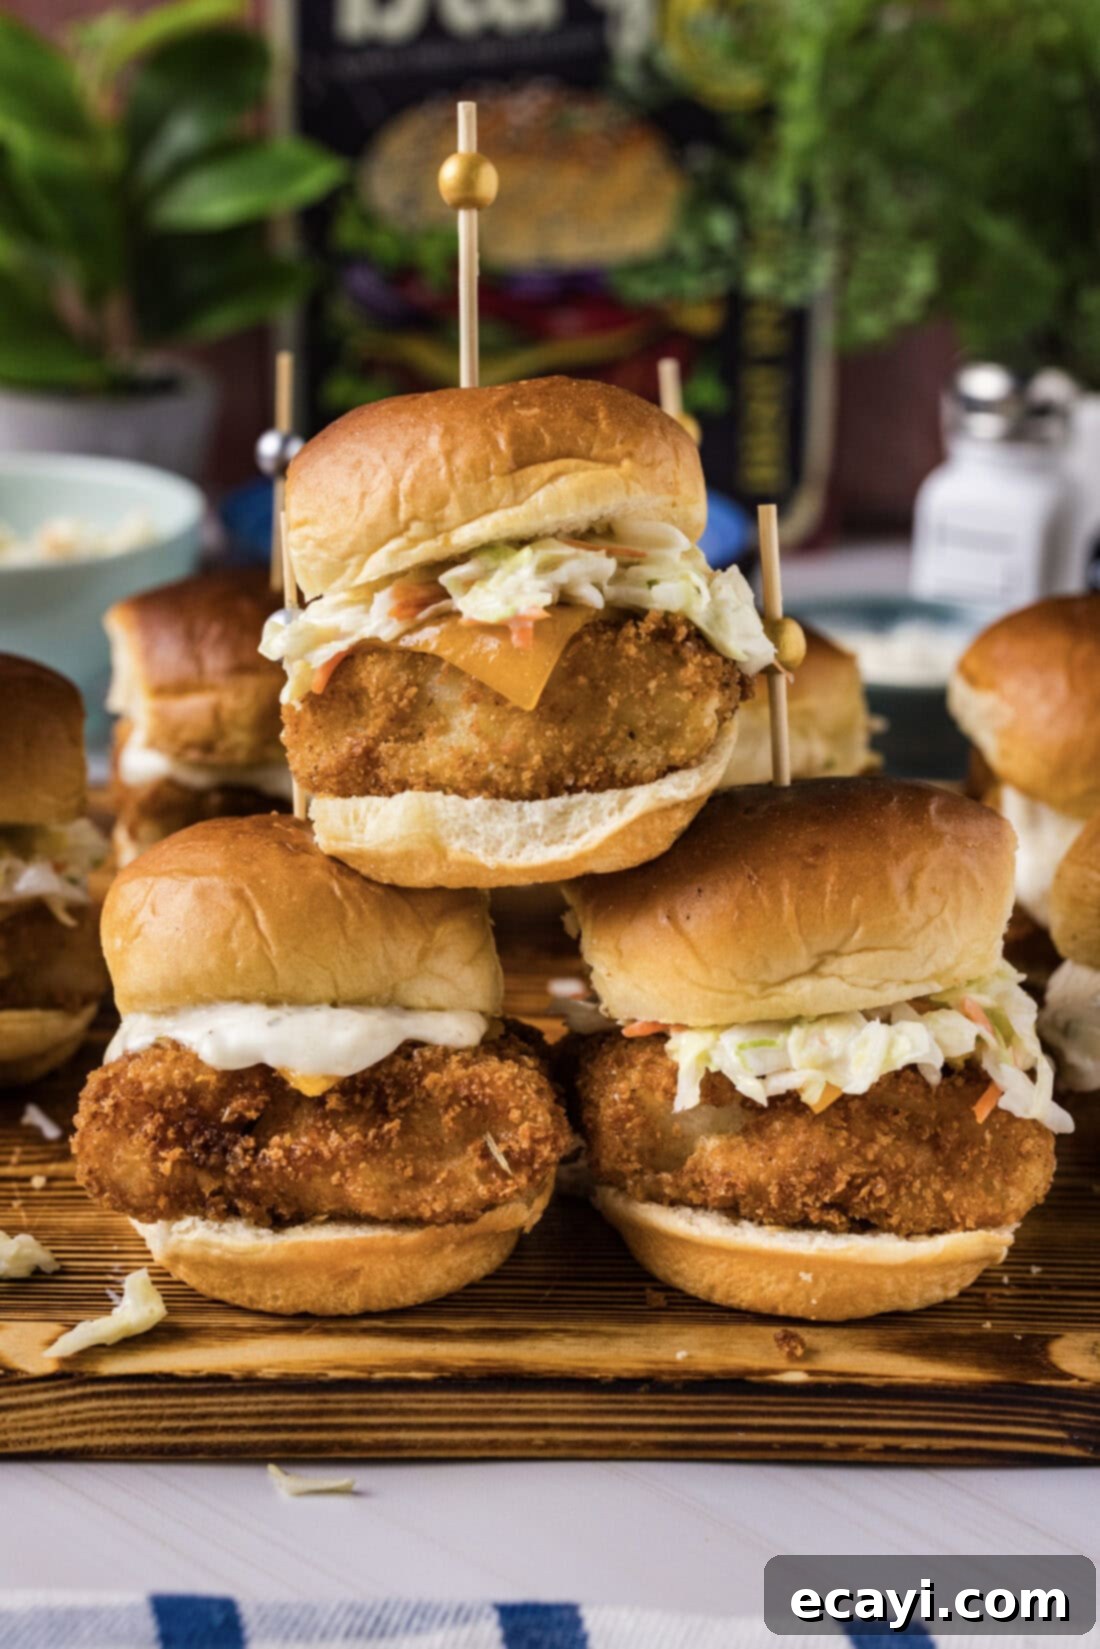
After a quick sizzle in hot oil, these fish patties emerge perfectly cooked and irresistibly crunchy. Nestled between soft, pillowy slider buns, they become the canvas for your favorite toppings. Imagine melted cheese blanketing the warm fish, a refreshing spoonful of homemade coleslaw adding a creamy tang, and a generous dollop of zesty tartar sauce to tie all the flavors together. This combination creates a harmonious blend of textures and tastes that is both satisfying and incredibly delicious. These fried fish sliders are not only a crowd-pleaser but also surprisingly simple to prepare, making them a fantastic option for a weeknight meal or a weekend get-together. The manageable size also makes them ideal for portion control or for serving alongside other appetizers at a party. You’ll find yourself reaching for this crispy fish slider recipe again and again!
Essential Ingredients for Your Crispy Fish Sliders
Crafting the perfect fish slider begins with selecting the right ingredients. Below, you’ll find a detailed list of everything you’ll need to bring this recipe to life, from the fresh fish to the flavorful breading and the delectable toppings. For precise measurements and a printable version of this recipe, be sure to scroll to the end of this post to access the full recipe card. We’ve laid out all the components to ensure a seamless and enjoyable cooking experience as you prepare these amazing homemade fish sliders.
Ingredient Spotlight & Expert Substitution Tips
Understanding each ingredient’s role and knowing how to make smart substitutions can elevate your cooking. Here’s a closer look at the key components for our crispy fish sliders:
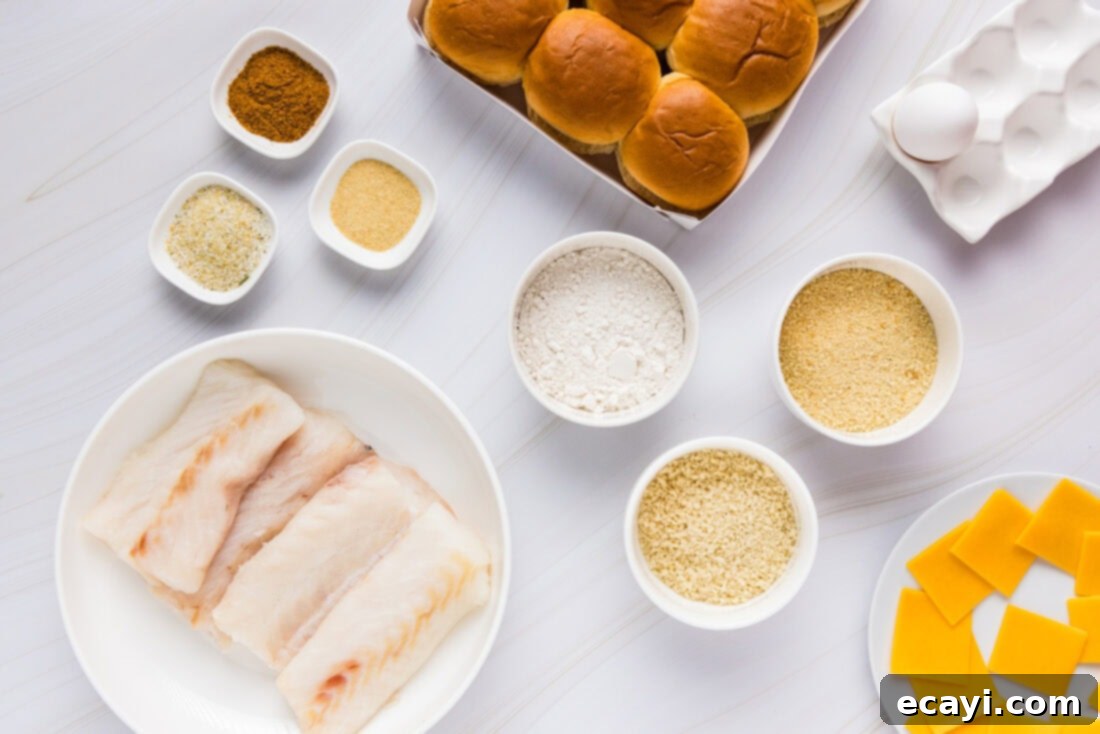
FISH – For this recipe, we specifically chose high-quality cod filets, sourced fresh from the seafood counter. Cod is an excellent choice for fish sliders due to its mild flavor, firm texture, and ability to flake beautifully once cooked. However, the versatility of this recipe allows for various hearty white fish alternatives. You can confidently use haddock, tilapia, pollock, or even catfish, all of which will deliver fantastic results. If you opt for frozen filets, a crucial step for achieving that signature crispness is proper thawing and drying. Always thaw frozen fish completely, drain any excess liquid thoroughly on paper towels, and then pat the filets very dry before proceeding with the breading and frying. This prevents steaming and promotes a golden, crunchy crust.
BREADING MIXTURE – Our signature crispy coating is achieved through a three-part breading station. The all-purpose flour provides the initial dry layer, helping the egg wash adhere. The whisked egg (combined with a touch of water) acts as the glue for the breadcrumbs. The real star of the show is the combination of regular breadcrumbs and panko breadcrumbs. Panko, with its larger, flakier texture, creates a much lighter and crispier coating than traditional breadcrumbs alone. To infuse the breading with incredible flavor, we blend in onion powder, a dash of Old Bay seasoning (a classic for seafood!), and garlic salt. These seasonings perfectly complement the mild fish and add an irresistible savory depth to every crunchy bite of your fried fish sliders.
OIL FOR FRYING – The type of oil you use significantly impacts the final taste and texture of your fried fish sliders. We recommend using oils with a high smoke point and a neutral flavor, such as vegetable oil or canola oil. These oils can withstand the high temperatures required for deep frying without burning, ensuring your fish patties cook evenly and develop a beautiful golden crust without imparting any unwanted flavors. Ensure you have enough oil to submerge the fish patties or at least come halfway up their sides if pan-frying.
TOPPINGS – The beauty of these fish sliders lies in their adaptability to various toppings. For cheese, we find that American or cheddar slices work exceptionally well, melting easily over the hot fish to add a creamy, savory layer. We typically cut each slice into four pieces to fit the slider size, but feel free to adjust the amount to your liking. For the best melt, add the cheese slices to the hot fish patties immediately after they come out of the fryer. Beyond cheese, two absolute must-haves for classic fish sliders are creamy coleslaw and zesty tartar sauce. Both offer a refreshing contrast to the richness of the fried fish. Don’t hesitate to experiment with fresh ingredients like crisp lettuce, thinly sliced red onion, or ripe tomato for added texture and freshness. Pickles also add a delightful briny crunch!
SLIDER BUNS – Soft, fluffy slider buns are essential for a truly satisfying fish slider experience. They should be sturdy enough to hold the fish patty and toppings but soft enough to compress easily when bitten. Potato buns, brioche buns, or even Hawaiian sweet rolls are all excellent choices that complement the flavors of the fish and toppings beautifully.
Mastering the Art of Crispy Fish Sliders: Step-by-Step Guide
These step-by-step photos and detailed instructions are designed to help you visualize each stage of making this delicious recipe. For a convenient, printable version of the full recipe, complete with precise measurements and comprehensive instructions, you can Jump to Recipe at the bottom of this post.
Creating these crispy fish sliders is a straightforward process, but following these steps carefully will ensure a perfectly golden and flavorful result every time. Proper preparation of your breading station and careful attention to frying temperature are key.
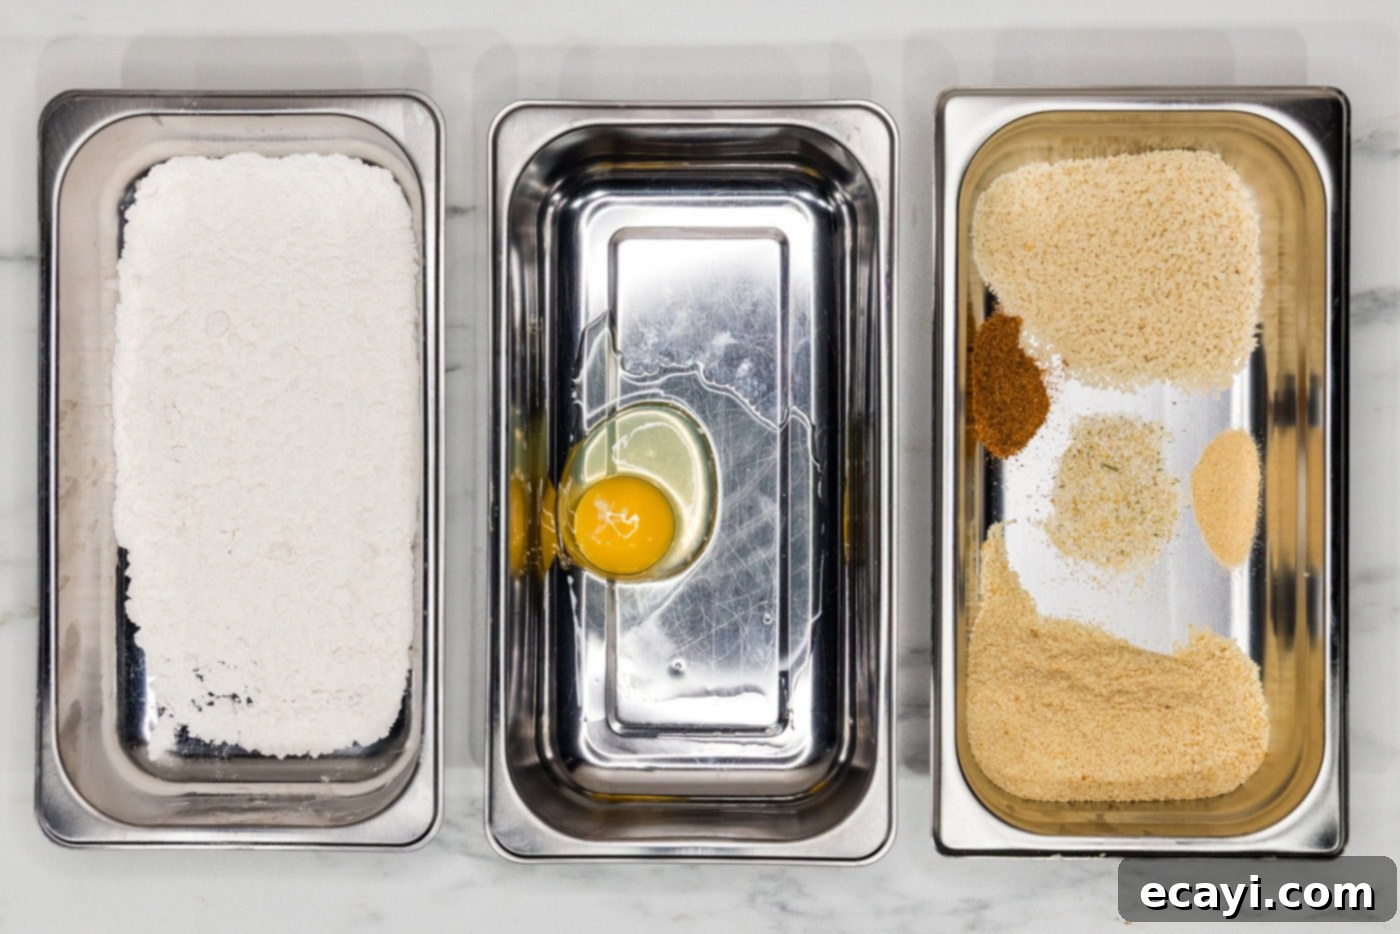
- Set Up Your Breading Station: Begin by preparing your dredging station. Use three separate shallow breading trays or wide dishes. In the first tray, place the all-purpose flour. This initial layer helps the egg wash adhere evenly to the fish.
- Prepare the Egg Wash: In the second breading tray, crack the large egg. Add two tablespoons of water and whisk thoroughly until the egg and water are well combined. This creates the “glue” for your breadcrumbs.
- Create the Flavorful Crumb Mixture: In the third breading tray, combine both the regular breadcrumbs and panko breadcrumbs. This blend gives you the best of both worlds – a fine coating with extra crunch. Stir in the onion powder, Old Bay seasoning, and garlic salt until evenly distributed. This seasoned mixture is what will give your fish patties their incredible flavor and crispy texture.

- Portion the Fish Filets: Take your cod filets and cut them into appropriate square or rectangular pieces that will fit nicely on your slider buns. For typical large cod filets, this often means cutting each filet in half, resulting in 8 slider-sized pieces from 4 original filets. Aim for uniform thickness for even cooking.
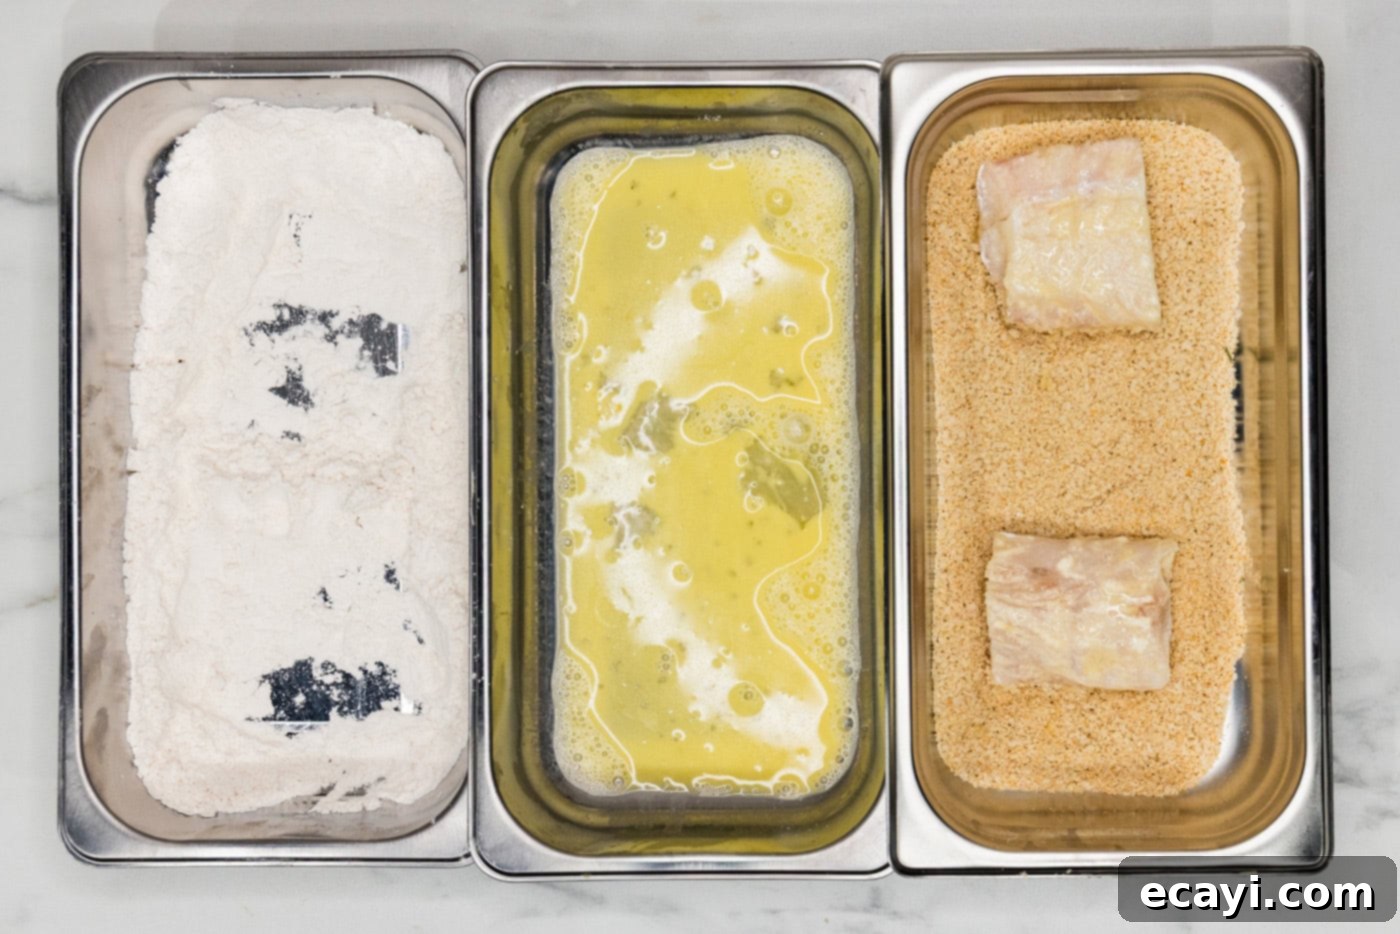
- Dredge in Flour: Working with one or two fish pieces at a time to avoid overcrowding, dredge each filet completely in the flour. Ensure both sides are coated, then gently shake off any excess flour. A thin, even coating is ideal.
- Coat in Egg Wash: Carefully transfer the floured filets into the egg wash. Turn them to coat both sides thoroughly. Lift each filet and allow any excess egg wash to drip back into the tray before moving to the next step.
- Bread with Panko Mixture: Place the egg-coated filets into the bread crumb mixture. Gently press the breadcrumbs onto both sides of the fish to ensure they adhere well. You want a generous and even coating. Once breaded, transfer the prepared filets to a clean baking sheet. Repeat this process for all remaining fish filets, keeping them in a single layer.

- Preheat the Oil: While the breaded fish filets rest (this helps the breading stick better), begin preheating your oil. If using a deep fryer, add enough oil to ensure the fish will be submerged and preheat it to 375°F (190°C). If pan-frying, use a deep-sided skillet and add about 1-2 inches of oil, heating it to the same temperature. An oil thermometer is highly recommended for accuracy.
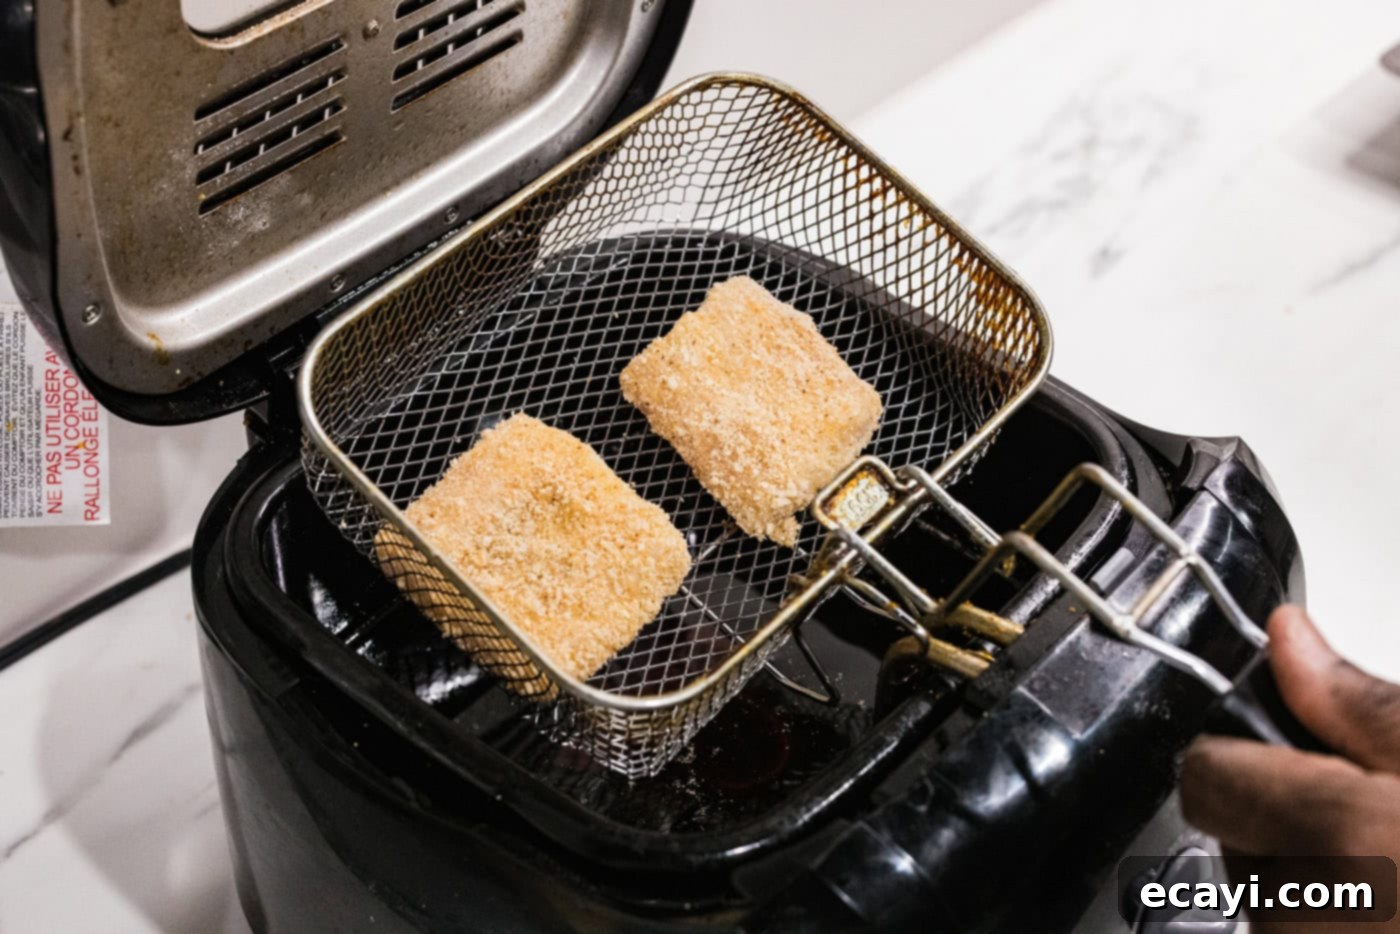
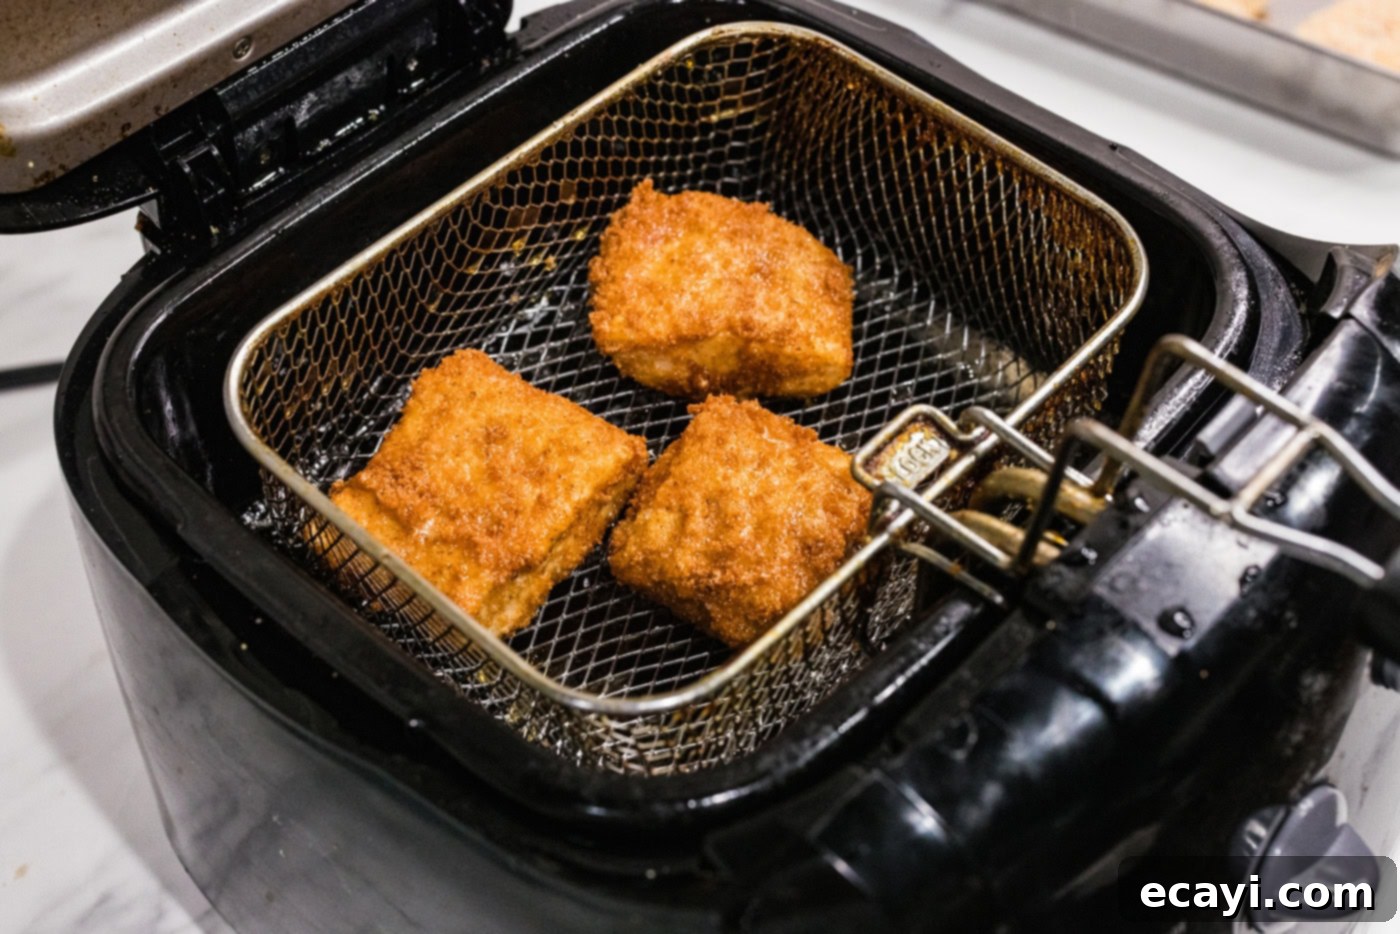
- Fry the Fish Patties: Once the oil reaches the correct temperature, carefully place 2-3 breaded filets into the basket of your deep fryer. It’s crucial not to overcrowd the fryer, as this can lower the oil temperature and result in soggy fish. Cook in batches if necessary.

- Cook to Golden Perfection: Gently lower the basket into the hot oil. Allow the fish to cook for approximately 5 minutes, or until the internal temperature reaches 145°F (63°C) and the crust is golden brown and crispy. Occasionally give the basket a gentle shake to prevent the filets from sticking together or to the bottom.

- Drain Excess Oil: As each batch of fish finishes cooking, carefully remove the basket from the oil and transfer the cooked filets to a plate lined with paper towels. This helps to drain any excess oil, ensuring the fish remains crispy. Continue frying the remaining filets in batches.
- Assemble and Serve: Serve the hot, crispy fish patties immediately on soft slider buns. Add your preferred cheese slices (they’ll melt beautifully from the residual heat) and a generous helping of your favorite toppings, such as coleslaw, tartar sauce, lettuce, tomato, and onion. Enjoy your homemade fish sliders while they’re warm and at their peak crispiness!
Frequently Asked Questions & Expert Tips for Perfect Fish Sliders
Here are some common questions and expert advice to help you make the best crispy fish sliders:
Absolutely! You don’t need a dedicated deep fryer to achieve wonderfully crispy fish sliders. A deep-sided skillet or heavy-bottomed pot works perfectly well. Simply pour enough oil into your skillet so that it comes at least halfway up the sides of your fish filets. Heat the oil to 375°F (190°C). Fry the fish on one side until golden brown and cooked through, then carefully flip it with tongs and cook the other side. This method is often referred to as pan-frying and yields equally delicious results, though you might need to manage the oil temperature a bit more closely.
For the best quality, it’s highly recommended to store the cooked fish patties separately from the slider buns and any wet toppings like coleslaw or tartar sauce. Place the fish patties in an airtight container and refrigerate them for 2-3 days. If you store assembled sliders with buns and toppings, the buns are likely to become soggy, especially with moist ingredients. While you can store assembled sliders in the fridge for a day or two, be prepared for a less ideal texture.
To bring your fish patties back to their glorious crispiness, reheating them in an air fryer or a conventional oven is your best bet. Preheat your air fryer or oven to 375°F (190°C). Place the fish patties in a single layer and heat for approximately 8-12 minutes, or until they are warmed through and the coating is restored to its crispy state. Microwaving is not recommended, as it will make the breading soggy.
While cod filets are our top choice for this recipe due to their mild flavor and flaky texture, you have many excellent alternatives. Any hearty white fish will work beautifully. Great substitutes include tilapia (mild and widely available), halibut (firmer and slightly sweeter), pollock (similar to cod, often used in fish and chips), haddock (mild, slightly sweeter than cod), or even catfish (earthier flavor, very tender). The key is to choose a firm, white fish that won’t fall apart during the breading and frying process.
The most reliable way to ensure your fish is perfectly cooked and safe to eat is to check its internal temperature with an instant-read thermometer. Insert the thermometer into the thickest portion of the fish patty, avoiding any bones. The fish is done when it reaches an internal temperature of 145°F (63°C). At this temperature, the fish will be opaque and flake easily with a fork.
To ensure your breading stays wonderfully crispy, there are a few things to keep in mind. First, always pat your fish filets very dry with paper towels before dredging them in flour. Moisture is the enemy of crispiness! Second, allow your breaded fish to rest for about 10-15 minutes on a baking sheet before frying. This allows the breading to adhere better and reduces the chances of it falling off during cooking. Finally, ensure your oil is at the correct temperature (375°F or 190°C) and don’t overcrowd the fryer. Too many pieces at once will drop the oil temperature, leading to greasy, soggy fish instead of golden, crispy perfection.
Don’t underestimate the power of seasoning your breading! The onion powder, Old Bay, and garlic salt in this recipe add a fantastic depth of flavor that really makes these fish sliders pop. Feel free to adjust these seasonings to your taste or even add other spices like paprika, cayenne pepper for a kick, or a pinch of dried herbs. A well-seasoned breading is just as important as the fresh fish inside.
Creative Serving Suggestions for Your Fish Sliders
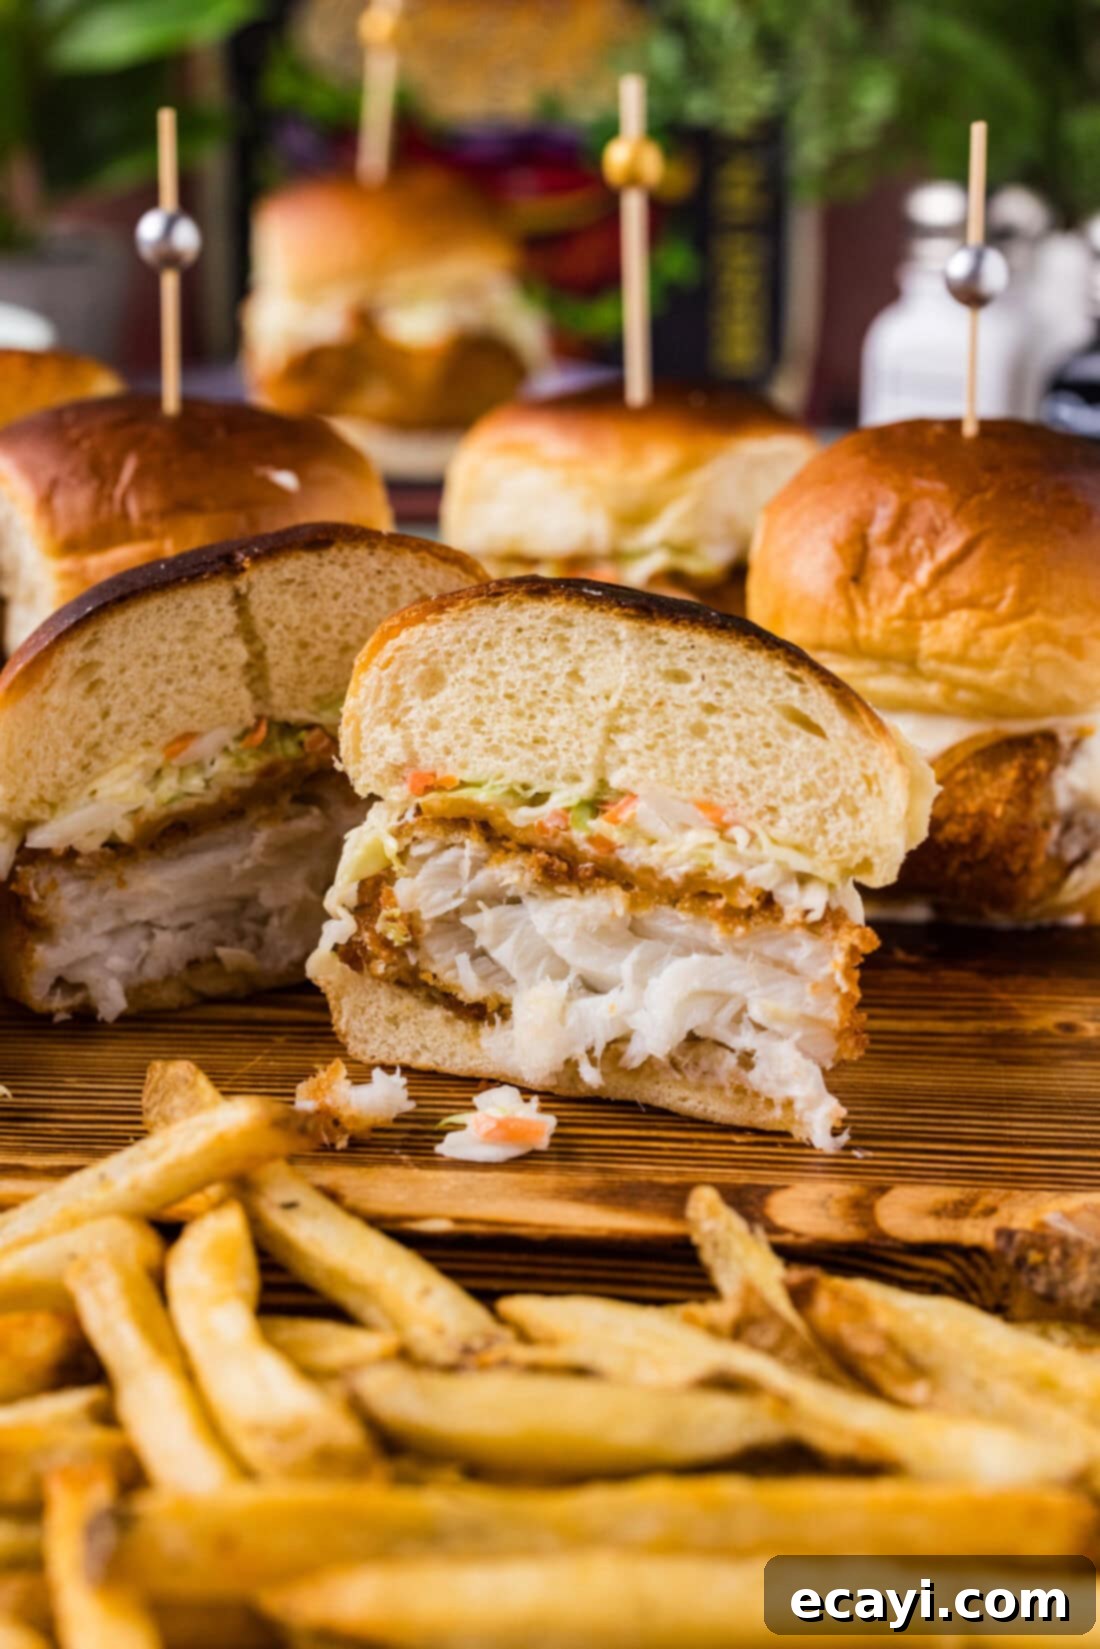
Once your crispy fish sliders are hot off the press, it’s time to get creative with how you serve them! The beauty of sliders is their versatility in toppings and pairings. Classic combinations include serving them between soft slider buns with a generous layer of creamy coleslaw or a fresh mix of crisp lettuce, tangy pickles, and ripe tomato slices. For sauces, the options are plentiful and can truly elevate your slider experience. Traditional tartar sauce is a timeless choice, offering a zesty, creamy contrast. For a touch of Cajun flair, try remoulade. Simple mayonnaise provides a rich base, while a homemade garlic aioli adds an aromatic punch. If you’re craving a little heat, a spiced mayo mixture like sriracha mayo or chipotle aioli will deliver a delightful kick. Don’t be afraid to mix and match to find your perfect flavor profile!
To make these sliders a complete meal, pair them with classic comfort food sides. Crispy french fries or crunchy potato chips are always a hit and provide a satisfying textural contrast. For something a little different, consider serving them with sweet potato fries, a light garden salad, or even some roasted vegetables. A refreshing glass of iced tea or a cold craft beer would make for an ideal beverage pairing. These fish sliders are incredibly adaptable, making them perfect for a casual lunch, a hearty dinner, or a fun appetizer spread at your next gathering. Serve them warm and watch them disappear!
Explore More Delicious Slider Recipes
If you’ve fallen in love with the convenience and deliciousness of sliders, you’re in luck! We have a fantastic collection of other slider recipes that are just as easy to make and equally satisfying. Whether you’re looking for more seafood options, classic comfort food, or hearty meat-filled variations, there’s a slider for every occasion:
- Salmon Sliders
- Cheeseburger Sliders
- Pulled Pork Sliders
- Mississippi Pot Roast Sliders
I love to bake and cook and share my kitchen experience with all of you! Remembering to come back each day can be tough, that’s why I offer a convenient newsletter every time a new recipe posts. Simply subscribe and start receiving your free daily recipes!
Fish Sliders: Crispy Fried Cod Recipe
IMPORTANT – There are often Frequently Asked Questions within the blog post that you may find helpful. Simply scroll back up to read them!
Print It
Pin It
Rate It
Save ItSaved!
Ingredients
- ½ cup all purpose flour 2.25 ounces, or 64g
- 1 large egg
- 2 Tablespoons water
- ½ cup breadcrumbs
- ½ cup panko breadcrumbs
- 1 teaspoon onion powder
- 1 teaspoon Old Bay seasoning
- 1 teaspoon garlic salt
- 1.25 pounds cod fish filets 20 ounces or 567g
- 8 slider buns
- oil for frying such as vegetable or canola
For Serving
- 2-4 slices cheese of your choice
- coleslaw
- tartar sauce
- Optional: Lettuce, Tomato, Onion, Pickles
Things You’ll Need
-
Deep fryer (optional, see notes for skillet method)
-
Breading trays (or shallow dishes)
-
Instant-read thermometer
Before You Begin
- We used fresh cod filets from the seafood counter, which are ideal for their mild flavor and flaky texture. If using frozen fish, ensure it’s completely thawed and thoroughly patted dry with paper towels to prevent sogginess.
- You can substitute cod with any other hearty white fish like haddock, tilapia, pollock, halibut, or catfish for equally delicious results.
- For cheese, American or cheddar slices are excellent choices. Cut them into smaller pieces if needed and place them on the hot fish patties immediately after frying to achieve a perfect melt.
- An instant-read thermometer is your best friend for perfectly cooked fish. Insert it into the thickest part of the fish, aiming for an internal temperature of 145°F (63°C) for optimal doneness and safety.
- Ensure your oil is at 375°F (190°C) before frying and avoid overcrowding the cooking vessel to maintain oil temperature and ensure crispy breading. Cook in batches if necessary.
Instructions
-
Set up your first breading tray with the flour.1/2 cup all purpose flour
-
In the second breading tray, whisk the egg and water together to create an egg wash.1 large egg, 2 Tablespoons water
-
In the third breading tray, combine both types of breadcrumbs, onion powder, Old Bay seasoning, and garlic salt. Mix well.1/2 cup breadcrumbs, 1/2 cup panko breadcrumbs, 1 teaspoon onion powder, 1 teaspoon Old Bay seasoning, 1 teaspoon garlic salt
-
Cut the cod filets into square or rectangular pieces suitable for slider buns. For 4 average filets, this typically means cutting each in half to yield 8 pieces.1.25 pounds cod fish filets
-
Dredge each fish filet in the flour, ensuring both sides are fully coated. Gently shake off any excess flour.
-
Next, place the floured filets into the egg wash, turning to coat both sides completely. Allow any excess egg wash to drip off.
-
Finally, transfer the egg-coated filets into the seasoned bread crumb mixture. Gently press the breadcrumbs onto both sides to ensure good adhesion. Place breaded filets on a baking sheet and repeat for all remaining fish.
-
Allow the breaded filets to rest for 10-15 minutes while you preheat your deep fryer or deep-sided skillet. Add enough oil for frying (such as vegetable or canola) to your chosen cooking vessel and preheat to 375°F (190°C).oil for frying
-
When the oil is ready, carefully place 2-3 filets into the fryer basket or skillet. Avoid overcrowding to maintain oil temperature and ensure even cooking.
-
Carefully lower the basket into the hot oil (or flip half-way if pan-frying). Cook for approximately 5 minutes, gently shaking the basket occasionally to prevent sticking, until the fish reaches an internal temperature of 145°F (63°C) and is golden brown and crispy.
-
Once cooked, remove the filets and place them on a plate lined with paper towels to drain excess oil. Continue cooking the remaining filets in batches.
-
Assemble your crispy fish sliders immediately. Serve them on slider buns with your choice of cheese (allow it to melt on the hot fish) and other preferred toppings like coleslaw, tartar sauce, lettuce, tomato, or pickles. Enjoy warm!8 slider buns
Expert Tips & FAQs
- If you don’t have a deep fryer, a deep-sided skillet is a great alternative. Just ensure there’s enough oil to go at least halfway up the sides of the filets, and remember to turn them to cook both sides evenly.
- To store leftovers effectively, separate the cooked fish patties from the buns and wet toppings. Store the fish in an airtight container in the refrigerator for up to 2-3 days. Assembled sliders may become soggy if stored for more than a day.
- For reheating, an air fryer or oven preheated to 375°F (190°C) for about 8-12 minutes is best. This method helps restore the fish patties’ crispiness.
- Always pat your fish filets thoroughly dry before breading; excess moisture leads to soggy breading.
- Let the breaded fish rest for 10-15 minutes before frying. This “resting” period helps the breading adhere better, preventing it from falling off during cooking.
- Don’t overcrowd the fryer or skillet. Frying in batches ensures the oil temperature remains consistent, leading to a crispier, less greasy product.
- Feel free to customize the breading spices. A pinch of paprika or cayenne pepper can add a delicious twist.
Nutrition
The recipes on this blog are tested with a conventional gas oven and gas stovetop. It’s important to note that some ovens, especially as they age, can cook and bake inconsistently. Using an inexpensive oven thermometer can assure you that your oven is truly heating to the proper temperature. If you use a toaster oven or countertop oven, please keep in mind that they may not distribute heat the same as a conventional full sized oven and you may need to adjust your cooking/baking times. In the case of recipes made with a pressure cooker, air fryer, slow cooker, or other appliance, a link to the appliances we use is listed within each respective recipe. For baking recipes where measurements are given by weight, please note that results may not be the same if cups are used instead, and we can’t guarantee success with that method.
