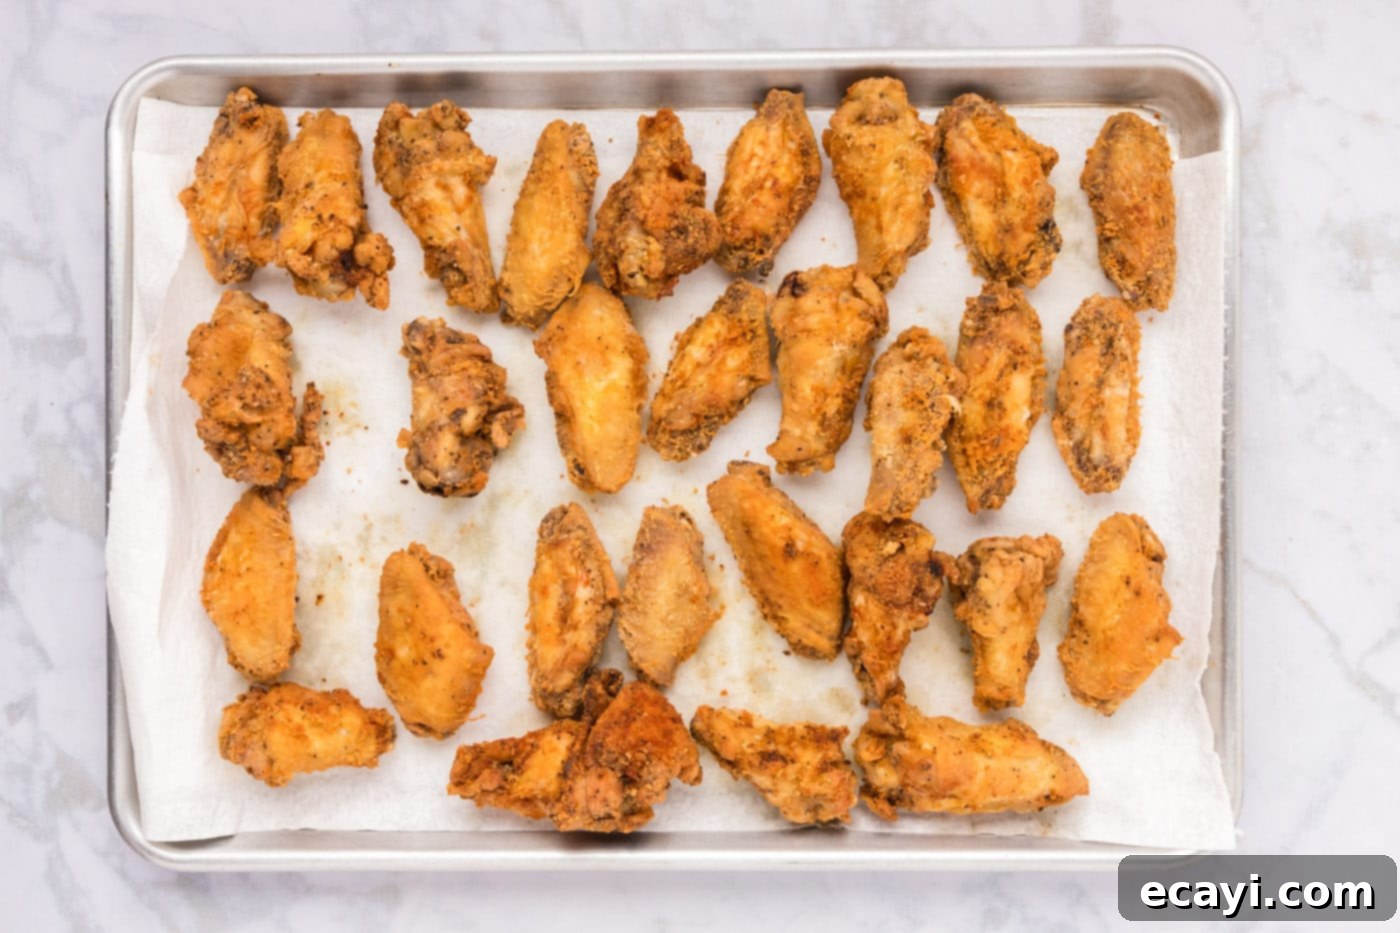
Crispy Fried Chicken Wings: Your Ultimate Guide to Perfectly Golden, Juicy Homemade Wings
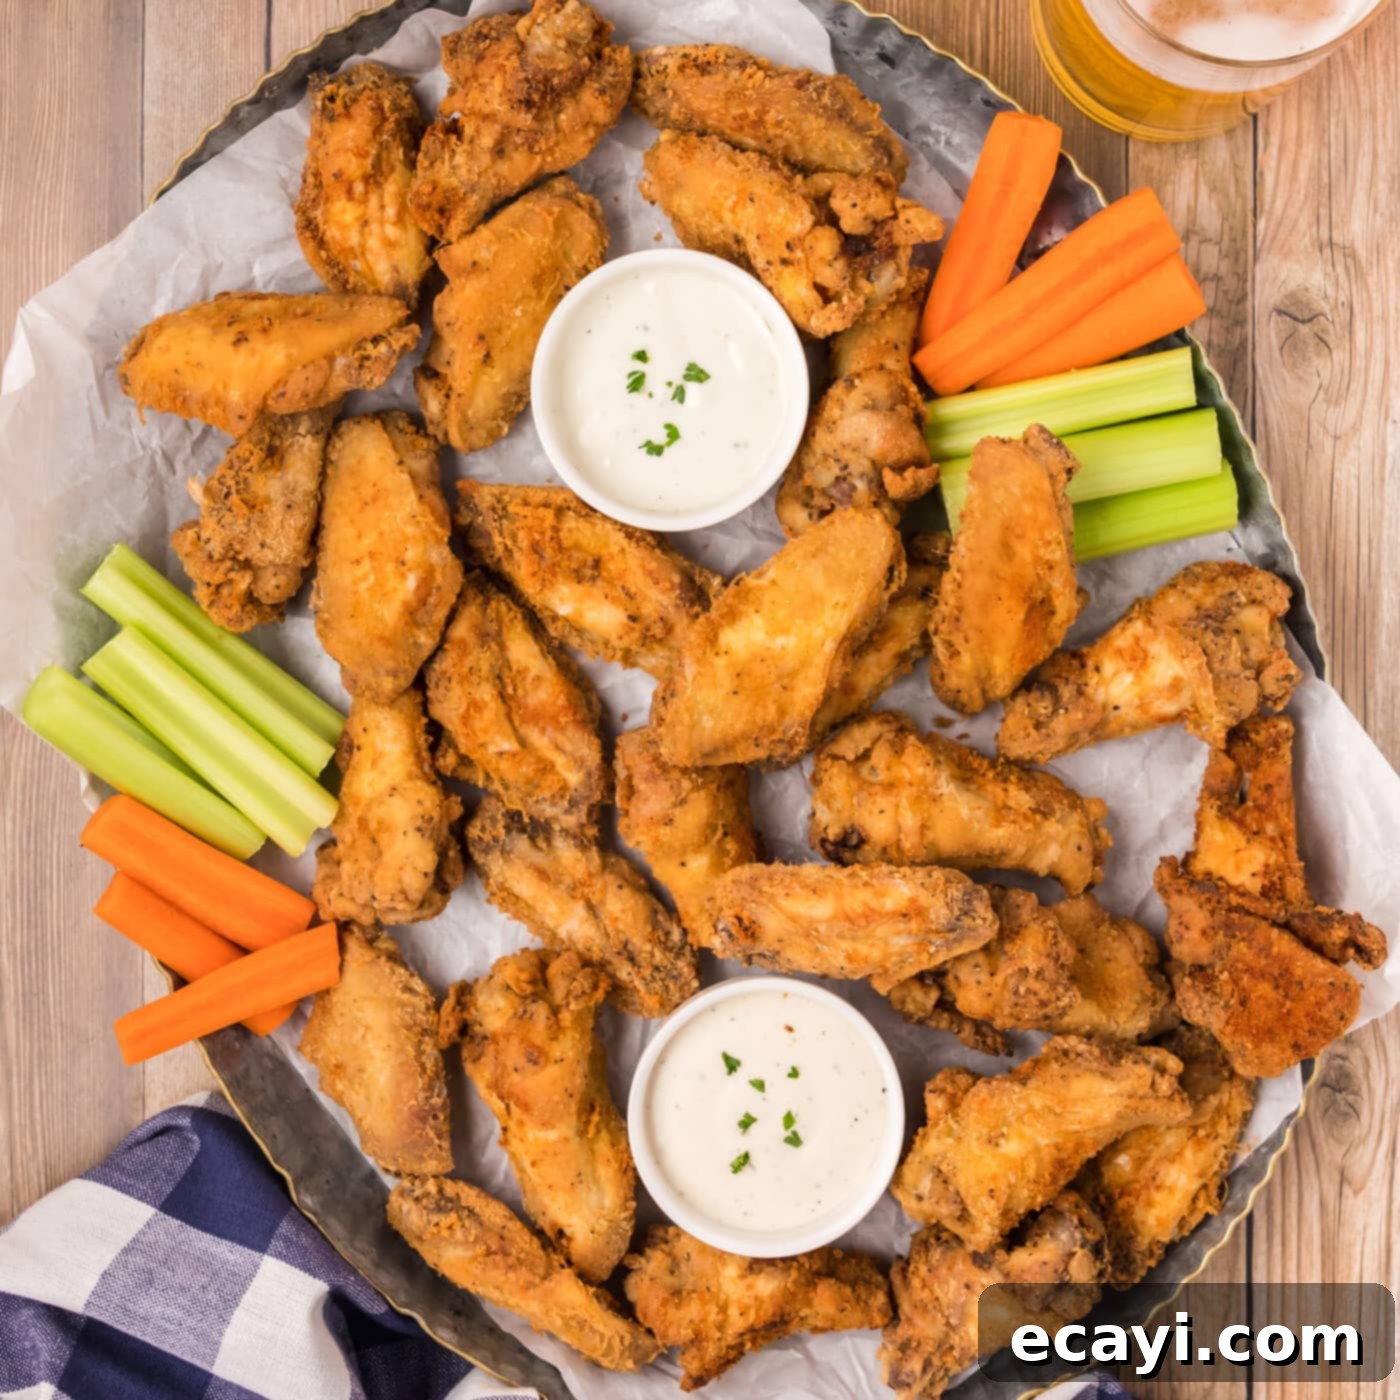
Prepare to delight your taste buds with this incredibly easy recipe for fried chicken wings, promising an irresistible combination of crispy, golden-brown skin and a tender, juicy interior. The best part? You can whip up these delectable wings on your stovetop in under 30 minutes, making them perfect for a quick appetizer, game day snack, or a satisfying weeknight dinner. Forget soggy wings; this method guarantees a restaurant-quality crunch every single time, turning ordinary chicken wings into extraordinary culinary magic.
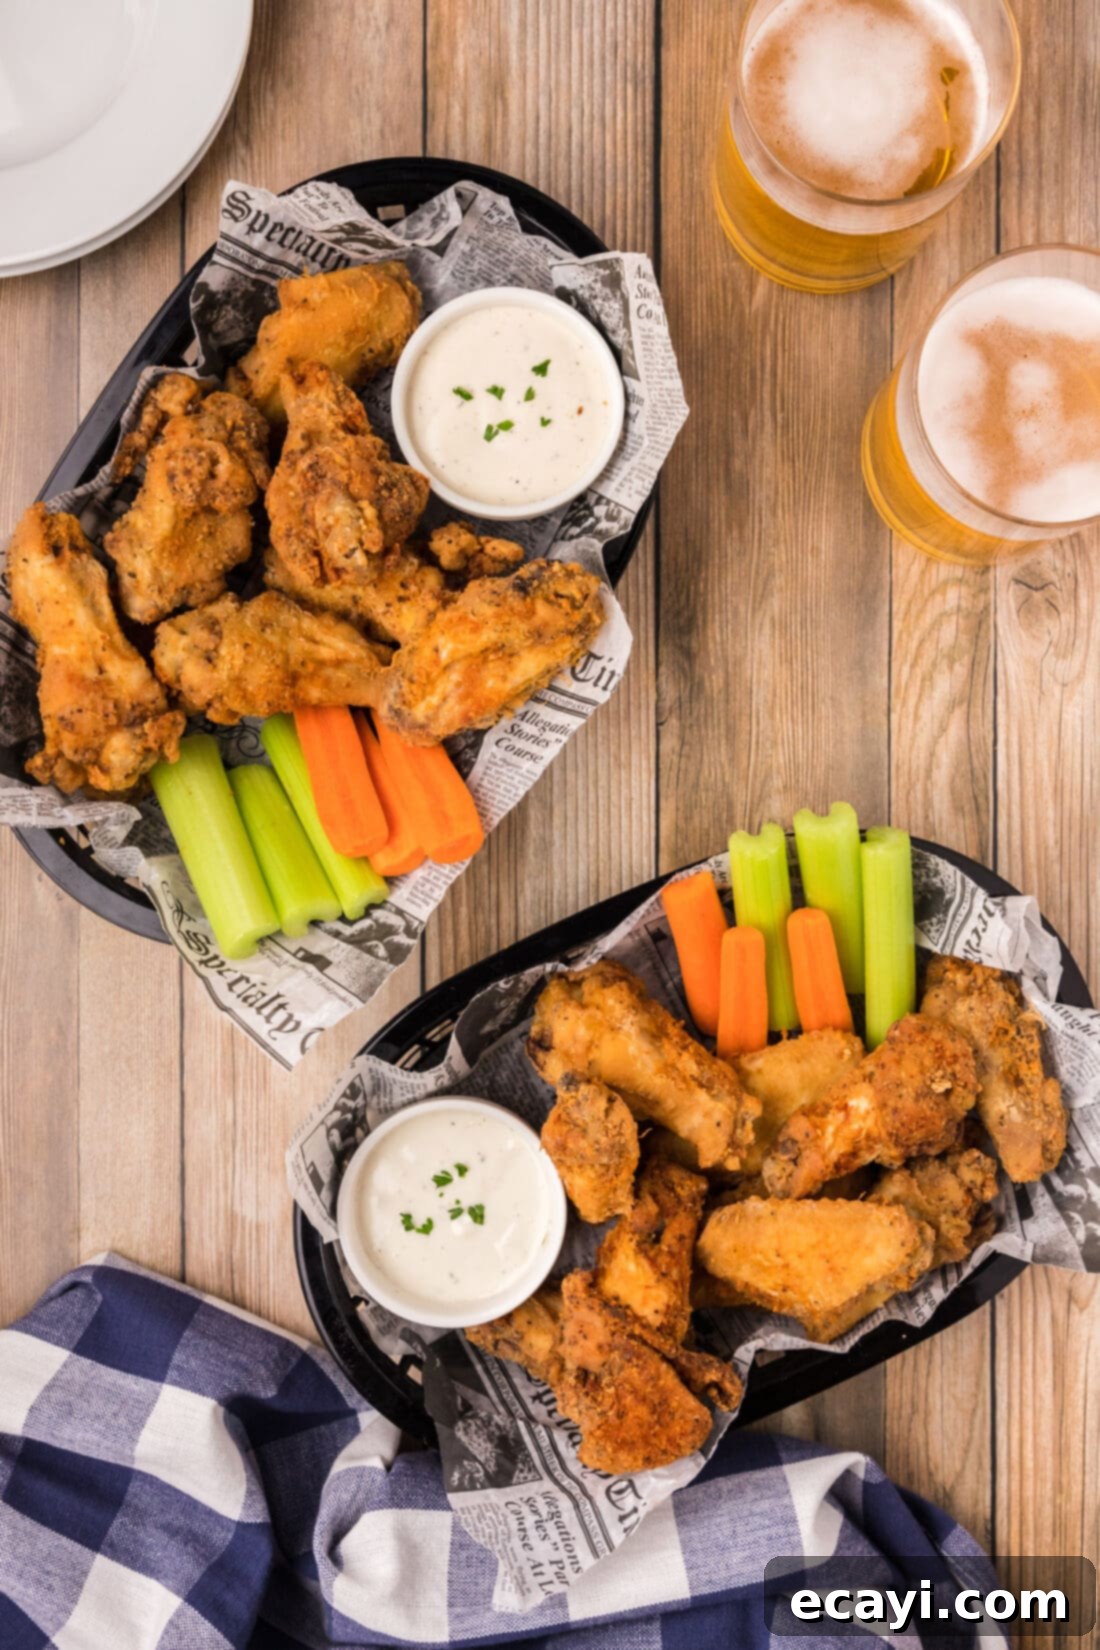
Why This Easy Skillet Fried Chicken Wing Recipe Works Wonders
While we cherish the simplicity and health benefits of baked chicken wings for an oil-free experience, there’s truly nothing that rivals the profound crunch and rich flavor of a perfectly fried chicken wing. This recipe focuses on delivering that unparalleled textural delight. The secret lies in our carefully crafted flour coating, which acts as a protective shield, sealing in the chicken’s natural moisture while developing an ultra-crisp, golden crust on the exterior. The result is a burst of flavor and a satisfying snap with every bite – finger-licking is not just guaranteed, it’s practically a requirement!
One of the standout features of this recipe is its accessibility. You won’t need specialized, bulky deep fryers that take up precious kitchen space and require large quantities of oil. A standard large skillet or a Dutch oven will perform the task beautifully, making deep frying a simple and manageable affair for any home cook. We start by expertly seasoning the raw chicken wings, infusing them with savory flavors. Next, they take a quick toss in a zip-top bag with our seasoned flour mixture, ensuring every crevice is thoroughly coated for maximum crispness. Finally, a golden bath in hot oil transforms them into crispy perfection, cooked through and through in mere minutes. This straightforward approach allows you to achieve impressive results – an easy, delicious appetizer or main course – all ready to enjoy in less than half an hour. It’s the ideal method for achieving classic fried chicken taste with minimal fuss.
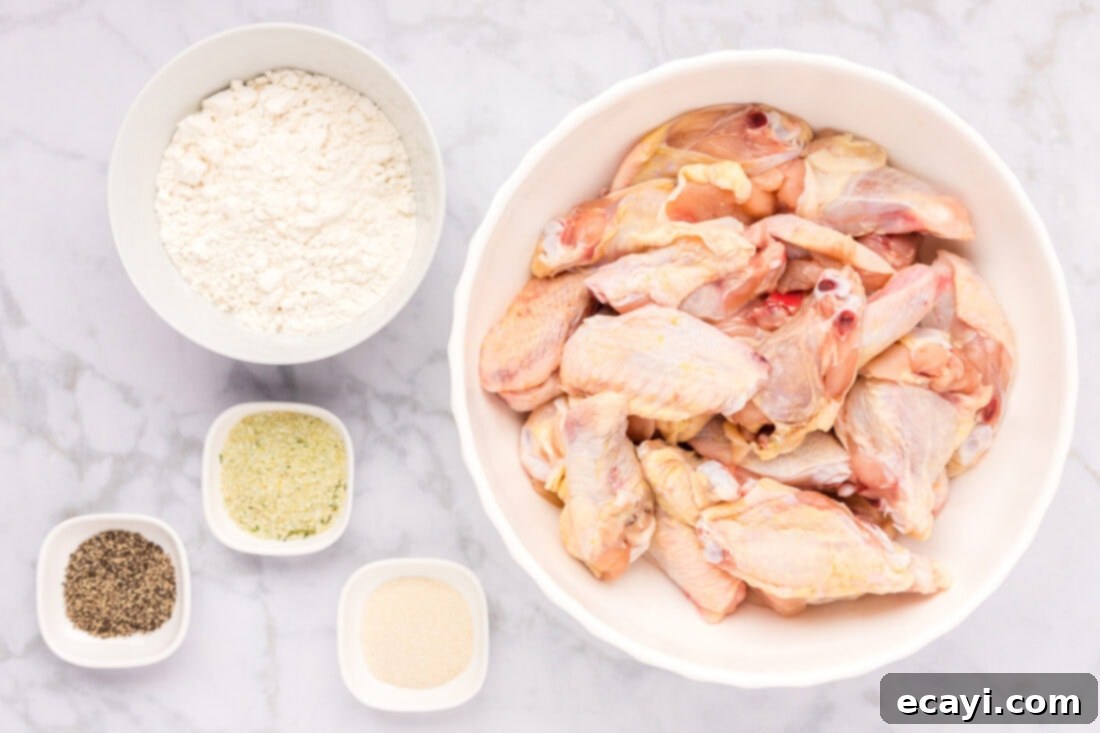
Essential Ingredients You Will Need for Crispy Wings
To ensure you have everything on hand for these mouthwatering fried chicken wings, gather the following ingredients. You’ll find all precise measurements and detailed instructions in the printable recipe card located at the very end of this post. Having your ingredients prepped and ready (mise en place) will make the cooking process even smoother and more enjoyable.
Ingredient Info and Expert Substitution Suggestions
Understanding your ingredients is key to culinary success. Here’s a deeper dive into what you’ll need and how you can make smart substitutions:
- CHICKEN WINGS – We typically use whole chicken wings, which consist of the drumette, flat (wingette), and the tip. You can opt for pre-cut “party wings” which have the tips removed and are separated into drumettes and flats, saving you prep time. The cooking time will naturally vary based on the size and thickness of your wings. Larger, meatier pieces will require a few additional minutes in the hot oil to ensure they are thoroughly cooked to a safe internal temperature. Always pat your chicken wings *very* dry with paper towels before seasoning. This crucial step removes surface moisture, which is the enemy of crispy skin. Excess moisture creates steam, preventing the crust from becoming truly golden and crisp.
- ALL-PURPOSE FLOUR – This forms the foundation of our crispy coating. Standard all-purpose flour works perfectly, creating a light yet sturdy crust. For an extra layer of crispiness, you can experiment by adding a tablespoon or two of cornstarch or potato starch to your flour mixture. This helps absorb more moisture and creates a delicate, crunchy texture. Gluten-free flour blends designed for frying can also be used as a substitute, but ensure they are suitable for high-heat cooking.
- GARLIC SALT, ONION POWDER, BLACK PEPPER – This classic trio forms the backbone of our savory seasoning, enhancing the chicken’s natural flavor without overpowering it. The garlic salt provides both saltiness and a pungent garlic aroma, while onion powder adds a subtle sweetness and depth. Black pepper contributes a touch of warmth and spice. Feel free to adjust the ratios to your personal preference. For an extra kick, consider adding a pinch of cayenne pepper or a dash of smoked paprika for a smoky undertone and beautiful color. White pepper can also be used for a slightly different, more subtle spice profile.
- VEGETABLE OIL – The choice of oil is critical for successful frying. Vegetable oil is a great all-rounder, known for its neutral flavor and high smoke point, making it ideal for deep frying. Other excellent choices include canola oil, peanut oil (if no allergies are a concern), or sunflower oil. Avoid olive oil or butter, as they have lower smoke points and will burn at the temperatures required for frying chicken, imparting an unpleasant flavor. You’ll need enough oil to ensure the wings are adequately submerged, typically about 1 inch deep in your skillet.
Step-by-Step Guide: How to Make Irresistibly Crispy Fried Chicken Wings
These step-by-step photos and detailed instructions are designed to help you visualize each stage of making this delicious recipe. For a convenient, printable version complete with all measurements and full instructions, simply Jump to Recipe at the bottom of this page.
- Before you begin frying, set up your drying station: Place a wire rack directly onto a large baking sheet. This setup will be essential for draining excess oil from your cooked wings, ensuring they remain perfectly crisp.
- Prepare the Chicken: Thoroughly pat the chicken wings dry on all sides using paper towels. This step is paramount for achieving crispy skin, as removing surface moisture prevents steaming in the hot oil.
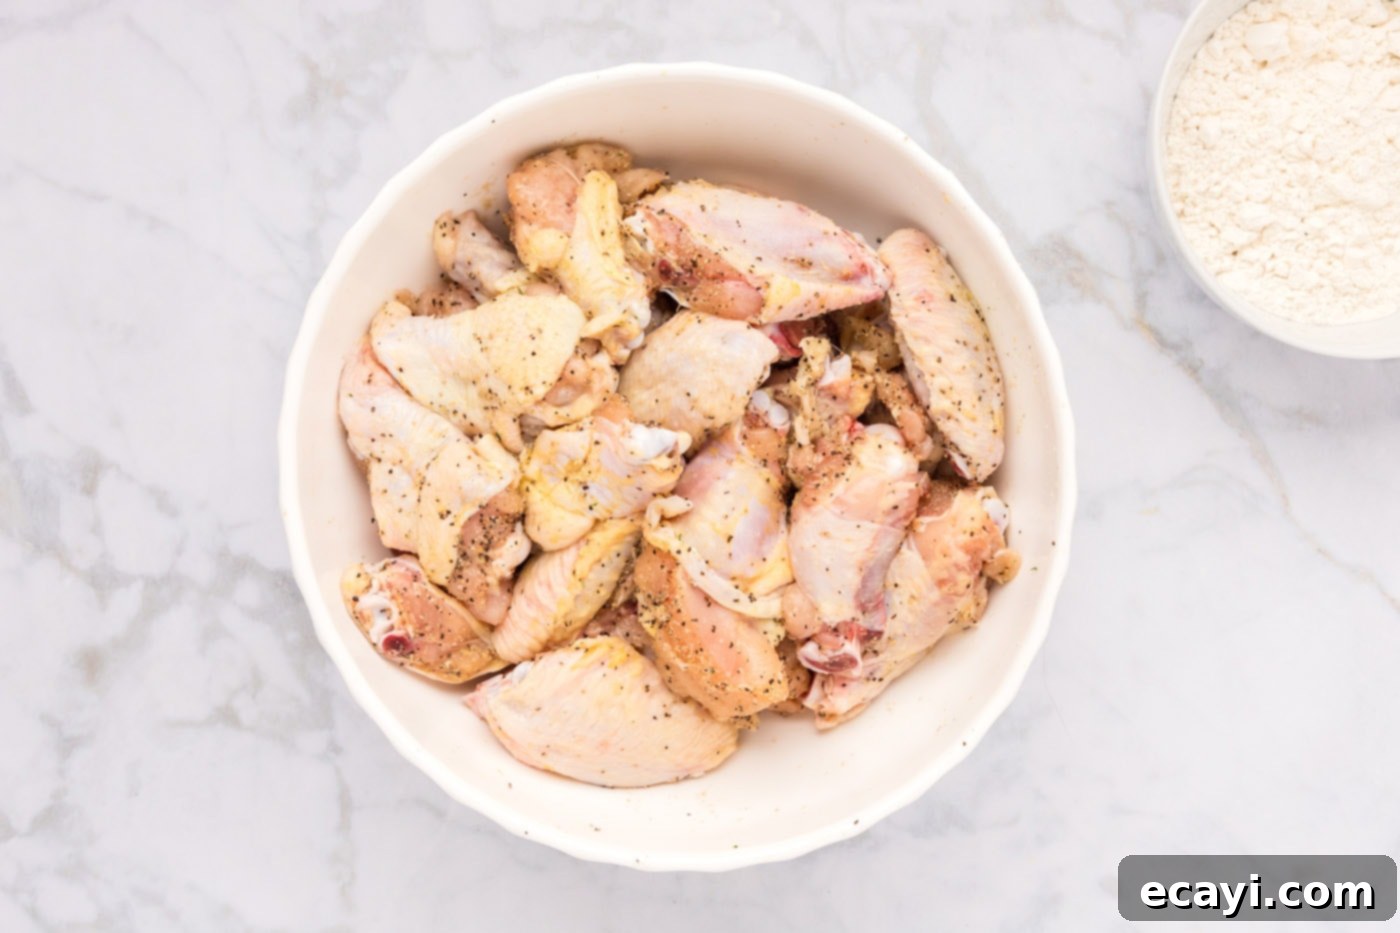
- Season the Chicken: In a large bowl, season the dry chicken wings generously with black pepper, onion powder, and precisely 1/2 of the garlic salt. Use your hands to thoroughly rub the spices into the chicken, ensuring an even coating on every wing for maximum flavor penetration.

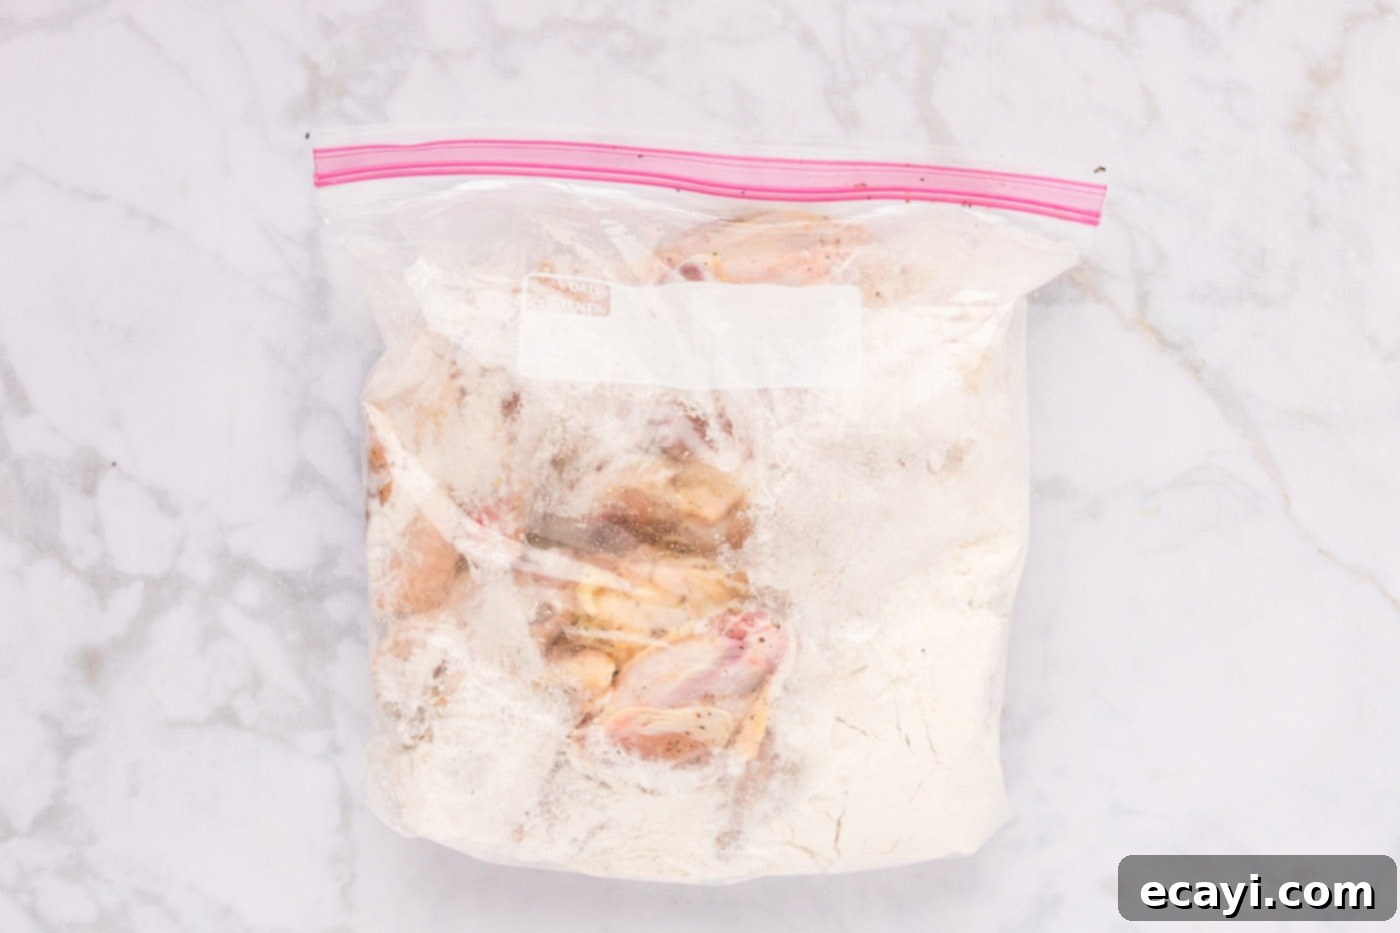
- Prepare the Flour Mixture: Add the remaining garlic salt along with the all-purpose flour to a gallon-sized zip-top plastic bag. Shake the bag gently to combine the ingredients evenly.
- Coat the Wings: Add the seasoned chicken wings to the bag with the flour mixture. Seal the bag securely, ensuring there’s some air inside for effective tossing. Shake vigorously until all the chicken wings are completely and evenly coated in the flour mixture. This method ensures a consistent, light breading. If you prefer, you can also toss them in a large bowl.

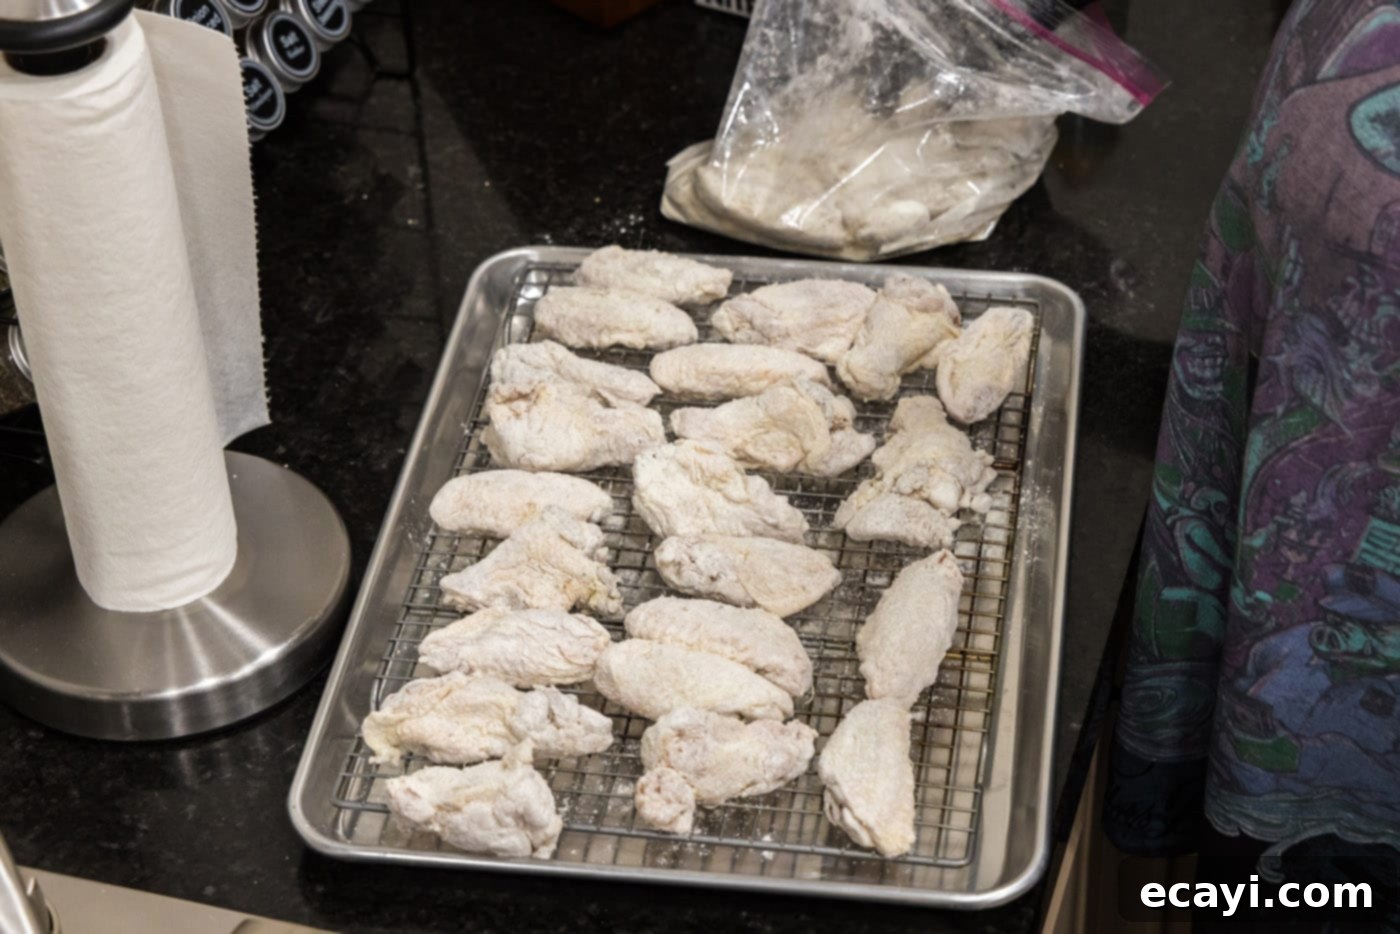
- Rest the Coated Wings: Remove the floured wings from the bag and place them in a single layer on your prepared wire rack. Allow them to rest for 5-10 minutes. This short resting period allows the flour coating to adhere better to the chicken, preventing it from falling off during frying and ensuring an even crisp.

- Heat the Oil: Pour enough vegetable oil into a large, heavy-bottomed skillet (or Dutch oven) to reach about an inch up the sides. Place the skillet over medium-high heat. Allow the oil to heat gradually until it shimmers and reaches the ideal frying temperature of 350-375°F (175-190°C). If you have a thermometer, this is the best way to ensure accuracy.
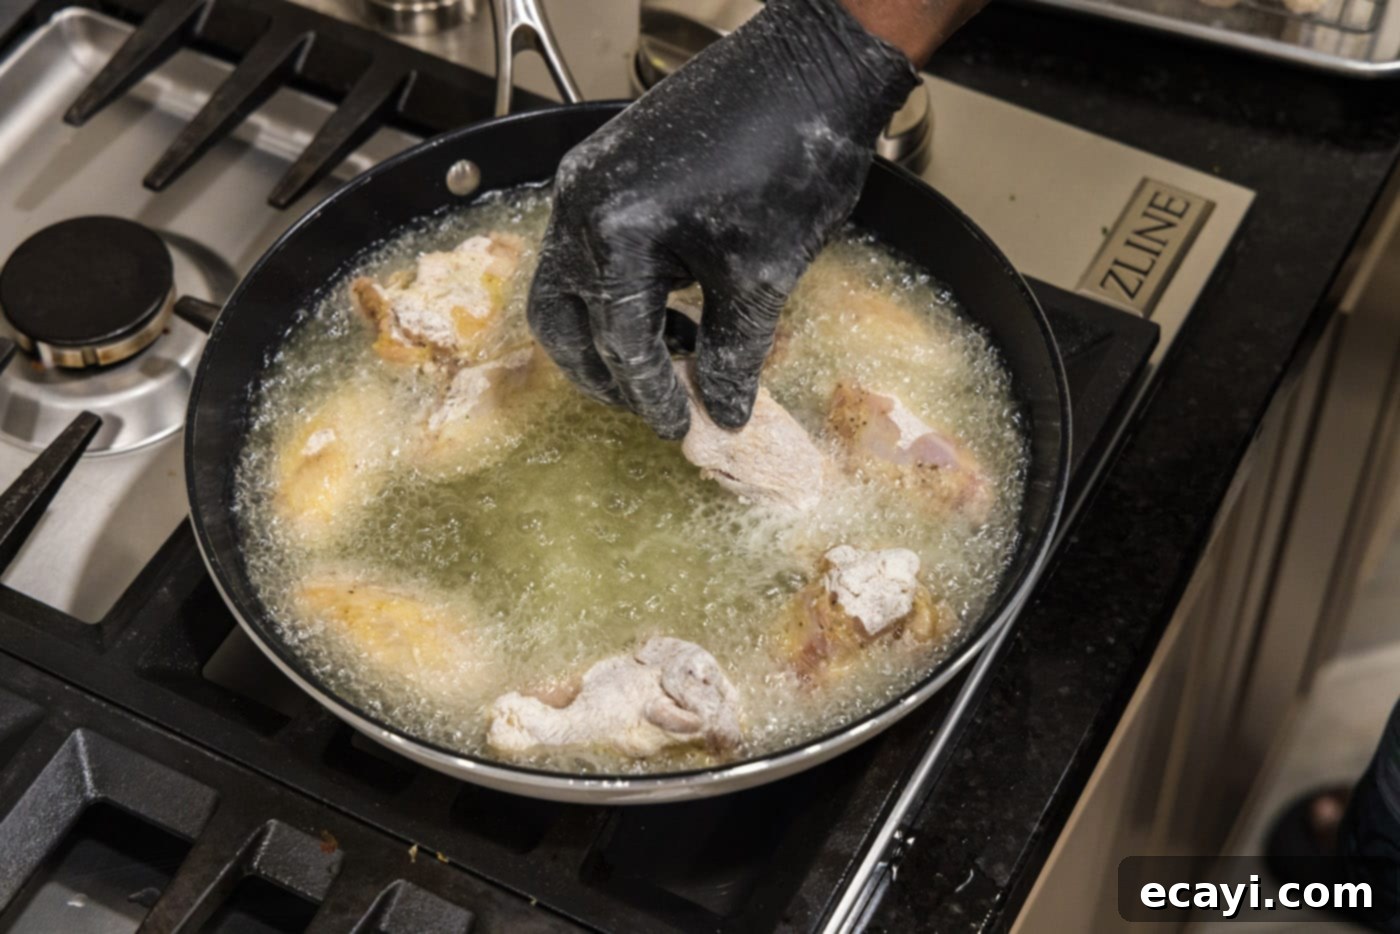
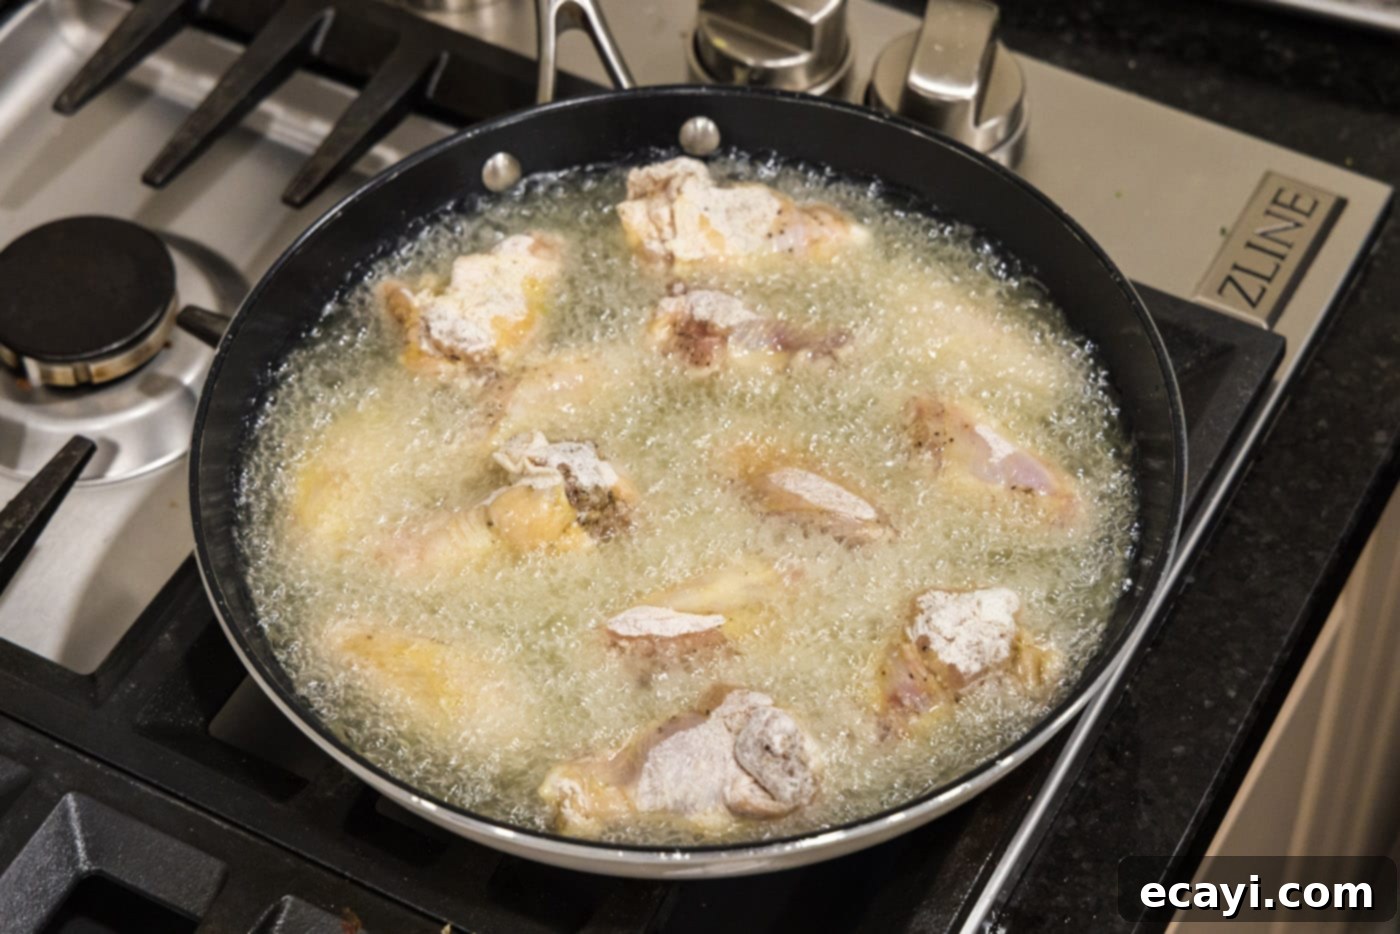
- Fry the Wings in Batches: Carefully add the floured chicken wings one by one to the hot oil, ensuring not to overcrowd the skillet. Overcrowding will drastically lower the oil’s temperature, leading to greasy, soggy wings rather than crisp ones. Work in batches to maintain a consistent oil temperature and achieve optimal crispiness for each wing.


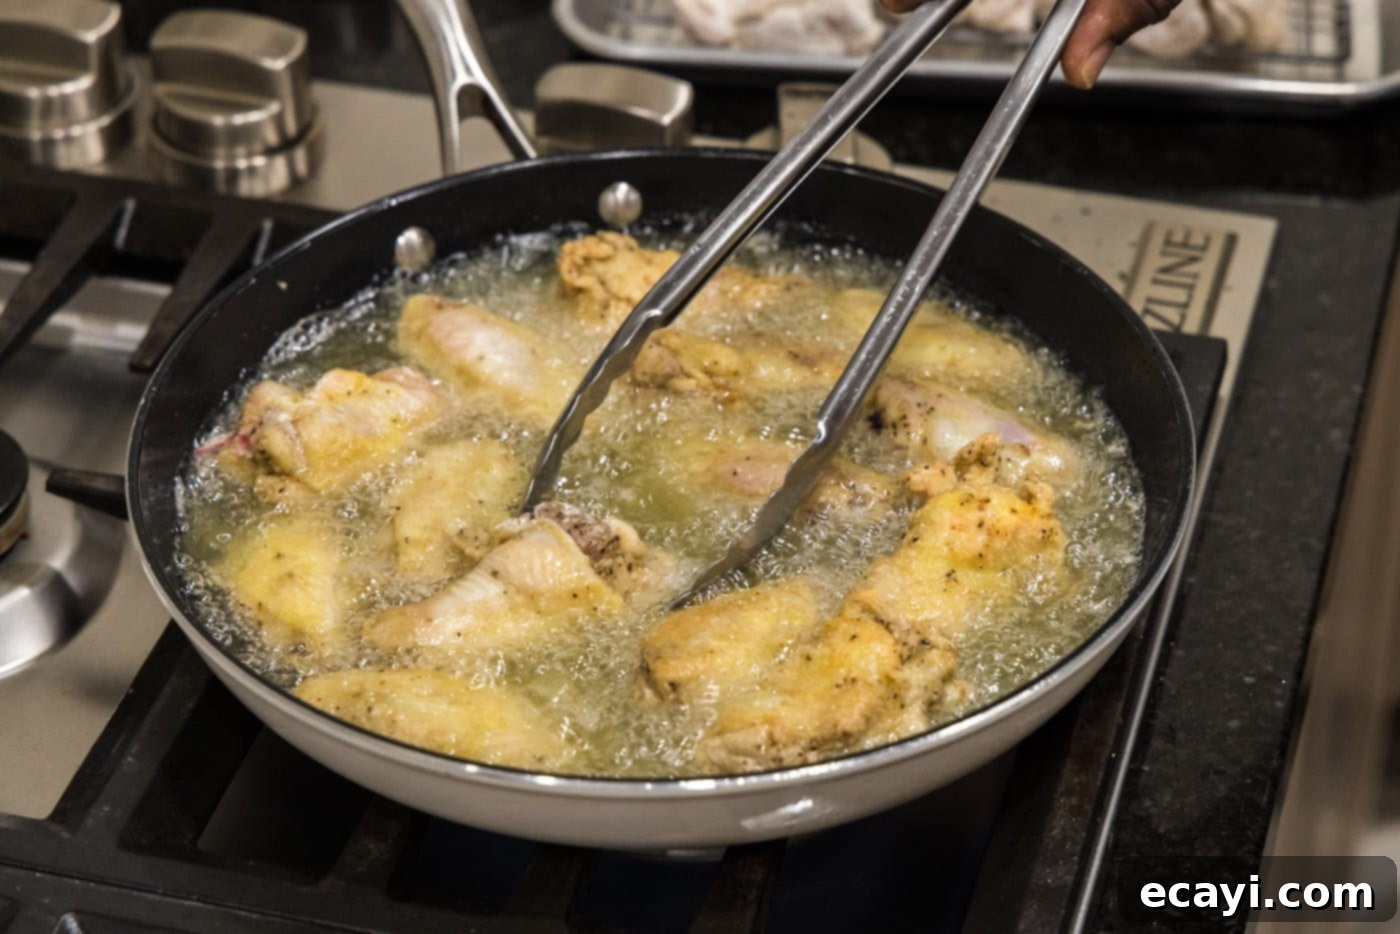
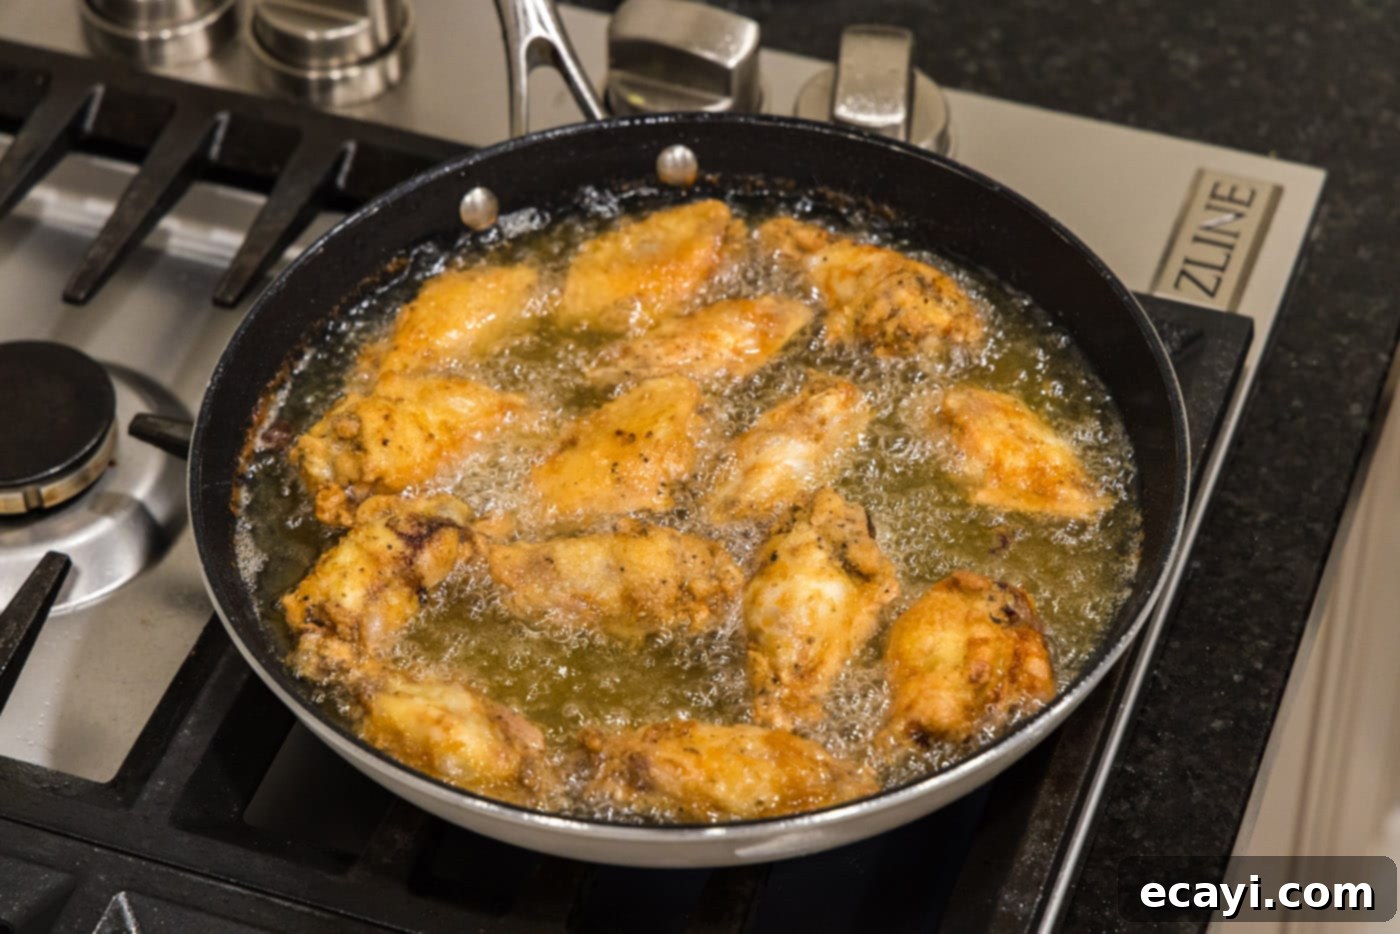
- Cook to Golden Perfection: Cook the wings undisturbed for the first 3-4 minutes to allow a crust to form. Then, carefully turn the chicken over using tongs. Continue cooking, turning 1-2 more times, until the wings are deep golden brown, beautifully crispy, and cooked throughout. This process typically takes about 10-12 minutes in total, depending on the size of your wings and the oil temperature. Maintain the oil temperature as consistently as possible.


- Prepare for Draining: While the chicken is frying, line your wire rack (from step 1) with several layers of paper towels. This will absorb excess oil and help keep the wings crisp.
- Drain and Serve: Once cooked, carefully remove the chicken wings from the hot oil using tongs and transfer them to the paper towel-lined wire rack. Allow them to drain for a few minutes before serving. This step is essential for reducing greasiness and ensuring the exterior remains delightfully crunchy. Serve hot and enjoy immediately!

Frequently Asked Questions & Expert Tips for Perfect Fried Wings
Chicken is safely cooked and ready to consume when it reaches an internal temperature of 165°F (74°C). To accurately measure this, insert an instant-read thermometer into the thickest portion of the meat, avoiding the bone. This ensures that the entire wing is cooked through, eliminating any guesswork and guaranteeing food safety.
For perfectly crispy and non-greasy fried chicken wings, you should aim to maintain an oil temperature between 350-375°F (175-190°C) throughout the entire cooking process. The most common mistake leading to soggy or greasy wings is overcrowding the skillet with too many chicken pieces. This dramatically lowers the oil’s temperature, causing the chicken to absorb more oil and become unpleasantly greasy. To combat this, always fry in small batches, ensuring there’s ample space between each wing. Using a candy or deep-fry thermometer clipped to the side of your pan is highly recommended. It allows you to constantly monitor and adjust the heat, ensuring the oil stays within the optimal range for crispy results every time. If the temperature drops too low, let it recover before adding more wings. If it gets too high, reduce the heat slightly.
Store any leftover fried chicken wings in an airtight container in the refrigerator for up to 3-4 days. For reheating, to revive that coveted crispiness, you have a couple of excellent options.
- Oven Method: Preheat your oven to 350°F (175°C). Arrange the chicken wings in a single layer on a baking sheet. Bake for 10-15 minutes, or until they are warmed through and the skin has re-crisped to your liking.
- Air Fryer Method: An air fryer is fantastic for reheating fried foods. Place the wings in a single layer in the air fryer basket (do not overcrowd). Reheat at 350-375°F (175-190°C) for 5-8 minutes, flipping halfway through, until they are hot and crispy once more. This method often yields results very close to freshly fried wings.
Avoid reheating in the microwave, as it tends to make the skin rubbery and the wings soggy.
While this recipe is specifically optimized for chicken wings, the seasoning and coating method can certainly be adapted for other small chicken pieces like drumsticks or boneless chicken thighs. Keep in mind that larger or thicker cuts will require significantly longer frying times to cook through to the safe internal temperature of 165°F (74°C). You may also need to adjust your oil depth to accommodate the larger pieces. Always use a meat thermometer to ensure proper doneness for any cut of chicken.
Several factors contribute to extra crispy wings:
- Pat Dry, Pat Dry, Pat Dry: We can’t stress this enough. Remove all surface moisture from the chicken.
- Double Frying: For next-level crispiness, consider a double-fry method. Fry the wings once at a slightly lower temperature (around 325°F/160°C) for about 8-10 minutes until cooked through but not fully golden. Remove, let them rest and cool for 5-10 minutes, then fry a second time at 375°F (190°C) for 2-4 minutes until deeply golden and shatteringly crisp.
- Starch in Coating: As mentioned, adding a tablespoon or two of cornstarch or potato starch to your flour mixture can significantly boost crispiness.
- Don’t Overcrowd: Maintaining high oil temperature is crucial. Frying in batches ensures the oil stays hot enough to create a crisp crust quickly.
- Drain Properly: Always drain on a wire rack, not directly on paper towels (though paper towels *under* the rack are fine). This allows air to circulate, preventing the bottom from getting soggy.
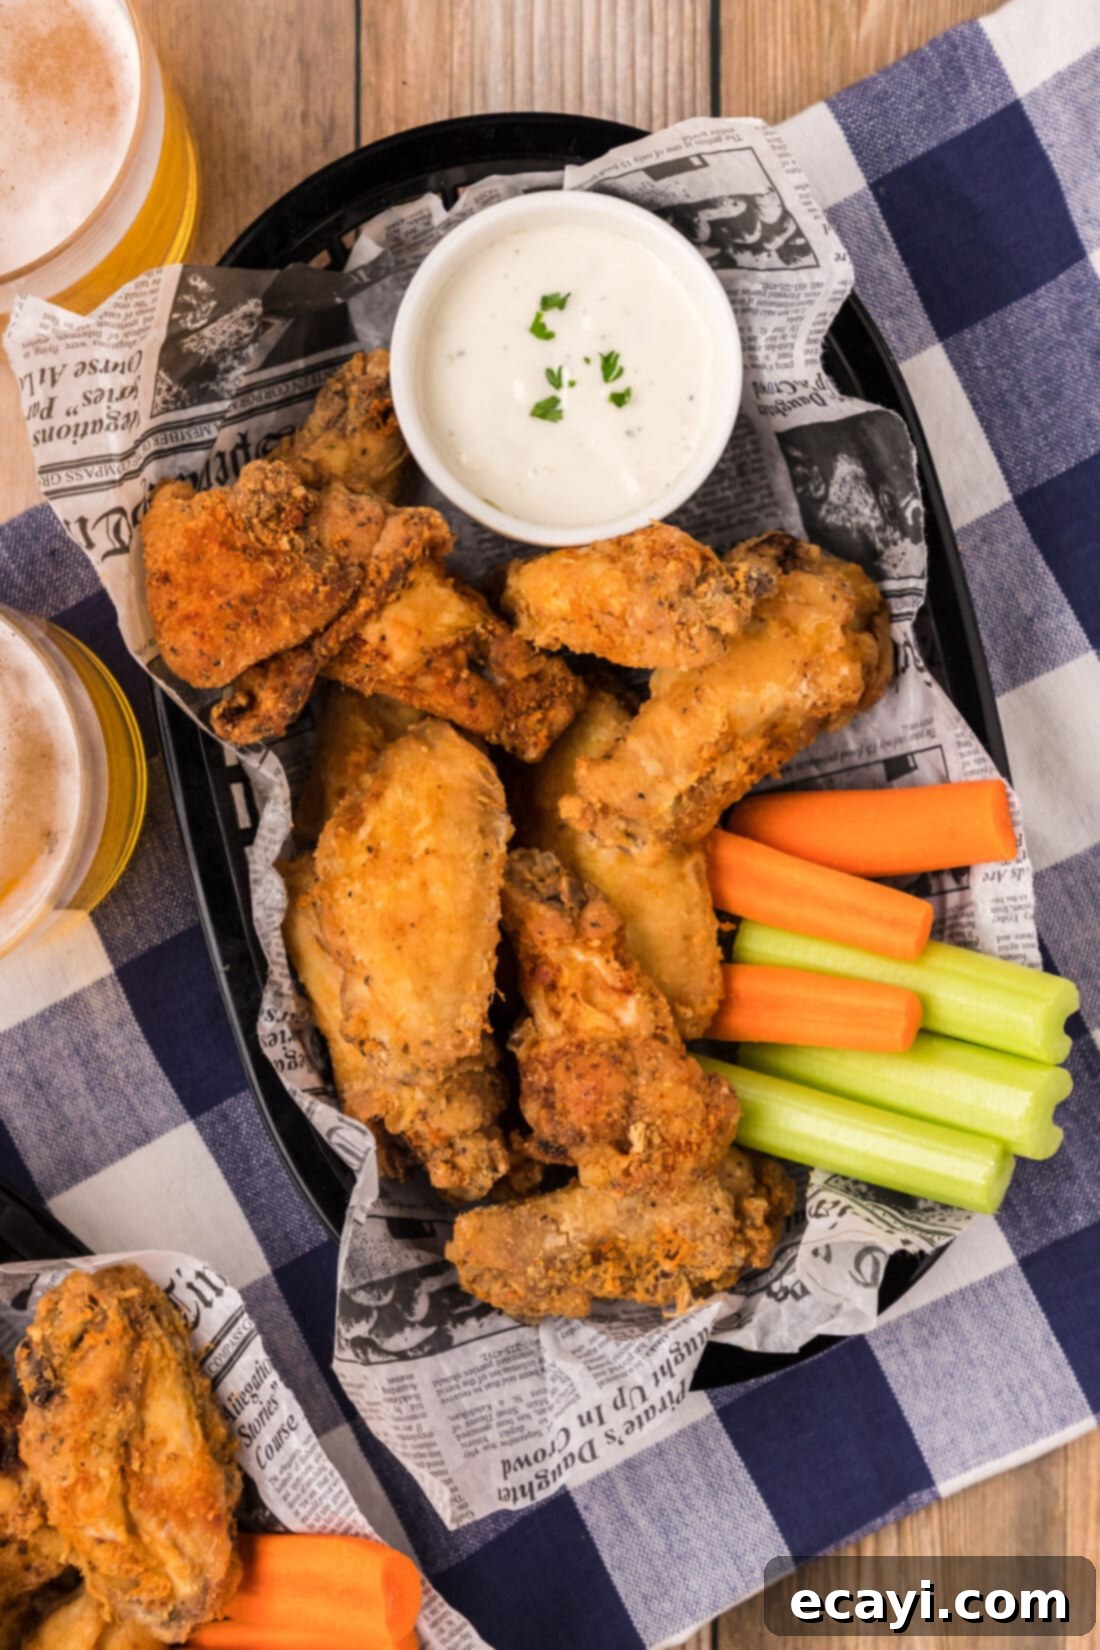
Delicious Serving Suggestions for Your Fried Chicken Wings
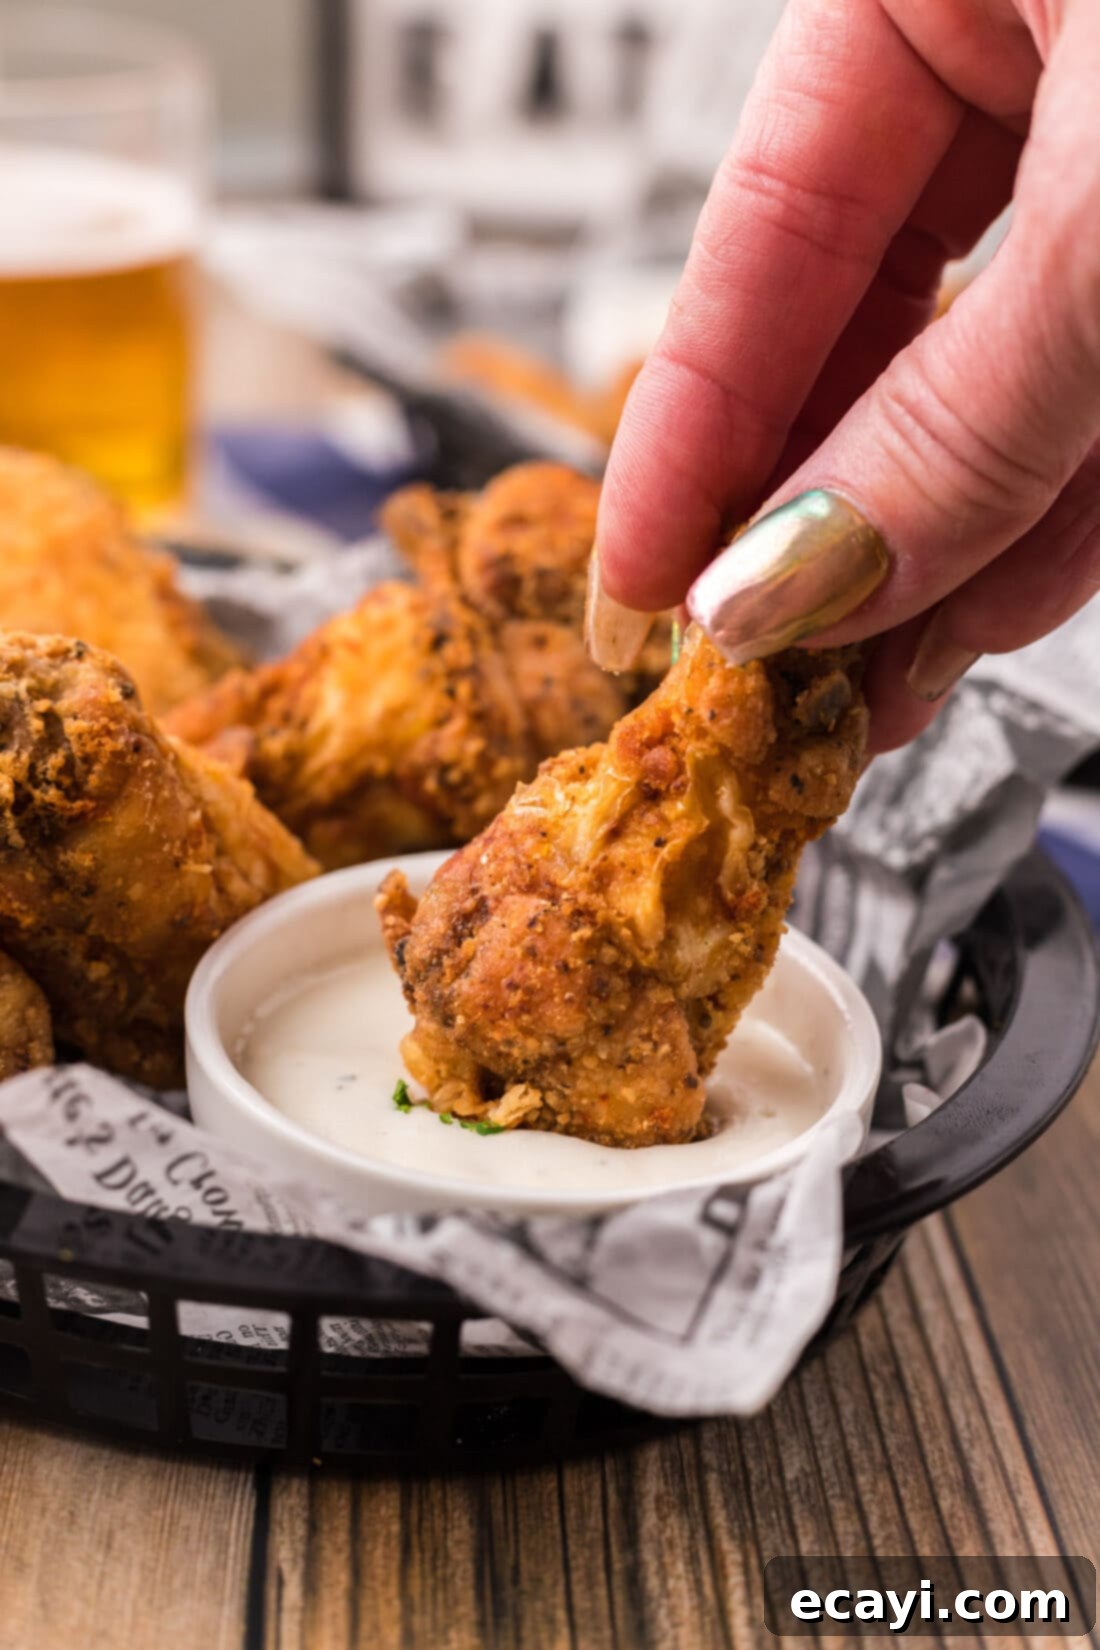
Once your fried chicken wings are golden and crisp, the real fun begins with how you choose to serve them! There are generally two camps of wing lovers: those who prefer them au natural, savoring the pure, unadorned flavor of the chicken and its crispy coating, and those who adore dipping, dunking, or tossing their wings in a flavorful sauce. No matter your preference, these wings are incredibly versatile.
For the dippers and sauce enthusiasts, the possibilities are endless. Classic choices include tangy BBQ sauce, sweet and savory teriyaki sauce, a rich garlic parmesan sauce, fiery buffalo sauce, or a simple yet potent hot sauce. Many also enjoy them with a cooling side of creamy bleu cheese dressing or a classic ranch dip to balance the richness. Beyond the sauces, consider pairing your crispy wings with a variety of sides to complete the meal. Crunchy french fries are a perennial favorite, while fresh carrot sticks and celery stalks offer a refreshing contrast and a welcome crunch. For a heartier meal, serve them alongside a crisp green salad, coleslaw, or even some fluffy mashed potatoes. And don’t forget a refreshing beverage to wash it all down. Enjoy every delicious bite!
Explore More Irresistible Fried Chicken Recipes
If you’ve fallen in love with these fried chicken wings and are eager to explore more crispy, juicy chicken creations, we’ve got you covered! Expand your culinary repertoire with these other fantastic fried chicken recipes:
- Nashville Hot Chicken – For those who crave a fiery kick and a crispy, spicy crust.
- Korean Fried Chicken – Experience the super-crispy, double-fried texture often coated in a sweet and spicy glaze.
- Air Fryer Chicken Wings – A healthier alternative that still delivers incredible crispiness with less oil.
- Crispy Baked Chicken Wings – Achieve satisfyingly crispy wings right from your oven, perfect for a lighter option.
- Garlic Parmesan Wings – A flavorful twist for garlic and cheese lovers, offering a savory and aromatic experience.
- Popcorn Chicken – Bite-sized, crispy chicken pieces that are perfect for snacking or as a fun meal.
I absolutely adore spending time in the kitchen, experimenting with new flavors, and perfecting classic dishes to share my culinary journey with all of you! Remembering to check back for fresh content every day can be a challenge, which is why I offer a convenient newsletter delivered straight to your inbox every time a new, delicious recipe posts. Simply subscribe here and start receiving your free daily recipes, ensuring you never miss out on your next favorite meal!

Classic Crispy Fried Chicken Wings
IMPORTANT – Don’t miss the Frequently Asked Questions and Expert Tips sections within the blog post above; they contain valuable advice for perfect results!
Print It
Pin It
Rate It
Save ItSaved!
Ingredients
- 4-5 pounds chicken wings (approximately 4.71 pounds for this recipe, separated into drumettes and flats if preferred)
- 1 Tablespoon garlic salt (divided for seasoning and flour mixture)
- 2 teaspoons black pepper
- 2 teaspoons onion powder
- 1 cup all-purpose flour
- vegetable oil (or canola, peanut, or sunflower oil, enough to fill skillet 1 inch deep)
Things You’ll Need
-
Baking sheet
-
Wire cooling rack
-
Large heavy bottomed skillet (or Dutch Oven)
-
Vinyl gloves (optional, for handling chicken)
-
Instant-read thermometer (for chicken)
-
Deep-fry thermometer (for oil, highly recommended)
Before You Begin: Key Tips for Success
- Chicken Size Matters: The frying time for your wings will be directly influenced by their size. Larger, meatier wings will naturally require a few additional minutes of cooking to ensure they are fully cooked through to a safe internal temperature. Always use a meat thermometer.
- Ensure Doneness: For food safety, chicken is perfectly cooked when it reaches an internal temperature of 165°F (74°C). Use an instant-read thermometer, inserting it into the thickest part of the meat (avoiding the bone) for an accurate reading.
- Avoid Overcrowding: It’s tempting to fry all your wings at once, but resist! Overcrowding the skillet will cause a significant drop in oil temperature. This leads to the chicken absorbing too much oil, resulting in greasy, less crispy wings. Always fry in batches.
- Maintain Optimal Oil Temperature: For the crispiest results, aim to keep your oil temperature between 350-375°F (175-190°C) throughout the entire frying process. A candy or deep-fry thermometer clipped to the side of your pan is your best tool for monitoring and maintaining this crucial temperature. If the temperature dips too low after adding a batch, allow it to rise again before adding more wings.
- Leftover Storage: Store any cooled leftover fried chicken wings in an airtight container in the refrigerator for up to 4 days.
- Reheating for Crispness: To reheat, avoid the microwave. For best results, preheat your oven to 350°F (175°C) and bake wings on a baking sheet for 10-15 minutes until warmed and re-crisped. Alternatively, use the reheat function on an air fryer (350-375°F for 5-8 minutes, flipping halfway) for excellent crisp results.
Instructions
-
Set up your draining station by placing a wire rack on a large baking sheet. This allows air to circulate, keeping wings crisp.
-
Thoroughly pat the chicken wings dry with paper towels to remove all surface moisture, which is essential for crispy skin.
-
Season the chicken wings evenly with black pepper, onion powder, and half of the garlic salt. Rub the spices into the meat.
-
In a gallon-sized zip-top plastic bag, combine the remaining garlic salt with the all-purpose flour. Shake to mix well.
-
Add the seasoned wings to the flour bag, seal, and shake vigorously until each wing is completely coated.
-
Transfer the floured wings to the wire rack and let them rest for 5-10 minutes. This helps the coating adhere.
-
Pour vegetable oil into a large skillet to about 1 inch deep. Heat over medium-high heat until the oil shimmers and reaches 350-375°F.
-
Carefully add chicken wings to the hot oil, ensuring not to overcrowd the skillet. Fry in batches for best results.
-
Cook undisturbed for 3-4 minutes, then turn. Continue cooking and turning 1-2 more times until deeply golden brown and cooked through (10-12 minutes total).
-
While wings are cooking, line the wire rack with paper towels.
-
Once cooked, remove wings to the paper towel-lined rack to drain excess oil before serving immediately.
Nutrition Information
The recipes on this blog are tested with a conventional gas oven and gas stovetop. It’s important to note that some ovens, especially as they age, can cook and bake inconsistently. Using an inexpensive oven thermometer can assure you that your oven is truly heating to the proper temperature. If you use a toaster oven or countertop oven, please keep in mind that they may not distribute heat the same as a conventional full sized oven and you may need to adjust your cooking/baking times. In the case of recipes made with a pressure cooker, air fryer, slow cooker, or other appliance, a link to the appliances we use is listed within each respective recipe. For baking recipes where measurements are given by weight, please note that results may not be the same if cups are used instead, and we can’t guarantee success with that method.
