Crispy Pan-Fried Whiting Fish: Your Ultimate Guide to a Perfect Fish Fry
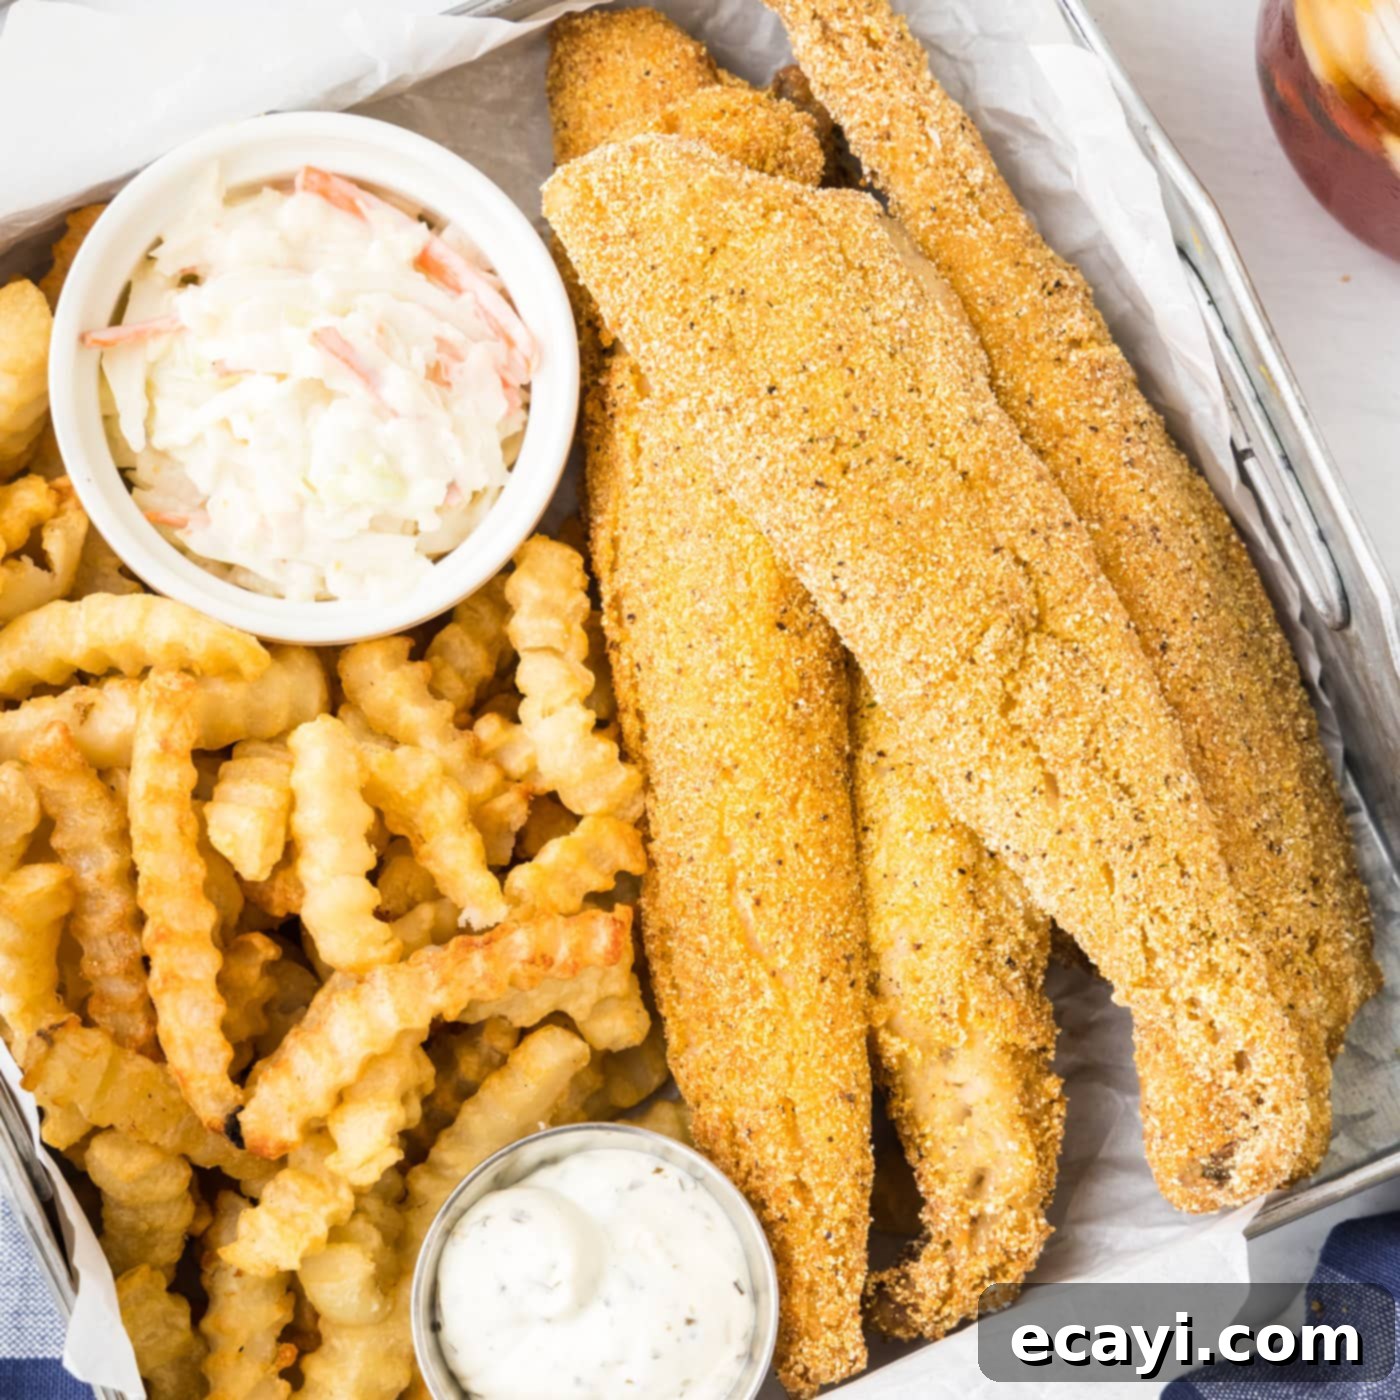
There’s nothing quite like the satisfying crunch of perfectly fried fish, and this pan-fried whiting fish recipe delivers exactly that! Each delicate filet is meticulously coated in a thoughtfully seasoned cornmeal mixture, then pan-fried to achieve a truly irresistible crispy, golden-brown exterior. The magic happens as the hot oil transforms the coating into a delightful crust, while locking in the natural moisture of the fish, resulting in a remarkably soft and tender interior. This classic approach ensures every bite offers that perfect balance of crunch and succulence, making it a beloved dish for family dinners and casual gatherings alike.
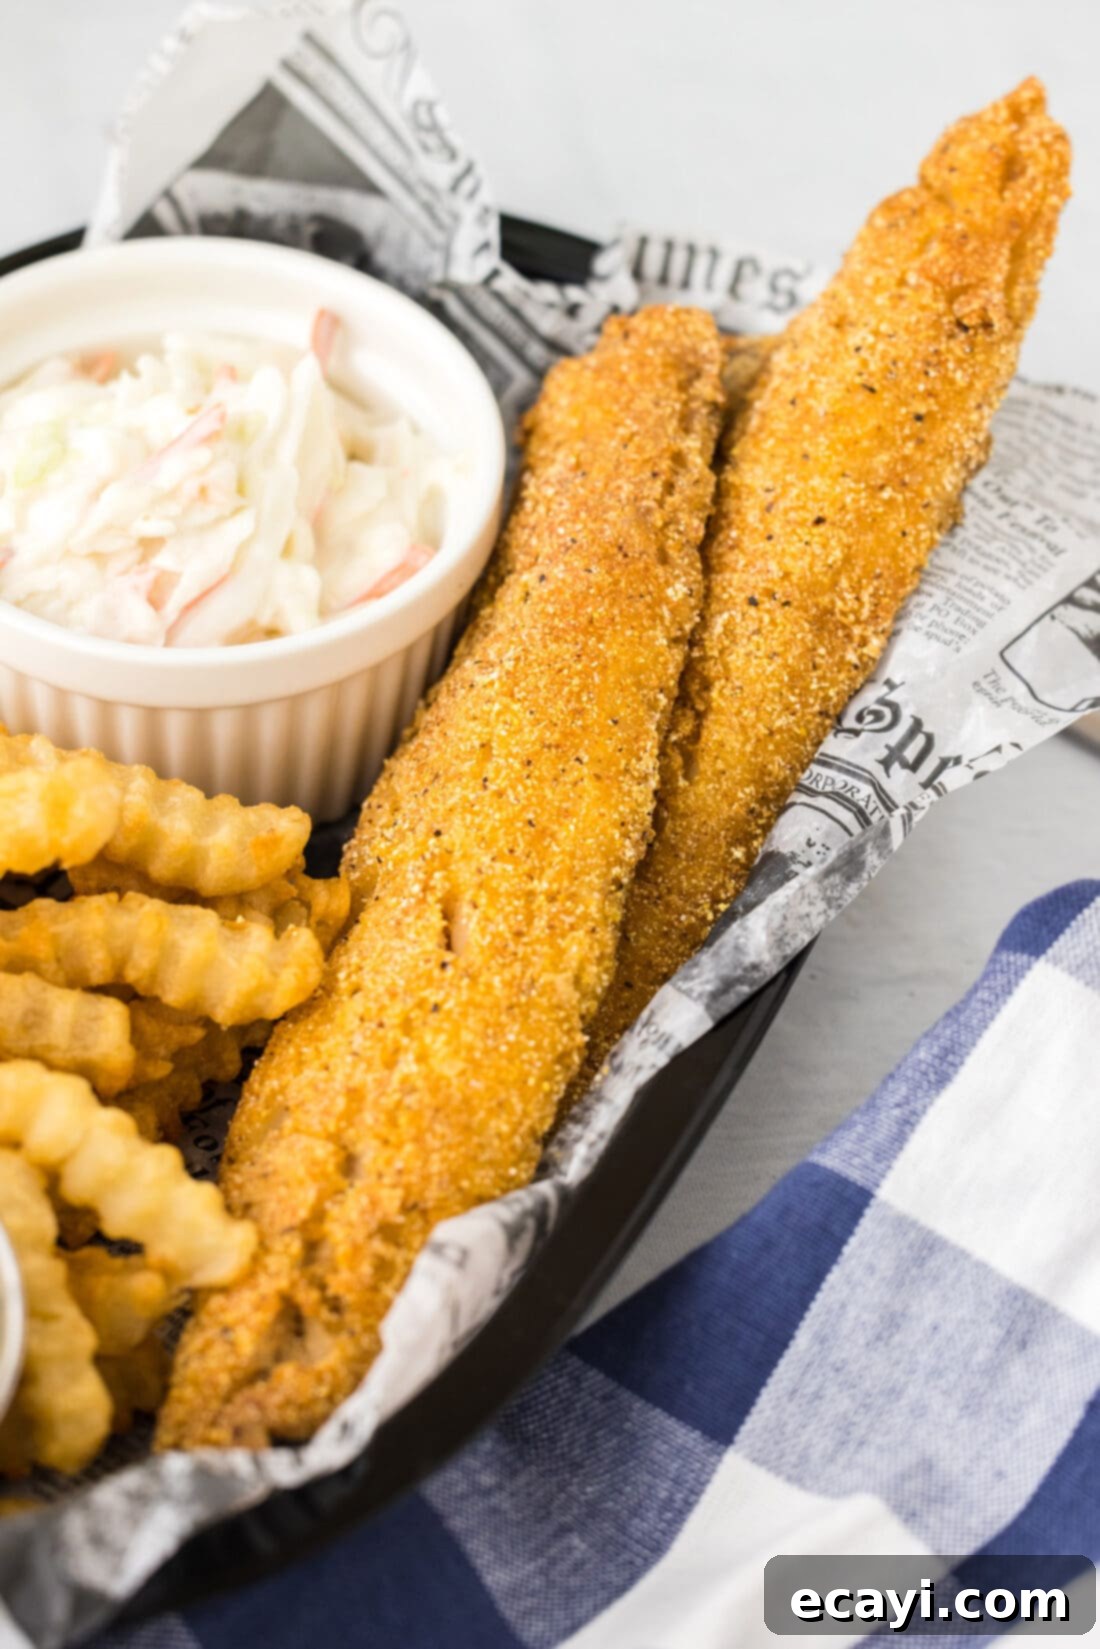
Why You’ll Adore This Crispy Fried Whiting Recipe
This fried whiting fish recipe isn’t just another way to cook fish; it’s a testament to simple ingredients coming together to create extraordinary flavor and texture. Here’s why this recipe deserves a permanent spot in your culinary rotation:
- Unmatched Texture: While many fish varieties can become flaky when fried, whiting holds a unique advantage. Its firm yet tender flesh ensures it remains incredibly moist on the inside, perfectly complementing the glorious, crackling crispness of the cornmeal coating. This harmonious contrast is what sets this recipe apart, delivering a truly satisfying mouthfeel.
- Mild and Versatile Flavor: Whiting boasts a wonderfully mild taste, often compared to cod or pollock, but with a slightly sweeter note. This makes it a fantastic canvas for the robust flavors of the Old Bay seasoning and other spices in our cornmeal blend. It’s approachable for even the pickiest eaters and pairs beautifully with a wide array of side dishes and sauces.
- A Healthy & Lean Choice: Beyond its deliciousness, whiting is a lean fish, making it a healthy protein option. It’s rich in essential nutrients like Vitamin B12 and provides a significant protein boost, contributing to a well-balanced diet. Enjoying this classic fish fry doesn’t mean sacrificing your health goals.
- Quick and Easy Preparation: This recipe is designed for efficiency. With minimal prep and a swift cooking time, you can have a gourmet-tasting meal on the table in under 30 minutes. It’s perfect for busy weeknights when you crave something special without a lengthy cooking process.
- Economical Option: Whiting is often more affordable and readily available than some other popular fish varieties, making this a budget-friendly way to enjoy fresh, delicious seafood.
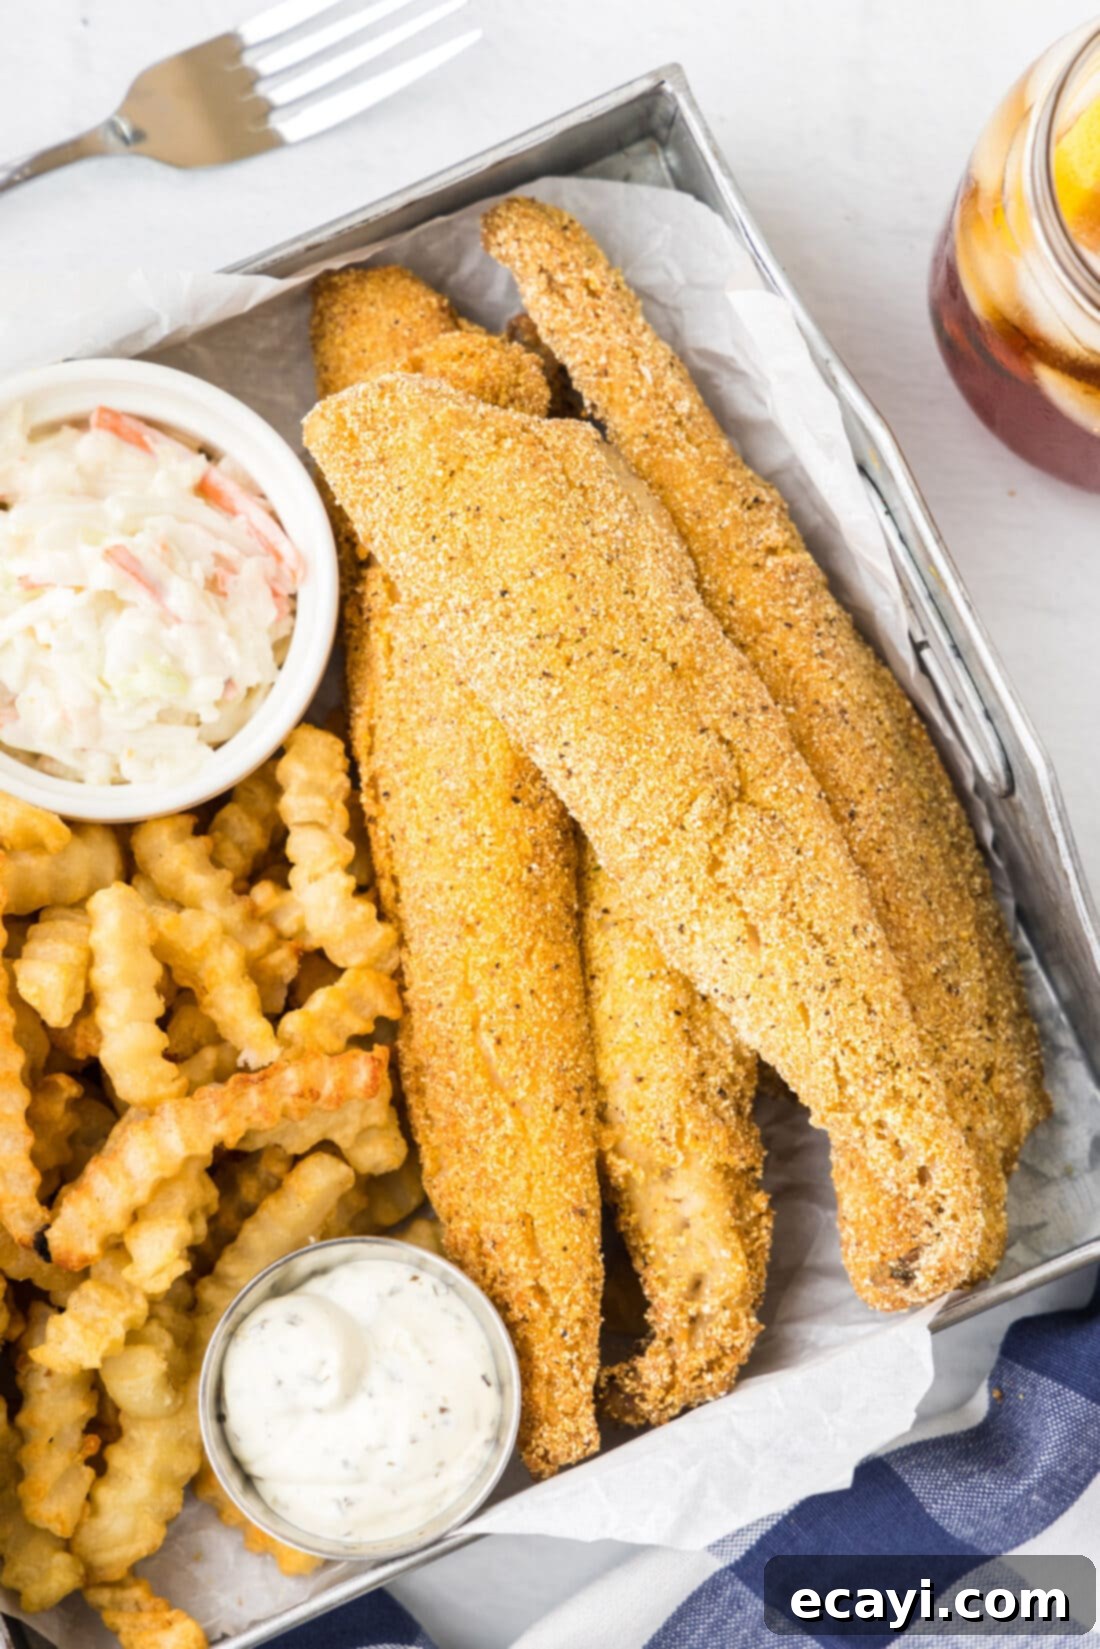
What is Whiting Fish?
Whiting, scientifically known as Merlangius merlangus (European whiting) or various species of the hake family (like Pacific whiting or silver hake), is a saltwater fish belonging to the cod family. It’s a popular choice in many culinary traditions, particularly in coastal regions and fish & chip shops, yet it remains somewhat underrated compared to its more famous relatives like cod or haddock.
Characteristics: Whiting typically has slender bodies, silvery scales, and a distinctive mild, sweet flavor. Its flesh is white, lean, and boasts a fine, firm texture that, unlike some other white fish, holds up exceptionally well during frying without becoming overly flaky. This makes it an ideal candidate for pan-frying or deep-frying, as it crisps up beautifully while retaining its delicate moisture.
Nutritional Value: As mentioned, whiting is an excellent source of lean protein, making it fantastic for muscle repair and satiety. It’s also packed with essential vitamins and minerals, notably Vitamin B12, which is crucial for nerve function and red blood cell formation, and selenium, an important antioxidant. Its low-fat content further adds to its appeal as a healthy seafood option.
Where to Find It: Whiting can be found in fish markets, grocery stores, and seafood sections, often sold as whole fish or as boneless, skin-on or skin-off fillets. It’s commonly available fresh or frozen. When purchasing, look for fillets that are firm, shiny, and have a fresh, mild sea scent. If buying frozen, ensure there are no signs of freezer burn and that the packaging is intact.
Essential Ingredients for Crispy Fried Whiting
Crafting the perfect pan-fried whiting requires a simple yet potent combination of ingredients. Each component plays a crucial role in delivering that signature crispy exterior and tender interior. You’ll find all exact measurements and detailed instructions in the printable recipe card towards the end of this post.
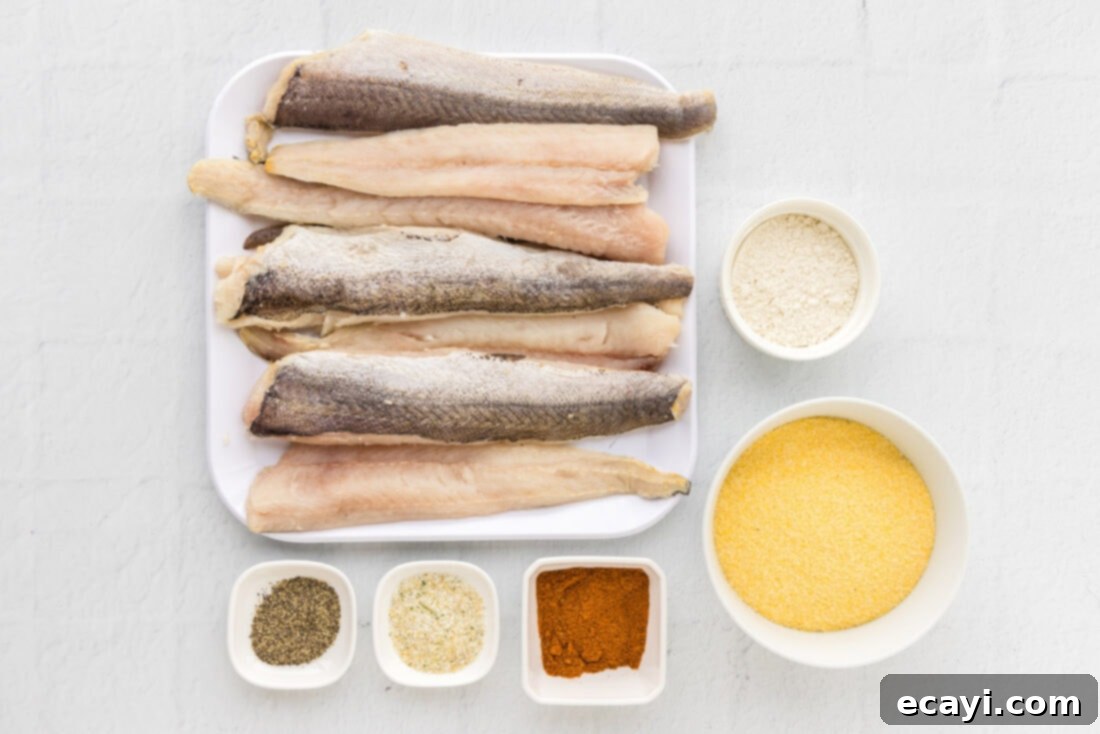
Deep Dive into Key Ingredients & Smart Substitutions
Understanding each ingredient not only helps in making the recipe but also allows for confident substitutions and adaptations.
FISH – For this recipe, we specifically use whiting filets. You might notice that many whiting filets are sold with the skin still on. This isn’t a mistake; it’s often because the skin and the delicate flesh are so thin that attempting to remove the skin before cooking can easily damage the meat. The good news is that when fried according to this recipe, the thin skin becomes incredibly crispy and adds another layer of delightful texture, almost like a natural crackling. If you don’t have access to fresh whiting, frozen filets work perfectly. Just ensure they are completely thawed before you begin the coating process. Patting them thoroughly dry with paper towels after thawing is crucial for the cornmeal mixture to adhere properly and for achieving maximum crispiness.
CORNMEAL & FLOUR – The combination of yellow cornmeal and all-purpose flour forms the backbone of our crispy coating.
- Yellow Cornmeal: This is the star of the coating, responsible for the classic Southern-style crunch and beautiful golden color. Fine or medium-ground cornmeal works best for an even, delicate crust. Avoid coarse ground cornmeal, as it might become gritty.
- All-Purpose Flour: The flour helps to create a cohesive batter, ensuring the cornmeal sticks firmly to the fish. It also contributes to a lighter, less dense coating.
- Substitution Suggestion: For a gluten-free option, you can substitute the all-purpose flour with a gluten-free all-purpose flour blend. The cornmeal itself is naturally gluten-free. For a slightly different texture, some recipes use only cornmeal, but the flour provides a better binding agent.
SEASONINGS – A well-seasoned coating elevates this simple fish fry from good to great.
- Old Bay Seasoning: This iconic blend is a staple for seafood for a reason. Its unique mix of celery salt, red pepper, black pepper, and paprika adds a complex, savory, and slightly spicy depth that perfectly complements the mild whiting. It’s truly indispensable for that authentic fish fry flavor.
- Garlic Salt: Provides a foundational savory flavor and an extra touch of saltiness.
- Black Pepper: Essential for a subtle peppery kick. Freshly ground is always recommended for the best aroma and flavor.
- Substitution Suggestions: If you don’t have Old Bay, you can create a similar flavor profile with a blend of paprika, cayenne pepper, onion powder, garlic powder, and a touch of celery salt. Feel free to adjust the amount of garlic salt and black pepper to your personal taste. A pinch of smoked paprika could also add a wonderful smoky undertone.
VEGETABLE OIL – The choice of oil is critical for proper frying. You’ll need enough vegetable oil to create about a 1-inch depth in your skillet, ensuring the fish is partially submerged for even cooking and browning.
- Best Choice: Vegetable oil (like canola or corn oil) is ideal due to its neutral flavor and high smoke point, which means it can get hot enough to fry without burning.
- Other Options: Peanut oil also works wonderfully for frying due to its high smoke point, but be mindful of nut allergies. Sunflower oil is another good neutral-flavored alternative. Avoid olive oil for deep frying as its smoke point is too low, leading to burnt flavors and unhealthy compounds.
Step-by-Step: How to Achieve Perfectly Fried Whiting
These step-by-step photos and detailed instructions are provided to help you visualize each stage of making this delicious recipe. For a concise, printable version of this recipe, complete with precise measurements and instructions, simply Jump to Recipe at the bottom of this page.
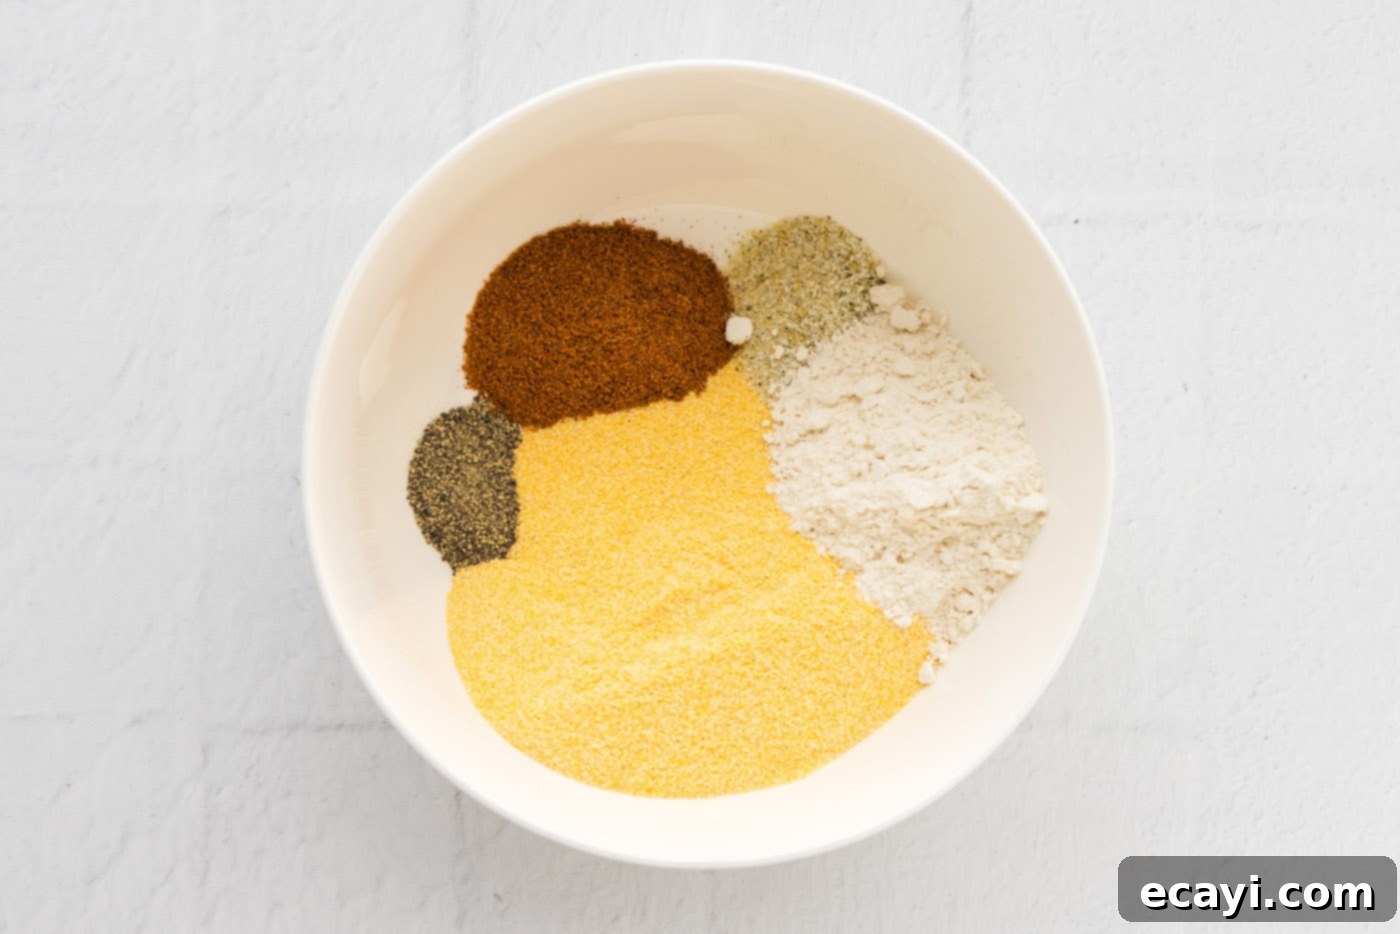
- Prepare the Seasoned Coating: In a large mixing bowl, combine the yellow cornmeal, all-purpose flour, Old Bay seasoning, garlic salt, and black pepper. Whisk these ingredients thoroughly until they are uniformly mixed. This ensures every bite of fish will be infused with consistent flavor. The mixture should be a pale yellow color, ready to cling to the fish.

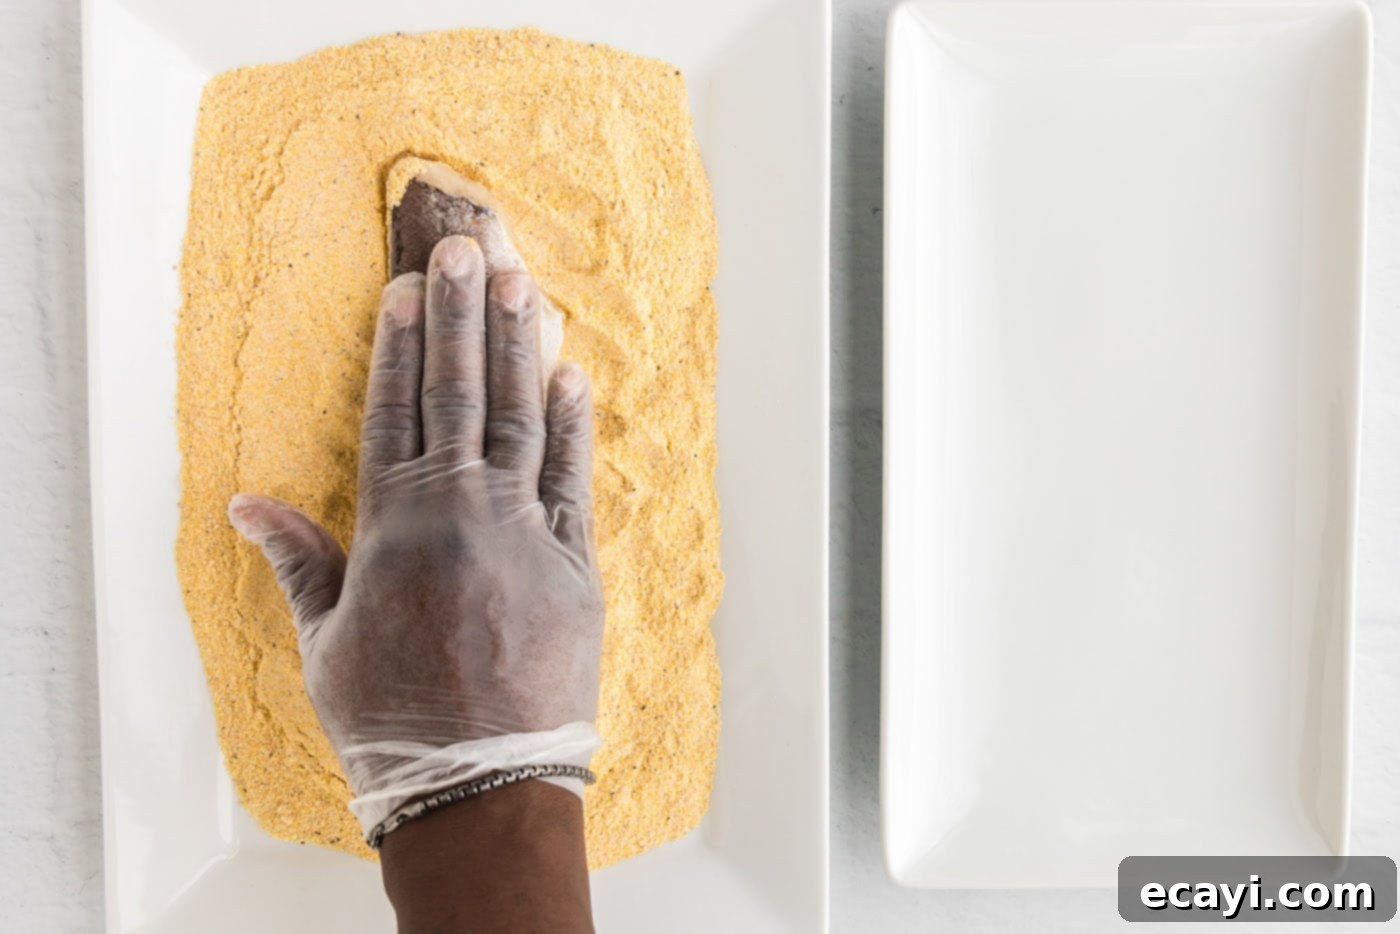
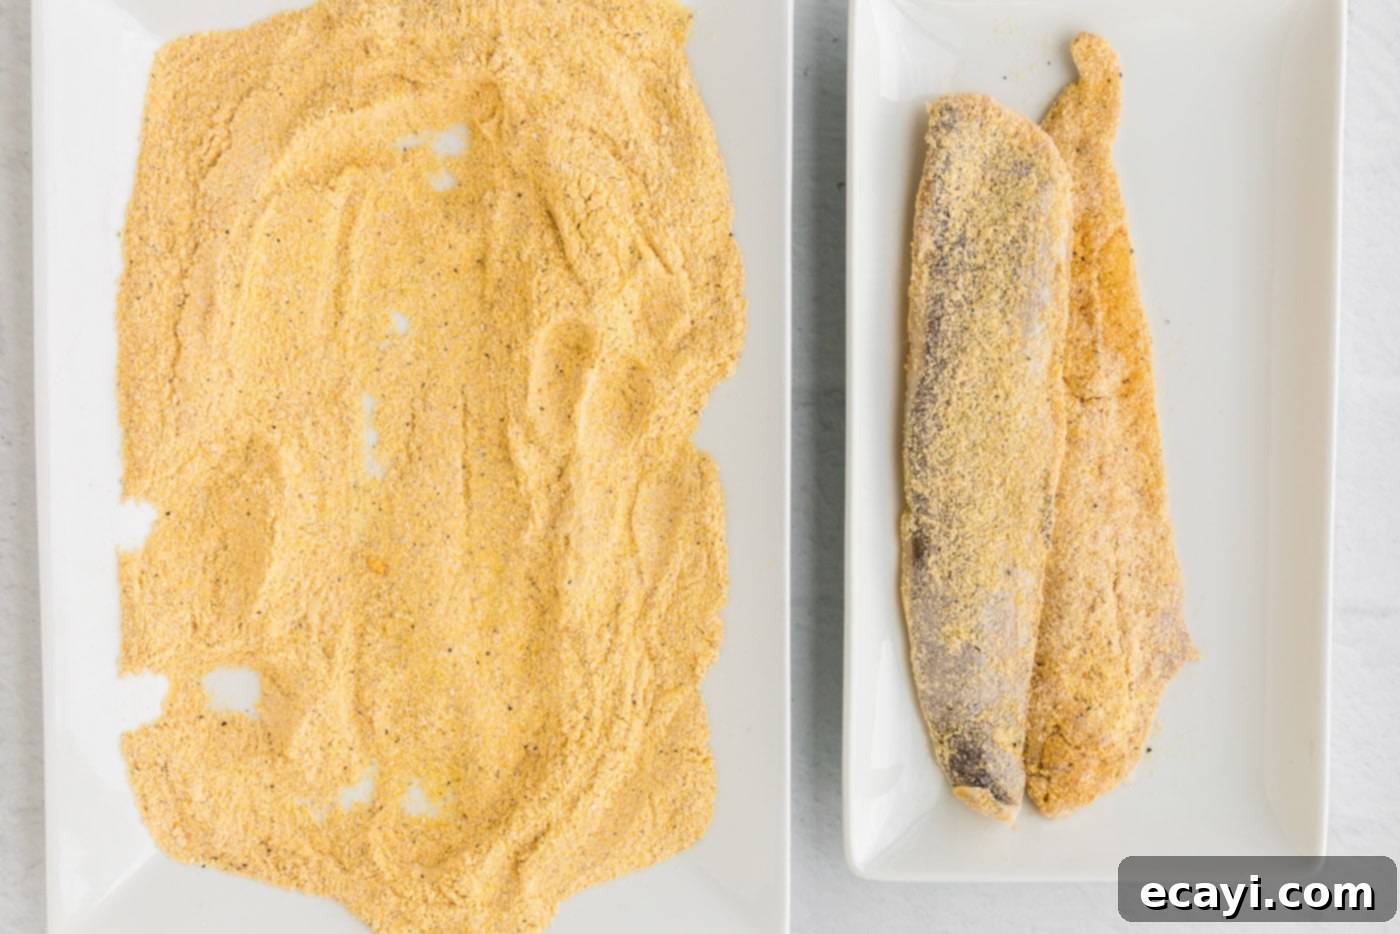
- Set Up Your Dredging Station: Transfer the prepared cornmeal mixture from the mixing bowl onto a large, shallow dish or a baking pan. A shallow dish makes it easier to press the fish evenly into the coating without making a mess, providing ample surface area for the fillets.
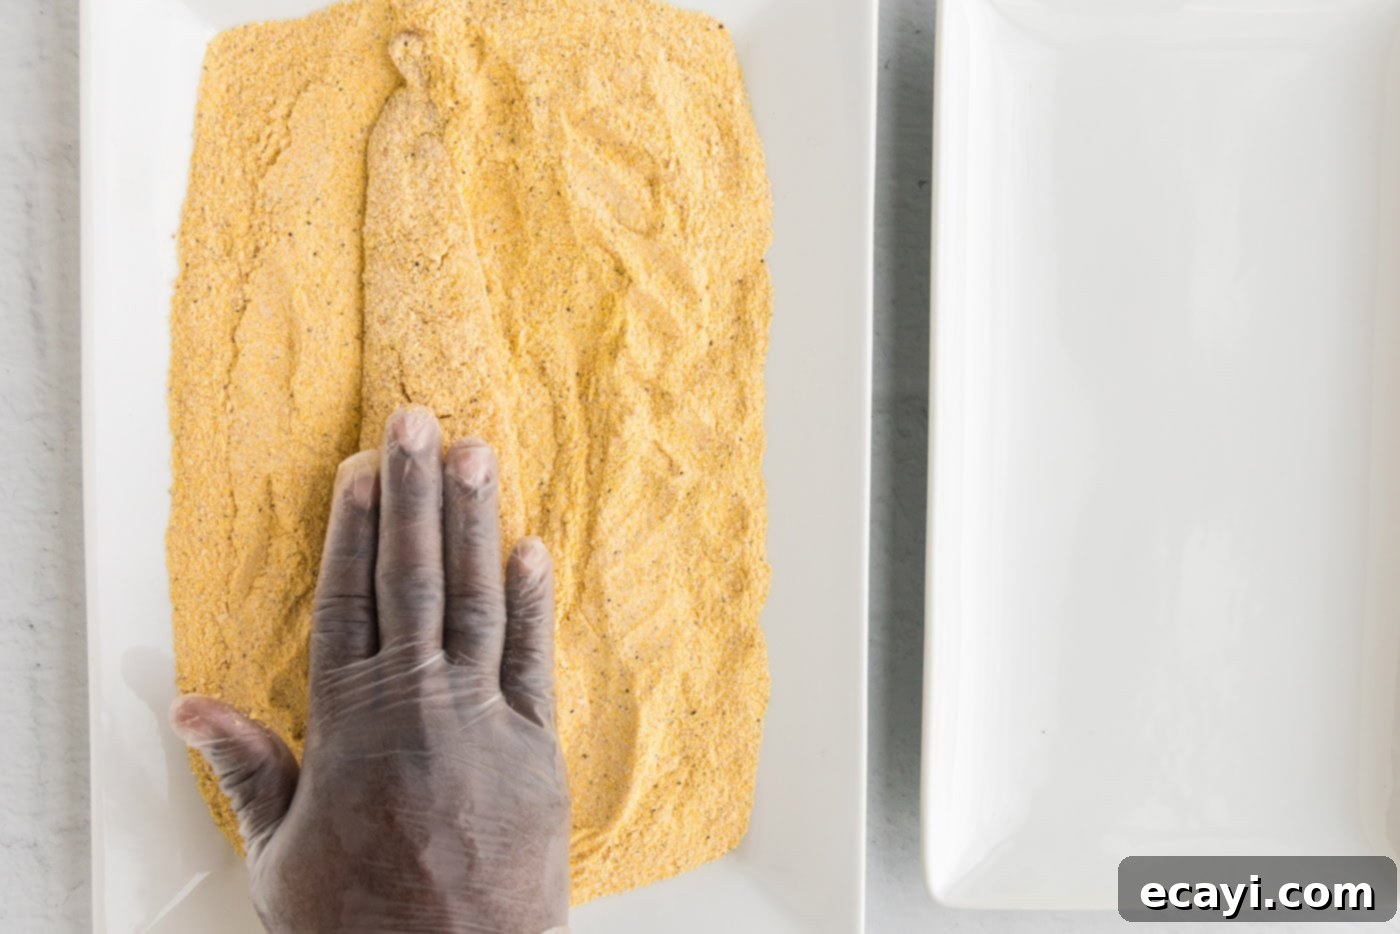
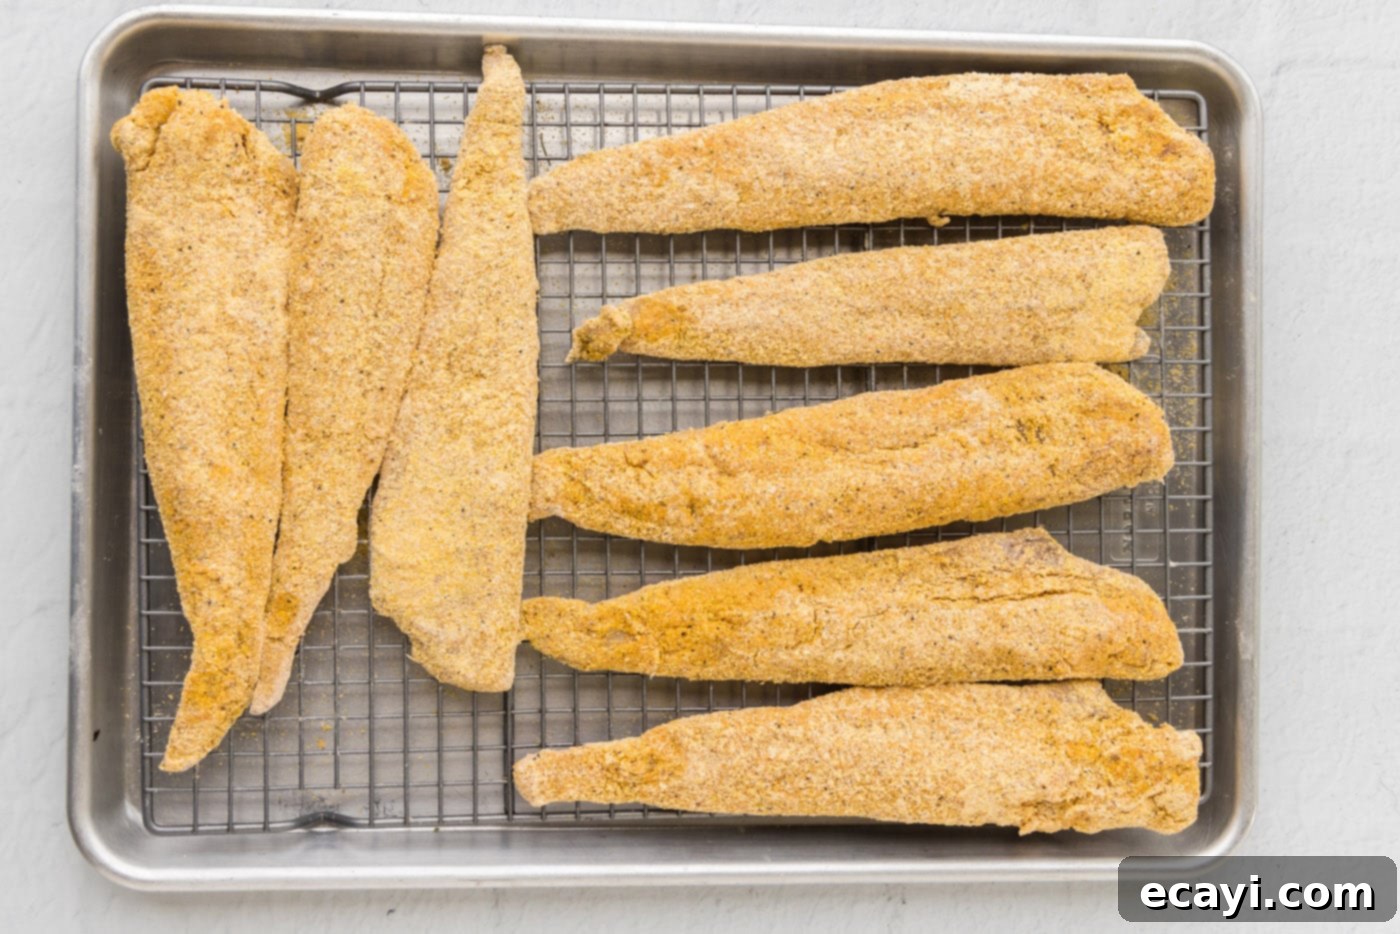
- Coat the Whiting Fillets: Take each whiting filet and gently but firmly press it into the cornmeal mixture. Ensure both sides are thoroughly coated, pressing lightly to help the mixture adhere. You want a good, even layer for that perfect crisp. After coating, place the prepared filets on a wire rack. Allowing them to rest for about 10-15 minutes on the rack (uncovered, at room temperature) helps the coating absorb some moisture from the fish, creating a stickier bond that prevents the coating from falling off during frying. This resting period is a secret to extra crispiness!


- Heat the Frying Oil: While the fish rests, add enough vegetable oil to a large heavy-bottomed skillet (cast iron works wonderfully here) to achieve an oil depth of approximately 1-inch up the sides of the pan. Heat the oil over medium heat. The ideal temperature for frying fish is around 350-375°F (175-190°C). You can test if the oil is ready by dropping a tiny pinch of the cornmeal mixture into it; it should sizzle immediately and vigorously without smoking. If it smokes, the oil is too hot; remove it from heat and let it cool slightly.
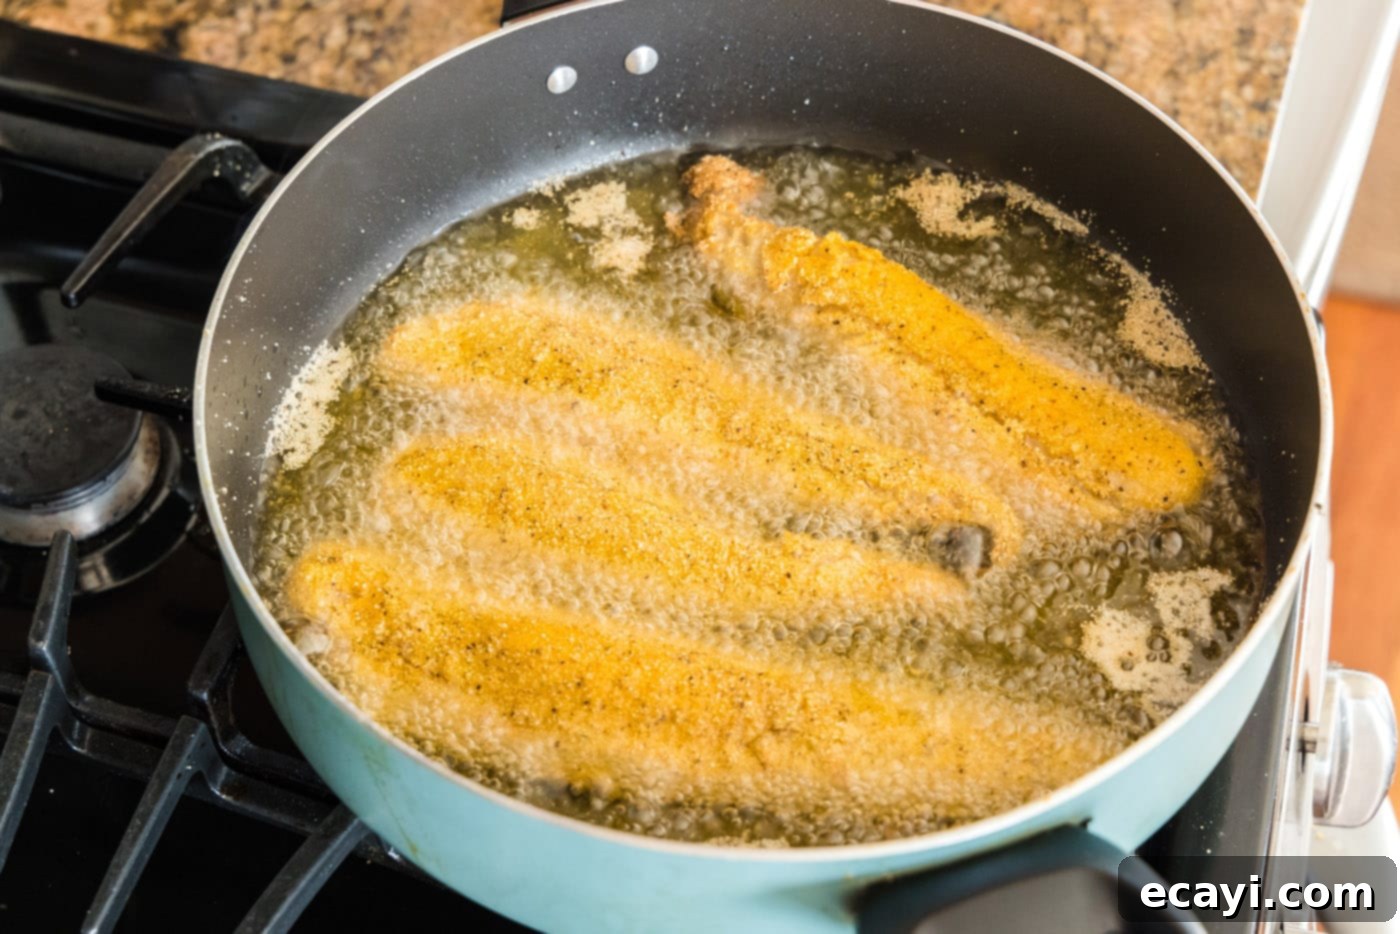
- Begin Frying: Carefully place enough coated whiting filets into the hot oil to fill the pan without crowding them. Overcrowding will lower the oil temperature and lead to soggy fish rather than crispy. For our recipe, we typically fry in two batches, with about 4 filets in each. Use tongs for safe handling.

- Cook to Golden Perfection: Cook the filets for about 2 minutes on one side until beautifully golden brown. Then, carefully turn them over using a fish turner or tongs and cook for an additional 1.5 to 2 minutes on the other side. The goal is a vibrant golden-brown color and a crisp coating. Whiting is a thin fish, so it cooks quickly. Once both sides are golden, you might want to give them one more quick flip (just a few seconds) to ensure all edges are equally crisp. As soon as you turn the last one, start removing the cooked filets from the skillet, beginning with the first ones you placed in the oil. This timing ensures even cooking and prevents overcooking.
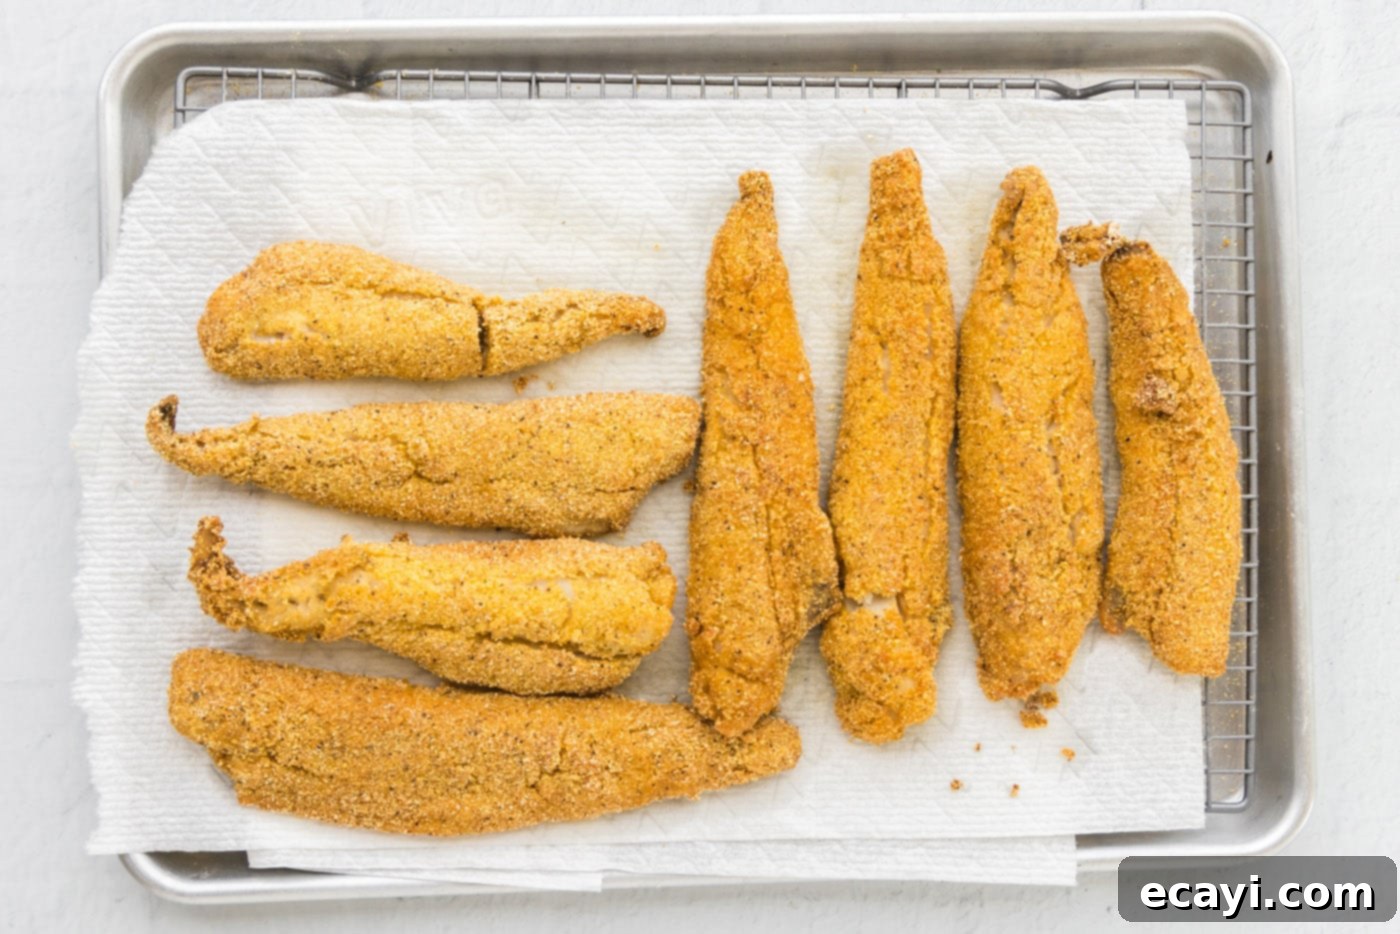
- Drain and Serve: Immediately transfer the cooked, crispy whiting filets to a plate lined with several layers of paper towels. The paper towels will absorb any excess oil, helping to maintain their incredible crispness. Serve hot and enjoy!

Frequently Asked Questions & Pro Tips for Fried Fish
Absolutely, using frozen whiting fish is perfectly fine for this recipe, especially if fresh isn’t available. However, it is paramount that you allow the fish to fully thaw before you begin the coating process. If the fish is still partially frozen or contains ice crystals, the seasonings and cornmeal mixture will not adhere properly, leading to a soggy coating that easily falls off during frying. For best results, thaw overnight in the refrigerator. If you’re in a hurry, you can place the vacuum-sealed fillets in a bowl of cold water for about 30-60 minutes, changing the water every 15 minutes.
To store leftover fried whiting, ensure it is fully cooled to room temperature first. Then, place the cooled fish in an air-tight container and keep it in the refrigerator for up to 2 days. For reheating, to maintain as much crispness as possible, avoid the microwave. Reheat in a preheated oven on a parchment-lined baking sheet at 350°F (175°C) for approximately 10-15 minutes, or until thoroughly warmed through and crispy again. Alternatively, an air fryer works wonders for restoring crispiness; reheat at 375°F (190°C) for 5-7 minutes, flipping halfway.
For pan-frying whiting, you want an oil with a high smoke point and a neutral flavor. Vegetable oil (like canola or corn oil) is an excellent choice. Peanut oil is also fantastic if there are no allergy concerns. These oils can reach the necessary high temperatures for crisping without imparting unwanted flavors or burning, which is essential for a clean-tasting, golden-brown crust.
Several factors contribute to ultimate crispiness: 1) Pat the fish dry very thoroughly before coating. Any excess moisture will turn to steam and make the coating soggy. 2) Allow the coated fish to rest on a wire rack for 10-15 minutes before frying. This “sets” the coating. 3) Ensure your oil is at the correct temperature (350-375°F / 175-190°C). If the oil isn’t hot enough, the coating will absorb too much oil and become greasy. If it’s too hot, the coating will burn before the fish cooks through. 4) Do not overcrowd the pan. Fry in batches to maintain oil temperature and allow even cooking and browning.
No, for this recipe, there’s no need to remove the skin from the whiting fillets. Whiting skin is very thin, and when pan-fried according to these instructions, it becomes wonderfully crispy and adds a fantastic textural element to the fish. Trying to remove it can often damage the delicate flesh, so it’s best to leave it on and enjoy the added crunch!
Expert Tips for the Crispiest Fried Whiting:
- Pat Fish Dry: This cannot be stressed enough. Excess moisture is the enemy of crispiness. Use paper towels to thoroughly pat both sides of the whiting fillets dry before dredging.
- Rest the Coated Fish: After coating the fish in the cornmeal mixture, let it rest on a wire rack for 10-15 minutes. This allows the coating to absorb some moisture and “set,” making it less likely to fall off during frying and creating a firmer crust.
- Maintain Oil Temperature: Use a kitchen thermometer to ensure your oil is within the ideal range of 350-375°F (175-190°C). If you don’t have a thermometer, test with a tiny pinch of cornmeal; it should vigorously sizzle and turn golden within seconds.
- Don’t Overcrowd the Pan: Fry in batches to avoid dropping the oil temperature too much. Overcrowding leads to steaming instead of frying, resulting in soggy fish. Give each fillet space to breathe and crisp up.
- Use a Wire Rack for Draining: After frying, transfer the fish from the skillet to a wire rack placed over a baking sheet (instead of directly onto paper towels if possible). This allows air circulation around the fish, preventing the bottom from becoming soggy as it cools. Paper towels are a good second-best option for absorbing excess oil.
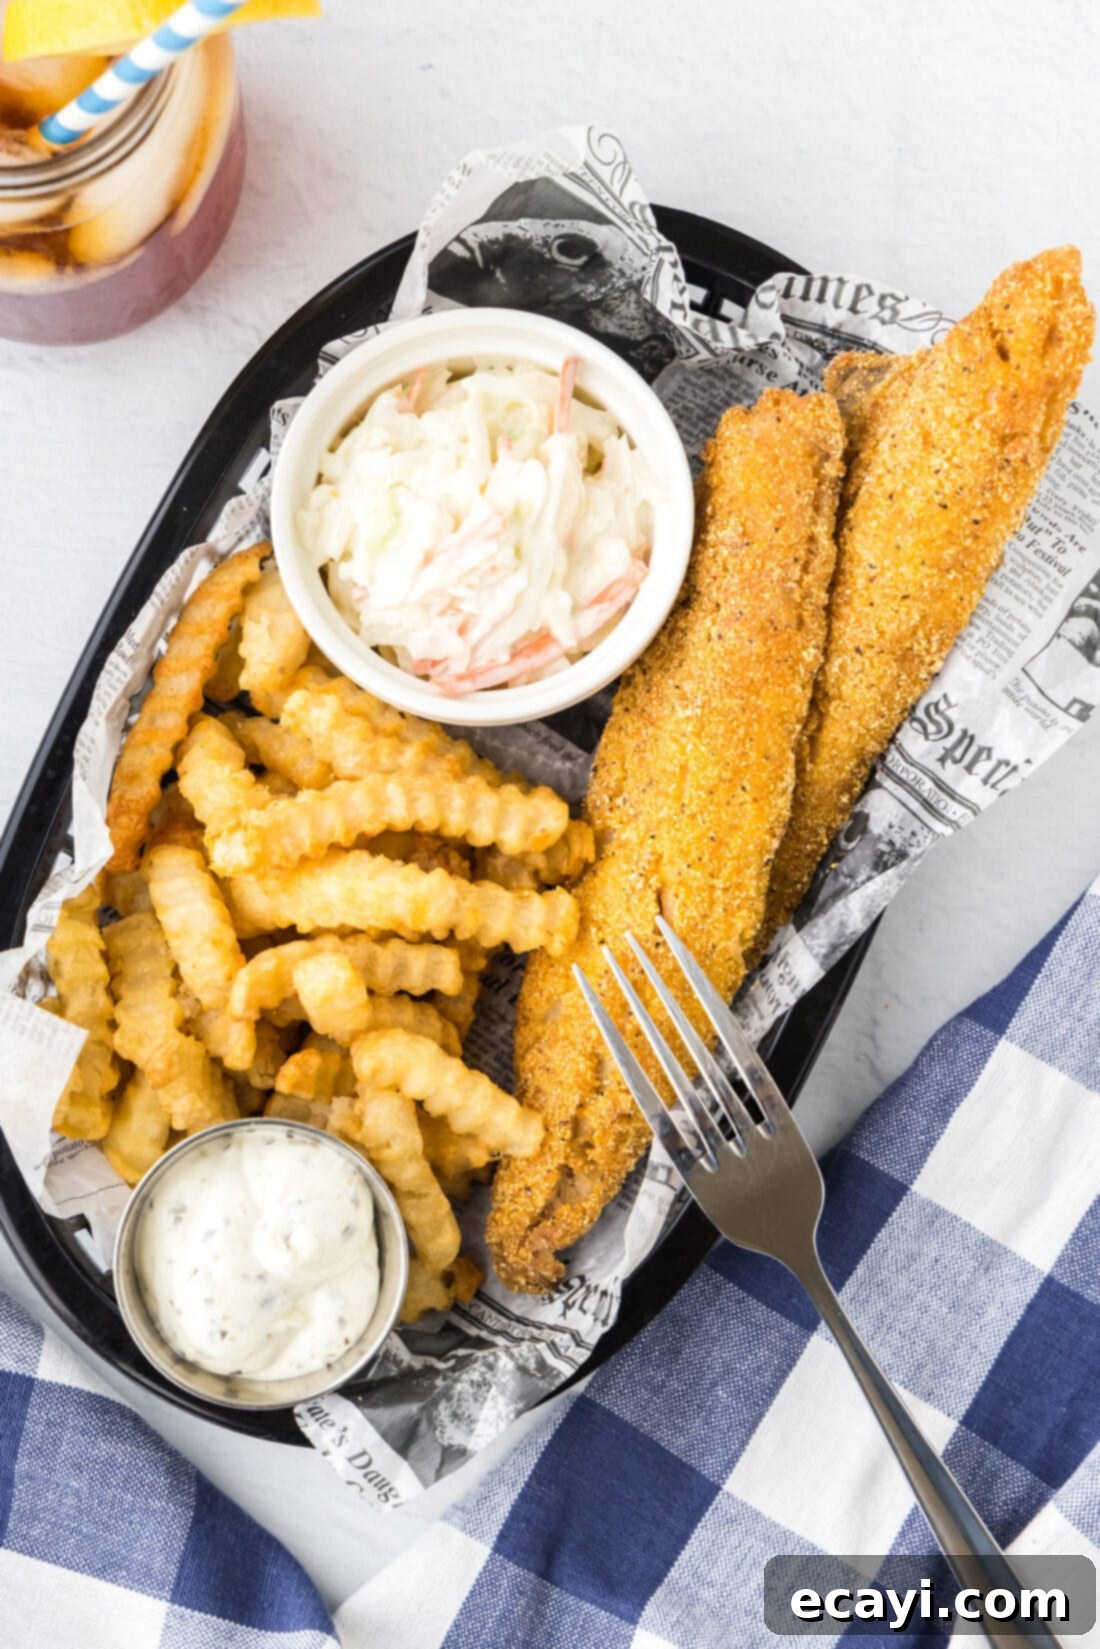
Delicious Serving Suggestions for Your Fried Whiting
Crispy fried whiting fish is a versatile dish that pairs wonderfully with a variety of classic and creative sides. For an authentic fish-fry experience, serve your golden fillets with:
- Classic creamy tartar sauce, which provides a refreshing tang.
- A generous portion of crispy golden french fries.
- A cool and crunchy coleslaw, offering a nice textural contrast.
- Optional lemon wedges for squeezing fresh juice over the fish, enhancing its flavor and adding brightness.
Beyond the traditional, consider these other fantastic side dishes to complement your fried whiting:
- Rich and comforting baked macaroni and cheese.
- Flavorful fried green tomatoes for a Southern touch.
- Homemade hush puppies or cornbread for a complete meal.
- Steamed green beans or a fresh garden salad for a lighter option.
Don’t forget the perfect beverage! A tall, refreshing glass of strawberry sweet tea or a crisp lemonade would be a delightful accompaniment.
Got leftovers? Repurpose them into entirely new and equally delicious meals! Create scrumptious fish cakes by flaking the fish and mixing it with mashed potatoes and seasonings, then pan-fry. Or, assemble an incredible fish sandwich with a dollop of tartar sauce, crisp lettuce, and ripe tomatoes nestled between two slices of thick-cut, toasted bread. Fried whiting also makes excellent fish tacos or wraps with a squeeze of lime and some fresh salsa.
Explore More Delicious Fish Recipes
If you’ve enjoyed this fried whiting recipe, you’ll love exploring other ways to prepare and savor seafood. Here are some more fantastic fish recipes to inspire your next meal:
- Hearty Fish Chowder
- Crispy Air Fryer Fish
- Classic Beer Battered Fish
- Perfectly Baked Orange Roughy
- Flavorful Fish Burger
- Elegant Baked Chilean Sea Bass
- Delicious Fried Perch
I love to bake and cook and share my kitchen experience with all of you! Remembering to come back each day can be tough, that’s why I offer a convenient newsletter every time a new recipe posts. Simply subscribe and start receiving your free daily recipes!

Fried Whiting Fish
IMPORTANT – There are often Frequently Asked Questions within the blog post that you may find helpful. Simply scroll back up to read them!
Print It
Pin It
Rate It
Save ItSaved!
Ingredients
- 2 pounds whiting filets (about 8 filets, skin-on for extra crispiness)
- 1 ½ cups yellow cornmeal (fine or medium ground for best texture)
- 2 Tablespoons all-purpose flour (or gluten-free all-purpose flour blend)
- 1 Tablespoon Old Bay seasoning
- 2 teaspoons garlic salt (adjust to taste)
- 1 teaspoon black pepper (freshly ground for best flavor)
- vegetable oil (or other high smoke point, neutral-flavored oil like canola or peanut oil)
Things You’ll Need
-
Large heavy bottomed skillet
-
Tongs
-
Fish turner
-
Vinyl gloves
-
Wire Rack (for resting coated fish and draining fried fish)
Before You Begin
- Whiting fillets are naturally thin and cook very quickly. Their total cooking time in the skillet is typically under 4 minutes, ensuring a fast and delicious meal.
- Most whiting fillets are sold with the skin on. Due to the thinness of both the fillets and the skin, removing it can be challenging without damaging the delicate fish. In this recipe, the skin crisps up beautifully, adding a delicious texture and flavor layer.
- To store leftovers, allow the fried fish to cool completely before placing it in an airtight container in the refrigerator for up to 2 days. Reheat gently in the oven at 350°F (175°C) on a parchment-lined baking sheet for about 10-15 minutes, or use an air fryer to help restore its crispiness.
- If using frozen whiting fillets, ensure they are fully thawed and thoroughly patted dry before coating to ensure the cornmeal mixture adheres properly and fries to a perfect crisp.
Instructions
-
In a large bowl, whisk together cornmeal, flour, Old Bay, garlic salt, and black pepper until well combined.
-
Pour the cornmeal mixture onto a large shallow dish or a baking pan, spreading it evenly.
-
Press each whiting filet firmly into the cornmeal mixture, ensuring both sides are fully coated. Repeat for all filets and place them on a wire rack to rest for 10-15 minutes, allowing the coating to set.
-
Meanwhile, add vegetable oil to your skillet to reach about a 1-inch depth. Heat over medium heat until the oil reaches 350-375°F (175-190°C). The oil should be hot but not smoking.
-
Carefully add enough filets to the hot oil to fill the pan without crowding them. Fry in batches if necessary (we typically do two batches of 4 filets each).
-
Cook for approximately 2 minutes on the first side until golden brown. Turn the filets over and cook for an additional 1.5 – 2 minutes, or until the coating is a beautiful golden brown and the fish is cooked through. For extra crispiness, you can give them one final quick flip. Remove from the skillet, starting with the first ones placed in the oil, to prevent overcooking.
-
Drain the fried whiting on paper towels or a fresh wire rack to absorb excess oil and maintain crispness. Serve immediately.
Nutrition
The recipes on this blog are tested with a conventional gas oven and gas stovetop. It’s important to note that some ovens, especially as they age, can cook and bake inconsistently. Using an inexpensive oven thermometer can assure you that your oven is truly heating to the proper temperature. If you use a toaster oven or countertop oven, please keep in mind that they may not distribute heat the same as a conventional full sized oven and you may need to adjust your cooking/baking times. In the case of recipes made with a pressure cooker, air fryer, slow cooker, or other appliance, a link to the appliances we use is listed within each respective recipe. For baking recipes where measurements are given by weight, please note that results may not be the same if cups are used instead, and we can’t guarantee success with that method.
