Crispy & Juicy Deep Fried Cornish Hens: The Ultimate Easy Recipe for Any Occasion
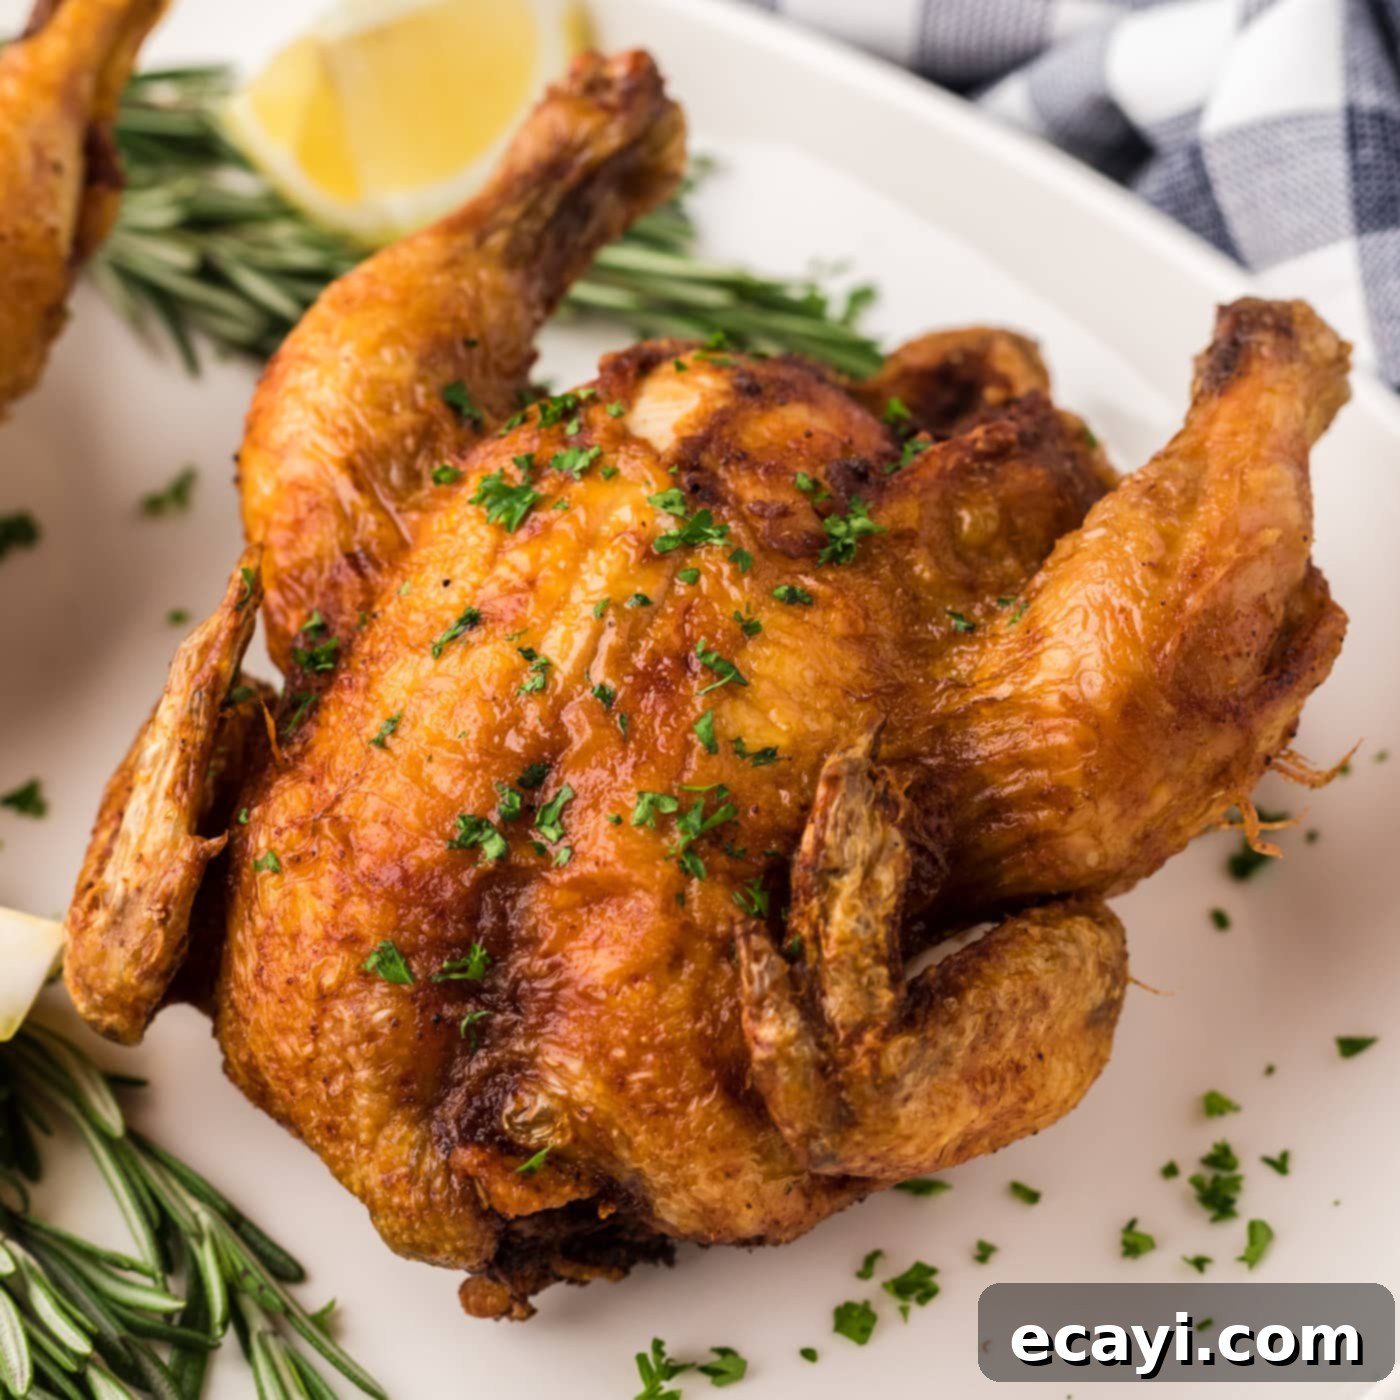
Unlock the secret to an unforgettable meal with these incredibly easy-to-make deep-fried Cornish hens. Imagine a dish where the skin shimmers with a perfect crispy, golden-brown hue, generously rubbed with a blend of aromatic spices and seasonings. Beneath that irresistible exterior lies a succulently juicy interior, making each bite a true delight. Whether you’re planning a quick weeknight dinner or an impressive holiday feast, this recipe promises to deliver a show-stopping main course that’s both simple to prepare and absolutely delicious.
Why This Deep Fried Cornish Hen Recipe Works Wonders
If you’re a connoisseur of classic fried chicken, prepare to be captivated by deep-fried Cornish hens. While similar in concept, Cornish game hens offer an elevated culinary experience. Their meat is inherently more tender and finely textured than that of regular chicken, making every mouthful extraordinarily succulent. When combined with the irresistible crunch of perfectly fried skin, you get a year-round dinner solution that’s ideal for serving smaller gatherings with an air of elegance. These mini chickens are a fantastic alternative to a large roast, providing individual portions that feel special and gourmet.
Cornish hens are incredibly versatile and can be prepared in numerous ways, from baking and roasting to deep frying and even air frying. They are essentially miniature whole chickens, specifically bred for their superior meat quality and convenient single-serving size. Our method begins by generously coating the hens in a flavorful wet rub, ensuring every crevice is infused with aromatic spices. They are then gently lowered into a deep fryer for a hot, bubbling bath that works magic, transforming the skin into an incredibly crispy, golden shell while cooking the delicate meat within to a state of perfect moisture and tenderness. This deep-frying technique locks in juices, creating a contrast of textures that is simply divine and guaranteed to impress your family and guests.
Essential Ingredients for Your Crispy Cornish Hens
Crafting these delectable deep-fried Cornish hens requires just a few key ingredients, most of which you likely already have in your pantry. The magic happens when simple, quality ingredients come together to create a symphony of flavors and textures. For a complete list of all measurements, ingredients, and detailed instructions, please refer to the printable recipe card located at the end of this post.
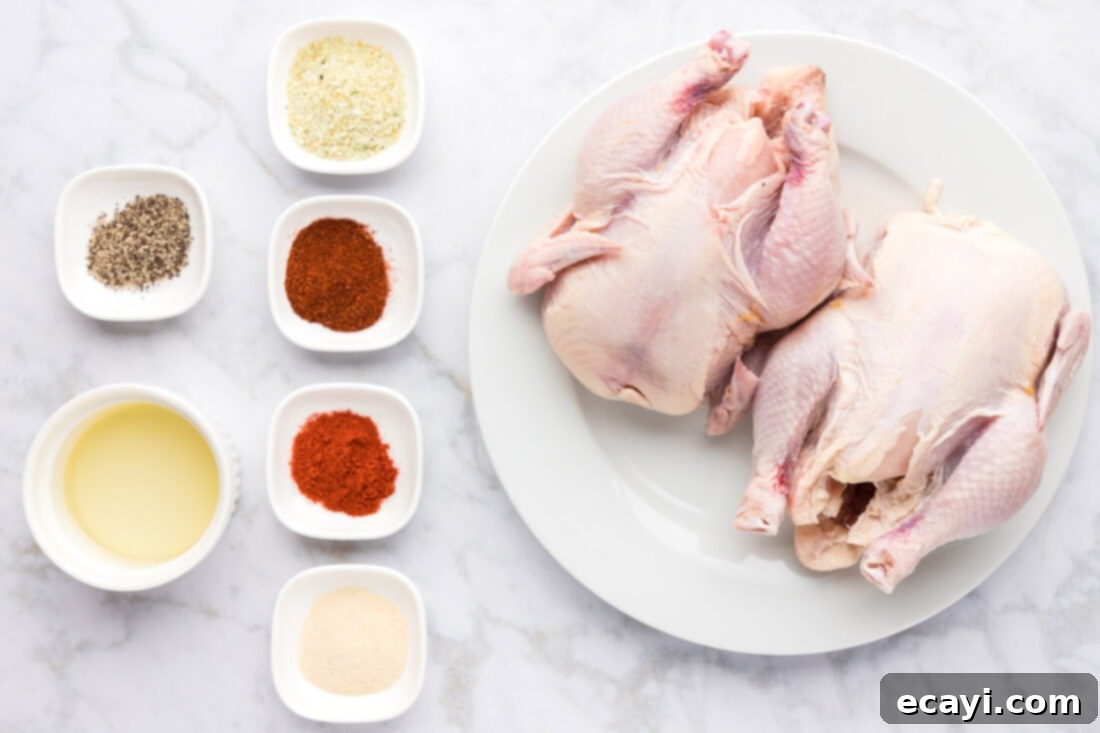
Ingredient Spotlight & Expert Substitution Tips
Understanding each ingredient’s role and knowing how to adapt can elevate your cooking experience. Here’s a closer look at what you’ll need for these irresistible deep-fried Cornish hens:
CORNISH HEN: For this recipe, we used two Cornish hens, each weighing approximately 24 ounces. The size can vary slightly by brand, but aim for hens around this weight for optimal cooking times. It is absolutely crucial that your hens are completely thawed before you begin the cooking process. The best way to thaw them is slowly in the refrigerator overnight, or until they are no longer frozen solid. For a slightly quicker thawing method, you can place the hens (still in their original, sealed packaging) in a bowl of cold water, changing the water every 30 minutes to keep it cold. Ensure thorough thawing to guarantee even cooking and food safety. Before applying any rub, pat the hens very dry with paper towels; this step is vital for achieving that coveted crispy skin.
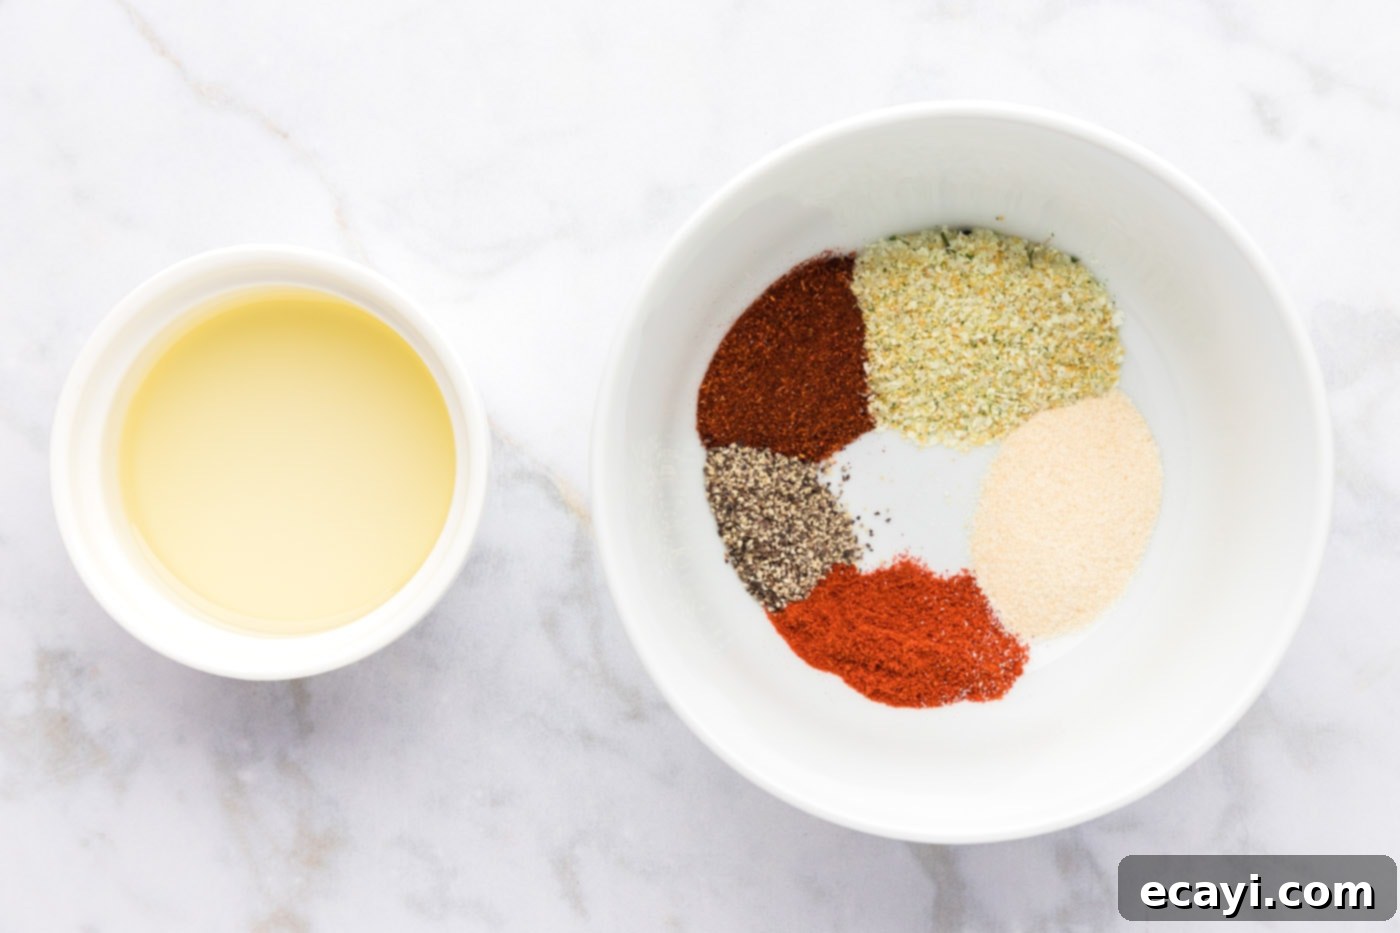
WET RUB: The heart of our flavor profile comes from a simple yet robust wet rub. This delicious blend consists of olive oil, onion powder, garlic salt, smoked paprika, chili powder, and black pepper. Each ingredient contributes a unique element: olive oil helps the spices adhere and promotes a beautiful crust, onion powder adds a foundational savory depth, garlic salt provides a punch of pungent flavor and necessary seasoning, smoked paprika offers a warm, smoky aroma, chili powder brings a mild heat and earthy notes, and black pepper adds a subtle sharpness. Feel free to unleash your creativity here! You can substitute these spices with your favorite blend or experiment with others like dried thyme, rosemary, sage, or a pinch of cayenne pepper for an extra kick. A good quality all-purpose poultry seasoning can also work wonderfully as a shortcut. The key is to create a well-balanced rub that complements the delicate flavor of the Cornish hen.
FRYING OIL: While not explicitly listed in the main ingredients, choosing the right oil is paramount for deep frying. You’ll need enough vegetable oil to submerge the hens in your deep fryer. Opt for oils with a high smoke point and neutral flavor, such as vegetable oil, canola oil, peanut oil, or sunflower oil. Peanut oil is often a top choice for its high smoke point and ability to impart a delicious crispiness without overpowering the chicken’s flavor. Avoid olive oil or butter for deep frying, as they have lower smoke points and will burn at the required high temperatures, ruining the taste and potentially creating harmful compounds.
Step-by-Step Guide: How to Make Deep Fried Cornish Hens
These detailed step-by-step photos and instructions are provided to help you visualize each stage of making this incredible recipe. For a complete printable version, including precise measurements and comprehensive instructions, you can effortlessly Jump to Recipe at the bottom of this page.
- Prepare the Deep Fryer: Begin by preheating your deep fryer to a precise temperature of 375°F (190°C). Accurate oil temperature is crucial for crispy skin and thoroughly cooked meat. Ensure your fryer is filled with enough high-smoke-point oil (like vegetable, canola, or peanut oil) to fully submerge the hens.
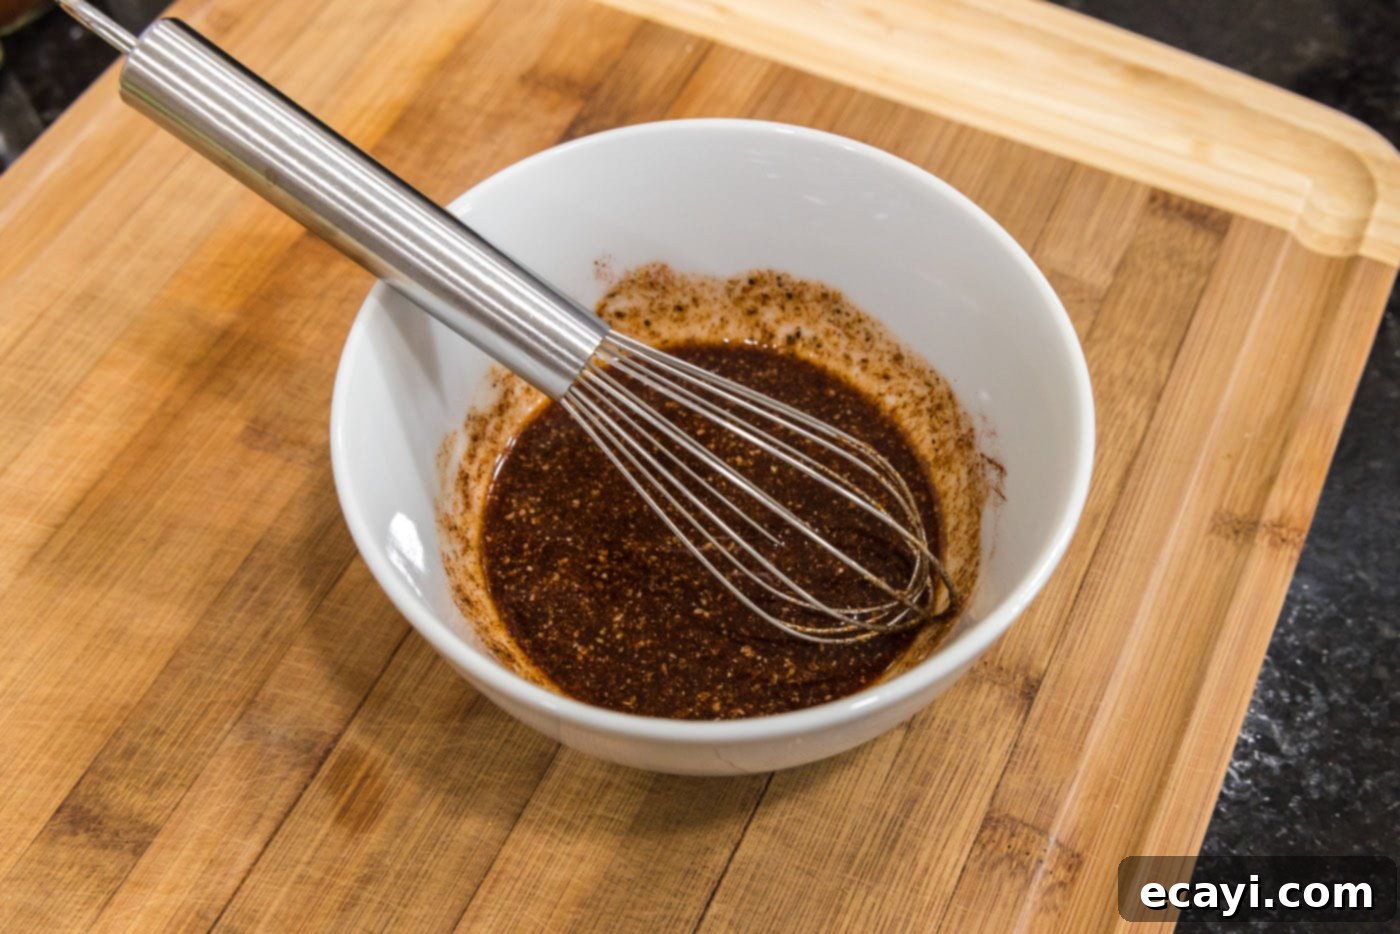
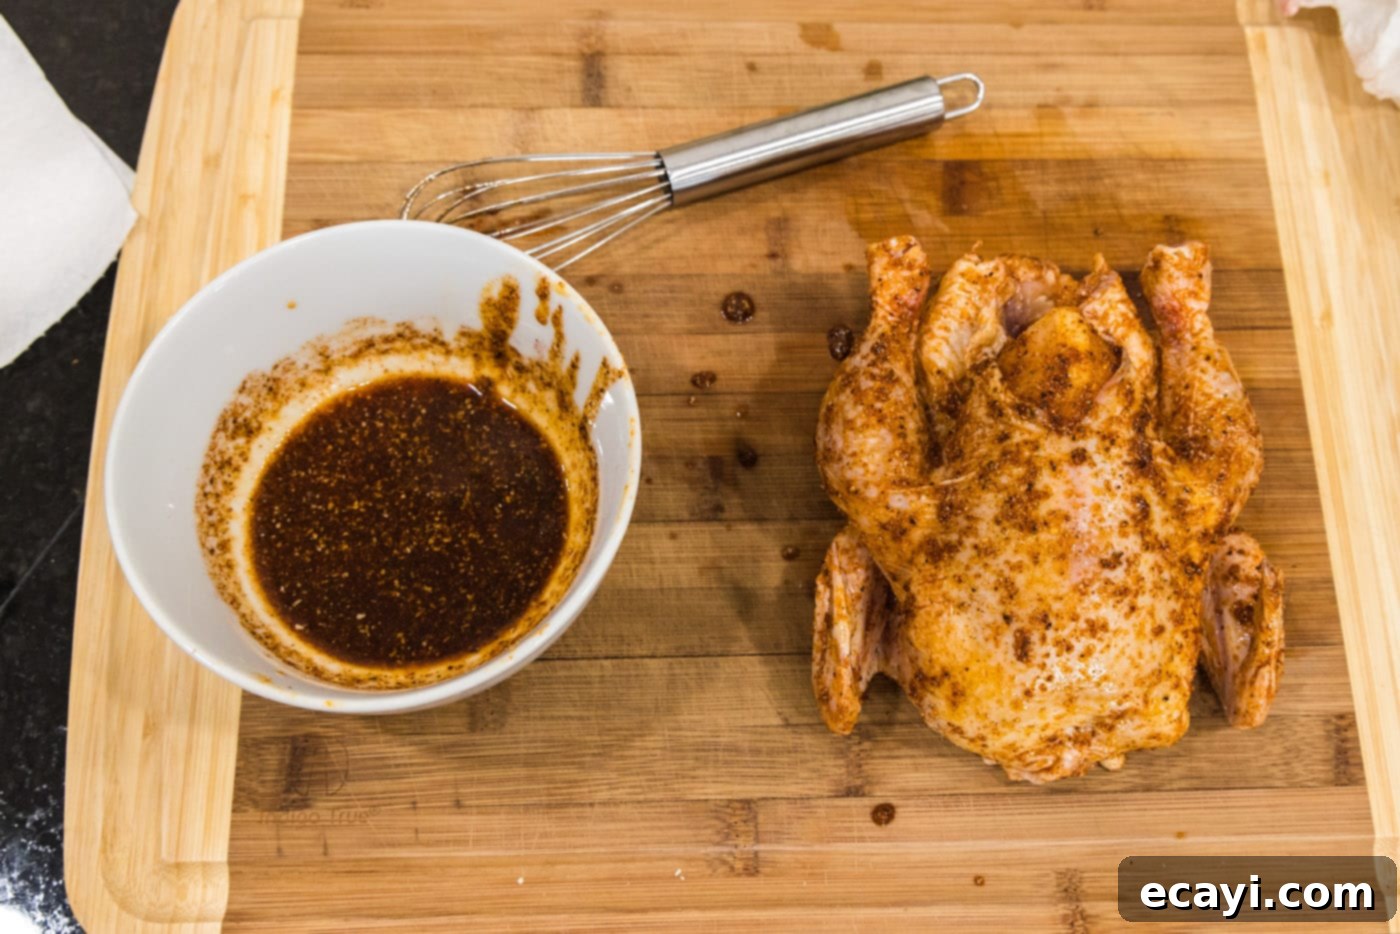
- Whisk the Wet Rub: In a medium-sized bowl, combine all the ingredients for your wet rub: olive oil, onion powder, garlic salt, smoked paprika, chili powder, and black pepper. Whisk them together thoroughly until you have a smooth, well-combined paste. This ensures that the flavors are evenly distributed.


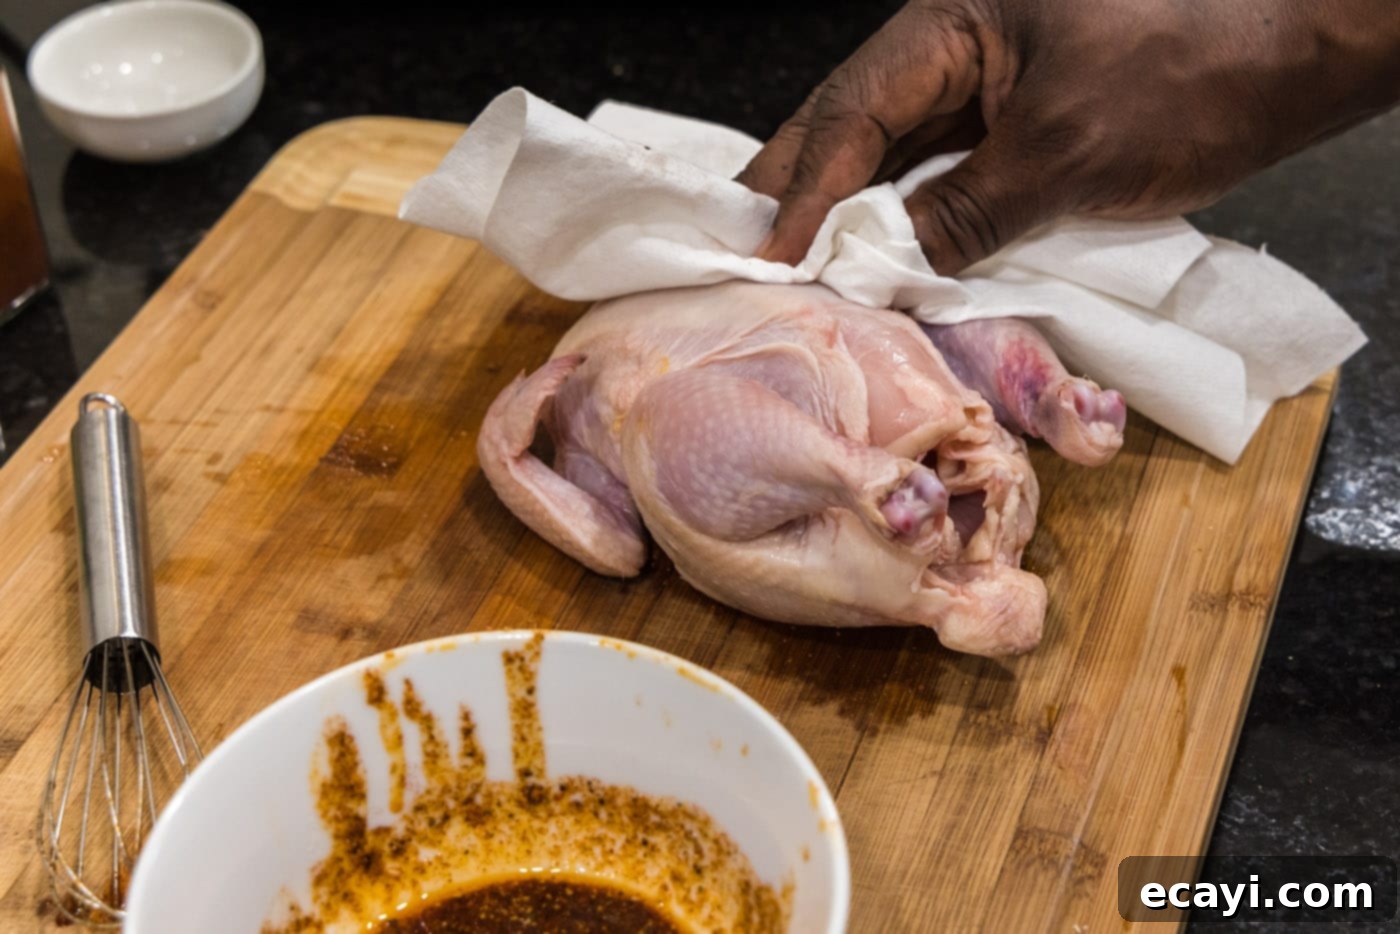
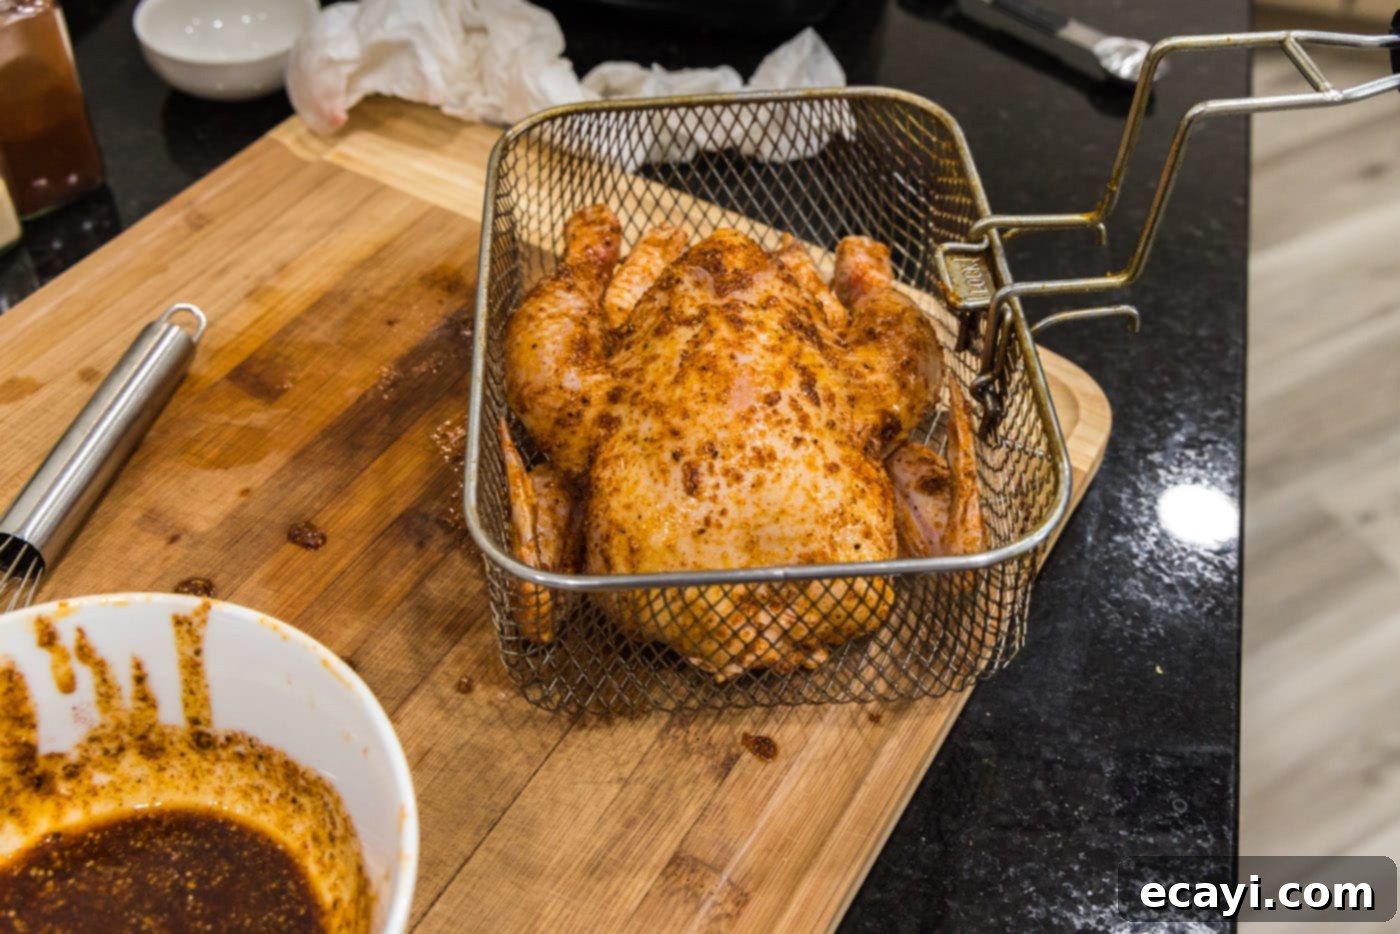
- Prepare and Season the Hens: Using paper towels, thoroughly dab the Cornish hens dry to remove any lingering excess moisture. This step is critical for achieving maximum crispiness. Once dried, don a pair of gloves (vinyl gloves are recommended for handling raw poultry and spices) and generously rub the prepared oil and spice mixture all over the entire exterior of both hens. Ensure the rub is evenly distributed, getting into all crevices for maximum flavor penetration and a beautiful crust.


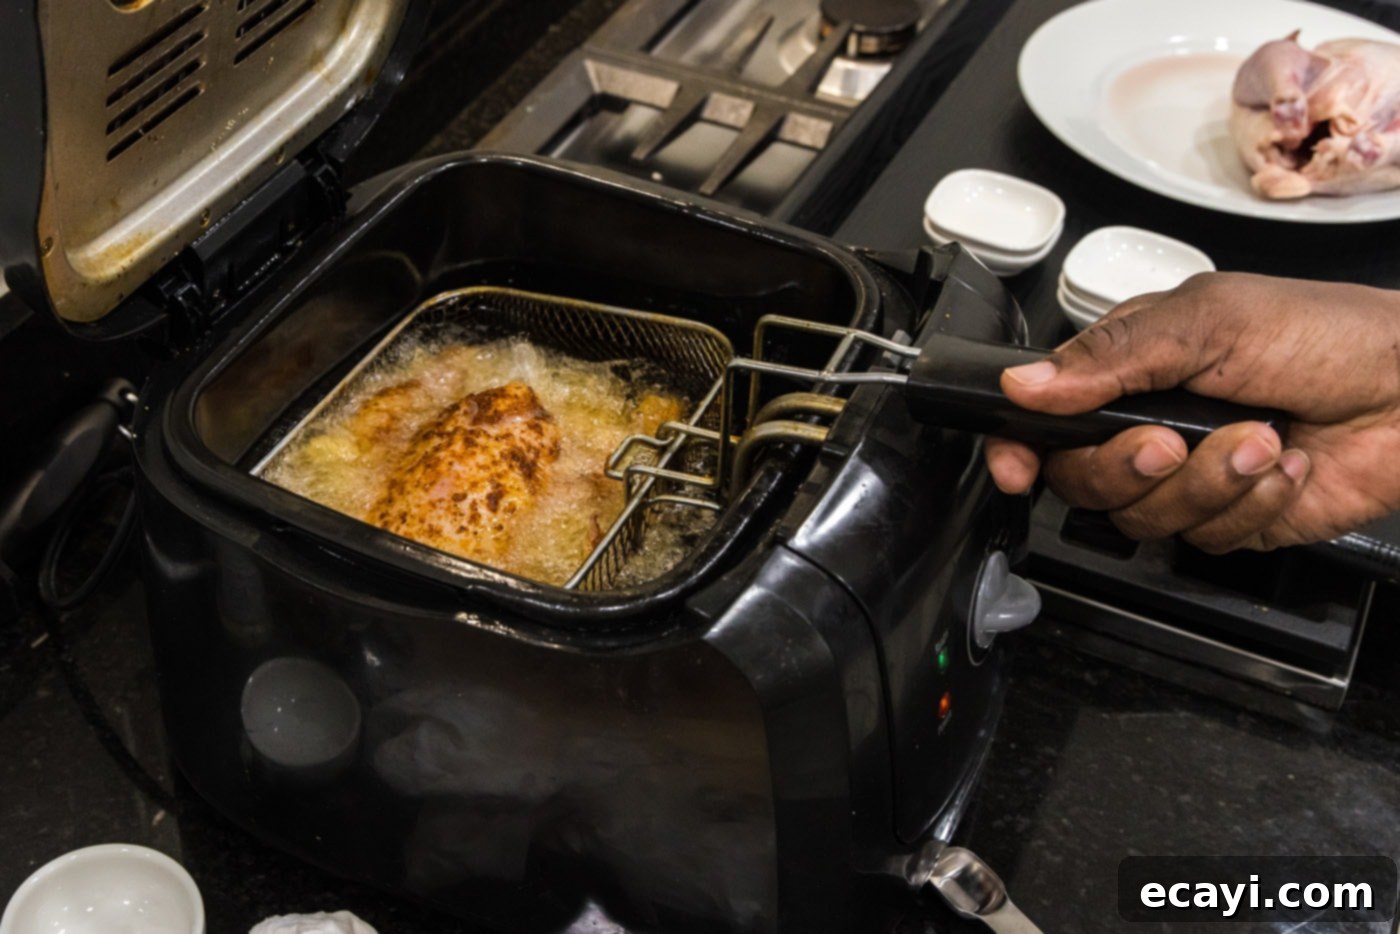
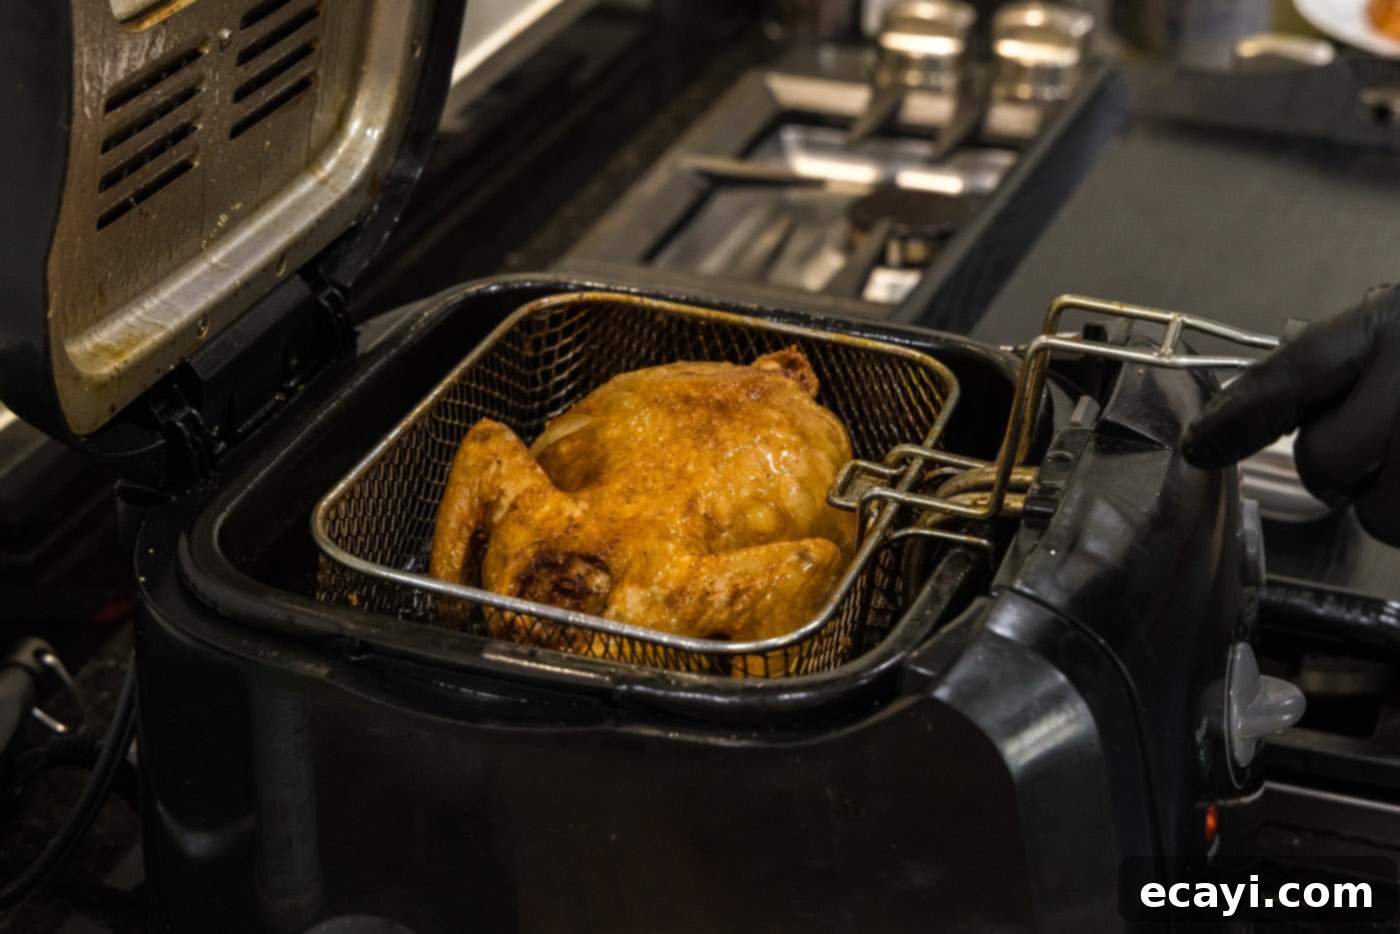
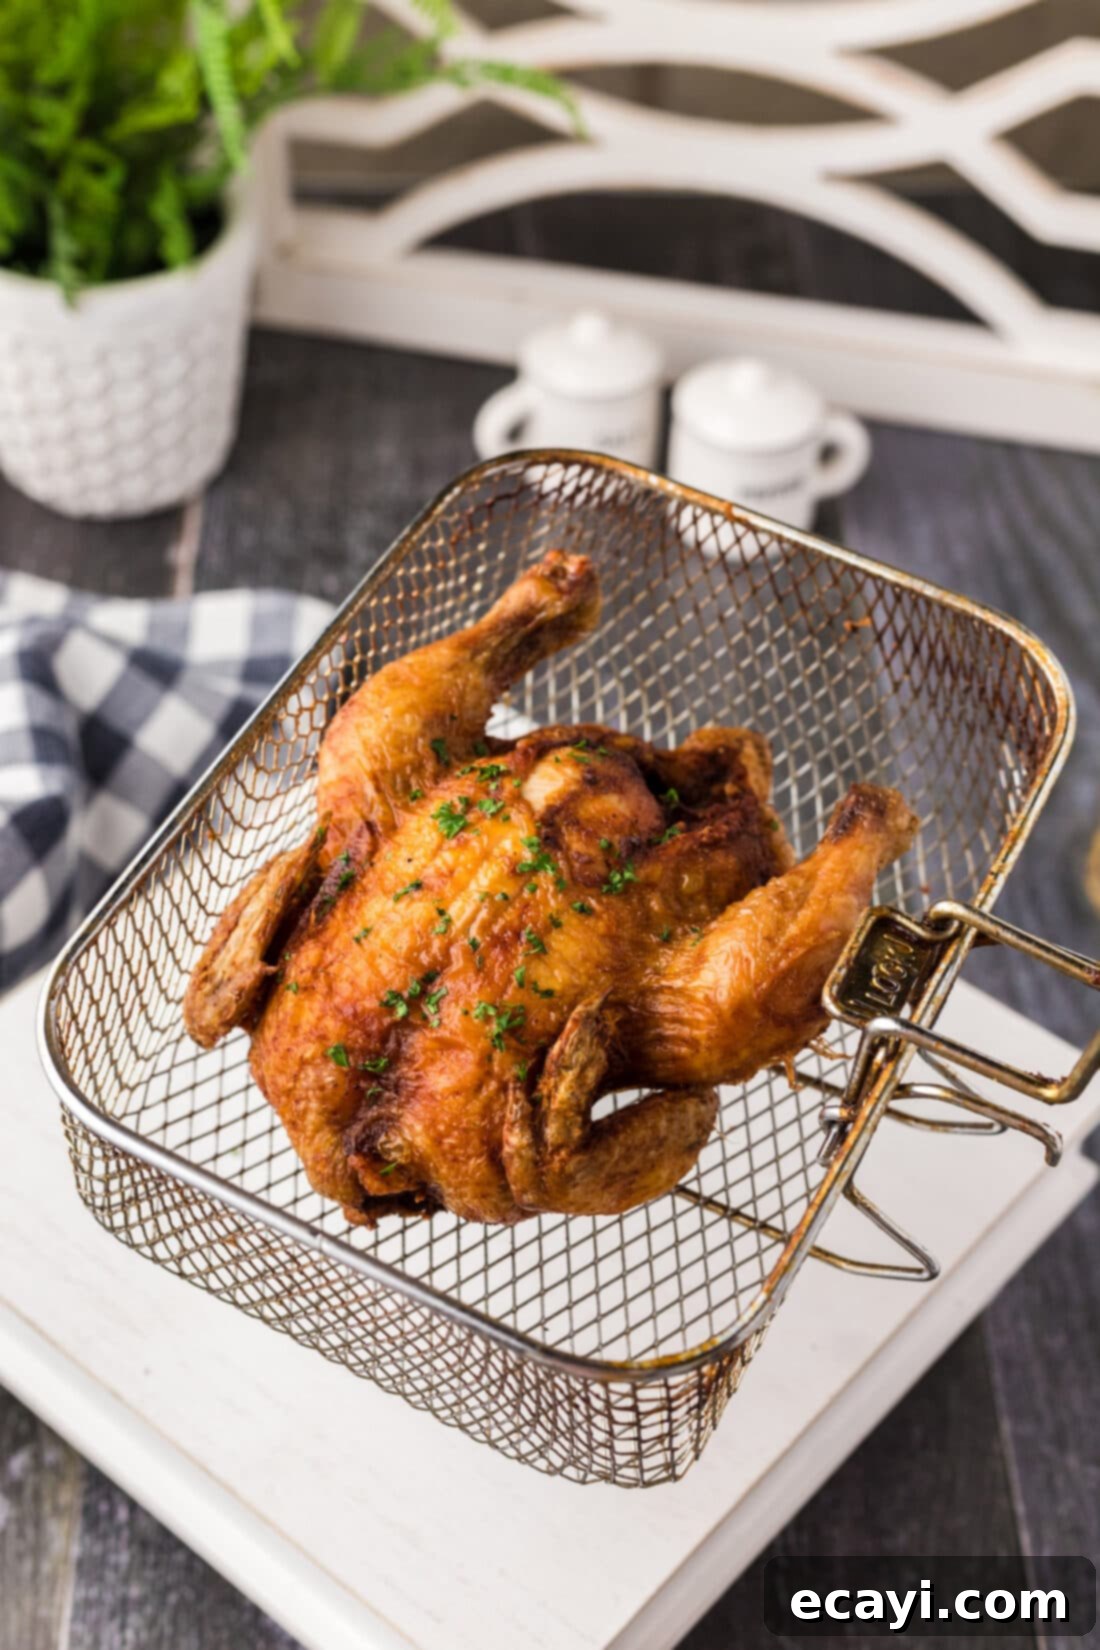
- Initial Deep Fry: Carefully place one prepared hen into the deep fryer basket, ensuring it is breast-side up. Lower the basket slowly into the preheated oil. If your fryer is small, you may need to fry one hen at a time to avoid overcrowding and dropping the oil temperature significantly.

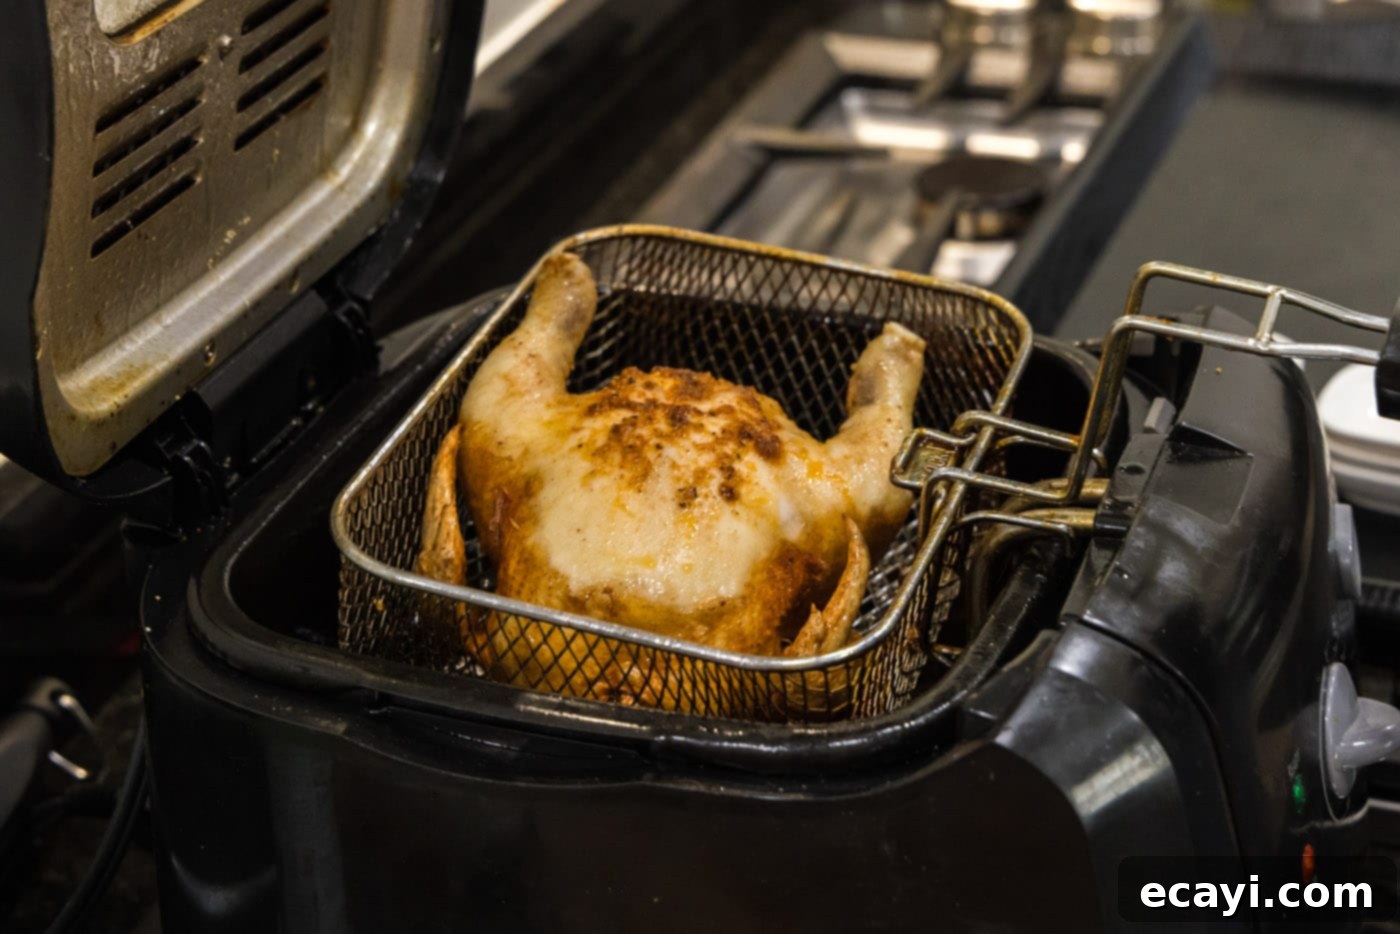
- Continue Frying and Flip: Deep fry the hen for 20 minutes. After this initial cooking time, carefully raise the basket and, using sturdy tongs, gently flip the hen over so it is now breast-side down. Lower it back into the oil and continue to deep fry for an additional 15 minutes. This two-stage frying process ensures even cooking and promotes an all-over crispy skin.


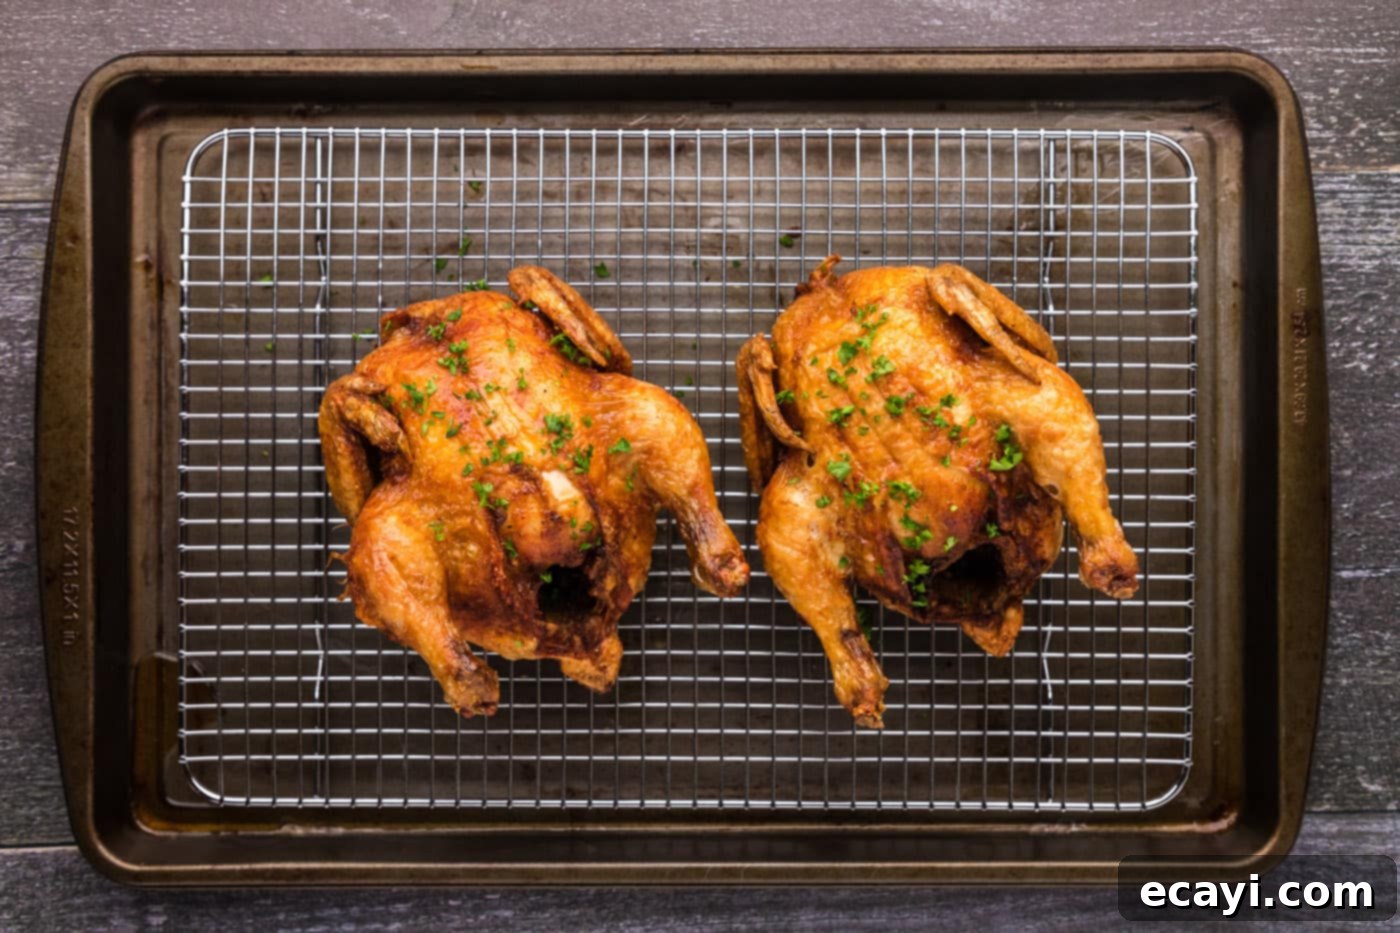
- Drain and Rest: Once the hens are golden brown and have reached an internal temperature of 165°F (74°C) in the thickest part of the thigh, carefully remove them from the fryer. Place them on a wire rack set over paper towels or a baking sheet to drain any excess oil. Allow the hens to rest for at least 5 minutes before carving or serving. This crucial resting period allows the juices to redistribute throughout the meat, resulting in an exceptionally tender and moist interior.

Frequently Asked Questions & Expert Tips for Perfect Cornish Hens
Proper storage is key to enjoying your delicious leftovers. Once cooled to room temperature, store any remaining fried Cornish hen in an airtight container in the refrigerator for up to 3 days. For reheating, the best way to regain some crispiness is to use an air fryer on its reheat function or in an oven preheated to 350°F (175°C) until thoroughly warmed through. Avoid microwaving, as it will likely make the skin soggy. If you want to store them for a longer period, you can freeze them for up to 3 months. To freeze, wrap individual hens or portions tightly in plastic wrap, then aluminum foil, and place them in a freezer-safe bag or container.
For food safety and optimal tenderness, Cornish hens are fully cooked when they reach an internal temperature of 165°F (74°C). Always use an instant-read thermometer, inserting it into the thickest portion of the meat, typically the thigh, making sure not to touch the bone. This ensures accurate readings and guarantees that your hens are safe to eat while remaining perfectly juicy.
Cornish hens, also known as Cornish game hens, are a specific breed of domestic chicken, typically a cross between a Cornish and White Plymouth Rock chicken. They are characterized by their small size (usually 1-2 pounds) and are harvested at a young age, specifically for their tender meat. Unlike larger chickens primarily raised for eggs or larger cuts, Cornish hens are bred to provide a single-serving, gourmet-style portion, making them a popular choice for elegant dinners and holiday meals. Their small stature also means they cook relatively quickly.
Absolutely! Brining your Cornish hens before deep frying can significantly enhance their juiciness and flavor, especially if you’re concerned about them drying out during the cooking process. A simple brine of water, salt, sugar, and aromatics (like bay leaves, peppercorns, and herbs) for 2-4 hours can work wonders. Just be sure to rinse the hens thoroughly after brining and pat them *very* dry before applying the wet rub and deep frying, as any excess moisture will cause the oil to splatter and prevent crispy skin.
Achieving that desirable crispy skin comes down to a few critical steps:
- Patting Dry: As emphasized, thoroughly pat the hens dry with paper towels. Moisture is the enemy of crispiness.
- Correct Oil Temperature: Maintain the oil temperature at a consistent 375°F (190°C). If the oil is too cool, the skin will become greasy and soggy. If it’s too hot, the skin might burn before the meat cooks through.
- Don’t Overcrowd: Fry one hen at a time, or ensure your fryer is large enough to maintain temperature if frying two. Overcrowding drops the oil temperature quickly, leading to less crispy results.
- Resting: While resting is for juiciness, allowing the hens to rest on a wire rack (not directly on paper towels for too long) helps maintain crispiness as air circulates around the skin.
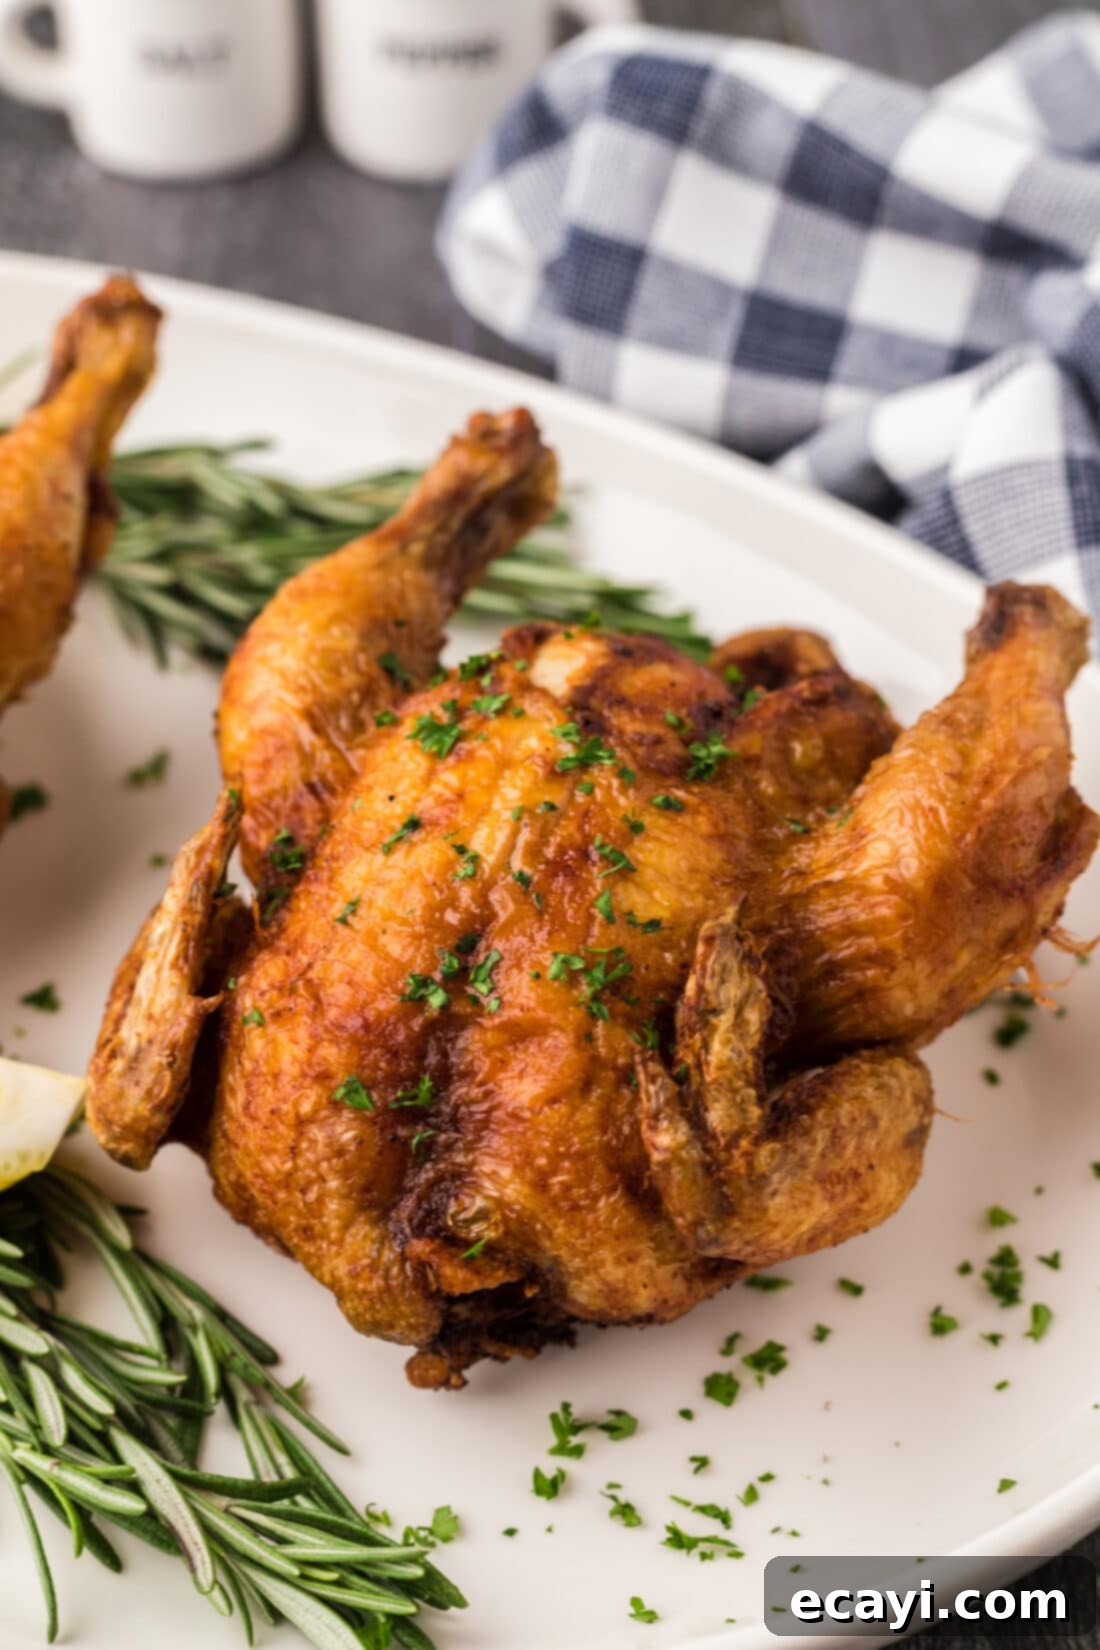
Delectable Serving Suggestions for Deep Fried Cornish Hens
Deep-fried Cornish hens are a fantastic and convenient option when you’re feeding fewer people and don’t want the commitment of preparing an entire roasted chicken. Their individual portion size makes them feel special without being overly elaborate. Beyond weeknight meals, they are also a popular choice during holiday feasts, often served alongside traditional turkey and ham as a diverse and appealing option for guests who might prefer a different poultry offering.
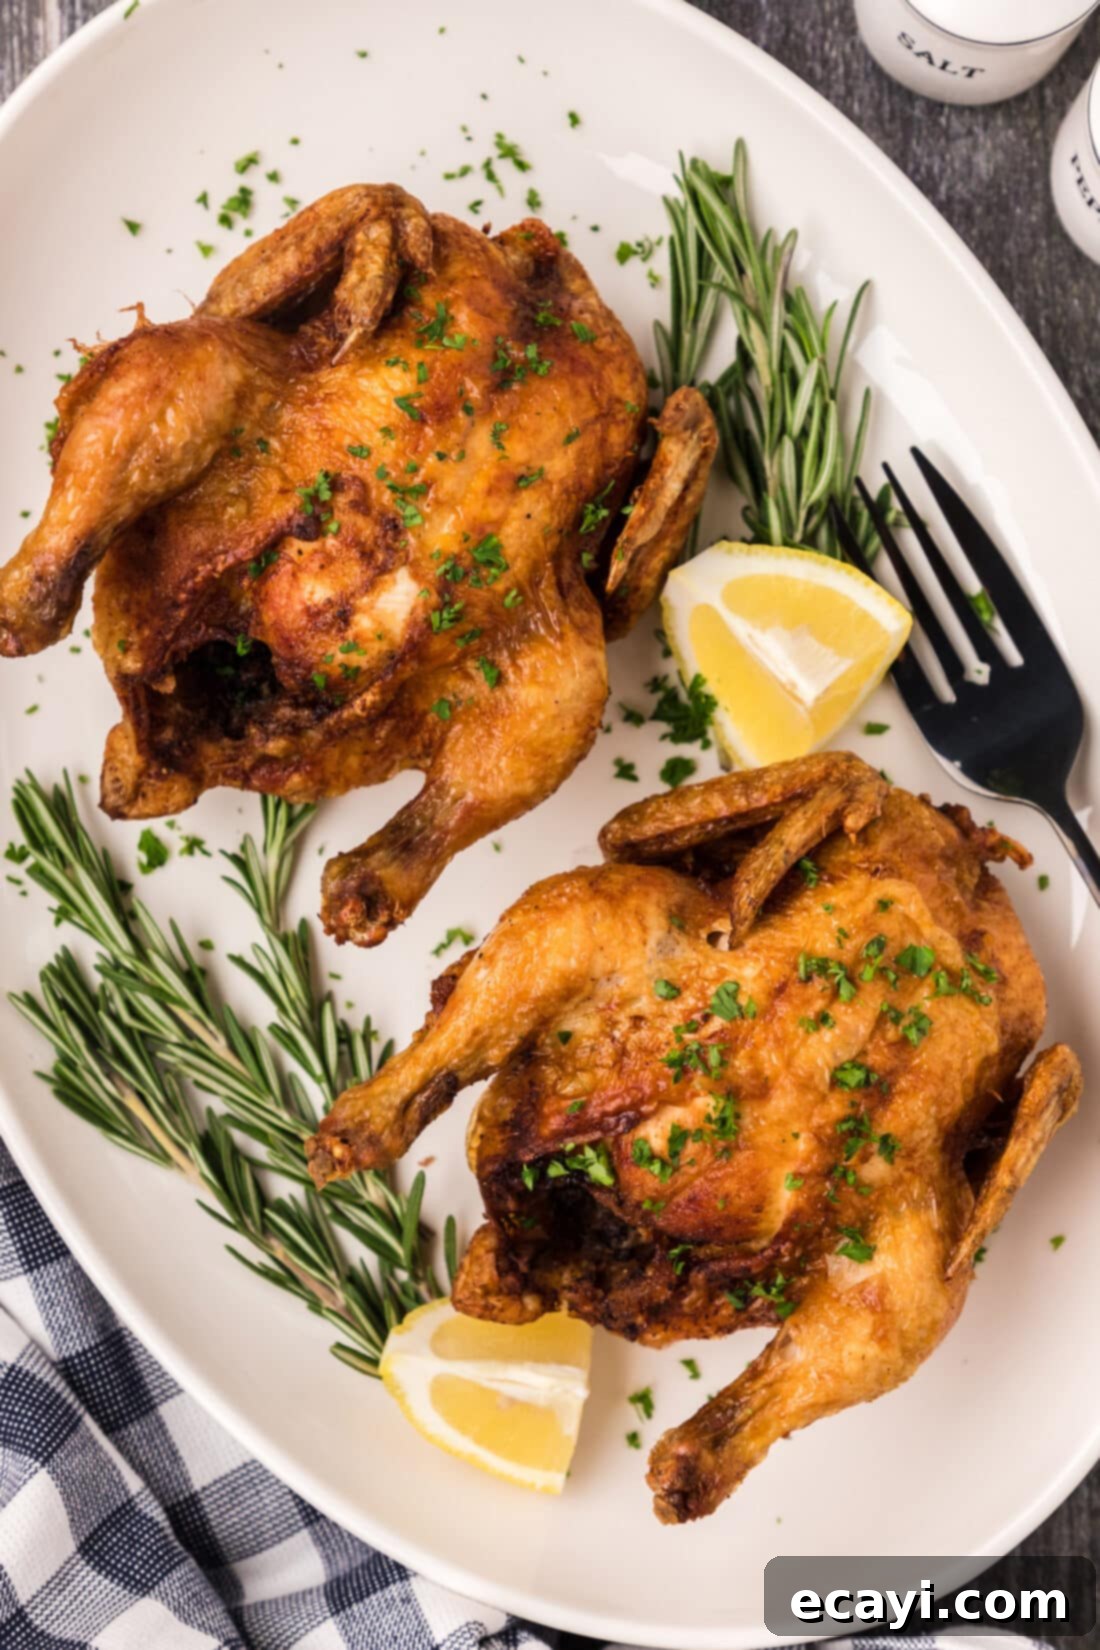
These flavorful hens pair beautifully with a wide array of side dishes. For a wholesome and satisfying meal, consider serving them with classic roasted potatoes, tender green beans, steamed broccoli, crisp asparagus, or sweet glazed carrots. Other excellent accompaniments include creamy mashed potatoes, wholesome sweet potatoes (baked or mashed), fluffy rice, delicate couscous, sautéed mushrooms, rich creamed spinach, or any of your favorite festive Thanksgiving or Christmas side dishes. Don’t forget a squeeze of fresh lemon and a sprinkle of fresh herbs like parsley or chives for a bright finish!
Discover More Delicious Recipes
If you loved this recipe, explore other fantastic fried and poultry dishes to expand your culinary repertoire:
- Crispy Fried Pork Chops
- Irresistible Fried Chicken Wings
- Quick Air Fryer Cornish Hen
- Easy Air Fryer Fried Chicken
I absolutely love to bake and cook, and my greatest joy is sharing my kitchen experiences and delicious recipes with all of you! Remembering to come back each day for new inspiration can be tough, which is why I offer a convenient newsletter every time a new recipe is posted. Simply subscribe here and start receiving your free daily recipes directly in your inbox!
Deep Fried Cornish Hens
IMPORTANT – There are often Frequently Asked Questions within the blog post that you may find helpful. Simply scroll back up to read them!
Print It
Pin It
Rate It
Save ItSaved!
Ingredients
- 48 ounces Cornish hens two 24 ounce hens
- vegetable oil for frying (enough to submerge the hens)
Wet Rub
- 2 Tablespoons olive oil
- 1 teaspoon onion powder
- 2 teaspoons garlic salt
- 1 teaspoon smoked paprika
- 1 teaspoon chili powder
- ½ teaspoon black pepper
Things You’ll Need
-
Deep fryer
-
Vinyl gloves
-
Tongs
Important Notes Before You Begin
- We’ve successfully prepared this recipe using two Cornish hens, each weighing approximately 24 ounces. It is absolutely essential that your hens are completely thawed before you start cooking. You can thaw them overnight in the refrigerator, or for a quicker method, place them (still in their packaging) in a bowl of cold water, changing the water every 30 minutes until thawed.
- The capacity of deep fryers can vary significantly. Depending on the size and specific model of your deep fryer, you may need to cook the Cornish hens in batches to avoid overcrowding. Our deep fryer basket comfortably accommodates one Cornish hen at a time, ensuring even cooking and consistent oil temperature.
- To confirm your Cornish hens are thoroughly cooked and safe to eat, ensure they reach an internal temperature of 165°F (74°C). This measurement should be taken using an instant-read thermometer inserted into the thickest part of the thigh, making sure not to touch the bone.
- Leftover deep-fried Cornish hen can be stored in an airtight container in the refrigerator for up to 3 days. For best results when reheating, use an air fryer on its reheat function or warm them in an oven preheated to 350°F (175°C) until heated through, which helps restore crispiness. For longer storage, freeze them for up to 3 months.
Instructions for Deep Frying Cornish Hens
-
Preheat your deep fryer to precisely 375°F (190°C). This temperature is crucial for achieving crispy skin and a juicy interior.
-
In a medium bowl, whisk together the olive oil, onion powder, garlic salt, smoked paprika, chili powder, and black pepper until well combined into a smooth wet rub.
-
Thoroughly pat the Cornish hens dry with paper towels to remove all excess moisture. Using gloved hands, generously rub the prepared spice mixture all over the outside of both hens, ensuring an even and complete coating.
-
Carefully place one prepared hen into the deep fryer basket, ensuring it is positioned breast side up. Avoid overcrowding the fryer to maintain oil temperature.
-
Deep fry the hen for 20 minutes. After this time, carefully raise the basket and use tongs to gently flip the hen over. Continue to deep fry for another 15 minutes, or until the internal temperature reaches 165°F (74°C).
-
Once cooked, remove the hen from the fryer and place it on a wire rack over paper towels to drain excess oil. Allow it to rest for 5 minutes before serving to ensure maximum juiciness.
Nutrition Information
The recipes on this blog are meticulously tested using a conventional gas oven and a gas stovetop. Please be aware that individual ovens, especially older models, can sometimes cook and bake inconsistently. We highly recommend using an inexpensive oven thermometer to verify that your oven is truly heating to the proper temperature. If you opt to use a toaster oven or countertop oven, keep in mind that their heat distribution may differ from a full-sized conventional oven, potentially requiring adjustments to your cooking or baking times. For recipes prepared with appliances like pressure cookers, air fryers, slow cookers, or other specialized equipment, a direct link to the specific appliances we use is typically provided within each respective recipe. Furthermore, for baking recipes where measurements are given by weight, please note that using volume measurements (cups) instead may lead to different results, and we cannot guarantee success with this altered method.
