Crispy, Golden, and Perfectly Seasoned: Your Ultimate Guide to Easy Homemade Croutons
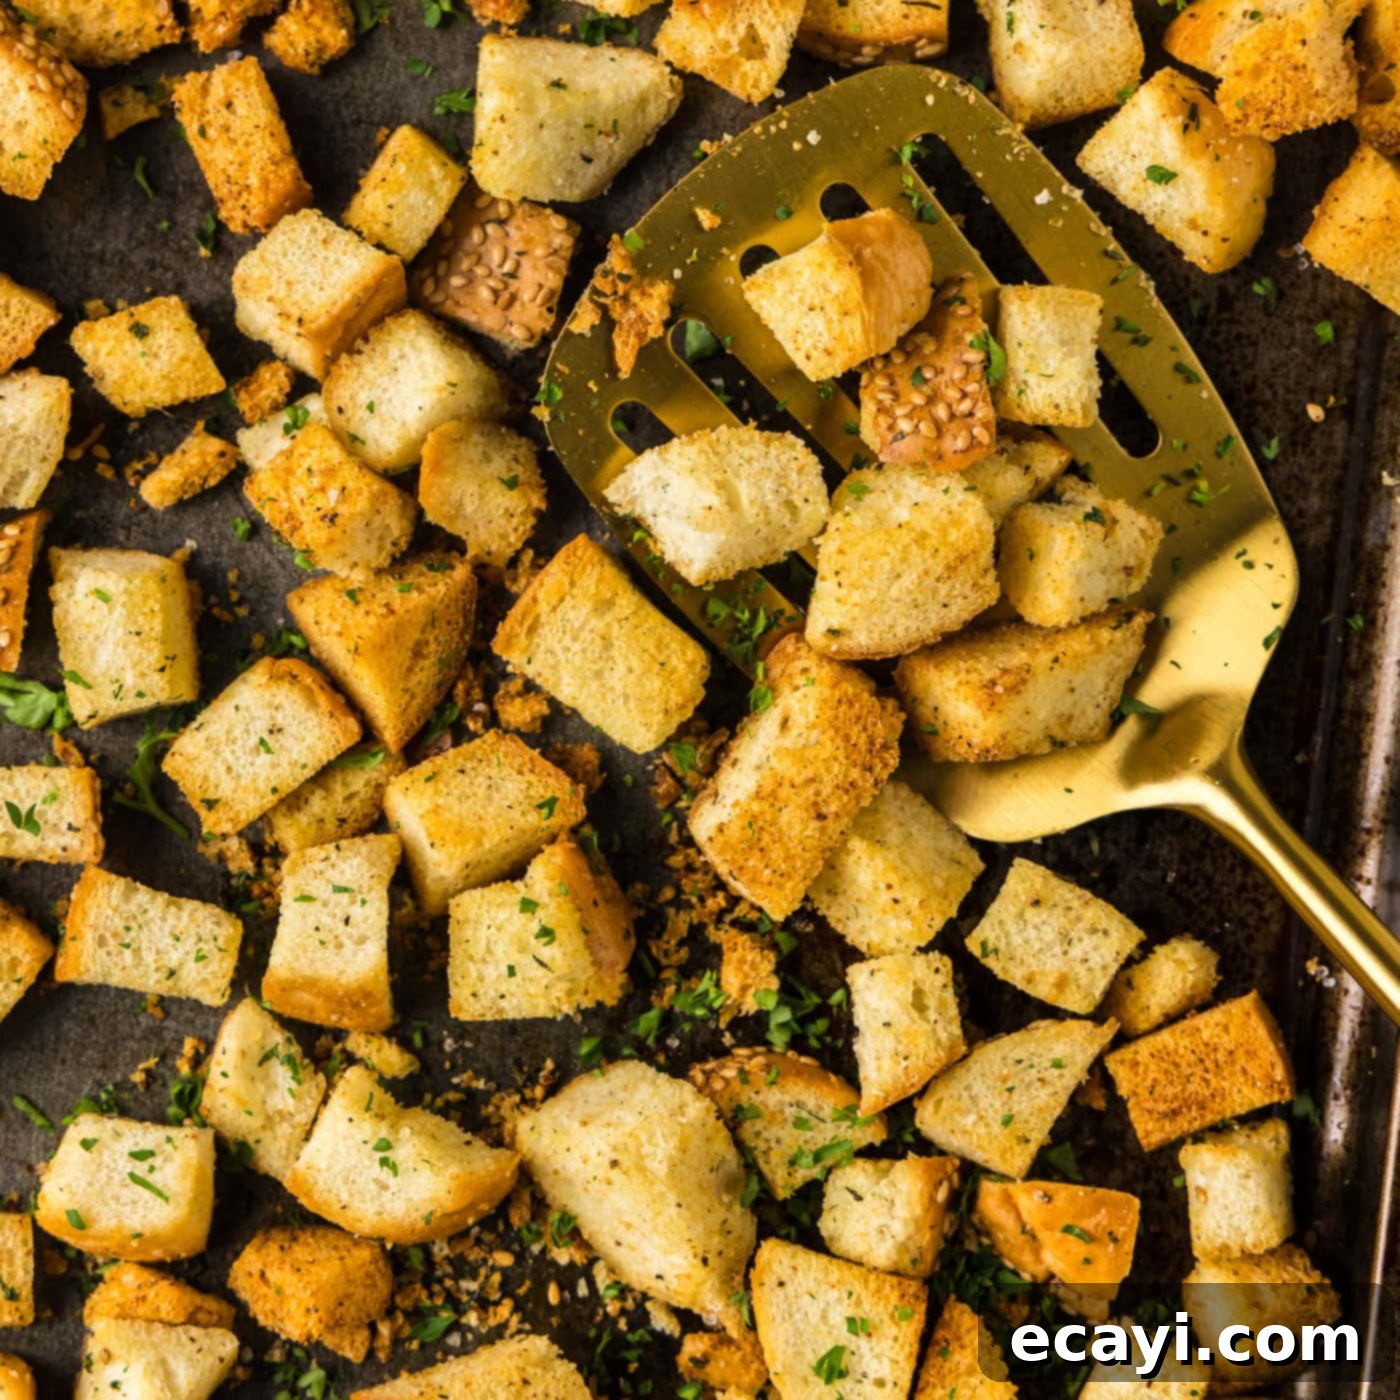
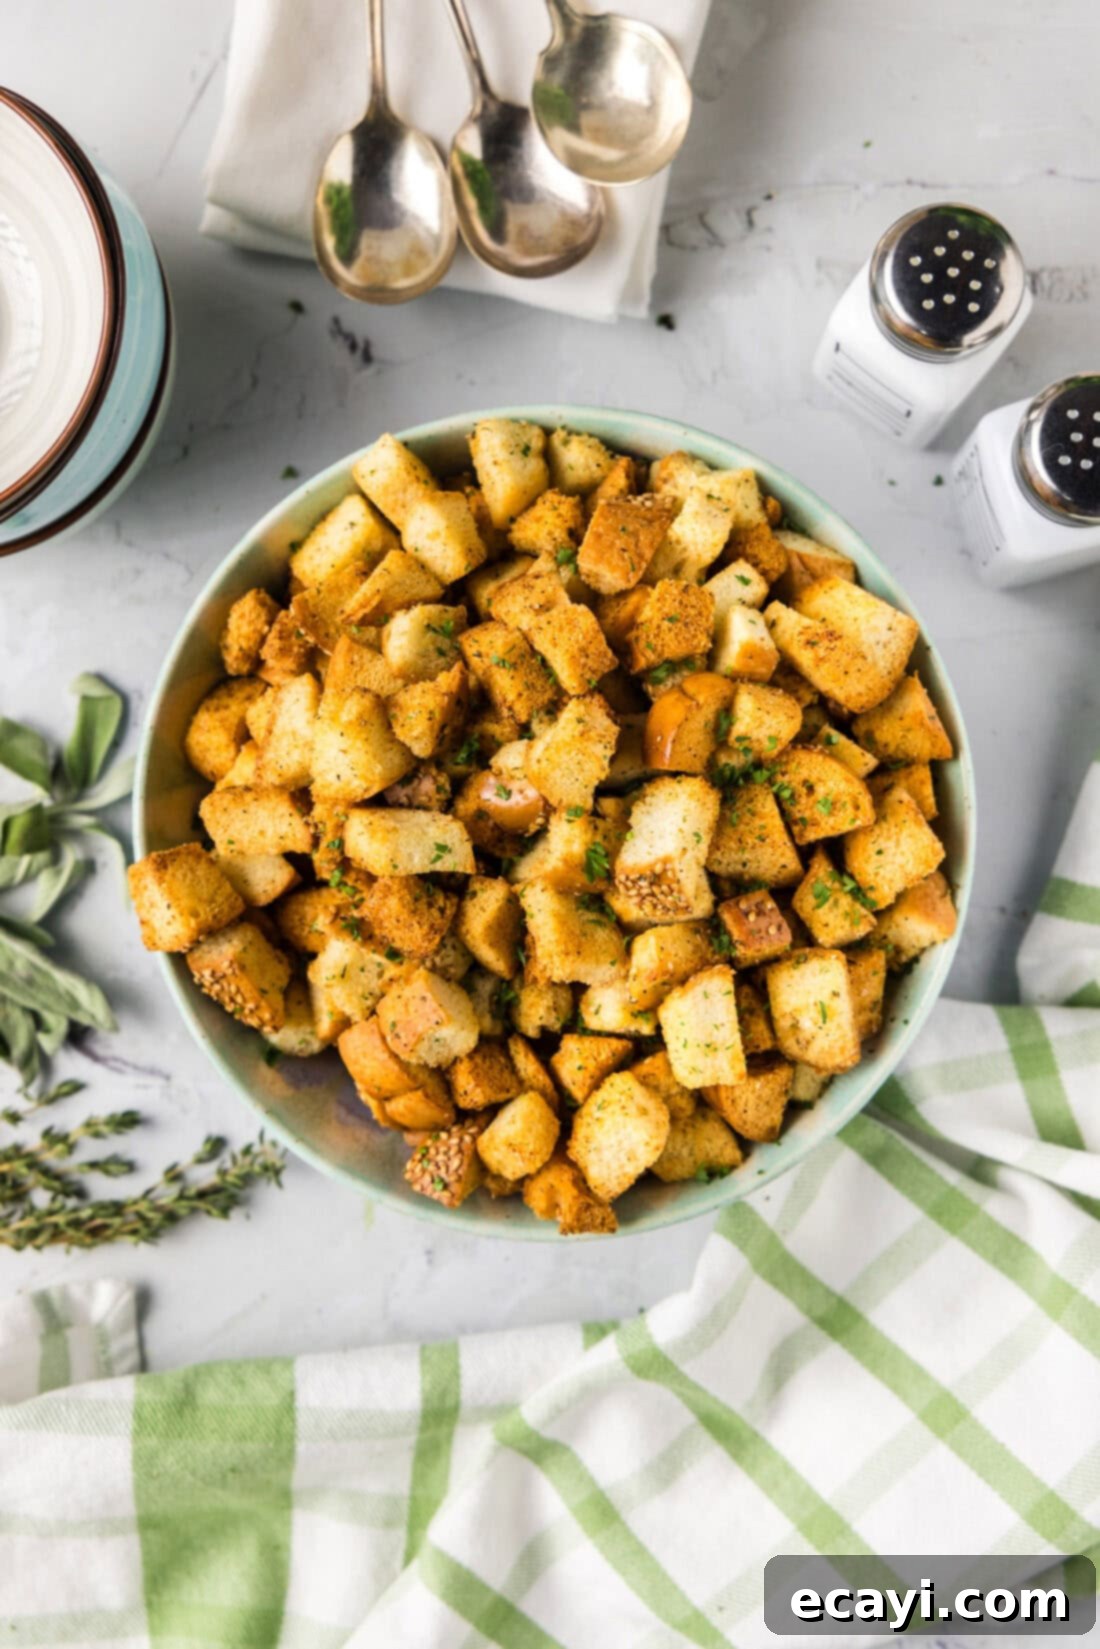
Transform any loaf of bread, whether fresh or delightfully stale, into a batch of irresistibly crispy, golden homemade croutons in under 30 minutes. This essential guide will walk you through creating perfectly seasoned bread cubes that elevate salads, soups, and countless other dishes. Forget bland, expensive store-bought options; discover the superior flavor and crunch of croutons made right in your own kitchen with minimal effort and maximum reward.
Why This Homemade Crouton Recipe Is a Game-Changer
Homemade croutons are a culinary secret weapon, offering a world of versatility far beyond merely topping your favorite salad. While they certainly excel at adding that perfect crunch to a crisp Caesar or garden salad, their potential is truly limitless. Imagine elevating your holiday meals with savory crockpot stuffing, where fresh, flavorful bread cubes absorb all the rich seasonings. Or perhaps you’re looking for an exquisite garnish for a creamy bowl of tomato soup, where each bite delivers a satisfying textural contrast. The possibilities extend even further: you can easily crush these golden gems to create your own homemade breadcrumbs, perfect for coating chicken, binding meatballs, or topping casseroles.
The beauty of making croutons yourself lies in their incredible simplicity and speed. In less than half an hour, you can transform an ordinary loaf of bread – especially that slightly stale one lingering on your counter – into a gourmet ingredient. This recipe champions the art of using up leftover bread, significantly reducing food waste while saving you money. With just a handful of common herbs and seasonings, you’ll create crispy, crunchy, golden cubes of perfection using ingredients you almost certainly already have in your pantry. Why settle for pre-packaged, often inferior store-bought croutons when crafting a batch of your own is this effortless and delicious? The depth of flavor and superior texture of homemade croutons simply cannot be matched, making this recipe an absolute must-have in your kitchen repertoire.
Key Ingredients for Perfect Homemade Croutons
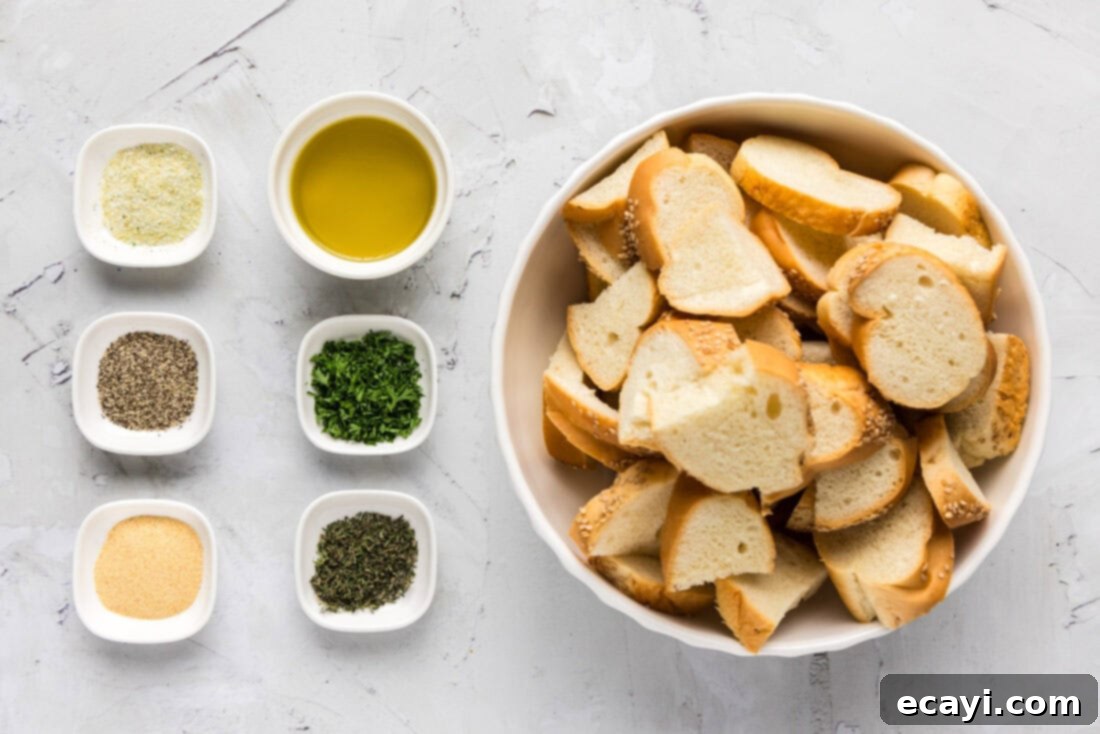
Creating delicious homemade croutons requires only a few simple ingredients, many of which you likely already have. The magic happens when these basic components come together, transforming humble bread into a crunchy, flavorful topping. You’ll find all specific measurements and detailed instructions in the printable recipe card located at the end of this post.
Ingredient Spotlight & Creative Substitutions
Let’s dive deeper into the ingredients and explore how you can customize your croutons to perfectly suit your taste and what you have on hand.
BREAD: The Foundation of Your Croutons
The beauty of homemade croutons is their adaptability. You can genuinely use almost any type of bread, whether it’s perfectly fresh or a few days old and slightly stale. While I opted for a classic French loaf for this recipe, I’ve had fantastic results with a variety of other breads. Italian bread, with its hearty crust and soft interior, is another excellent choice. Baguettes lend themselves beautifully to smaller, more delicate croutons. Even humble sandwich bread can be transformed, though the resulting croutons might be a bit smaller and less robust than those made from artisan loaves. For a richer, slightly sweet flavor, consider using brioche or challah. Sourdough offers a delightful tang and a wonderfully firm texture that holds up well during baking. Ciabatta, with its airy pockets and rustic crust, creates uniquely textured croutons. Each bread variety will impart its own distinct flavor and texture, so feel free to experiment to find your personal favorite!
SEASONING: Crafting Your Signature Flavor Profile
The seasoning blend is where your croutons truly come alive. This recipe uses a classic mix of garlic powder, black pepper, garlic salt, dried thyme, and dried parsley. It’s important to note that you might lose a little bit of the seasoning as the croutons tumble during mixing and baking. If you prefer a bolder, saltier, or more garlicky flavor, don’t hesitate to sprinkle an extra dash of garlic salt or powder just before they go into the oven. But don’t stop there! This is your opportunity to get creative. Consider adding:
- Italian Herbs: A blend of dried oregano, basil, and rosemary for a Mediterranean flair.
- Spicy Kick: A pinch of red pepper flakes for those who enjoy a little heat.
- Cheesy Goodness: Grated Parmesan cheese mixed with the seasonings before baking, or sprinkled on halfway through.
- Smoky Flavor: A dash of smoked paprika.
- Onion Powder: For an extra layer of savory depth.
- Nutritional Yeast: If you’re looking for a dairy-free cheesy flavor.
Feel empowered to season your croutons exactly to your liking. Adjust the quantities, swap herbs, and make it your own!
OLIVE OIL: The Key to Crispiness and Flavor
Olive oil is crucial for achieving that desirable golden-brown color and irresistible crisp texture, as well as helping the seasonings adhere to the bread cubes. For this recipe, a good quality extra virgin olive oil works perfectly, imparting a lovely subtle flavor. If you prefer, you can substitute olive oil with melted unsalted butter for a richer taste, or use another neutral-flavored oil like avocado oil or grapeseed oil. The goal is to evenly coat each cube without making them soggy, ensuring they toast rather than fry.
Step-by-Step Guide: How to Make Homemade Croutons
These step-by-step photos and detailed instructions are provided to help you visualize each stage of making this recipe. For the complete printable version, including precise measurements and ingredient list, please scroll down to the Jump to Recipe section at the bottom of this post.
- Prepare Your Oven and Baking Sheet: Begin by preheating your oven to 375°F (190°C). This ensures the oven is at the optimal temperature for even toasting from the moment the croutons enter. Line a baking sheet with parchment paper. Parchment paper is a fantastic non-stick surface that prevents your croutons from sticking and makes cleanup a breeze.
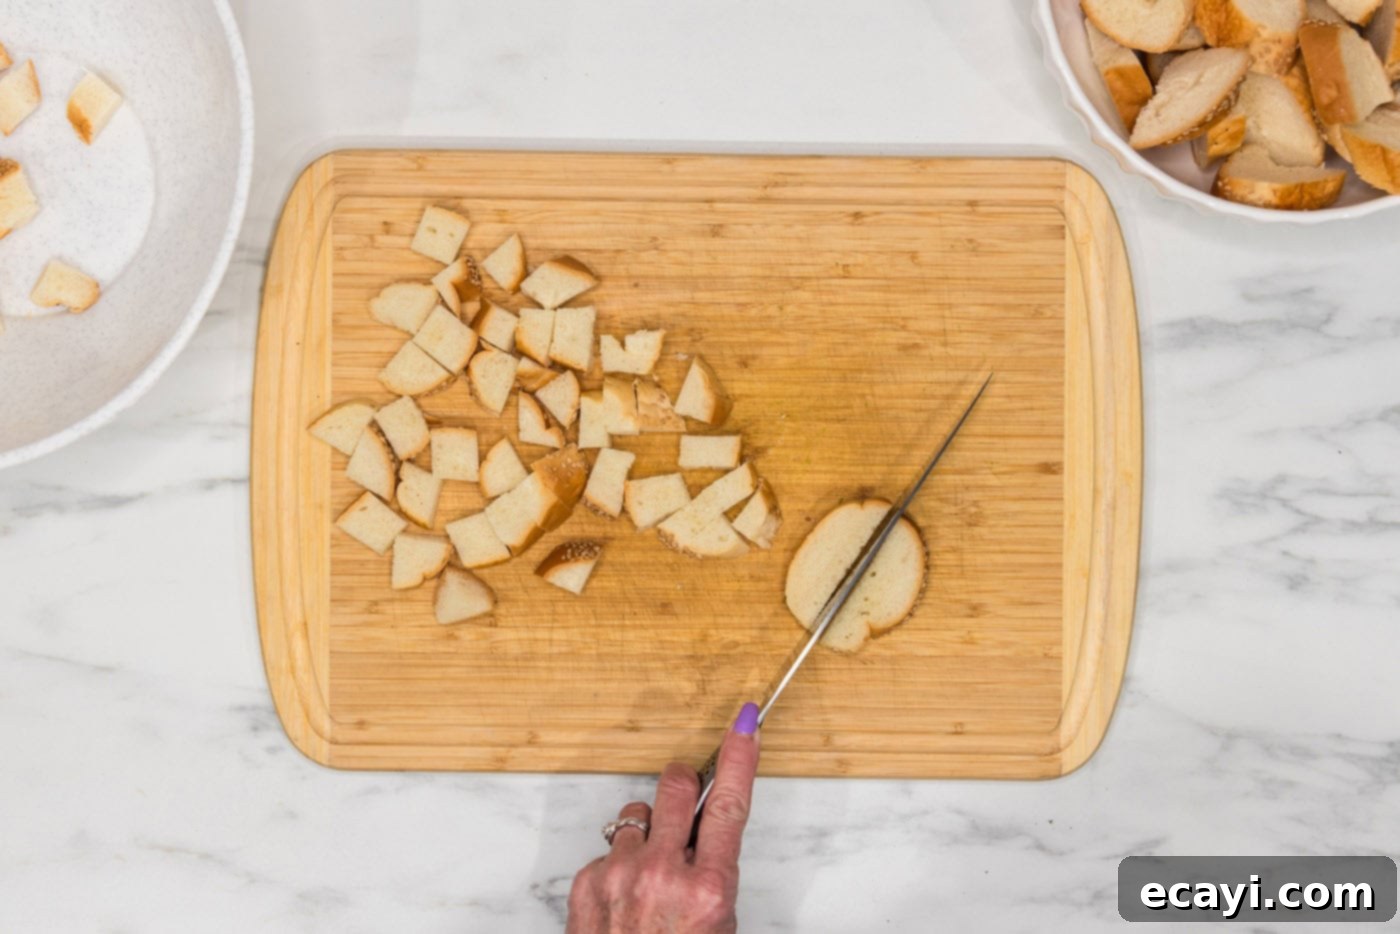
- Cut Your Bread into Cubes: Take your chosen loaf of bread and cut it into uniform cubes, ideally about ¾ to 1 inch in size. Consistency in size is key here, as it ensures all your croutons bake evenly and crisp up at the same rate. Place the bread cubes into a large mixing bowl, ensuring there’s plenty of space to toss them without spillage.

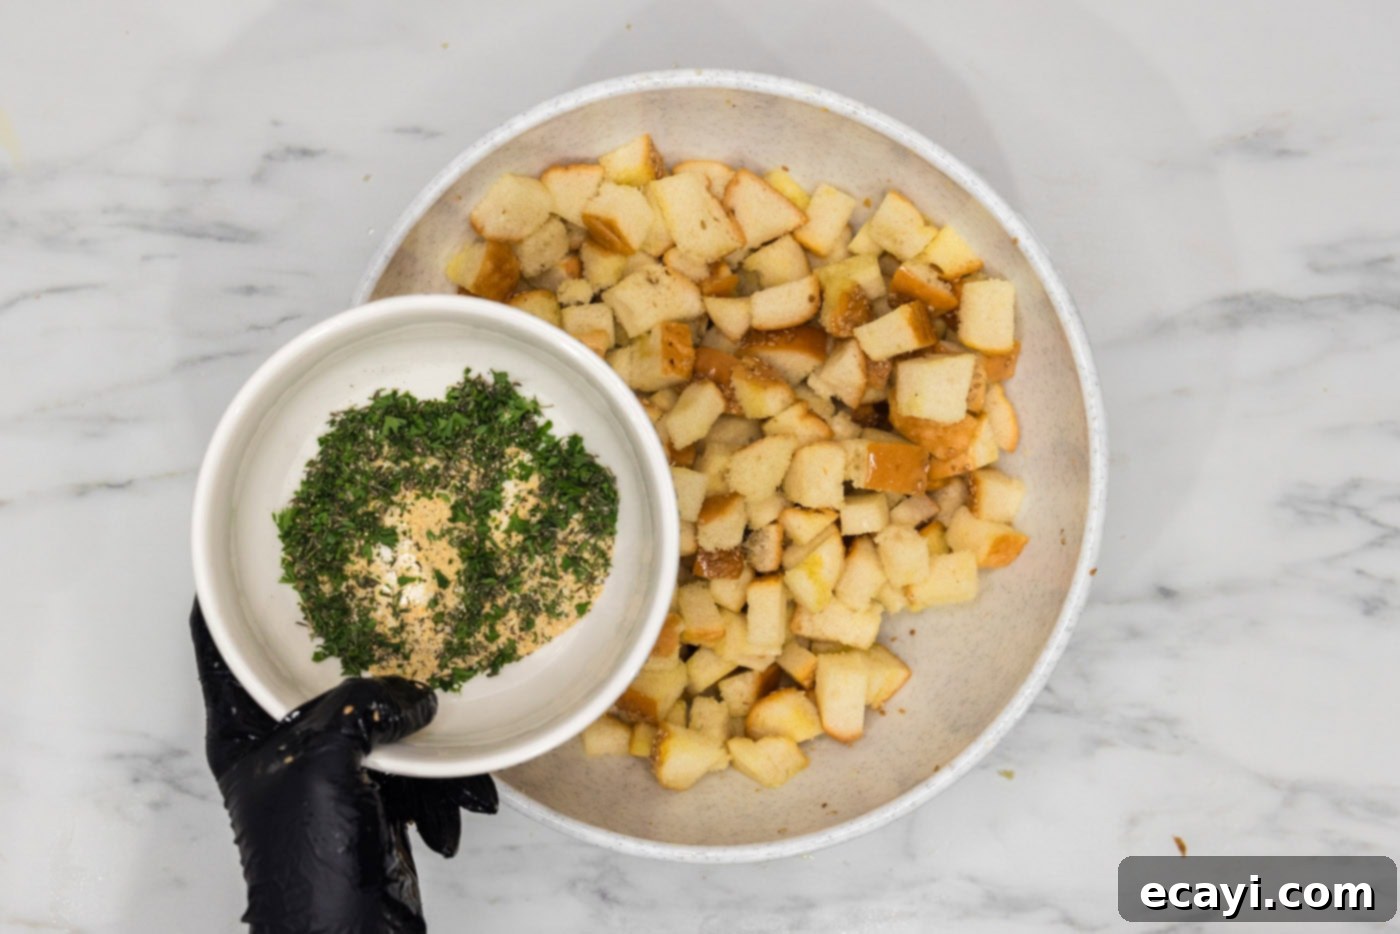
- Create Your Seasoning Blend: In a small separate bowl, combine your dry seasonings: garlic powder, black pepper, garlic salt, dried thyme, and dried parsley. Whisk them together briefly to ensure they are well mixed. This step helps distribute the flavors evenly over the bread cubes later.
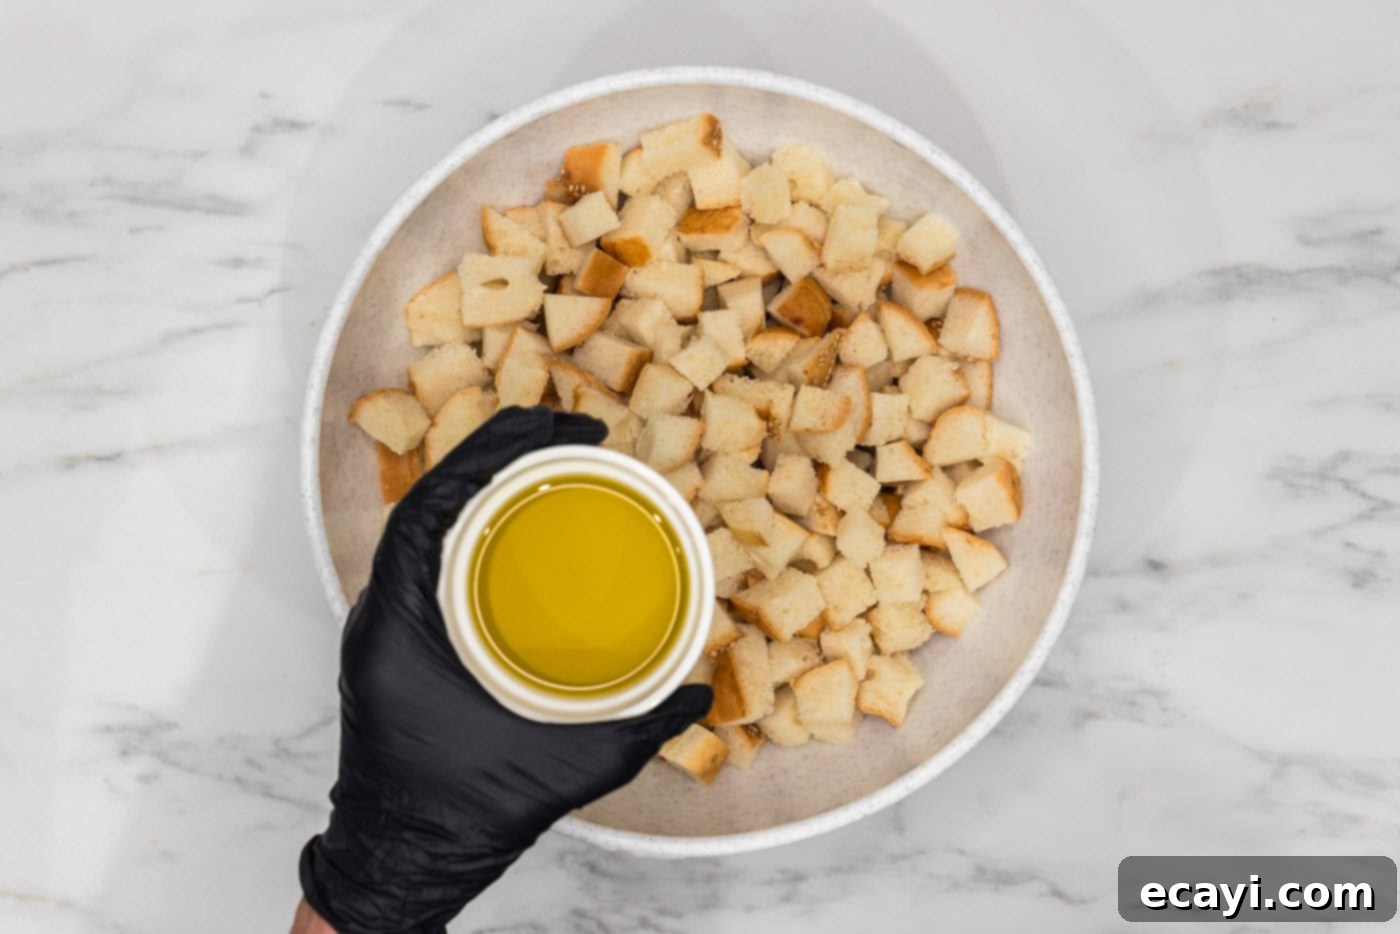
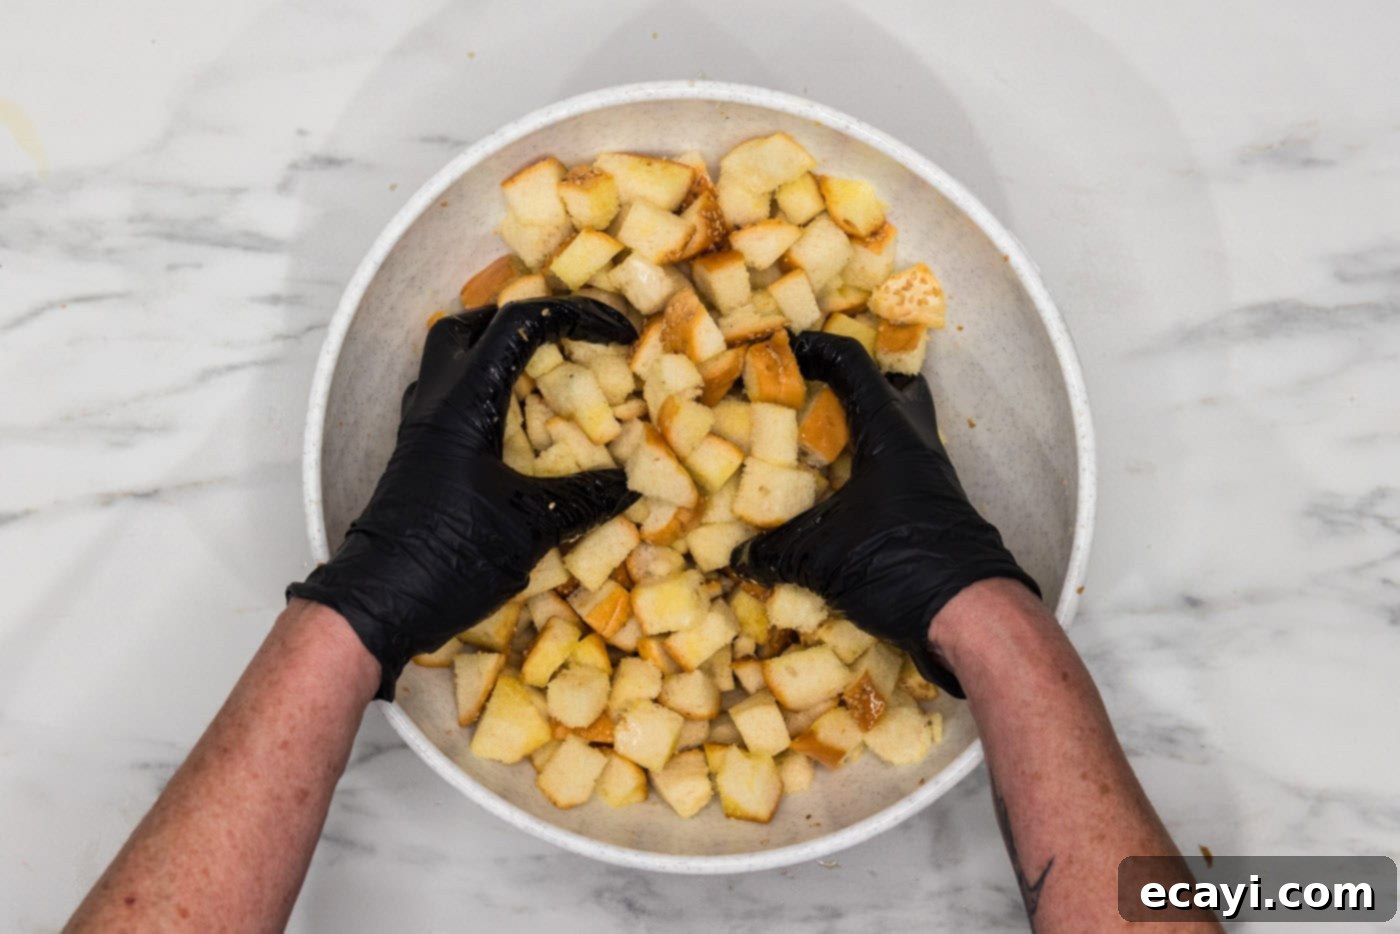
- Coat with Olive Oil: Drizzle the olive oil generously over the bread cubes in the large mixing bowl. Now, using gloved hands (or clean bare hands if you prefer), gently mix and massage the oil into the bread. The goal is to lightly coat each cube without drenching it. Gently squeeze and rub the cubes to help spread the oil out as best you can. Be careful not to apply too much pressure or break the cubes apart; you want them to retain their shape.


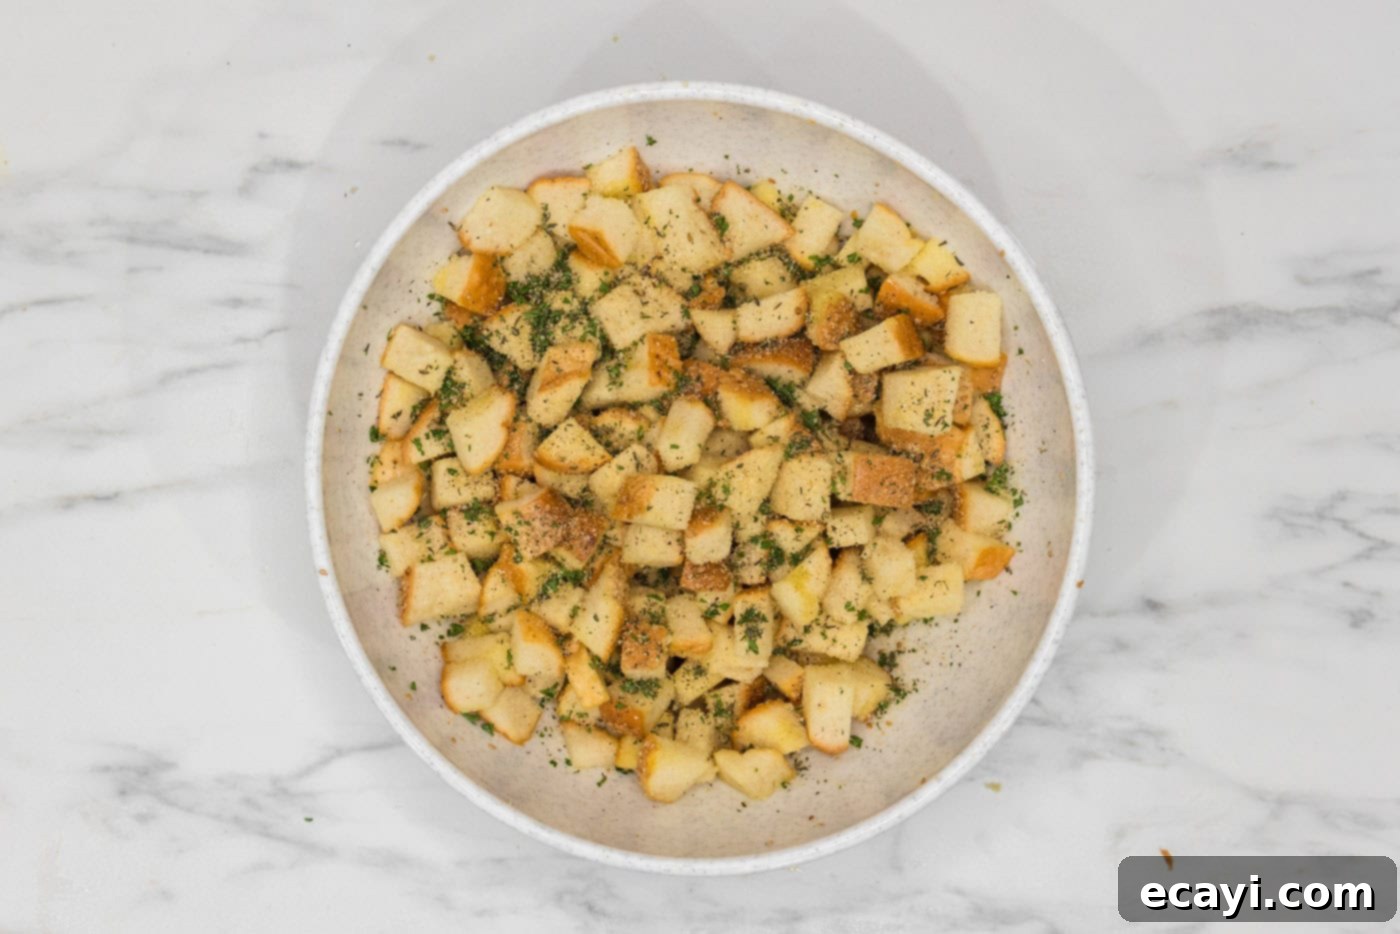
- Season the Bread Cubes: Evenly sprinkle the prepared seasoning mixture over the olive oil-coated bread cubes. Mix with your hands again, tossing and gently rubbing the cubes to ensure the seasonings adhere well to all surfaces. You want every crouton to be flavorful.


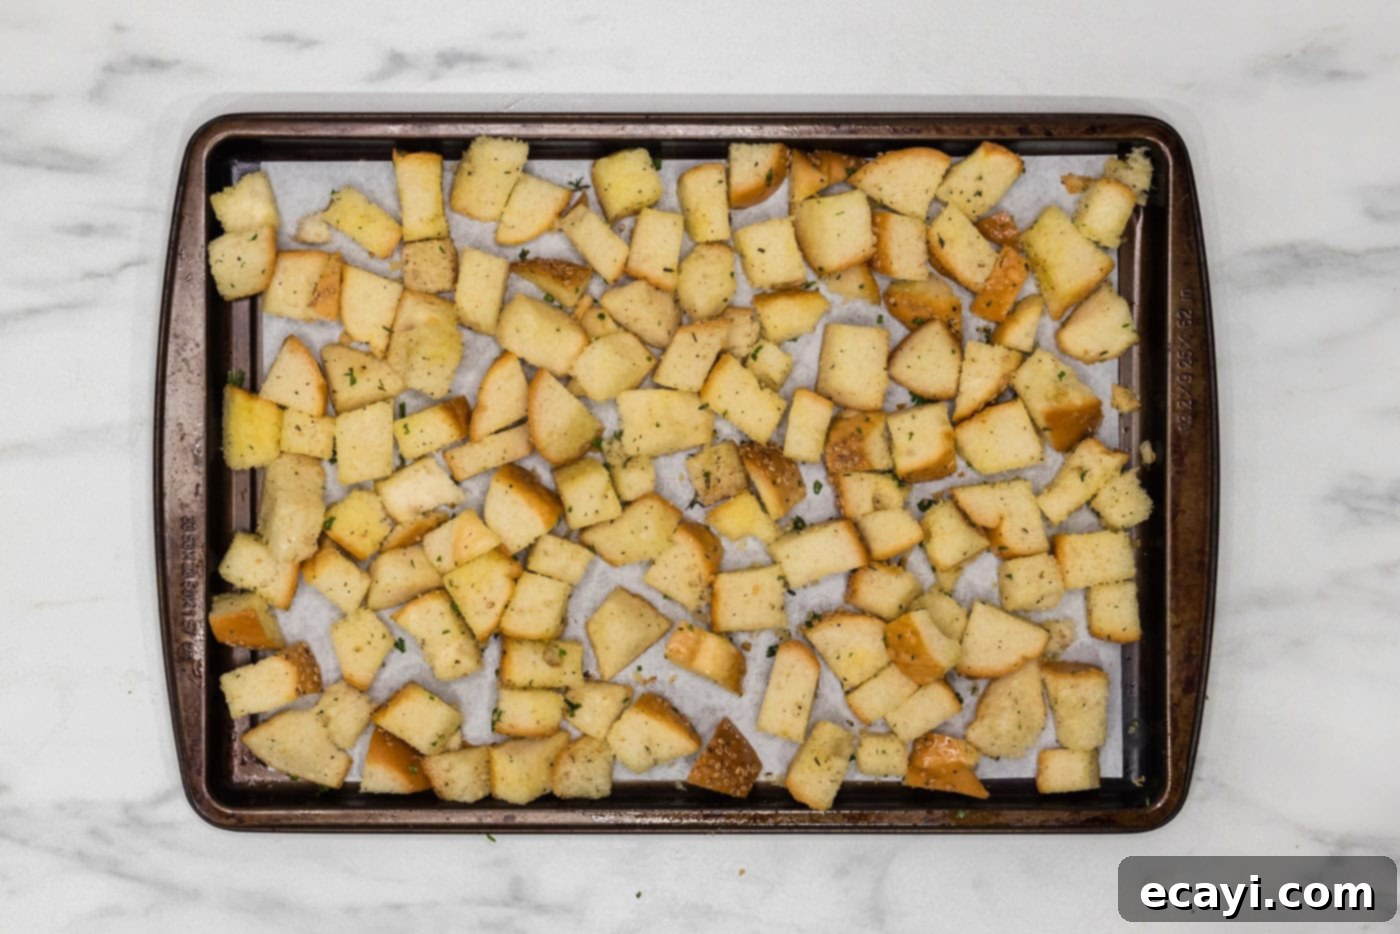
- Spread on Baking Sheet: Arrange the seasoned bread cubes in a single, even layer on your prepared baking sheet. It is crucial that the croutons are not overcrowded and have space between them. If your baking sheet is too full, the bread will steam rather than toast, preventing them from getting truly crispy. You will likely need to work in batches to achieve the best results. Overcrowding is the enemy of crispy croutons!

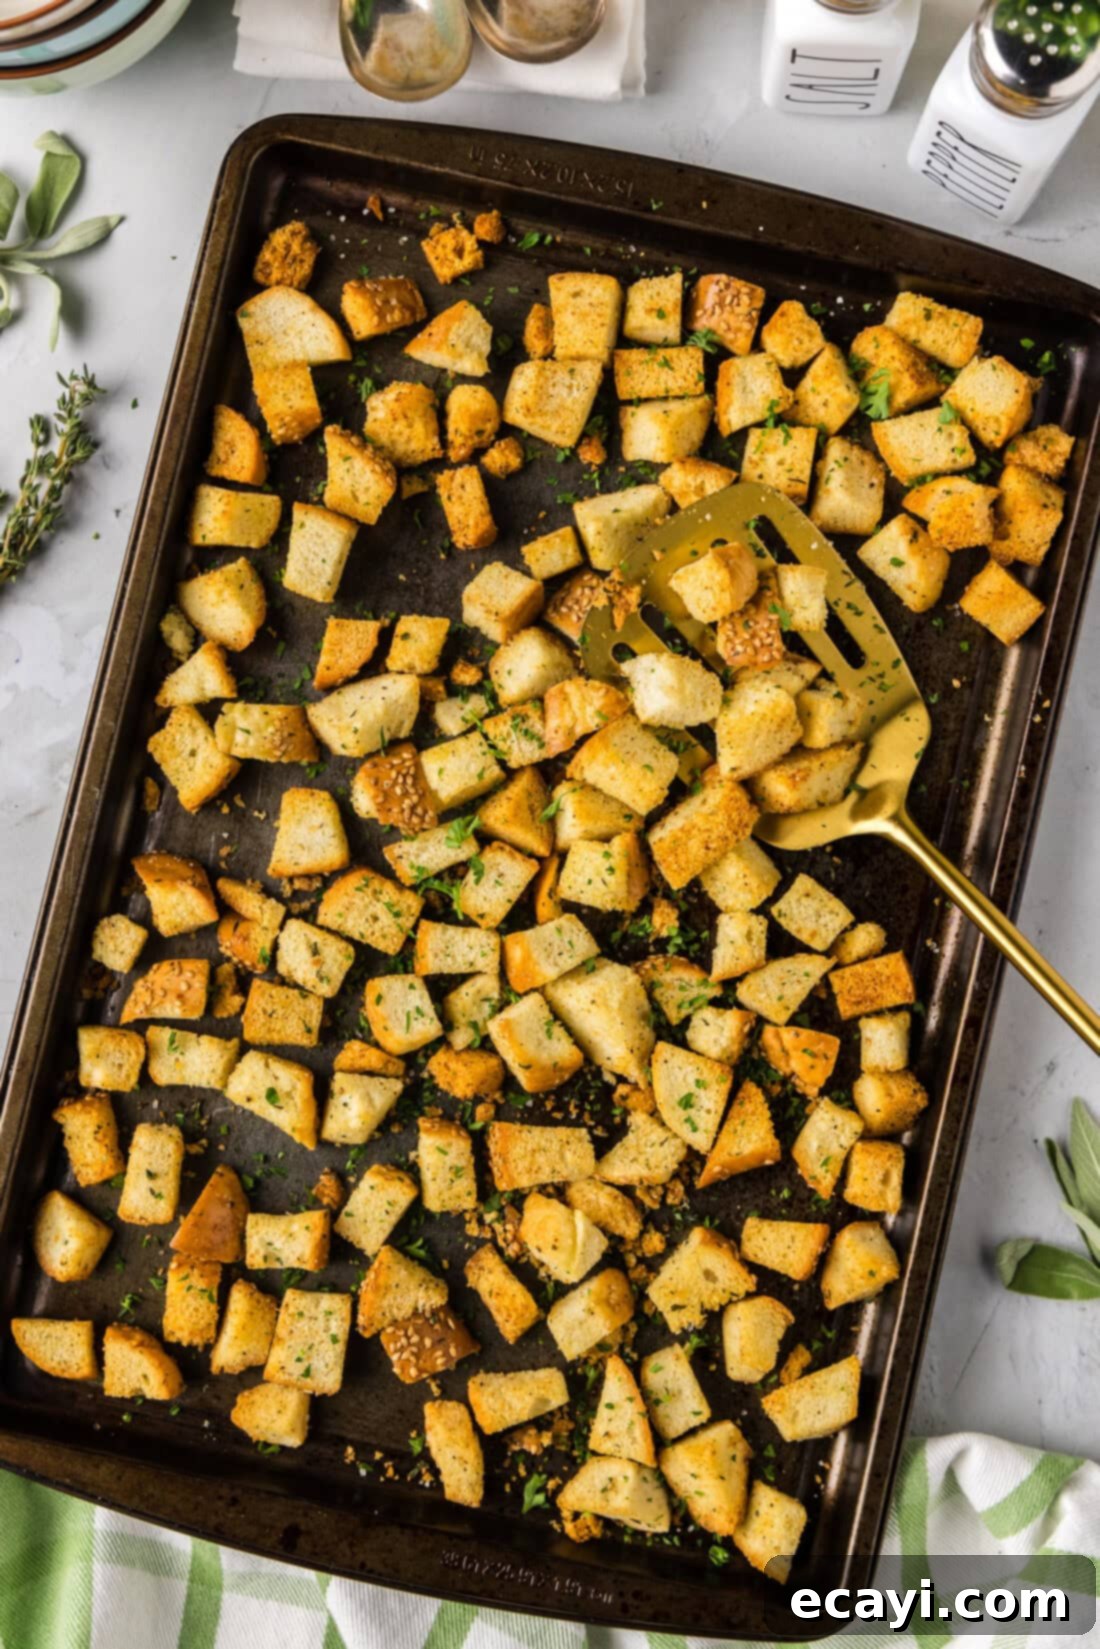
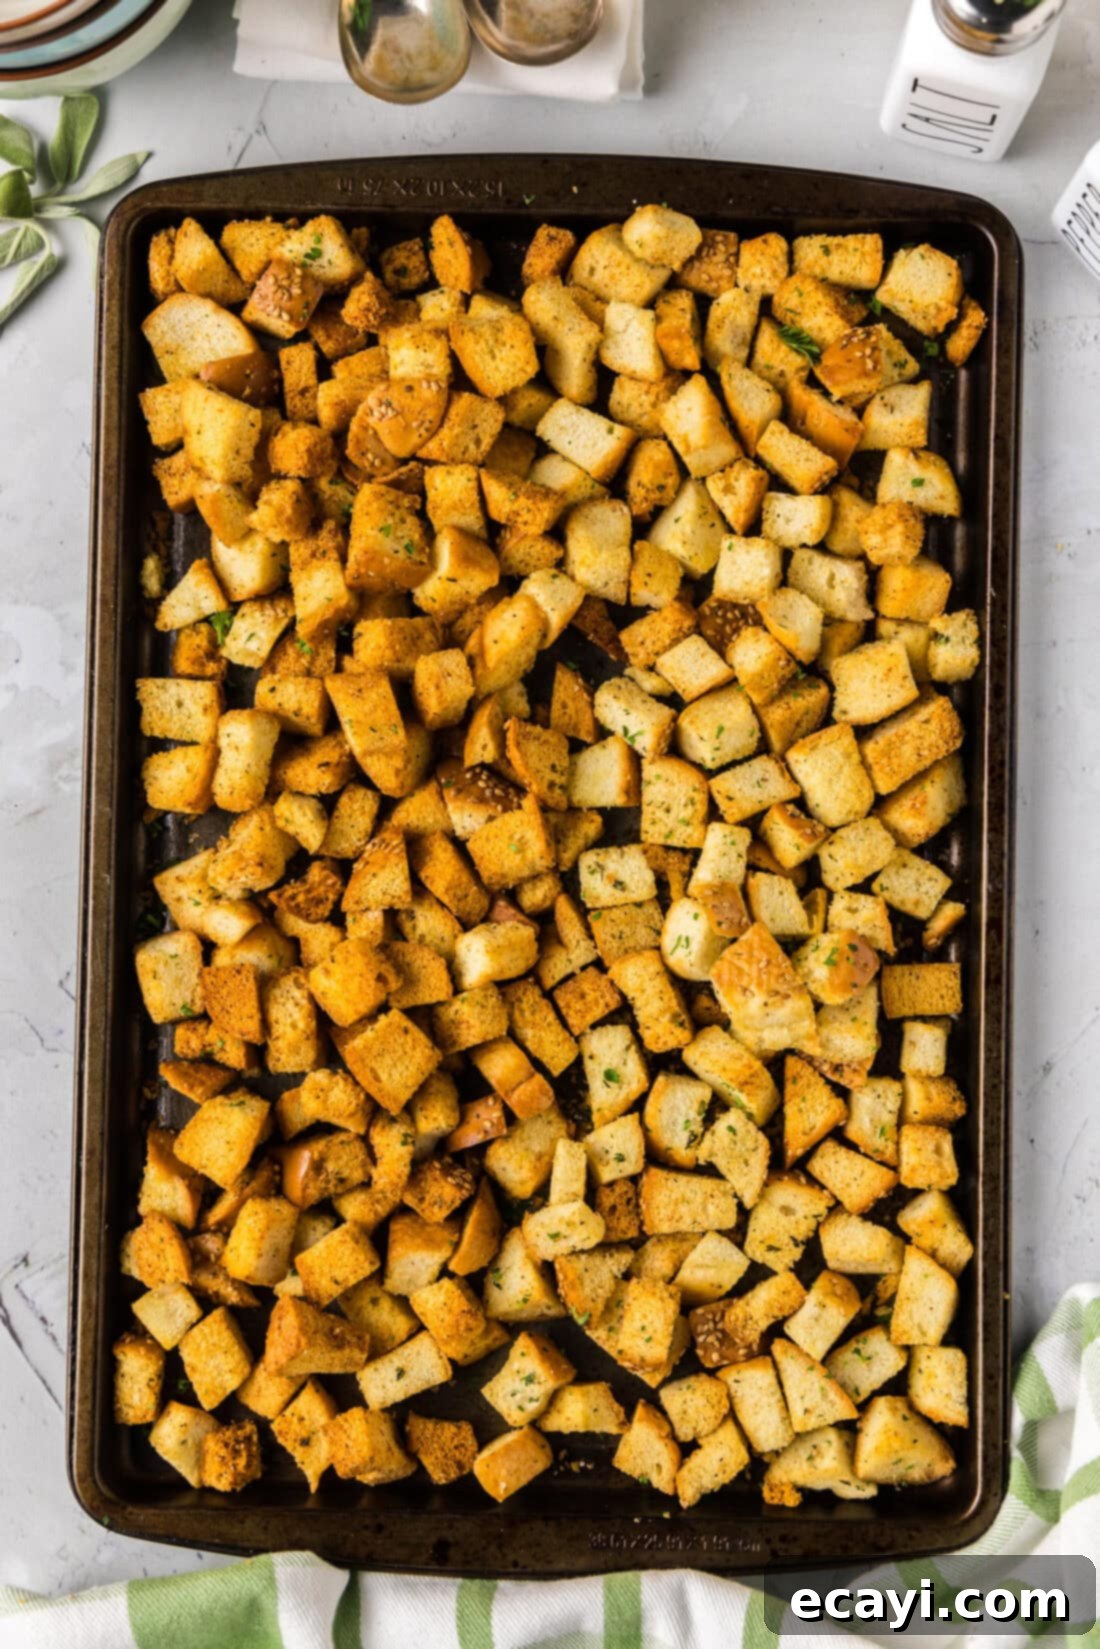
- Bake to Golden Perfection: Place the baking sheet in the preheated oven and bake for 12-15 minutes. At the halfway point (around 6-7 minutes), carefully remove the sheet and give the croutons a good stir or flip them with a spatula to ensure even browning on all sides. Continue baking until they are golden brown and feel crispy to the touch. Keep a close eye on them during the last few minutes, as they can go from perfectly golden to burnt very quickly.
EXPERT TIP – For beautifully golden brown and delightfully crispy croutons, aim for 12-15 minutes of baking. If you prefer your croutons a little more deeply browned and extra crunchy, you can extend the baking time up to 20 minutes, adjusting based on your oven and desired crispness. Always monitor closely to prevent burning.
- Cool on a Wire Rack: Once baked to your desired crispness, remove the croutons from the oven and transfer them immediately to a wire rack. Allowing them to cool completely on a wire rack is essential. This airflow prevents condensation, which can make your freshly baked croutons soggy. Let them cool completely before storing them.
Frequently Asked Questions & Expert Tips for Perfect Croutons
Truthfully, the beauty of homemade croutons is their flexibility – you can make them out of just about any kind of bread you have on hand! However, some breads do hold up better and offer a more satisfying texture during the cooking process. Heartier, denser breads like French bread, Italian bread, rustic sourdough, rich brioche, and airy ciabatta typically yield fantastic results, producing robust, toothsome croutons. These breads tend to have a better crust and crumb structure, which helps them crisp up beautifully. That said, don’t discount regular sandwich bread! You can certainly make delicious croutons from it, but be aware they may turn out a bit smaller and more delicate than those made from thicker, artisan loaves. Each different type of bread will contribute its own unique texture and subtle flavor profile, so I encourage you to experiment with various types to discover what you enjoy best. A good rule of thumb is to choose a bread that isn’t too soft or crumbly, as it will hold its shape better.
While it’s absolutely not a requirement to use stale bread, it can certainly make the process a little easier and often yield slightly better results. Stale bread is typically firmer and drier, which makes it much simpler to slice into uniform cubes without squishing. Moreover, because it already contains less moisture, stale bread crisps up quicker and more efficiently in the oven, leading to a perfectly crunchy crouton in less time. However, don’t let a fresh loaf deter you! We’ve tested this recipe extensively with both fresh and stale bread, and both produce excellent, crispy croutons. If you’re using fresh bread, you might find it helpful to slightly increase your baking time by a few minutes to ensure all the moisture is baked out and they reach maximum crispness.
Proper storage is essential to maintain the crispness and flavor of your homemade croutons. Once they are fully cooled to room temperature (this is critical to prevent condensation), transfer them to an airtight container. A sealed ziptop bag with as much air removed as possible also works wonderfully. Store your croutons at room temperature in a cool, dark place, such as your pantry or a cabinet. Avoid refrigerating them, as the moisture in the refrigerator can cause them to soften. When stored correctly, homemade croutons will retain their delicious crunch and freshness for 1-2 weeks. If they start to soften over time, you can often revive them by popping them back into a preheated oven at 300°F (150°C) for 5-10 minutes until crisp again.
Absolutely! Homemade croutons are an excellent make-ahead ingredient. Preparing them in advance saves time on busy weeknights or when entertaining. Just follow the storage instructions above, and they’ll be ready to go whenever you need a delicious crunch. This makes them perfect for meal prepping your salads or having a quick topping for soups.
If your croutons turn out a bit softer than desired, don’t worry! This usually means they need a little more time in the oven to fully dry out and crisp up. Return them to a preheated 300°F (150°C) oven and bake for an additional 5-10 minutes, checking every few minutes until they reach your preferred level of crispness. Ensure they are spread in a single layer and not overcrowded on the baking sheet to allow for even drying. Also, double-check your oven temperature with an oven thermometer, as inconsistent oven heating can affect baking results.
Beyond the Bowl: Creative Serving Suggestions for Homemade Croutons
While homemade croutons are the undisputed champions of salad toppings, their culinary applications are wonderfully diverse. Think beyond just the obvious, and discover how these crispy, flavorful bites can enhance a myriad of dishes:
- Salad Superstars: Of course, they’re perfect for any type of salad! Elevate a classic Caesar, add texture to a vibrant garden salad, or use them in a Panzanella salad where they soak up flavorful vinaigrettes without becoming soggy.
- Soup’s Best Friend: A sprinkle of croutons adds a delightful crunch to creamy soups like tomato, butternut squash, or broccoli cheddar. They are also indispensable for classic French onion soup, providing that perfect base beneath the melted cheese.
- Casserole Crumbles: Use them as a more flavorful, fresh alternative to canned fried onions or breadcrumbs for casserole toppings. They add incredible texture to dishes like green bean casserole, tuna noodle casserole, or baked mac and cheese.
- Homemade Stuffing/Dressing: Forget bland, pre-packaged bread cubes. Homemade croutons are the ideal foundation for holiday stuffing or dressing, absorbing broths and seasonings to create a truly spectacular side dish. Their superior flavor and texture will make all the difference.
- Crushed Breadcrumbs: Simply pulse cooled croutons in a food processor until fine or coarse, depending on your needs. These homemade breadcrumbs are infinitely more flavorful than store-bought, perfect for breading cutlets, topping gratins, or adding to meatballs and meatloaf.
- Garnish for Roasted Vegetables: Toss a handful of croutons with roasted asparagus, Brussels sprouts, or green beans right before serving for an unexpected textural pop and extra flavor.
- Savory Snack: Honestly, sometimes the best way to enjoy homemade croutons is straight from the cooling rack! They make a surprisingly satisfying and flavorful snack on their own.
- Breakfast Bowls: Sprinkle them over avocado toast or a savory breakfast bowl with eggs and roasted veggies for added crunch.
With homemade croutons, your culinary imagination is the only limit!
More Delicious Bread Recipes to Try
If you love the satisfaction of baking with bread, or simply enjoy a fantastic slice, check out some of our other popular bread recipes:
- Artisan-Style Dutch Oven Bread
- Classic Homemade Italian Bread
- Wholesome Homemade Multigrain Bread
- Nostalgic 1963 Homemade White Bread
I genuinely love to bake and cook, and my greatest joy is sharing my kitchen experience and tested recipes with all of you! Remembering to come back each day for new culinary inspiration can be tough, which is why I offer a convenient newsletter delivered straight to your inbox every time a new recipe posts. Simply subscribe to our free daily recipes and never miss out on delicious ideas!

Homemade Croutons
IMPORTANT – There are often Frequently Asked Questions and Expert Tips within the blog post that you may find helpful. Simply scroll back up to read them!
Print It
Pin It
Rate It
Save ItSaved!
Ingredients
- 12 ounce loaf of bread (French, Italian, sourdough, or sandwich bread)
- 1 ½ teaspoons garlic powder
- ½ teaspoon black pepper
- ¾ teaspoon garlic salt
- 1 teaspoon fresh thyme leaves (or ½ tsp dried thyme)
- 2 teaspoons fresh parsley chopped (or 1 tsp dried parsley)
- ⅓ cup olive oil (or melted butter, avocado oil)
Things You’ll Need
-
Large mixing bowl
-
Baking sheet
-
Parchment Paper
-
Wire Rack
Before You Begin & Recipe Notes
- Bread Selection: You can use most types of bread to make croutons. I used a French loaf, but in the past I’ve had great success with Italian bread, baguettes, sourdough, ciabatta, and even standard sandwich bread! Choose what you love or what needs to be used up.
- Fresh or Stale Bread: Both fresh and stale bread will work beautifully for this recipe. Stale bread is often a bit easier to cut and crisps up slightly faster due to lower moisture content, but fresh bread works perfectly well too.
- Seasoning Adjustments: Some seasoning may be lost during the mixing and baking process. If you prefer your croutons a little saltier or more garlicky, feel free to sprinkle an extra touch of garlic salt or garlic powder on right before the croutons go into the oven.
- Salt Preference: You can use regular salt instead of garlic salt if desired, though we prefer the robust flavor that comes from using both garlic powder and garlic salt. Feel free to adjust to your personal taste.
- Uniformity is Key: Cut your bread into consistent 3/4 to 1-inch cubes to ensure even baking and crispness.
- Don’t Overcrowd: Spread the bread cubes in a single layer on the baking sheet. If your sheet is too full, the croutons will steam instead of roast, leading to a softer result. Bake in batches if necessary.
- Cool Completely: Always cool the baked croutons on a wire rack to allow air circulation. This prevents them from becoming soggy from residual heat.
Instructions
-
Preheat oven to 375°F (190°C) and line a baking sheet with parchment paper for easy cleanup and non-stick baking.
-
Cut your bread into uniform ¾ to 1-inch cubes and place them in a large mixing bowl, ensuring ample space for tossing.
-
In a small bowl, combine the garlic powder, black pepper, garlic salt, thyme, and parsley. Whisk briefly to create an even seasoning blend.
-
Drizzle the olive oil over the bread cubes. Using gloved hands (or clean bare hands), gently mix and rub the cubes, ensuring they are evenly coated without breaking them apart.
-
Sprinkle the seasoning mixture over the oiled bread cubes. Mix with your hands again, tossing gently to ensure all cubes are well-seasoned.
-
Spread the seasoned bread cubes in a single, even layer on the prepared baking sheet. Avoid overcrowding; bake in batches if necessary for optimal crispiness.
-
Bake in the preheated oven for 12-15 minutes, flipping or stirring the croutons at the halfway point to promote even browning. Watch carefully during the last few minutes to prevent burning.
TIP – For golden brown and perfectly crispy croutons, bake for 12-15 minutes. If you prefer them a little more deeply toasted and extra well done, you can bake for up to 20 minutes, adjusting based on your oven’s performance.
-
Remove the croutons to a wire rack immediately after baking and let them cool completely. This crucial step prevents them from becoming soggy.
Expert Tips & FAQs
- A typical serving of croutons is often stated as 2 tablespoons, which is a surprisingly small amount (roughly 4 croutons). To provide a more realistic nutritional value, we’ve calculated based on a 1/4 cup serving, which is closer to 8 croutons and a more common portion size.
- To ensure maximum shelf life and crispness, store fully cooled croutons in an airtight container or a sealed ziptop bag with excess air removed. Keep them at room temperature for 1-2 weeks in a cool, dark pantry or cabinet. Avoid refrigeration.
- If your croutons start to lose their crispness over time, you can easily revive them by spreading them on a baking sheet and toasting them in a 300°F (150°C) oven for 5-10 minutes until they are crunchy again.
- Experiment with different herb combinations beyond what’s listed. Rosemary, basil, oregano, or a pre-made Italian seasoning blend can all create delicious variations.
Nutrition Information
The recipes on this blog are tested with a conventional gas oven and gas stovetop. It’s important to note that some ovens, especially as they age, can cook and bake inconsistently. Using an inexpensive oven thermometer can assure you that your oven is truly heating to the proper temperature. If you use a toaster oven or countertop oven, please keep in mind that they may not distribute heat the same as a conventional full sized oven and you may need to adjust your cooking/baking times. In the case of recipes made with a pressure cooker, air fryer, slow cooker, or other appliance, a link to the appliances we use is listed within each respective recipe. For baking recipes where measurements are given by weight, please note that results may not be the same if cups are used instead, and we can’t guarantee success with that method.
