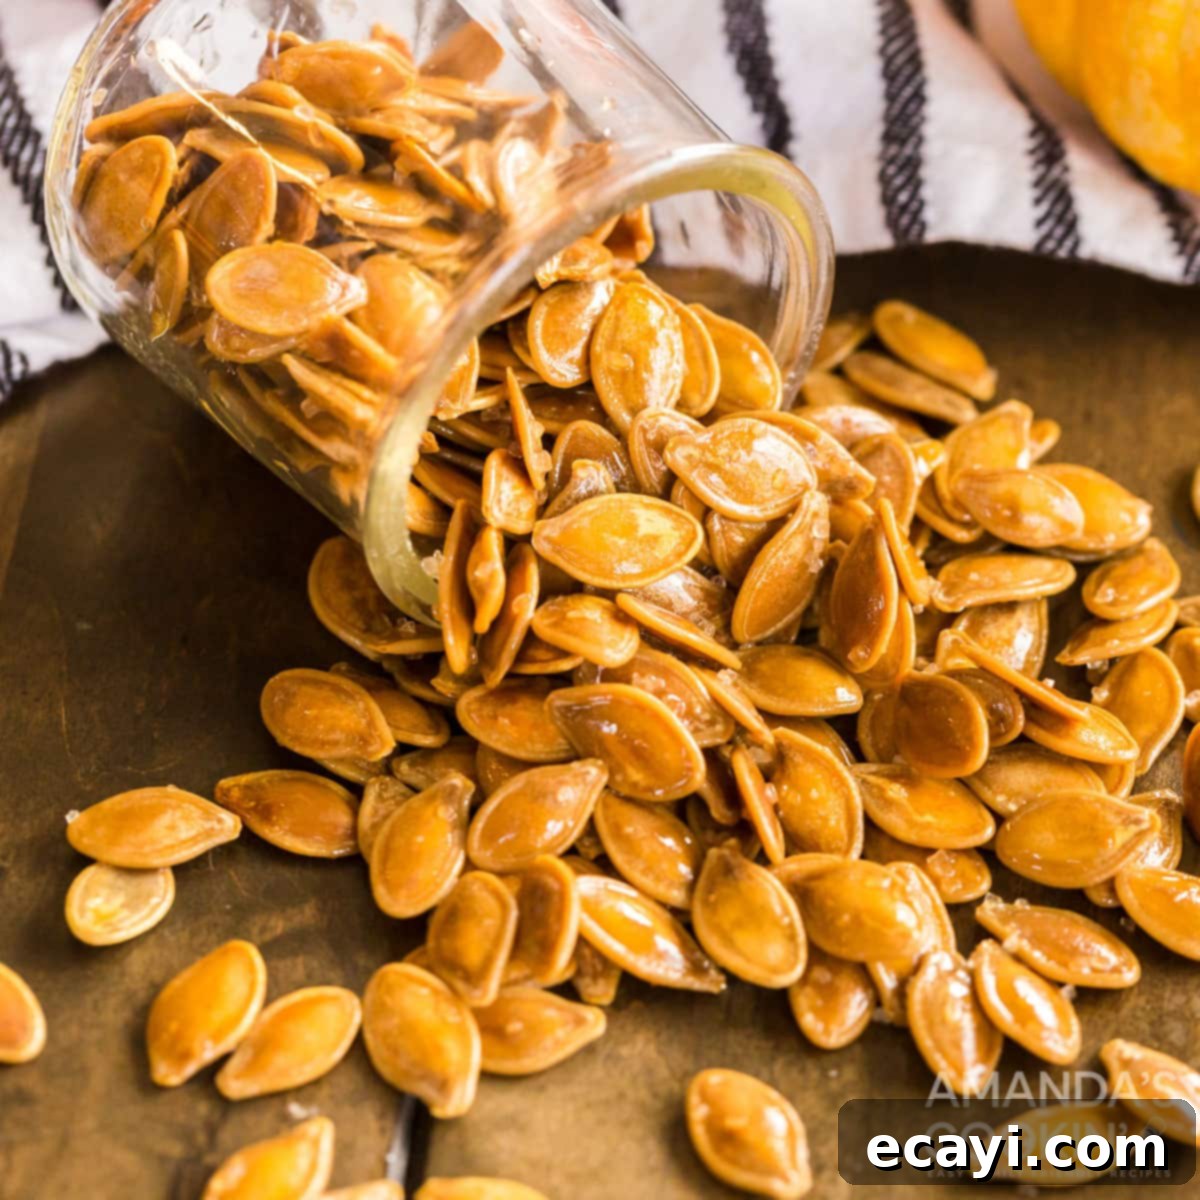
The Ultimate Guide to Perfectly Roasted Pumpkin Seeds: Your Essential Fall Snack Recipe
Few things evoke the cozy spirit of autumn quite like a pan filled with warm, salty roasted pumpkin seeds. It’s more than just a snack; it’s a cherished fall and Halloween tradition that brings families together, especially as we gather to carve pumpkins for our festive porch displays. This simple yet incredibly satisfying treat transforms what might otherwise be discarded into a crunchy, wholesome delight that everyone loves.
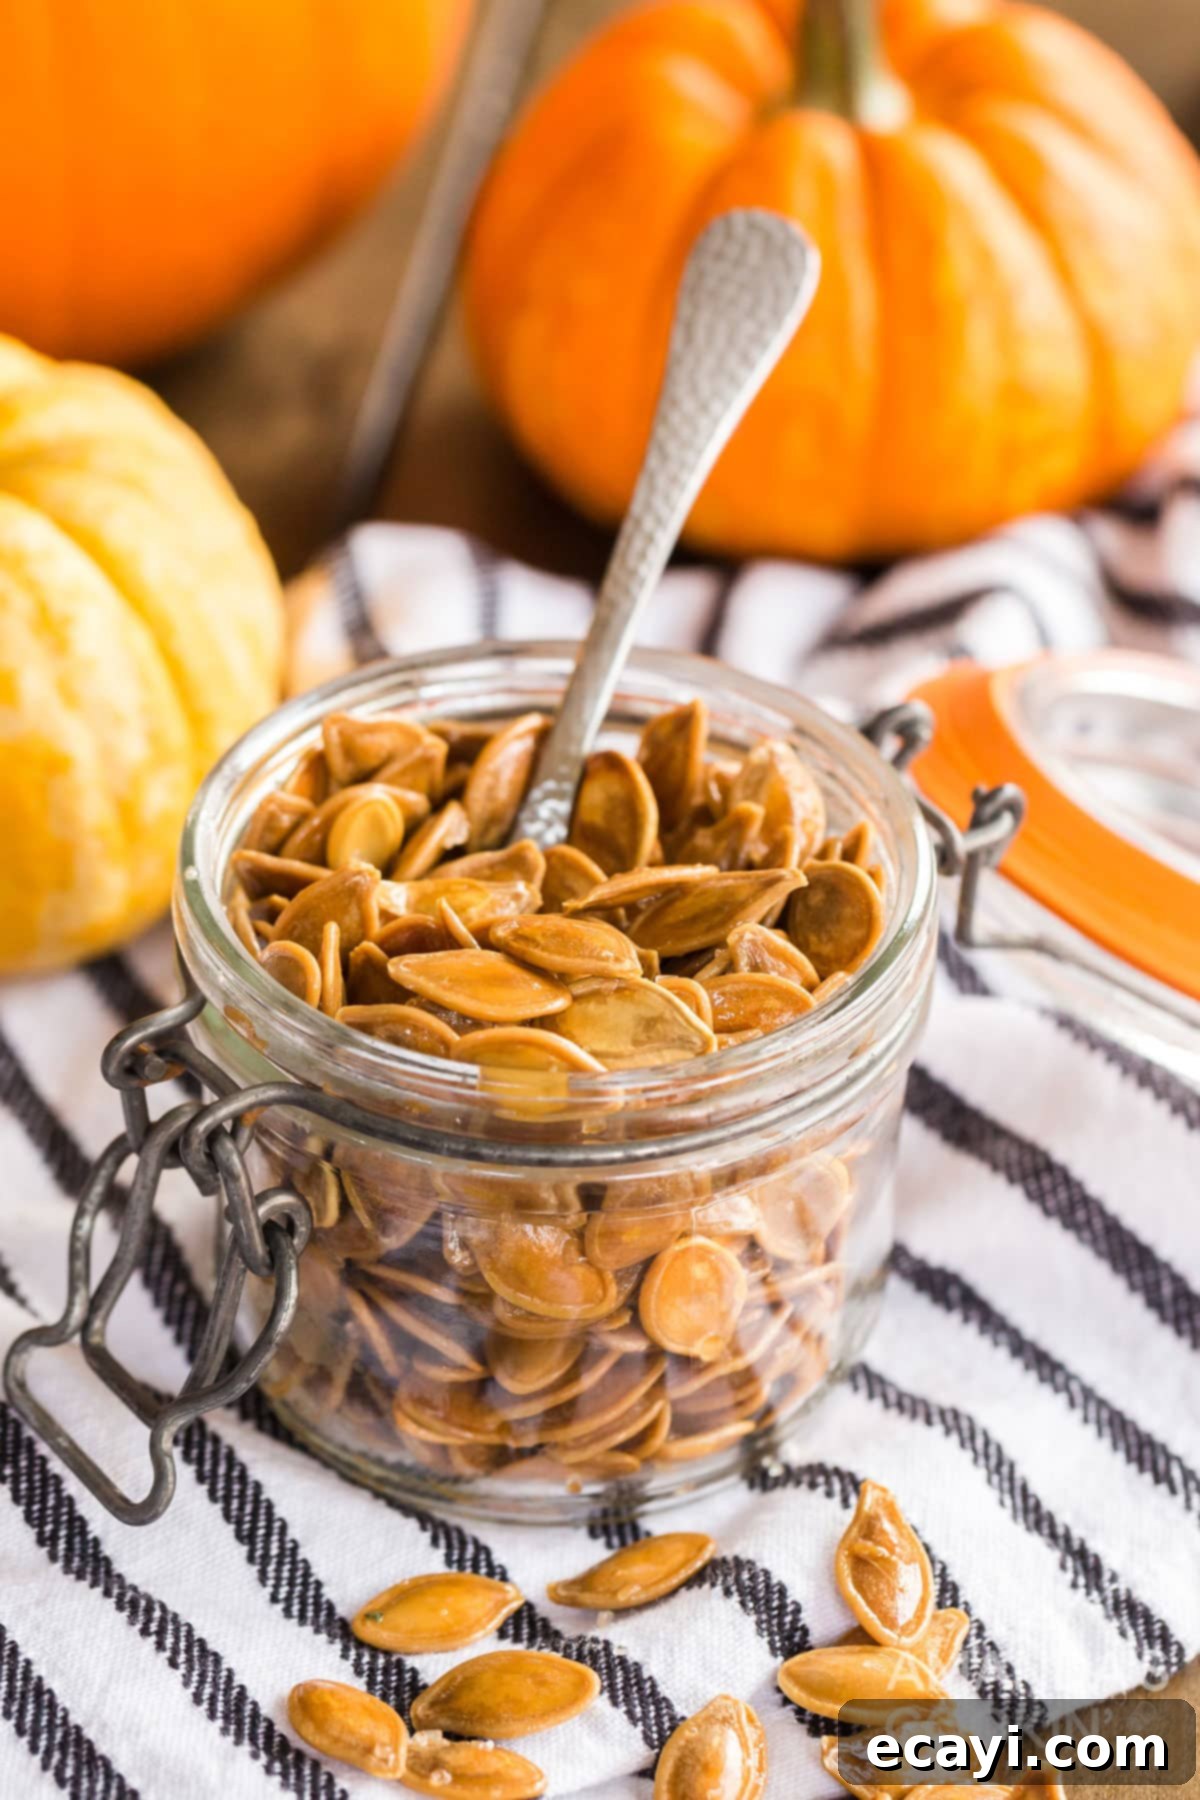
Why This Easy Roasted Pumpkin Seed Recipe is a Must-Try
You might be surprised at how effortlessly you can create these delicious roasted pumpkin seeds. With just a handful of staple ingredients – typically only four! – you’re well on your way to a seasonal snack that’s both flavorful and nutritious. This recipe stands out because it not only provides a straightforward, foolproof method but also turns a potential waste product from your pumpkin carving into a family favorite.
Beyond the simplicity, making roasted pumpkin seeds offers a wonderful opportunity for a fun family activity. Kids especially adore this yearly ritual, from scooping out the seeds to helping with the cleaning and seasoning. Plus, let’s be honest, homemade roasted pumpkin seeds are a far healthier and more wholesome alternative to the abundance of Halloween candy. They’re packed with fiber, protein, and essential minerals, making them a guilt-free pleasure. Teaching your children how to roast pumpkin seeds creates lasting memories and instills a love for simple, homemade goodness. So, let’s dive into how you can make your very own batch of these irresistible autumn delights.
Essential Ingredients for Your Perfect Pumpkin Seeds
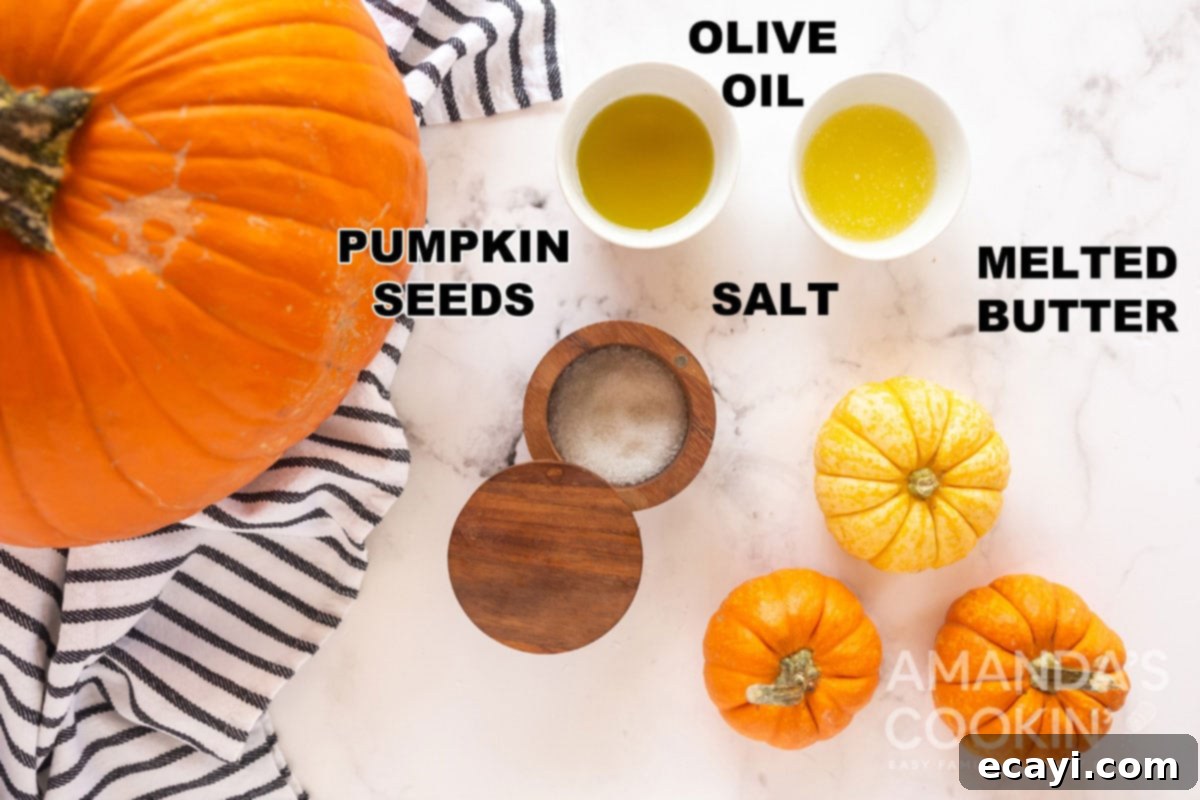
Creating mouth-watering roasted pumpkin seeds requires very few items, many of which you likely already have in your pantry. The magic lies in the fresh pumpkin seeds themselves, extracted directly from your autumn pumpkins, combined with a few simple additions that bring out their best flavor and texture. You’ll need:
- **Fresh Pumpkin Seeds:** The star of the show! Gathered directly from your carved pumpkins.
- **Olive Oil:** To help them crisp up beautifully and for a subtle savory note.
- **Melted Butter:** Adds richness and enhances the overall flavor profile.
- **Salt:** Crucial for seasoning and bringing out the nutty taste. Feel free to use sea salt or Kosher salt for a better texture and flavor distribution.
These core ingredients form the foundation, but don’t shy away from experimenting with additional seasonings to tailor the flavor to your liking!
How to Make Perfectly Roasted Pumpkin Seeds: A Step-by-Step Guide
These detailed step-by-step photos and instructions are designed to visually guide you through each stage of the recipe. For a concise, printable version, please scroll down to the recipe card below!
The secret to truly crispy roasted pumpkin seeds often starts long before they even hit the oven. Proper cleaning and drying are paramount. Remember, these seeds require an overnight drying period, so ensure you plan this delicious project a day in advance!
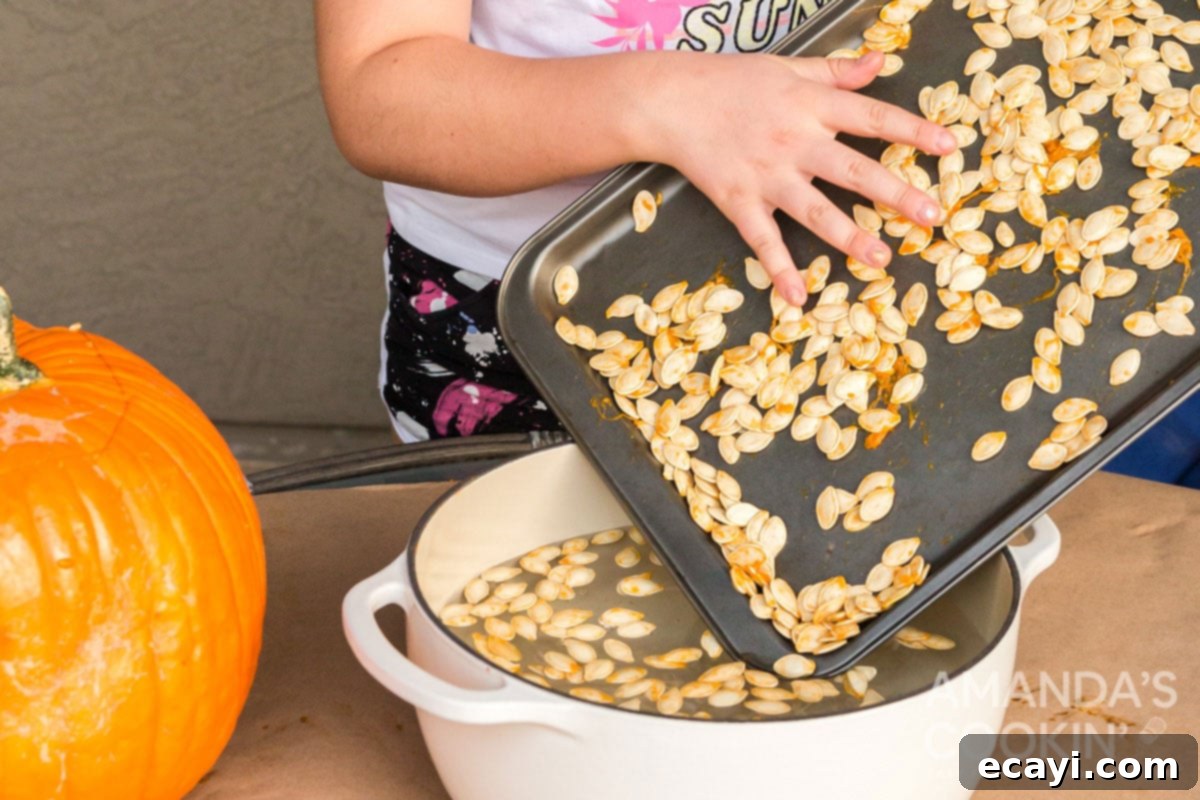
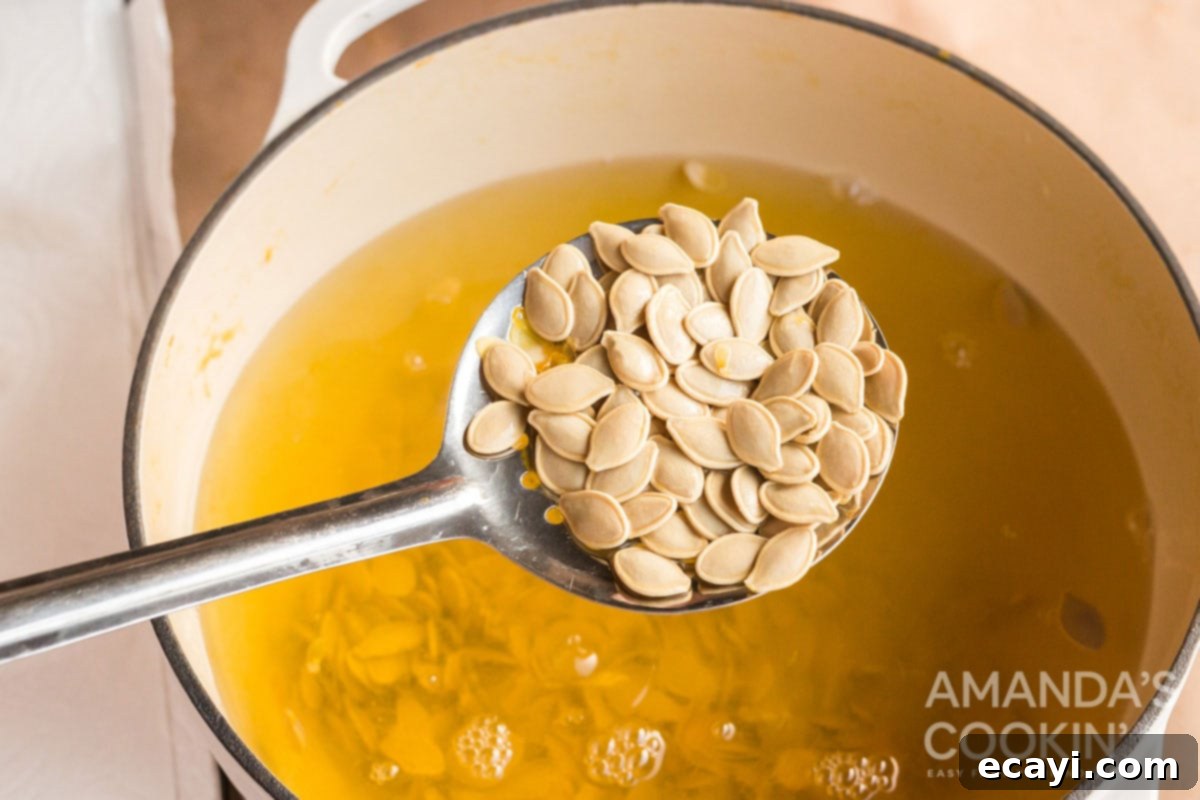
- **Initial Cleaning and Boiling:** Begin by thoroughly cleaning your pumpkin seeds. First, use your hands to remove any large chunks of pumpkin pulp and stringy bits. Don’t worry about getting every single strand at this stage; a quick boil will take care of the rest. Place the remaining seeds and any attached slime into a pot of salted water. Bring it to a boil and let the seeds simmer for about 15 minutes. This crucial step helps to not only loosen any stubborn pulp but also pre-season the seeds from the inside out and helps them achieve that desired crisp texture when roasted. The boiling water gently separates the clinging fibers, making the next cleaning stage much easier.

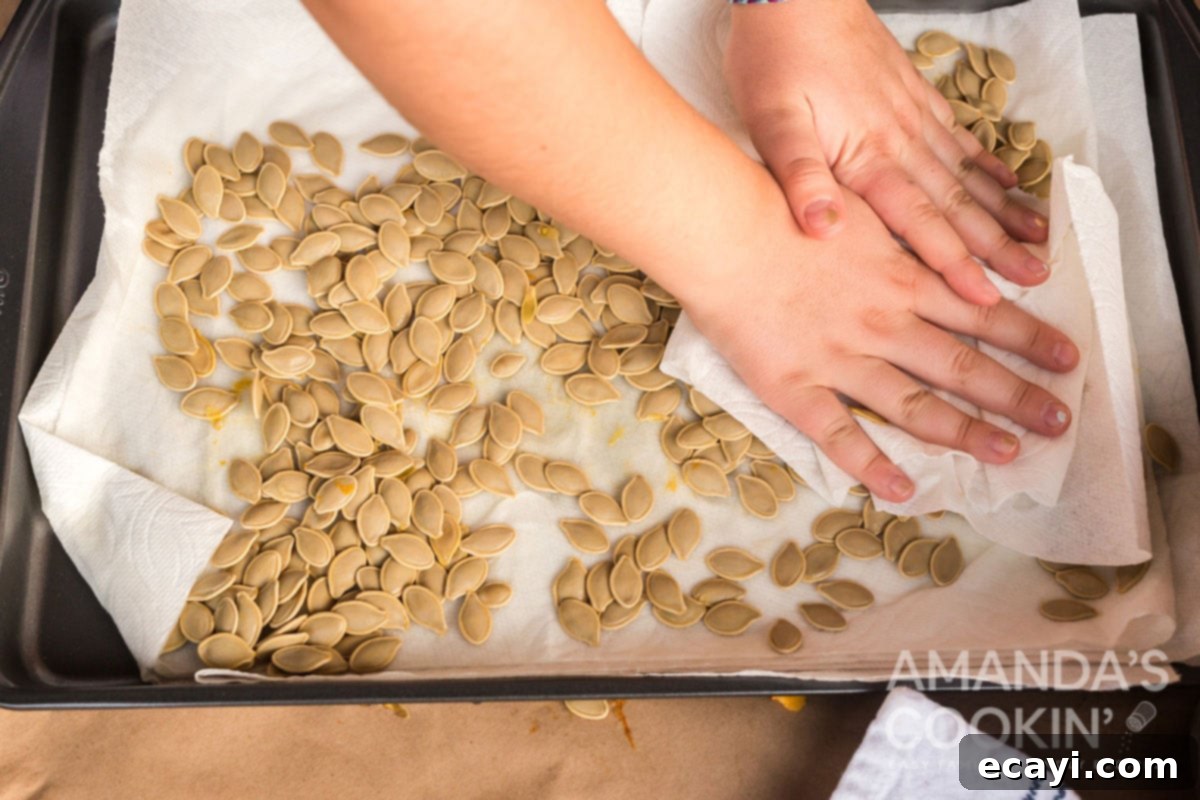
- **Thorough Drying (Overnight is Key!):** Once boiled, drain the seeds very well using a colander. Then, spread them out onto a clean baking sheet lined with paper towels or a kitchen towel. Pat them dry as much as possible with another towel. This initial patting removes excess surface moisture. For truly crispy seeds, it is absolutely essential to let them air dry **OVERNIGHT** on the baking sheet. Arrange them in a single layer to allow for maximum air circulation. This extended drying period evaporates residual moisture, preventing the seeds from steaming in the oven and ensuring they roast to a delightful, shatteringly crisp texture. Don’t rush this step – patience here will be greatly rewarded.
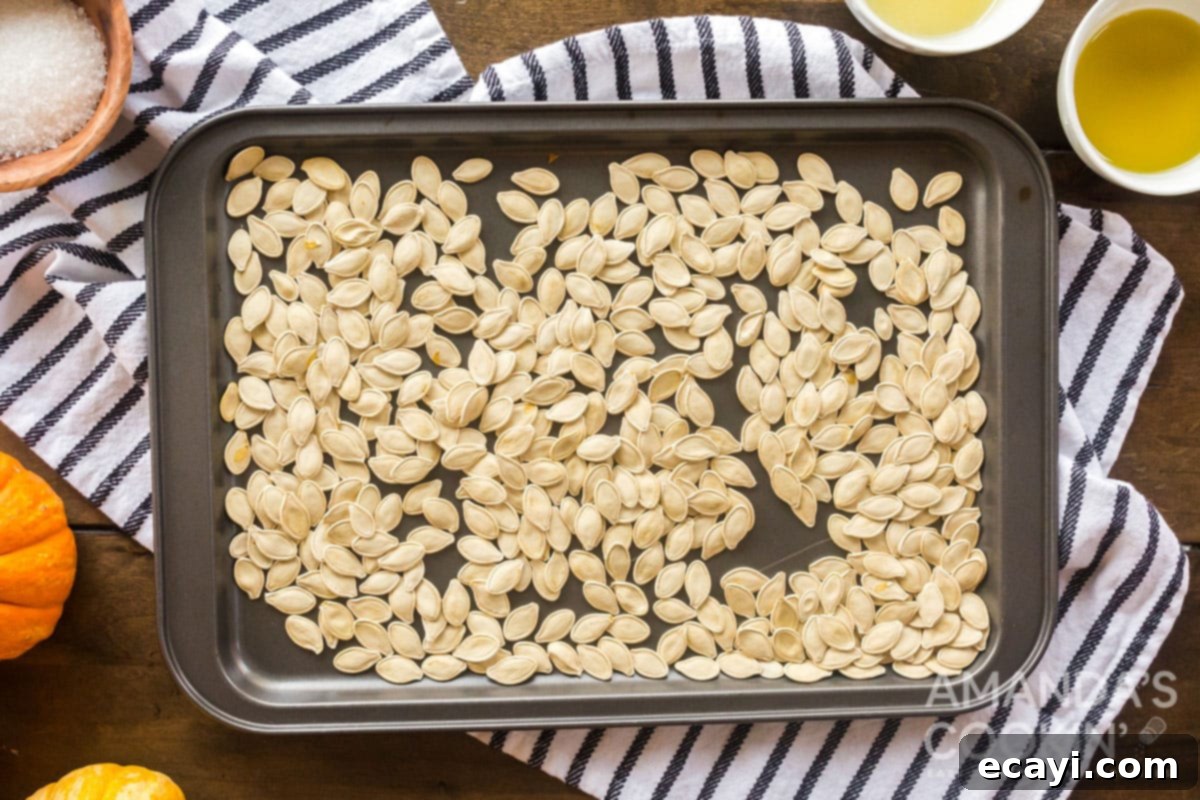
- **Prepare for Roasting:** The next day, once your seeds are perfectly dry, preheat your oven to 300°F (150°C). Transfer the dried pumpkin seeds into a large mixing bowl. Lightly spray a clean baking sheet with cooking spray, or line it with parchment paper for easy cleanup. This prevents sticking and ensures even roasting.
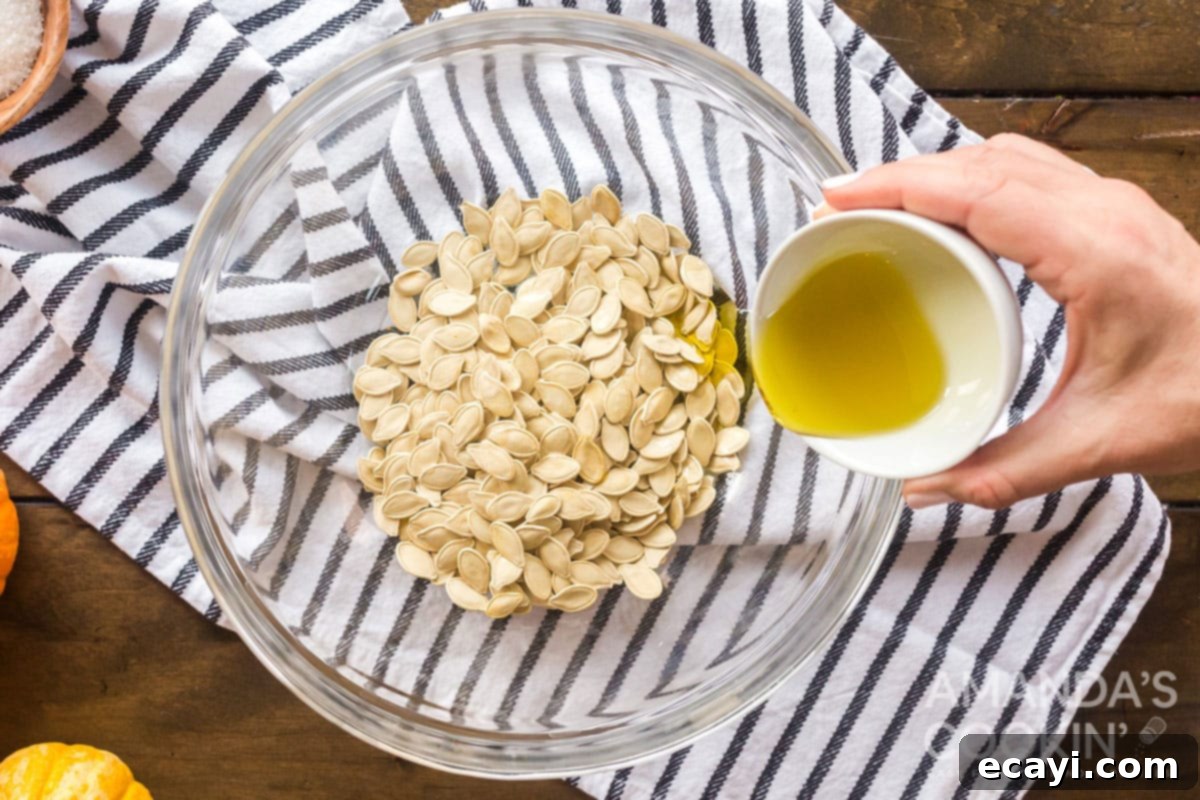
- **Season with Fats:** Drizzle the pumpkin seeds with both melted butter and olive oil. The combination of these two fats adds depth of flavor and helps achieve a superior crisp. Use a spatula or your hands to toss and turn the seeds, ensuring every single seed is evenly coated. This even coating is essential for uniform roasting and seasoning adherence.
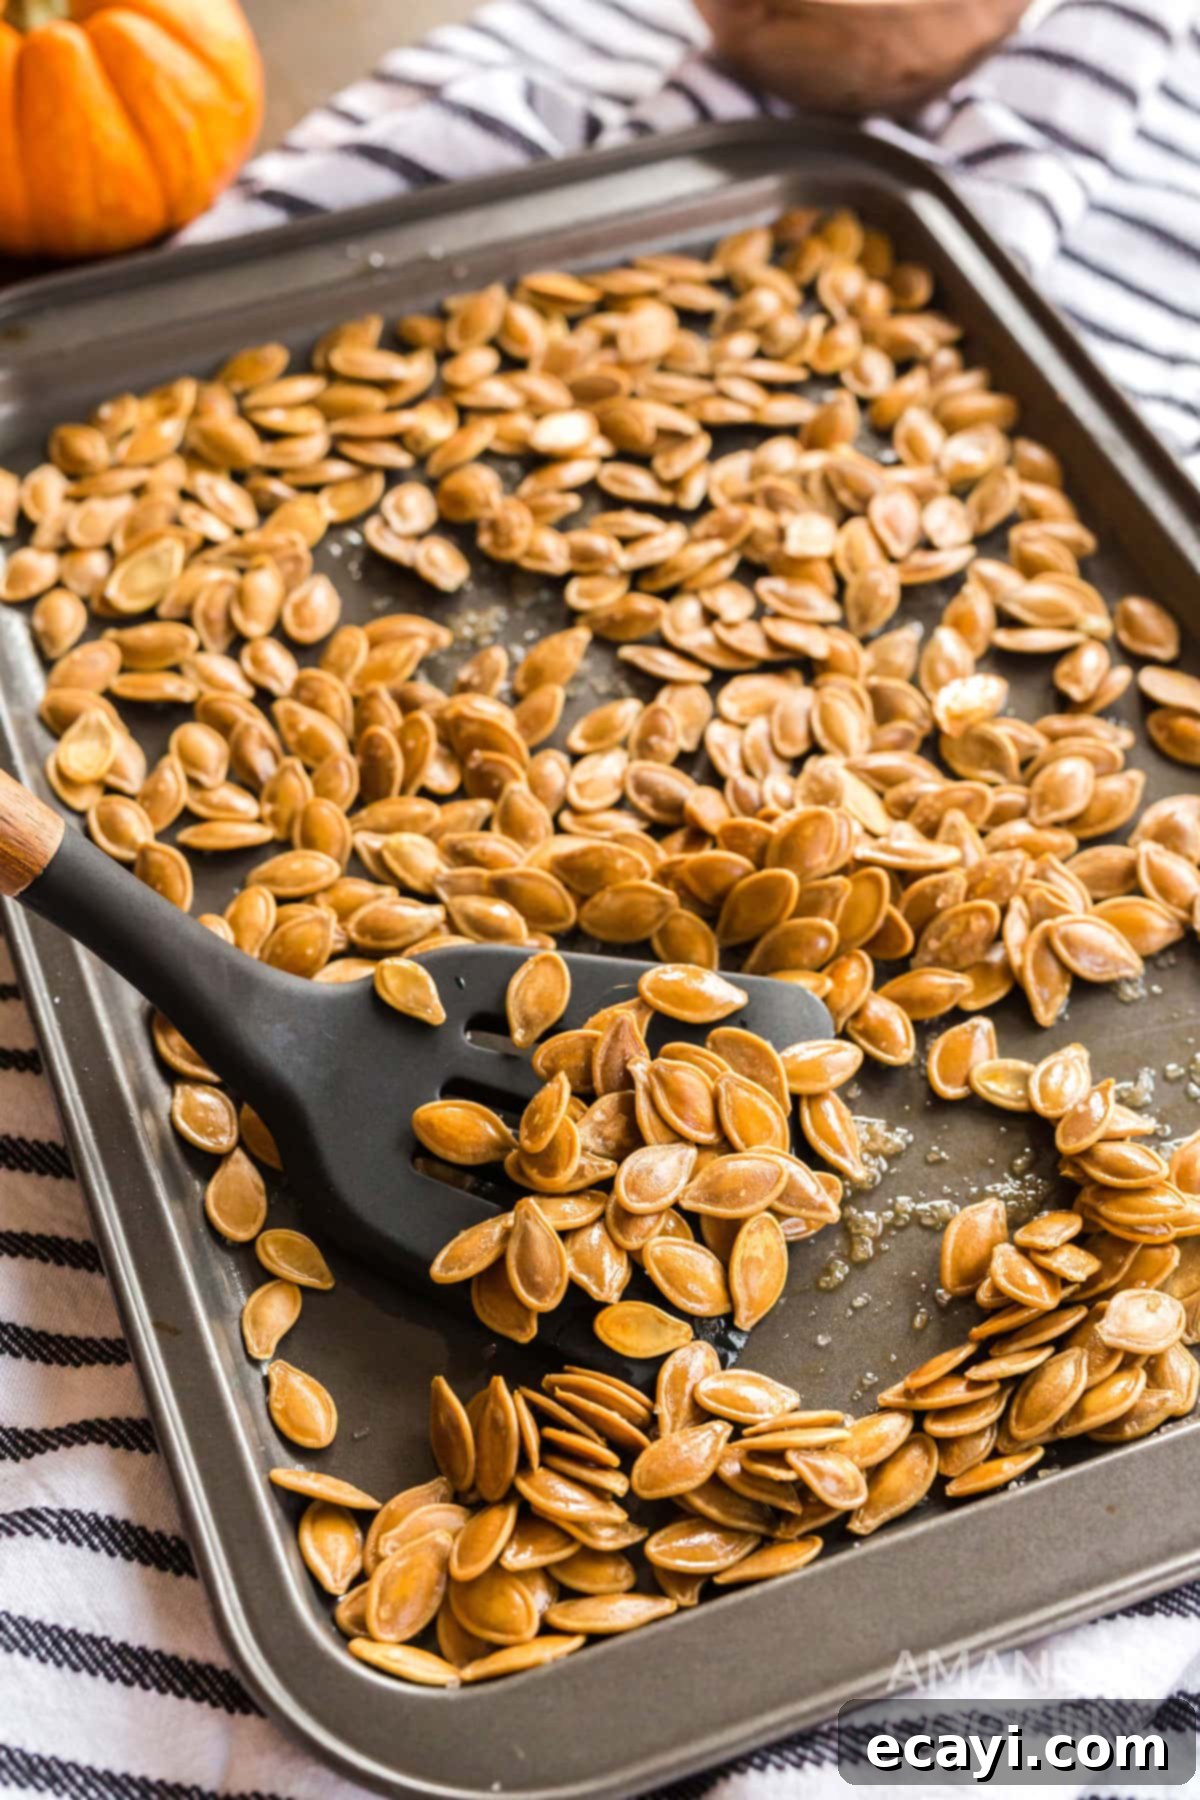
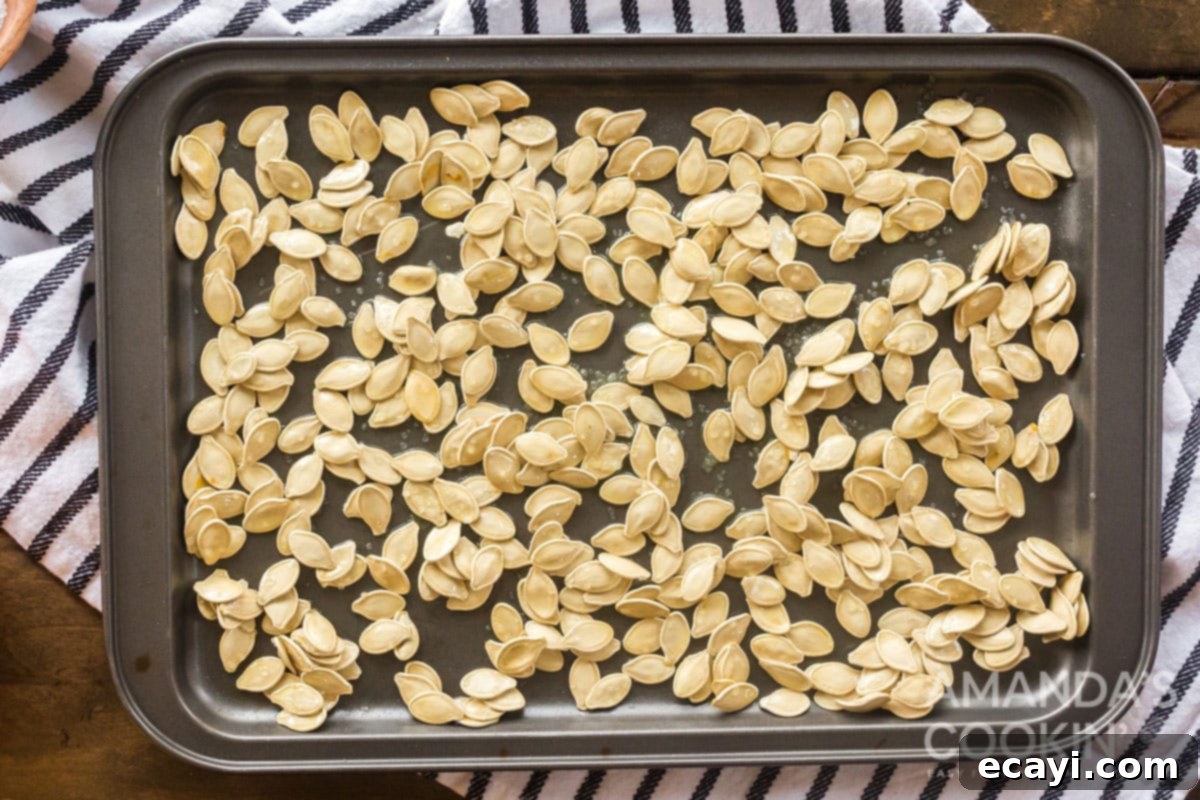
- **Spread and Season:** Spread the coated pumpkin seeds onto the prepared baking sheet in a single, even layer. Avoid overcrowding the pan; if necessary, use two baking sheets. Overlapping seeds will steam rather than roast, preventing them from getting truly crispy.
- **Add Flavor:** Now for the fun part! Generously sprinkle with salt to taste. This is your chance to get creative with additional seasonings. For savory options, consider a dash of garlic powder, onion powder, paprika, or chili powder. For a delightful sweet treat, try a sprinkle of cinnamon sugar or pumpkin pie spice. If you’re looking for more inspiration, explore some of my favorite popcorn seasonings that work wonderfully here too!
- **Bake to Perfection:** Bake the seeds for 20-30 minutes, making sure to stir them halfway through the cooking time. Stirring ensures even browning and crisping on all sides. Begin checking for doneness around the 20-minute mark. The seeds are ready when they turn a beautiful golden brown and have a distinctly crispy, crunchy texture. Be careful not to burn them; they can go from perfectly roasted to overdone quite quickly!
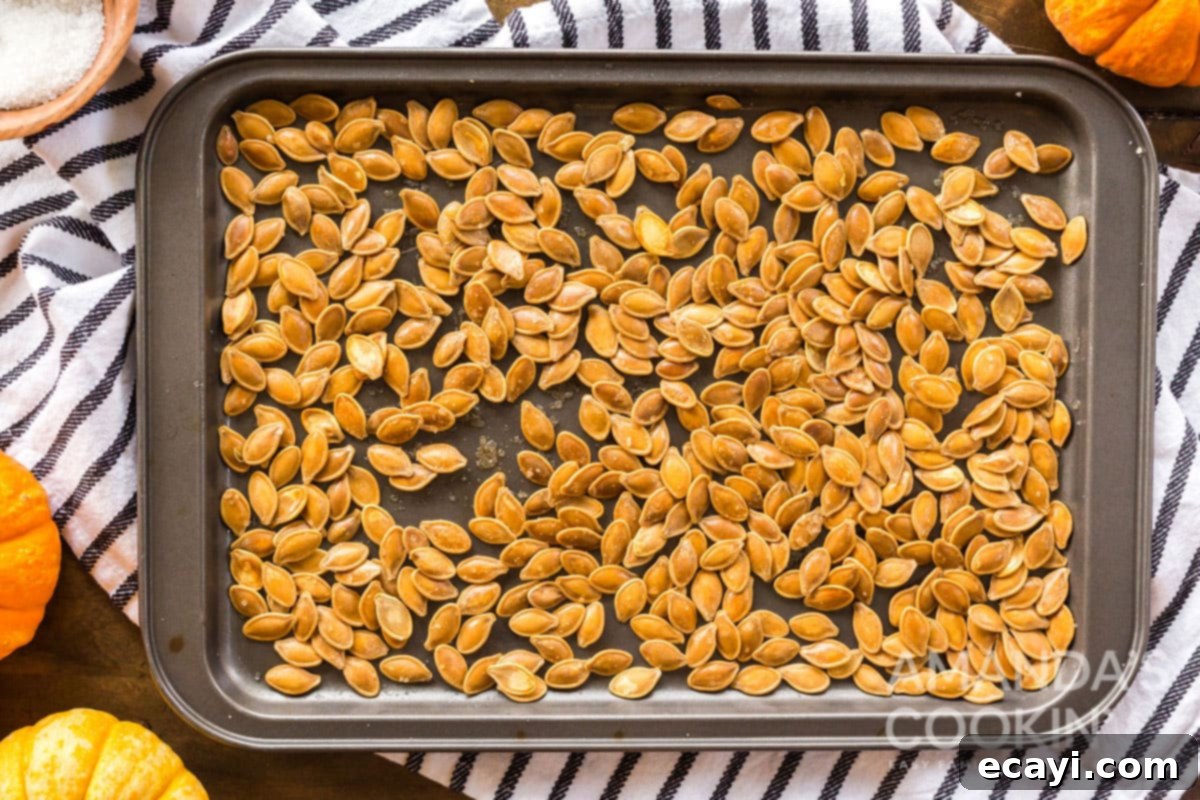
Pro Tip for Extra Crispiness: For an exceptionally crispy batch of seeds, once they are golden brown and appear done, simply turn off your oven and leave the pan of seeds inside for another hour or even longer while the oven gradually cools off. The residual heat will continue to dry them out, resulting in an even crunchier snack without the risk of burning.
Expert Baking Tips & Frequently Asked Questions (FAQs)
- **Adjusting Quantities:** If you only have a small amount of pumpkin seeds, be sure to proportionally reduce the olive oil, melted butter, and salt. Conversely, if you have an abundance of seeds from several pumpkins, feel free to scale up the ingredients and use multiple baking sheets to ensure they roast in a single layer.
- **Flavor Adventures – Savory & Sweet:** Pumpkin seeds are incredibly versatile! While classic salty is always a winner, don’t hesitate to explore other flavor profiles. For a sweet twist, toss them with cinnamon sugar and a pinch of pumpkin pie seasoning after coating them in butter and oil. For more savory options, consider a blend of garlic powder, smoked paprika, a touch of cayenne for heat, or even a sprinkle of your favorite herb blend like Italian seasoning.
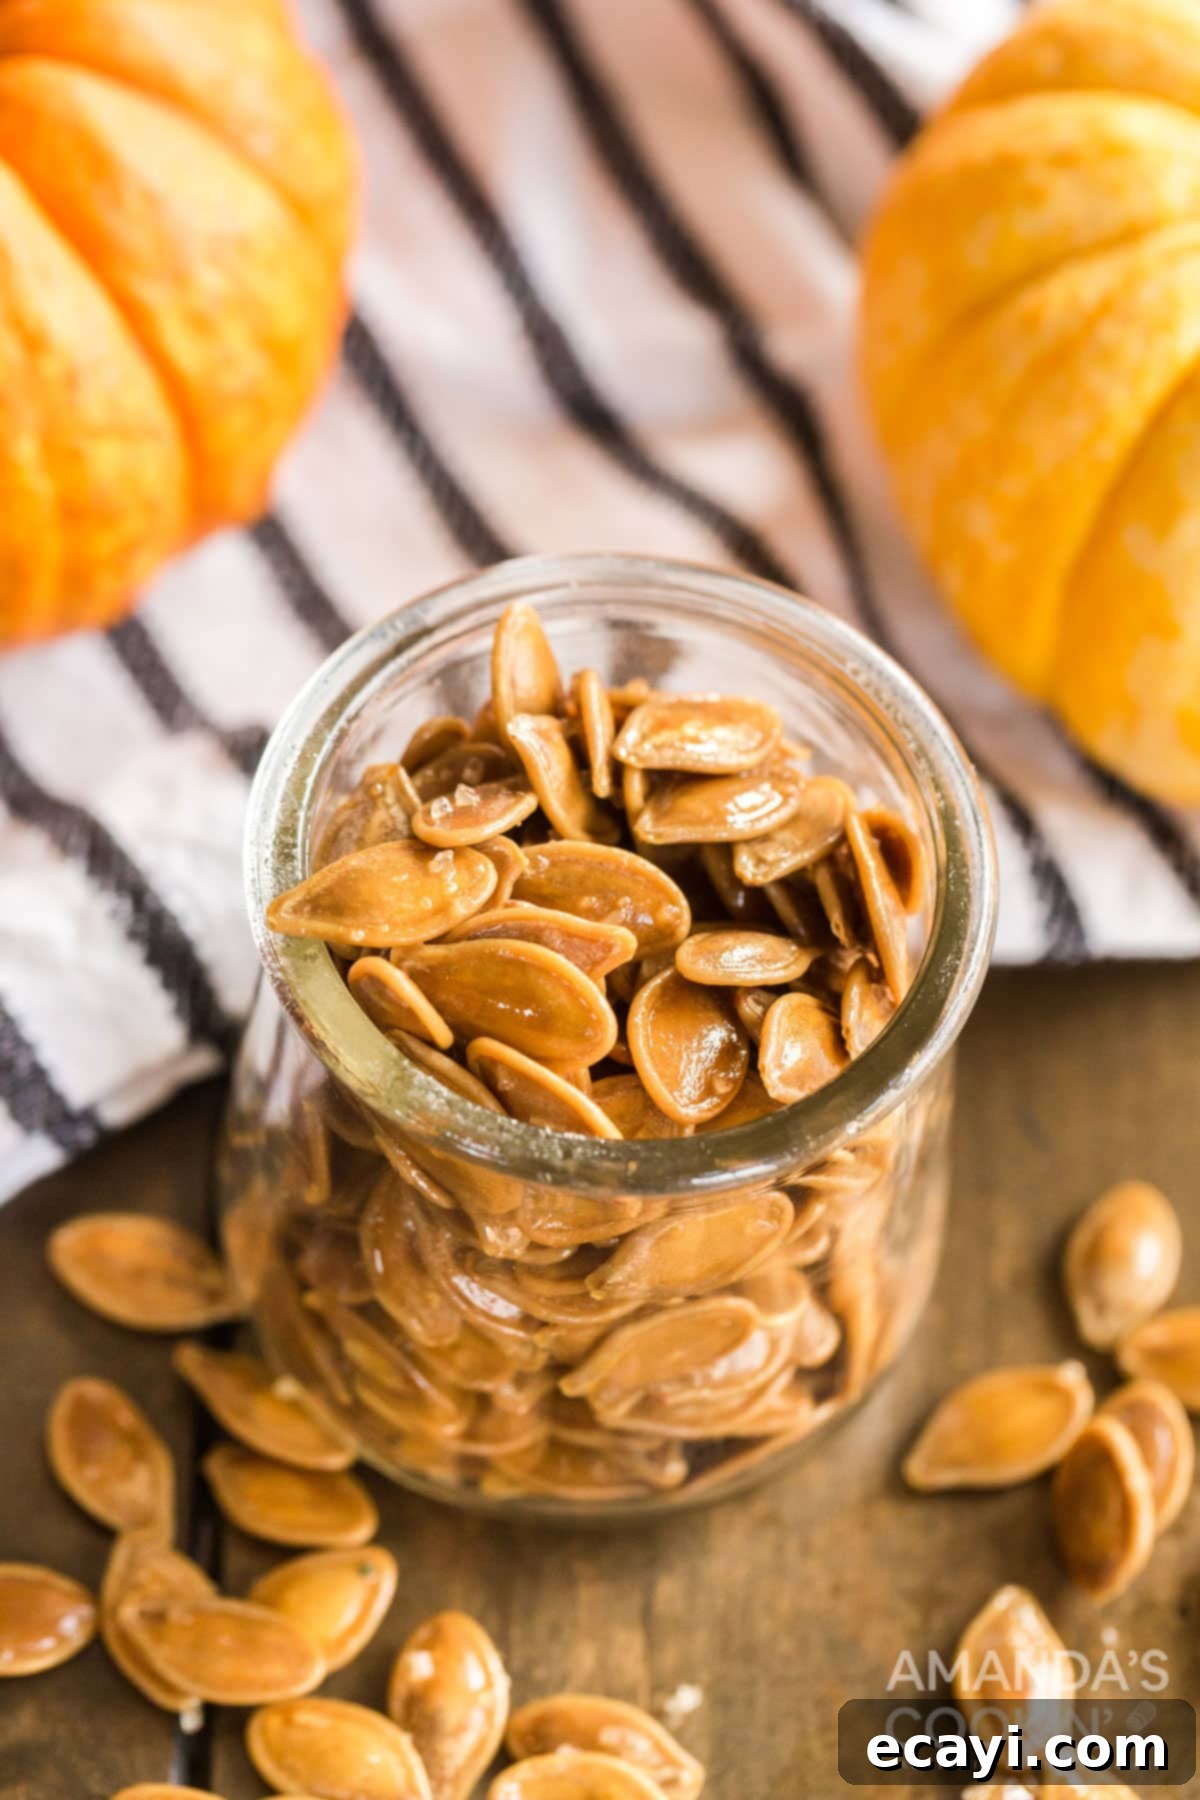
- **Storage Solutions:** Once cooled completely, store your roasted pumpkin seeds in an airtight container at room temperature. They will retain their crispiness and flavor for up to 1-2 weeks. For longer storage, you can keep them in the refrigerator for up to a month, though they are best enjoyed fresh.
- **Why Aren’t My Seeds Crispy? (Troubleshooting):** The most common culprits for less-than-crispy seeds are insufficient drying time before roasting, overcrowding the baking sheet (which causes steaming), or an oven temperature that’s too low. Ensure seeds are thoroughly dry (overnight is key!), spread them in a single layer, and check your oven temperature with an oven thermometer to ensure it’s accurate.
- **Can I Use Seeds from Any Pumpkin?** Absolutely! While carving pumpkins generally yield larger, easier-to-clean seeds, you can use seeds from pie pumpkins or other winter squash varieties. Just be aware that smaller squash might have smaller seeds, and the pulp might be a bit stickier, requiring a bit more effort in the cleaning stage.
- **Are Roasted Pumpkin Seeds Healthy?** Yes! Pumpkin seeds are a nutritional powerhouse. They are an excellent source of magnesium, zinc, iron, and contain healthy fats and plant-based protein. They also offer a good amount of dietary fiber, making them a satisfying and beneficial snack.

Making roasted pumpkin seeds is truly a special family tradition in our home, signaling the official start of the autumn season. We enjoy experimenting with different flavor combinations, from spicy to sweet, ensuring there’s always a batch to satisfy every craving. We sincerely hope you enjoy these wholesome and delightfully crunchy seeds as much as we do!
More Delightful Pumpkin Recipes to Explore This Fall
If you’re finding yourself with a bounty of pumpkin or simply can’t get enough of that wonderful fall flavor, here are some more fantastic pumpkin-themed recipes to tantalize your taste buds:
- Pumpkin Magic Cake: A truly magical dessert that’s moist, flavorful, and incredibly easy to make.
- Pumpkin Spice Donuts: Start your day or enjoy an afternoon treat with these perfectly spiced, fluffy donuts.
- Pumpkin Hand Pies: Individual servings of pumpkin pie goodness, perfect for on-the-go snacking or lunchboxes.
- Pumpkin Spice Hot Chocolate: A comforting and warm beverage to cozy up with on a crisp autumn evening.
- Pumpkin Spice Latte: Recreate your favorite coffee shop drink right at home with your slow cooker.
- Homemade Dog Treats: Don’t forget your furry friends! These pumpkin-infused treats are a healthy way to show them love.
- Pumpkin Chicken Pot Pie: A hearty and savory twist on a classic comfort food, perfect for dinner.
Beyond the culinary adventures, pumpkins offer endless creative possibilities! If you’re looking for unique ideas on what to do with your pumpkins before or after you’ve scooped out the seeds, be sure to check out my craft blog. You’ll find inspiration for a fun pumpkin painting party, a beautifully elegant succulent pumpkin display idea, or even how to create an adorable pumpkin fairy house!
I absolutely love to bake, cook, and share my most cherished recipes with you! I know how challenging it can be to remember to come back and search for your favorite dishes, which is why I’ve made it incredibly easy for you with my exclusive weekly newsletter. You can subscribe for free today, and I’ll personally send you a collection of delicious, tried-and-true recipes every single week, delivered right to your email inbox. Never miss a tasty creation!
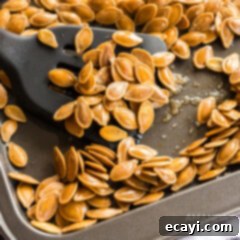
Perfectly Roasted Pumpkin Seeds
IMPORTANT – For detailed explanations, helpful tips, and frequently asked questions, please scroll back up to the main blog post. You’ll find valuable insights that will ensure your roasted pumpkin seeds turn out perfectly!
Print It
Rate It
Save ItSaved!
Ingredients
- 2 cups freshly cleaned pumpkin seeds
- 1 tablespoon olive oil
- 1 tablespoon melted butter
- Salt to taste (and other optional seasonings like garlic powder, cinnamon sugar, etc.)
Equipment You’ll Need
-
Measuring cups and spoons
-
Baking sheets
-
Large pot
-
Colander
Before You Begin
- For optimal crispiness, these pumpkin seeds truly benefit from an overnight drying period. Please ensure you plan ahead to allow adequate time for this crucial step!
- If you find yourself with more or fewer pumpkin seeds than the recipe calls for, simply adjust the amounts of olive oil, melted butter, and salt proportionally to ensure proper coating and seasoning.
- Don’t limit yourself to just salt! Roasted pumpkin seeds are incredibly versatile and can be enjoyed both savory and sweet. Experiment with delightful combinations like cinnamon sugar and a touch of pumpkin pie seasoning for a sweet treat, or garlic powder and paprika for a savory kick.
Instructions
-
Start by thoroughly cleaning your pumpkin seeds. Remove large chunks of pumpkin pulp with your hands. Then, place the remaining seeds and any attached slime into a pot with salted water. Bring to a boil and simmer for about 15 minutes; this helps to separate the seeds from any clinging fibrous bits.
-
Drain the seeds completely using a colander. Transfer them to a clean baking sheet lined with paper towels or a kitchen towel and pat them dry very well. Crucially, spread the seeds in a single layer on a clean baking sheet and allow them to air dry **OVERNIGHT**. This step is vital for achieving ultimate crispiness.
-
Once thoroughly dried, preheat your oven to 300°F (150°C). Transfer the dried pumpkin seeds into a large mixing bowl. Lightly spray a baking sheet with cooking spray or line it with parchment paper.
-
Drizzle the pumpkin seeds with the melted butter and olive oil. Toss them gently with a spatula or your hands, ensuring all the seeds are evenly coated with the fats.
-
Spread the seasoned pumpkin seeds onto the prepared baking sheet, making sure they are arranged in a single, even layer. Avoid overcrowding the pan to allow them to roast, not steam.
-
Liberally sprinkle with salt to taste. This is also the perfect time to add any other seasonings you enjoy, such as garlic powder for savory, or cinnamon sugar for a sweet twist. (For more ideas, try some of my popcorn seasonings!).
-
Bake the seeds for 20-30 minutes, stirring them halfway through the cooking time to ensure even browning. Begin checking for doneness at the 20-minute mark. The seeds are perfectly roasted when they are golden brown and wonderfully crispy.
-
For an extra-crispy result, once the seeds are done baking, turn off your oven and leave the pan of seeds inside for an additional hour while the oven gradually cools. This allows them to dry out further without burning.
Nutrition Information
The recipes on this blog are meticulously tested using a conventional gas oven and a gas stovetop. Please note that oven performance can vary, especially with age, leading to inconsistent cooking and baking. We highly recommend using an inexpensive oven thermometer to ensure your oven is consistently heating to the correct temperature. If you utilize a toaster oven or countertop oven, be aware that their heat distribution may differ from a full-sized conventional oven, potentially requiring adjustments to your cooking and baking times. For recipes prepared with appliances like pressure cookers, air fryers, or slow cookers, a direct link to the specific models we use is provided within each respective recipe for your convenience. For baking recipes where precise measurements are given by weight, please understand that using cup measurements instead may yield different results, and we cannot guarantee success with such a method.
This post was originally published on this blog on September 24, 2020, and has been updated and expanded for clarity and comprehensiveness.
