Crispy Garlic Smashed Potatoes: The Ultimate Oven-Baked Side Dish Recipe
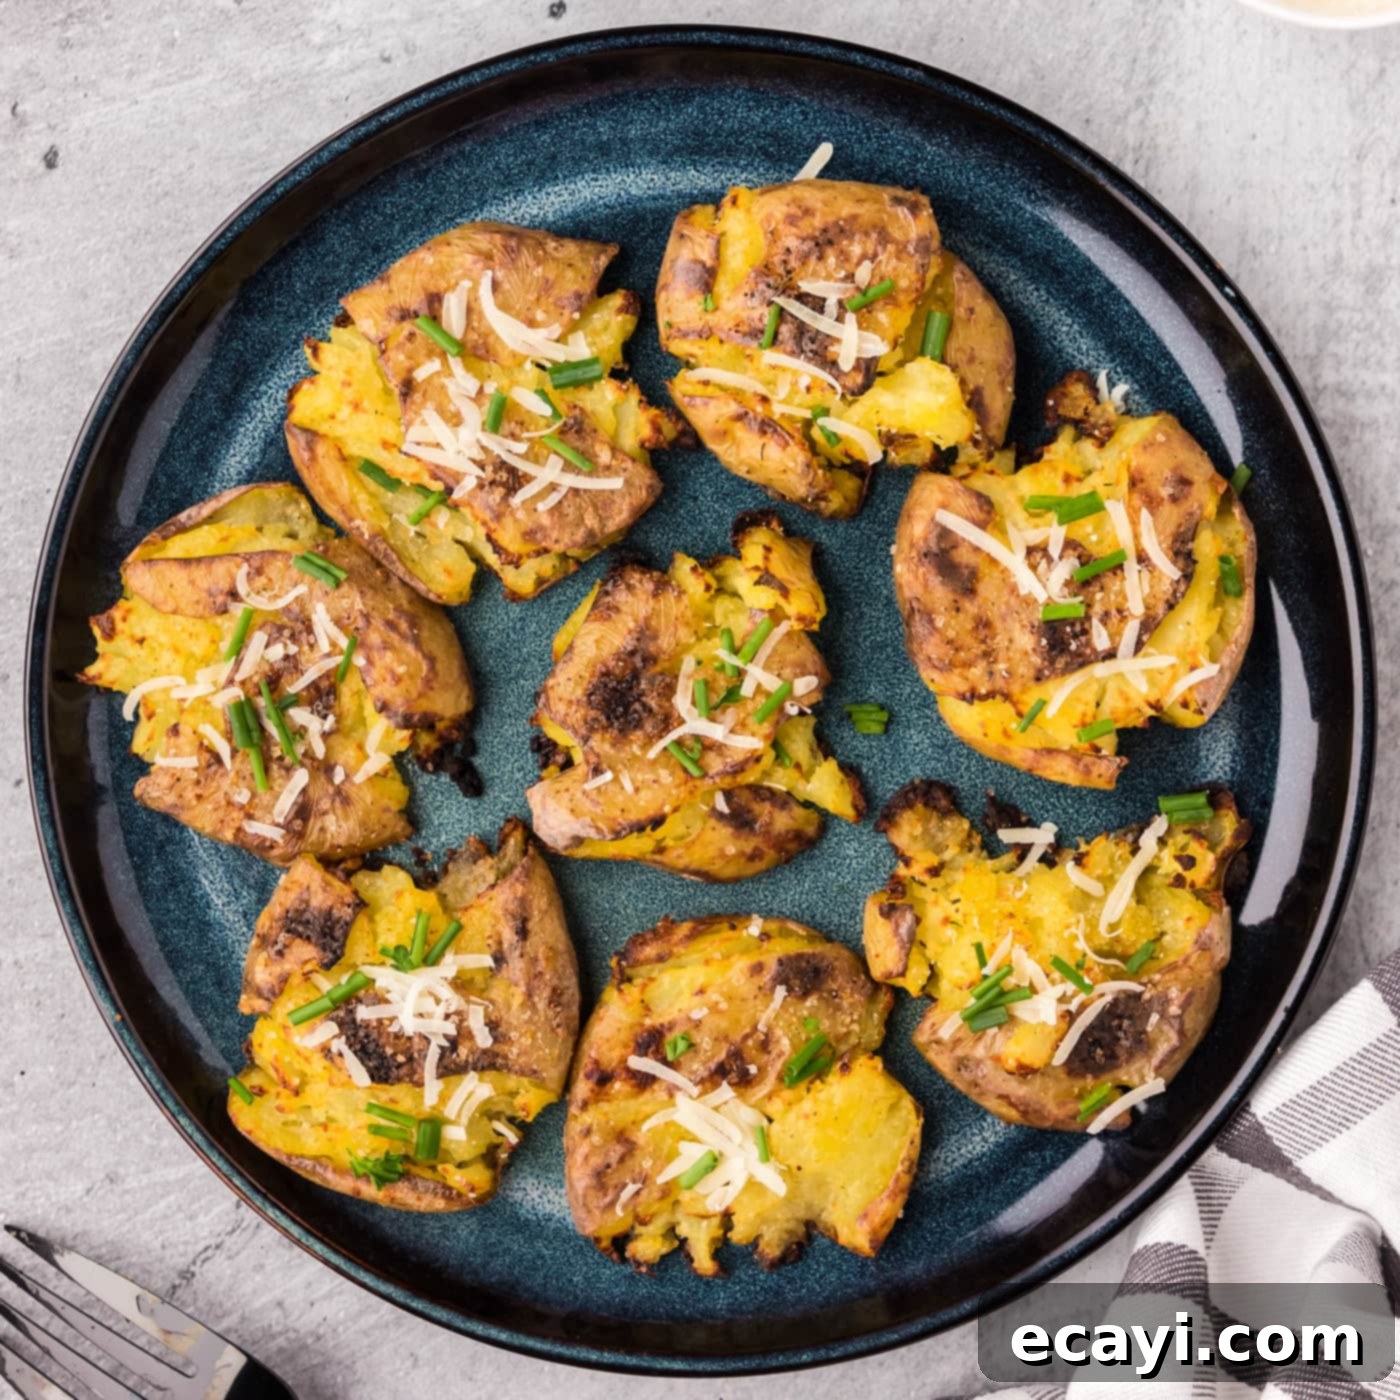
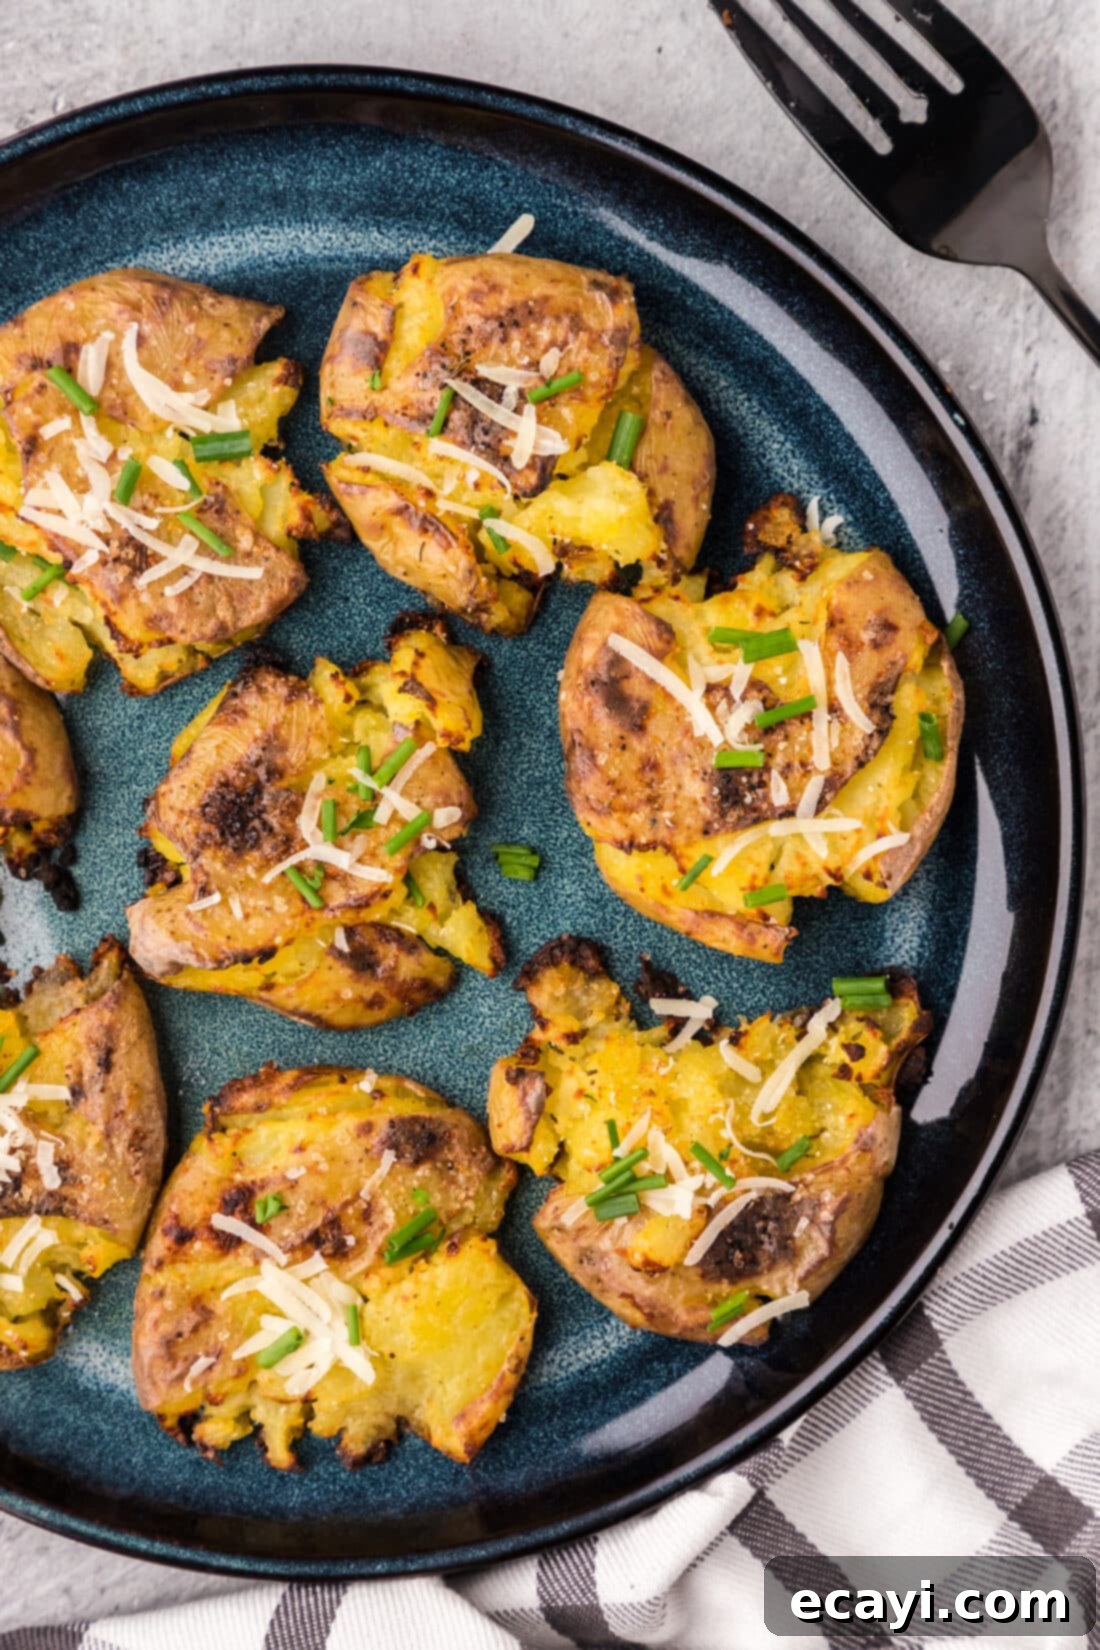
Prepare to elevate your potato game with this incredible recipe for smashed potatoes! Imagine buttery-soft interiors encased in a gloriously golden, irresistibly crispy exterior. These delightful spuds are simply begging for your favorite toppings and additions, making them a versatile and crowd-pleasing side dish for any meal or occasion.
Why These Crispy Smashed Potatoes Will Be Your New Favorite
These little spuds might just surprise you with their phenomenal texture and flavor. Smashed potatoes offer a unique culinary experience, delivering a perfectly soft, fluffy interior while their exterior bakes up into satisfyingly crispy, golden-brown discs. This textural contrast is what makes them so addictive and an ideal accompaniment to a wide variety of main courses.
Unlike traditional mashed potatoes, which can be time-consuming with peeling and mashing, this method is refreshingly simple and yields a more exciting result. It’s also a fantastic alternative to plain roasted potatoes, as the smashing technique creates a larger surface area, maximizing the crispiness in every bite. Once you try this recipe, you’ll understand why it’s a game-changer for potato lovers.
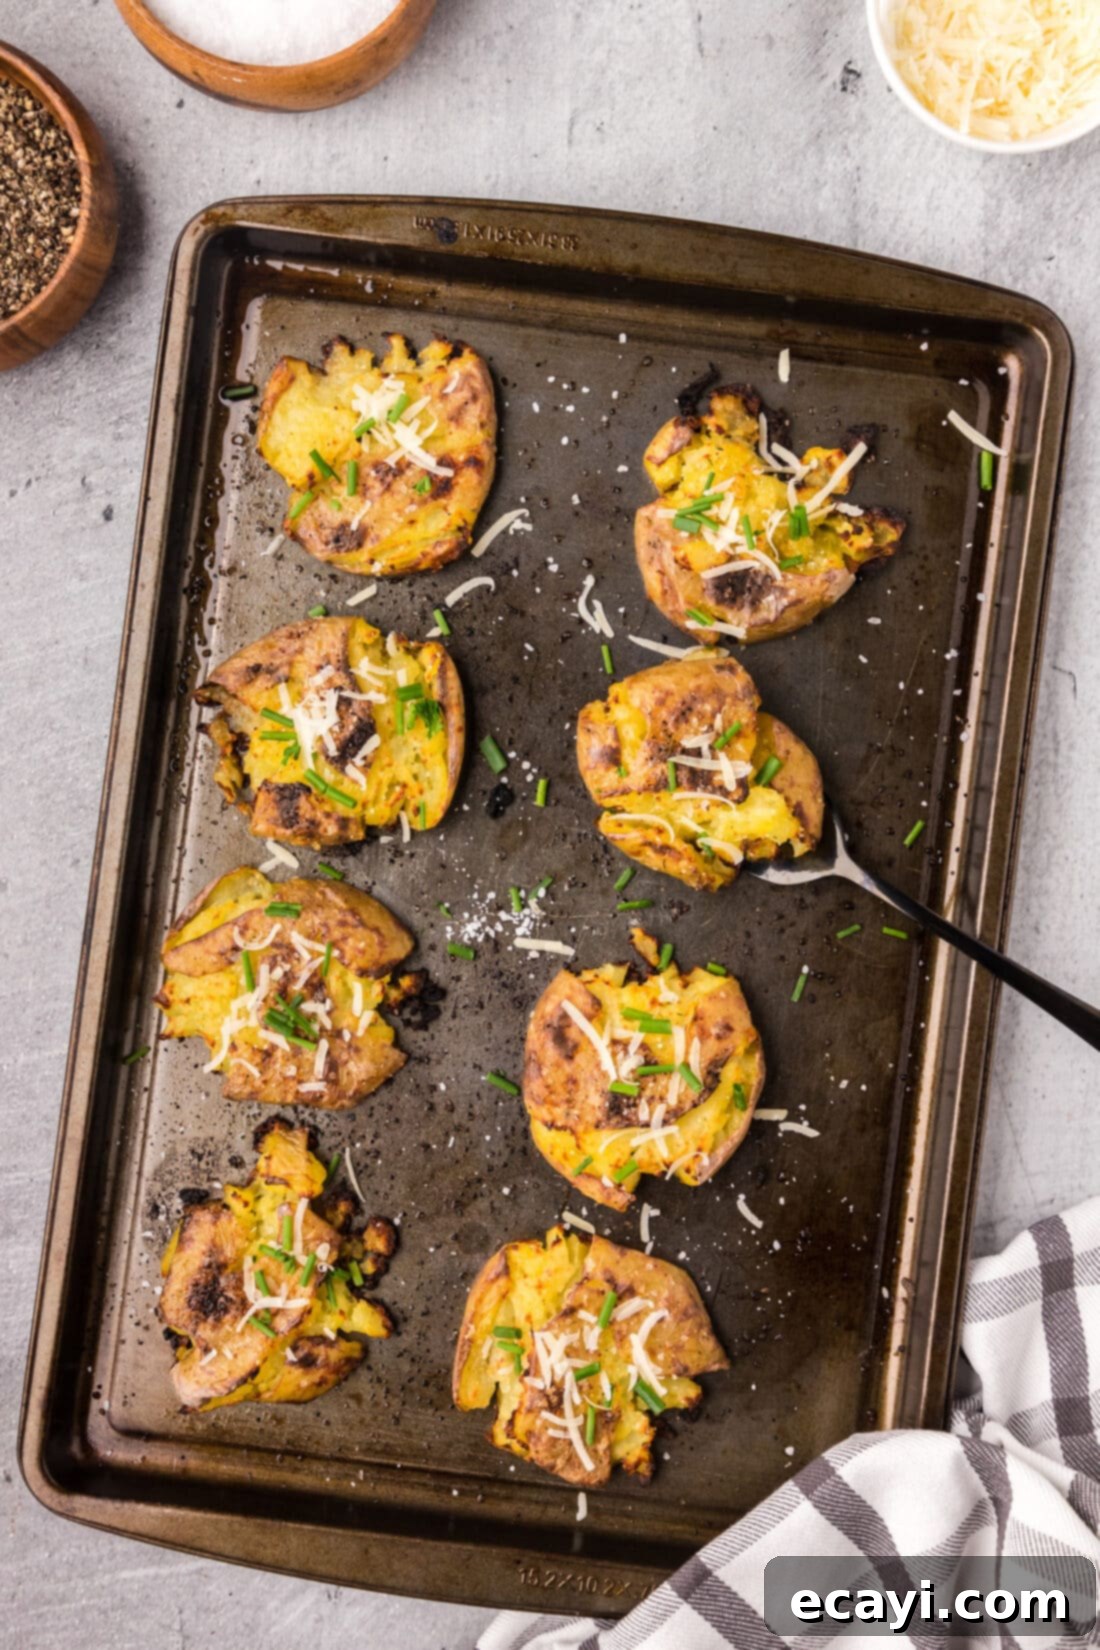
The magic behind their signature “smashed” look and incredible texture lies in a clever two-step process. First, the potatoes are boiled until they reach a fork-tender consistency. This ensures the interior becomes wonderfully soft and creamy. Then, after draining, they are gently but firmly smushed with a spatula or the bottom of a glass. This action creates those desirable jagged edges and a rough surface that gets delightfully crispy in the oven. Crucially, the skins are kept intact – not only for an extra layer of crispiness but also for added nutrients and rustic charm.
Essential Ingredients for Perfect Smashed Potatoes
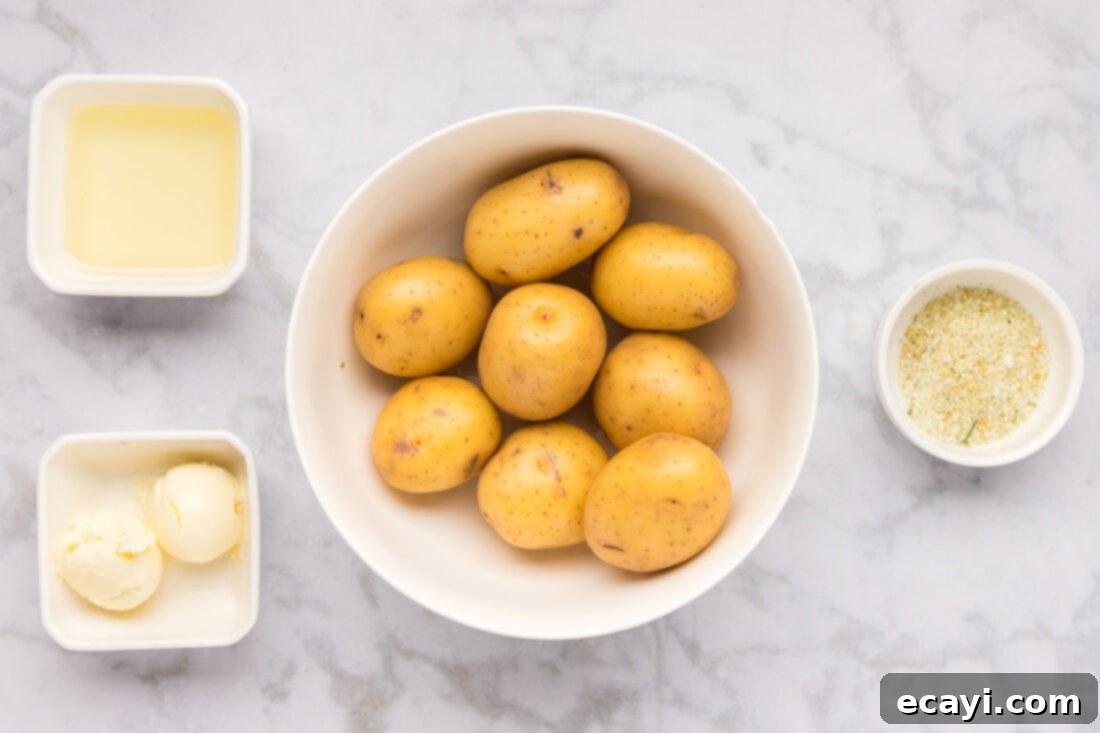
Gathering your ingredients is the first step to creating these delectable crispy potatoes. You’ll find all precise measurements and detailed instructions in the printable recipe card located at the end of this post.
Ingredient Breakdown & Clever Substitutions
POTATOES – For this recipe, we highly recommend using Yukon Gold potatoes. Their naturally buttery flavor and creamy texture, combined with their relatively thin skin, make them perfect for achieving that desired soft interior and crispy exterior. If Yukon Golds aren’t available, other yellow potato varieties will also work beautifully. The size of your potatoes will influence baking time: small potatoes typically take around 20 minutes in the oven, medium-sized ones closer to 25 minutes, and larger potatoes might need up to 30 minutes. This smashing technique is also excellent with baby red or gold potatoes, offering a slightly different visual appeal and often quicker cooking times.
- Why Yukon Golds? They strike a perfect balance between starchy and waxy, meaning they get fluffy when boiled but hold their shape well enough to be smashed. Their thin skin also crisps up beautifully without becoming tough.
- Other great choices: Small red potatoes, new potatoes, or even fingerling potatoes can be used for a gourmet touch. While Russet potatoes can be used, their thicker skin and starchier texture will result in a drier, more floury interior and a different kind of crisp.
FATS (Olive Oil & Unsalted Butter) – The combination of olive oil and melted unsalted butter is key to both flavor and crispiness. Olive oil, with its higher smoke point, contributes to a beautiful, even crisp, while butter adds a rich, savory depth and aids in golden-brown perfection. Ensure your butter is unsalted to better control the overall seasoning.
- Substitution options: For a dairy-free version, use only olive oil or substitute butter with a plant-based butter alternative. Avocado oil is another excellent neutral-flavored oil with a high smoke point that works well.
SEASONING (Kosher Salt & Garlic Salt) – Kosher salt is used in the boiling water to season the potatoes from the inside out, providing fundamental flavor. Garlic salt then enhances the flavor profile during baking, adding a savory, aromatic kick that complements the potatoes wonderfully.
- Customization ideas: Don’t limit yourself to just garlic salt! Consider adding a pinch of black pepper, onion powder, paprika, dried rosemary, or thyme along with the garlic salt before baking. A sprinkle of red pepper flakes can introduce a subtle heat.
Step-by-Step Guide: Crafting Your Own Smashed Potatoes
These step-by-step photos and instructions are designed to help you visualize each stage of making this delicious recipe. For a convenient printable version, complete with precise measurements and instructions, simply Jump to Recipe at the bottom of this post.
- Prepare the Potatoes: Begin by thoroughly rinsing your potatoes under cold running water to remove any dirt or debris.
- Preheat Your Oven: Preheat your oven to a steady 400°F (200°C). This high temperature is crucial for achieving that coveted crispy exterior.
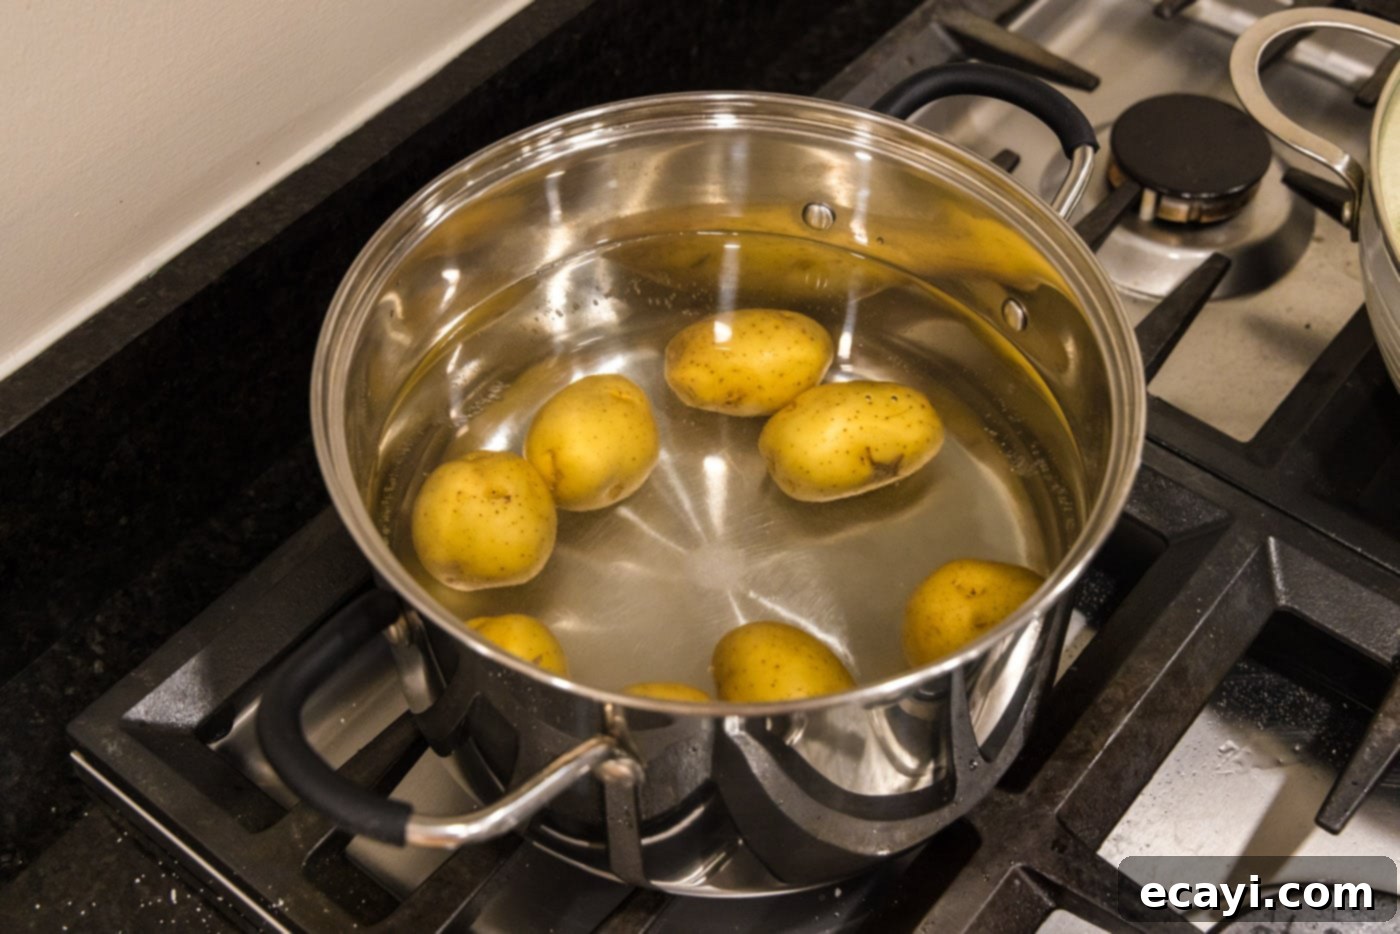
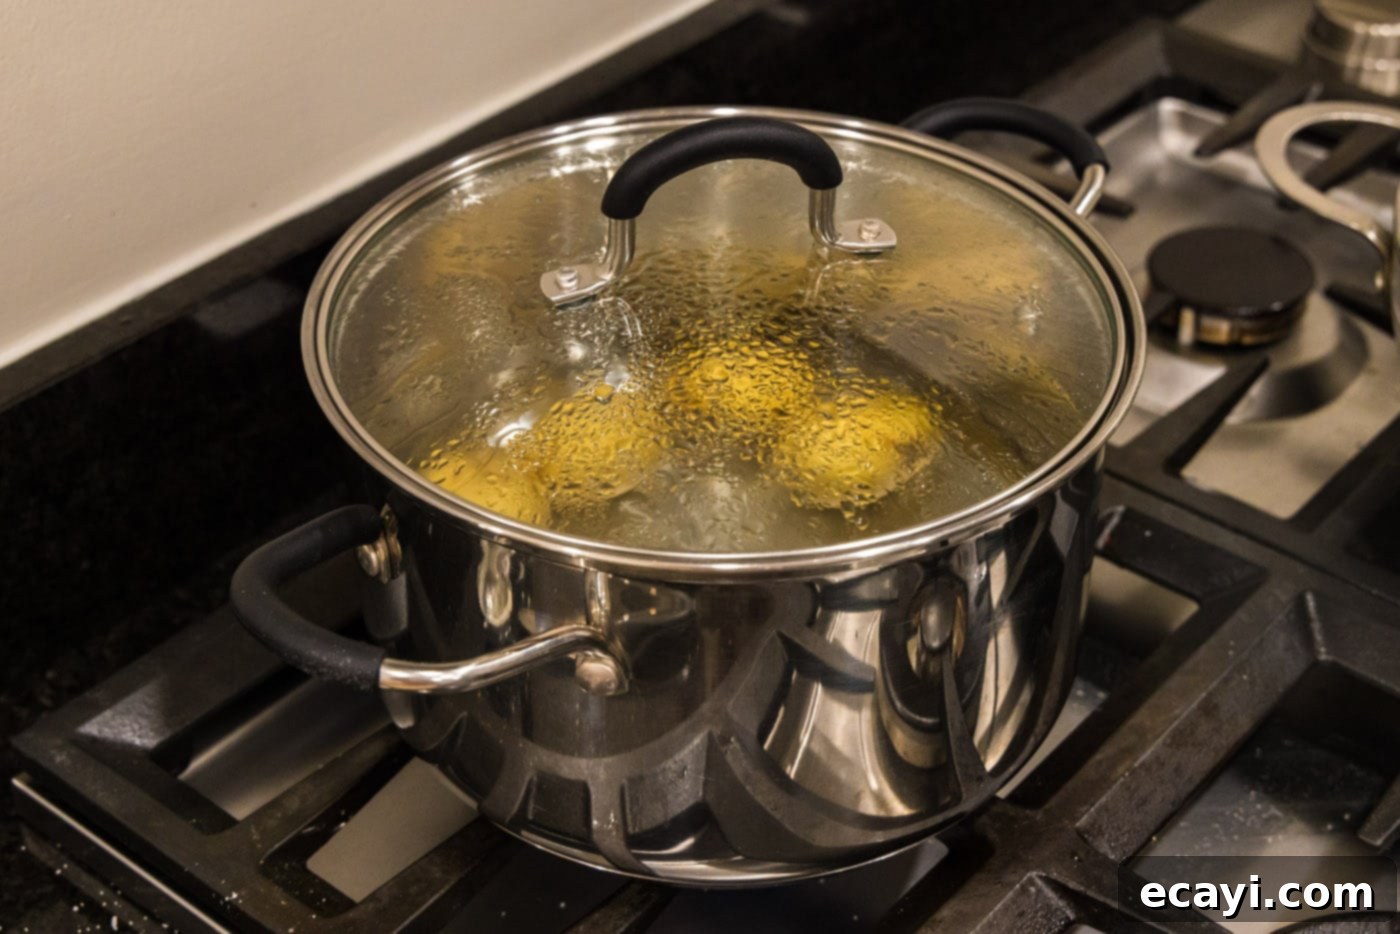
- Boil to Perfection: Fill a large stockpot or saucepan about three-quarters full with water. Add a generous tablespoon of Kosher salt to the water; this seasons the potatoes from within as they cook, enhancing their overall flavor. Bring the salted water to a rolling boil over medium-high heat. Once boiling, carefully add the rinsed potatoes to the pot and cover with a lid. Cook the potatoes until they are tender when pierced with a fork, but not so soft that they are falling apart or mushy. This usually takes about 25-30 minutes, depending on the size of your potatoes. You’ll notice the potatoes beginning to float to the top as they cook.
EXPERT TIP – To check for doneness, pierce a potato with a fork. It should slide in easily with minimal resistance, but the potato should still hold its shape firmly. If it breaks apart, it’s overcooked. Aim for tender, not disintegrating.


- Drain and Cool: Once tender, carefully drain the potatoes in a colander. Allow them to cool slightly for about 5 minutes. This cooling period makes them easier to handle and helps some of the residual steam evaporate, which contributes to crispiness.
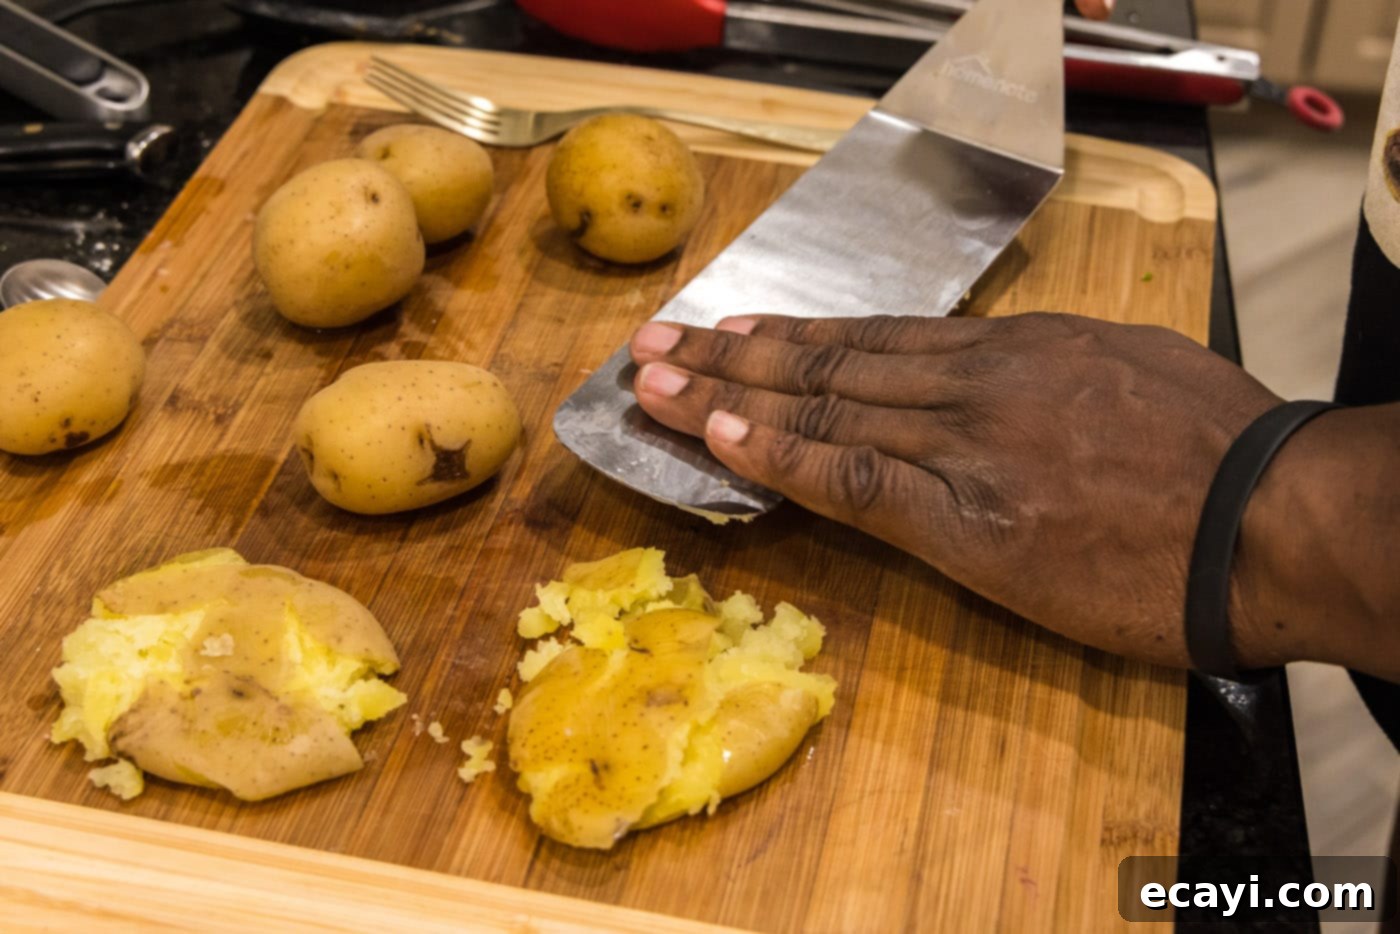
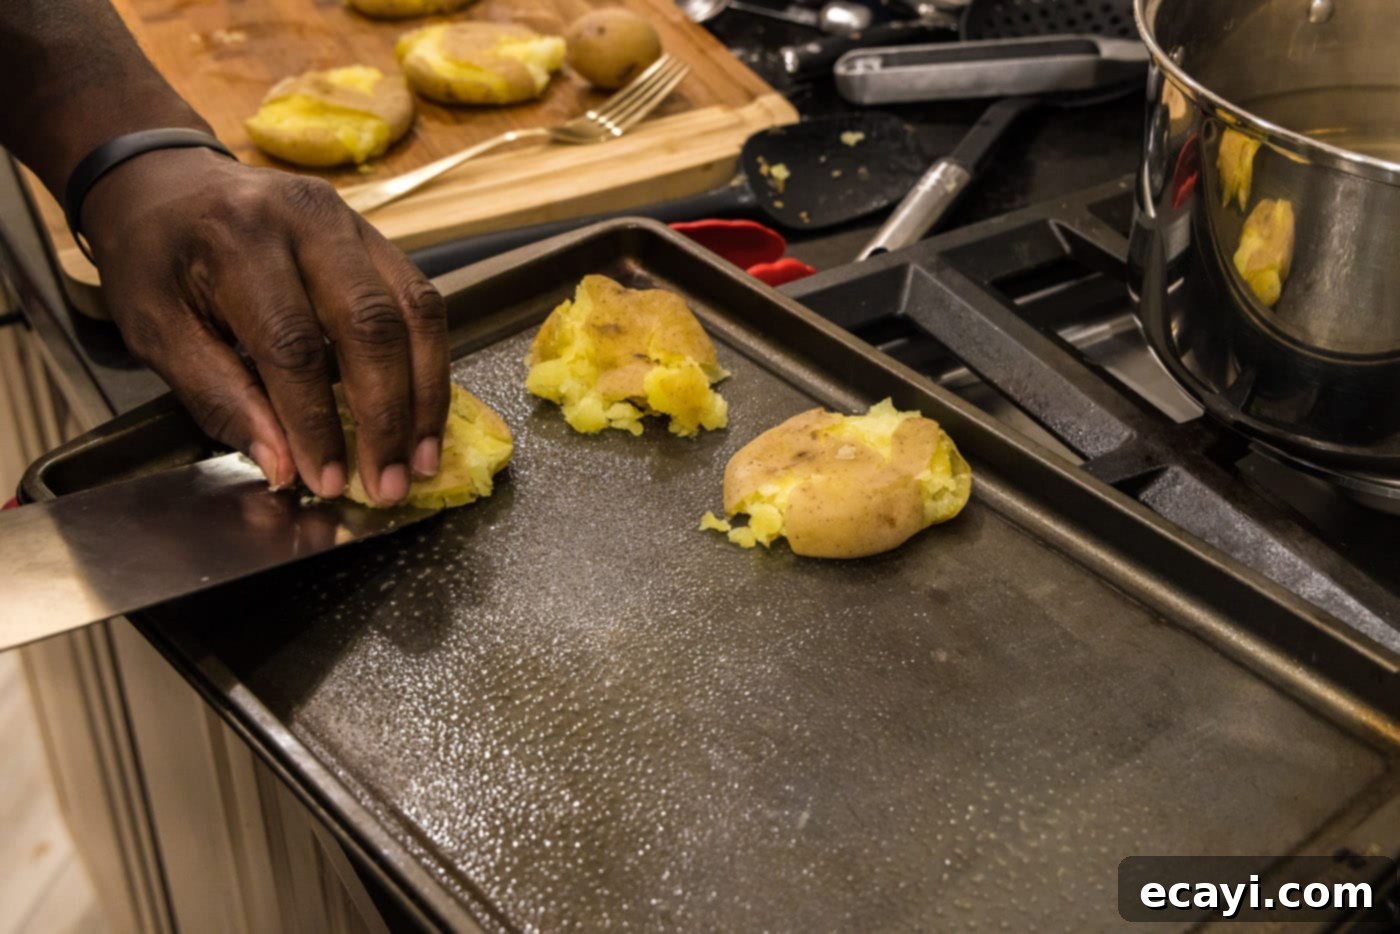
- The Smash: Transfer the slightly cooled potatoes to a clean cutting board or directly onto your prepared baking sheet (if you’re careful not to tear the parchment paper). Using the back of a sturdy spatula, a potato masher, or even the bottom of a glass, gently but firmly press down on each potato until it flattens into a disc, roughly ¼ to ½ inch thick. Be careful not to completely pulverize them; you want them smashed, not mashed, with some texture and jagged edges. Ensure the skins remain intact for maximum crispiness.

- Arrange on Baking Sheet: Lightly spray a large baking sheet with cooking spray, or line it with parchment paper for easy cleanup. Carefully transfer the smashed potatoes onto the baking sheet, ensuring they are arranged in a single layer with ample space between each one. Overcrowding will steam the potatoes instead of crisping them.

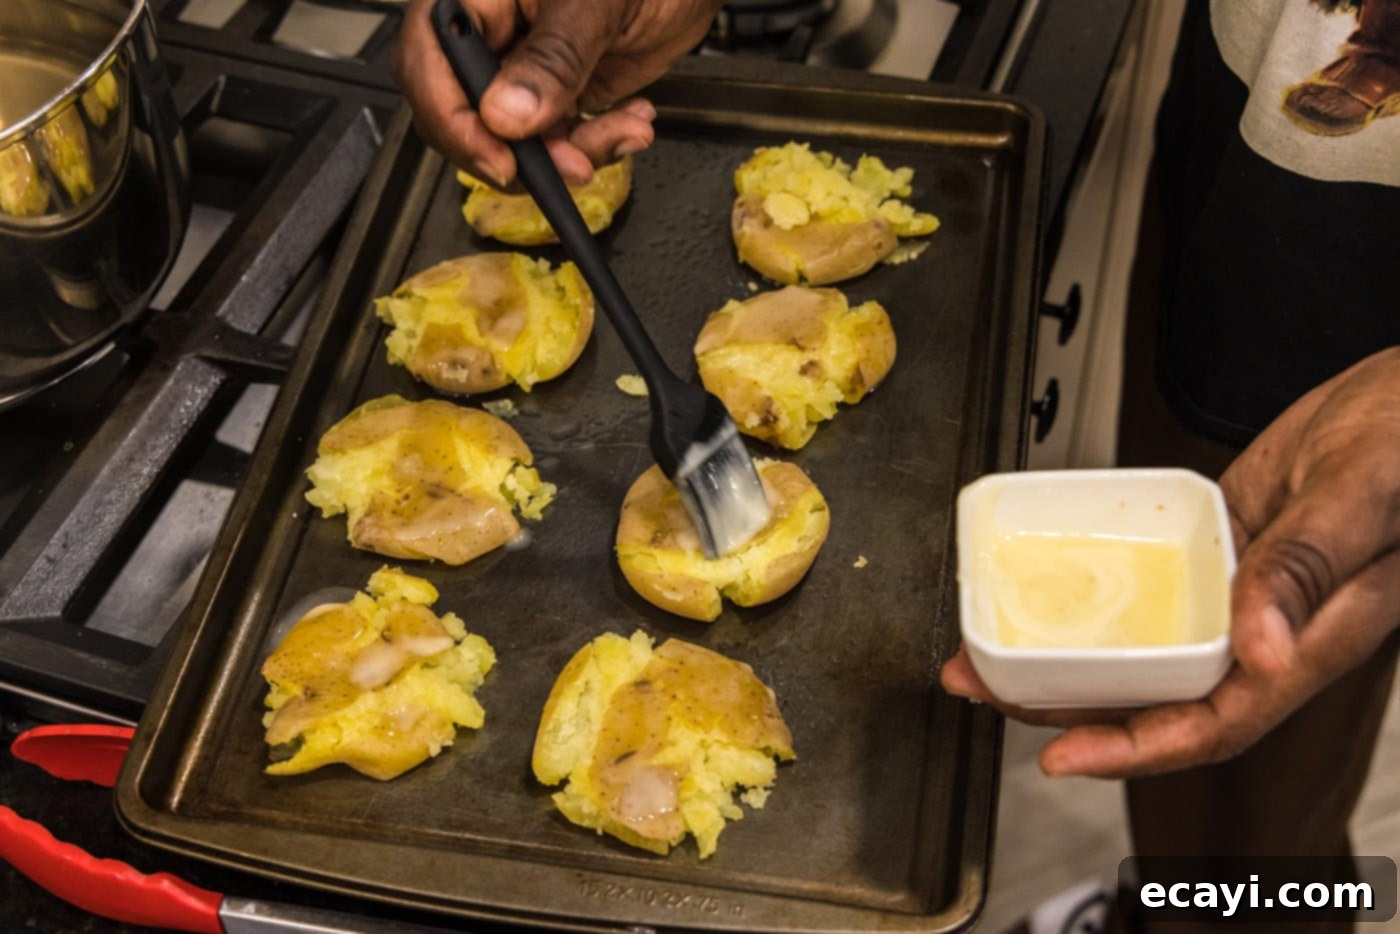
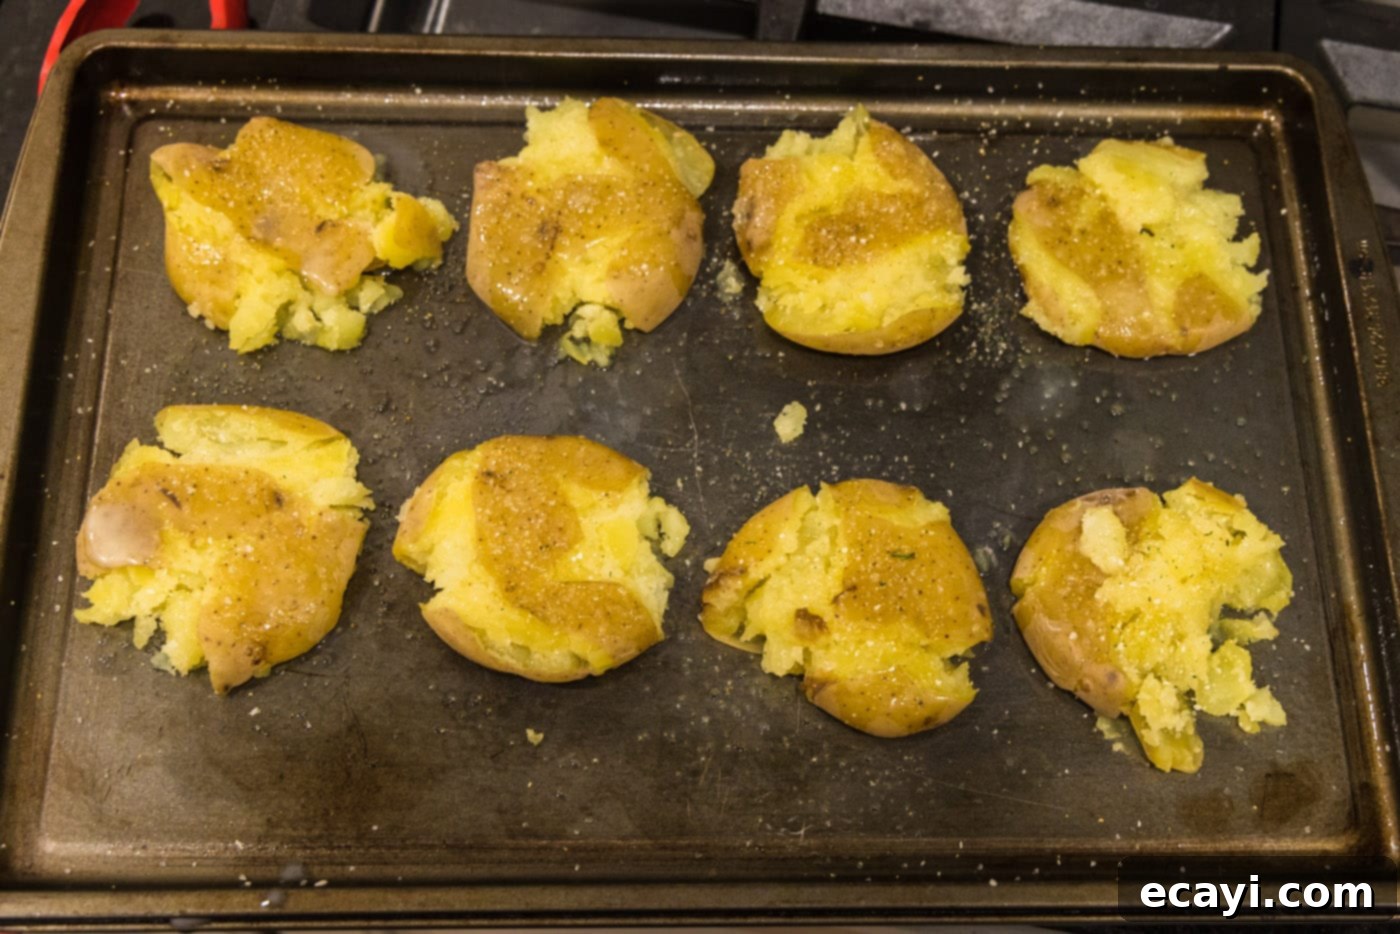
- Brush and Season: In a small bowl, melt the unsalted butter. Using a pastry brush, generously brush both sides of each smashed potato with the melted butter, followed by a light brush of olive oil. This double layer of fat helps achieve superior crispiness and flavor. Finally, season the potatoes liberally with garlic salt, or your preferred seasonings, to taste. Don’t be shy – this is where a lot of the flavor comes from!


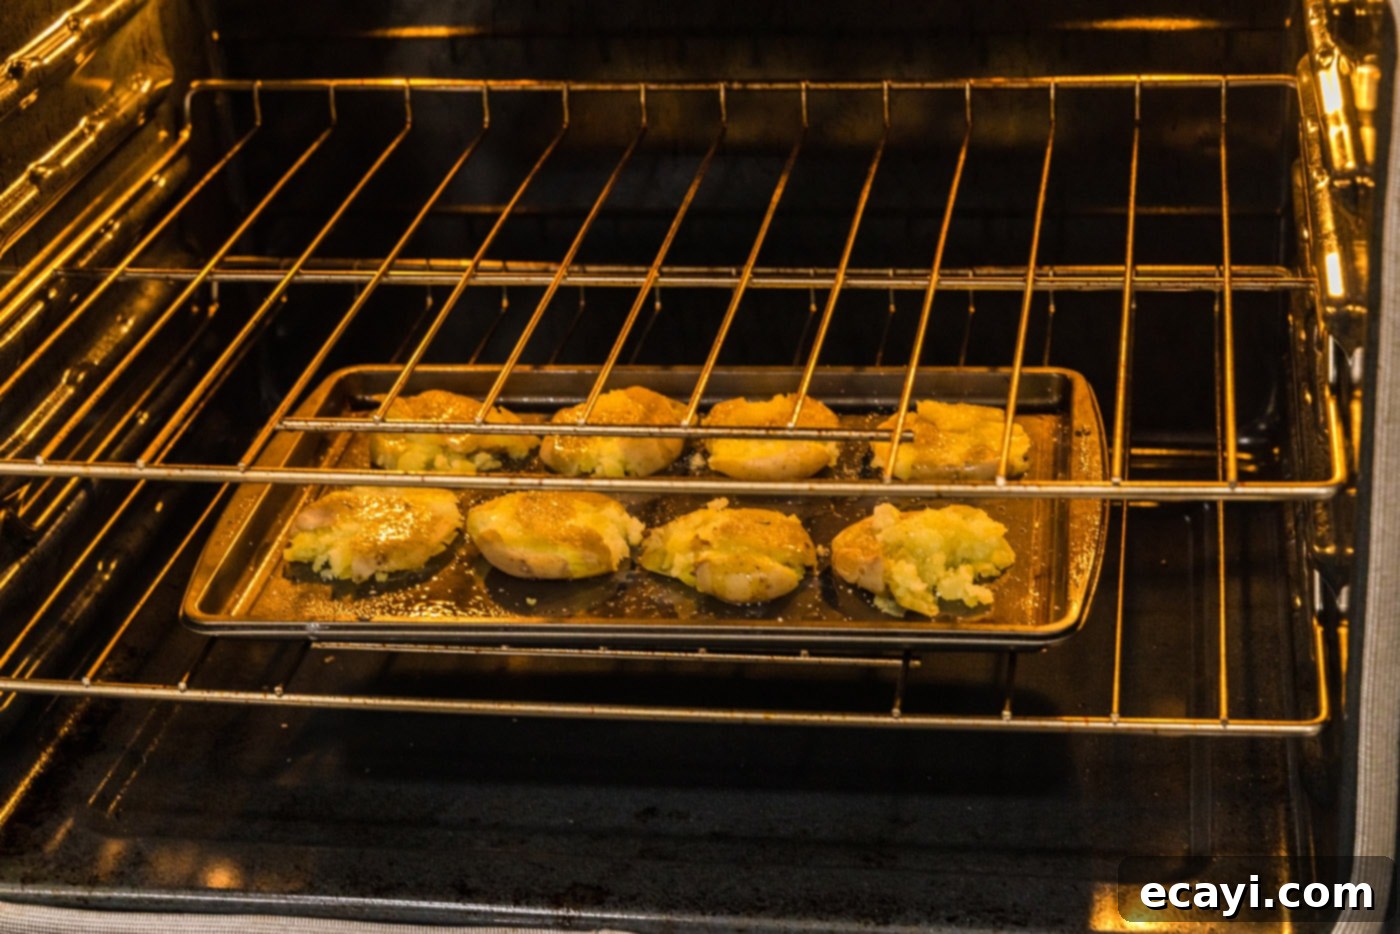
- Bake for Crispness: Place the baking sheet in your preheated 400°F (200°C) oven. Bake for approximately 25 minutes, or until the potatoes are nicely golden brown and crispy around the edges.

- Broil for Golden Perfection: For an extra layer of crispiness and a beautiful golden-brown finish, increase the oven heat to the Broil setting. Broil the potatoes for an additional 3-5 minutes, keeping a close eye on them to prevent burning. They can go from perfectly golden to burnt very quickly under the broiler. Once they reach your desired level of crispness, remove them from the oven and serve immediately.
Frequently Asked Questions & Expert Tips for Smashed Potatoes
Boiling the potatoes first is a crucial step that softens their interiors, making them pliable enough to easily flatten with a spatula without crumbling. This initial boil also begins to break down the starches, contributing to that desirable fluffy texture inside. Without this step, you wouldn’t be able to achieve their classic jagged, crispy-edged appearance.
To store any cooled leftovers, place them in an airtight container and refrigerate for up to 4-5 days. For best results when reheating, spread them on a baking sheet and warm them in a 350°F (175°C) oven until thoroughly heated and re-crisped. The microwave can be used for speed, but they won’t retain their crispiness.
Absolutely! These potatoes are excellent for make-ahead prep. You can boil and smash them up to a day in advance. After smashing, arrange them on a baking sheet, cover tightly with plastic wrap, and store them in the refrigerator. When you’re ready to serve, simply proceed with brushing, seasoning, and baking as per the recipe. This method is a fantastic time-saver for busy weeknights, parties, or holiday gatherings.
For maximum crispiness, follow these tips: 1) Ensure potatoes are well-drained and allowed to cool slightly after boiling to release steam. 2) Don’t overcrowd the baking sheet; give each potato plenty of space. 3) Use a good amount of fat (butter and oil). 4) Finish them under the broiler for a few minutes, watching them closely.
Yes, you can! After boiling and smashing, brush the potatoes with oil and butter and season them. Arrange them in a single layer in your air fryer basket, ensuring not to overcrowd. Air fry at 375°F (190°C) for 15-20 minutes, flipping halfway through, until golden brown and crispy. Cooking time may vary by air fryer model.
Creative Serving Suggestions & Delicious Pairings
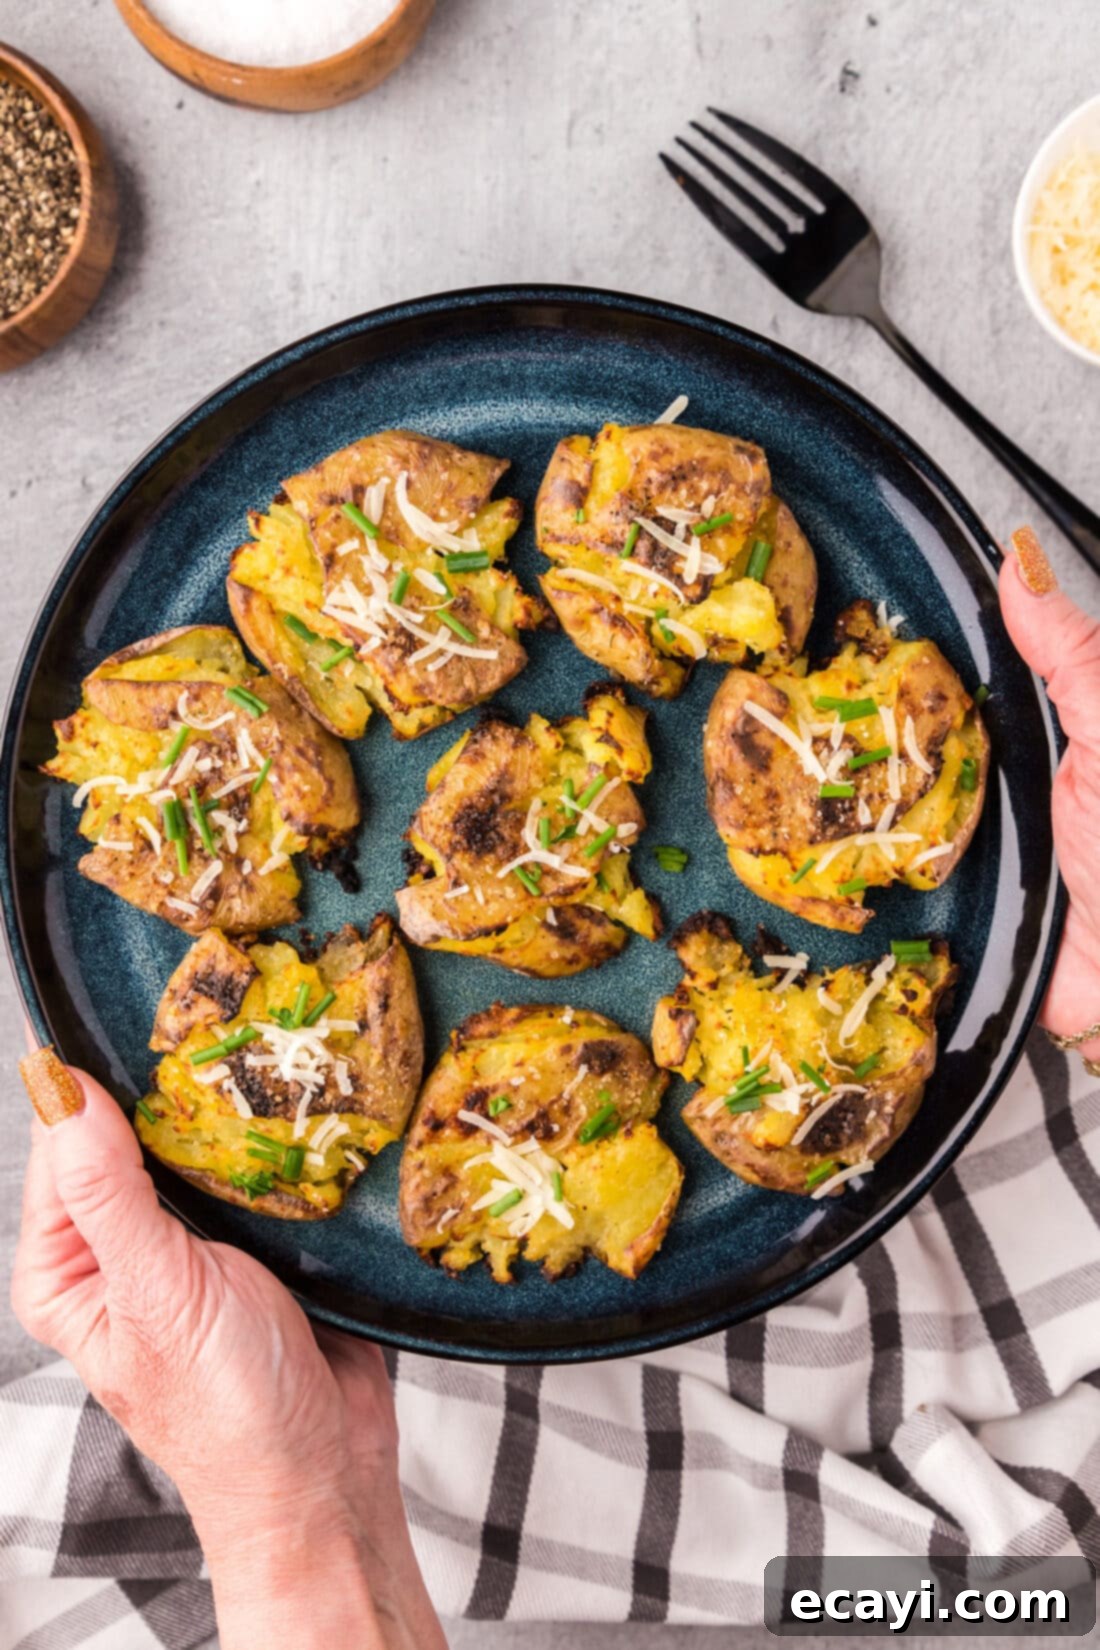
One of the best things about smashed potatoes is their incredible versatility. They act as a perfect canvas for a myriad of seasonings, herbs, and toppings, allowing you to customize them to suit any meal or preference. Before baking, consider adding:
- Cheesy Goodness: Grated Parmesan cheese, sharp cheddar cheese, or even crumbled feta can be sprinkled over the potatoes. The cheese will melt and brown, adding another layer of savory flavor.
- Fresh Herbs: Elevate the aroma and taste with fresh thyme, finely chopped chives, rosemary, or parsley. Add them before baking or as a garnish right before serving.
- Savory Add-ins: Crumbled cooked bacon bits are a classic and delicious choice. For a touch of spice, a pinch of red pepper flakes can be added.
- Zesty Flavor: A hint of lemon zest adds a bright, fresh note that cuts through the richness.
Once baked, you can take them even further! Optionally serve your crispy smashed potatoes with a dollop of cooling sour cream, a drizzle of creamy ranch dressing, a spicy sriracha mayo, or a rich garlic aioli. Even a simple sprinkle of extra fresh chives or a dash of hot sauce can make a big difference.
Smashed potatoes are a fantastic side dish that pairs beautifully with almost any main course. Think classic comfort foods like savory meatloaf, perfectly seared steak, succulent roasted chicken, flaky baked salmon, or juicy pork chops. They’re also an incredibly popular and welcome addition to holiday tables, making an impressive appearance alongside your Thanksgiving turkey, Christmas ham, or Easter lamb. Their unique texture and robust flavor ensure they stand out as a memorable component of any meal.
Discover More Delicious Potato Recipes
If you love potatoes as much as we do, you’ll want to explore these other fantastic recipes:
- Crispy Oven-Baked Potato Wedges
- Irresistible Melting Potatoes
- Garlic Parmesan Roasted Potatoes
- Classic Crispy Roast Potatoes
- Decadent Bacon Three Cheese Potatoes
I love to bake and cook and share my kitchen experience with all of you! Remembering to come back each day can be tough, that’s why I offer a convenient newsletter every time a new recipe posts. Simply subscribe and start receiving your free daily recipes!

Smashed Potatoes
IMPORTANT – There are often Frequently Asked Questions within the blog post that you may find helpful. Simply scroll back up to read them!
Print It
Pin It
Rate It
Pin It
Save ItSaved!
Ingredients
- 8 medium Yukon gold potatoes about 1 pound (or baby red/gold potatoes)
- water for boiling
- 1 Tablespoon Kosher salt for boiling water
- 2 Tablespoons olive oil
- 2 Tablespoons unsalted butter melted
- garlic salt to taste (or preferred seasoning blend)
Things You’ll Need
-
Stockpot or large saucepan with a lid
-
Spatula
-
Baking sheet
-
Pastry brush
Chef’s Notes & Pro Tips
- For the best results, use Yukon Gold potatoes, known for their creamy texture and thin skin that crisps beautifully. You can also use other yellow potatoes, baby red, or baby gold varieties. Adjust oven baking times based on potato size: small (approx. 20 mins), medium (approx. 25 mins), large (approx. 30 mins).
- Feel free to experiment with seasonings! Beyond garlic salt, consider adding grated Parmesan cheese, fresh thyme, crumbled cooked bacon, sharp cheddar cheese, or chopped chives to your potatoes before baking for an extra burst of flavor.
- Leftover smashed potatoes can be stored in an airtight container in the refrigerator for 4-5 days. To reheat, spread them on a baking sheet and warm in a 350°F oven until heated through and re-crisped.
- To save time, these potatoes can be boiled and smashed a day in advance. Store them on a baking sheet covered with plastic wrap in the refrigerator. This prep-ahead method is perfect for busy party or holiday meal planning.
- To ensure ultimate crispiness, make sure your potatoes are well-drained and slightly cooled before smashing. Also, arrange them in a single layer on your baking sheet without overcrowding, allowing proper air circulation for crisping.
Instructions
-
Rinse potatoes thoroughly under cold water.
-
Preheat oven to 400°F (200°C).
-
Fill a stockpot 3/4 full with water and add Kosher salt. Bring to a boil over medium-high heat. When water comes to a boil, add potatoes and cover with lid. Cook potatoes until fork-tender but not mushy, about 25-30 minutes, or until they begin to rise to the top.
HINT – Potatoes should be easily pierced with a fork, but still hold their shape without breaking apart.
-
Drain potatoes well and allow them to cool for 5 minutes.
-
Place potatoes onto a cutting board and press down on each one using the back of a sturdy spatula or a potato masher, flattening them to about ¼ to ½ inch thick.
-
Spray a baking sheet with cooking spray or line with parchment paper. Using a spatula, carefully move the smashed potatoes onto the prepared baking sheet, ensuring they are in a single layer and not touching.
-
Brush the potatoes generously with melted butter, then with olive oil. Season to taste with garlic salt or your preferred seasonings.
-
Bake in the preheated oven for 25 minutes, or until golden brown and crispy.
-
Increase the oven temperature to Broil and broil the potatoes for 3-5 minutes to achieve extra crispiness and a beautifully browned top. Watch them carefully to prevent burning. Serve immediately.
Nutrition
The recipes on this blog are tested with a conventional gas oven and gas stovetop. It’s important to note that some ovens, especially as they age, can cook and bake inconsistently. Using an inexpensive oven thermometer can assure you that your oven is truly heating to the proper temperature. If you use a toaster oven or countertop oven, please keep in mind that they may not distribute heat the same as a conventional full sized oven and you may need to adjust your cooking/baking times. In the case of recipes made with a pressure cooker, air fryer, slow cooker, or other appliance, a link to the appliances we use is listed within each respective recipe. For baking recipes where measurements are given by weight, please note that results may not be the same if cups are used instead, and we can’t guarantee success with that method.
