Irresistibly Easy Peanut Butter Rice Krispie Treats: The Ultimate 5-Ingredient No-Bake Delight
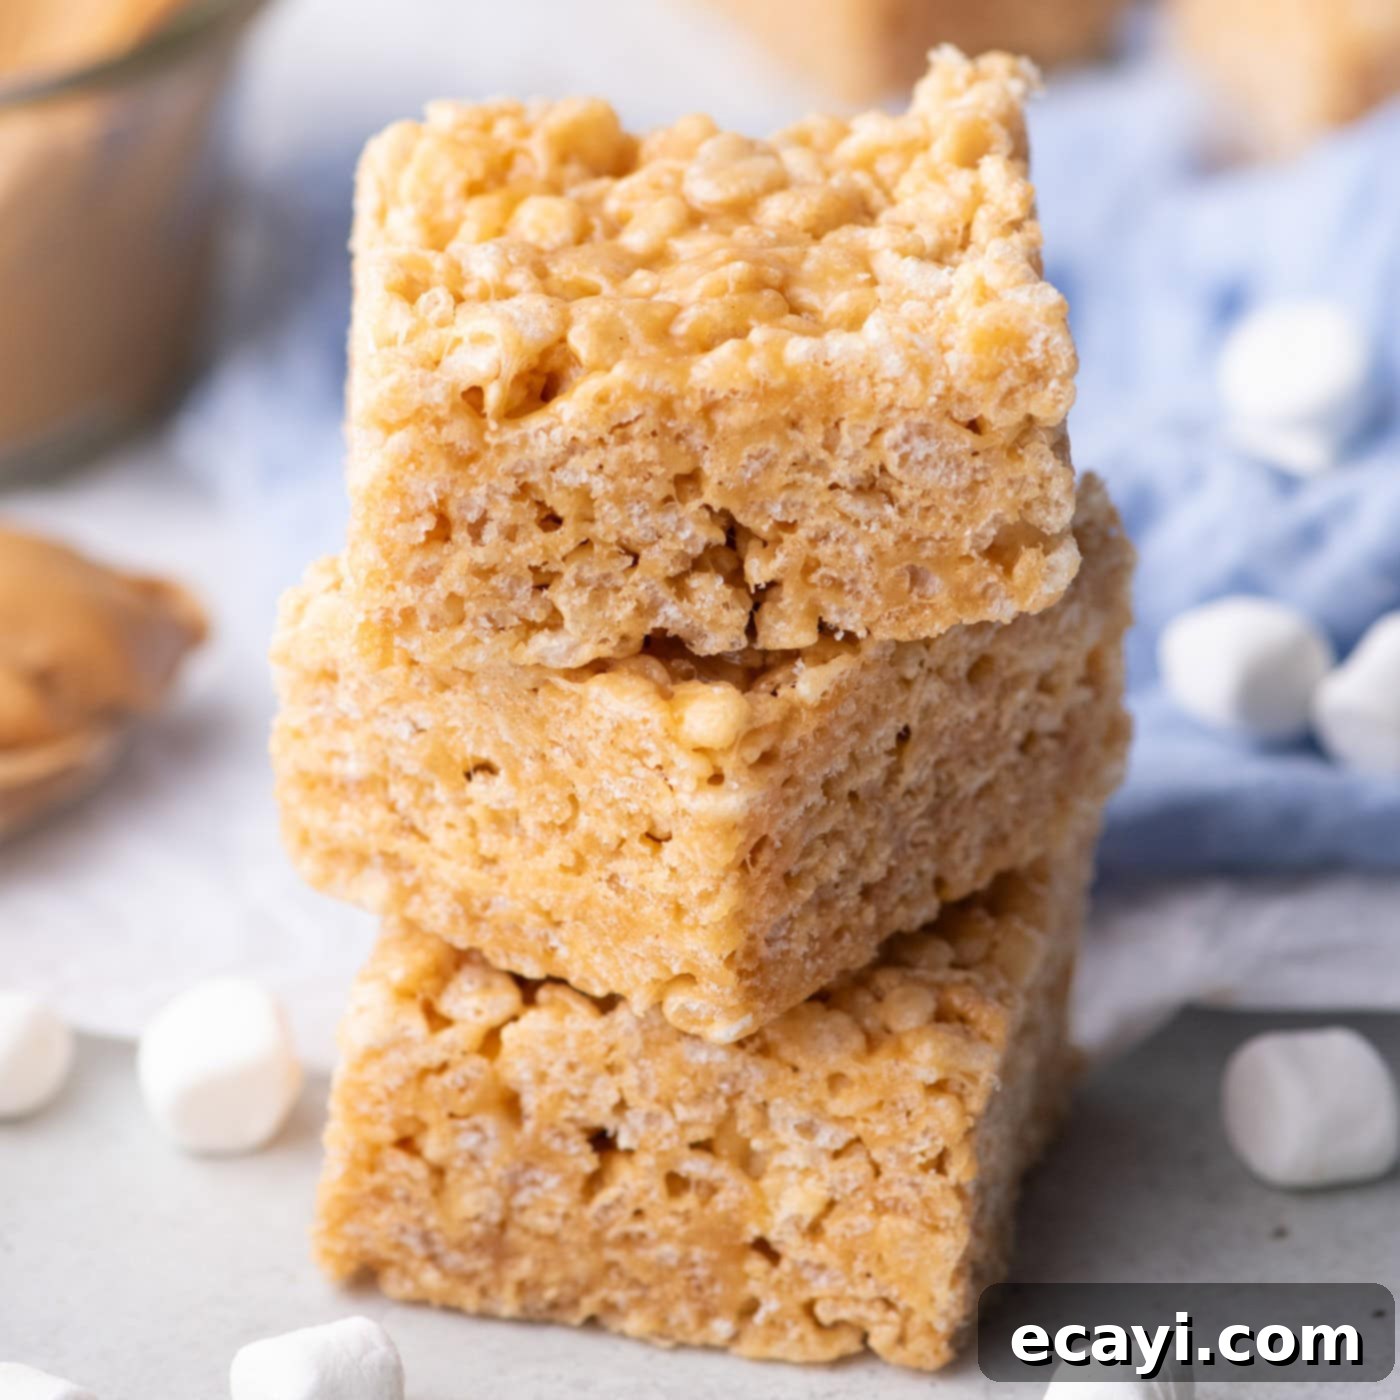
Prepare to be enchanted by these incredibly simple and utterly delicious peanut butter rice krispie treats! Crafted with just 5 core ingredients, each bite delivers a delightful symphony of crispy, crunchy cereal perfectly coated in rich, creamy peanut butter and sweet, gooey marshmallow. This no-bake dessert is a true crowd-pleaser, promising pure bliss for peanut butter lovers and a quick, satisfying treat for any occasion.
Why This Easy Peanut Butter Rice Krispie Treat Recipe is a Must-Try
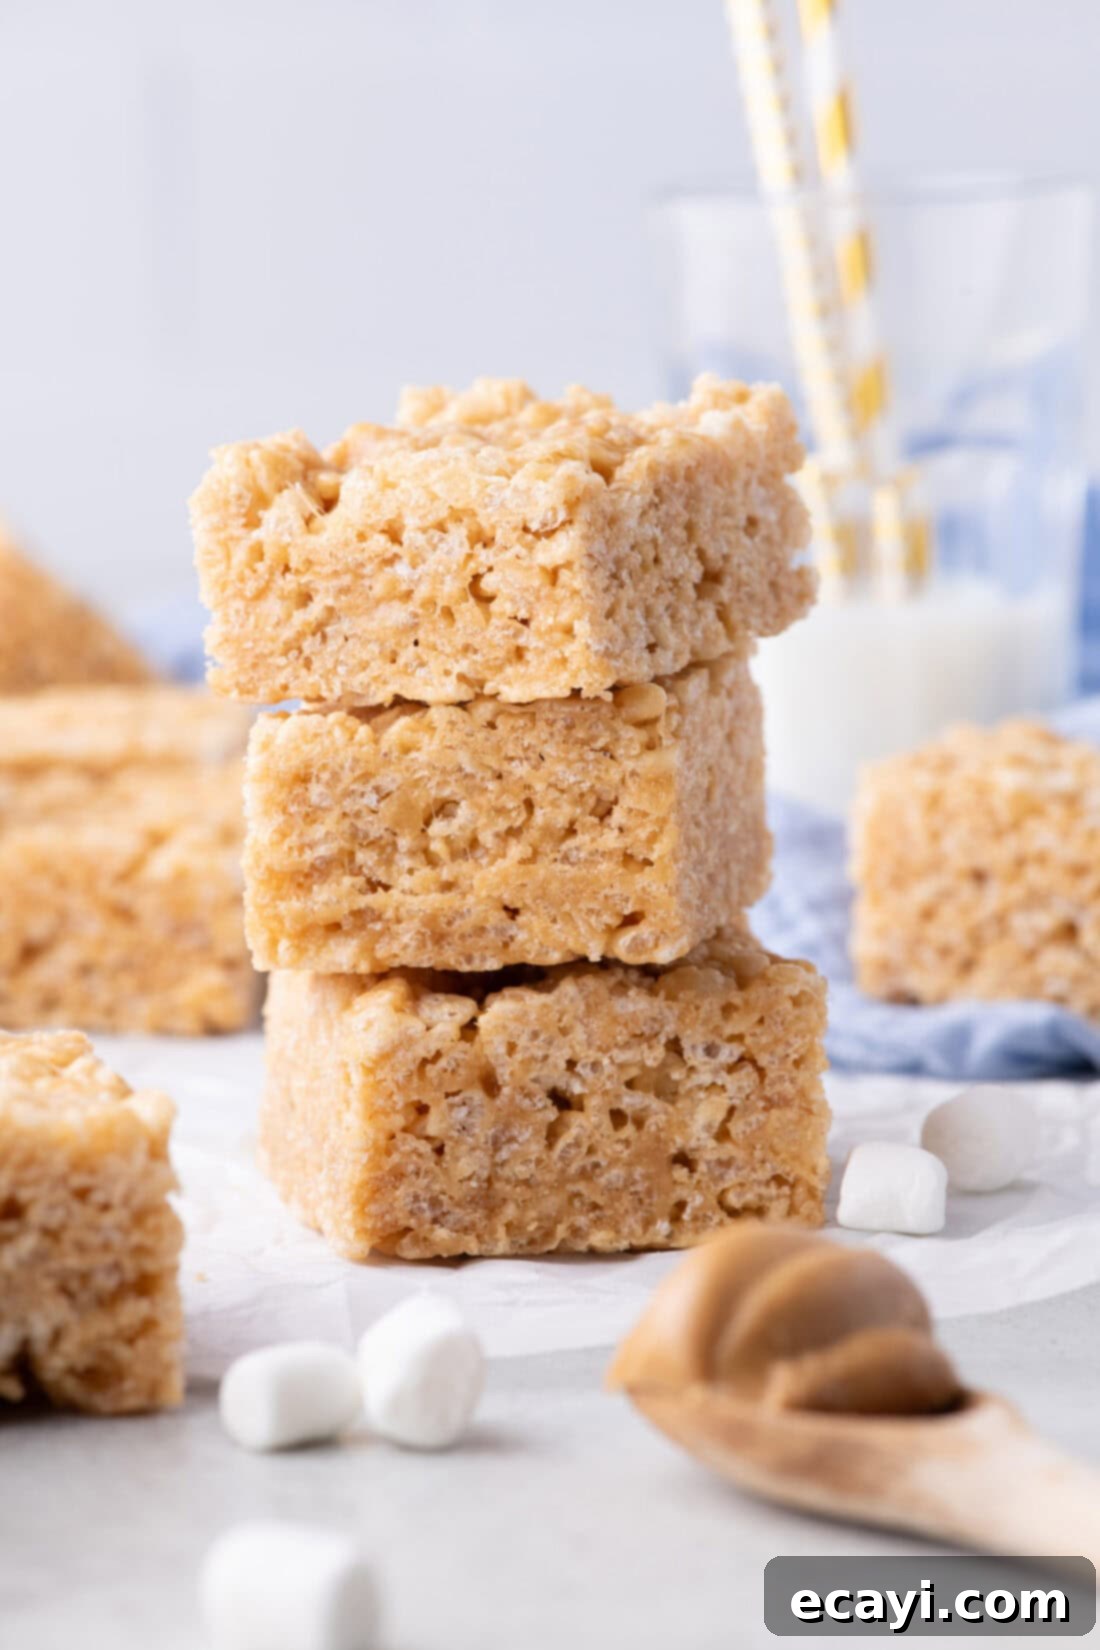
There’s something uniquely captivating about the combination of creamy peanut butter, sticky melted marshmallow, and light, crisp cereal. This classic no-bake dessert, infused with the beloved flavor of peanut butter, takes comfort food to an entirely new level. While traditional Rice Krispie treats are always a hit, the addition of peanut butter introduces a magical twist, elevating them from simple snacks to an irresistible indulgence that will have you coming back for more.
For many, Rice Krispie treats evoke a sense of cherished childhood nostalgia. Now, as adults, the realization that we can customize these delightful squares with our favorite flavors opens up a world of culinary excitement. It’s this very excitement that led to delightful creations like hot cocoa rice krispie treats, and, of course, this extraordinary peanut butter rendition. These treats are not only quick and straightforward to prepare, making them perfect for last-minute gatherings or a spontaneous sweet craving, but they also offer a perfect balance of textures and flavors – the chewiness of marshmallow, the crunch of cereal, and the undeniable richness of peanut butter.
The simplicity of using just five ingredients means less time shopping and more time enjoying. You don’t need any special baking skills or fancy equipment to whip up a batch of these glorious squares. They set beautifully at room temperature, eliminating the need for an oven and making them a fantastic option for warm weather or busy schedules. Their universal appeal makes them ideal for school lunches, office potlucks, birthday parties, or simply as a comforting dessert after dinner. Get ready to experience crispy, chewy, peanut buttery perfection!
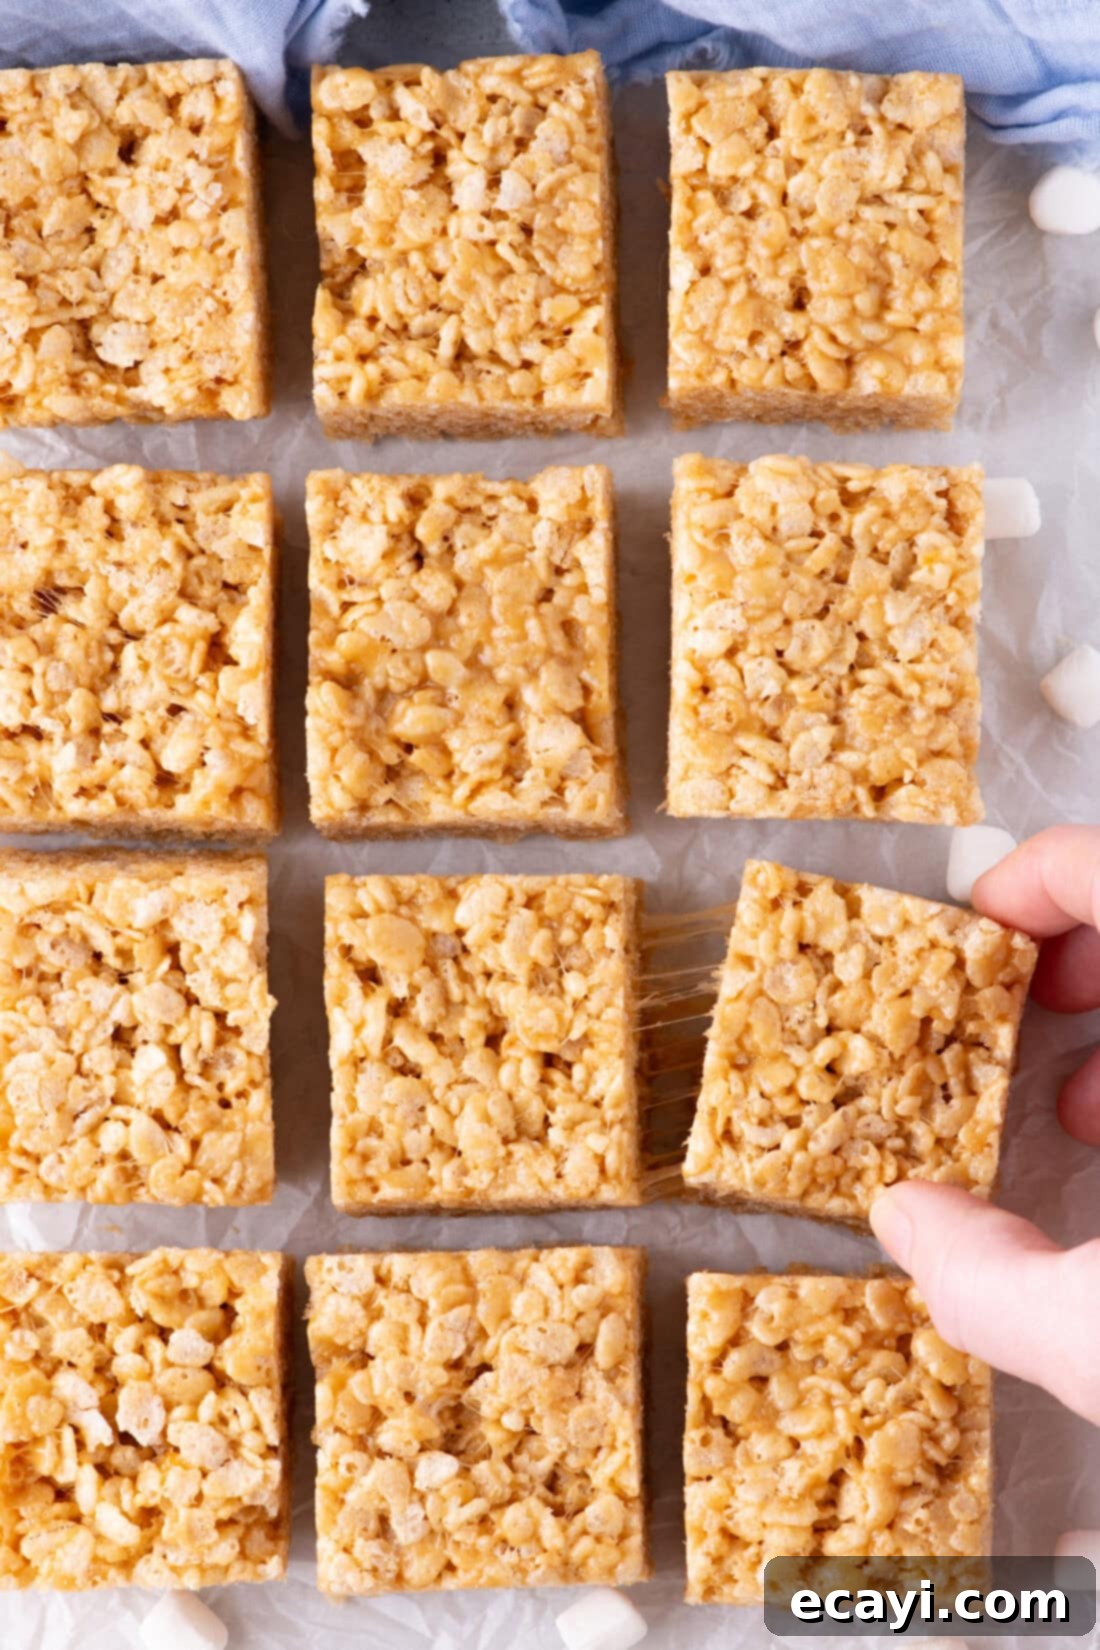
Essential Ingredients for Your Peanut Butter Rice Krispie Treats
This recipe prides itself on its simplicity, requiring only a handful of common pantry staples to create an unforgettable dessert. You’ll find a complete list of measurements, ingredients, and detailed instructions in the printable recipe card section at the very end of this post.
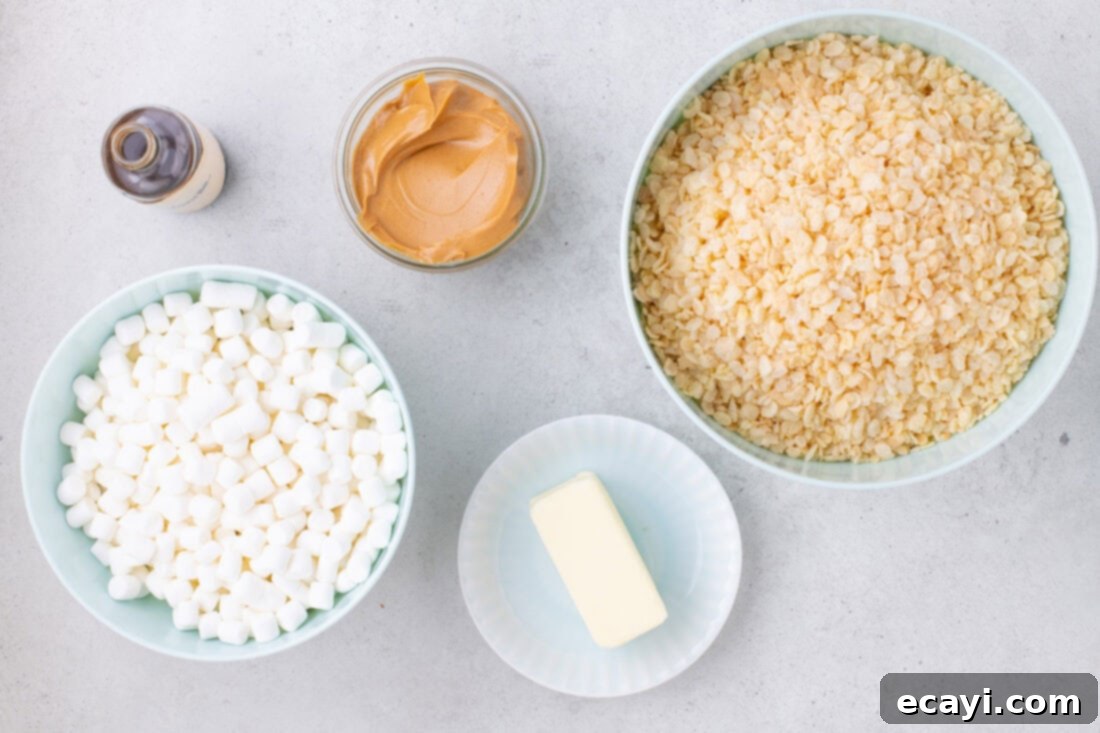
Ingredient Spotlight & Expert Substitution Tips
Understanding your ingredients is key to achieving the perfect texture and flavor for your peanut butter rice krispie treats. Here’s a closer look at each component and some helpful tips:
PEANUT BUTTER – For this particular recipe, creamy peanut butter is highly recommended. Its smooth consistency integrates seamlessly with the melted marshmallows, creating a uniform, chewy texture throughout the treats. While natural peanut butter can be used, be sure to stir it very thoroughly to combine any separated oil before you begin. The oil separation in natural peanut butter can sometimes affect the overall consistency and stickiness of the final product if not properly mixed. Classic, big-name creamy peanut butters often yield the most consistent results due to their stable emulsion. Avoid crunchy peanut butter for this specific recipe, as the added nut pieces will alter the desired smooth, chewy texture; however, if you’re looking for a delightful variation, adding a sprinkle of chopped peanuts on top after pressing could be a fantastic textural contrast.
CEREAL – Can you truly make Rice Krispie treats without Kellogg’s Rice Krispies cereal? While the original brand is iconic for its signature crisp texture and sound, you absolutely can use generic or off-brand crispy rice cereal to make equally delicious treats! The key is to ensure the cereal is fresh and very crispy, as stale cereal can lead to a less satisfying crunch. Some adventurous cooks have experimented with other types of puffed cereals, but for the classic flavor and texture of these peanut butter delights, crispy rice cereal is king. Be gentle when stirring to maintain those wonderful crispy bits!
MARSHMALLOWS – Mini marshmallows are generally preferred for this recipe because they melt much more quickly and evenly, reducing the risk of scorching. However, if you only have regular-sized marshmallows on hand, don’t fret! You can certainly use them as a substitute. To help them melt faster and achieve a smooth mixture, I strongly recommend chopping larger marshmallows into smaller pieces before adding them to the pot. This significantly decreases melting time and ensures consistent integration with the other ingredients. Using fresh marshmallows is also crucial; older, harder marshmallows may not melt as smoothly and could result in a tougher treat.
BUTTER – Unsalted butter is typically used, allowing you to control the overall saltiness, especially since peanut butter often contains salt. If using salted butter, you might want to adjust the amount of peanut butter slightly to taste, or simply be aware that your treats will have a slightly more pronounced salty-sweet profile, which can be quite delicious! Cutting the butter into quarters helps it melt more quickly and evenly.
VANILLA EXTRACT – A splash of pure vanilla extract adds a wonderful depth of flavor, enhancing both the sweetness of the marshmallows and the richness of the peanut butter. Don’t skip this ingredient; it rounds out the flavor profile beautifully, transforming a simple treat into something truly special.
Step-by-Step Guide: How to Craft Your Own Peanut Butter Rice Krispie Treats
These step-by-step photos and detailed instructions are provided to help you visualize each stage of making this delightful recipe. For a convenient printable version of this recipe, complete with precise measurements and comprehensive instructions, simply jump to the recipe card at the bottom of this page.
- Prepare Your Pan: Begin by lining a 9×13-inch baking pan with parchment paper. This simple step is a game-changer for easy removal and clean-up, preventing the sticky treats from adhering to the pan.
PRO TIP – While parchment paper is highly recommended for effortless release, if you don’t have any on hand, you can grease the pan thoroughly with butter. However, for the absolute easiest experience, especially when cutting and serving, parchment paper is your best friend. Make sure the paper extends up the sides of the pan to create handles.
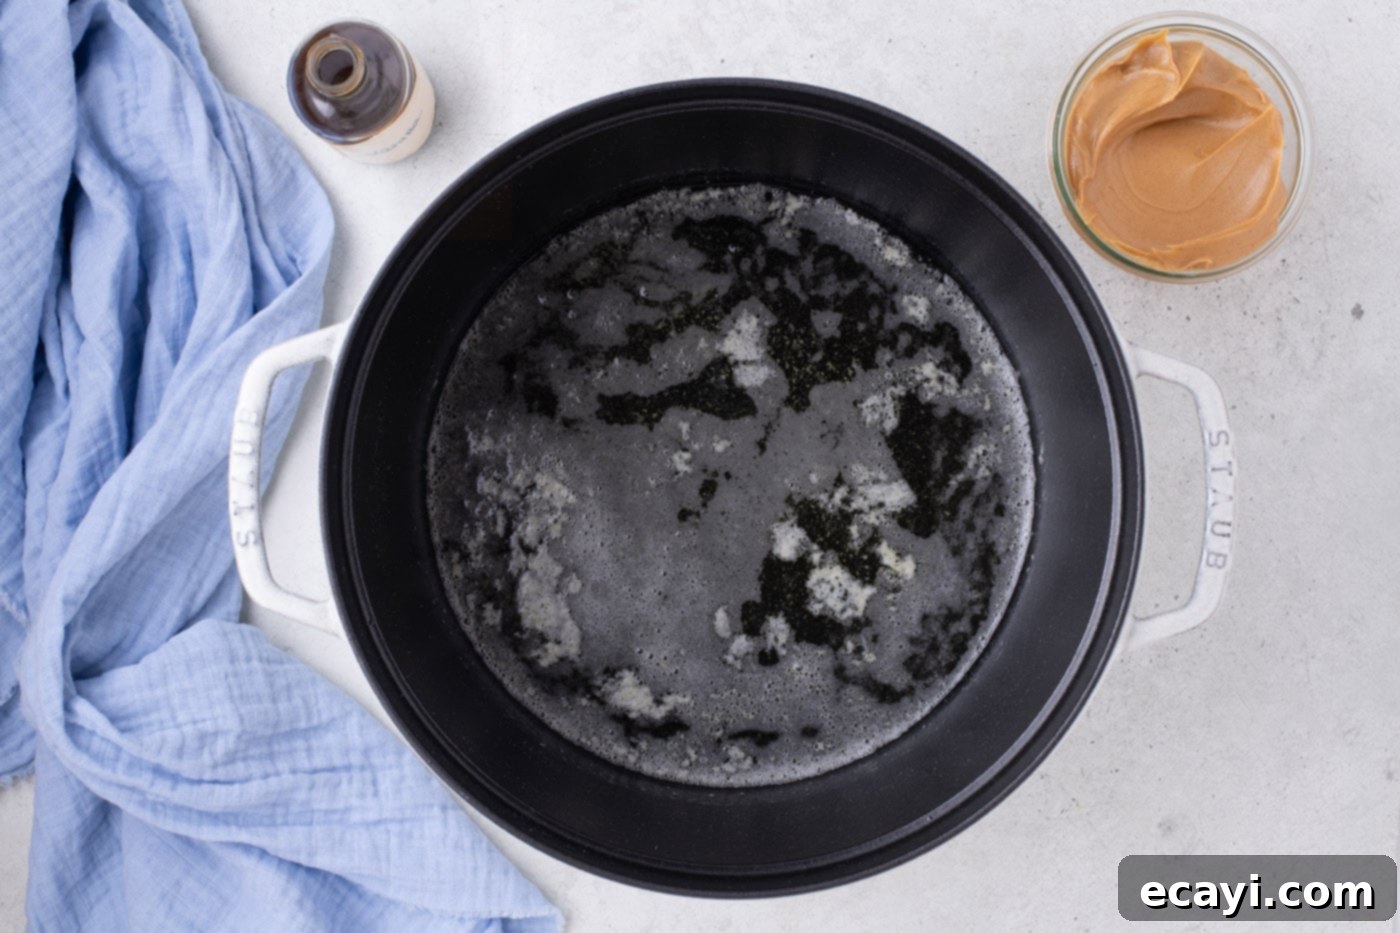
- Melt the Butter: Cut your room temperature unsalted butter into quarters. Place these butter pieces into a large, heavy-bottomed pot or stockpot over medium heat. Allowing the butter to melt gradually helps prevent it from burning. Watch for it to just begin foaming.
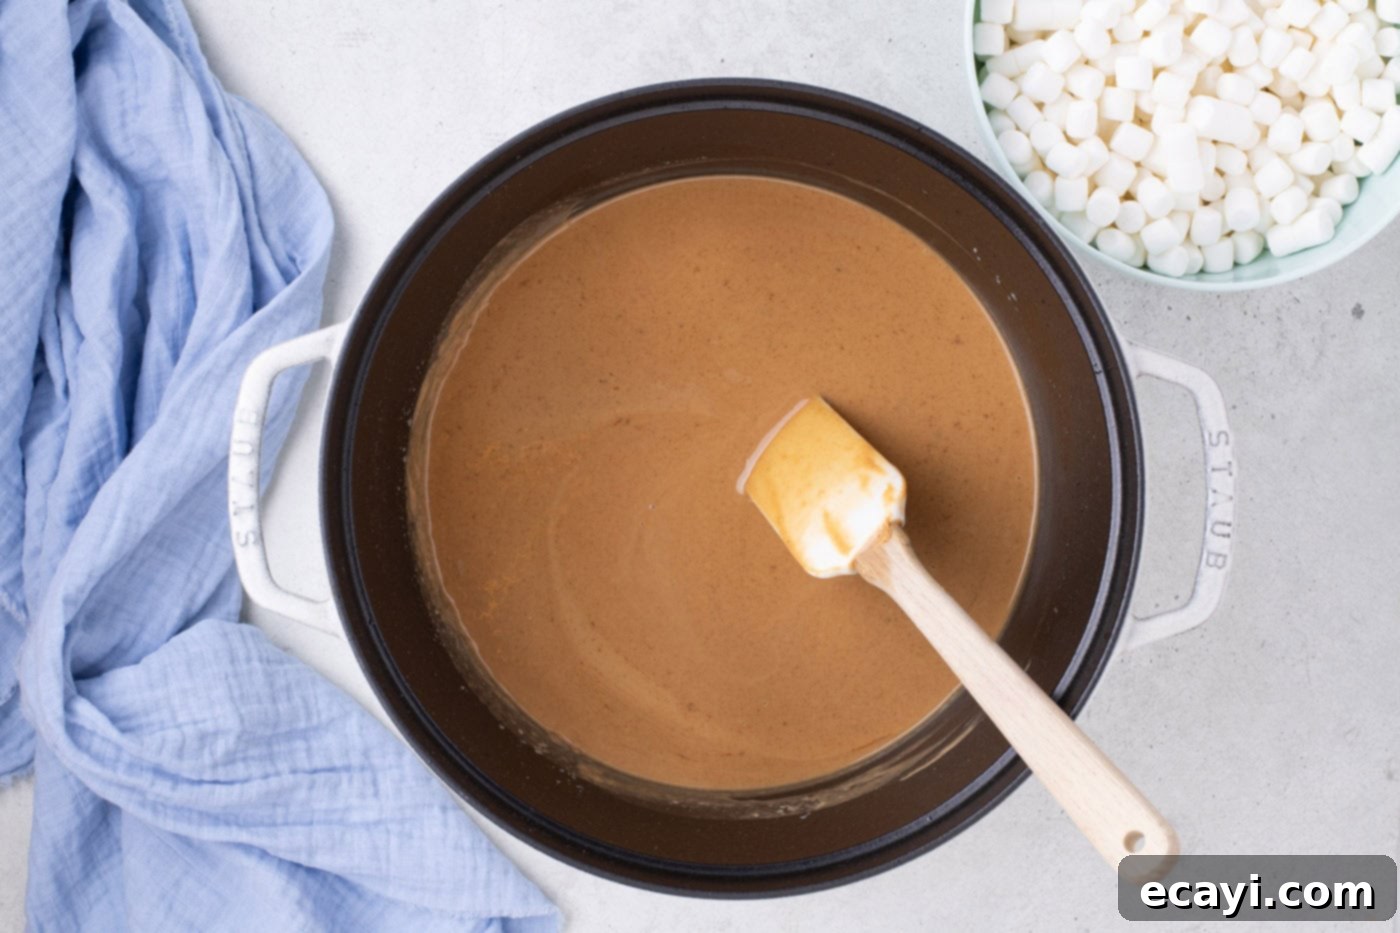
- Incorporate Peanut Butter and Vanilla: As soon as the butter starts to foam slightly, reduce the heat to low. This is crucial for preventing the mixture from burning. Add the creamy peanut butter and pure vanilla extract to the melted butter. Stir continuously with a sturdy spoon or a heat-resistant rubber spatula until the mixture is completely smooth and well combined. The low heat helps to warm the peanut butter, making it easier to mix thoroughly.


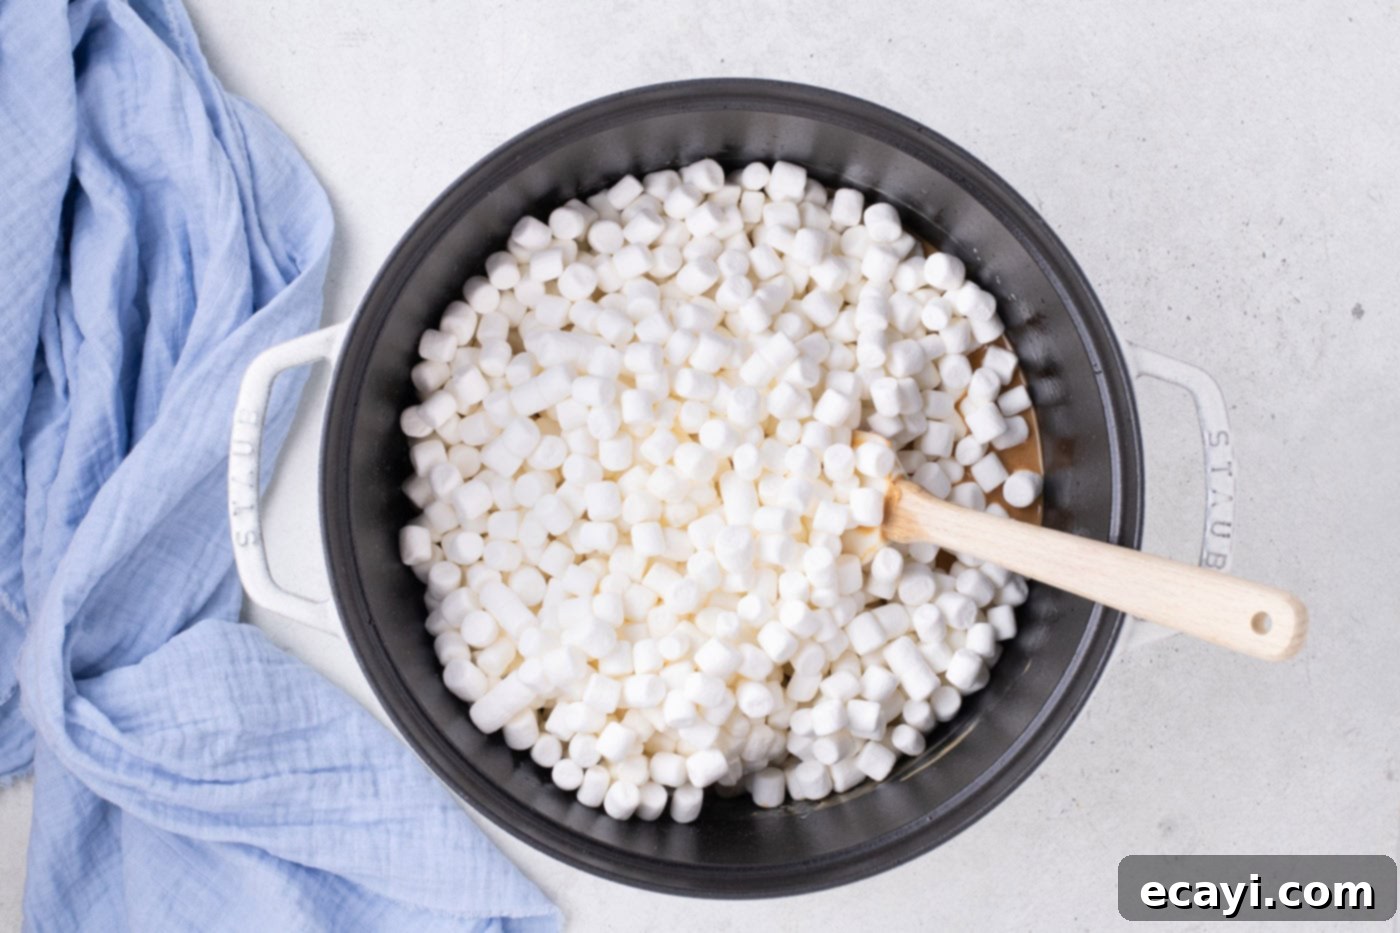
- Melt the Marshmallows: Now, add the mini marshmallows to the pot. Continue to stir the mixture continuously over low heat. It’s important to be patient and keep the heat low to avoid burning the marshmallows, which can result in a hard, discolored, and unpleasantly flavored treat. Stir until the marshmallows are completely melted and no white streaks or lumps remain, creating a perfectly smooth, sticky, and unified mixture.
IMPORTANT TIP – Maintaining a low heat and constant stirring is the secret to a perfectly gooey, soft marshmallow base. If the heat is too high, the sugar in the marshmallows can caramelize too quickly or burn, leading to a brittle and hard treat.

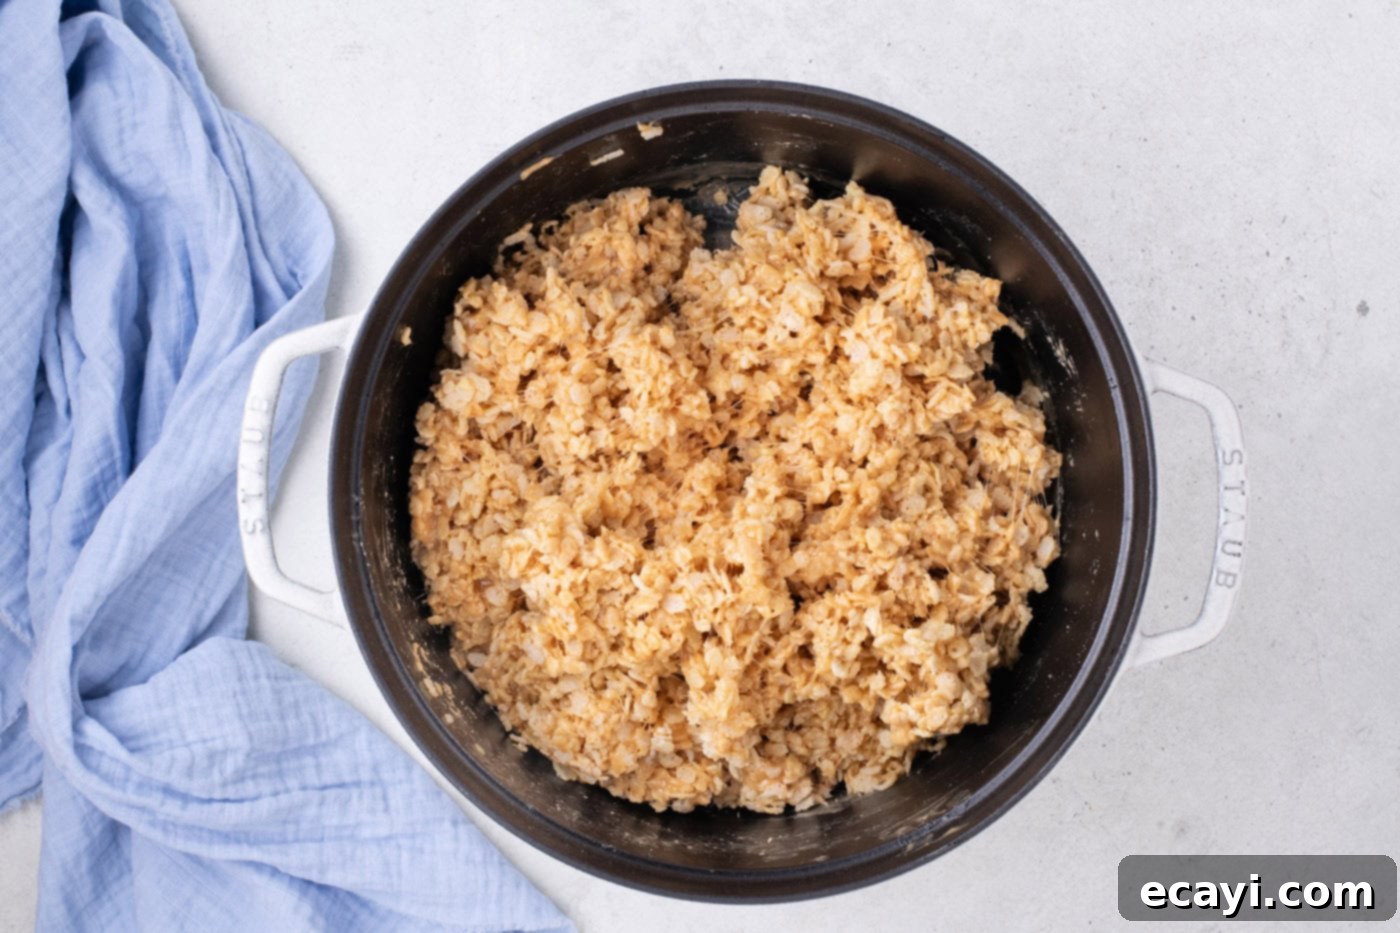
- Combine with Cereal: Remove the pot from the heat. Pour in the Rice Krispies cereal. Working quickly but gently, use a soft silicone spatula to stir the cereal into the marshmallow-peanut butter mixture. The goal is to coat all the cereal evenly without crushing it. Gentle folding motions will help preserve the cereal’s crispiness, which is essential for the treat’s delightful texture. Avoid over-mixing.

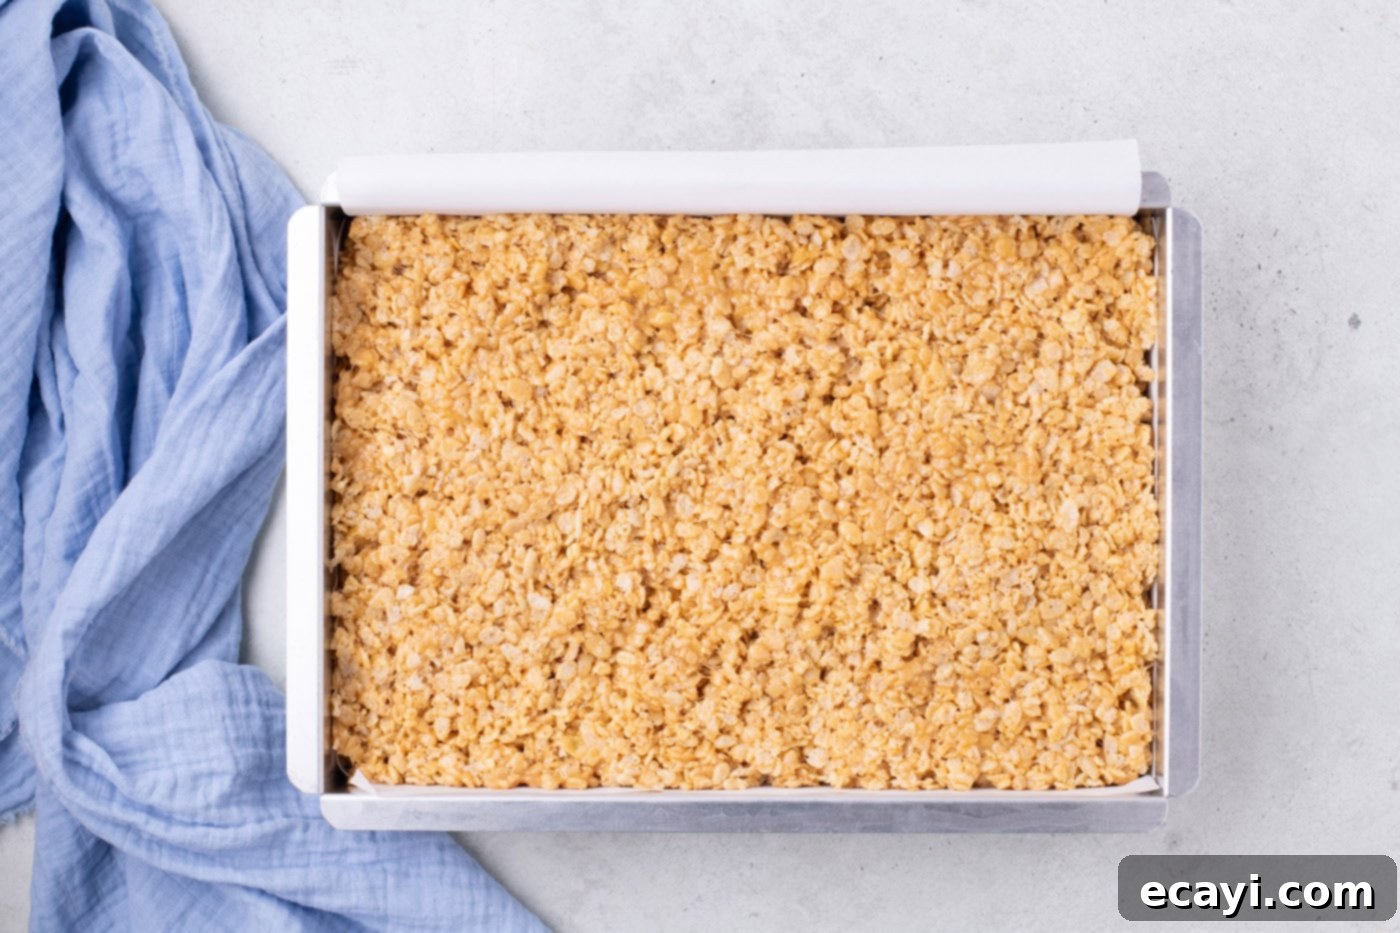
- Press into Pan: Transfer the warm mixture immediately into your prepared 9×13-inch baking pan. Using a buttered spatula or slightly buttered hands (or even a piece of parchment paper on top), gently and evenly spread the mixture into the pan, making sure it reaches all the corners.

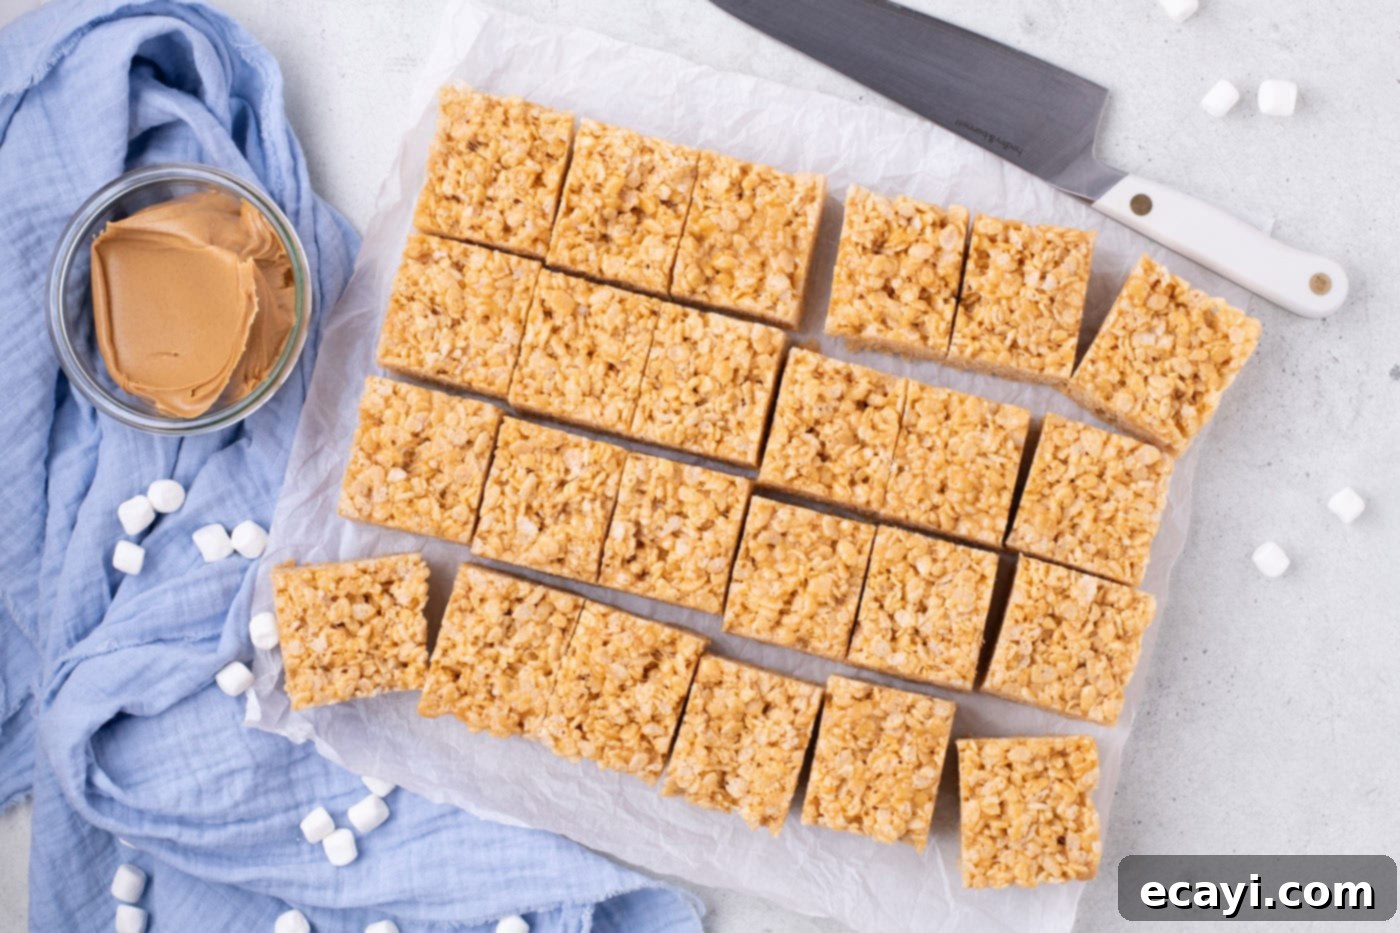
- Set and Serve: Allow the treats to set at room temperature for at least 30 minutes. This gives them time to firm up just enough to be sliced cleanly. Once set, use the parchment paper handles to lift the entire slab out of the pan. Slice into 24 equal servings using a sharp, buttered knife for clean cuts.

Frequently Asked Questions & Expert Tips for Perfect Treats
Yes, you absolutely can use natural peanut butter for this recipe, as long as it’s a creamy variety. The most important thing is to ensure that you mix the natural peanut butter very thoroughly before measuring and adding it to the pot. Natural peanut butter tends to separate, with oil rising to the top. If not fully incorporated, this separation can affect the consistency and texture of your finished treats, making them less cohesive or even oily. Crunchy-style peanut butter, whether natural or conventional, is not recommended for this recipe, as it will significantly change the desired smooth and chewy texture.
For optimal freshness and texture, it is best to store your peanut butter rice krispie treats at room temperature in an airtight container. They do not need to be refrigerated, and in fact, refrigerating them can cause them to become hard, dense, and lose their delightful chewiness. Stored properly, they will maintain their delicious quality for up to 3-4 days. You can also place parchment paper between layers if stacking them.
There are a couple of common reasons why your treats might turn out hard. Firstly, and most frequently, over-compressing the mixture into the pan is the culprit. To avoid hard or overly dense treats, only lightly press the mixture down into the prepared pan. If you press them too firmly, you’re eliminating all the air pockets, resulting in a condensed and tough texture. Secondly, avoid refrigerating the finished treats, as mentioned above. The cold temperature causes the marshmallows to seize and harden, making the treats less enjoyable. Always let them set at room temperature. Lastly, ensure you melted the marshmallows over low heat and stirred continuously; high heat can cause the sugar to crystallize and make the treats brittle.
Absolutely! These treats are wonderfully adaptable. For an extra layer of flavor and texture, you can fold in mini chocolate chips, chopped peanuts (if you don’t mind a bit of crunch despite using creamy peanut butter for the base), or even a few sprinkles after you’ve mixed in the cereal but before you press the mixture into the pan. If adding chocolate chips, do so quickly so they don’t melt completely, creating beautiful marbled pockets of chocolate. Consider a drizzle of melted chocolate or extra peanut butter on top once they’ve set for a gourmet touch!
When stored properly in an airtight container at room temperature, these peanut butter rice krispie treats will stay fresh and delicious for about 3 to 4 days. Beyond that, they might start to lose some of their crispiness and chewiness. For the best experience, enjoy them within the first few days of making them!
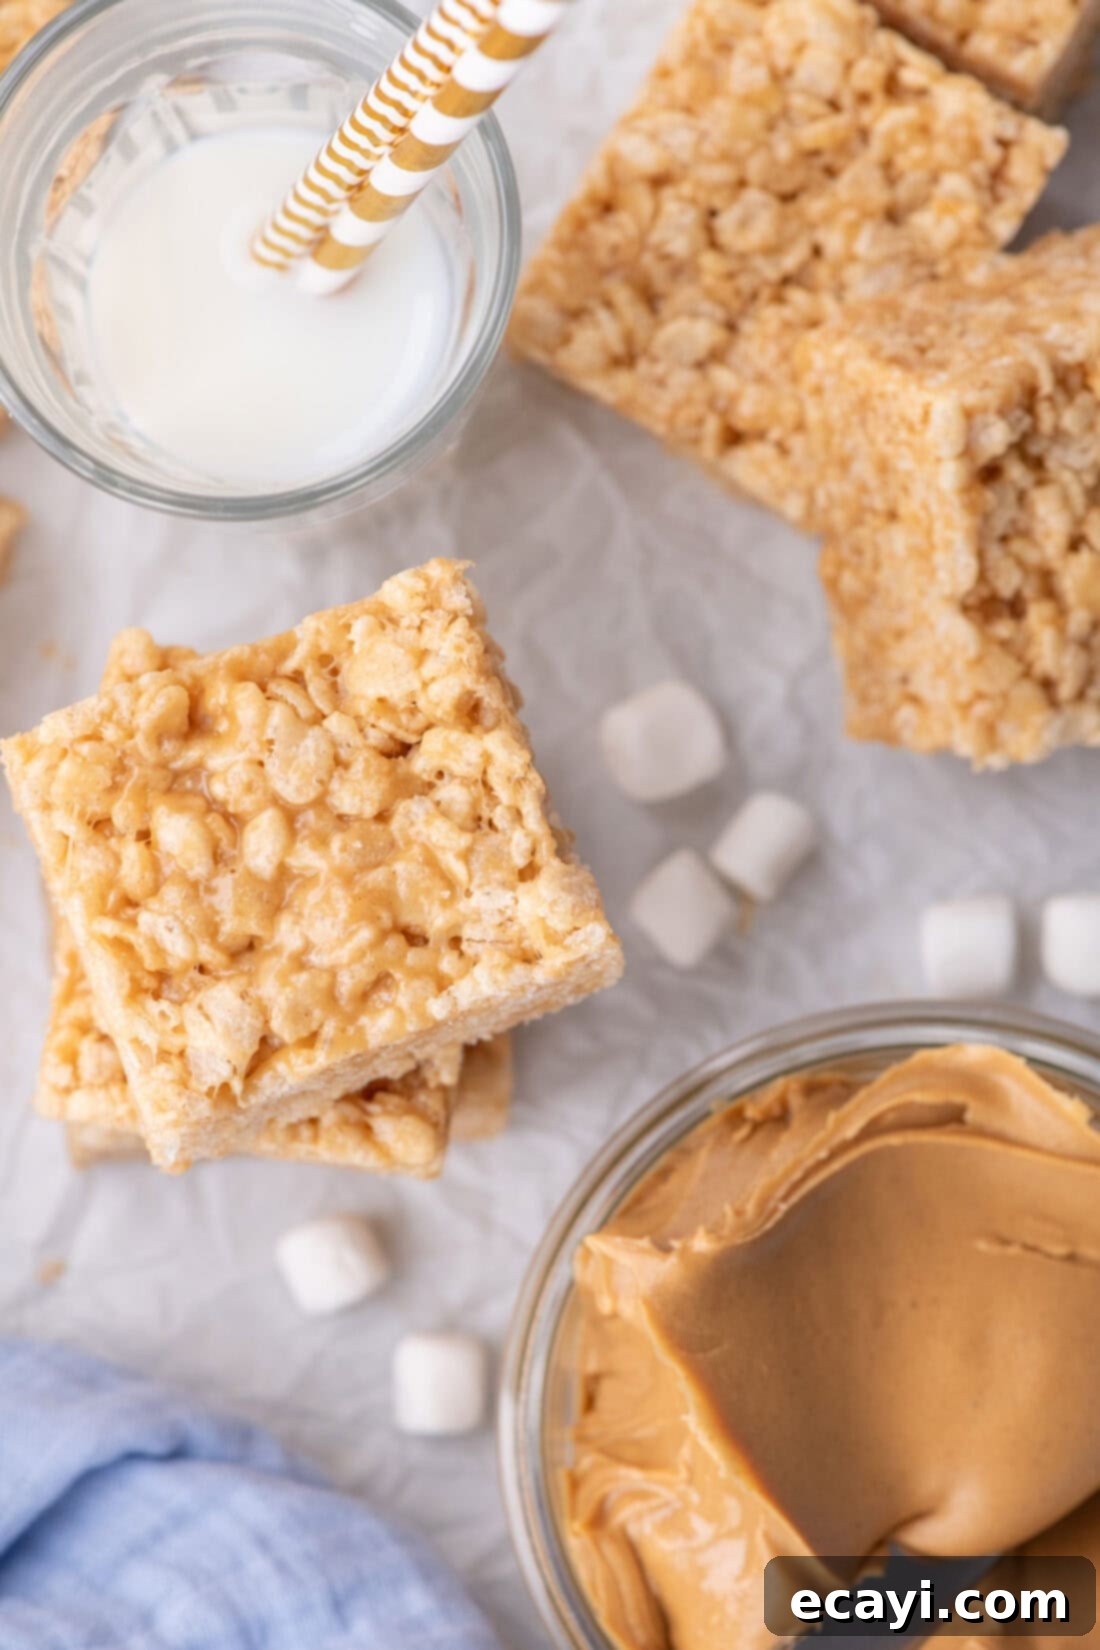
Creative Serving Ideas for Your Peanut Butter Rice Krispie Treats
While these peanut butter rice krispie treats are perfectly delicious enjoyed on their own at room temperature, there are many ways to elevate their appeal and add an extra touch of indulgence. For a quick and easy upgrade, drizzle the cooled treats with either melted semi-sweet, milk, or white chocolate. A contrasting drizzle of extra melted peanut butter can also amplify the nutty flavor. Consider sprinkling a pinch of flaky sea salt over the top of the chocolate or peanut butter drizzle for a gourmet salty-sweet combination that truly makes the flavors pop. For a playful touch, add some colorful sprinkles or mini chocolate chips while the treats are still slightly warm, just after pressing them into the pan. They are also wonderful paired with a cold glass of milk, a hot cup of coffee, or even a scoop of vanilla ice cream for a decadent dessert experience. These versatile treats are sure to be a hit no matter how you serve them!
More Irresistible Peanut Butter Recipes to Explore
If you’re a true peanut butter aficionado, you’ll love these other fantastic recipes that celebrate the rich, creamy, and nutty flavor of peanut butter:
- Peanut Butter Brownies: A delightful combination of fudgy brownies with a luscious peanut butter swirl.
- Chocolate Peanut Butter Balls: A classic no-bake treat featuring a rich peanut butter filling coated in smooth chocolate.
- Peanut Butter Chocolate Chip Bars: Chewy, hearty bars packed with both peanut butter and decadent chocolate chunks.
- Peanut Butter Bread – Yes, you saw that right! This unique bread is surprisingly delicious and perfect for breakfast or a snack.
I absolutely love to bake and cook, and there’s nothing I enjoy more than sharing my kitchen adventures and delicious recipes with all of you! Remembering to check back for new recipes every day can be a challenge, which is why I offer a convenient newsletter delivered straight to your inbox every time a new recipe posts. Simply subscribe here and start receiving your free daily recipes, ensuring you never miss out on a new culinary delight!
Peanut Butter Rice Krispie Treats
IMPORTANT – There are often Frequently Asked Questions within the blog post that you may find helpful. Simply scroll back up to read them!
Print It
Pin It
Rate It
Save ItSaved!
Ingredients
- ½ cup unsalted butter at room temperature
- 1 cup creamy peanut butter
- 2 teaspoons pure vanilla extract
- 20 ounces mini marshmallows two 10 ounce bags
- 10 cups Rice Krispies cereal
Things You’ll Need
-
13×9 baking dish
-
Rubber spatula
-
Stockpot or other large pot
Before You Begin
- You can use any creamy peanut butter, including natural varieties, but ensure it is thoroughly mixed before use. Avoid crunchy-style peanut butter, as this will affect the overall texture of the treats.
- Mini marshmallows melt more easily and evenly. If using regular-sized marshmallows, I recommend chopping them into smaller pieces to help them melt quickly and prevent scorching.
- To prevent hard or overly dense treats, only lightly press the mixture down in the pan. Over-compressing eliminates air and makes them tough. Also, do not refrigerate the finished treats; store them at room temperature in an airtight container for best results.
- Ensure your crispy rice cereal is fresh for maximum crunchiness. Stale cereal will result in a less satisfying treat.
- Prepare your baking pan by lining it with parchment paper for the easiest removal and clean-up.
Instructions
-
Line a 9×13-inch baking pan with parchment paper, ensuring it extends slightly over the edges for easy lifting.
TIP – If you don’t have parchment paper, you can thoroughly grease the pan with butter, but parchment paper makes for significantly easier removal and slicing.
-
Cut ½ cup of unsalted butter into quarters and place it in a large, heavy-bottomed pot over medium heat. Allow it to melt until it just begins to foam.1/2 cup unsalted butter
-
Once the butter starts to foam, reduce the heat to low. Add 1 cup of creamy peanut butter and 2 teaspoons of pure vanilla extract. Stir continuously with a rubber spatula until the mixture is completely smooth and well combined.1 cup creamy peanut butter, 2 teaspoons pure vanilla extract
-
Add 20 ounces of mini marshmallows to the pot. Stir continuously over low heat until they are completely melted and no white streaks or lumps remain. Ensure the mixture is smooth and gooey.
TIP – It is crucial to keep the heat low and stir constantly to prevent the marshmallow mixture from scorching, which can lead to a hard, burnt-tasting treat.
20 ounces mini marshmallows -
Remove the pot from the heat. Pour in 10 cups of Rice Krispies cereal. Working quickly, gently stir with a soft silicone spatula until the cereal is evenly coated in the warm marshmallow mixture. Be careful not to crush the cereal during this process to maintain its crispiness.10 cups Rice Krispies cereal
-
Transfer the entire mixture to the prepared baking pan. Using a buttered spatula or lightly buttered hands, spread the mixture into an even layer, gently pressing it down to reach all the corners of the pan. Remember to press lightly to avoid dense treats.
-
Allow the treats to set at room temperature for at least 30 minutes, or until firm enough to cut. Once set, lift the treats out of the pan using the parchment paper handles and slice into 24 equal servings. Enjoy!
Expert Tips & FAQs
- It is best to store these treats at room temperature in an air-tight container. They don’t need to be refrigerated, and doing so will actually make the treats hard and less enjoyable.
- For a fun twist, drizzle melted chocolate or an extra swirl of melted peanut butter over the cooled treats before serving.
- If your mixture is too sticky to press, lightly butter your hands or the back of your spatula to prevent sticking.
Nutrition Information
The recipes on this blog are tested with a conventional gas oven and gas stovetop. It’s important to note that some ovens, especially as they age, can cook and bake inconsistently. Using an inexpensive oven thermometer can assure you that your oven is truly heating to the proper temperature. If you use a toaster oven or countertop oven, please keep in mind that they may not distribute heat the same as a conventional full-sized oven and you may need to adjust your cooking/baking times. In the case of recipes made with a pressure cooker, air fryer, slow cooker, or other appliance, a link to the appliances we use is listed within each respective recipe. For baking recipes where measurements are given by weight, please note that results may not be the same if cups are used instead, and we can’t guarantee success with that method.
