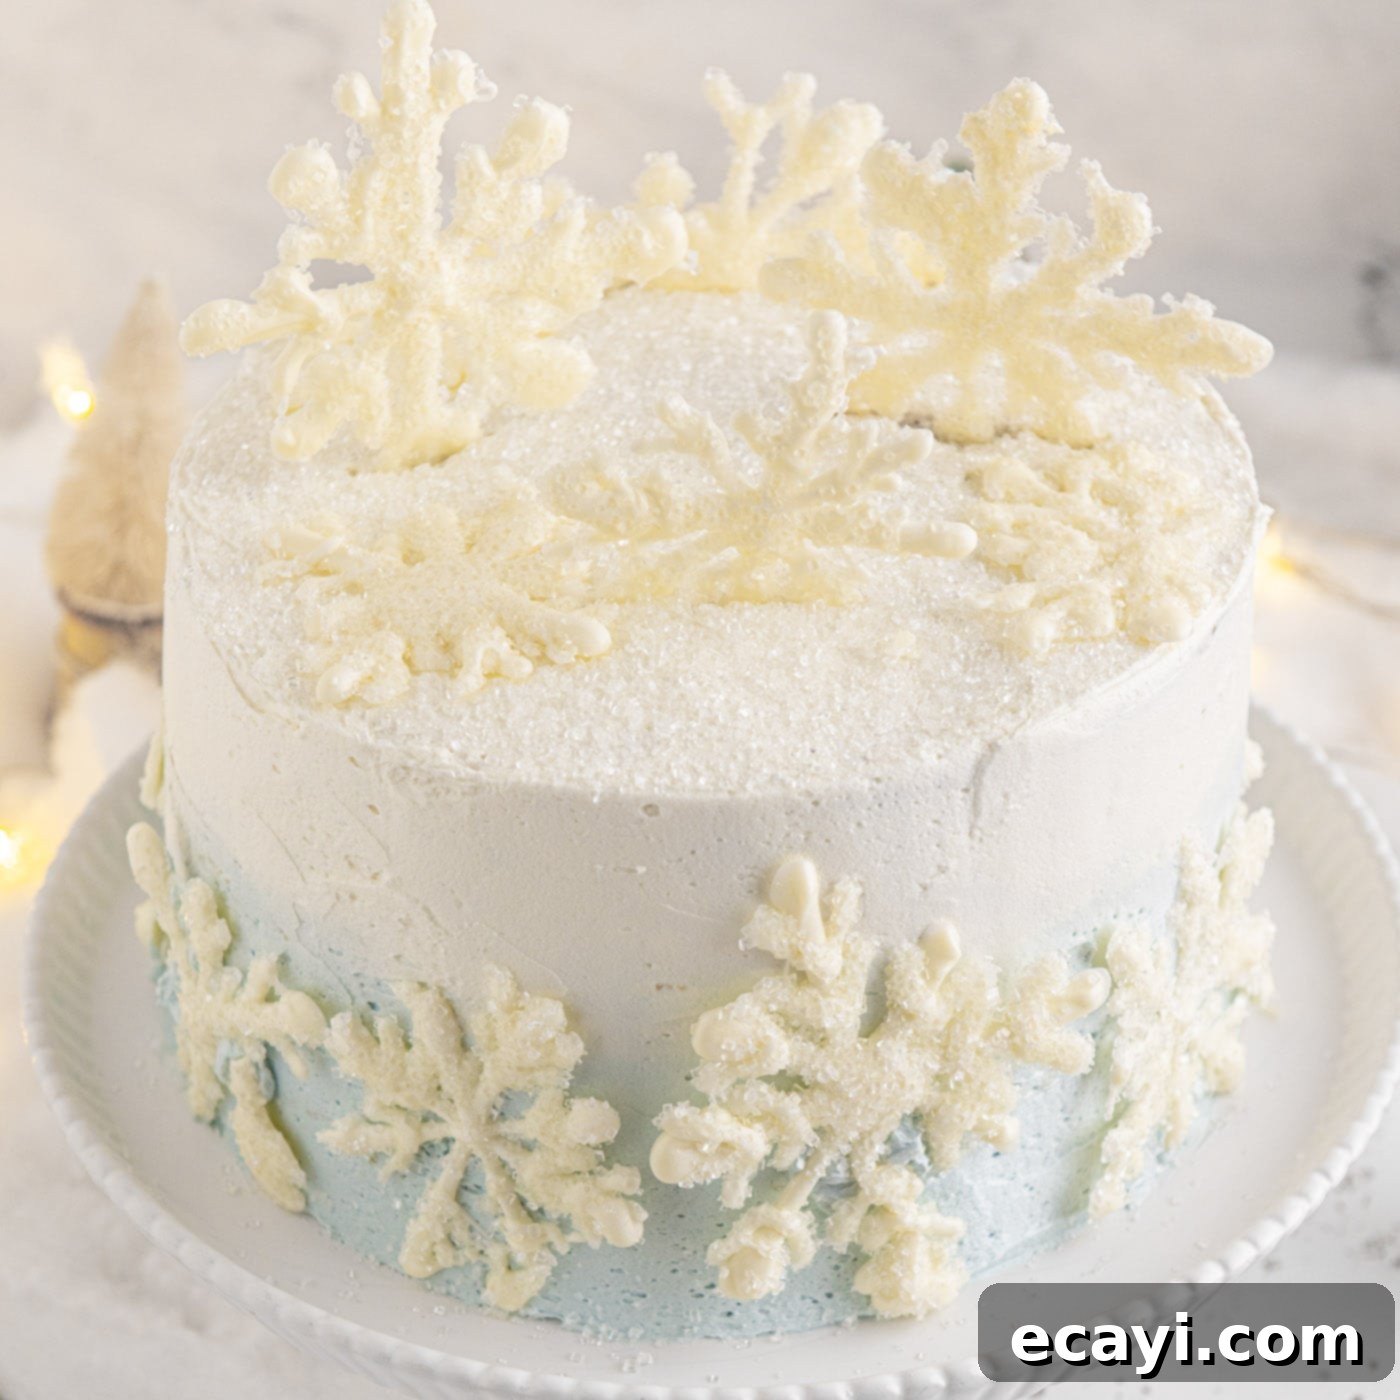
Enchanting Snowflake Cake: Your Ultimate Winter Wonderland Dessert Recipe
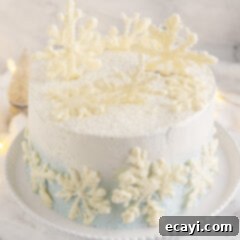
Prepare to dazzle your guests and transform your holiday dessert table into a magical winter wonderland with this show-stopping snowflake cake! This exquisite creation features tender, fluffy layers of homemade white cake, beautifully frosted with a dreamy ombre vanilla buttercream. The elegance is elevated further with delicate white chocolate snowflakes and shimmering sugar crystals, making every slice a true work of art. Perfect for Christmas celebrations, New Year’s gatherings, or any special occasion that calls for a touch of snowy enchantment, this cake is surprisingly approachable for the home baker and promises to be the centerpiece of your festive spread.
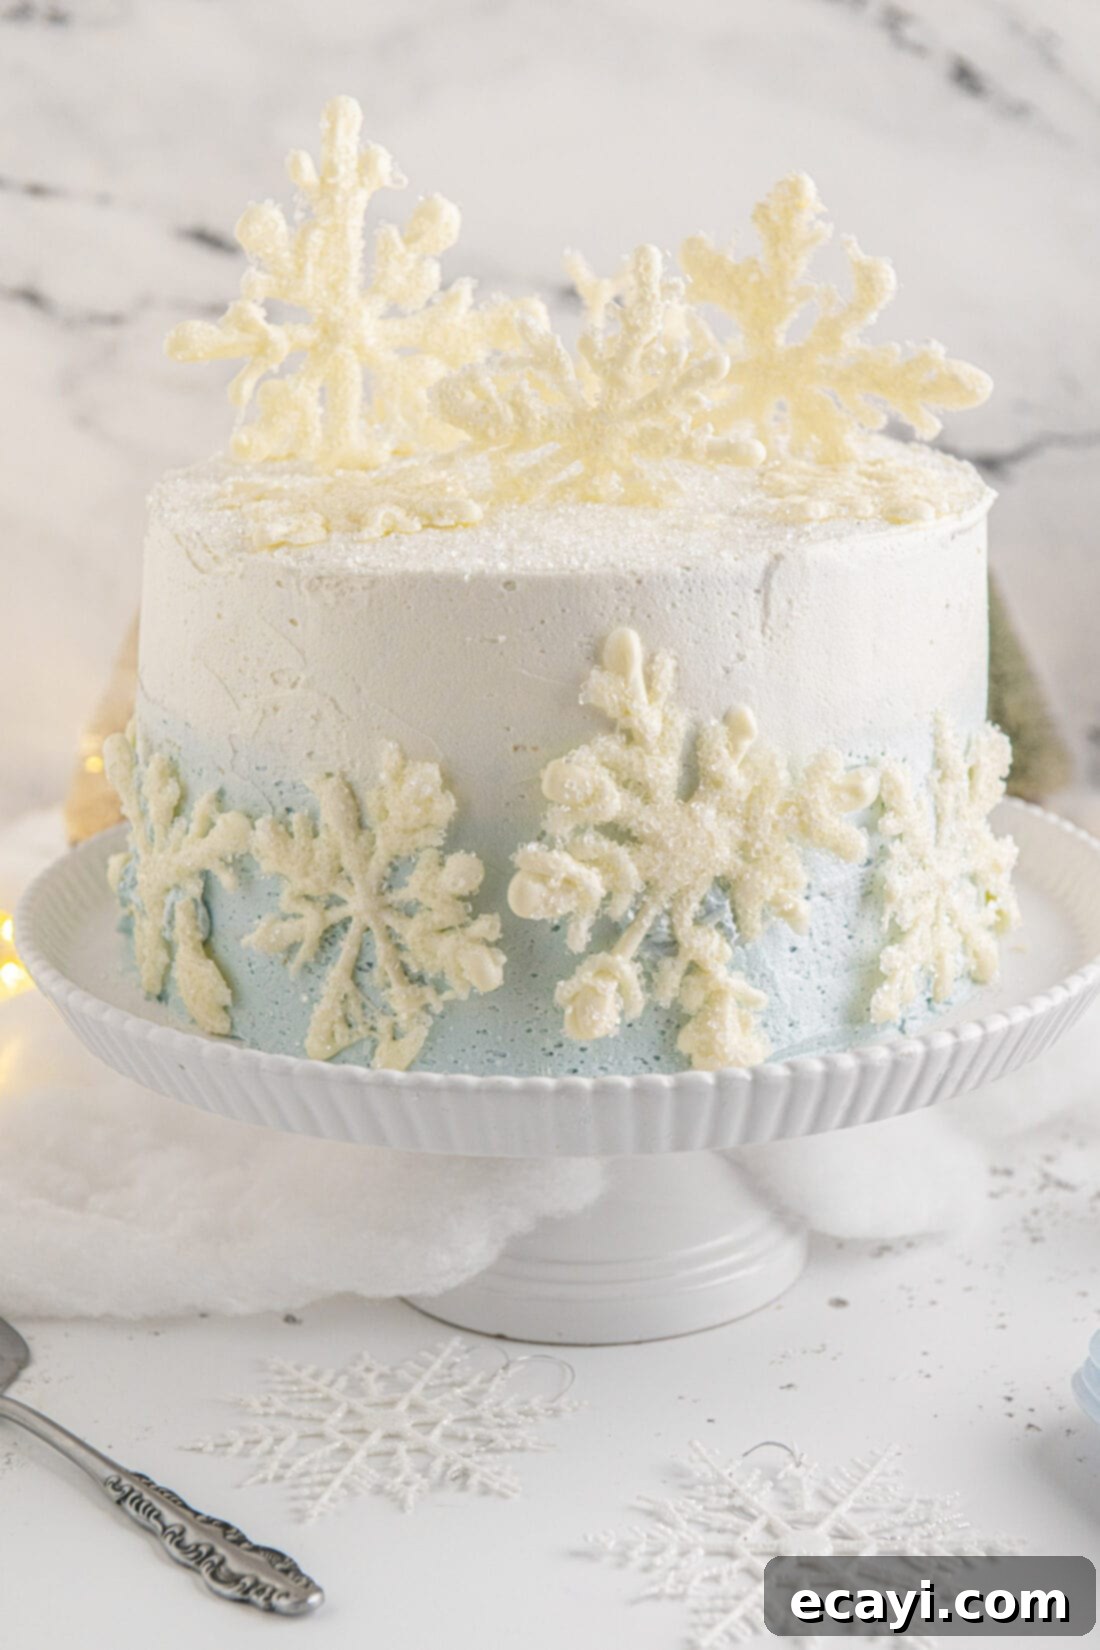
Why This Magical Snowflake Cake Will Be Your New Holiday Favorite
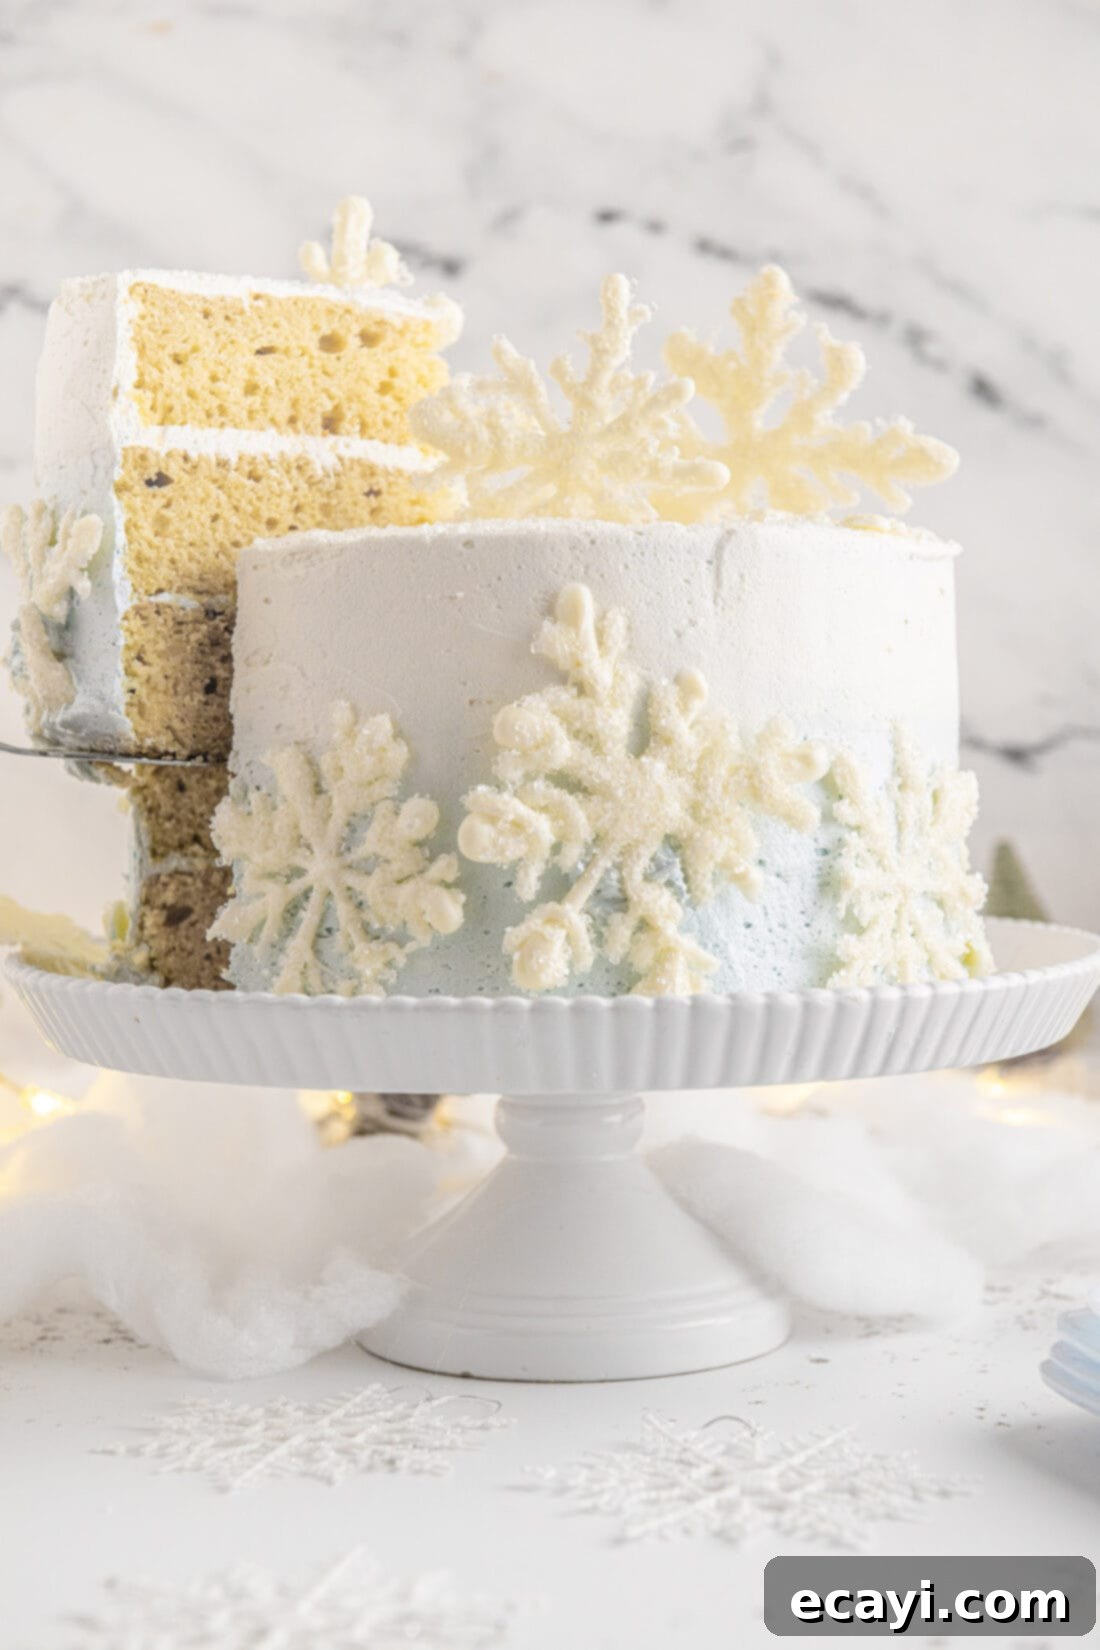
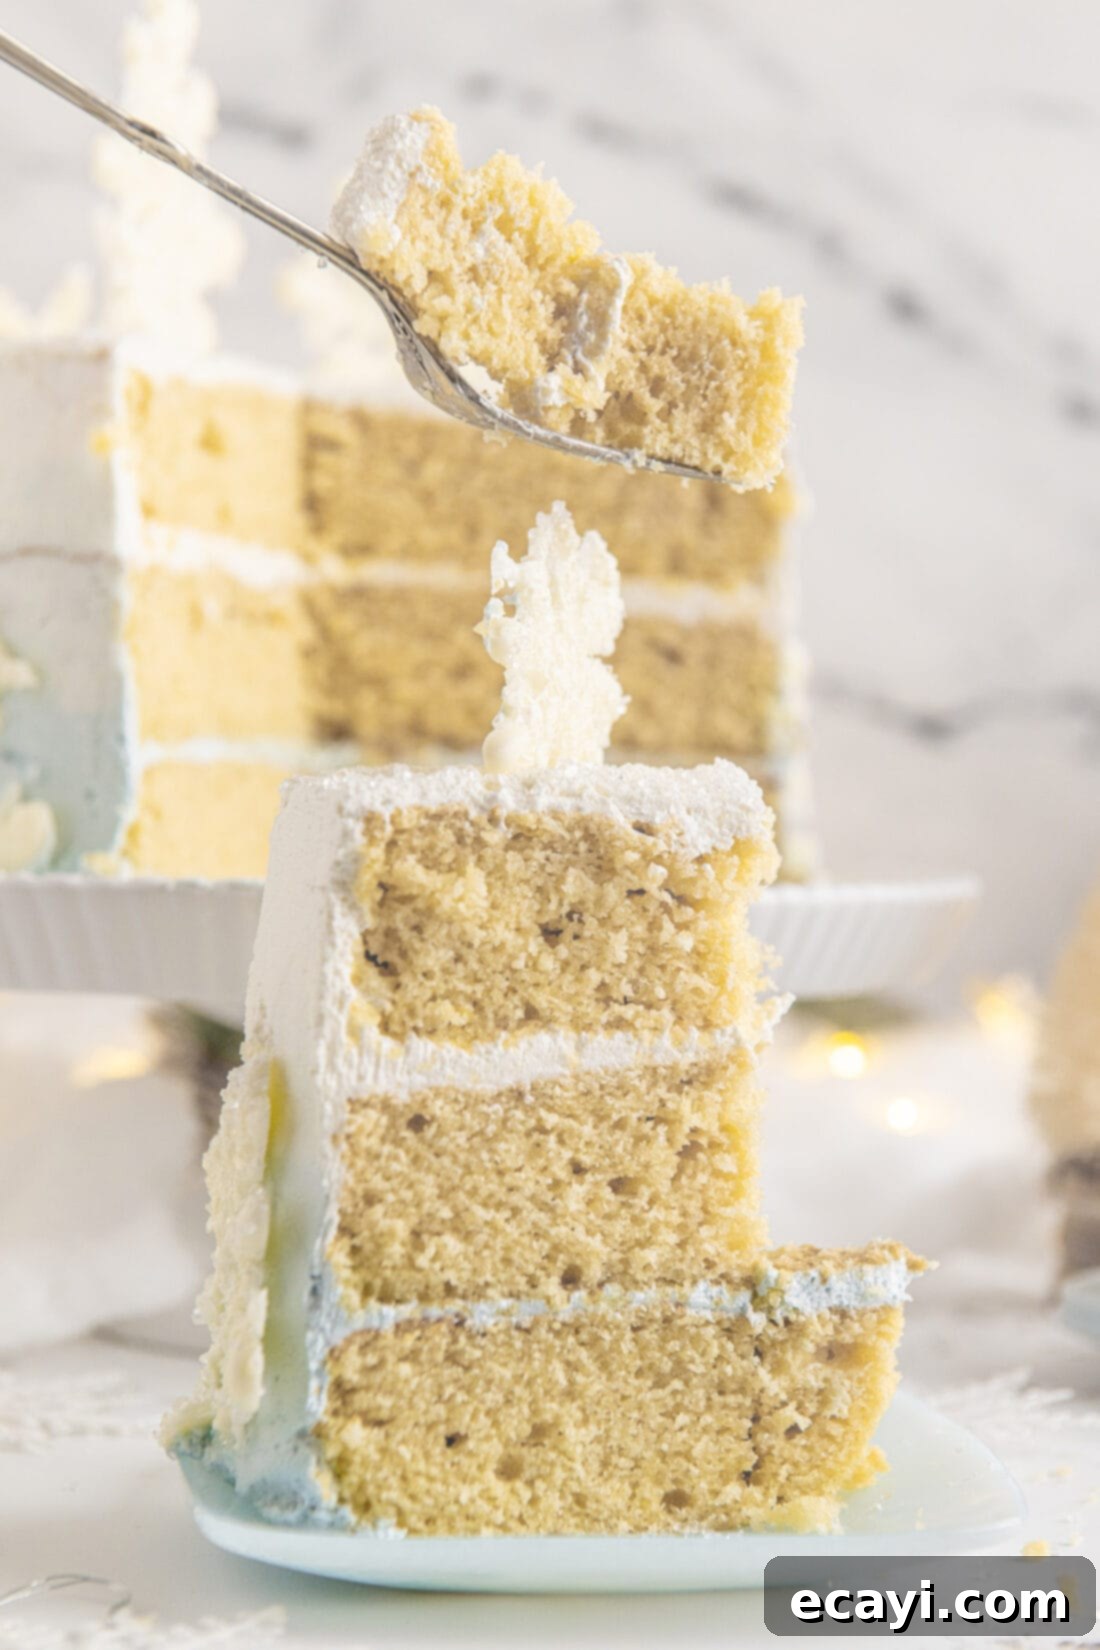
This snowflake cake isn’t just a dessert; it’s an experience. Its appeal lies in a harmonious blend of classic flavors, delightful textures, and breathtaking aesthetics. The foundation is a wonderfully soft and bouncy homemade white cake, ensuring a perfectly moist and flavorful base that everyone will adore. But what truly sets this cake apart is its visual charm. We layer our fluffy cake with a smooth, velvety vanilla buttercream that transitions gracefully from a delicate baby blue at the bottom to a pristine white on top, creating an elegant ombre effect reminiscent of a winter sky.
For that extra touch of holiday magic, the cake is generously adorned with homemade white chocolate snowflakes, each one sprinkled with sparkling sugar crystals. You might think such intricate decorations are challenging, but we’ve simplified the process to be incredibly easy and fun to create. Just pipe melted white chocolate onto parchment paper, and once set, you have beautiful, edible snowflakes ready to transform your cake. This recipe proves that gorgeous tiered cakes don’t have to be daunting. Much like our beloved Chantilly cake, this sweet snowflake cake is designed to impress without requiring advanced baking skills, making it entirely doable for intermediate bakers looking to elevate their holiday baking.
Imagine the smiles and gasps of delight as you present this masterpiece. The delicate flavors of the vanilla cake and buttercream complement each other perfectly, while the white chocolate decorations add a satisfying crunch and an extra layer of sweetness. It’s more than just a cake; it’s a festive centerpiece that captures the spirit of the season, creating lasting memories for your family and friends. This recipe provides clear, detailed instructions, ensuring your baking journey is smooth and rewarding from start to finish.
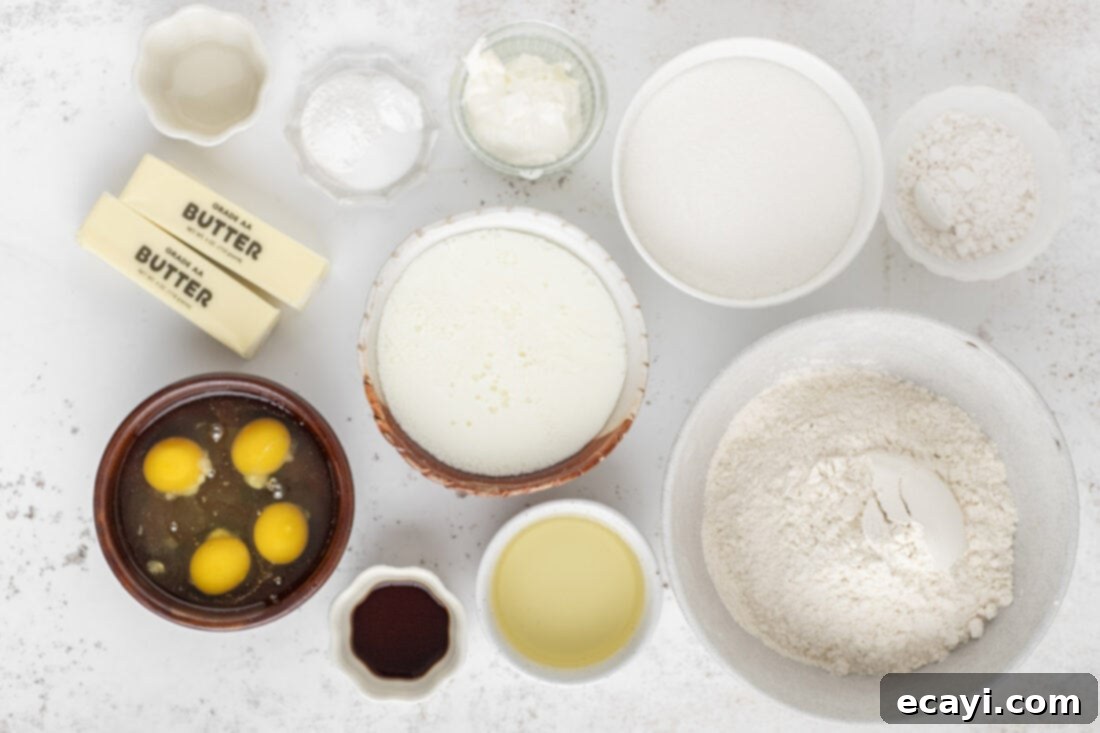
Gather Your Ingredients for This Festive Creation
Crafting this stunning snowflake cake requires a few key ingredients for both the moist white cake layers, the luscious vanilla buttercream, and the delicate white chocolate decorations. We’ve carefully selected components that work together to create an unforgettable dessert. You’ll find a complete list of all measurements, ingredients, and detailed instructions in the printable recipe card located at the very end of this post. For now, let’s take a quick look at the stars of the show.
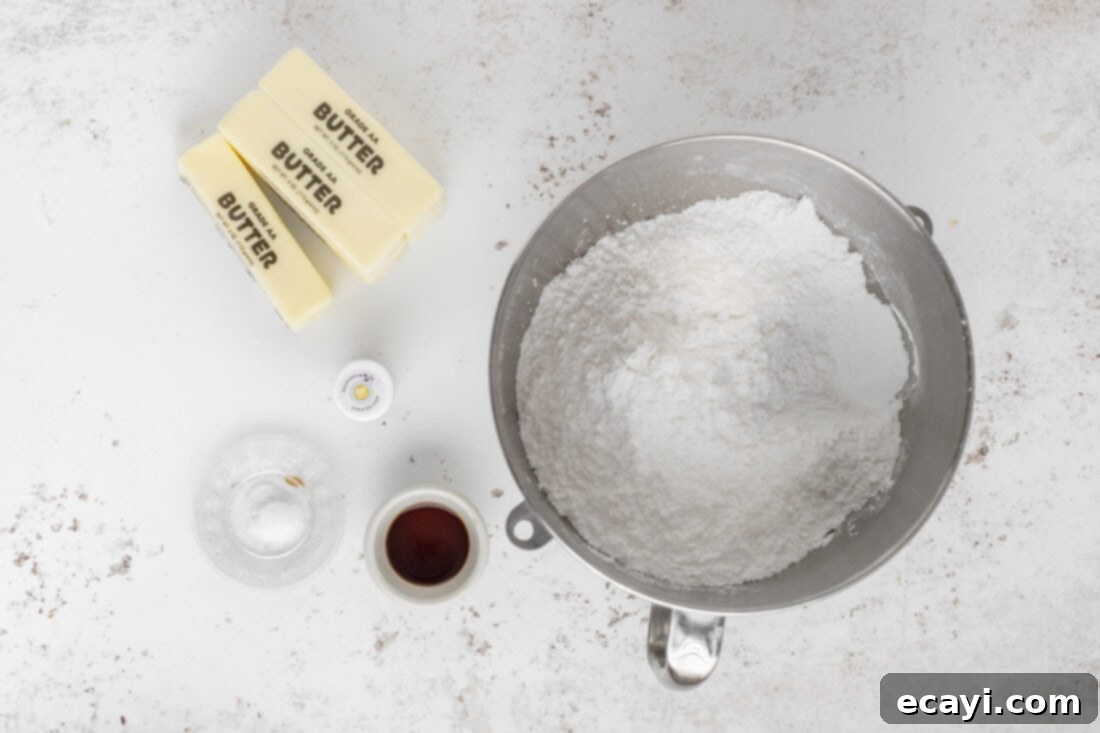
Ingredient Deep Dive & Smart Substitution Suggestions
Understanding the role of each ingredient can make a significant difference in your baking success. Here’s a closer look at the key components of our snowflake cake and some helpful substitution tips:
- VEGETABLE OIL: This liquid fat is crucial for a moist and tender cake, contributing to a softer crumb than butter alone. Unlike butter, oil remains liquid at room temperature, which helps keep the cake fresh and soft for longer. While vegetable oil is neutral in flavor, you can substitute with other mild-flavored oils like canola oil or even a light olive oil, though be mindful of its slight flavor profile.
- BUTTERMILK: Don’t skip the buttermilk! It acts as a tenderizer in your baked goods, reacting with the baking soda to create a light, airy, and incredibly moist cake. Its acidity also adds a subtle tang that enhances the overall flavor. Substituting with regular milk is not recommended, as it lacks the acidity required for the chemical reactions in the batter. If you don’t have buttermilk on hand, you can easily make a homemade version: simply remove 1 tablespoon + 2 teaspoons of regular milk from your measuring cup and replace it with 1 tablespoon + 2 teaspoons of lemon juice or white vinegar. Stir gently and let the mixture sit for 5-10 minutes until it slightly curdles before incorporating it into the recipe.
- SOUR CREAM: Much like buttermilk, sour cream adds significant moisture and richness to the cake, contributing to its velvety texture and a slight tang that balances the sweetness. It also helps to create a denser, more stable crumb. If sour cream isn’t available, plain Greek yogurt (full-fat for best results) can be used as a direct substitute. Ensure it’s plain and not flavored to maintain the cake’s intended taste.
- CAKE FLOUR: For an extra light, delicate, and fluffy cake texture, cake flour is highly recommended in this recipe. It has a lower protein content than all-purpose flour, which results in less gluten development and a softer crumb. While all-purpose flour can be used in a pinch, your cake might be slightly denser. If you only have all-purpose flour, you can create a homemade cake flour substitute by measuring out the required amount of all-purpose flour, removing two tablespoons per cup, and replacing them with two tablespoons of cornstarch. Sift this mixture several times to ensure it’s well combined.
- EGGS & EGG WHITES: This recipe utilizes a combination of whole eggs and additional egg whites. Whole eggs contribute richness and flavor, while the extra egg whites help achieve a truly white cake color and provide structure and lift, ensuring a light and airy texture without adding too much yellow hue that yolks would. Ensure all eggs are at room temperature for better emulsion with other ingredients.
- GRANULATED SUGAR: Beyond sweetness, sugar plays a vital role in cake structure and moisture. It helps tenderize the cake by interfering with gluten development and keeps it moist by attracting and holding onto water.
- BAKING POWDER & BAKING SODA: These leavening agents are essential for the cake’s rise. Baking soda reacts with the acidic buttermilk and sour cream, while baking powder provides additional lift, ensuring a light and airy texture.
- SALT: A small amount of salt is crucial to balance the sweetness and enhance the overall flavors of the cake and frosting.
- VANILLA EXTRACT & OPTIONAL BUTTER FLAVORING: Pure vanilla extract adds classic, warm flavor. The optional butter flavoring can intensify the rich, buttery notes in the cake.
- FROSTING: This recipe features a classic vanilla buttercream frosting, which is incredibly versatile. You can easily make the entire batch one color (white or blue) if you prefer. For a different flavor profile, a homemade cream cheese frosting could also be a delicious alternative, offering a slight tanginess that complements the white cake. When making buttercream, ensure your butter is at room temperature for the smoothest, fluffiest results.
- WHITE CHOCOLATE CHIPS & SUGAR CRYSTALS: These are for our stunning edible snowflake decorations. Choose good quality white chocolate for easier melting and piping. Sugar crystals add a beautiful sparkle, mimicking freshly fallen snow.
Crafting Your Beautiful Snowflake Cake: A Step-by-Step Guide
These step-by-step photos and detailed instructions are here to help you visualize how to make this recipe successfully. For the complete printable version of this recipe, including exact measurements and a streamlined instruction list, please Jump to Recipe at the bottom of this page.
Part 1: Baking the Perfect White Cake Layers
- Preheat your oven to 350°F (175°C). Prepare three 9-inch round cake pans by lining their bottoms with parchment paper circles and lightly spraying them with baking spray. This ensures your cakes release perfectly. Set these prepared pans aside.
- In a large mixing bowl, combine all your dry cake ingredients: all-purpose flour, cake flour, baking powder, baking soda, and salt. Whisk them together thoroughly to ensure the leavening agents are evenly distributed. Set this dry mixture aside.
- In the bowl of a stand mixer fitted with a paddle attachment, cream together the granulated sugar and softened salted butter. Beat on medium speed until the mixture is light, fluffy, and pale in color, typically for 2-3 minutes. This creaming process incorporates air, which is vital for a tender cake. Next, add the vegetable oil and mix until just combined, scraping down the sides of the bowl as needed.
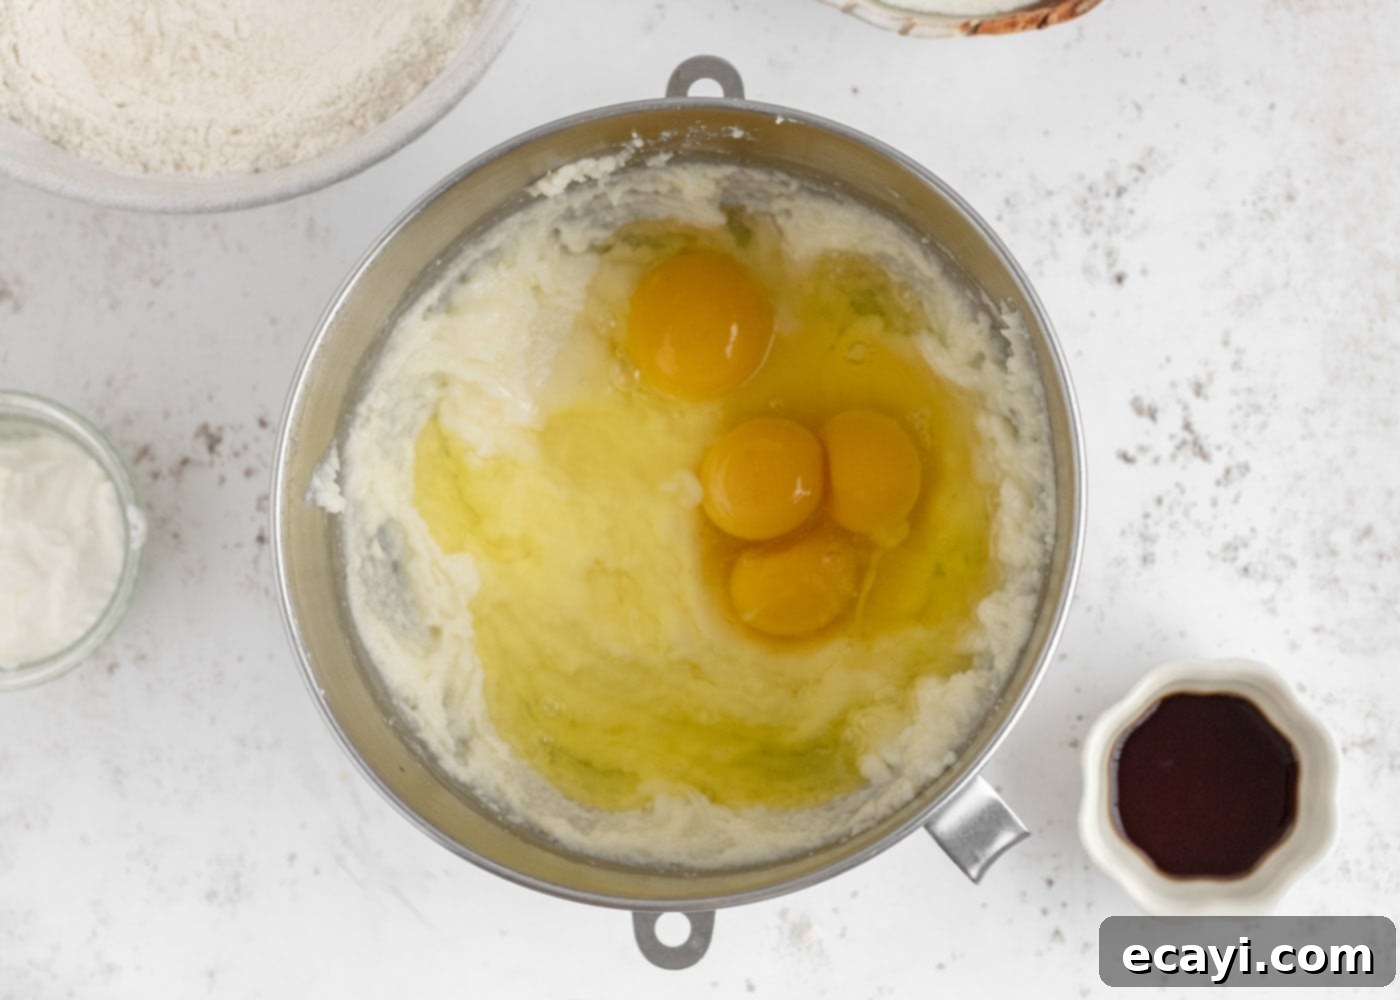
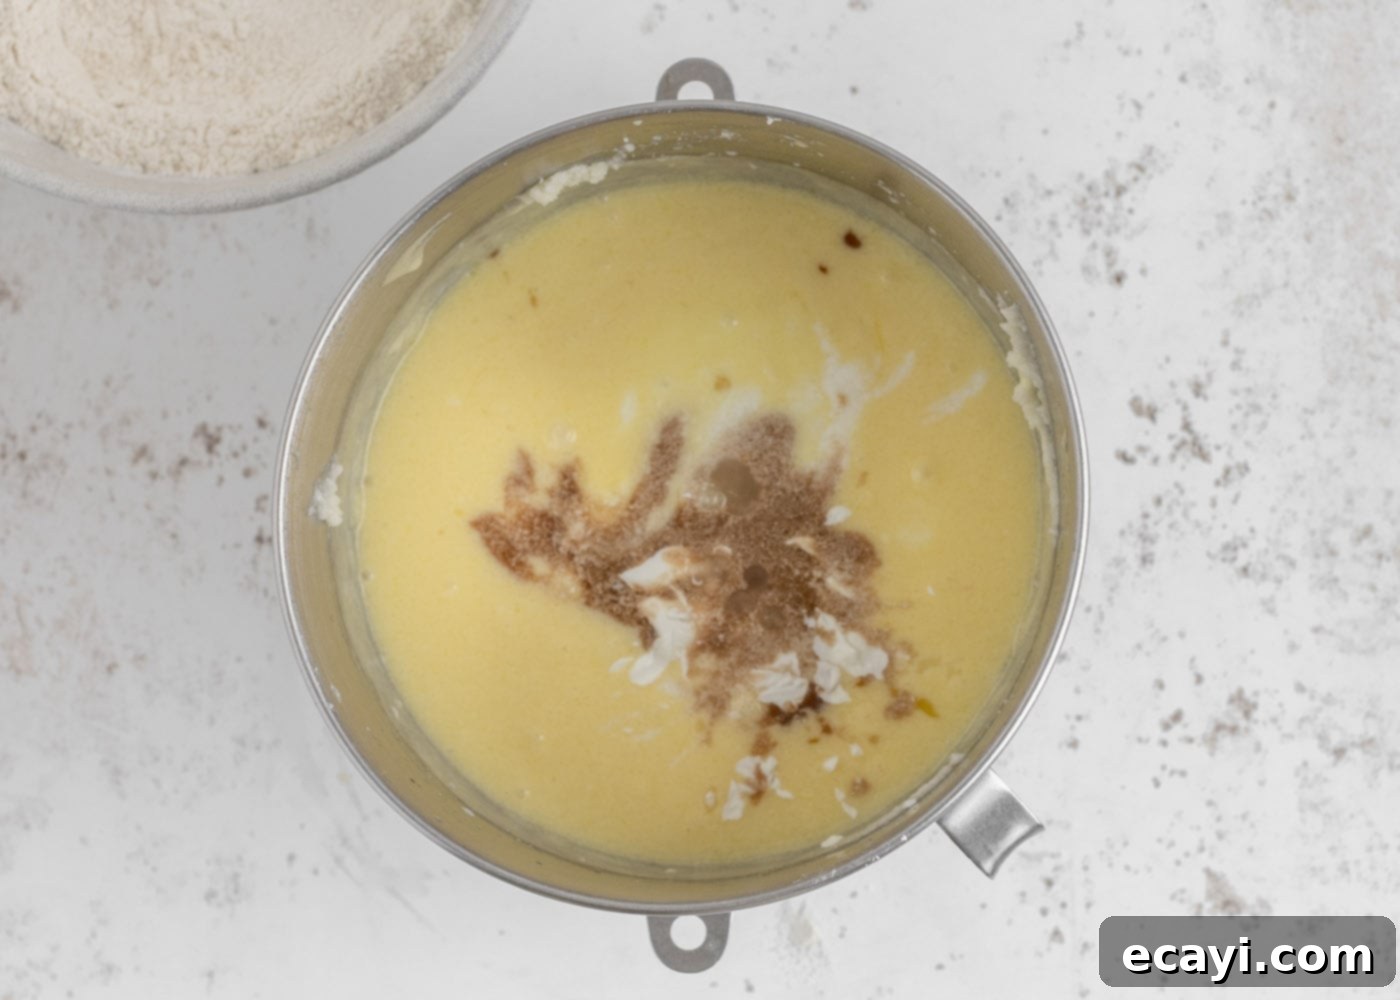
- Add the eggs, one at a time, mixing for about 30 seconds after each addition until fully incorporated. Then, slowly pour in the buttermilk, sour cream, vanilla extract, and the optional butter flavoring. Mix on medium speed until all the wet ingredients are well combined and smooth.
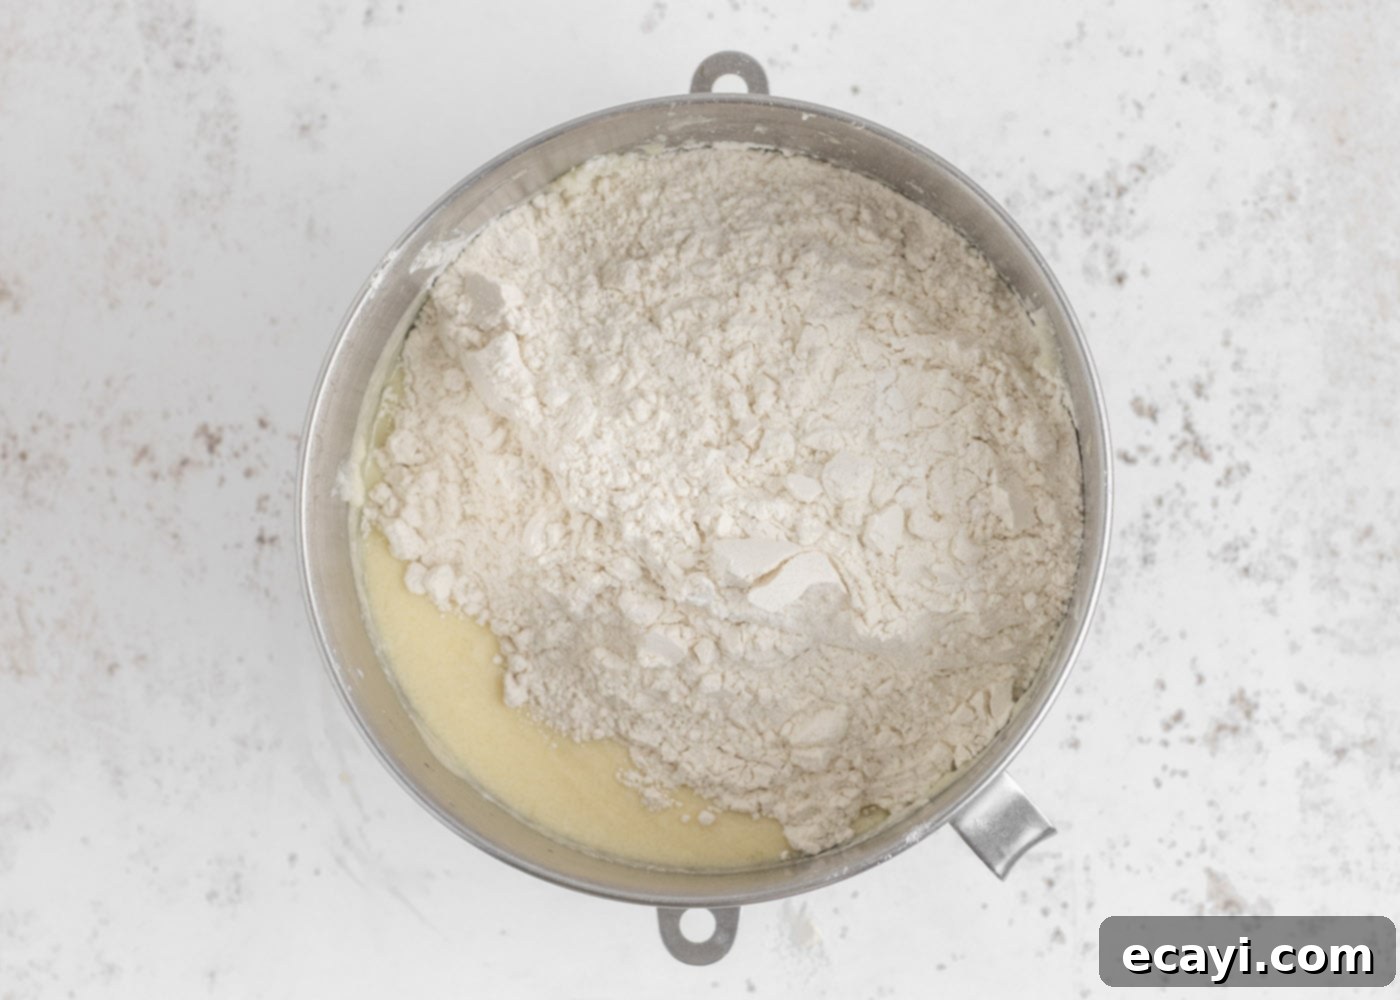
- Gradually add the reserved flour mixture to the wet ingredients. Mix on low speed until the flour is *just combined* and no streaks of dry flour remain. Be careful not to overmix, as this can develop the gluten too much, resulting in a tough or crumbly cake.
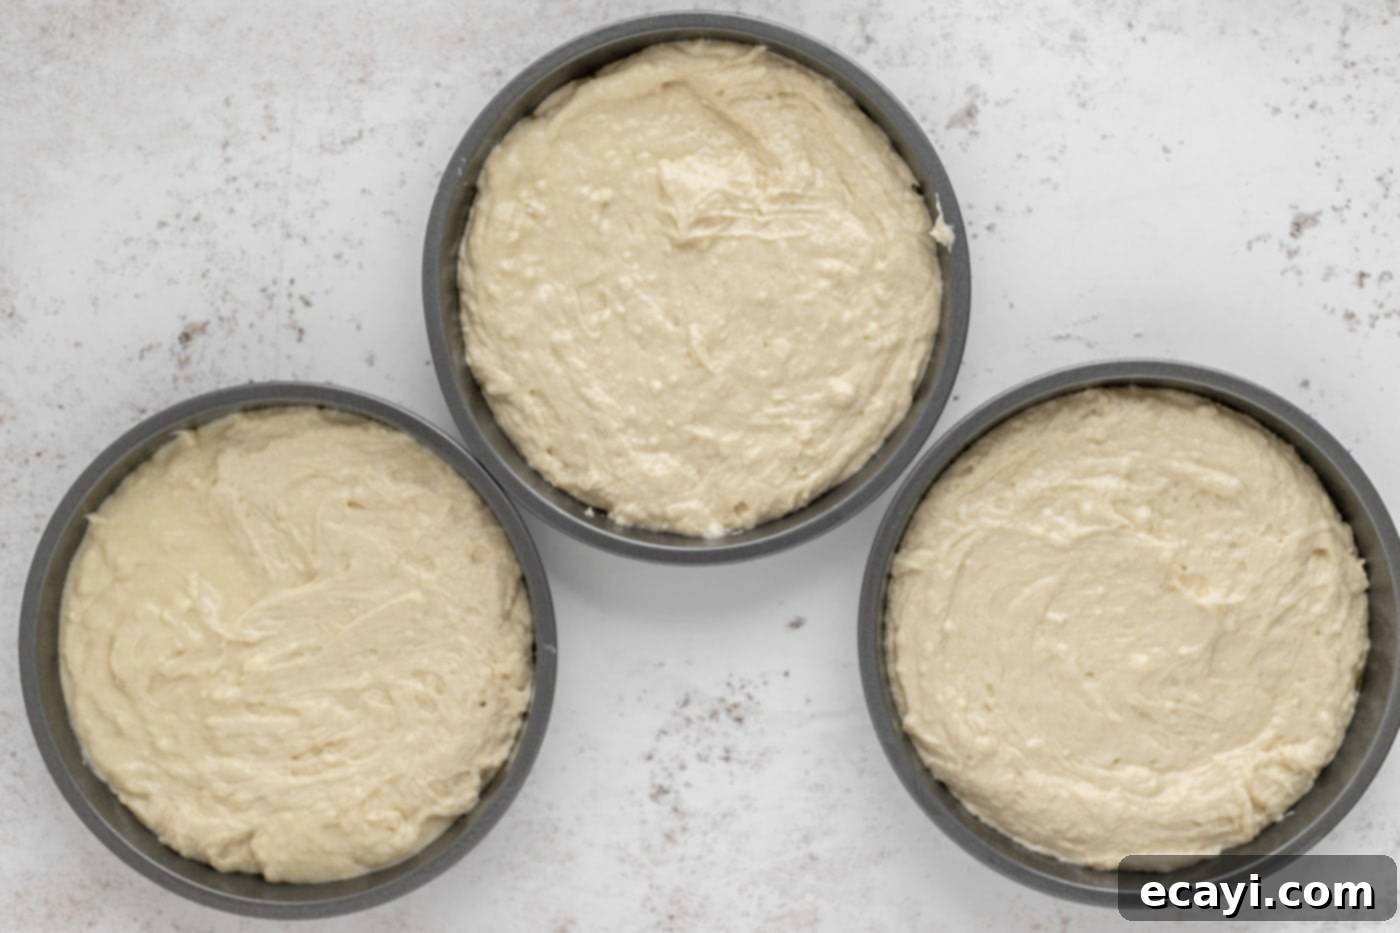
- Evenly divide the cake batter among the three prepared cake pans. You can use a kitchen scale for precision to ensure even layers.
- Place the cake pans onto the center rack of your preheated oven. Bake for approximately 45 minutes, or until a wooden skewer or toothpick inserted into the center of the cakes comes out clean or with only a few moist crumbs attached.
- Once baked, remove the cakes from the oven. Let them cool in their pans on a wire cooling rack for about 10-15 minutes before carefully inverting them onto the rack to cool completely. It’s crucial that the cakes are entirely cool before frosting to prevent the buttercream from melting.
Part 2: Creating Dazzling White Chocolate Snowflakes
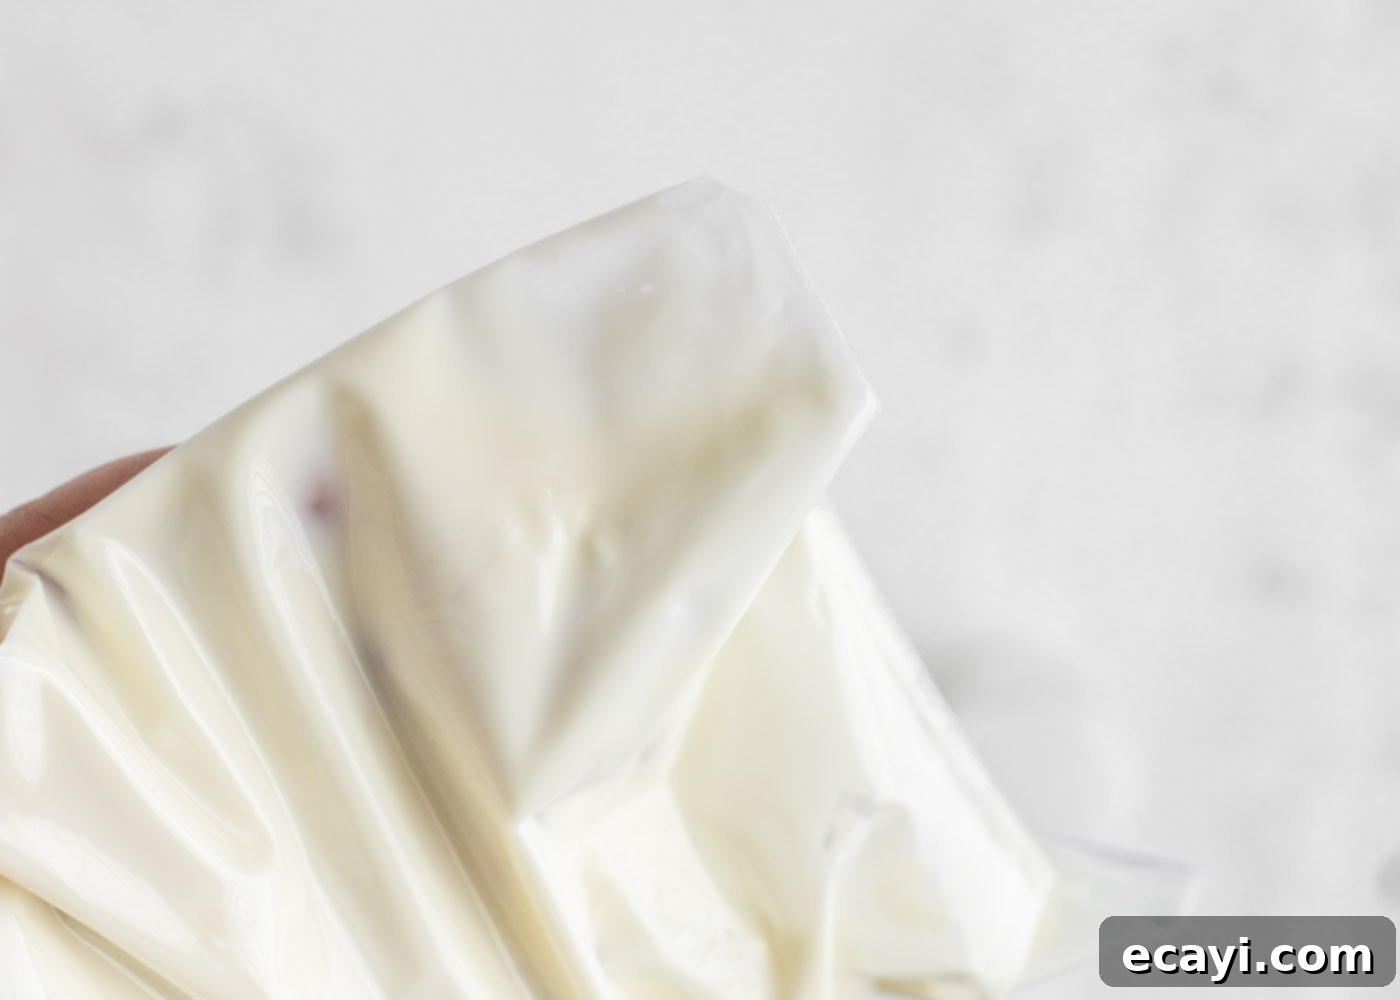
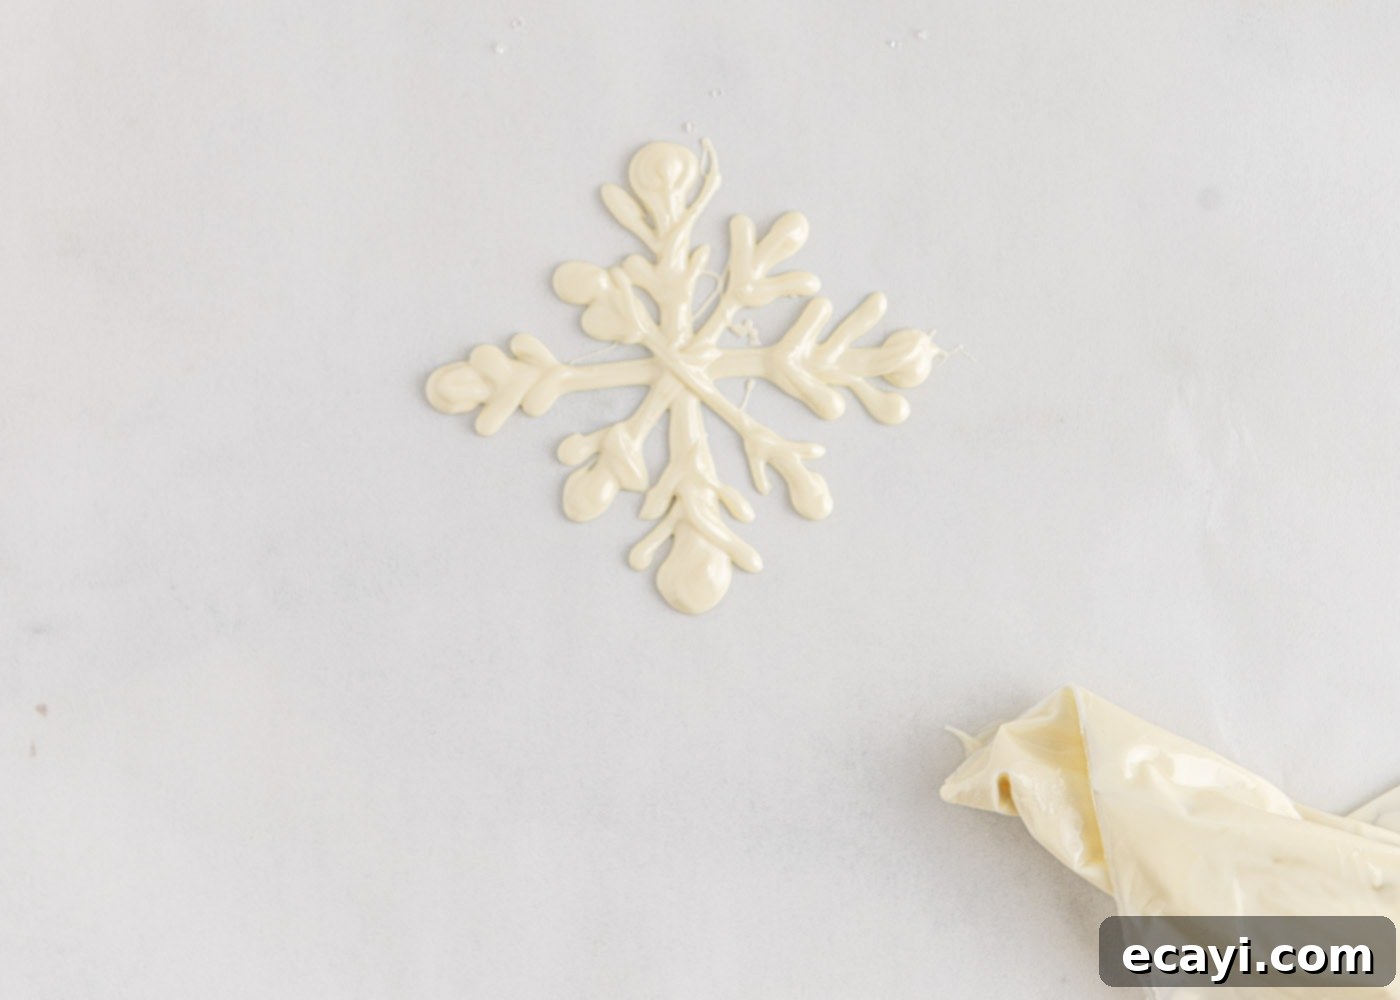
- To make your stunning white chocolate snowflakes, place the white chocolate chips into a microwave-safe bowl. Microwave them in 30-second intervals, stirring thoroughly after each segment. This technique is vital to prevent the chocolate from burning or seizing. Continue until the white chocolate chips are completely melted and smooth. Let the melted chocolate cool slightly for a few minutes; it should still be liquid but not piping hot, which makes it easier to handle and prevents it from spreading too thin. Once slightly cooled, carefully transfer the melted chocolate into a plastic piping bag or a sturdy zip-top bag, snipping a tiny corner off the bag for piping.
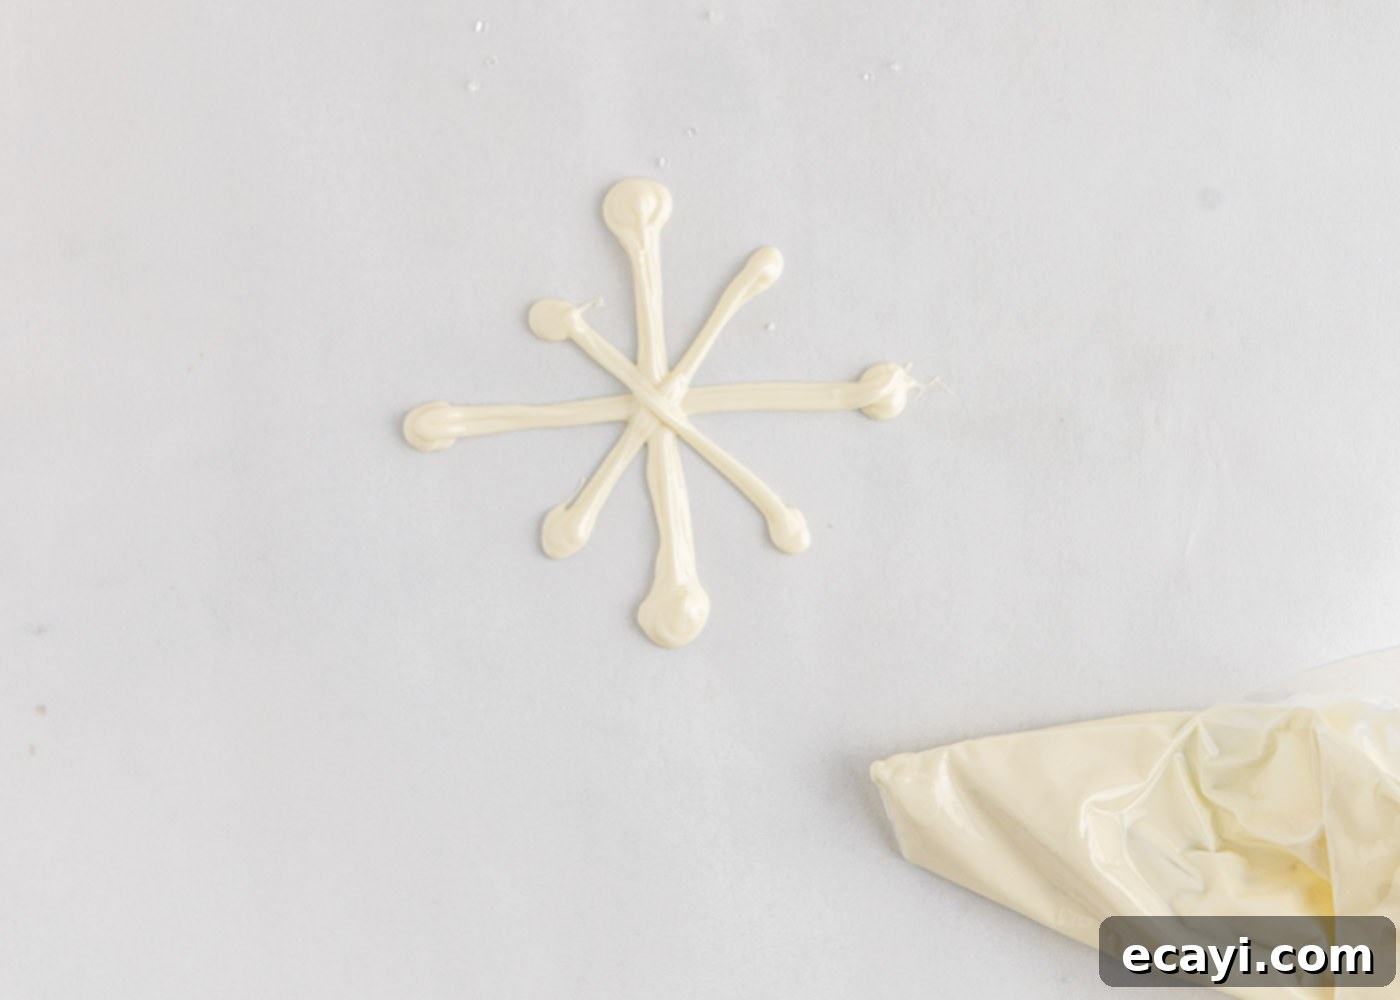
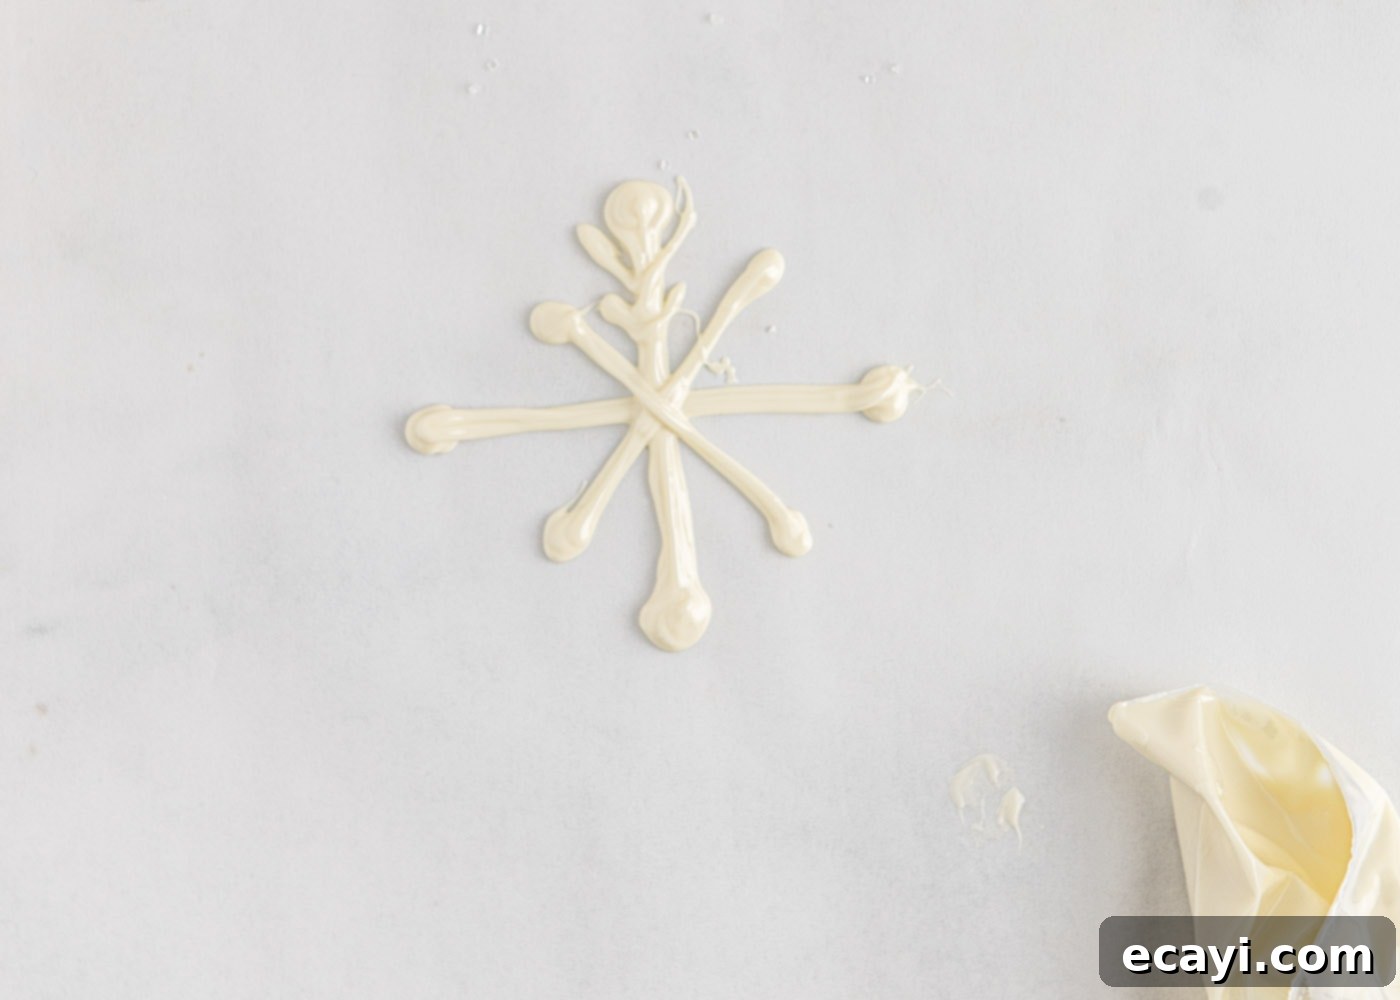
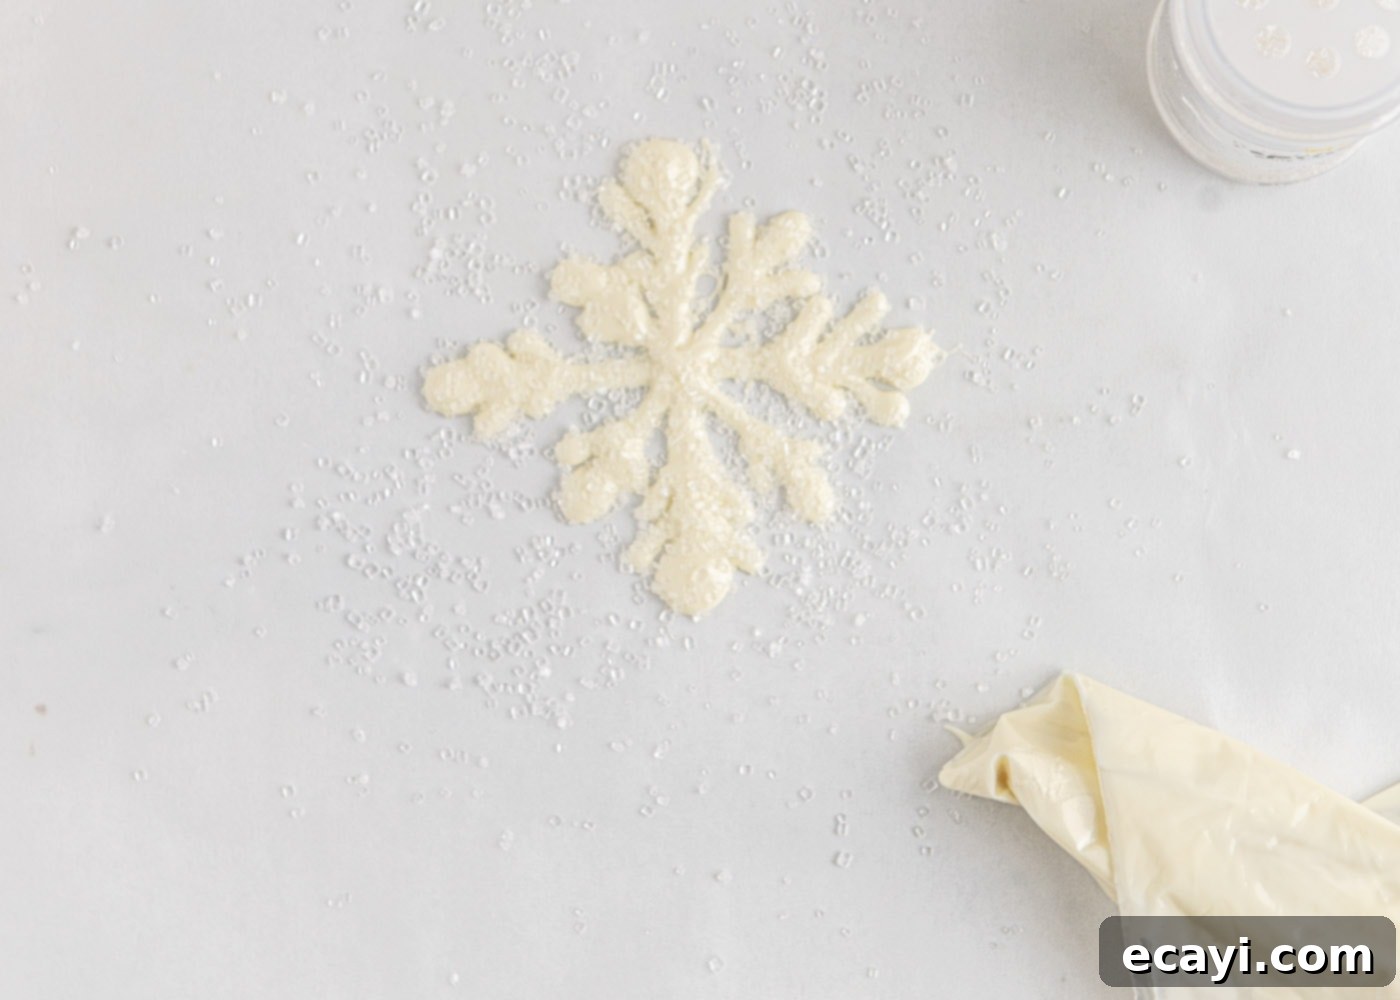
- Lay a large piece of parchment paper or a silicone baking mat onto a clean counter surface. Using your piped chocolate, draw various snowflake designs onto the paper. Don’t be afraid to get creative! For added sturdiness, which is especially important if you want them to stand upright on the cake, pipe over each line or “stick” of your snowflake design at least twice. This builds up the chocolate, making them robust enough to hold their shape once set.
- Ensure you space the snowflakes out generously, about 4-5 inches apart, as you’ll be making several and potentially in different sizes. Immediately after piping each snowflake, and before the chocolate has a chance to set, generously sprinkle sugar crystals over the top. The crystals will adhere beautifully to the still-wet chocolate, giving your snowflakes a dazzling, icy sparkle. Allow the snowflakes to set completely at room temperature or, to speed up the process, place them in the refrigerator for 10-15 minutes until firm.
Part 3: Whipping Up the Ombre Buttercream Frosting
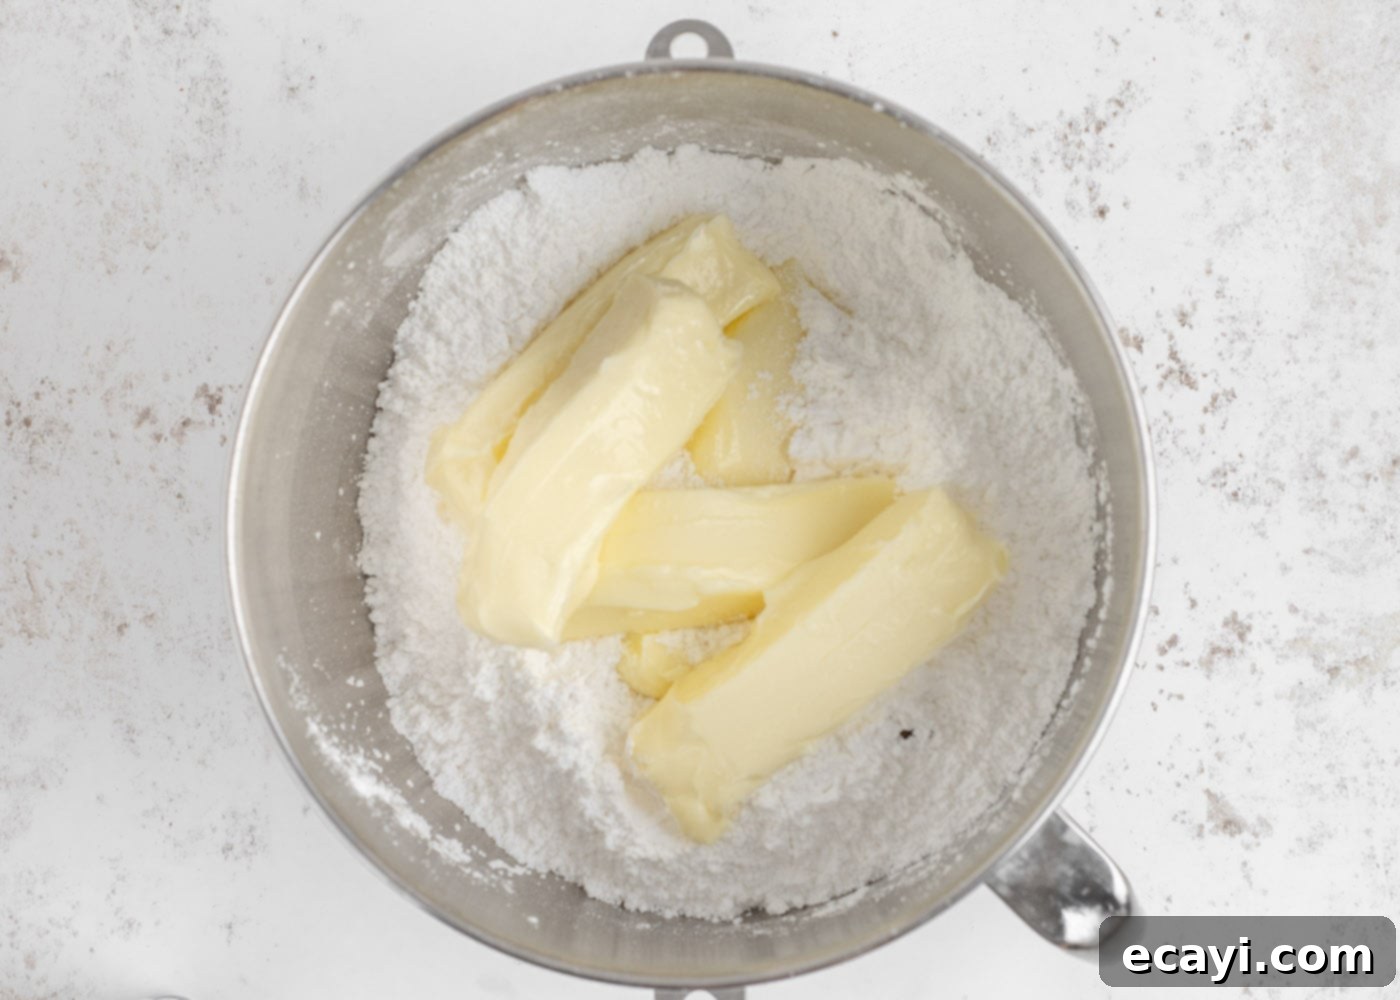
- For the irresistible frosting, combine the powdered sugar, softened salted butter, vanilla extract, and salt in the bowl of a stand mixer fitted with a paddle attachment. Start mixing on low speed to prevent a cloud of powdered sugar from escaping the bowl, until all ingredients are just combined and moistened.
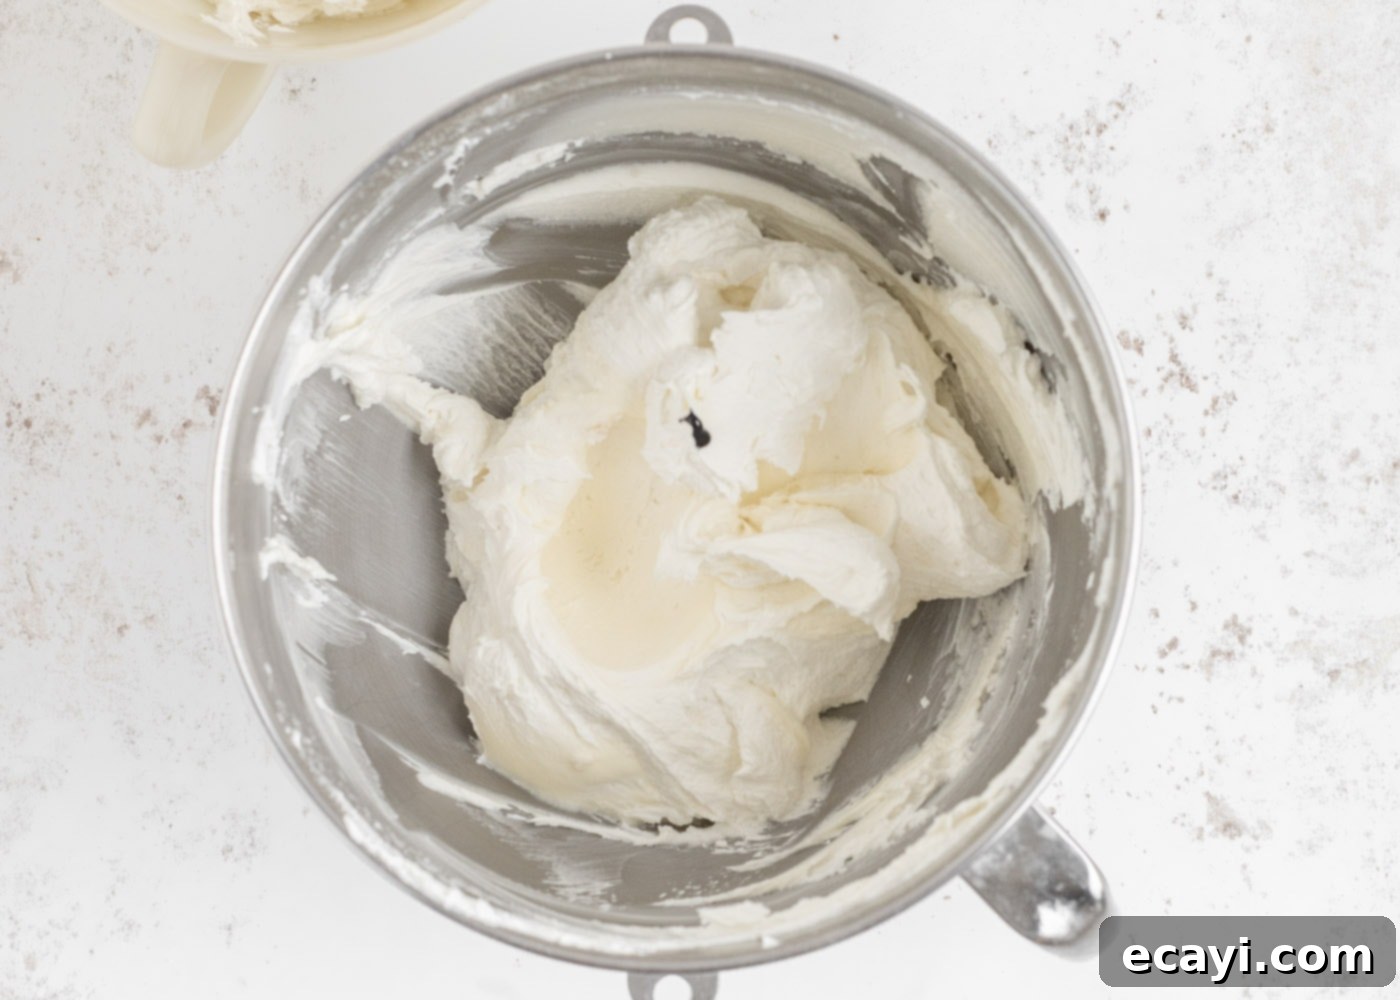
- Once combined, increase the mixer speed to medium-high and beat for a full 3 minutes. This aeration process is key to achieving a truly white, light, and fluffy buttercream. Scrape down the sides of the bowl occasionally to ensure everything is evenly mixed. After beating, remove approximately one-third of the frosting from the mixing bowl and transfer it to a separate bowl. This portion will remain pristine white for the top sections of your cake.
- To the remaining two-thirds of frosting still in the stand mixer bowl, add drops of blue food coloring. Start with a small amount and gradually add more, mixing after each addition, until your desired shade of baby blue is reached. Mix for an additional minute on medium speed to ensure the color is perfectly incorporated and consistent throughout the frosting, without any streaks.
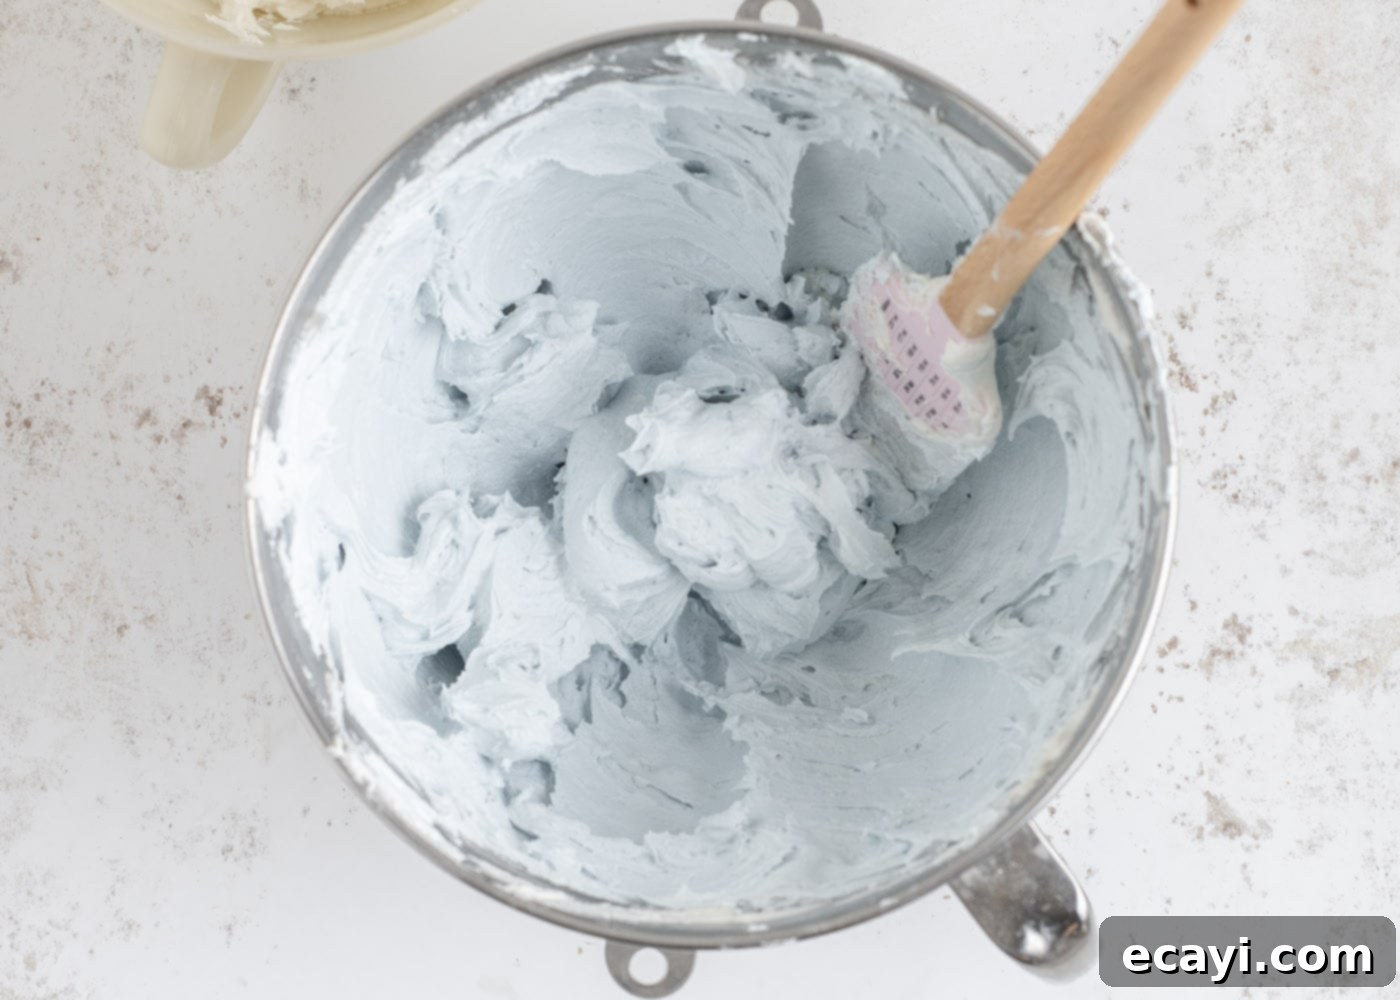
Part 4: Assembling Your Stunning Snowflake Cake
- Once your cake layers have completely cooled and your white chocolate snowflakes have fully set, it’s time for assembly. Carefully remove the cooled cakes from their pans. Place the first cake layer onto your chosen cake stand or serving plate.
- Evenly spread about 1 cup of the baby blue frosting over the top of the first cake layer using an icing spatula. Ensure a consistent layer from edge to edge.
- Gently place the second cake layer directly on top of the blue-frosted first layer. This time, repeat the frosting process using the white frosting, spreading about 1 cup evenly over this second layer.
- Carefully position the third cake layer on top. Now, using the white frosting, frost the entire top surface of the cake and generously cover the upper half of the cake’s sides. Use an offset icing spatula or bench scraper to achieve a smooth and even finish on the white section.
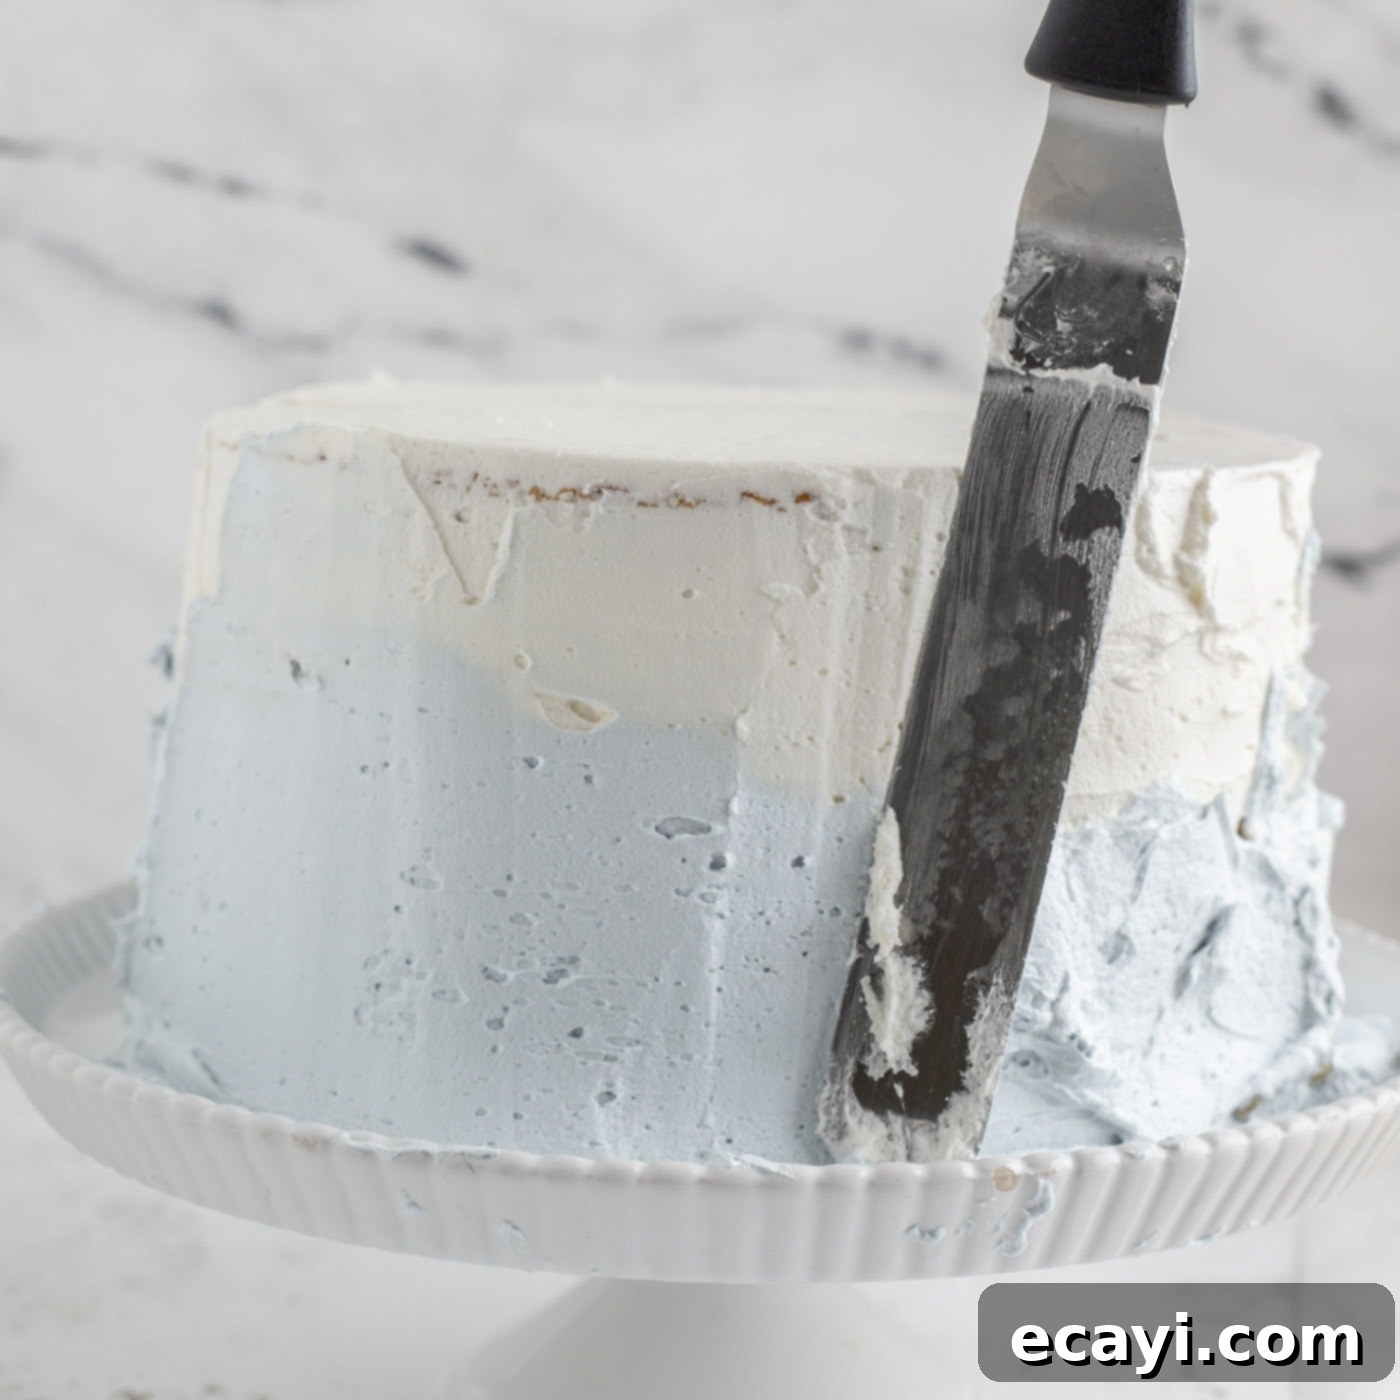
- Next, take the blue frosting and apply it to the bottom half of the cake’s sides. The magic of the ombre effect comes into play now: using your icing spatula, gently pull the blue frosting upwards, blending it seamlessly into the white frosting on the upper half of the cake. Continue smoothing and blending the colors together by rotating the cake and moving your spatula around multiple times. You’ll want to achieve a soft, gradual transition from blue to white. Remember to scrape any excess frosting off your spatula in between passes to keep your blending clean and smooth.
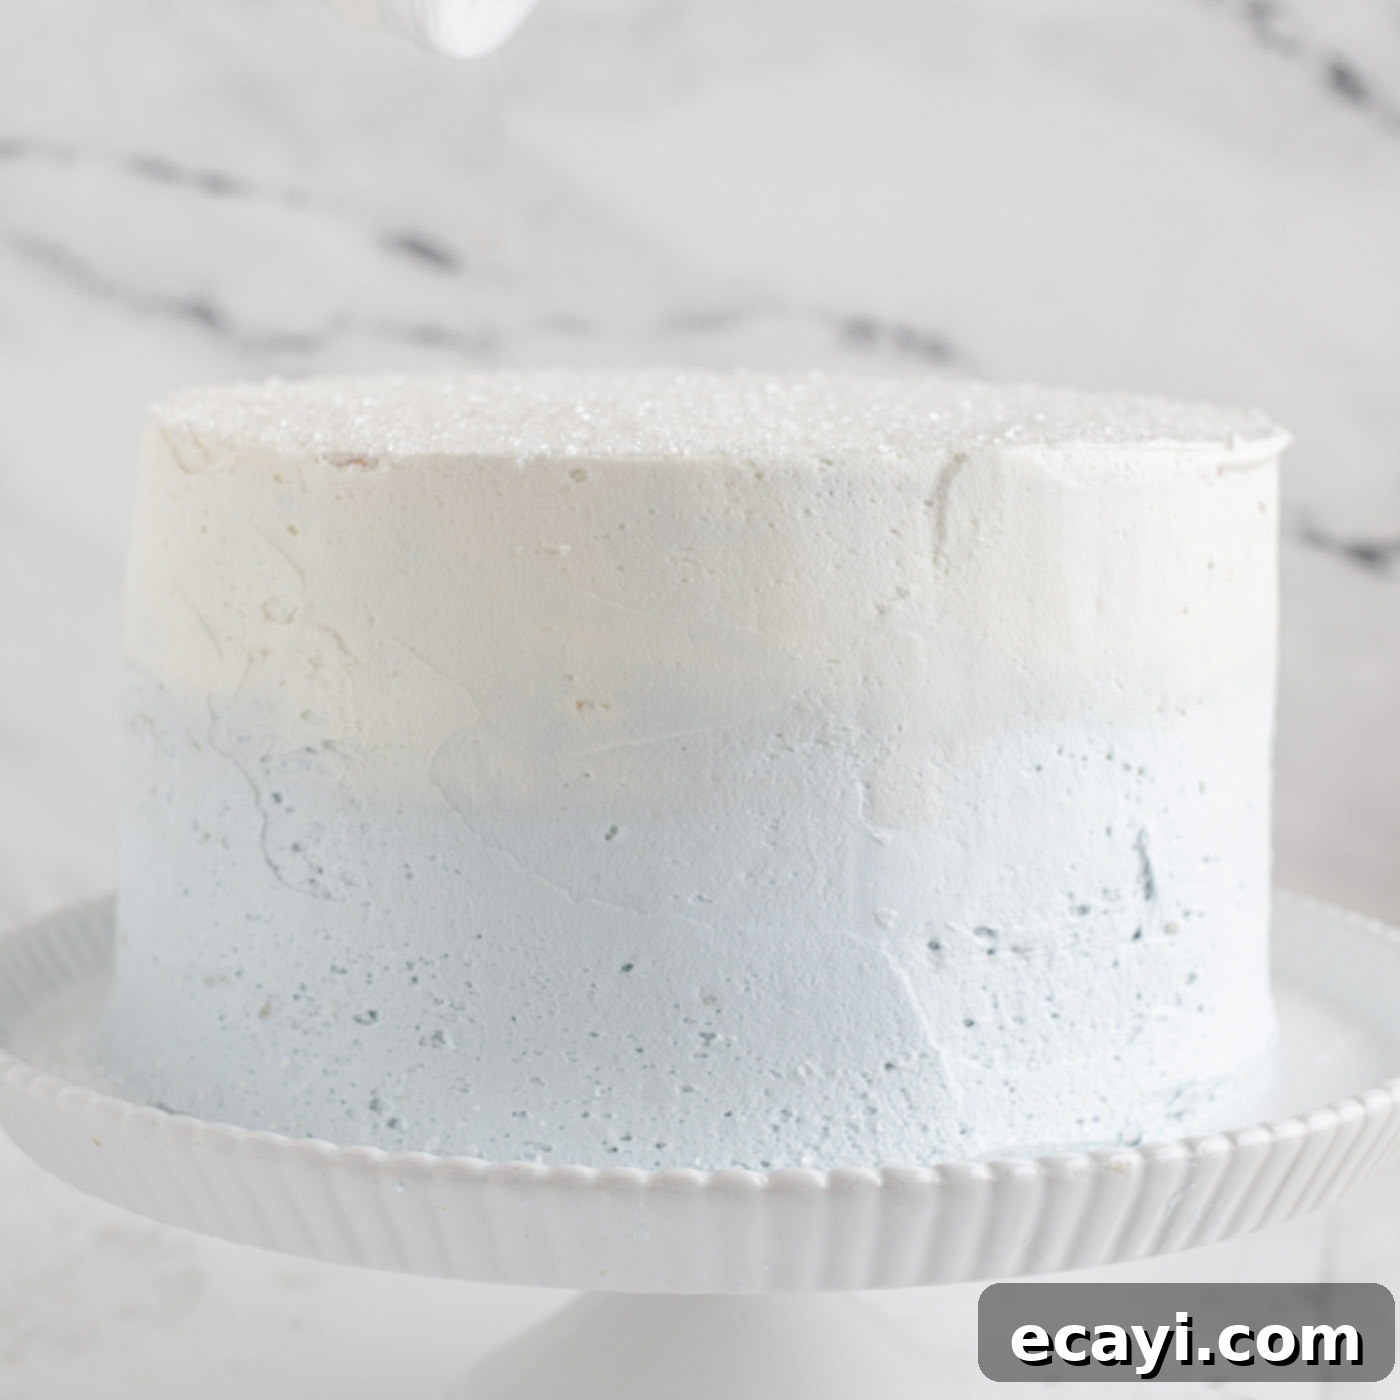
- Once your cake is perfectly frosted with the beautiful ombre effect, sprinkle additional sugar crystals generously over the entire top surface. This adds an extra layer of sparkle, mimicking glistening snow. Then, gently arrange your prepared white chocolate snowflakes around the sides of the cake. They should adhere easily to the fresh buttercream.
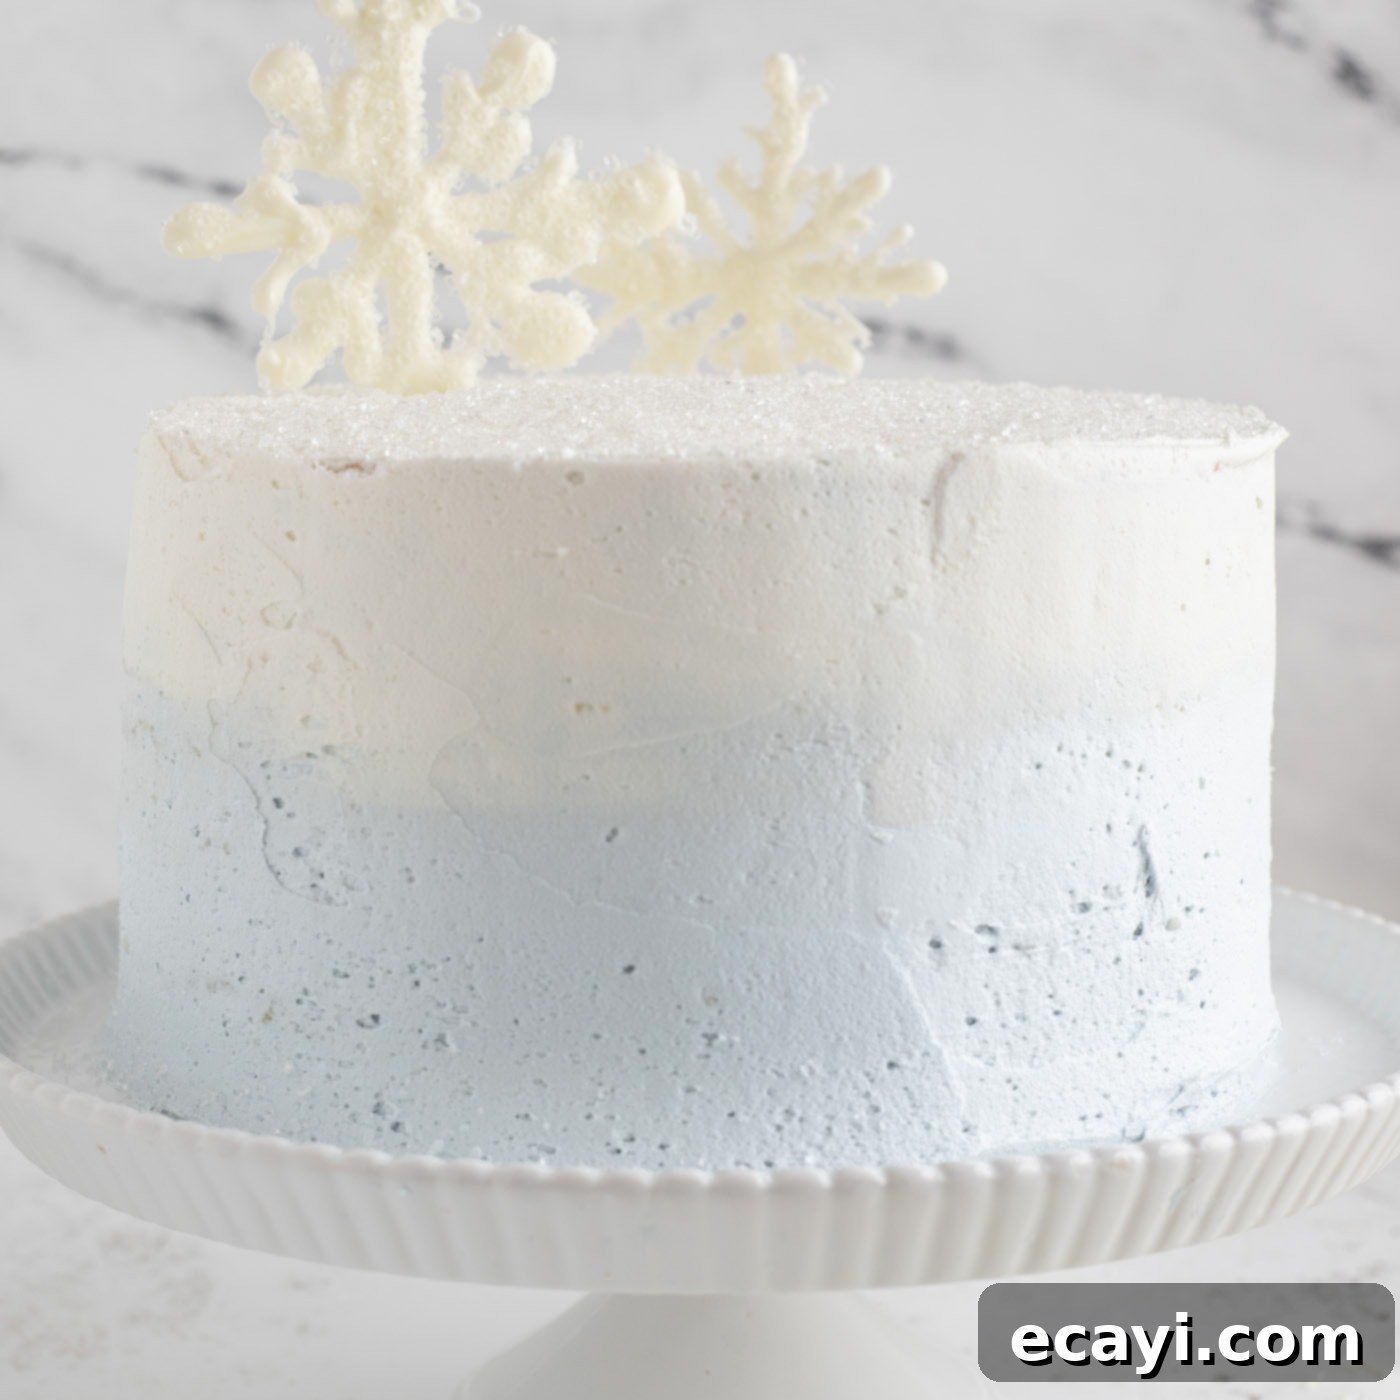
- To create the dramatic effect of snowflakes standing upright on top of the cake, you’ll need to make small, shallow slits with a sharp knife where you want each snowflake to stand. Carefully slide one point or “stick” of a white chocolate snowflake into each slit. This will help them stand securely. Arrange these standing snowflakes as desired, creating a captivating winter scene on your cake’s surface.
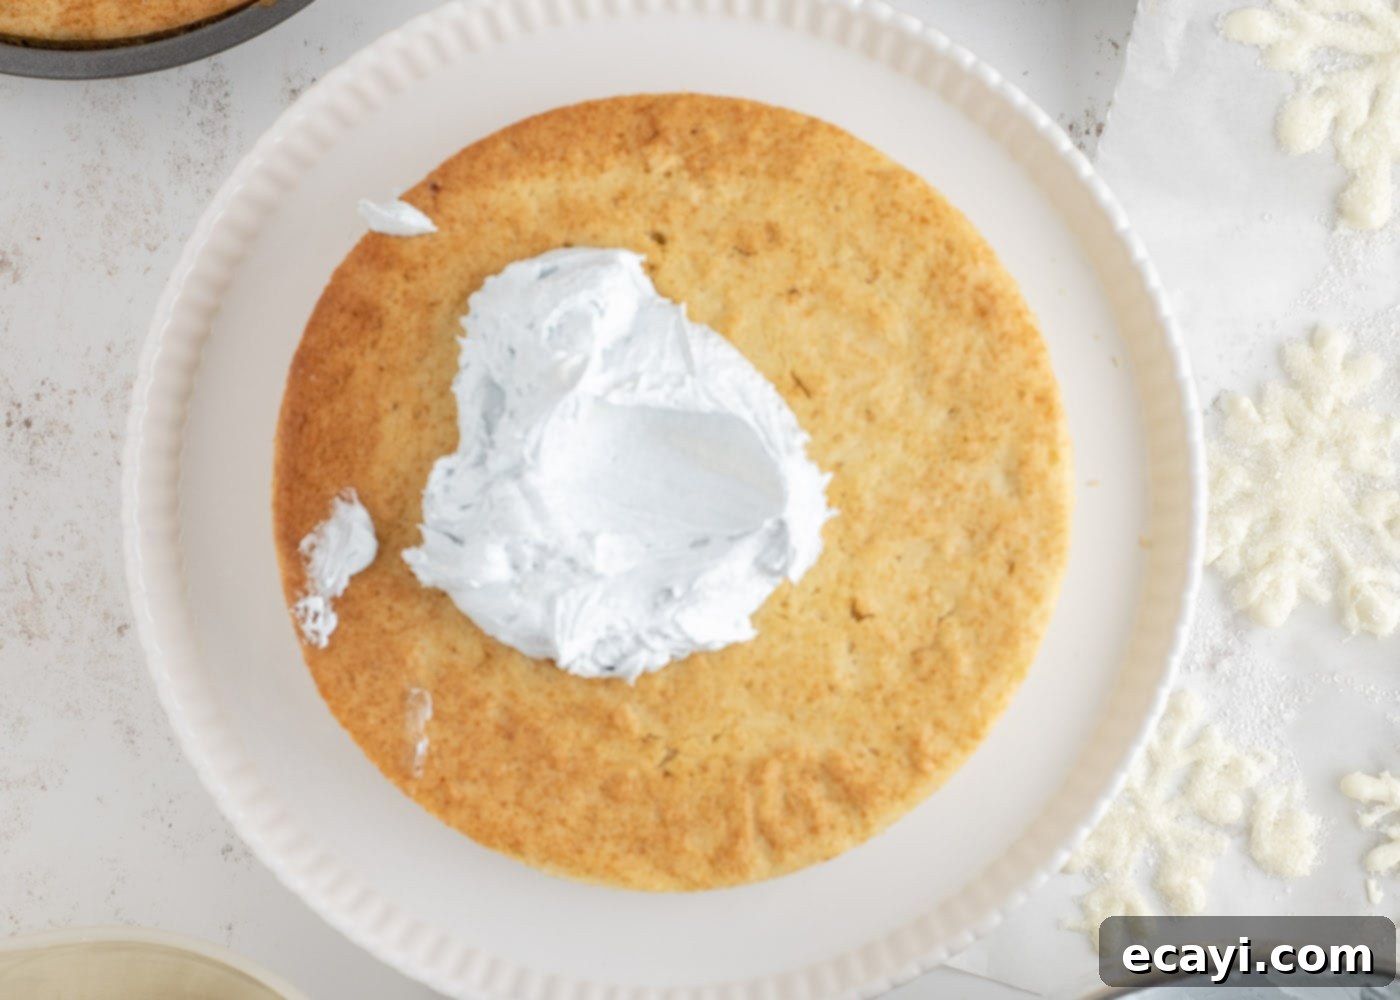
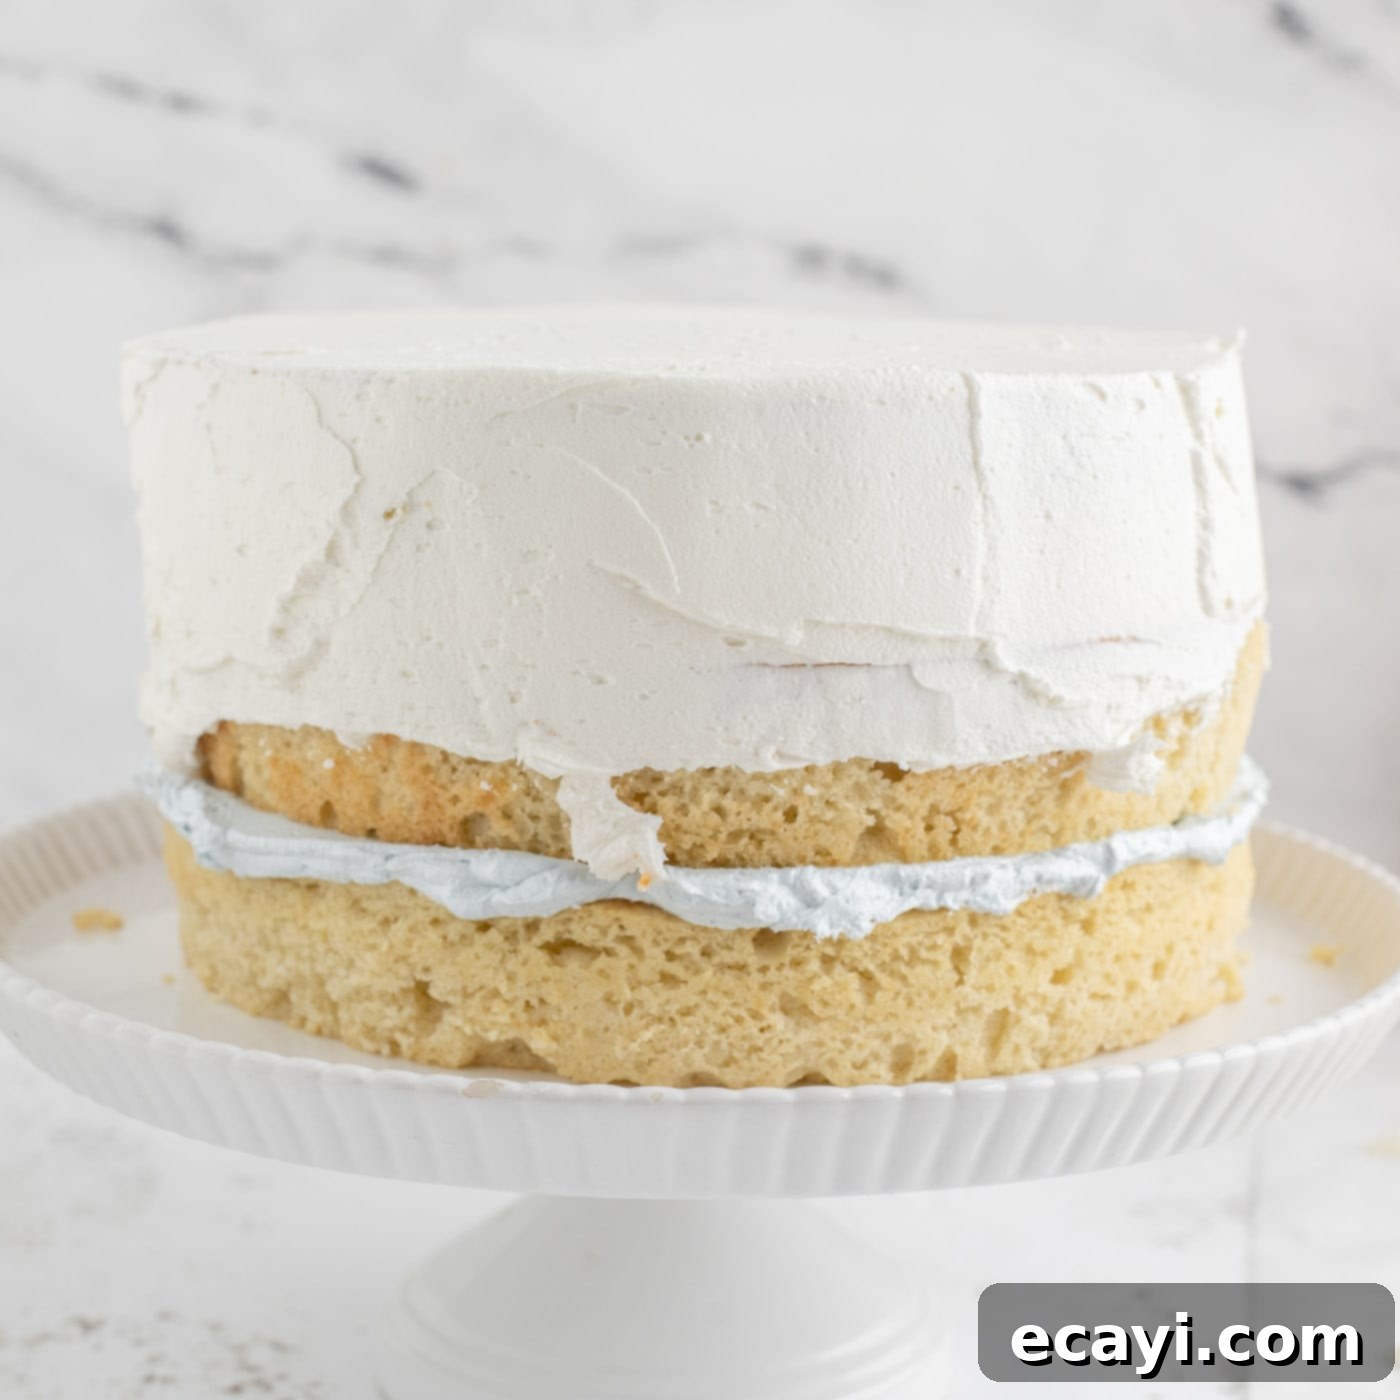
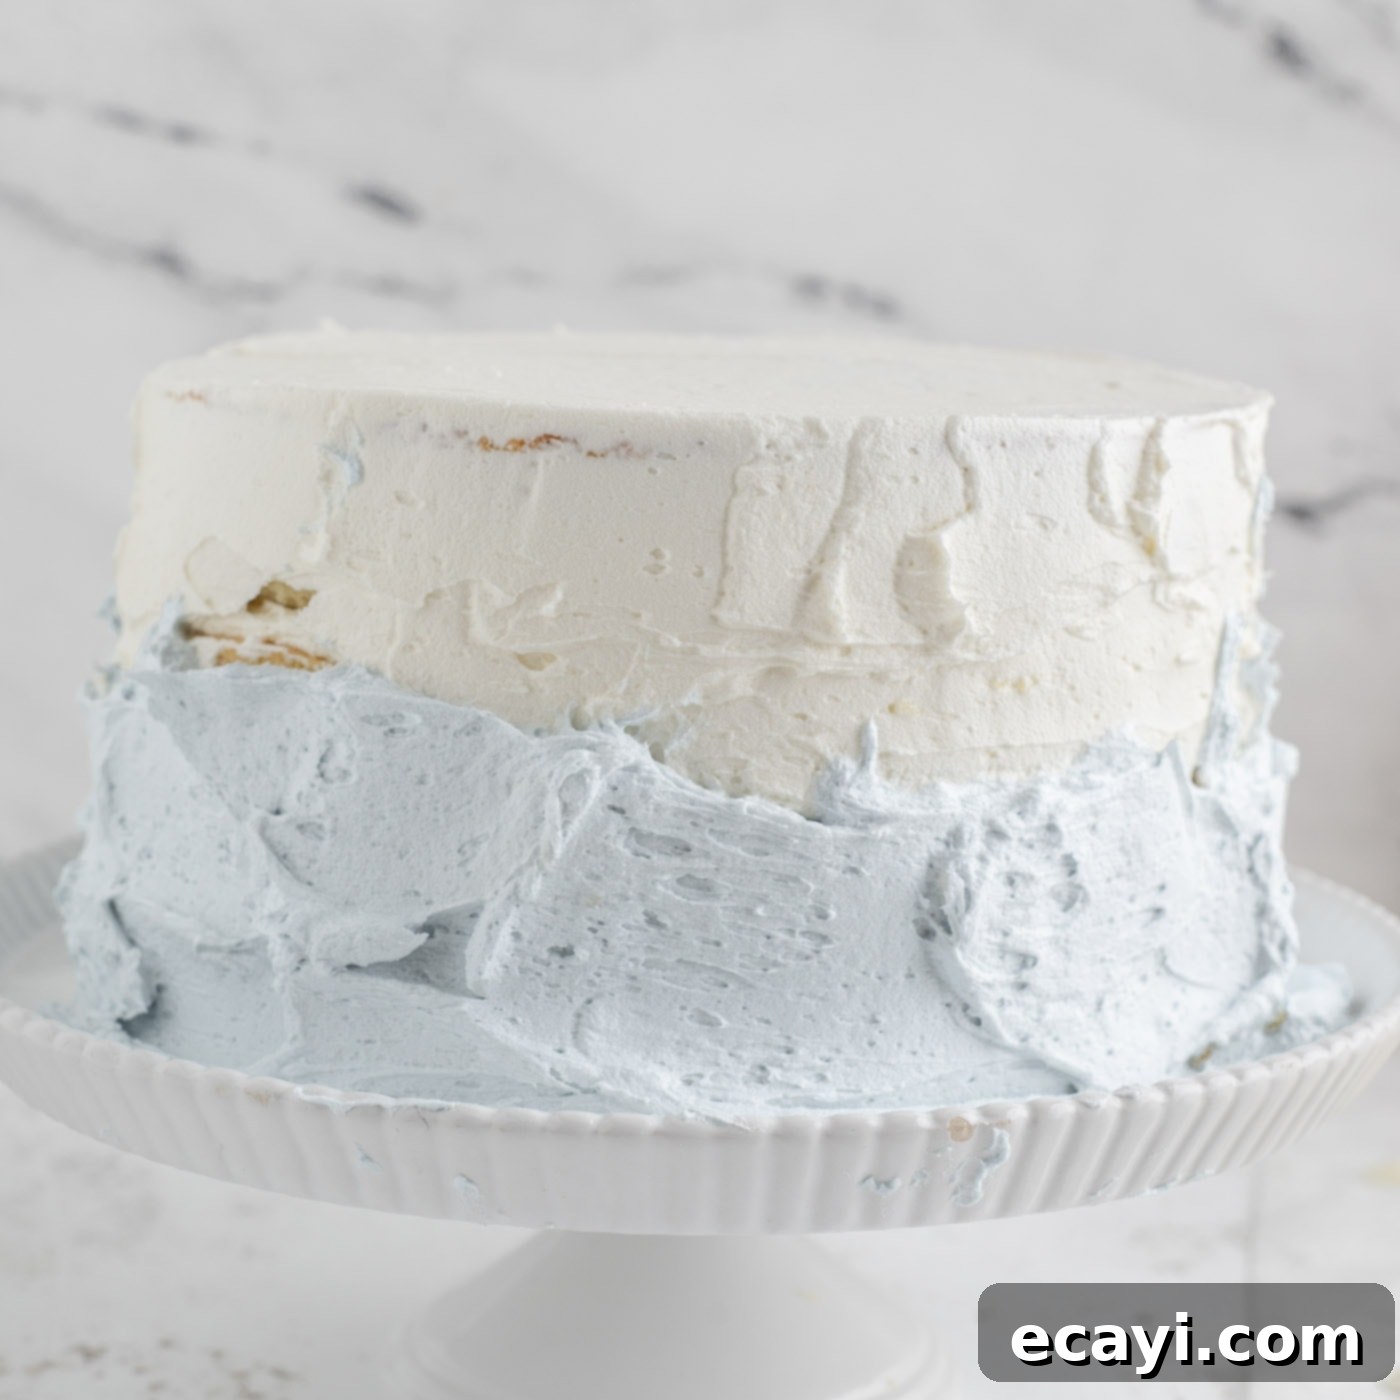
Frequently Asked Questions & Expert Tips
To maintain its freshness and delightful taste, store your snowflake cake in an airtight container. At room temperature, it will stay moist and delicious for up to 3 days. If you’re preparing it a day ahead for an event, storing it in a cake stand fitted with a lid or a specialized portable cake carrier is ideal to protect the frosting and decorations.
Absolutely! This cake freezes beautifully, both frosted and unfrosted. However, for the best presentation, we recommend preparing the delicate white chocolate snowflakes no earlier than the day before, or ideally, the day of serving, as they can be fragile. To freeze an assembled, frosted cake, first flash freeze it on a baking sheet until the frosting is completely solid to the touch (this prevents smudging). Then, wrap the cake tightly with several layers of plastic wrap, followed by a layer of aluminum foil to prevent freezer burn. For unfrosted cake layers, you can simply wrap them individually in plastic wrap and then foil, or place them in large zip-top freezer bags. The cake, whether frosted or unfrosted layers, can be stored in the freezer for up to 3 months. When you’re ready to enjoy, thaw the cake in the refrigerator overnight, then bring it to room temperature before serving for the best flavor and texture. The same freezing method applies perfectly to individual slices of cake too!
A dry cake is often a result of overmixing the batter or overbaking. When mixing the dry and wet ingredients, mix only until just combined to avoid overdeveloping the gluten. For baking, ensure you stick to the recommended baking time and check for doneness with a toothpick. If it comes out clean or with moist crumbs, it’s ready. Using ingredients like buttermilk and sour cream, as called for in this recipe, is also key to a consistently moist crumb.
White chocolate can be delicate! To make them sturdier, ensure you pipe over each line of your snowflake design at least twice, creating a thicker, more robust decoration. You can also add a tiny amount of shortening (about ½ teaspoon per cup of chips) to the white chocolate chips before melting. This can make the melted chocolate smoother and slightly more flexible once set, reducing breakage. Also, handle them gently once they are set.
Patience is key for a smooth ombre! After applying the white and blue frosting, use a long, flat icing spatula or a bench scraper. Hold it against the side of the cake, parallel to the cake board, and slowly rotate the cake while applying gentle, even pressure. Scrape the excess frosting off your tool after each full rotation. Repeat this process, gradually moving the scraper up and down slightly to blend the colors. The more you smooth, the more seamless the transition will become.
Expert Tips for Baking Success:
- Don’t Overmix the Batter: Once the flour mixture is added to the wet ingredients, mix only until they are just combined. Overmixing can cause the gluten to overdevelop, leading to a tough and crumbly cake rather than a soft and bouncy one.
- Ensure Room Temperature Ingredients: For both the cake batter and the frosting, having butter, eggs, buttermilk, and sour cream at room temperature is crucial. This allows them to emulsify properly, creating a smooth, homogenous batter and a wonderfully fluffy buttercream.
- Optional Shortening for Snowflakes: For exceptionally smooth and slightly more pliable white chocolate snowflakes, consider adding a small amount of vegetable shortening (about 1/2 teaspoon per cup of chips) to the white chocolate before you melt it. This helps with the consistency and ease of piping.
- Scrape the Bowl for Smooth Frosting: When mixing your buttercream, frequently stop the mixer and use a rubber spatula to scrape down the sides and bottom of the mixing bowl. This ensures that all ingredients are thoroughly incorporated, resulting in a perfectly smooth, lump-free frosting.
- Cool Cakes Completely: Resist the temptation to frost warm cakes! Warm cakes will melt your buttercream, leading to a messy, uneven finish. Always allow your cake layers to cool completely on a wire rack before you even think about applying frosting.
Serving Suggestions and Creative Variations
This snowflake cake is a showstopper on its own, but there are many ways to tailor it to your preferences or enhance its presentation. The ombre frosting and the white chocolate snowflakes, while central to this recipe’s charm, are entirely optional. Feel free to unleash your creativity! You can use your favorite frosting recipe if you have one, or simply adjust the decorations to suit your event.
- Color Customization: While the baby blue and white ombre is quintessential for a snowflake theme, you could opt for a solid white frosting for a pristine, minimalist winter look. Alternatively, color the entire batch of buttercream blue for a consistent “frozen” effect, or even introduce a hint of silver edible glitter to the frosting itself for extra shimmer.
- Alternative Decorations: Instead of white chocolate snowflakes, consider using edible silver dragees, pearl sprinkles, or even fresh cranberries and rosemary sprigs for a more natural, rustic winter touch. You could also pipe small rosettes or swirls on top of the cake for a different textured look. If you prefer a faster decoration, simply purchase pre-made edible snowflake toppers or white chocolate shavings.
- Flavor Enhancements: While vanilla is a beloved classic, you could infuse the cake layers with a hint of almond extract for a marzipan-like nuance, or a touch of peppermint extract for a festive, minty twist, especially if serving during Christmas. Just be mindful not to overpower the delicate white cake flavor.
- Garnish for Each Slice: When serving, a dusting of powdered sugar over each slice, a few extra sugar crystals, or a dollop of whipped cream can add another layer of elegance.
- Pairing Suggestions: This cake pairs beautifully with a warm cup of coffee, a rich hot chocolate, or a festive holiday punch. Its classic flavors make it a versatile dessert that complements a wide range of beverages.
No matter how you choose to decorate or serve it, this snowflake cake promises to be a memorable and delicious addition to your holiday festivities.
Explore More Delicious Cake Recipes
If you’ve enjoyed baking this festive snowflake cake and are looking for more delightful cake creations, we have a variety of recipes that are sure to satisfy your sweet tooth:
- Zesty Lemon Cake
- Classic Carrot Cake with Cream Cheese Frosting
- Indulgent Tiramisu Cake
- Rich Red Velvet Cake
- Sweet Pineapple Pound Cake
I love to bake and cook and share my kitchen experience with all of you! Remembering to come back each day can be tough, that’s why I offer a convenient newsletter every time a new recipe posts. Simply subscribe and start receiving your free daily recipes!
Snowflake Cake
IMPORTANT – There are often Frequently Asked Questions within the blog post that you may find helpful. Simply scroll back up to read them!
Print It
Pin It
Rate It
Save ItSaved!
Course:
Dessert, Holiday Cake
Cuisine:
American
15 servings
1094
Amanda Davis
Ingredients
For the Cake
- 4 cups all-purpose flour
- ⅓ cup cake flour
- 1 ½ Tablespoons baking powder
- 1 teaspoon baking soda
- 1 teaspoon salt
- 2 cups granulated sugar
- 1 cup salted butter at room temperature
- ⅔ cup vegetable oil
- 4 eggs PLUS 3 egg whites
- 1 ⅔ cups buttermilk
- ⅓ cup sour cream
- 2 teaspoons vanilla extract
- ½ teaspoon butter flavoring optional
For the Frosting
- 7 cups powdered sugar
- 2 ½ cups salted butter at room temperature
- 1 teaspoon vanilla extract
- ¼ teaspoon salt
- blue food coloring
For White Chocolate Snowflakes
- 2 cups white chocolate chips
- sugar crystals
Things You’ll Need
-
3 9-inch round cake pans
-
Stand mixer
-
Mixing bowls
-
Offset icing spatula
-
Piping bags or sturdy zip-top bags
-
Parchment paper or silicone baking mats
Before You Begin: Essential Tips for Success
- Do Not Overmix Cake Batter: Once the dry flour mixture is added to the wet ingredients, mix only until the flour is *just* incorporated. Overmixing can lead to excessive gluten development, resulting in a dense, tough, and crumbly cake rather than a light and tender one.
- Ensure Ingredients are at Room Temperature: For the best results in both cake and frosting, make sure all your refrigerated ingredients (butter, eggs, buttermilk, sour cream) are at room temperature. This allows for better emulsification and a smoother, more consistent batter and buttercream.
- Optional Shortening for Smooth Snowflakes: For white chocolate snowflakes that are extra smooth and slightly more resilient to breaking, consider adding a small amount (about ½ to 1 teaspoon) of vegetable shortening to the white chocolate chips before melting. This can improve the texture for piping.
- Scrape the Bowl Thoroughly for Frosting: When preparing the buttercream, it’s crucial to frequently stop the stand mixer and use a rubber spatula to scrape down the sides and bottom of the mixing bowl. This ensures that the butter and powdered sugar are fully incorporated, yielding a smooth, lump-free, and perfectly fluffy frosting.
- Cool Cakes Completely: This cannot be stressed enough – ensure your cake layers are completely cooled before attempting to frost them. Frosting warm cakes will cause the buttercream to melt and slide off, leading to a messy and frustrating experience.
- Patience with Ombre Blending: Achieving a beautiful ombre effect takes a little patience. Work slowly and gently with your icing spatula, scraping excess frosting often, to gradually blend the colors for a seamless transition.
Instructions
For the Cake Layers
-
Preheat your oven to 350°F (175°C). Line the bottoms of three 9-inch round cake pans with parchment paper and lightly spray them with baking spray. Set aside.
-
In a large mixing bowl, whisk together the all-purpose flour, cake flour, baking powder, baking soda, and salt. Set this dry mixture aside.
-
In the bowl of a stand mixer fitted with a paddle attachment, cream together the granulated sugar and softened salted butter on medium speed until smooth, light, and fluffy (about 2-3 minutes). Add the vegetable oil and mix until just combined.
-
Add the eggs (both whole eggs and egg whites) and mix for 30 seconds. Then, incorporate the buttermilk, sour cream, vanilla extract, and optional butter flavoring. Mix on medium speed until all wet ingredients are well combined.
-
Gradually add the reserved flour mixture to the wet ingredients. Mix on low speed until the flour is *just combined* and no dry streaks remain. Be careful not to overmix.
-
Evenly divide the cake batter among the 3 prepared cake pans.
-
Place the cake pans onto the center rack in the preheated oven. Bake for approximately 45 minutes, or until a toothpick inserted into the center of the cakes comes out clean or with a few moist crumbs.
-
Once baked, remove the cakes from the oven and transfer them to a wire cooling rack. Let them cool completely in the pans for about 10-15 minutes before inverting them onto the rack to cool entirely.
For the White Chocolate Snowflakes
-
To make the snowflakes, place the white chocolate chips into a heat-safe bowl. Microwave in 30-second intervals, stirring well after each, until completely melted and smooth. Let cool slightly, then transfer the melted chocolate into a plastic piping bag with a tiny corner snipped off.
-
Place a large piece of parchment paper or a silicone baking mat on your counter. Pipe various snowflake designs onto the paper. For sturdy snowflakes, go over each line of your design twice with chocolate.
-
Space the snowflakes about 5 inches apart and create them in various sizes. Immediately sprinkle sugar crystals over them before the chocolate sets. Allow them to set completely at room temperature or in the refrigerator.
To Make the Ombre Frosting
-
In the bowl of a stand mixer with a paddle attachment, combine powdered sugar, softened butter, vanilla extract, and salt. Mix on low speed until just combined and moistened.
-
Increase mixer speed to medium-high and beat for 3 minutes until the frosting is white, light, and fluffy. Remove approximately ⅓ of the frosting and place it into a separate bowl; this portion will remain white.
-
To the remaining frosting in the stand mixer, add drops of blue food coloring until your desired baby blue shade is achieved. Mix for 1 additional minute to ensure the color is fully incorporated and streak-free.
Assembly of the Snowflake Cake
-
Once the cake layers are completely cooled and snowflakes are set, carefully remove cakes from pans. Place the first cake layer onto your cake stand or serving plate.
-
Spread about 1 cup of the blue frosting evenly over the top of the first cake layer using an icing spatula.
-
Place the second cake layer on top and repeat the frosting process, this time using about 1 cup of the white frosting.
-
Top with the third cake layer. Then, frost the entire top and the upper half of the cake’s sides with the remaining white frosting. Use an icing spatula or bench scraper to achieve a smooth finish.
-
Apply the blue frosting to the bottom half of the cake’s sides. Blend the blue frosting upwards into the white frosting by gently pulling your icing spatula around the cake multiple times until a smooth, seamless ombre transition is achieved. Remember to scrape off excess frosting from your spatula as you work.
-
Once the cake is fully frosted, sprinkle additional sugar crystals over the top for extra sparkle. Gently place the white chocolate snowflakes around the sides of the cake, pressing lightly to adhere them to the buttercream.
-
To make snowflakes stand upright on top, create small slits with a knife where desired. Carefully slide one point of a snowflake into each slit to secure it. Arrange the snowflakes on top of the cake for a truly magical display.
Nutrition Information
Tried this Recipe? Pin it for Later!Follow on Pinterest @AmandasCookin or tag #AmandasCookin!
The recipes on this blog are tested with a conventional gas oven and gas stovetop. It’s important to note that some ovens, especially as they age, can cook and bake inconsistently. Using an inexpensive oven thermometer can assure you that your oven is truly heating to the proper temperature. If you use a toaster oven or countertop oven, please keep in mind that they may not distribute heat the same as a conventional full sized oven and you may need to adjust your cooking/baking times. In the case of recipes made with a pressure cooker, air fryer, slow cooker, or other appliance, a link to the appliances we use is listed within each respective recipe. For baking recipes where measurements are given by weight, please note that results may not be the same if cups are used instead, and we can’t guarantee success with that method.
