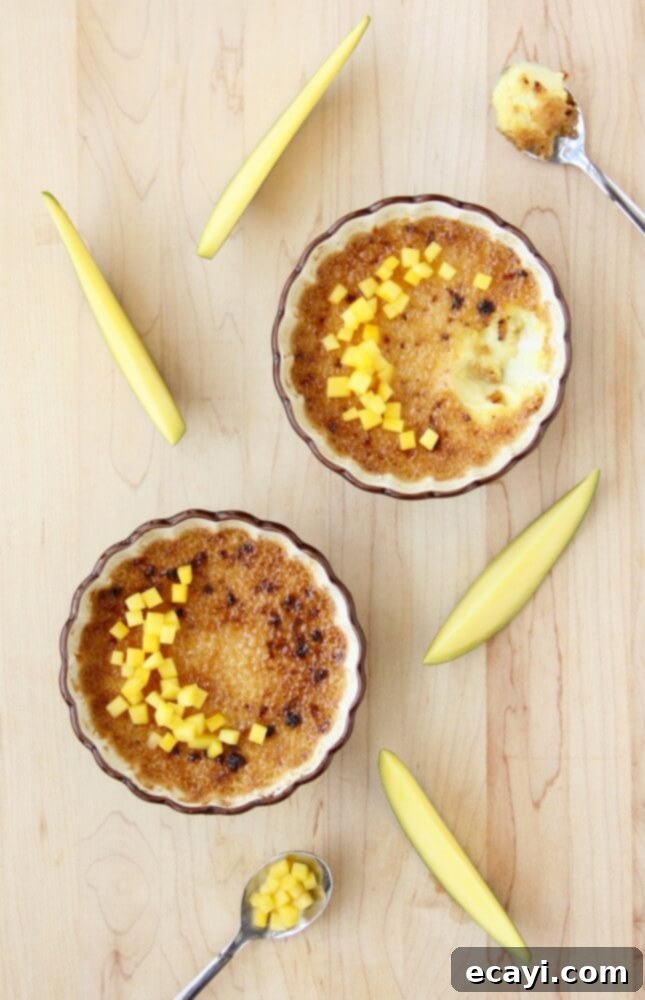
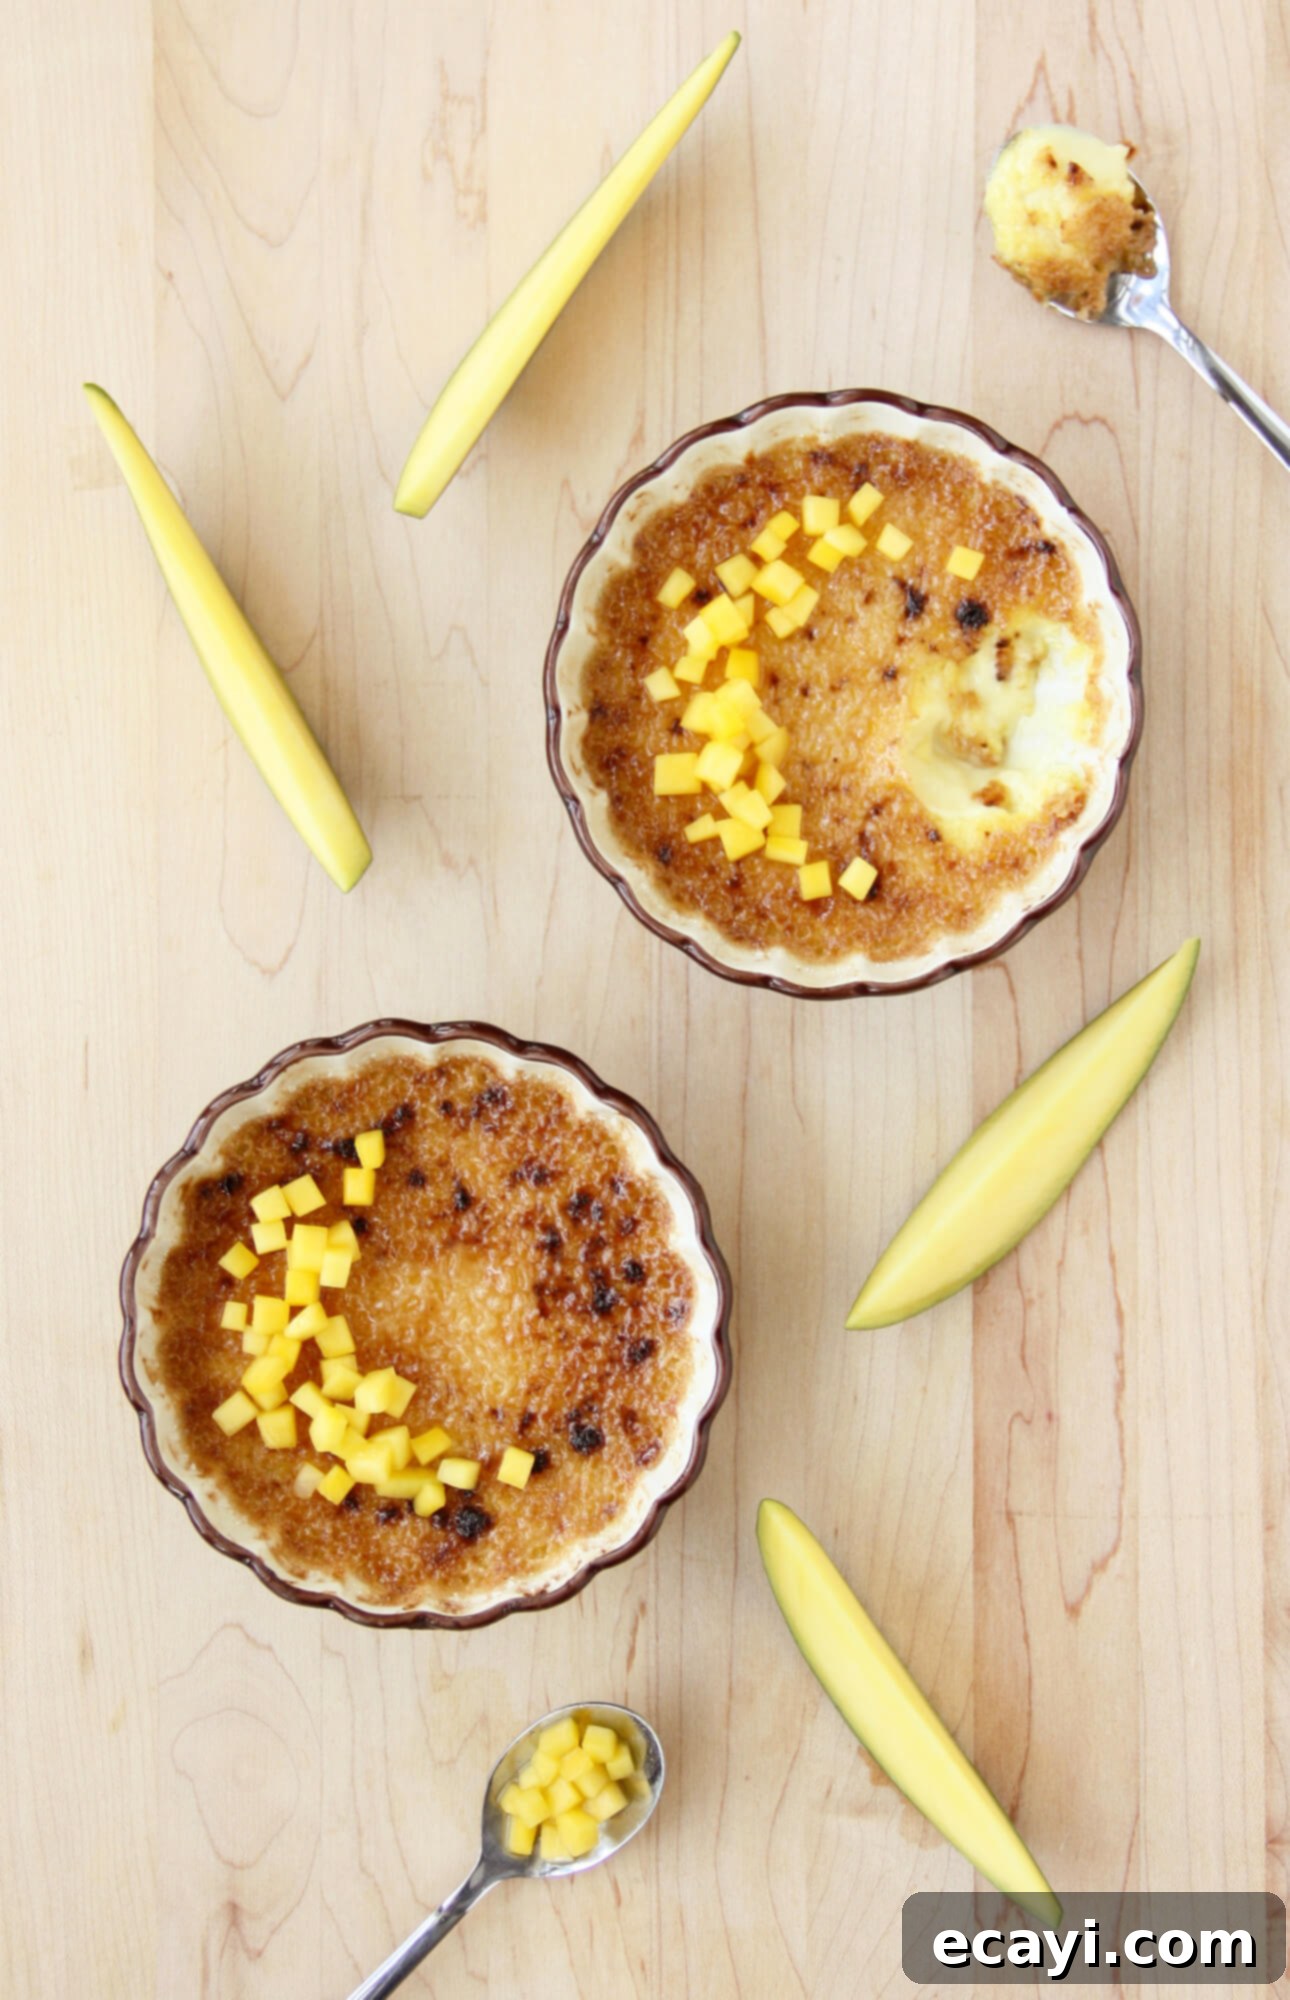
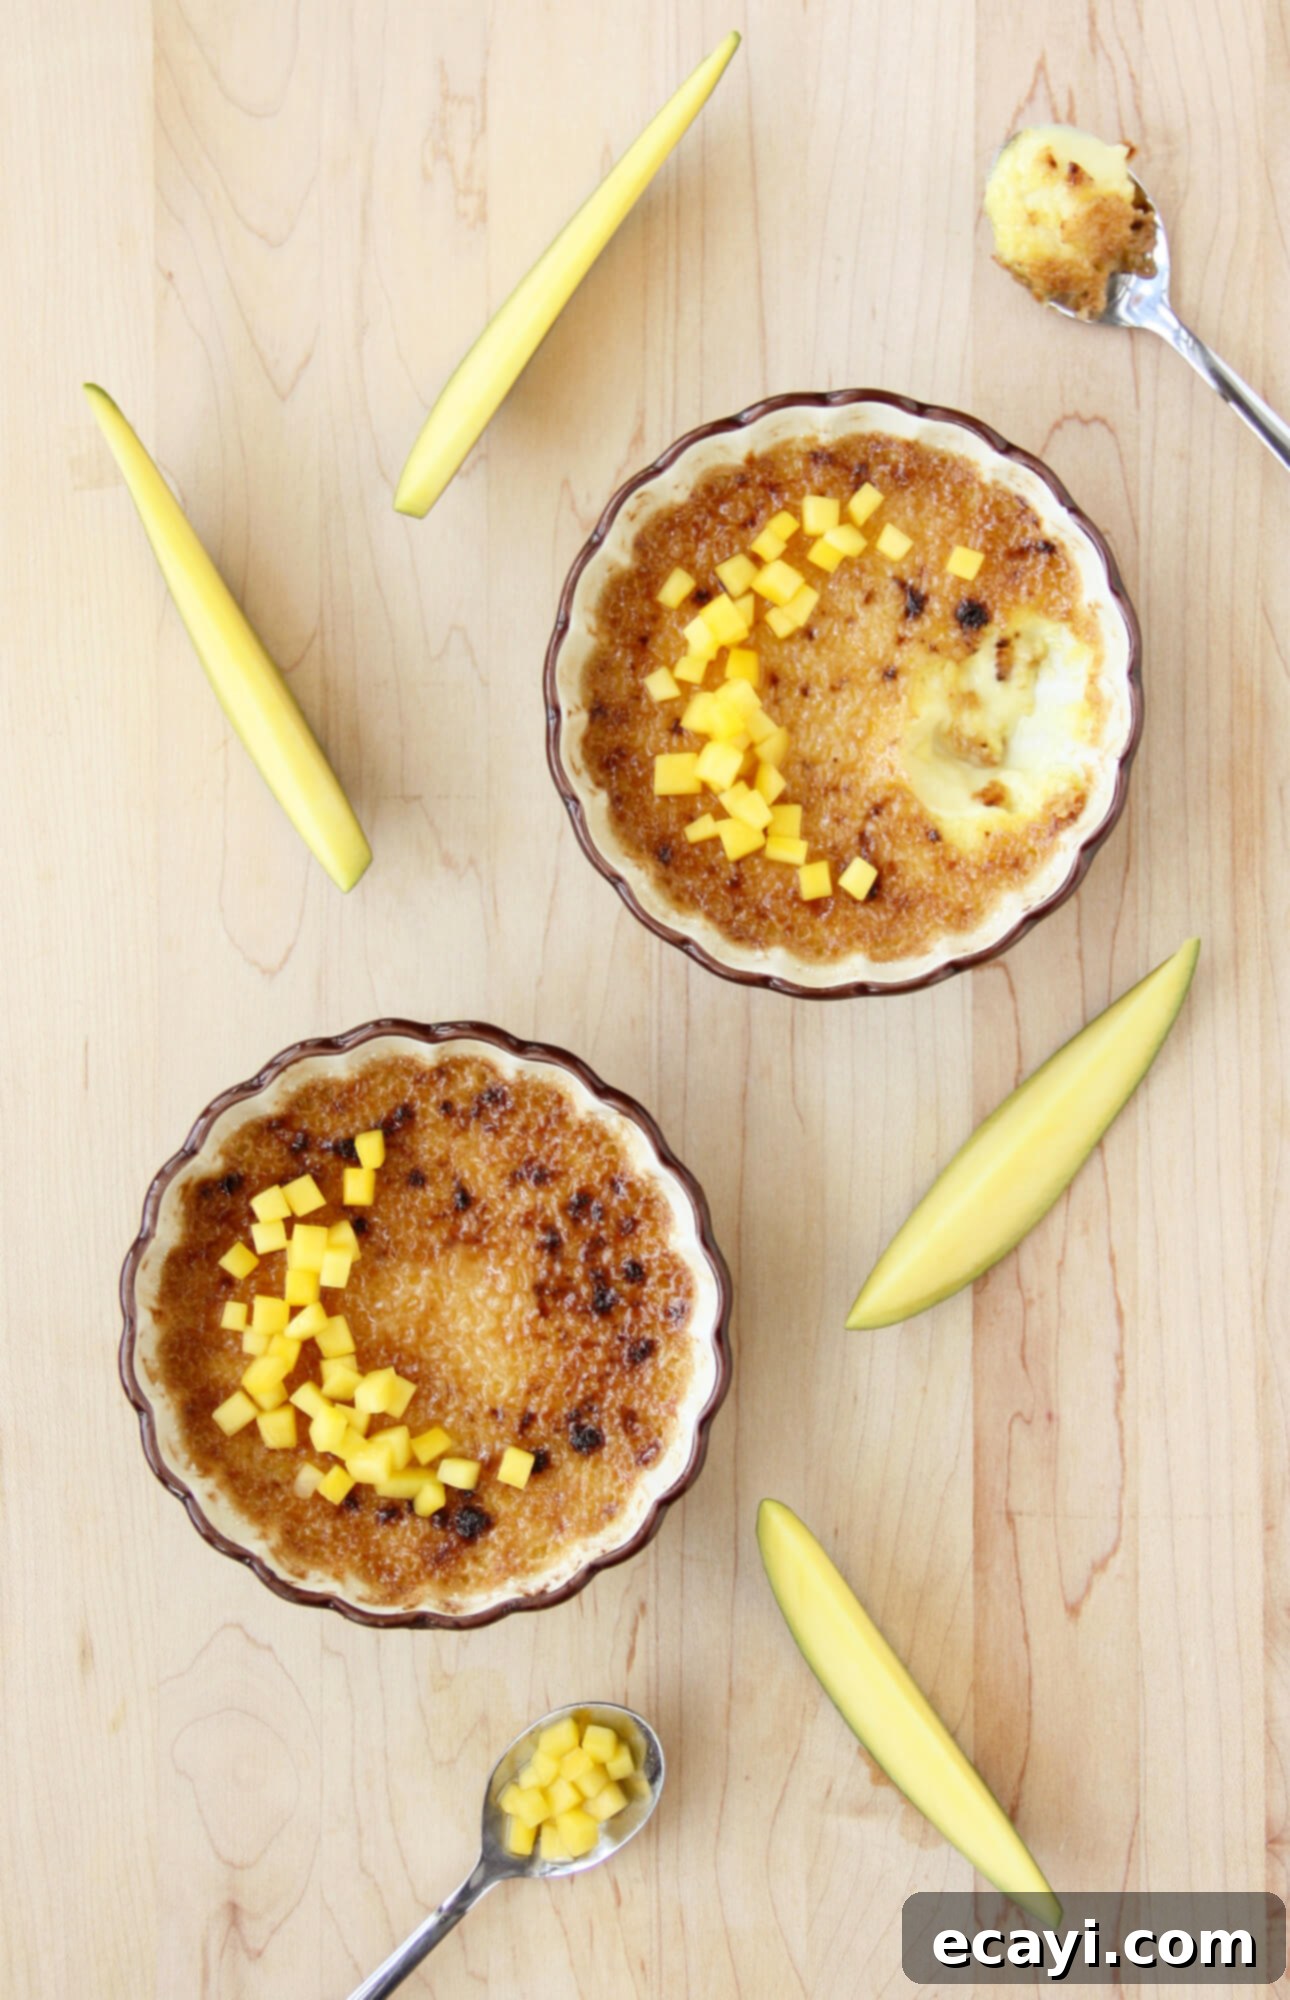
Tropical Indulgence: The Ultimate Dairy-Free Passion Fruit Mango Crème Brûlée Recipe
Crème brûlée, a classic French dessert, is renowned for its velvety smooth custard base and a signature crackly caramel topping. For centuries, it has graced dessert menus and delighted palates worldwide. Traditionally made with heavy cream and egg yolks, its rich, decadent nature might seem off-limits to those with lactose intolerance or those seeking dairy-free alternatives. But what if we told you that the dream of a luscious, creamy crème brûlée, complete with that satisfying ‘crack,’ is entirely achievable without a single drop of dairy? This innovative recipe for Passion Fruit Mango Crème Brûlée is here to prove that argument wrong, offering a tropical twist on a beloved classic.

This post contains affiliate links. Full disclosure is at the bottom of the article.
The secret ingredient in this remarkably dairy-free rendition is rich, luscious coconut cream. Far from being a mere substitute, coconut cream transforms the dessert, imbuing it with a delightful creaminess and an exotic, subtle coconut aroma that perfectly complements tropical fruits. When chilled, full-fat canned coconut milk separates, yielding a thick, solid layer of cream at the top, which becomes the star of our custard. This natural richness provides the body and mouthfeel typically associated with traditional heavy cream, ensuring your dairy-free crème brûlée maintains its luxurious texture.
This particular recipe elevates the experience further by pairing the creamy coconut custard with the vibrant flavors of passion fruit and mango. Passion fruit, with its tangy sweetness and aromatic notes, cuts through the richness of the custard, adding a bright, zesty counterpoint. Mango, on the other hand, contributes a succulent, juicy sweetness, providing delightful pockets of fruit that burst with flavor in every spoonful. The combination is nothing short of magical – a symphony of tropical tastes that transports you to an island paradise. Imagine the luscious texture, the irresistible crackly crust, and the added bonus of juicy mango pieces nestled within, a delightful surprise that will have your guests swooning. This dessert isn’t just an alternative; it’s a culinary experience in its own right, poised to become a cherished classic in your dessert repertoire.
Mastering Your Dairy-Free Crème Brûlée: Essential Tips for Perfection
Selecting the Best Ingredients
The quality of your ingredients directly impacts the final flavor of your crème brûlée. For coconut cream, opt for full-fat canned coconut milk (not ‘light’ versions) and refrigerate it overnight. This allows the thick cream to separate from the watery liquid, making it easy to scoop out the solid portion you’ll need. For passion fruit, choose fruits that feel heavy for their size and have slightly wrinkled skin, indicating ripeness and maximum juice yield. Mangoes should be ripe but firm, with a fragrant aroma near the stem. Any soft spots might indicate overripeness, which could make them mushy in the custard.
Achieving Silky Smooth Custard
The process of tempering the egg yolks is crucial for a smooth custard. When gradually pouring the hot coconut cream and passion fruit juice mixture into the beaten egg yolks and sugar, it’s vital to whisk continuously and pour in a very thin, steady stream. This gentle heating prevents the eggs from scrambling, ensuring a velvety texture. After combining, always pass the mixture through a fine-mesh sieve. This step removes any small lumps of egg that might have cooked prematurely and any passion fruit seeds or pulp, guaranteeing an impeccably smooth custard.
The Importance of a Water Bath (Bain-Marie)
Baking crème brûlée in a water bath, or bain-marie, is not an optional step; it’s essential for achieving that signature silky, even-cooked custard. The water bath creates a moist, consistent heat environment around the ramekins, preventing the edges from overcooking and becoming rubbery while the center remains raw. It ensures slow, gentle cooking, resulting in a uniformly smooth and tender texture. Make sure the water is hot but not boiling when you add it to the roasting pan, and be careful not to splash water into your ramekins.
Perfecting the Crackly Crust
Using a Kitchen Blowtorch
A kitchen blowtorch offers the most control. Sprinkle an even layer of sugar over the chilled custards. Hold the torch flame about 6 inches (15 cm) away, moving it in a continuous circular motion. As the sugar liquefies and bubbles, gradually move closer. The key is even heating; avoid lingering in one spot, which can cause burning. You’re looking for a beautiful, golden-amber caramel. The surface should be shiny and hard when tapped. Serve immediately after caramelizing for the best crackle.
Using Your Oven’s Broiler
If you don’t have a blowtorch, your oven’s broiler can also create a decent crust. Position a rack at the very top of your oven and preheat the broiler to its maximum setting. Place the chilled ramekins on a baking sheet. Here’s a pro tip: place the custards in the freezer for about 20 minutes before broiling. This extra chill helps the custard stay cold while the sugar caramelizes, preventing it from liquefying. Place the baking sheet on the top rack, keeping the oven door slightly ajar so you can constantly monitor the process. Broilers vary greatly, so watch intently! Rotate the baking sheet and even shuffle the ramekins if necessary to ensure even caramelization. As soon as the sugar turns a deep golden-amber, remove them immediately. Be sure to warn your guests that the ramekins will be extremely hot.
Serving and Storage Best Practices
For the most satisfying experience, crème brûlée should be served cool or at room temperature, with the caramel topping applied just moments before serving. If you caramelize the tops too early, the moisture from the custard will soften the sugar, and you’ll lose that delightful crackly texture. If you have leftovers, store the prepared (uncaramelized) crèmes covered with plastic wrap in the refrigerator for up to 3 days. Only caramelize individual portions right before you’re ready to enjoy them.
This dairy-free Passion Fruit Mango Crème Brûlée isn’t just an accommodation for dietary needs; it’s a triumph of flavor and texture. It delivers all the sensory pleasures of a classic crème brûlée – the silky custard, the vibrant fruit, and the satisfying crunch – without any dairy. It’s a dessert that impresses with its sophistication yet is surprisingly approachable for home cooks.
Once you master this recipe, the world of dairy-free crème brûlée variations opens up! Consider infusing the coconut cream with vanilla bean or a touch of cardamom for an aromatic twist. Experiment with other tropical fruit purees or finely diced fruits, such as pineapple, guava, or even a mix of berries. The possibilities are endless, allowing you to tailor this impressive dessert to any palate or season. Share this delightful creation with friends and family, and watch as it quickly earns a permanent spot in your culinary repertoire.
So, who says lactose-intolerant people can’t enjoy crème brûlée? This Passion Fruit Mango Crème Brûlée recipe definitively disproves that notion. It’s an invitation to indulge in a luxurious, exotic dessert that caters to various dietary needs without compromising on taste or elegance. Get ready to impress your guests and satisfy your sweet cravings with this truly exceptional dairy-free treat.

Pin Recipe
Passion Fruit Mango Creme Brulee (Dairy Free)
Ingredients
1 ripe mango, peeled and cut into small cubes
- 1¾ cups [425 ml] coconut cream the solid layer of cream scooped from refrigerated cans of coconut milk
- ¼ cup [60 ml] passion fruit juice from about 3 passion fruits
- 5 egg yolks
- ¼ cup [60 ml] sugar
For the brûlée crust
- ½ cup [125 ml] sugar
Instructions
-
Preheat oven to 300°F [140°C]. Set a large roasting pan, or a baking pan with high sides, close to the oven, and place 6 ¾-cup [175-ml] capacity ramekins or small bowls into the pan. Divide the mango cubes between the ramekins. Bring a water kettle to a boil and keep warm.
-
In a saucepan, bring the coconut cream and passion fruit juice to a simmer. Remove from the heat. In a mixing bowl, beat the egg yolks and sugar together until well combined and the mixture is pale yellow. While constantly whisking, gradually pour the hot coconut cream mixture in a thin stream into the egg mixture. Important note: It’s essential to very slowly pour the hot liquid into the eggs to avoid curdling them. Pass the mixture through a sieve and into a measuring cup.
-
Pour an inch [2 cm] of hot water from the kettle into the roasting pan, around the ramekins. Carefully pour the custard over the mango cubes in the prepared ramekins, dividing it equally. Transfer the roasting pan to the oven, making sure to remain steady so the water doesn’t splash into the ramekins. Bake for 35 minutes or until the crèmes are set around the edges but still a bit jiggly in the center (they will set completely during the cooling process.) Transfer the ramekins to a wire rack (be careful not to burn yourself with the hot water) and let cool to room temperature. Cover with plastic wrap and refrigerate at least 3 hours, or overnight.
-
SERVING
-
Right before serving, sprinkle a generous tablespoonful of sugar over each crème, shaking and swirling the ramekins to spread the sugar layer evenly. The sugar must form a thin, even layer all over the crèmes.
-
Blowtorch technique: If you’re using a kitchen blowtorch to caramelize the sugar, start with the flame about 6 in [15 cm] away from the surface, constantly moving your hand in a circle over the ramekins. Gradually move closer to the sugar as you start seeing the sugar liquefy. Make sure not to remain in a single spot for too long so you don’t burn the surface. The crackly surface is done when it’s shiny and a lovely golden caramel color. Repeat for all servings. Serve immediately.
-
Broiler technique: Place a rack at the top position in your oven and preheat the broiler to maximum heat (or turn on the broiler flame if you have a gas stove.) Set the ramekins on a baking sheet and place on the top rack, keeping the oven half open so you can carefully watch over the caramelization of the crust. Because broilers vary in strength and size, you should rotate the baking sheet at least once during the process and even shuffle the ramekins so the crusts caramelize evenly. Remove from the oven and serve immediately, advising your guests that the ramekins are extremely hot.
-
STORAGE
-
You can serve prepared crèmes covered with plastic wrap in the refrigerator for up to 3 days. Make sure only to caramelize the tops right before serving, or it will soften and loose that lovely crackly quality.
-
CLEVER TIP
-
It’s important that the crèmes be served cool or at room temperature. The caramelization process will warm up the crèmes and even liquefy them if they’re heated for too long. If you’re using a blowtorch, make sure to caramelize the crèmes right as they come out of the refrigerator. If using a broiler, place the crèmes in the freezer 20 minutes before caramelizing so they remain at the right temperature and consistency.
Did you make this?
Tell me how you liked it! Leave a comment or take a picture and tag it with @foodnouveau on Instagram.
Disclosure Notice: This site is a participant in the Amazon Associates Program, an affiliate advertising program designed to provide a means for the site to earn fees by linking to Amazon and affiliated sites.
If you click on an affiliate link, I may earn advertising or referral fees if you make a purchase through such links, at no extra cost to you. This helps me creating new content for the blog–so thank you! Learn more about advertising on this site by reading my Disclosure Policy.
