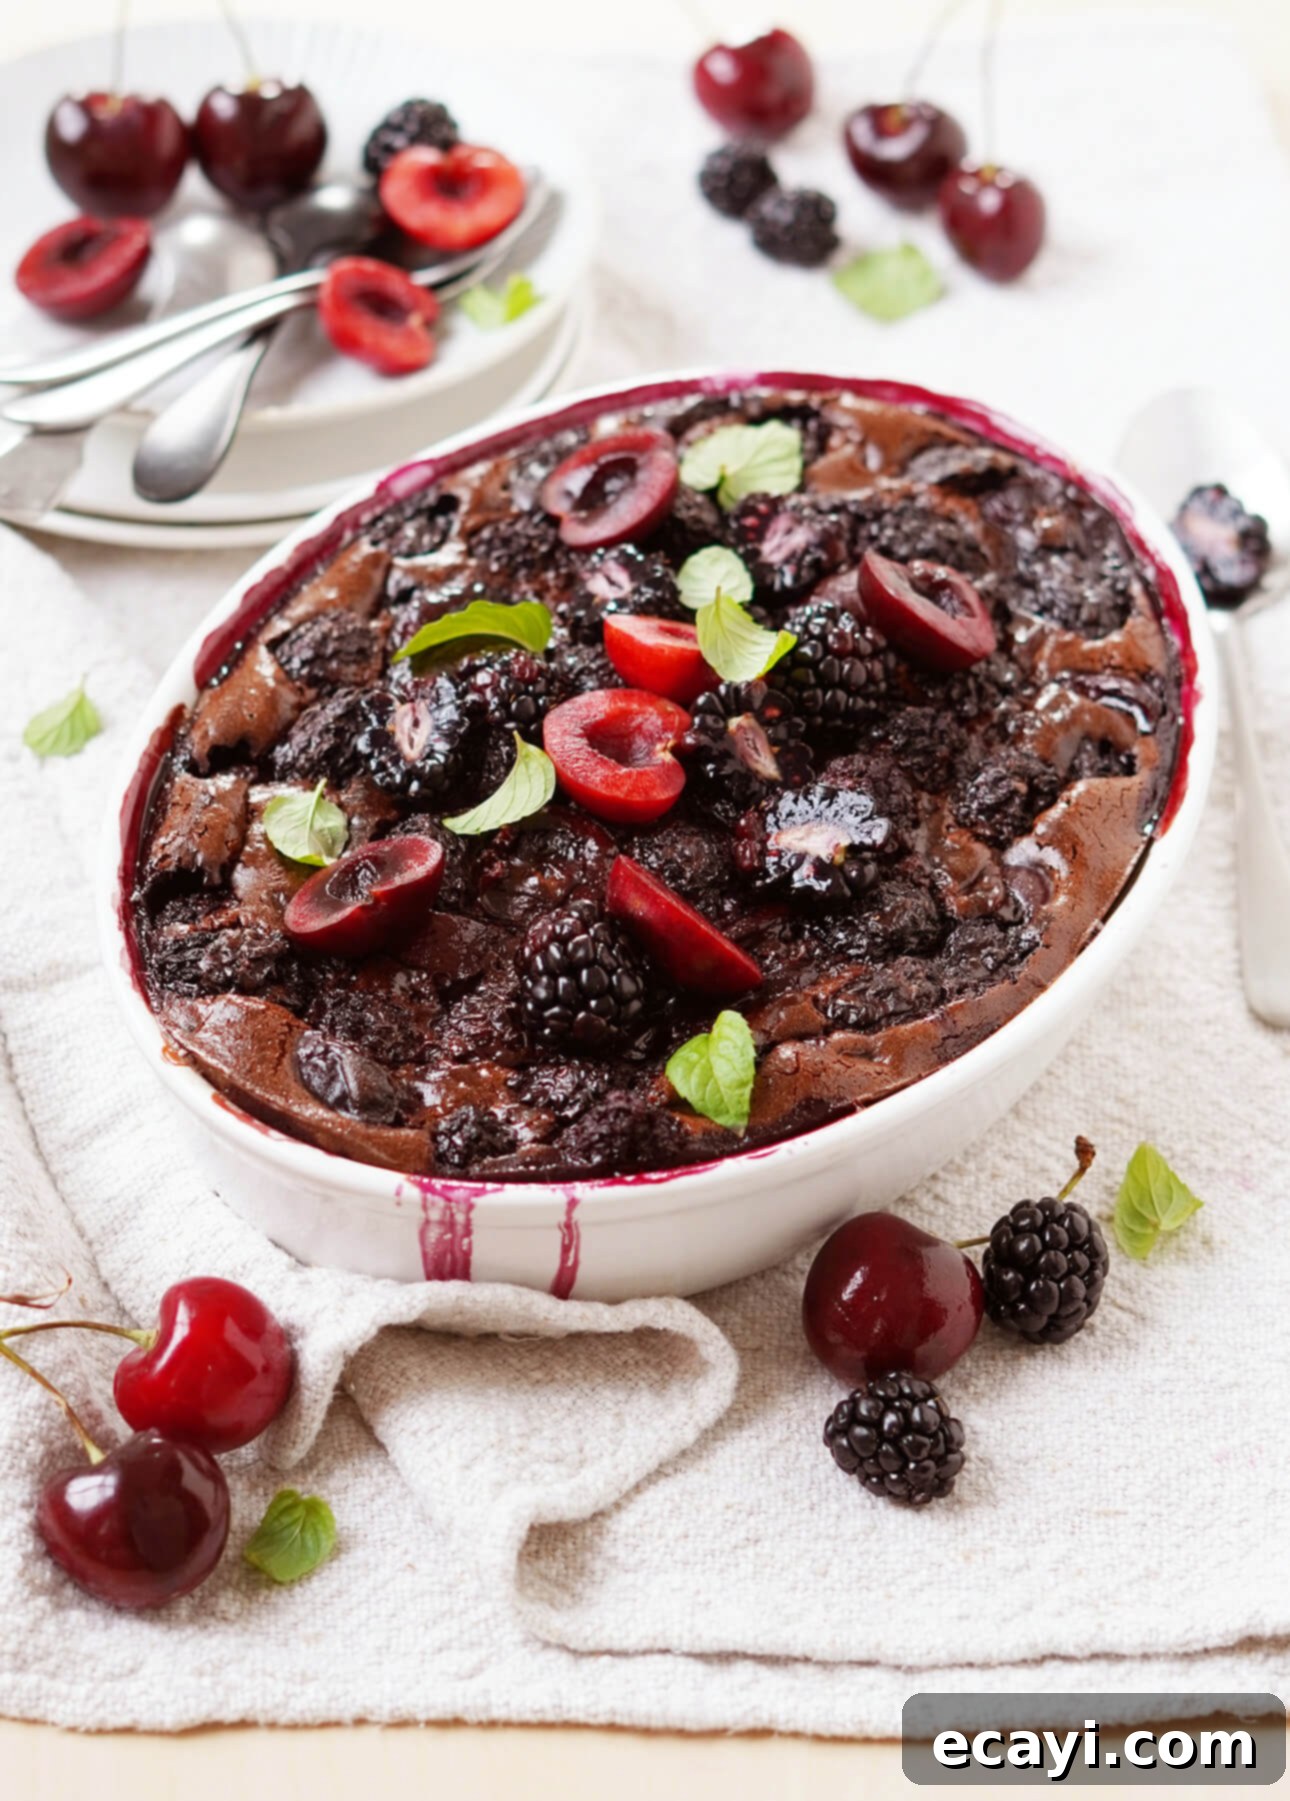
Indulgent Chocolate Clafoutis with Fresh Blackberries and Cherries: An Easy French Dessert Recipe
There’s a special magic in French desserts, and few capture it quite as effortlessly as the clafoutis. This traditional French dessert, hailing from the Limousin region, is celebrated for its uniquely creamy, custard-like texture and its delightful simplicity. Our take on this classic elevates it further by combining the signature flan-like consistency with a decadent chocolate flavor, perfectly complemented by the juicy sweetness of seasonal blackberries and cherries.
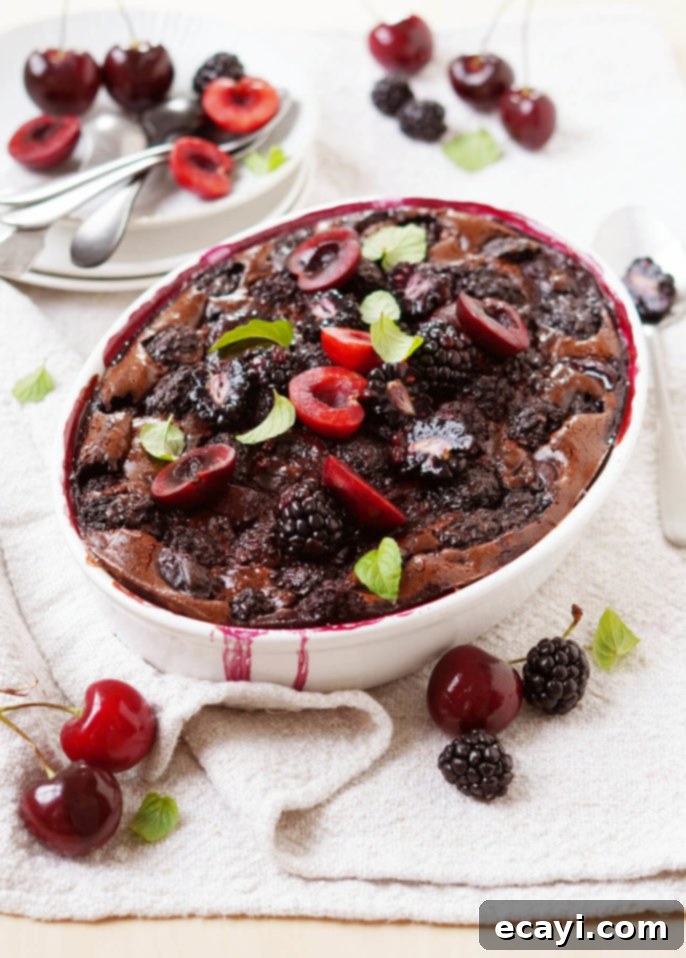
Imagine a dessert that’s rich enough to feel luxurious but simple enough to whip up on a whim. This chocolate clafoutis sits comfortably in that sweet spot, offering a harmonious blend of creamy baked custard, vibrant fruit, and deep chocolate notes. It’s a versatile dish that beautifully showcases the bounty of summer fruits, transforming them into an unforgettable culinary experience.
This post contains affiliate links. Full disclosure is at the bottom of the article.
Embracing the Sweetness of Cherry Season with a French Twist
Cherry season, a fleeting moment of pure summer delight, is a time my family eagerly anticipates each year. Those succulent, deep red gems are not only delicious for snacking but also transform wonderfully when baked. Their firm texture holds up beautifully under heat, and their natural sugars caramelize, intensifying their already captivating flavor. While we happily devour bags of fresh cherries, I find immense joy in incorporating them into exquisite desserts like this clafoutis.
Clafoutis, pronounced “kla-foo-tee,” is a quintessential summer dessert, historically made with black cherries. The name itself, believed to derive from the Occitan word “clafotis” (from “clafir,” meaning “to fill”), perfectly describes the process of filling a dish with fruit and pouring batter over it. The beauty of clafoutis lies in its deceptive simplicity. It involves baking fresh fruit in a thick, rich batter that, during its time in the oven, transforms into a luxurious, custardy texture, reminiscent of a flan or a very tender pudding. Traditionally, clafoutis is served warm, often dusted with a cloud of powdered sugar or adorned with a generous dollop of heavy or whipped cream.
While the classic recipe calls exclusively for cherries, the versatility of clafoutis allows for exciting variations with other summer berries. I’m particularly fond of combining cherries with blackberries. The cherries contribute a delightful bite and their signature deep flavor, while the blackberries introduce an extra burst of juiciness and a slightly tart counterpoint. This pairing is further elevated by the inclusion of chocolate, creating a symphony of flavors that is truly irresistible. This unique chocolate clafoutis strikes a perfect balance, sitting somewhere between the comforting richness of a baked pudding and the rustic charm of a summer fruit cobbler. Serve it warm with a swirl of freshly whipped cream or a scoop of vanilla bean gelato, and prepare for a dessert experience that will transport you straight to cloud nine.
Effortless Cherry Pitting: Tips for a Smoother Clafoutis Experience
Traditional French clafoutis recipes often suggest using whole cherries, pits and all, claiming they contribute to the flavor. However, I believe that wrestling with pits in every spoonful can detract from the pure enjoyment of this delightful dessert. Moreover, for families with young children, whole pitted cherries pose a potential choking hazard. For these reasons, I always recommend pitting your cherries before baking them into a clafoutis.
If you’re a devoted cherry lover, a dedicated cherry pitter is an invaluable gadget. This handy tool allows you to prepare a large batch of cherries in mere minutes, making it a worthwhile investment. But don’t worry if you don’t own one! You can still enjoy a homemade clafoutis without spending endless hours on pitting. There are several clever techniques to get those pesky pits out efficiently:
- The Pastry Tip Method: To pit cherries without a pitter, simply stand a round pastry tip (the kind used for decorating cakes) on a stable working surface, with the narrow opening facing up. Position a cherry, stem side down, over the opening, and firmly push the cherry down onto the tip. The pit will be cleanly ejected from the bottom.
- The Chopstick Technique: A sturdy chopstick can also be your ally in pitting. Place a cherry on a cutting board, find the stem end, and use the blunt end of a chopstick to push through the cherry, forcing the pit out the other side. This method is surprisingly effective for processing many cherries quickly.
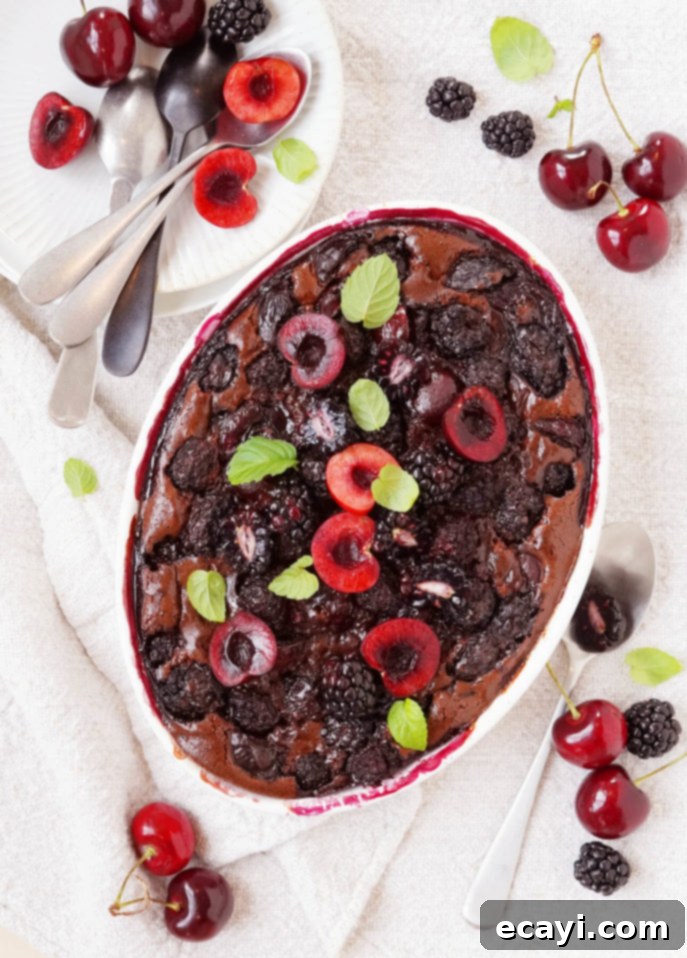
- For Neat Halves and Garnish: If you’re looking for a more elegant presentation, or if you plan to use some cherry halves for garnish, the knife method is ideal. Run a sharp paring knife around the circumference of each cherry, as you would with an avocado. Twist both sides of the cherry in opposite directions to separate them. Then, carefully use the tip of the knife or your fingers to remove the pit. These beautifully halved cherries are perfect for decorating your chocolate clafoutis before serving, adding a fresh burst of color and flavor.
Regardless of the method you choose, taking the time to pit your cherries will ensure every bite of your clafoutis is a smooth, enjoyable experience.
Mastering Your Chocolate Clafoutis: Essential Tips for Success
Crafting the perfect chocolate clafoutis is simpler than you might think. With a few expert tips, you can ensure a flawless, delicious dessert every time. From selecting your fruits to achieving that ideal custardy texture, these insights will guide you to clafoutis perfection.
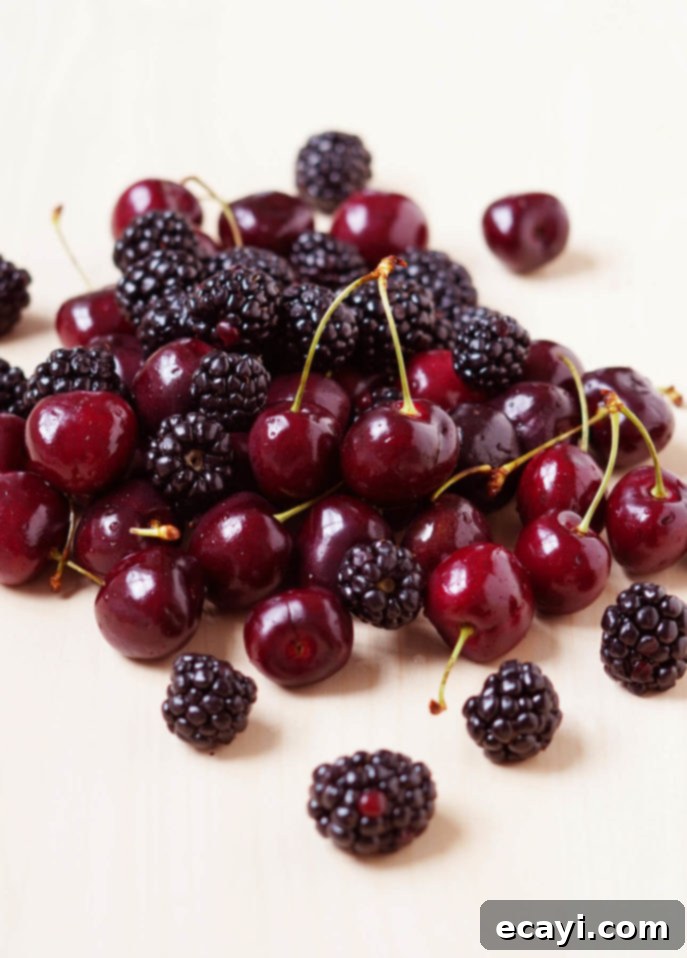
- Embrace Berry Versatility: While this recipe beautifully highlights the combination of cherries and blackberries, don’t hesitate to experiment with other seasonal fruits.
- All Cherries: For a purely traditional (but chocolate-infused) clafoutis, simply use the specified quantity of cherries and omit the blackberries.
- Other Combinations: This chocolate clafoutis would be equally delightful with a mix of cherries and raspberries, offering a brighter, tangier note. Blueberries provide a sweeter, softer burst of fruit, while halved strawberries add a lovely texture and aroma. Feel free to use your favorite summer berries, adjusting quantities as desired. The key is to use fresh, ripe fruit for the best flavor.
- Don’t Be Intimidated by the Batter: Making clafoutis batter is remarkably similar to preparing pancake or crêpe batter – it’s straightforward and forgiving. The goal is a smooth, lump-free mixture.
- Mixing Equipment: You can easily achieve this using a stand mixer, a hand mixer, or even a blender. Start by whisking the eggs and sugar until they are light, pale, and frothy. This aeration is key to a lighter texture.
- Dry Ingredients: Gently fold in your sifted dry ingredients (flour, cocoa powder, cornstarch). Sifting prevents lumps and ensures even distribution.
- Liquids and Fat: Incorporate the milk, and finally, slowly pour in your melted butter and chocolate mixture while continuously whisking. This gradual addition ensures everything is perfectly emulsified without overworking the batter. Overmixing can develop gluten, leading to a tougher clafoutis, so mix until just combined.
- Choosing Your Baking Dish: A 4- to 5-cup capacity baking dish, such as a ceramic gratin dish, a glass pie plate, or even a cast-iron skillet, works perfectly. Ensure you butter the dish generously to prevent sticking and promote a beautiful golden crust. The parchment-lined baking sheet beneath catches any potential spills and makes cleanup a breeze.
- Individual Servings for Elegance: For an elegant presentation, divide the fruit and batter among six small ramekins (about 4-ounce capacity) to create individual chocolate clafoutis. This is perfect for dinner parties or portion control. When baking in ramekins, adjust the baking time to approximately 20 to 25 minutes, or until puffed and set.
- The Art of Baking & Doneness: Preheat your oven thoroughly. A consistent oven temperature is vital for the clafoutis to cook evenly and develop its signature custardy texture. Bake until the clafoutis is beautifully puffed around the edges and set in the center. A toothpick inserted into the center should come out clean with fruit juice, but without traces of raw liquid batter. Be careful not to overbake, as this can result in a drier, more rubbery texture rather than the desired creamy consistency.
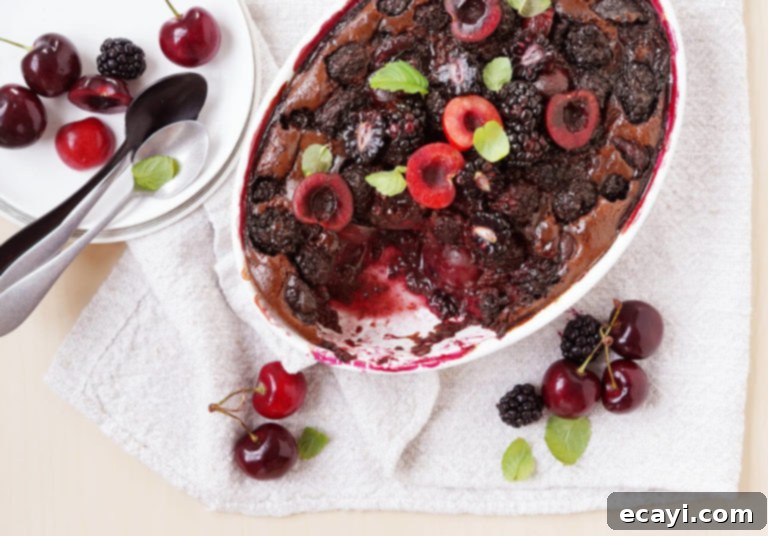
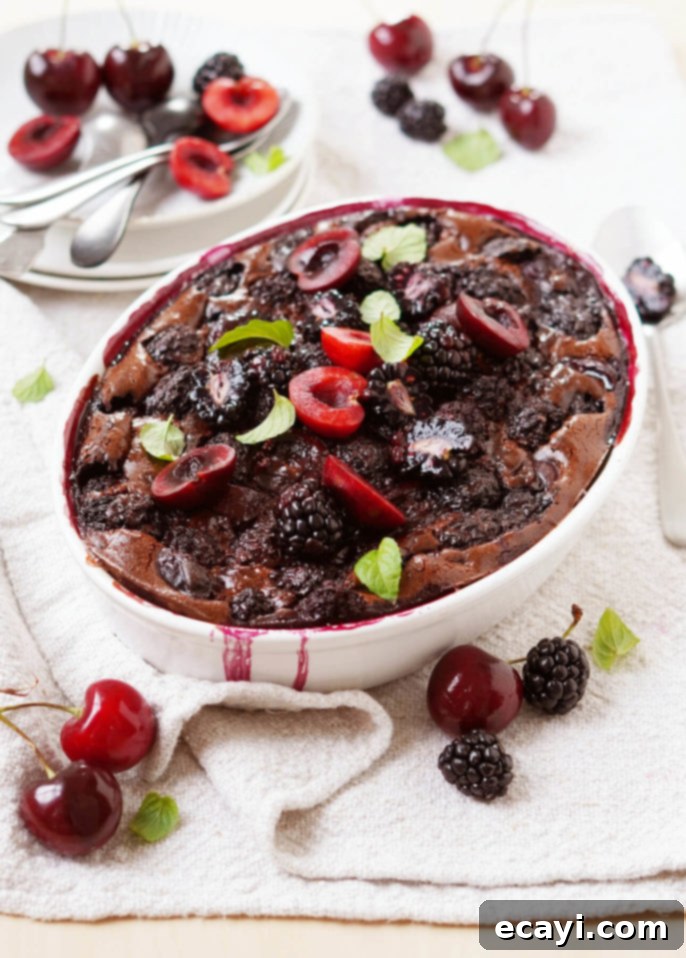
- Cooling and Serving Perfection: While clafoutis is best served warm, allowing it to rest for 10-15 minutes after baking lets the custard fully set and the flavors meld. Don’t be alarmed if it deflates slightly; this is natural. It’s truly a delight served on its own, but a dollop of fresh whipped cream or a scoop of homemade vanilla bean gelato provides a luxurious contrast in temperature and texture. For an extra touch, garnish with a few more fresh blackberries and elegantly halved pitted cherries before serving.
- Storage and Reheating: Leftover clafoutis can be stored, covered, in the refrigerator for up to 2-3 days. While best fresh, it can be gently reheated in a low oven or microwave until just warm.
With these tips, you’re well on your way to creating a sensational chocolate clafoutis that will impress and delight. Enjoy the process of baking this classic French dessert with a modern, chocolatey twist!
Pin Recipe
Decadent Blackberry, Cherry, and Chocolate Clafoutis
Ingredients
- 6 oz (approximately 375 g) fresh cherries, halved and pitted
- 6 oz (approximately 375 g) fresh blackberries
- 2 oz (approximately 125 g) dark chocolate (at least 60% cocoa), finely chopped
- 1/4 cup (60 ml) unsalted butter, melted
- 2 tbsp (30 ml) all-purpose flour
- 1 tbsp (15 ml) dark cocoa powder (also known as Dutch-processed cocoa, such as Valrhona for rich flavor)
- 1 tbsp (15 ml) cornstarch
- 2 large eggs
- 3 tbsp (45 ml) granulated sugar
- 1/3 cup (80 ml) whole milk
- To Serve:
- Additional fresh blackberries and cherries to garnish (optional, but highly recommended for visual appeal)
- Freshly whipped cream or a scoop of vanilla bean gelato (for the ultimate indulgence)
Instructions
-
Preheat your oven to 350°F (175°C). Ensure the oven is fully preheated for consistent baking.
-
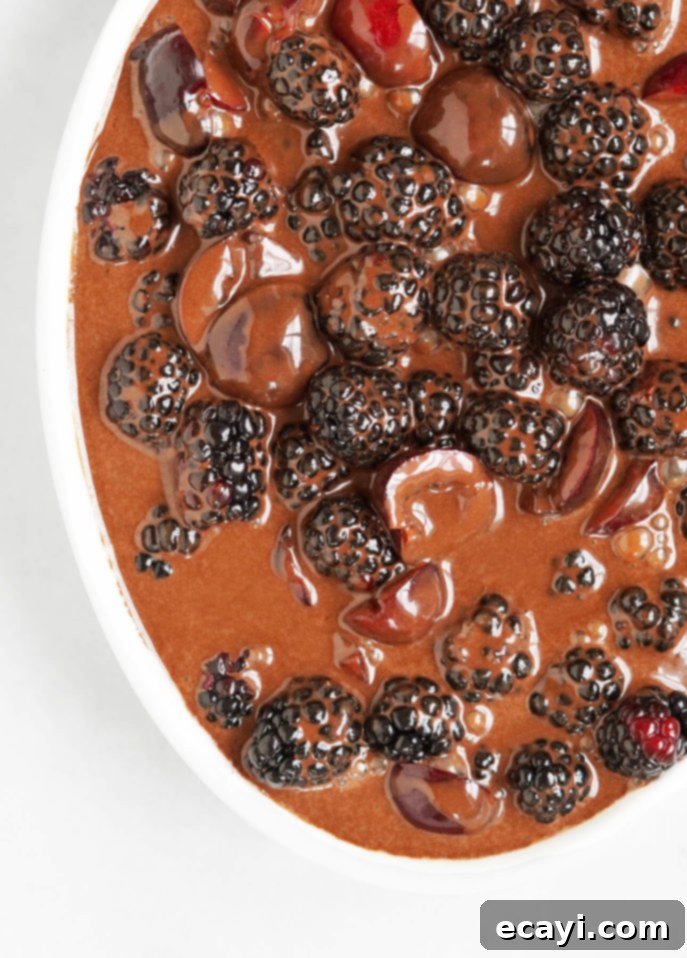
Generously butter a 4- to 5-cup capacity baking dish. This prevents sticking and contributes to a lovely crust. Place the buttered dish on a baking sheet lined with parchment paper to catch any potential drips. Add the pitted cherries and fresh blackberries to the dish and gently toss to distribute them evenly. Set aside.
-
In a double-boiler set over simmering water, or carefully in the microwave at a low heat setting, melt the chopped dark chocolate and butter together. Whisk until the mixture is completely smooth and uniform. Set this aside to cool slightly while you prepare the rest of the batter.
-
In a separate small bowl, sift together the all-purpose flour, dark cocoa powder, and cornstarch. Sifting helps prevent lumps in your batter. Set this dry mixture aside.
-
Using a stand mixer fitted with a whisk attachment or a hand mixer, beat the eggs with the granulated sugar until the mixture becomes wonderfully creamy, pale in color, and slightly thickened, which usually takes about 4 minutes. Add the sifted flour and cocoa mixture to the egg mixture and mix on low speed until just fully incorporated. Pour in the milk and whisk until combined. Finally, slowly stream in the cooled chocolate and butter mixture while continuing to whisk gently. Mix until everything is thoroughly combined into a smooth, luscious batter. Avoid overmixing to maintain a tender texture.
-
Carefully pour the rich chocolate batter over the fruits in your prepared baking dish. Transfer the baking dish to the preheated oven and bake for approximately 45 minutes. The clafoutis is done when it’s beautifully puffed around the edges and set in the center. A toothpick inserted into the center should come out with some berry juice but no traces of liquid chocolate batter. Be diligent not to overbake, as this can result in a less creamy, slightly drier clafoutis.
-
Once baked, remove the clafoutis from the oven and let it rest for 10-15 minutes before serving. If desired, enhance its visual appeal by garnishing with additional fresh blackberries and neatly halved pitted cherries. Serve warm or at room temperature, accompanied by a generous spoonful of freshly whipped cream or a decadent scoop of vanilla bean gelato for the ultimate dessert experience.
-
Recipe adapted from Béatrice Peltre, La Tartine Gourmande
Did you make this?
Tell me how you liked it! Leave a comment or take a picture and tag it with @foodnouveau on Instagram.
This site is a participant in the Amazon Associates Program, an affiliate advertising program designed to provide a means for the site to earn fees by linking to Amazon and affiliated sites.
If you click on an affiliate link, I may earn advertising or referral fees if you make a purchase through such links, at no extra cost to you. This helps me creating new content for the blog–so thank you! Learn more about advertising on this site by reading my Disclosure Policy.
