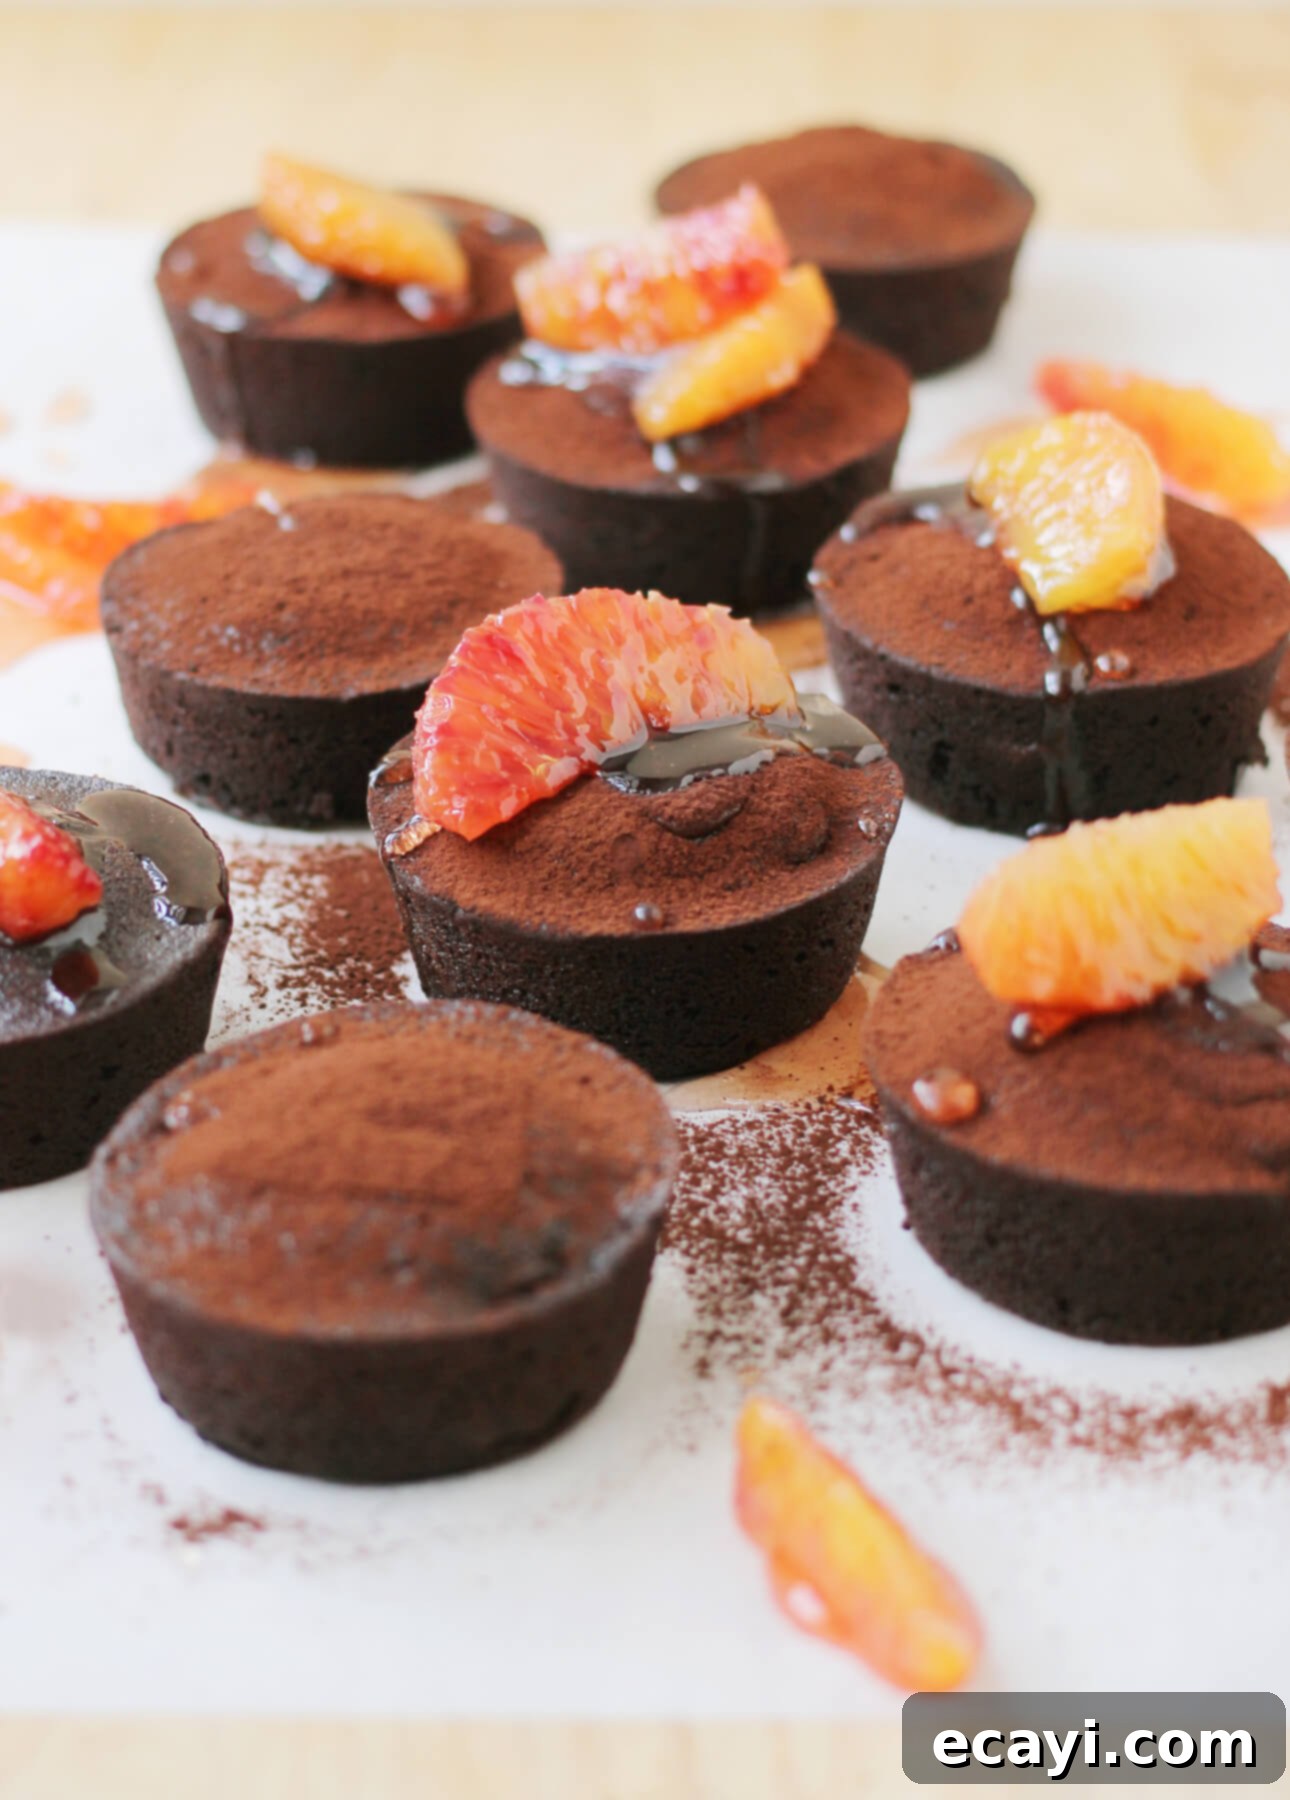
Decadent Blood Orange Dark Chocolate Fondant Cakes: A Seasonal Indulgence
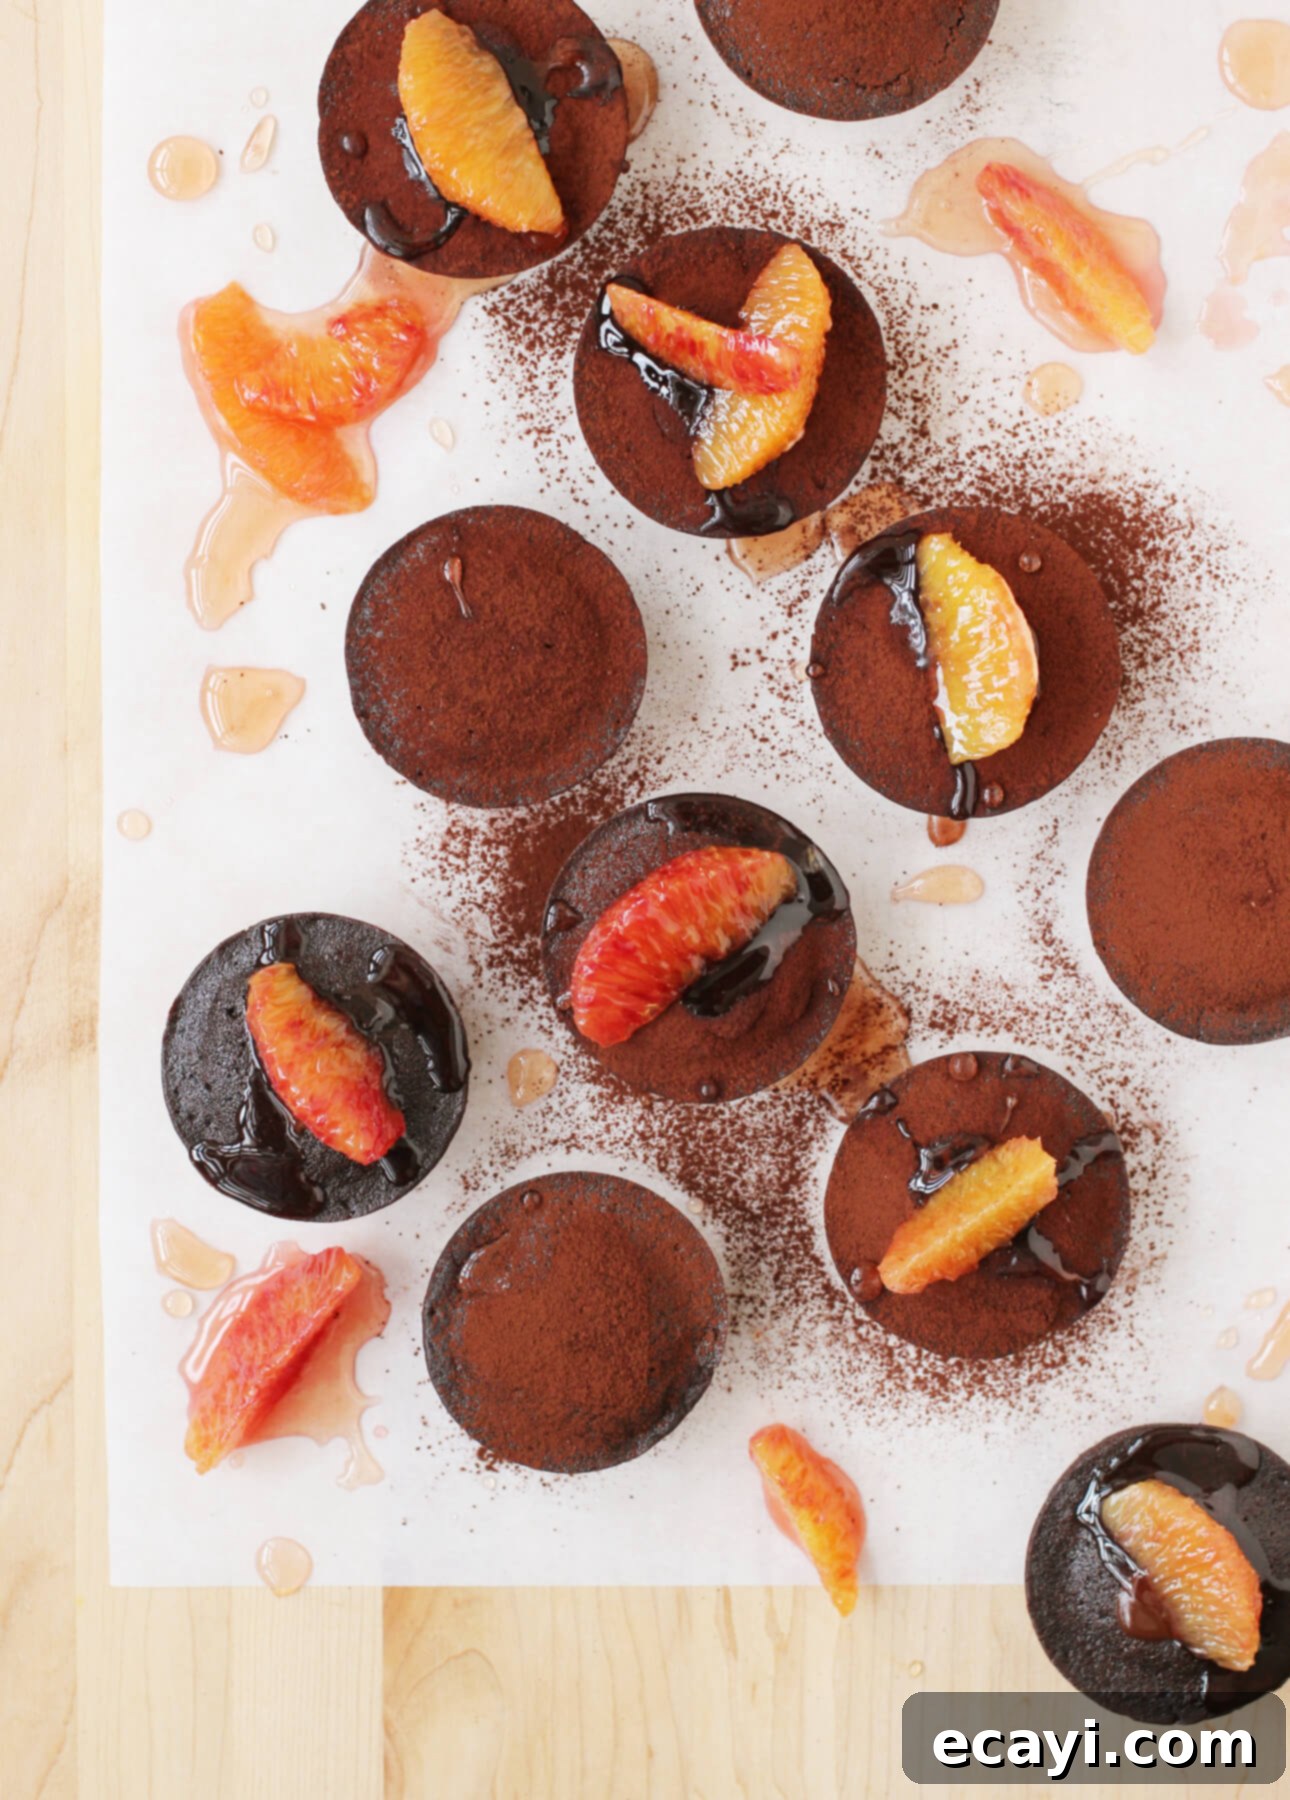
Delve into a world of rich, intense flavor with these exquisite dark chocolate fondant cakes, elevated by the vibrant, slightly tart essence of seasonal blood oranges. This dessert is not just a treat for the palate; it’s a feast for the eyes, combining the luxurious depth of dark chocolate with the jewel-toned beauty and zesty punch of blood oranges to create an unforgettable culinary experience.
This post contains affiliate links. Full disclosure is at the bottom of the article.
Embracing the Blood Orange Season: A Winter Citrus Delight
Have you had the pleasure of enjoying blood orange season yet? From the crisp days of December through the blossoming months of March or April, depending on your region, blood oranges emerge as an irresistible culinary invitation. Their allure lies in their breathtaking, jewel-like ruby flesh, a visual spectacle that promises a unique flavor journey. While their taste is often described as slightly more acidic than common oranges – especially the vibrant Moro variety – they are remarkably versatile and can be enjoyed in any way you would savor a regular orange. However, it’s their distinct character that truly makes them shine in special creations like these fondant cakes.
The Science Behind the Crimson Hue: Anthocyanins Revealed
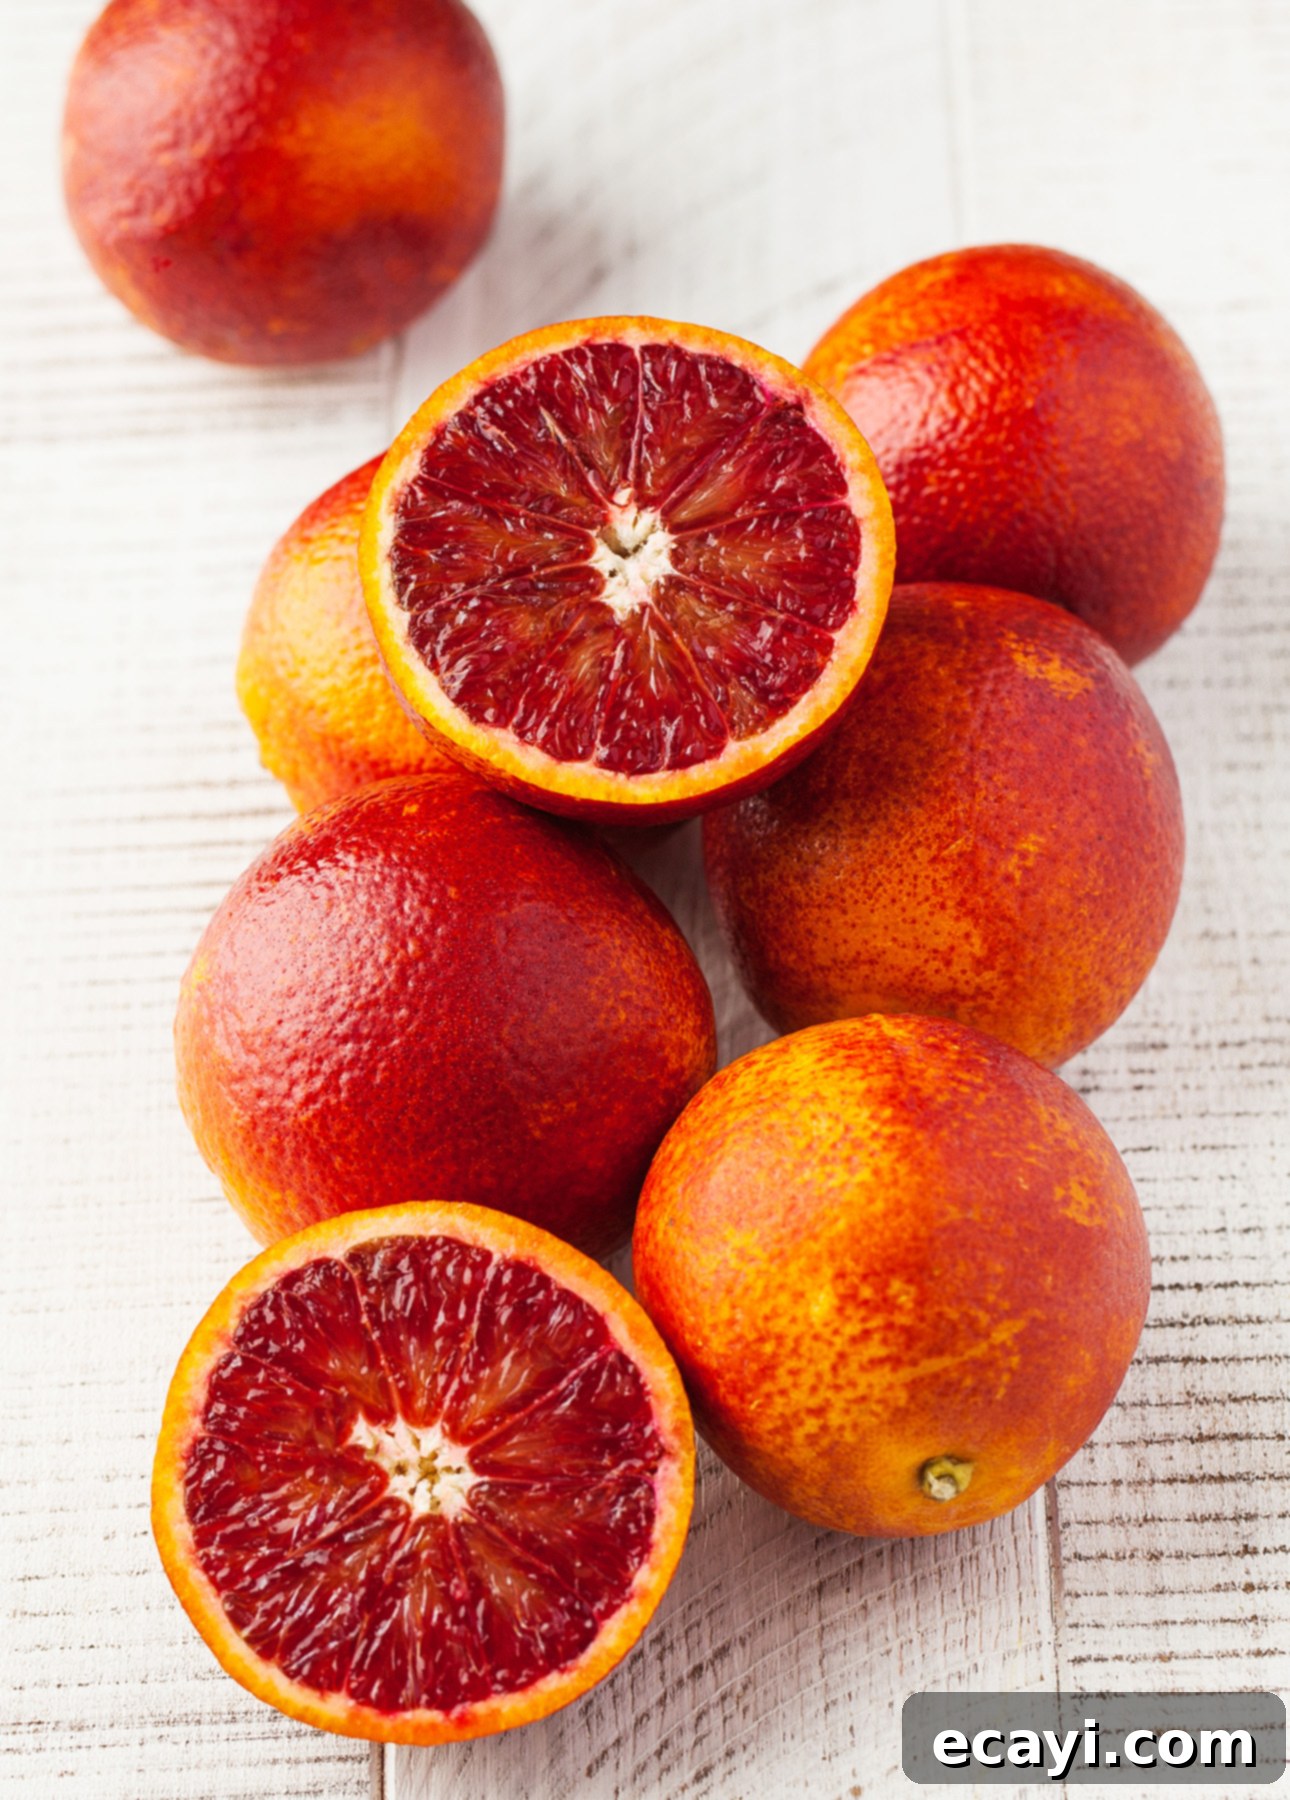
Ever wondered what gives blood oranges their striking red interior? It’s all thanks to powerful antioxidants! Blood oranges are rich in anthocyanin, a natural pigment that vividly develops as the fruit ripens during periods of warm days followed by cool nights. This fascinating compound is responsible for a spectrum of colors in nature, from the deep indigo of blueberries to the rich violet of eggplants, and, of course, the signature ruby red, crimson, or even burgundy tones found within blood oranges. It’s a delightful example of nature’s artistry, hidden just beneath the surface.
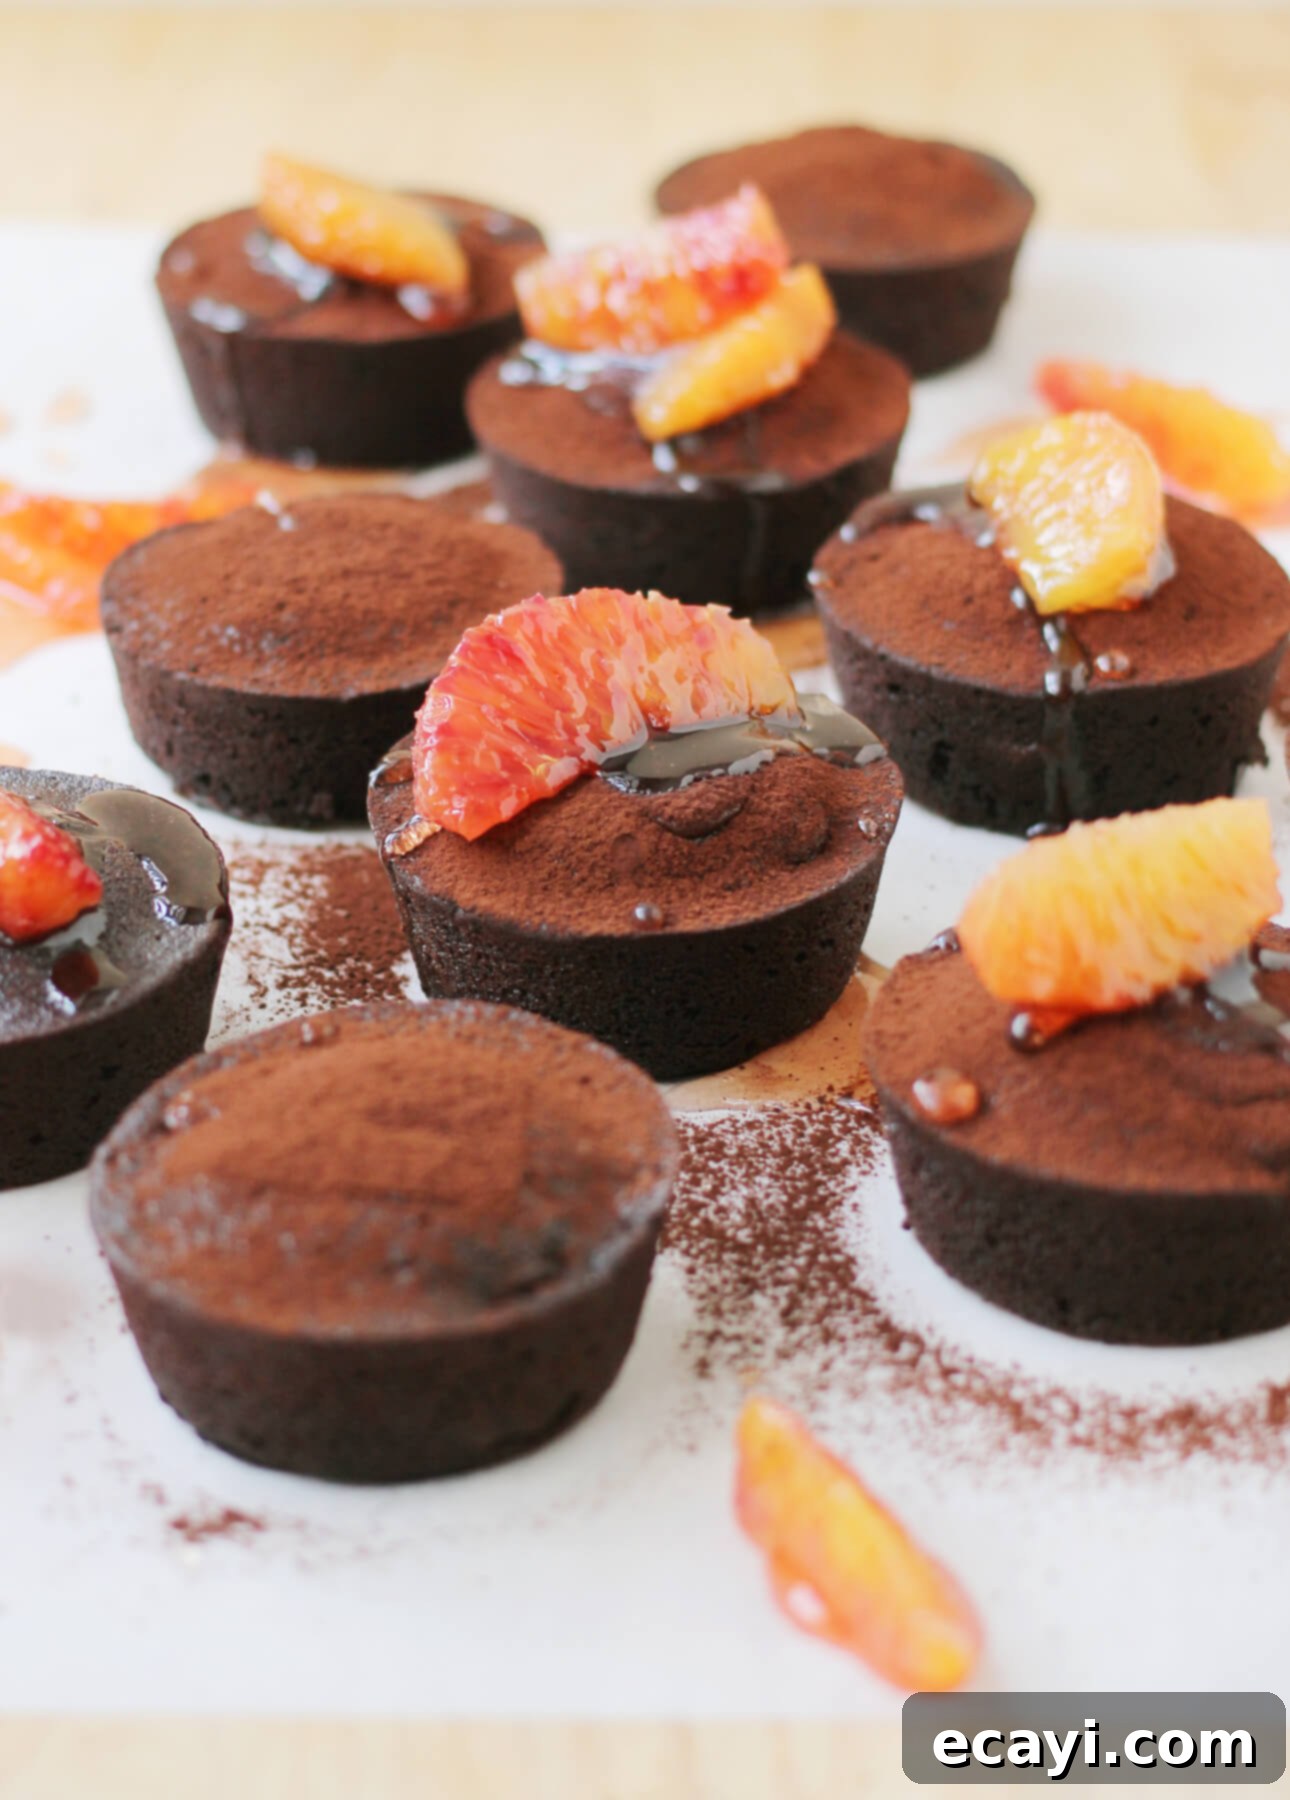
One of the most captivating aspects of blood oranges is their beautiful inconsistency. You might slice into one and discover delicate streaks of red marbled against orange, while another reveals a deeply saturated, uniform crimson hue. This variation often depends on the specific point in the blood orange season or the particular variety you choose. Each cut is a delightful surprise, a testament to the unpredictable wonders of the natural world. This element of discovery adds an extra layer of charm to cooking and baking with them.
The Irresistible Harmony of Dark Chocolate and Blood Orange
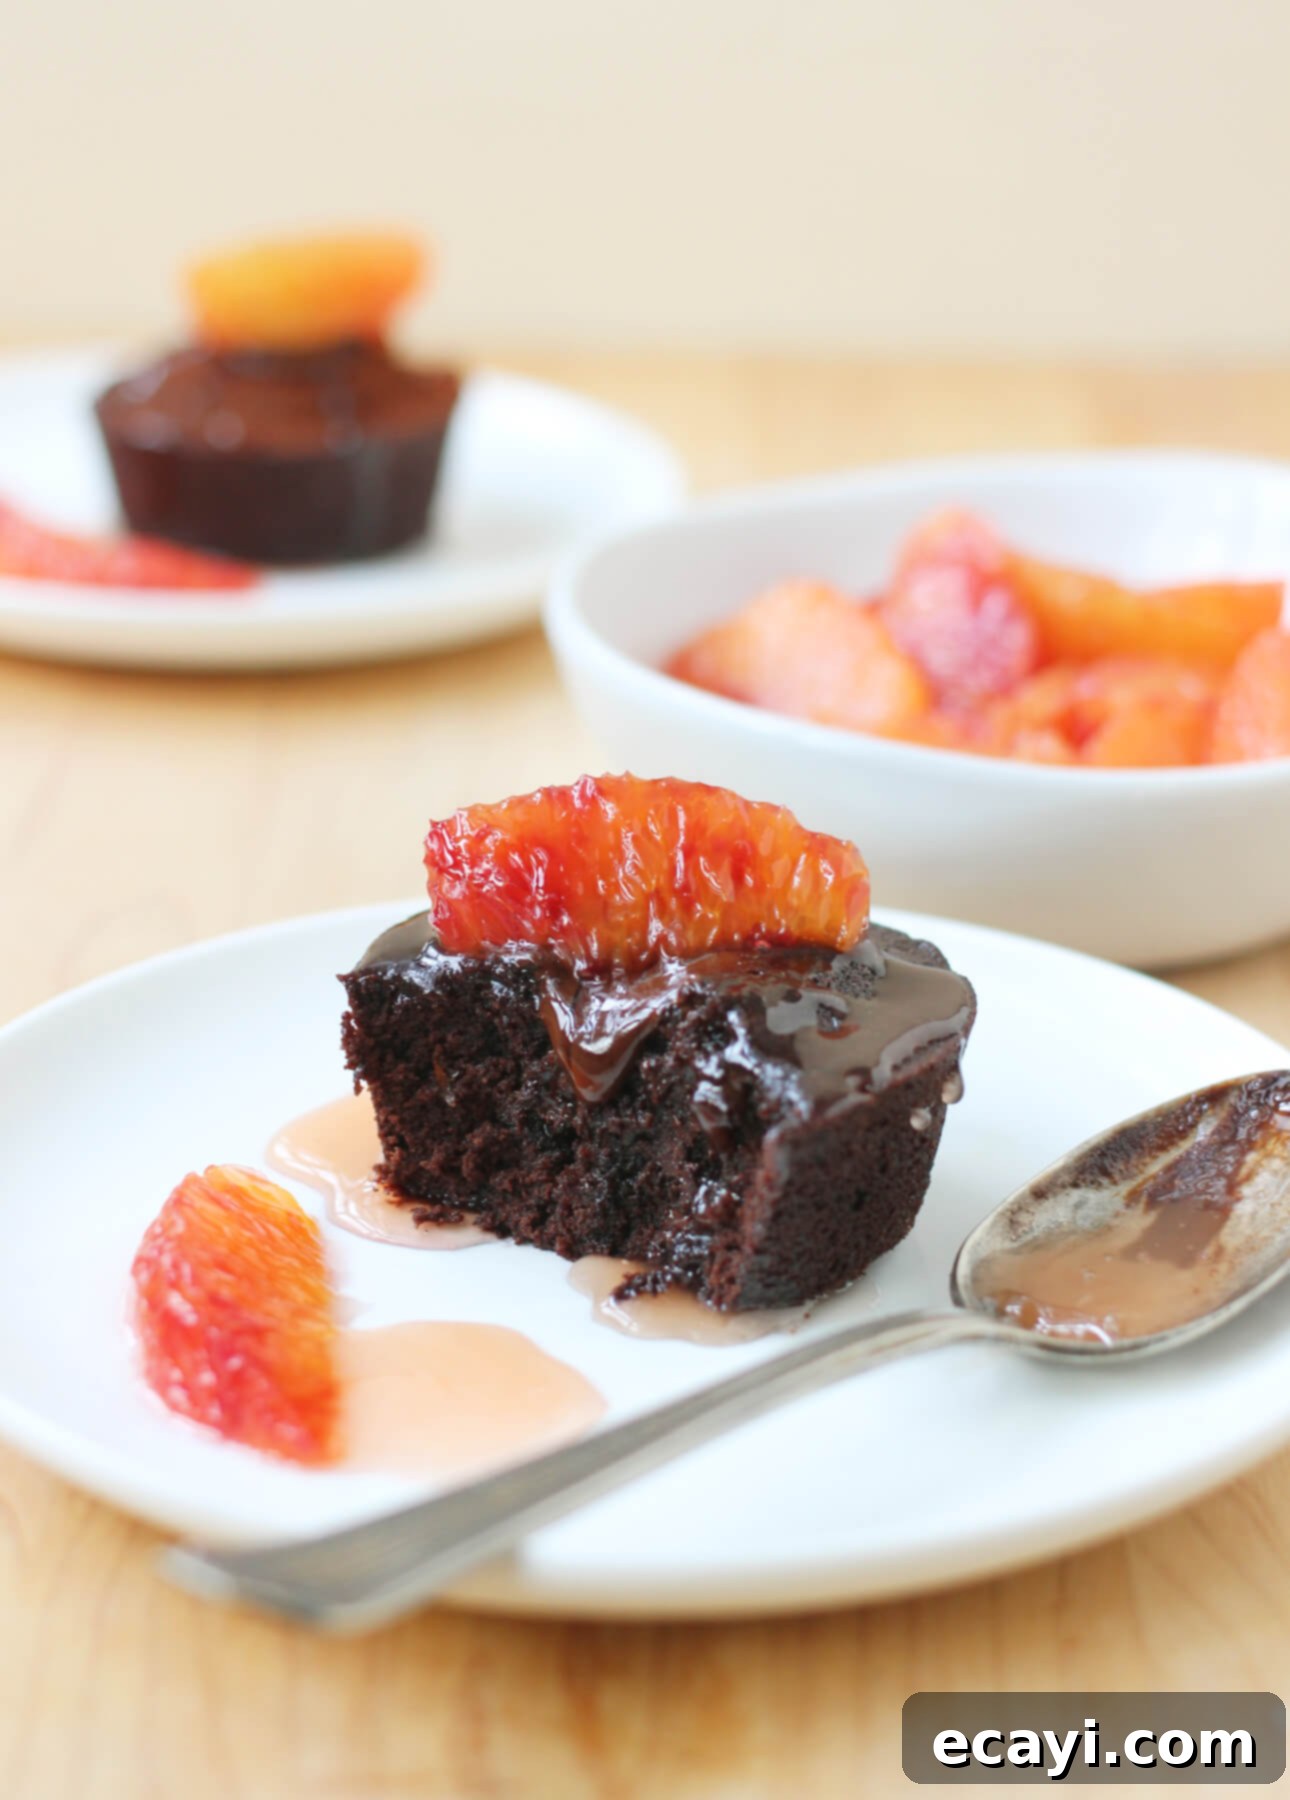
The culinary world has long celebrated the exquisite pairing of chocolate and orange, but substituting a regular orange with a blood orange elevates this classic combination to an art form. My desire to create a dark chocolate and blood orange dessert stemmed not only from the dramatic visual contrast they offer on a plate but also from the incredible synergy of their flavors. The delicate acidity and often berry-like notes of blood oranges expertly cut through the opulent richness of dark chocolate, preventing the dessert from becoming cloyingly sweet. Simultaneously, their fruity undertones beautifully complement the inherent complexity of high-quality dark chocolate.
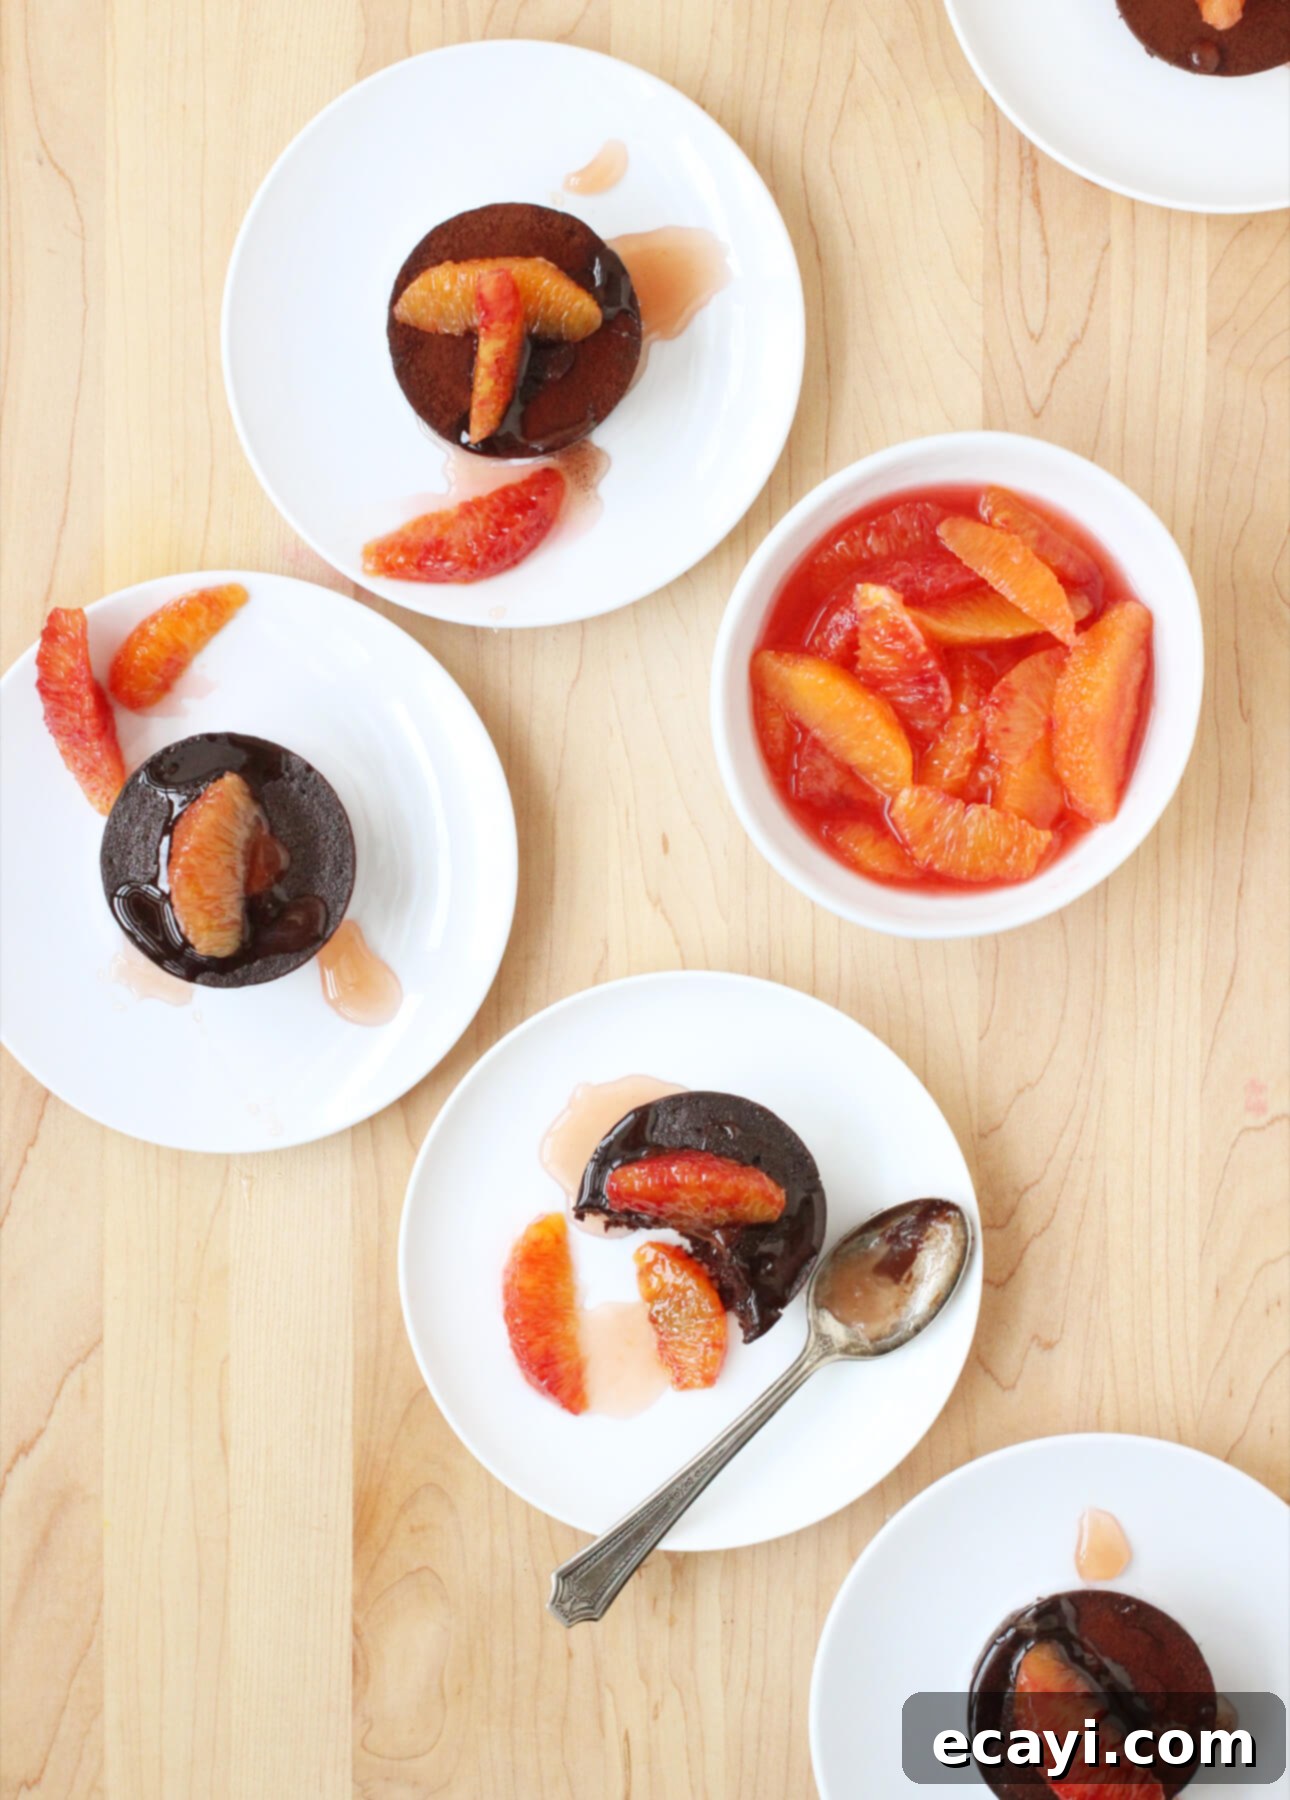
In this recipe, the dark chocolate fondant cakes are deeply infused with the aromatic zest of blood oranges, resulting in a rich, barely-set interior reminiscent of a molten lava cake – a truly luxurious texture. Yet, what truly sets these chocolate fondant cakes apart is the accompanying blood orange segment syrup. This vibrant syrup provides an extra burst of orange flavor, its glossy segments glistening atop and around the warm chocolate cakes like precious jewels, adding both beauty and an undeniable fresh, zesty kick.
Deep Dive: What Makes Blood Oranges Uniquely Special?
Beyond their captivating appearance, blood oranges distinguish themselves from their citrus cousins in several key ways. They are an orange variety characterized by their stunning red, purple, or even burgundy-hued flesh. The intensity of this color typically deepens with ripeness, indicating a higher concentration of the beneficial anthocyanin pigments responsible for their striking coloration.
Flavor-wise, blood oranges offer a more complex and nuanced profile than standard oranges. While distinctly citrusy, they boast a floral acidity, often with subtle notes of raspberry or even cherry, making them incredibly aromatic and uniquely refreshing. This intricate flavor balance makes them an exceptional ingredient for both sweet and savory applications, standing out in cocktails, salads, and, of course, decadent desserts like these fondant cakes.
Choosing Your Citrus: Ingredient Selection and Substitutions
This recipe calls for eight blood oranges to achieve its signature flavor and visual appeal. However, if blood oranges are out of season or unavailable in your area, don’t despair! Cara Cara oranges make a delightful and visually stunning substitute. Their beautiful coral-pink flesh and sweeter, less acidic flavor profile pair wonderfully with dark chocolate. Should both blood oranges and Cara Caras be off-season, reliable Navel oranges will still yield a delicious result. While the color won’t be as dramatic, the classic chocolate-orange combination remains a winner. Rest assured, regardless of the orange variety you choose, you’re in for an exceptional treat.
Mastering the Art of Segmenting Blood Oranges
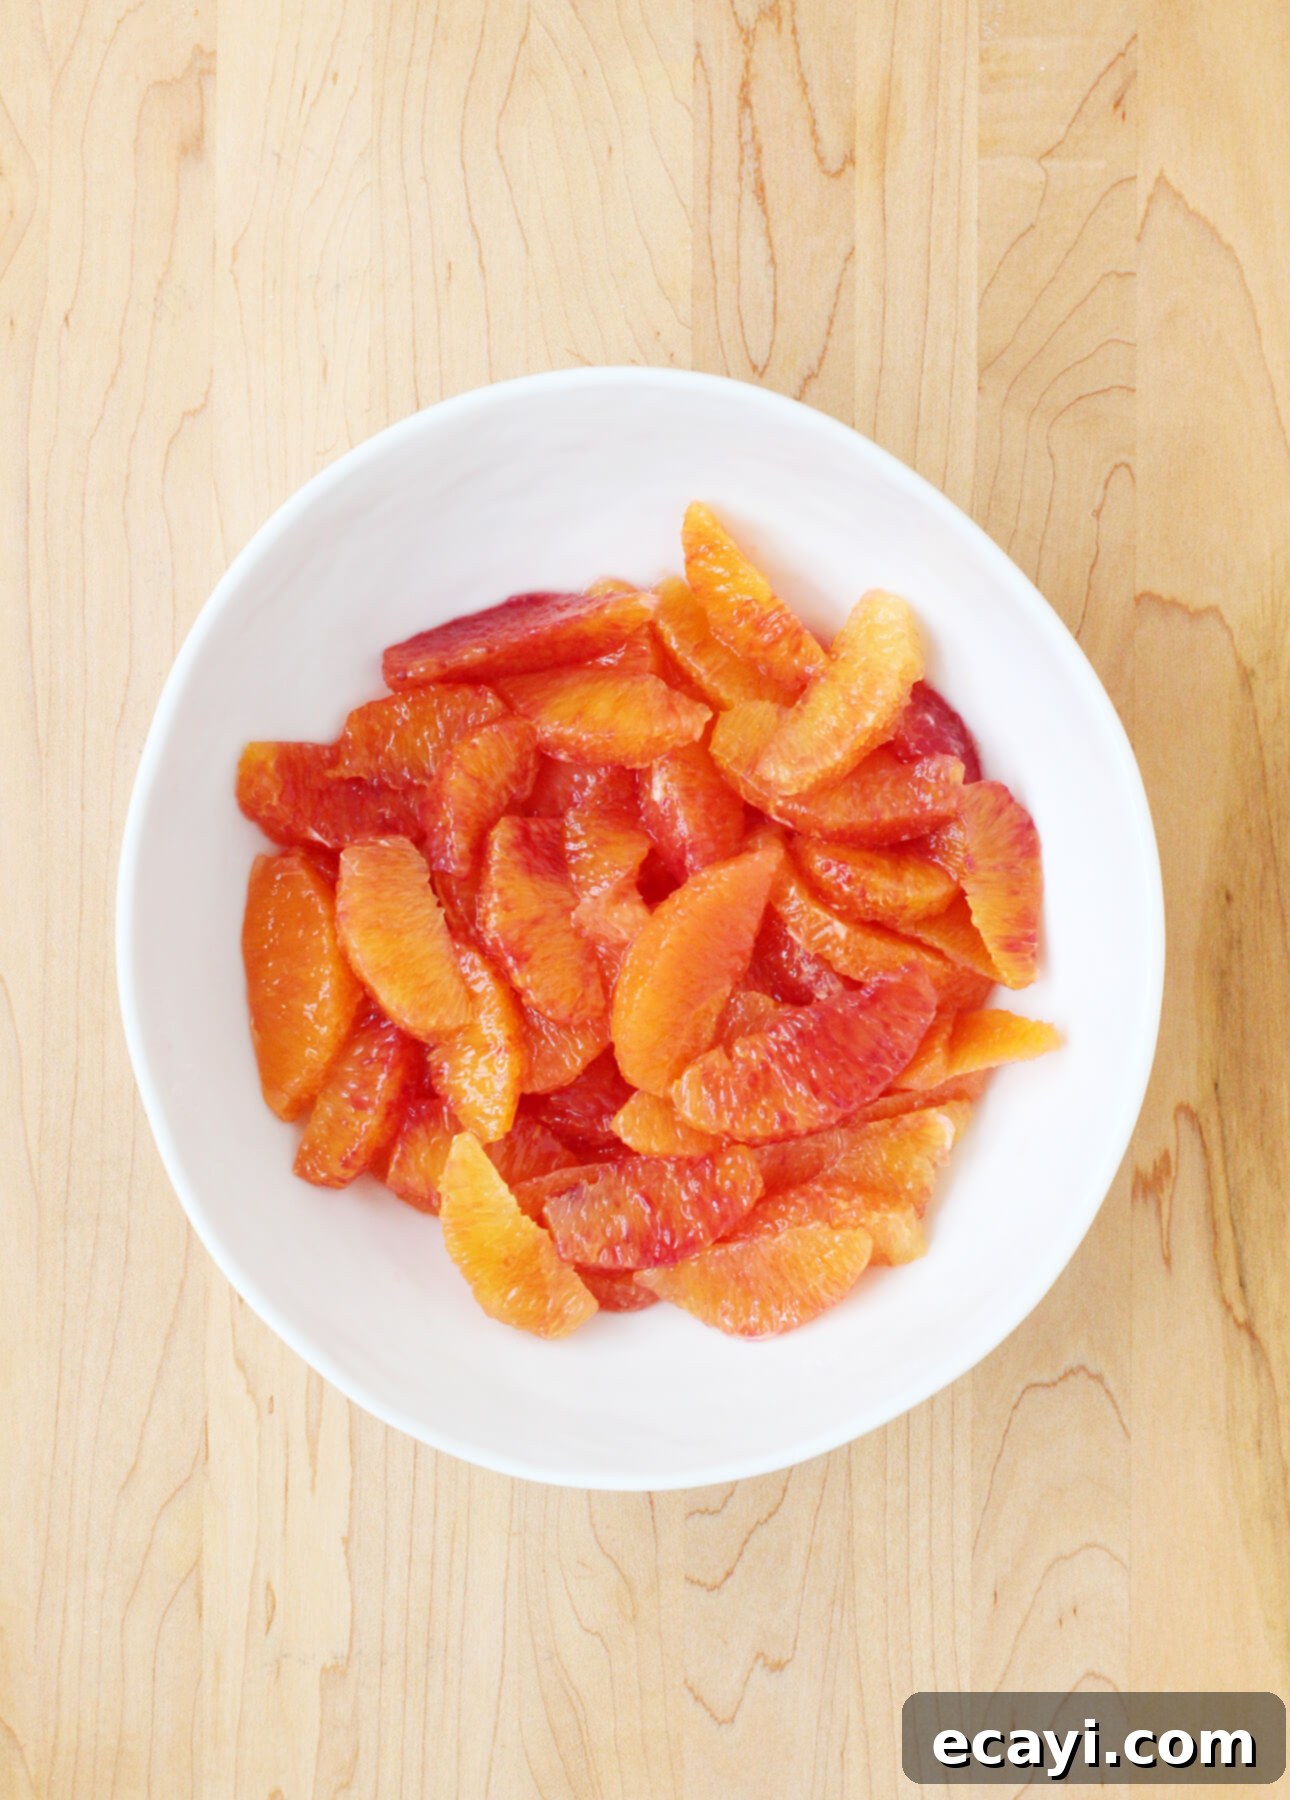
To create the irresistible blood orange syrup for this recipe, you’ll need to segment the oranges, a technique that involves carefully removing all the fibrous membranes from the citrus flesh. While this step requires a bit more time and precision than simply peeling and slicing, the elegant, membrane-free segments significantly enhance the visual appeal and delicate texture of the finished dessert, making the effort truly worthwhile.
Here’s a detailed guide on how to perfectly segment blood oranges:
- Prepare the Fruit: Begin by cutting off both the top and bottom ends of each blood orange, creating flat, stable surfaces.
- Peel with Precision: Stand one orange on one of its flat ends. Using a very sharp paring knife, carefully run the blade along the curve of the fruit from top to bottom, removing the skin and the bitter white pith, exposing the vibrant flesh. Rotate the orange and repeat this process until all skin and pith are removed from the entire fruit.
- Segmenting Over a Bowl: Hold the peeled blood orange in one hand, preferably over a bowl to catch any juices. Carefully guide your sharp knife along the inside of each membrane, detaching the juicy segments. Continue this until all segments are freed from their membranes.
- Juice Collection: Once all segments are removed, firmly squeeze the remaining membranes over the bowl to extract every last drop of flavorful juice. This fresh juice can be added to your syrup, though if you do, be prepared to simmer the syrup for a slightly longer duration to achieve the proper thickness. Alternatively, save this precious juice to brighten up your next smoothie or cocktail!
Explore More Zesty Delights with My Citrus Desserts Cookbook!
If you adore vibrant, citrus-centric dessert recipes, then you absolutely must discover my Citrus Desserts Cookbook! This eBook is a treasure trove of colorful, irresistible, and meticulously tested dessert recipes, featuring everything from elegant cakes and tarts to delightful breakfast treats, delicious bars, spoonable delights, and homemade candies. Each page is adorned with mouthwatering photography, countless clever tips to ensure your baking success, and versatile variation ideas to inspire endless culinary creativity. LEARN MORE and brighten up your baking repertoire!
Pin Recipe
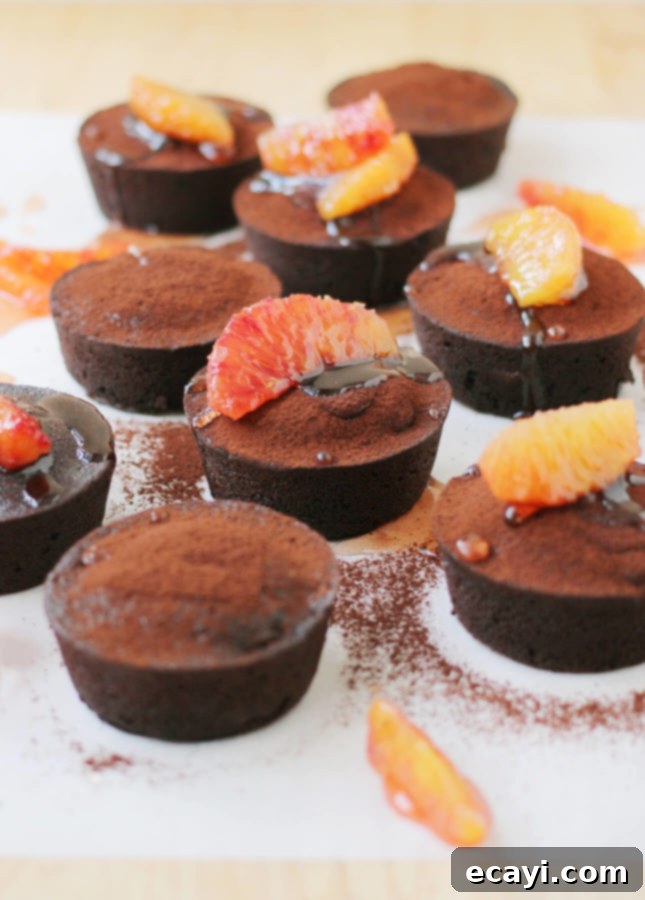
Blood Orange and Dark Chocolate Fondant Cakes
Ingredients
For the fondant cakes
- 1 cup all-purpose flour
- ¾ cup dark cocoa powder
- ¾ cup brown sugar, packed
- 1 ¼ cups granulated sugar
- ¾ cup unsalted butter, melted and cooled
- ½ cup freshly squeezed blood orange juice (about 2 oranges), or milk
- 3 large eggs
- Finely grated zest from 2 blood oranges (about 4 loose tablespoons, or 60 ml)
- 1 tsp pure vanilla extract
- 5 ¼ oz best-quality dark chocolate, chopped, or dark chocolate chunks
For the blood orange segment syrup
- 1 cup water
- 1 cup granulated sugar
- ¼ cup orange liqueur (Cointreau, Grand Marnier, or Triple Sec)
- Zest from 2 blood oranges (see notes below for zesting technique)
- Segments from 6 blood oranges (see detailed instructions above or notes below for segmenting)
Instructions
-
For the Fondant Cakes: Preheat your oven to 325°F (160°C). Position two oven racks in the upper and lower thirds of your oven. Prepare two 12-cup muffin pans by generously coating them with cooking spray, or line them with parchment paper cups. Ensuring adequate greasing or lining is crucial to prevent sticking and achieve perfectly unmolded cakes.
-
In a spacious large mixing bowl, carefully sift together the all-purpose flour and dark cocoa powder to eliminate any lumps and ensure a smooth batter. Add the packed brown sugar, granulated sugar, melted and cooled unsalted butter, blood orange juice (or milk), eggs, finely grated orange zest, and pure vanilla extract. Whisk these ingredients until the mixture is completely smooth and well combined. Gently fold in the chopped best-quality dark chocolate or dark chocolate chunks, ensuring they are evenly distributed.
-
Divide the cake batter evenly among the prepared muffin cups. Aim for approximately 2 tablespoons (30 ml) of mixture in each cup for uniform baking. Place one muffin pan on the top oven rack and the other on the lower rack. Bake for 25 minutes, making sure to switch and rotate the pans halfway through baking to ensure even cooking. The cakes are ready when their tops appear just dry and the edges are set, but the centers still feel barely firm and slightly wobbly. This “barely set” state is absolutely essential to achieve that signature rich, molten fondant texture. Transfer the pans to cooling racks and allow the cakes to cool completely to room temperature before handling.
-
For the Blood Orange Syrup: In a medium saucepan, combine the water, granulated sugar, and orange liqueur. Bring this mixture to a gentle boil over medium heat, stirring occasionally to dissolve the sugar. Once boiling, reduce the heat to medium-low, add the blood orange zest, and simmer steadily until the liquid visibly reduces to approximately ¾ cup (180 ml) and thickens slightly, which usually takes about 30 minutes. This slow simmer allows the flavors to meld and intensify.
-
Strain the finished syrup into a clean measuring cup or bowl, discarding the zest (unless you prefer to keep it in). Gently stir in the reserved blood orange segments, ensuring they are thoroughly coated with the warm, fragrant syrup. Let the syrup and segments cool until they are just warm, or completely reach room temperature, which should take approximately 30 minutes. This cooling period allows the segments to absorb more flavor.
-
SERVING: To serve these exquisite cakes, carefully unmold each fondant cake onto individual plates. Top each one generously with a spoonful of the luscious blood orange syrup and several glistening blood orange segments. For an extra touch of indulgence, consider adding a dollop of whipped cream, a scoop of vanilla bean ice cream, or a sprinkle of chopped pistachios.
-
STORAGE: Store the cooled fondant cakes in an airtight container in the refrigerator for up to 1 week. For longer storage, they can be frozen for up to 2 months. To enjoy after refrigeration or freezing, gently rewarm the cakes in a preheated oven (around 300°F/150°C for 5-10 minutes) or in the microwave (on low power for 20-30 seconds) until the centers are once again warm and molten. Serve immediately with freshly prepared syrup and segments.
Notes
- How to Zest Oranges: For the syrup, you have two primary methods for zesting. You can finely grate the zest using a Microplane zester for a delicate infusion of flavor, or use a vegetable peeler to create wider strips of zest. When using a peeler, ensure you remove as little of the bitter white pith as possible. For best results and ease, always zest all oranges before you proceed to peel and segment them.
- How to Segment Oranges: (As detailed in the main article body above). First, prepare your oranges by cutting off both the top and bottom ends to create flat, stable surfaces. Stand the fruit on one of its flat ends. Using a very sharp knife, carefully slice downwards, following the curve of the fruit, to remove the skin and white pith entirely, leaving the vibrant flesh exposed. Rotate the fruit and repeat until all oranges are peeled. To extract segments, hold a peeled orange in one hand, then run a sharp knife along either side of the membranes, carefully freeing each bare segment of fruit. Perform this step over a bowl to collect any dripping juices. Squeeze any remaining membranes to extract additional juice. This juice can be added to your syrup (just remember to simmer longer for proper thickening) or saved for other uses like smoothies or cocktails.
- If you don’t have two muffin pans available: You can certainly bake the cakes in two batches of 12. While the first batch bakes and cools, ensure you cover the remaining batter and keep it in a cool spot in your kitchen to maintain its consistency. After unmolding the first 12 cakes, thoroughly wash and dry the muffin pan. Re-grease it generously with cooking spray or line it with fresh parchment paper cups, then proceed to bake the second batch following the instructions provided.
Did you make this?
Tell me how you liked it! Leave a comment or take a picture and tag it with @foodnouveau on Instagram.
Disclosure Notice: This site participates in the Amazon Associates Program, an affiliate advertising program designed to provide a means for the site to earn fees by linking to Amazon and affiliated sites.
If you click on an affiliate link, I may earn advertising or referral fees if you make a purchase through such links, at no extra cost to you. This helps me create new content for the blog–so thank you! Learn more about advertising on this site by reading my Disclosure Policy.
