Easy Brownie Trifle Recipe: Layers of Fudgy Brownies, Rich Pudding & Whipped Cream
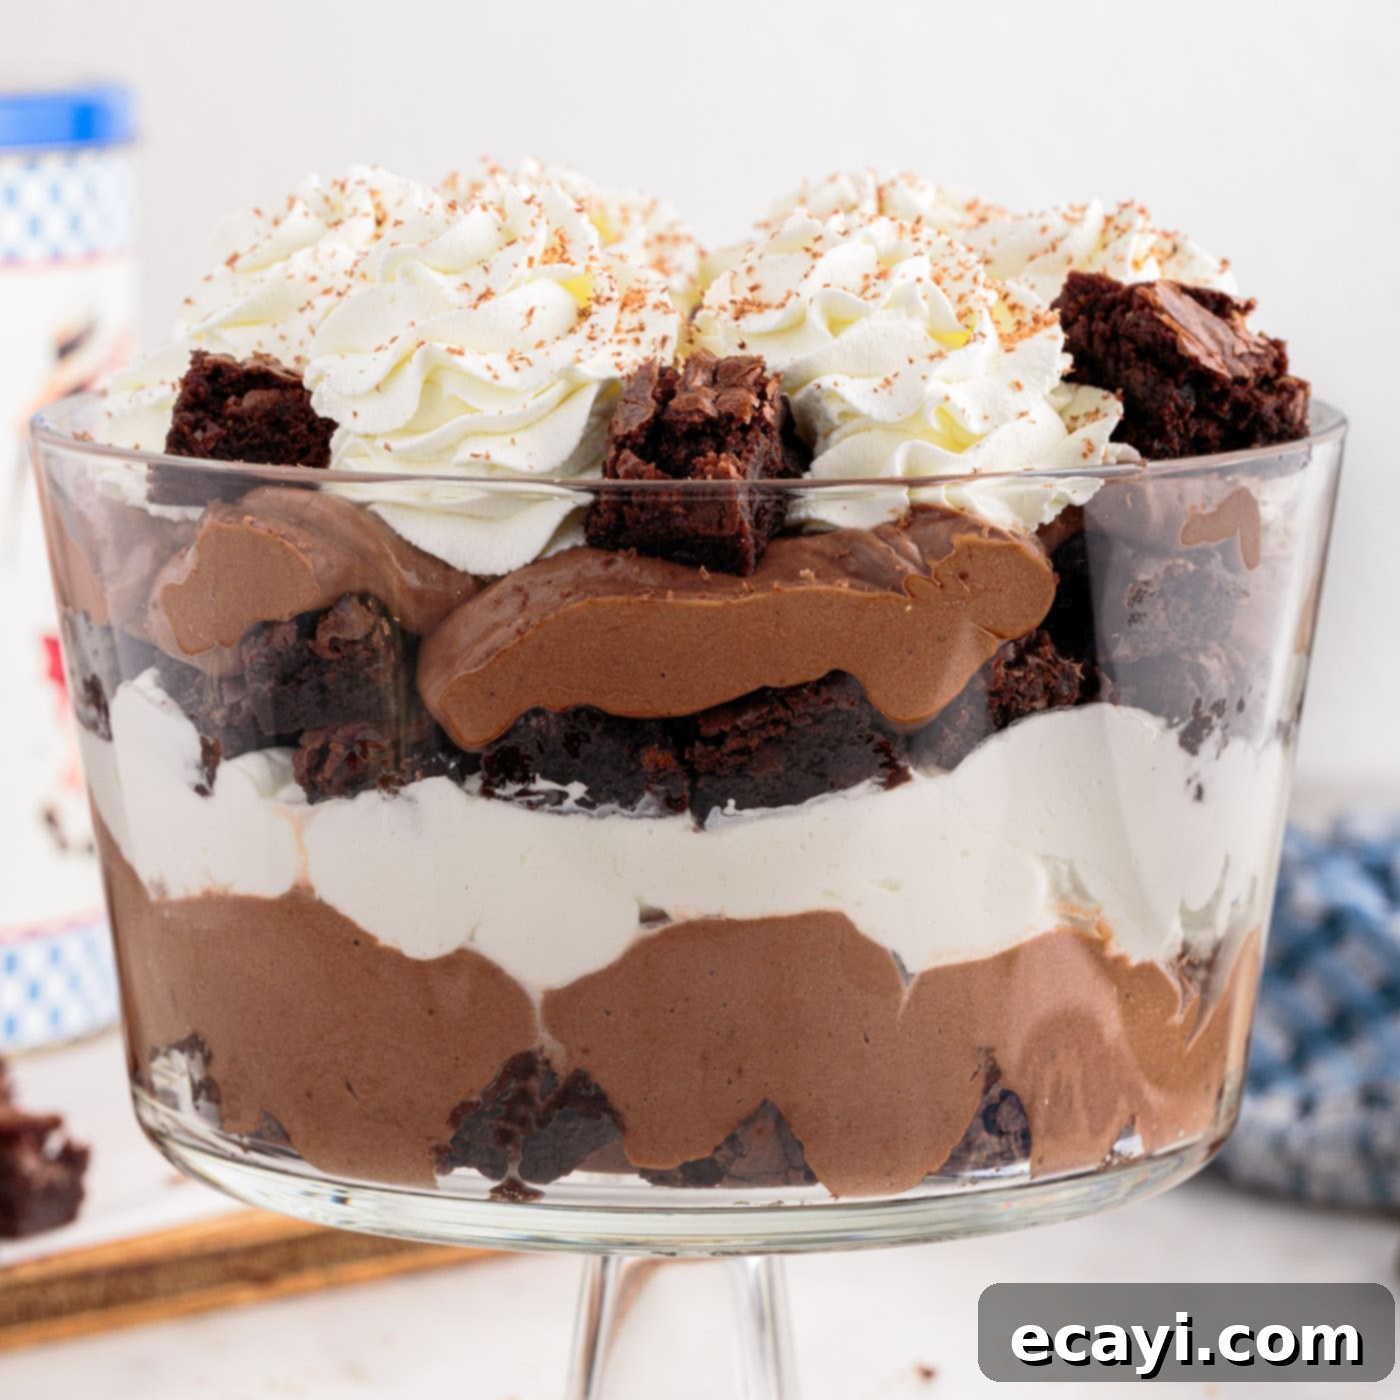
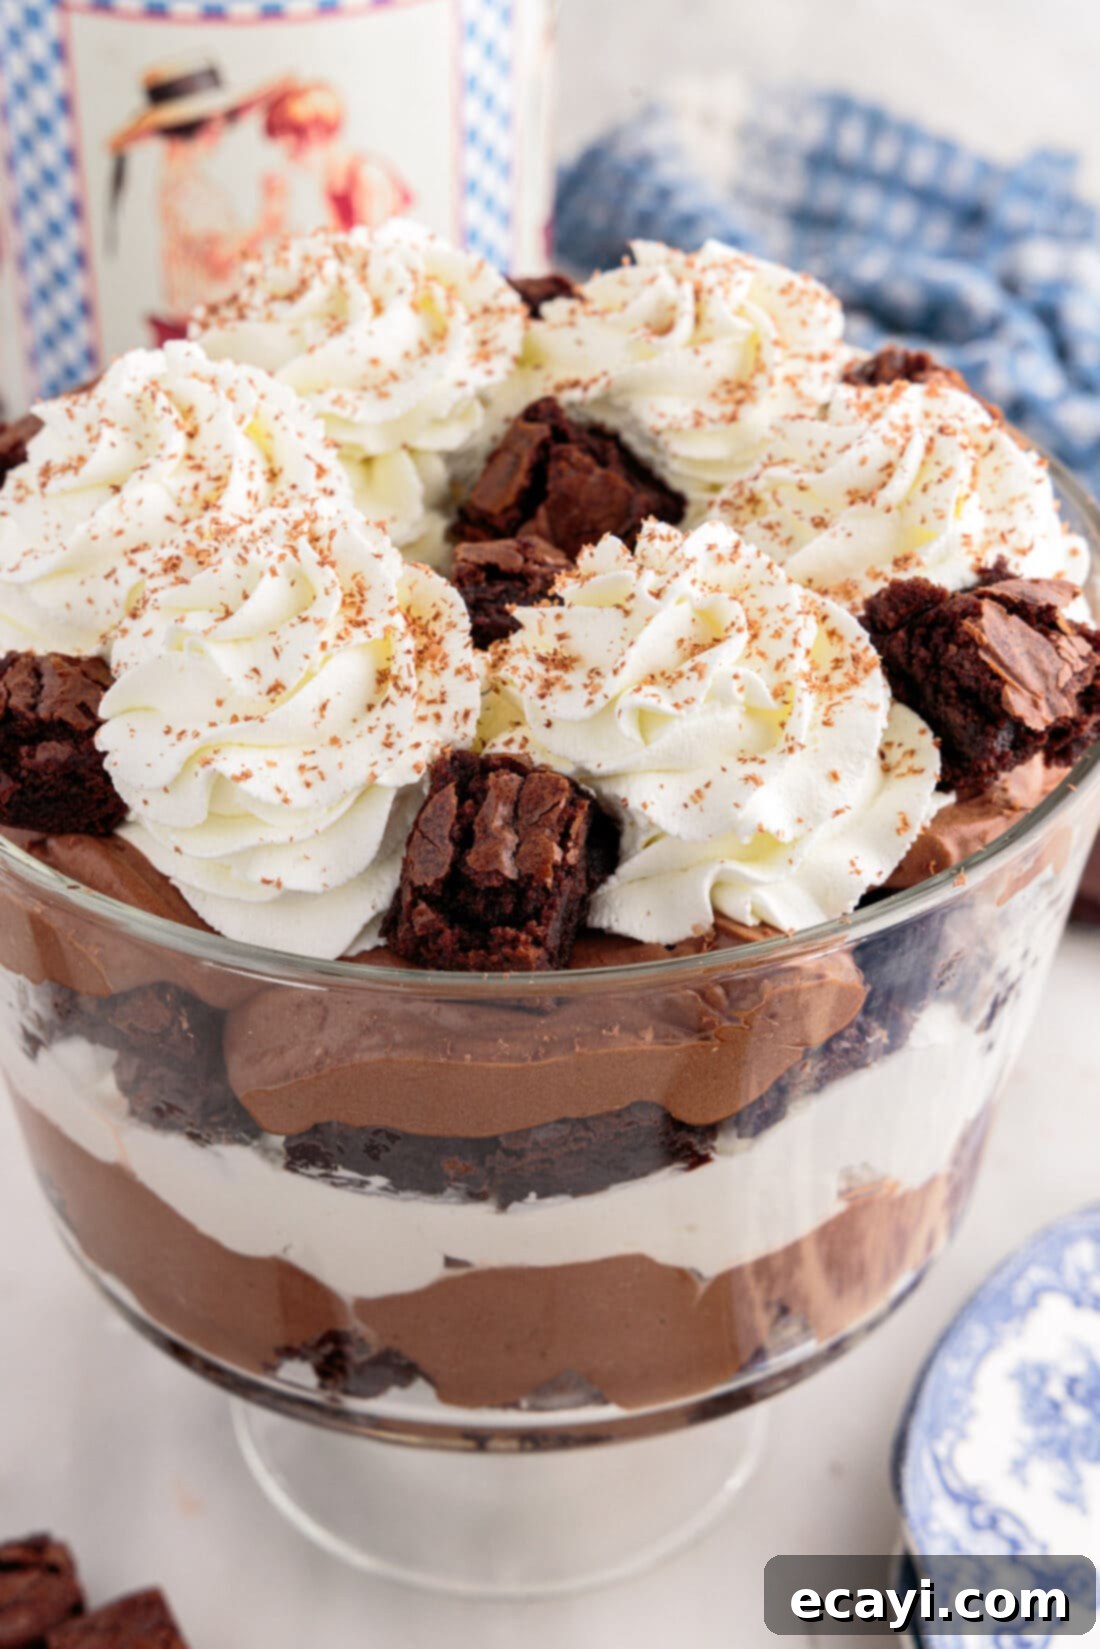
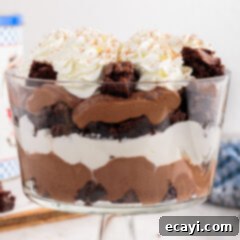
This show-stopping brownie trifle is an effortlessly elegant dessert, perfect for any gathering. Imagine generous layers of moist, chewy brownie chunks, enveloped by a velvety smooth chocolate pudding, and crowned with a cloud of light, fluffy whipped cream. Requiring just a handful of staple ingredients and a beautiful trifle bowl, this recipe proves that impressive desserts don’t have to be complicated. It’s a chocolate lover’s dream come true, delivering incredible flavor and a delightful mix of textures in every spoonful. Whether you’re a seasoned baker or a beginner, this easy brownie trifle will become your go-to dessert for its simplicity and guaranteed crowd-pleasing results.
Why This Easy Brownie Trifle Recipe is a Must-Try
Our brownie trifle recipe stands out for its incredible balance of convenience and gourmet taste. The secret to its effortless preparation lies in cleverly utilizing ready-made components, making it accessible even for those with limited time or baking experience. By starting with high-quality boxed brownie mixes and instant chocolate pudding, you dramatically cut down on prep time without compromising on flavor or texture. The result is a rich, fudgy brownie base that perfectly complements the silky smooth, intensely chocolatey pudding, all lightened by the airy sweetness of whipped cream. This combination creates a symphony of flavors and textures that is truly irresistible. It’s a dessert that not only looks spectacular but also delivers on every promise of a decadent, chocolate-infused treat. This trifle is more than just a dessert; it’s an experience, bringing joy to every table and making you look like a culinary genius with minimal effort. Its layered presentation makes it an elegant centerpiece, ideal for holiday gatherings, potlucks, birthdays, or any special occasion where you want to impress without the stress.
Key Ingredients for Your Decadent Brownie Trifle
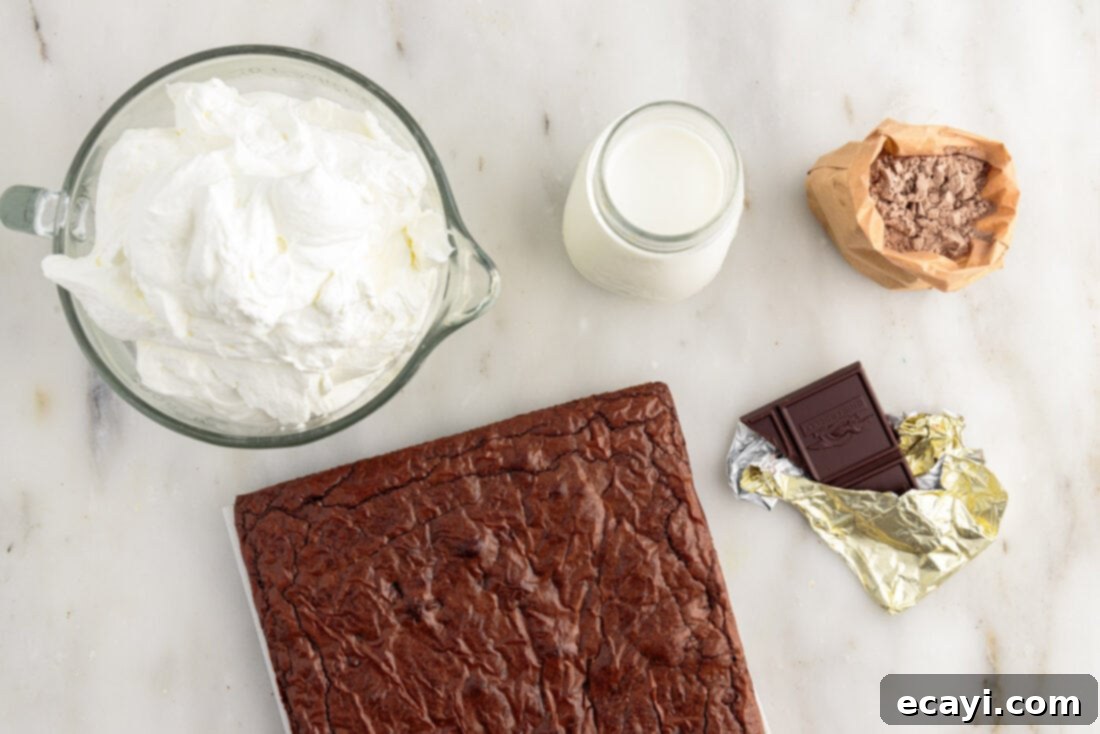
Creating this magnificent brownie trifle requires only a few simple ingredients, proving that extraordinary desserts don’t always demand an extensive shopping list. Here’s a detailed look at what you’ll need to assemble this layered masterpiece. You can find all specific measurements and comprehensive instructions in the printable recipe card at the very end of this post.
Ingredient Spotlight & Expert Substitution Tips
Understanding each ingredient and its role in the trifle allows for perfect execution and gives you the flexibility to customize. Here are some in-depth notes and smart substitutions to ensure your brownie trifle is nothing short of perfection:
BROWNIES – For this generously sized trifle, we recommend using a double batch of brownies. This typically means preparing and baking two standard boxes of brownie mix in a 9×13 inch baking dish. This yields enough fudgy brownie chunks for ample layering, with a few extra pieces often left over – perfect for a chef’s snack or additional garnish! While boxed mixes offer unparalleled convenience and consistent results, don’t hesitate to make your brownies from scratch if you prefer. Our fudge brownies recipe would be an excellent choice for a homemade touch. Alternatively, to save even more time, you can purchase pre-made brownies from your local grocery store or bakery. The key is to have cooled, firm brownies that can be easily cut into uniform 1-inch cubes. For an extra layer of flavor, consider using dark chocolate brownie mix for a richer taste, or even a milk chocolate variety for a sweeter profile. Ensure they are completely cooled before cutting to prevent crumbling and ensure clean edges, which makes for a more attractive trifle.
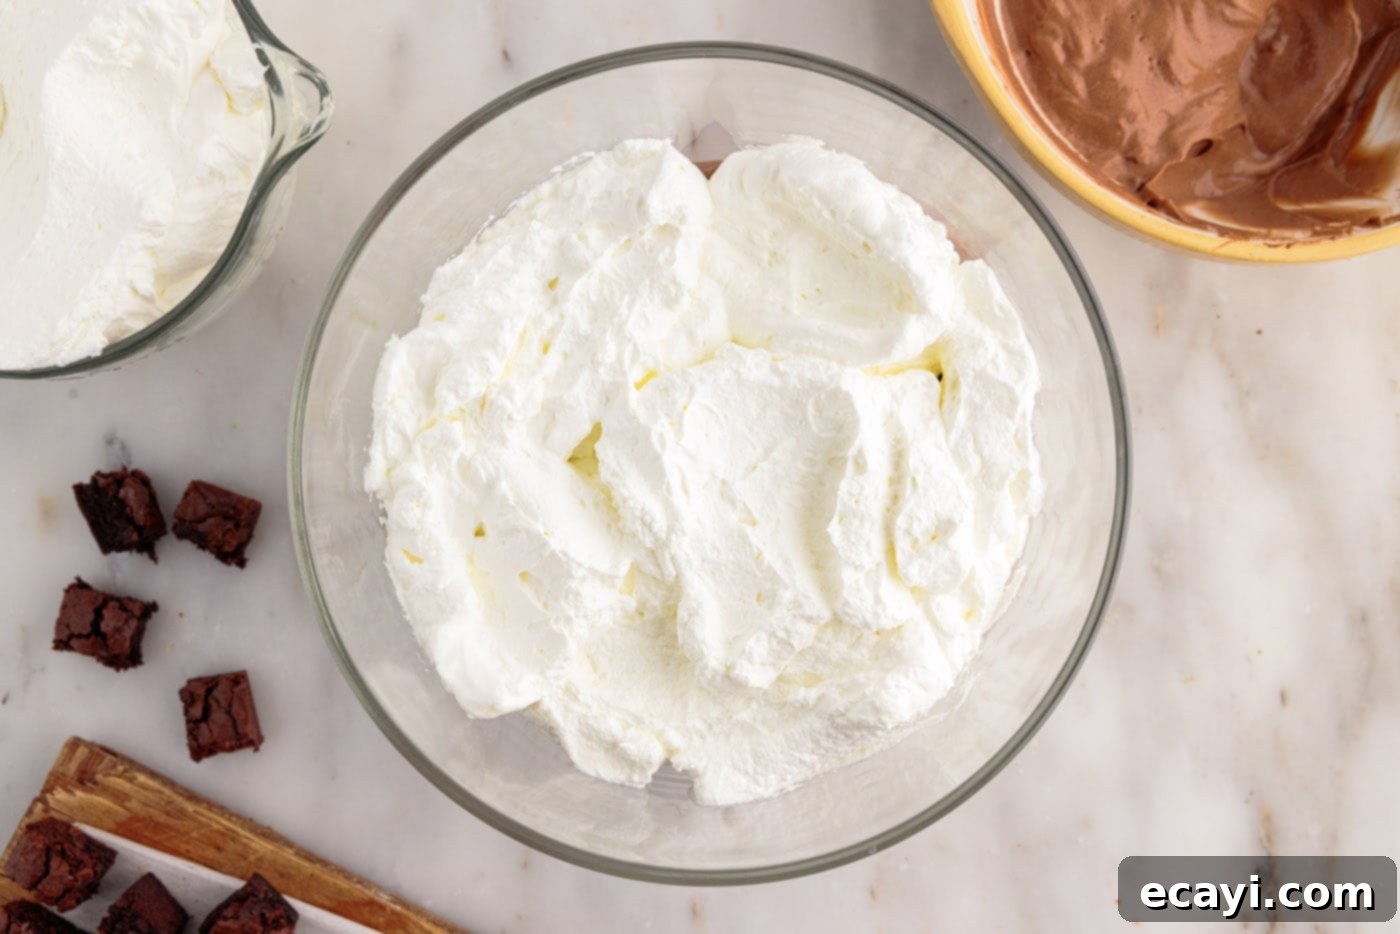
WHIPPED CREAM – The luscious whipped cream layer is crucial for the trifle’s light and airy contrast. We used a full 32 oz. carton of heavy whipping cream, whipped until beautifully light and fluffy. To sweeten it, we incorporated about 1 cup of powdered sugar (also known as confectioners’ sugar). Powdered sugar is highly recommended over granulated sugar because its fine texture dissolves instantly, resulting in a smoother, more stable whipped cream. It also helps to slightly stabilize the cream, giving it a better hold. Begin by whipping the heavy cream until soft peaks form, then gradually add the powdered sugar, continuing to whip until stiff peaks are achieved. Be careful not to overwhip, as this can turn your cream grainy or even into butter. For an even quicker and simpler approach, a large container of Cool Whip is an excellent substitute, offering stability and a consistently smooth texture, making it ideal for make-ahead trifles. You can also add a splash of vanilla extract or a touch of almond extract to your homemade whipped cream for an enhanced flavor profile.
PUDDING – The pudding layer is the heart of this chocolate-centric trifle. It is absolutely critical to use instant chocolate pudding mix for this recipe. Unlike cook-and-serve pudding, instant pudding contains starches that activate and thicken rapidly upon mixing with cold milk, ensuring your trifle layers set properly and quickly. If you use regular cook-and-serve pudding, it will not set correctly in the cold mixing process and your trifle will be runny. Choose a good quality instant chocolate pudding mix for the best flavor. You can experiment with different types of chocolate pudding – a dark chocolate mix for deep intensity, or a milk chocolate mix for a milder, sweeter flavor. For a slightly different twist, you could even use instant vanilla or white chocolate pudding for a delightful contrast with the brownies, though chocolate remains the classic choice for a reason!
MILK – Whole milk is recommended for the pudding as it provides the richest, creamiest texture and helps the pudding set beautifully. Lower fat milks might result in a slightly less rich pudding or one that takes longer to thicken, so stick with whole milk for optimal results.
DARK CHOCOLATE BAR (for garnish) – A dark chocolate bar, shaved or grated, adds a touch of elegance and an extra layer of chocolatey goodness. This is an optional garnish, but it truly elevates the presentation and provides a satisfying textural crunch. Feel free to use milk chocolate or semi-sweet chocolate if you prefer.
Step-by-Step Guide: Assembling Your Brownie Trifle
These step-by-step photos and detailed instructions are provided to help you visualize each stage of making this incredible dessert. For a convenient printable version of this recipe, complete with precise measurements and instructions, please Jump to Recipe at the bottom of this post.
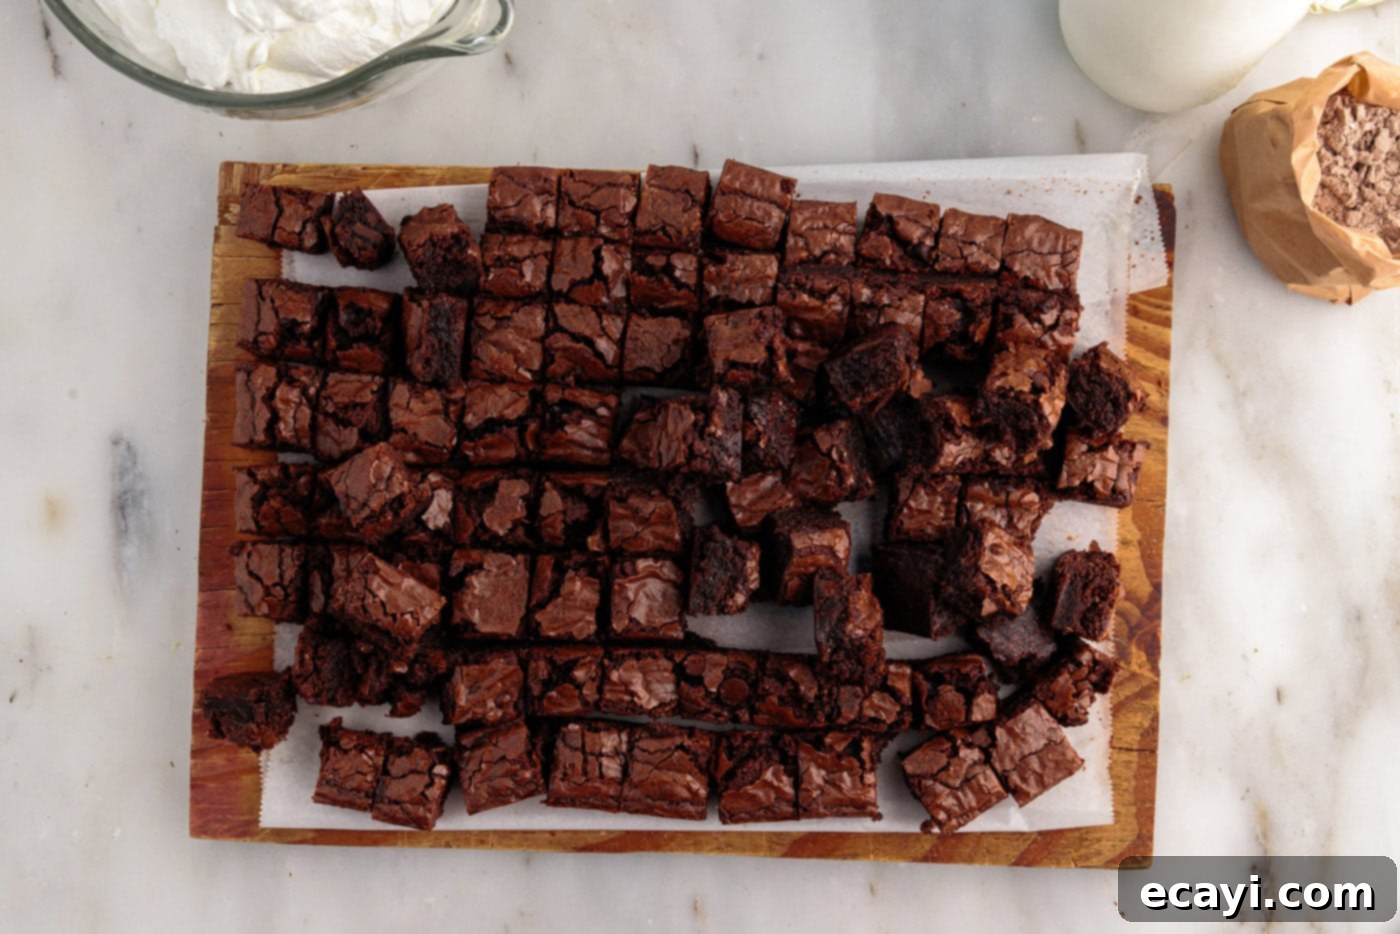
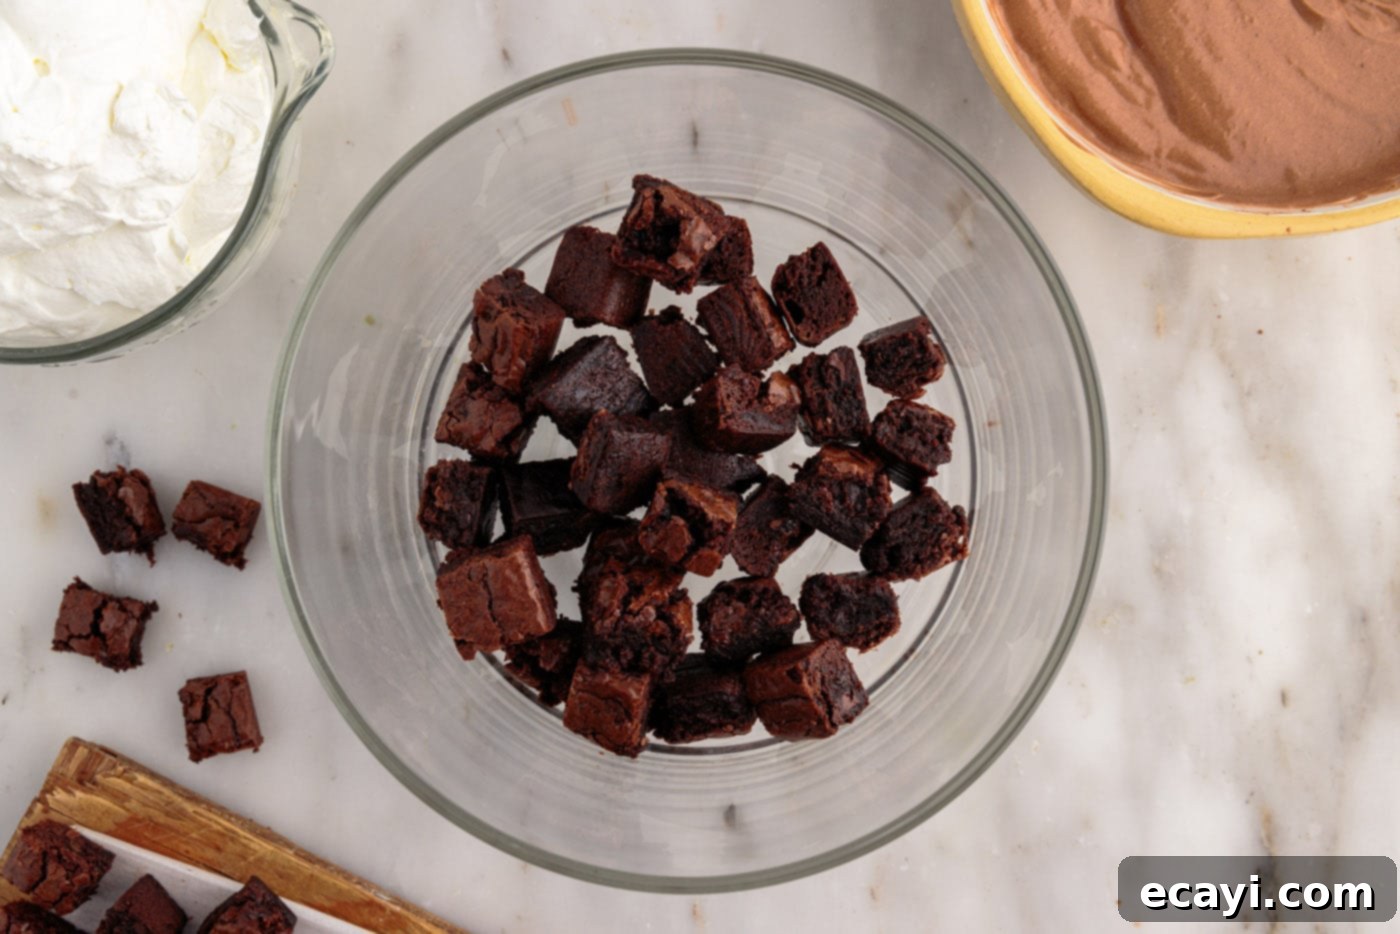
- Prepare Your Brownies: Begin by ensuring your baked brownies are completely cooled. Once cool, carefully cut them into uniform 1-inch cubes. Chilling the brownies in the refrigerator for about 30 minutes before cutting can make them firmer and easier to slice cleanly, minimizing crumbling. You’ll want sturdy brownie pieces to form the base of your layers.

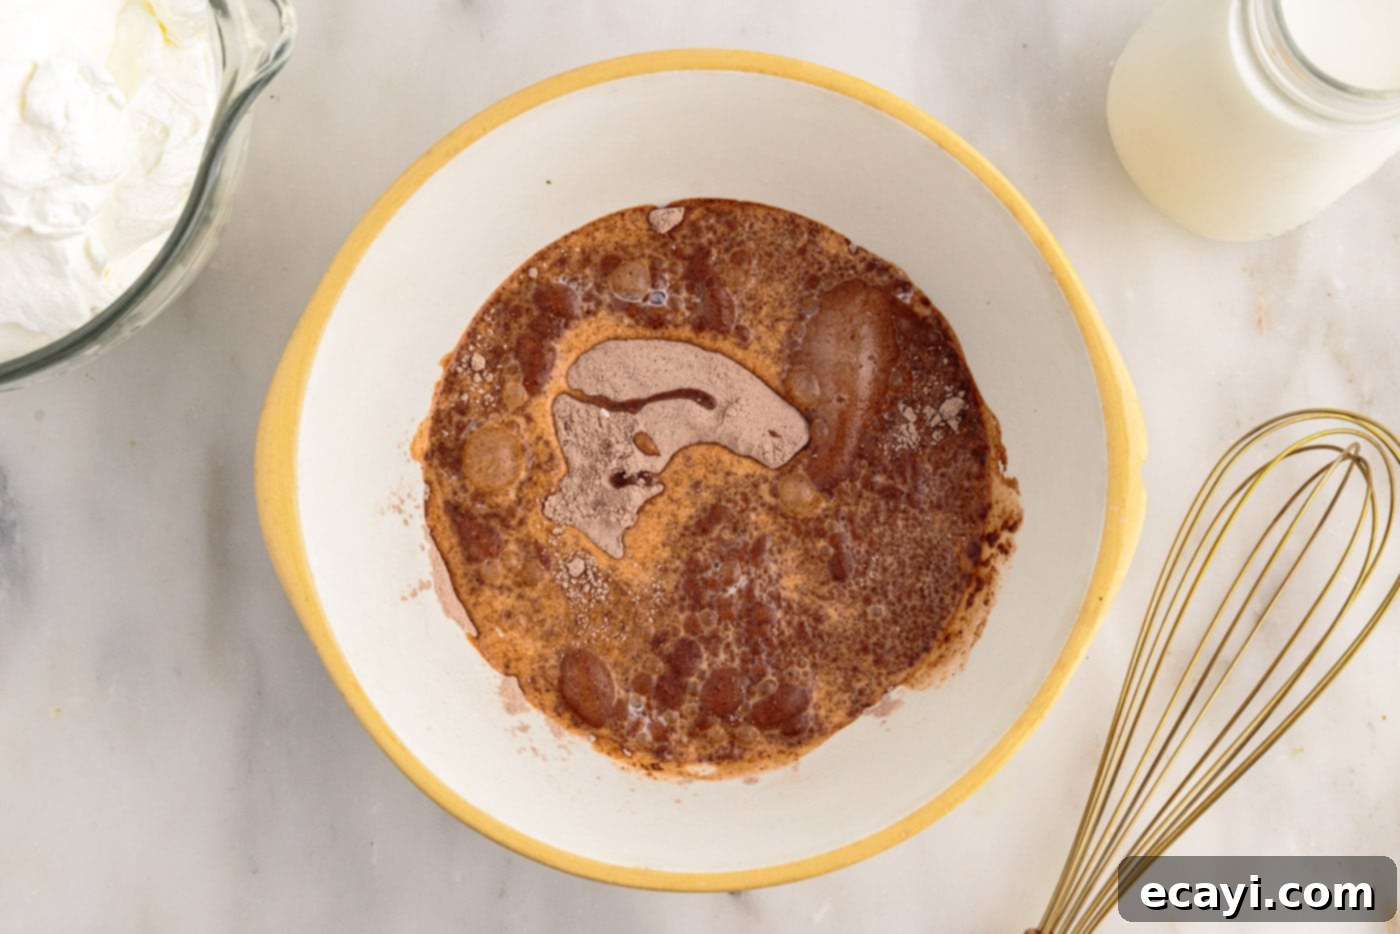
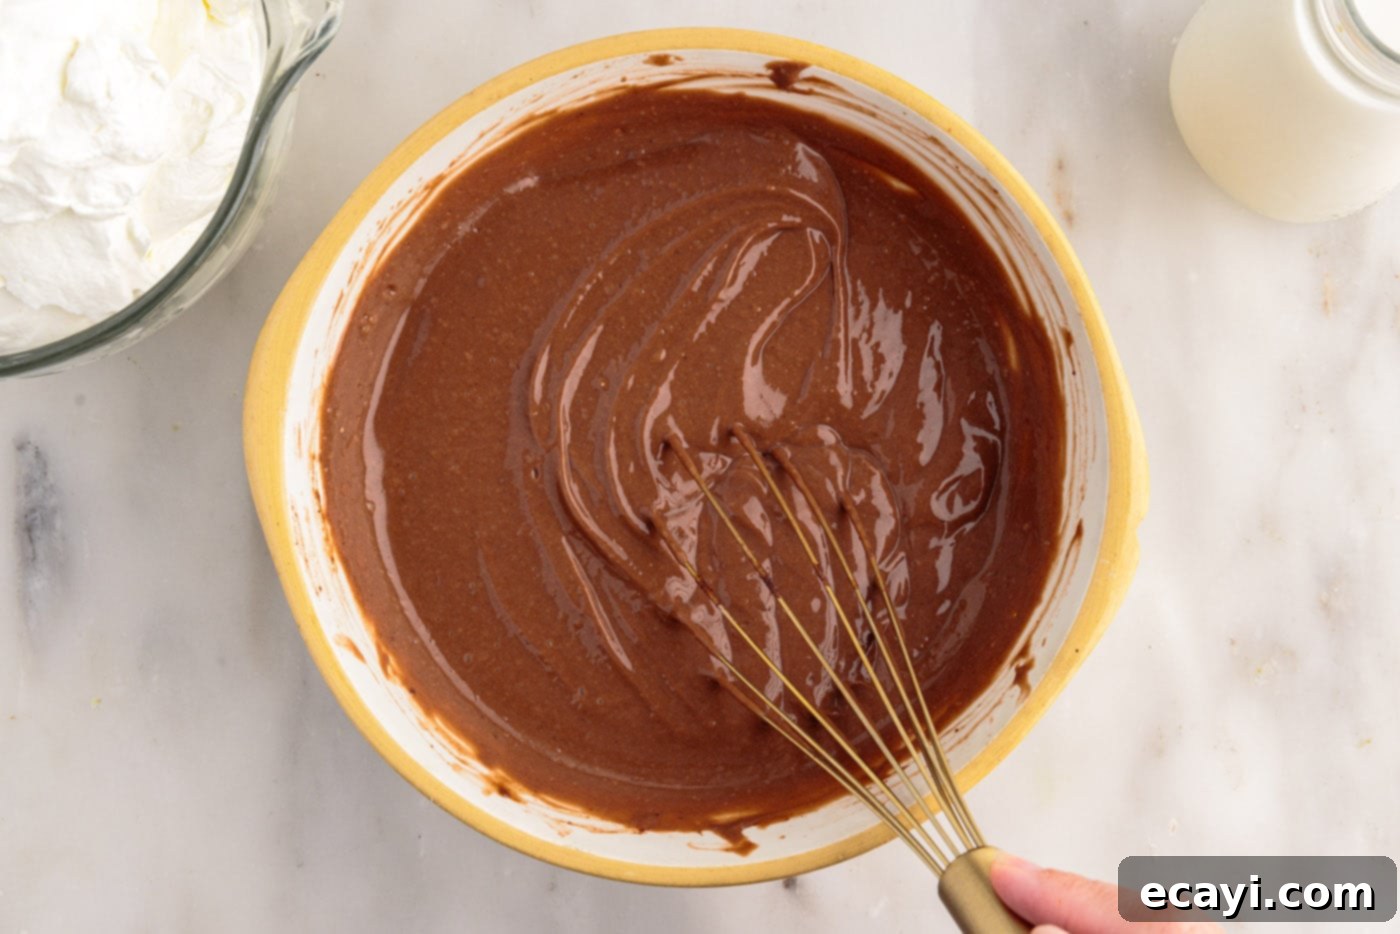
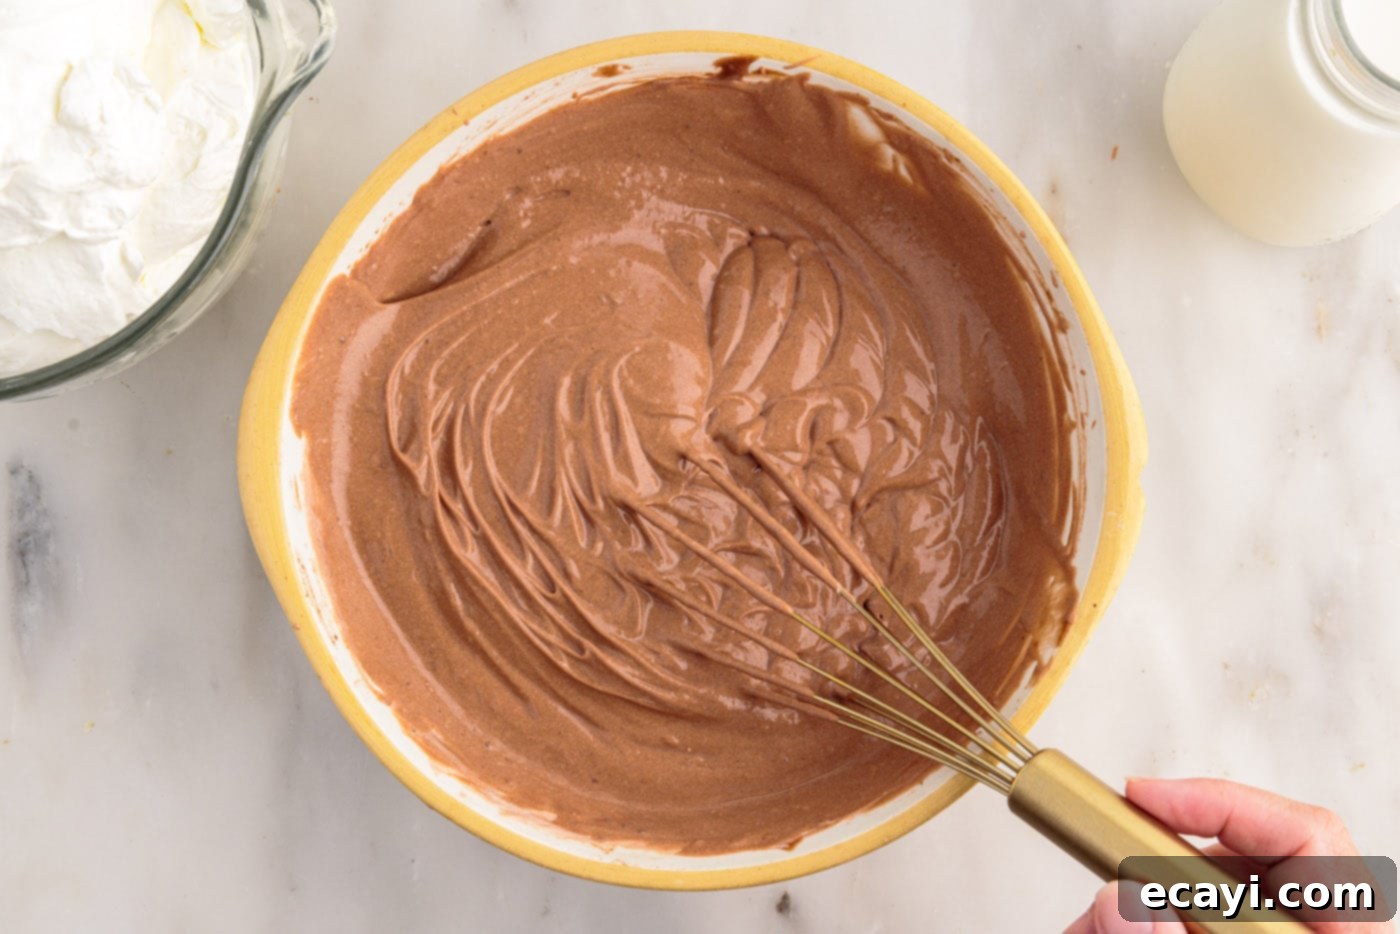
- Whip Up the Pudding: In a large mixing bowl, combine the cold whole milk with the instant chocolate pudding mix. Using a whisk, vigorously whisk the mixture for 2-3 minutes, or until the pudding begins to visibly thicken. It’s crucial to whisk thoroughly to ensure there are no lumps and that the pudding sets correctly.


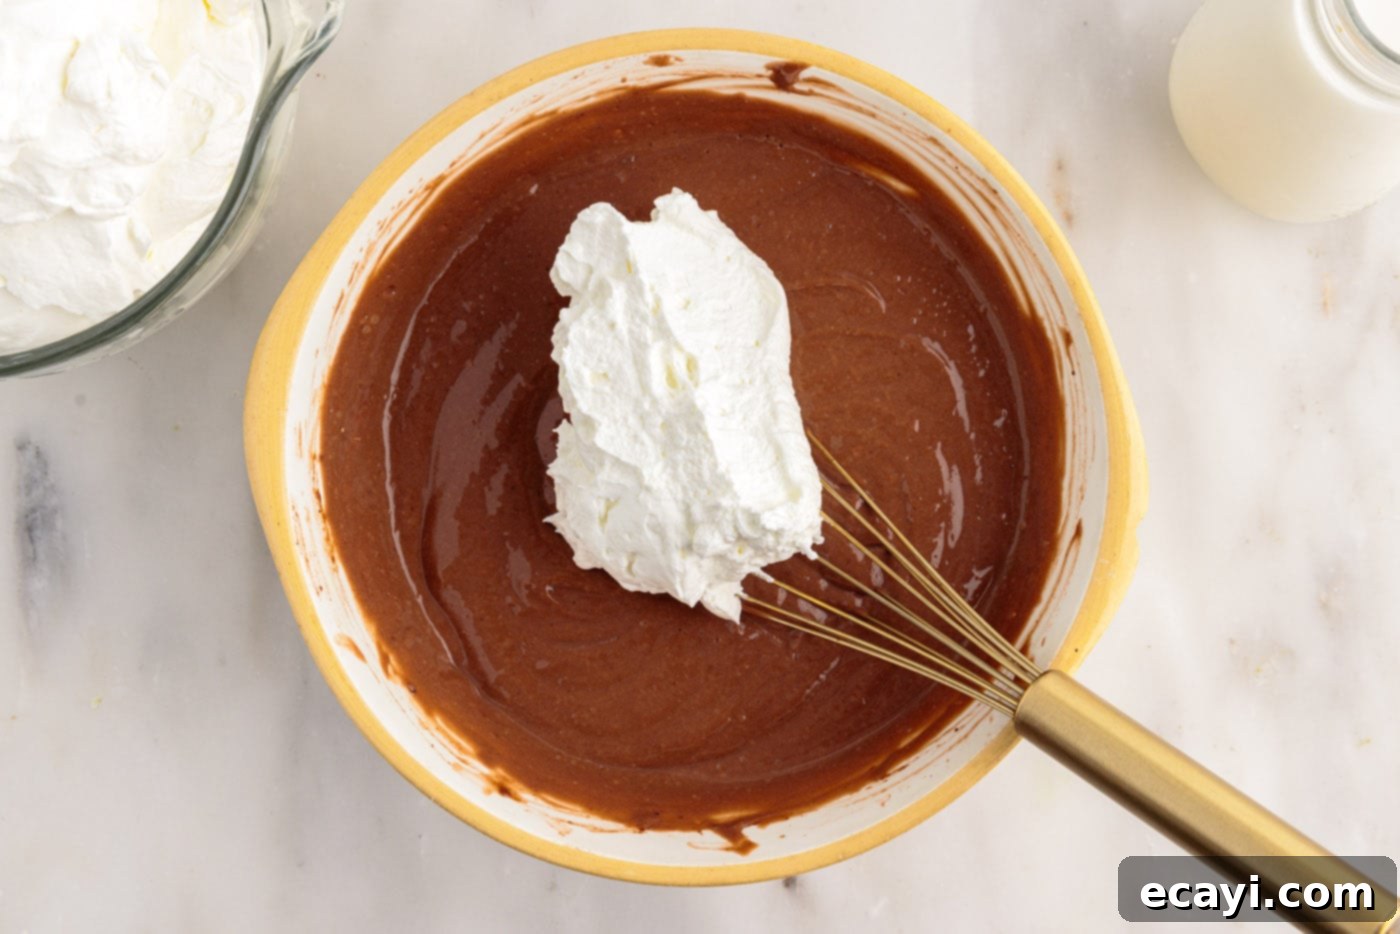
- Fold in Whipped Cream for Lightness: Gently stir about 1 cup of your prepared whipped cream into the thickened chocolate pudding mixture. This step lightens the pudding, making it even creamier and adding an extra touch of indulgence. Fold it in carefully to maintain as much air as possible in the whipped cream.


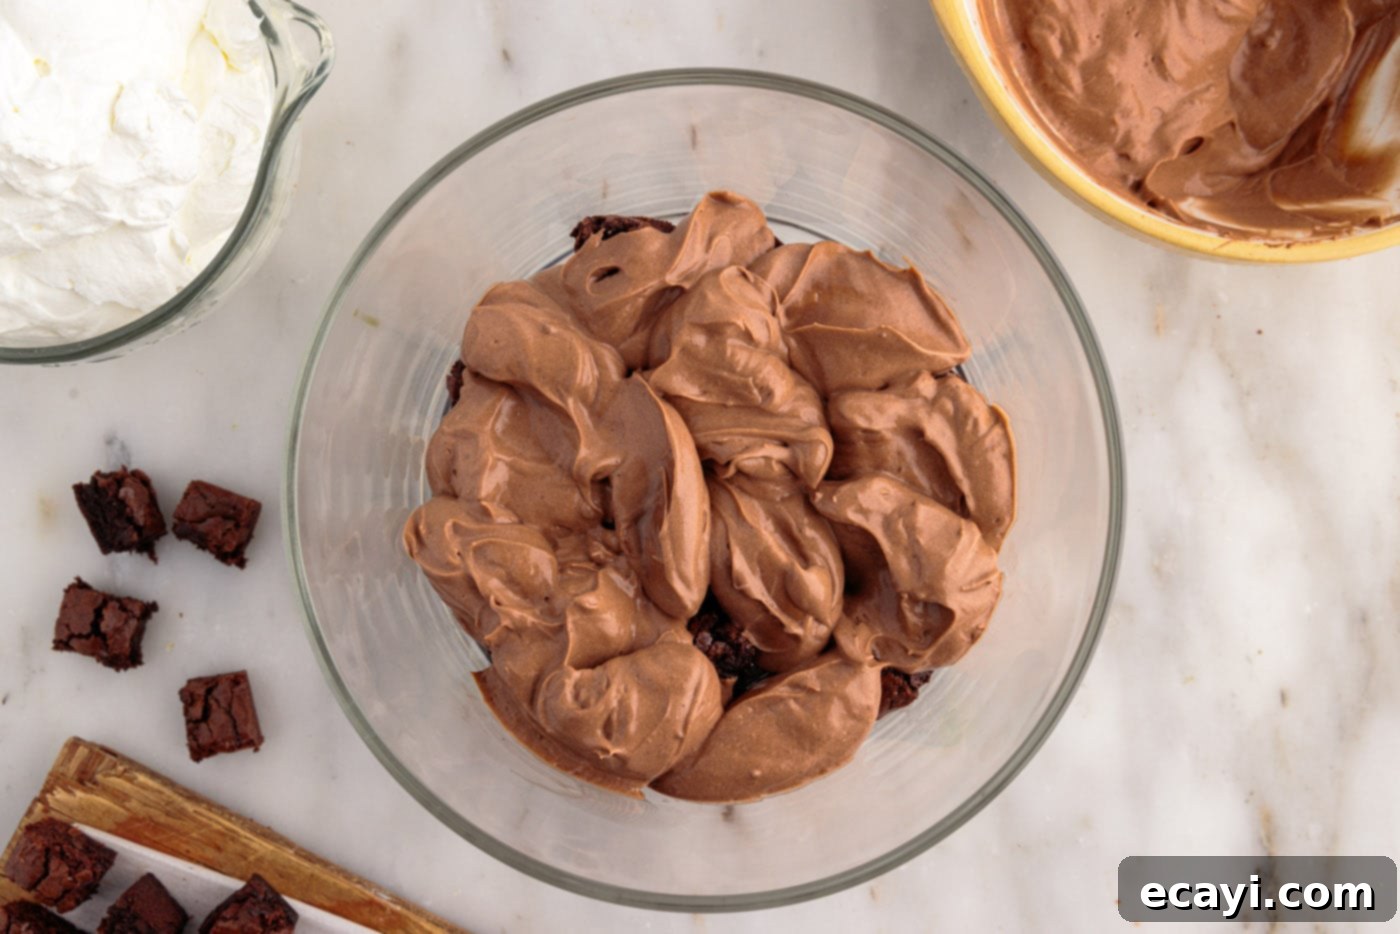
- First Layer Assembly: Take your trifle dish and arrange a generous layer of brownie pieces across the entire bottom. Ensure an even distribution. Over this brownie layer, spoon or spread half of the lightened chocolate pudding mixture, followed by half of the remaining whipped cream. Use an offset spatula or the back of a spoon to gently smooth each layer for a neat presentation.


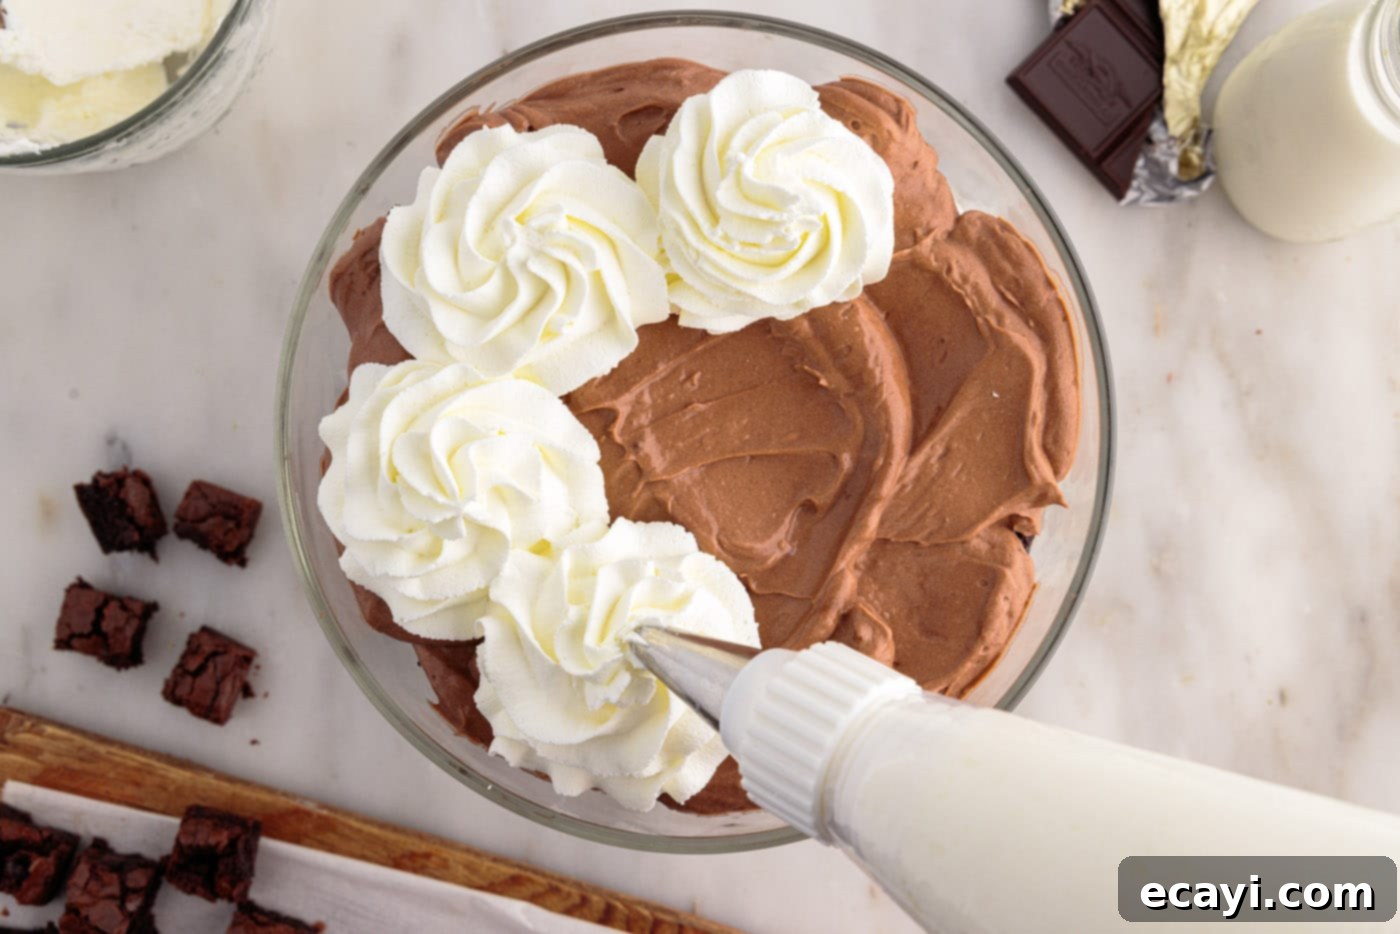
- Second Layer and Top Finishing: Add another layer of the remaining brownie pieces, ensuring full coverage. Follow this with the rest of the chocolate pudding mixture. For the grand finale, dollop or pipe the remaining whipped cream artistically over the top of the trifle. A piping bag with a star tip can create beautiful swirls and peaks, making your trifle look truly professional.

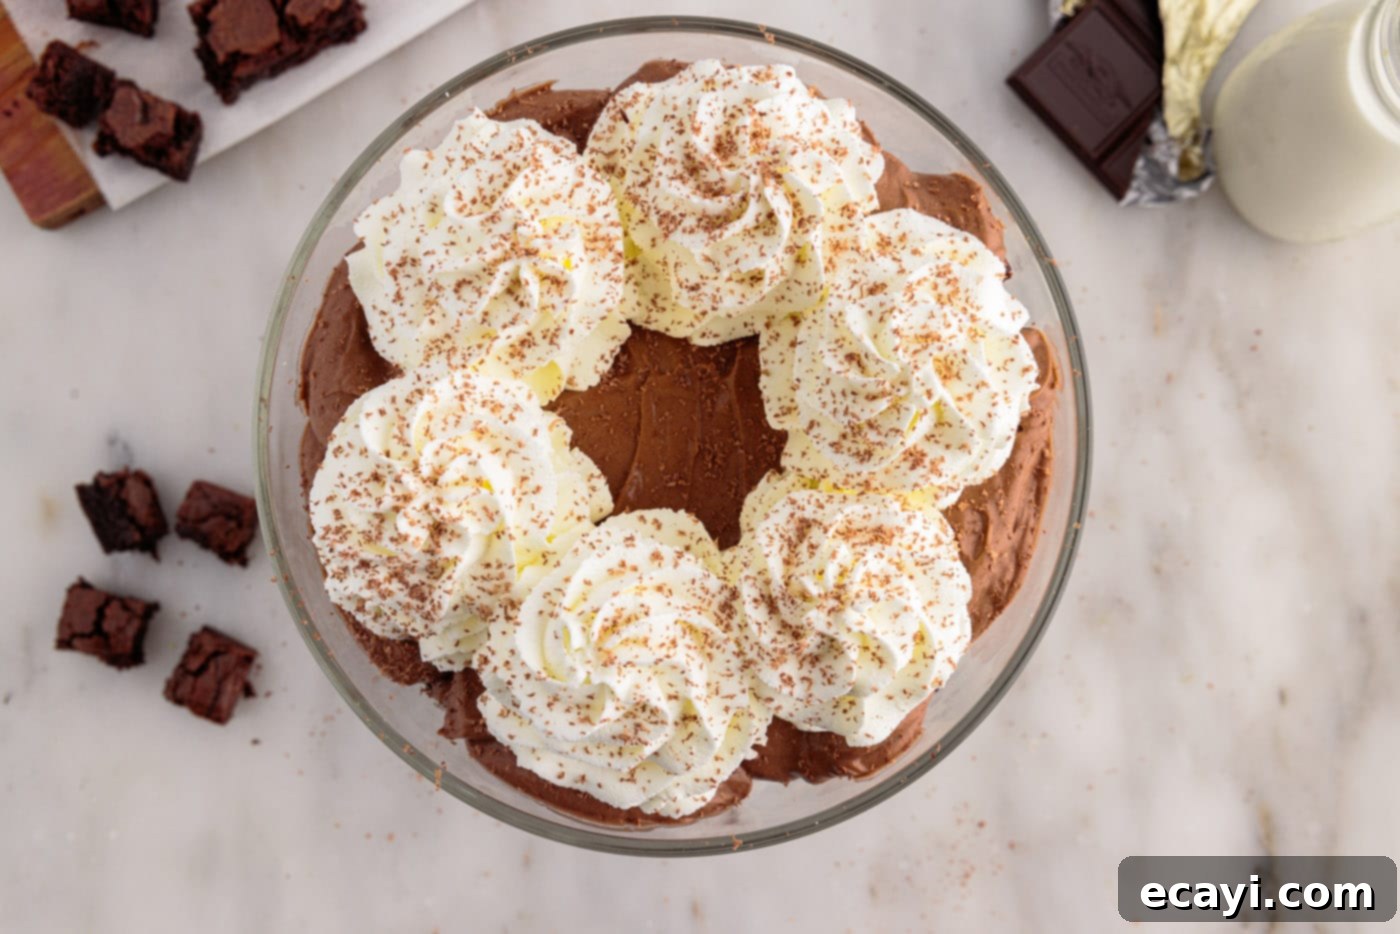
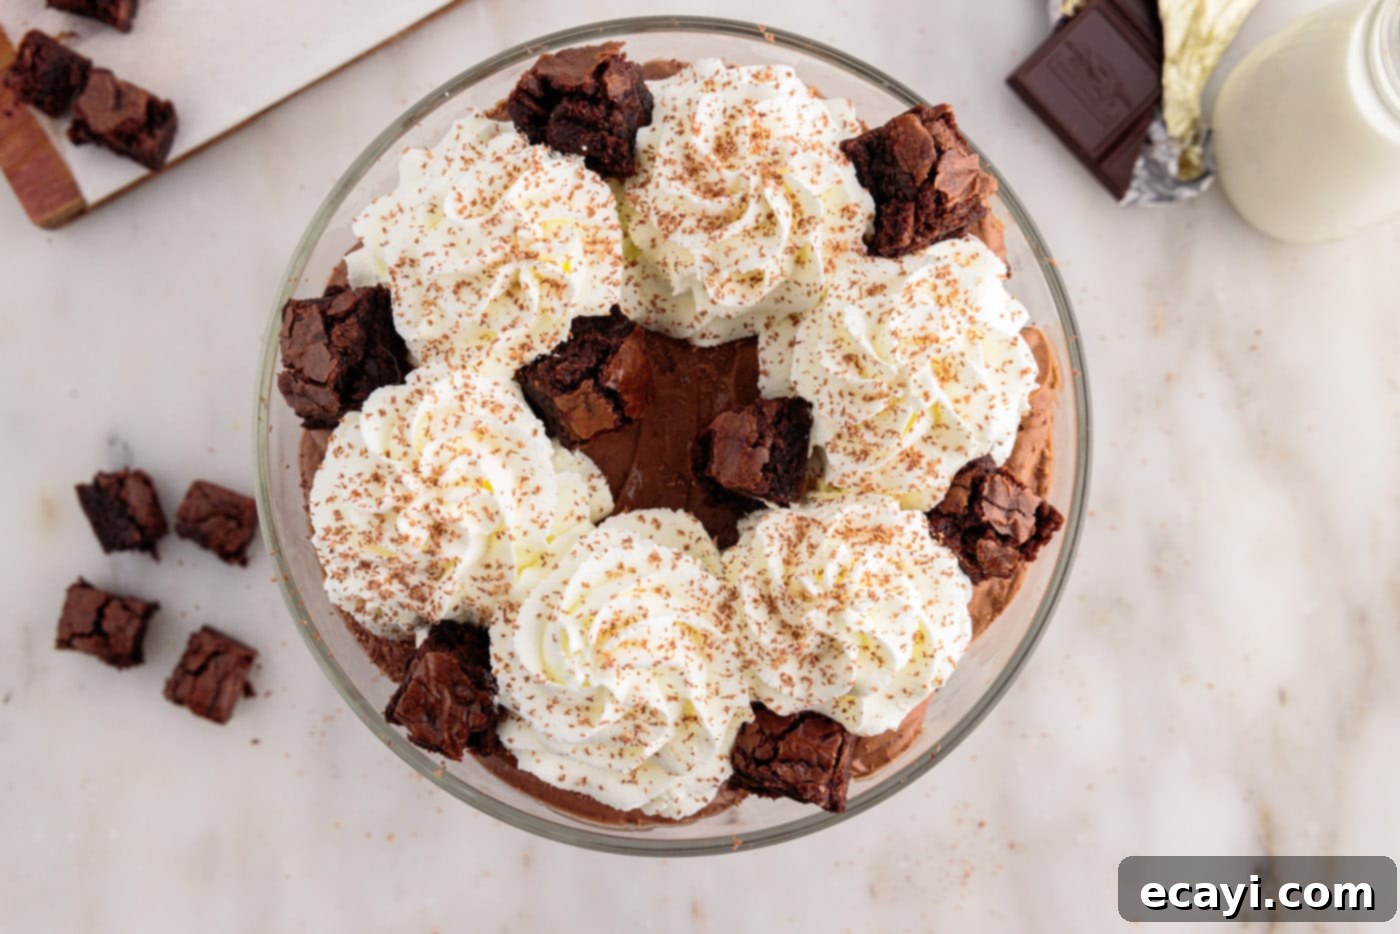
- Garnish and Chill: For an elegant touch, use a vegetable peeler or grater to shave some dark chocolate bar directly over the whipped cream. This not only adds visual appeal but also an extra burst of chocolate flavor. Finish by scattering a few more brownie pieces on top, if desired, for a final flourish. Once garnished, cover the trifle loosely with plastic wrap and chill in the refrigerator for at least 2-4 hours before serving. This allows the layers to set, the flavors to meld beautifully, and the trifle to reach its optimal cold, refreshing temperature.


Frequently Asked Questions & Expert Tips for Perfecting Your Trifle
To maintain its freshness and deliciousness, cover your assembled trifle tightly with plastic wrap. Alternatively, you can transfer individual servings into airtight containers. Store the trifle in the refrigerator for up to 3 days. While the flavors often deepen overnight, the texture of the brownies will soften, becoming more cake-like over time. For best results, consume within 2 days.
Yes, this trifle can be prepared in advance, which is fantastic for party planning! You can bake the brownies and prepare the chocolate pudding (without mixing in the whipped cream) a day ahead and store them separately in the refrigerator. However, for the freshest and fluffiest results, we recommend whipping the heavy cream and assembling the trifle on the day of your event, or at most, the morning of. If you absolutely need to assemble it a full day in advance, consider using a stabilized whipped topping like Cool Whip instead of homemade whipped cream, as Cool Whip holds its structure significantly better over extended periods in the refrigerator. Chilling your brownies after baking also makes them much easier to cut into clean, firm cubes, which is perfect for make-ahead prep.
Absolutely! Creating individual brownie trifles in dessert cups is a wonderful idea, especially for baby showers, bridal showers, garden parties, or any event where serving convenience is key. You can easily layer the ingredients into individual dessert cups (those with lids are fantastic for transport!). For a more miniature version, mini trifle dessert cups also work beautifully, offering adorable, bite-sized portions. This method provides a clean, elegant presentation and makes portion control a breeze, allowing each guest to enjoy their own perfectly layered dessert.
Certainly! This brownie trifle is incredibly versatile. For a fruity twist, consider adding fresh berries like sliced strawberries, raspberries, or blueberries between the layers. Sliced bananas also pair wonderfully with chocolate. For different flavor profiles, you could use instant vanilla or white chocolate pudding instead of chocolate pudding, or even drizzle caramel sauce or a raspberry coulis between layers. Mini chocolate chips, chopped nuts, or crushed candies (like Heath bar or Snickers) can also be incorporated for added texture and flavor.
The most common reason for runny pudding in a trifle is using “cook-and-serve” pudding mix instead of “instant.” Instant pudding contains specific gelling agents that activate with cold milk and set quickly without heat. Always double-check your box to ensure it says “instant.” Another reason could be not whisking long enough or using milk that isn’t cold enough. Always use very cold milk and whisk vigorously for the full 2-3 minutes as directed to achieve the proper thickness.
For beautiful, distinct layers, make sure your trifle bowl is clean and dry. When adding each component, spread it gently and evenly to the edges of the glass. Using an offset spatula helps in smoothing layers of pudding and whipped cream. Chilling the brownie chunks before cutting helps them maintain their shape. Don’t press down too hard on the layers; allow them to settle naturally. If your whipped cream or pudding is too soft, chill it for a few minutes before layering.
Creative Serving Suggestions for Your Brownie Trifle
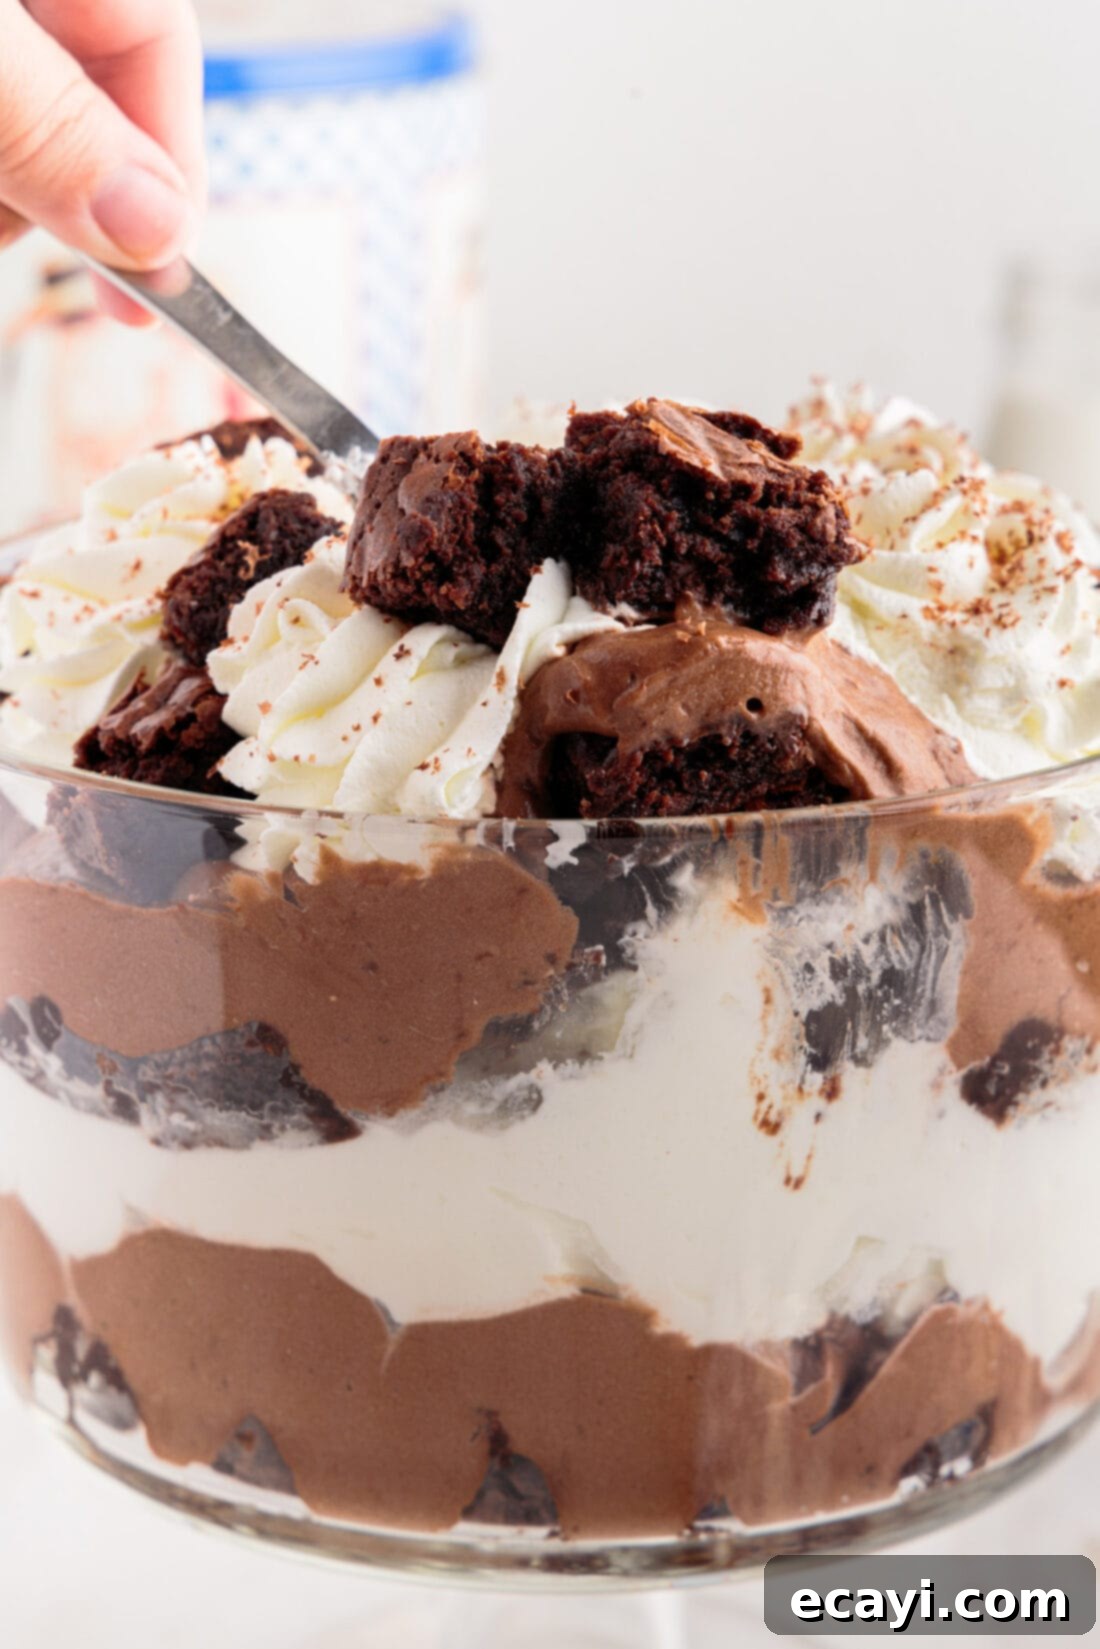
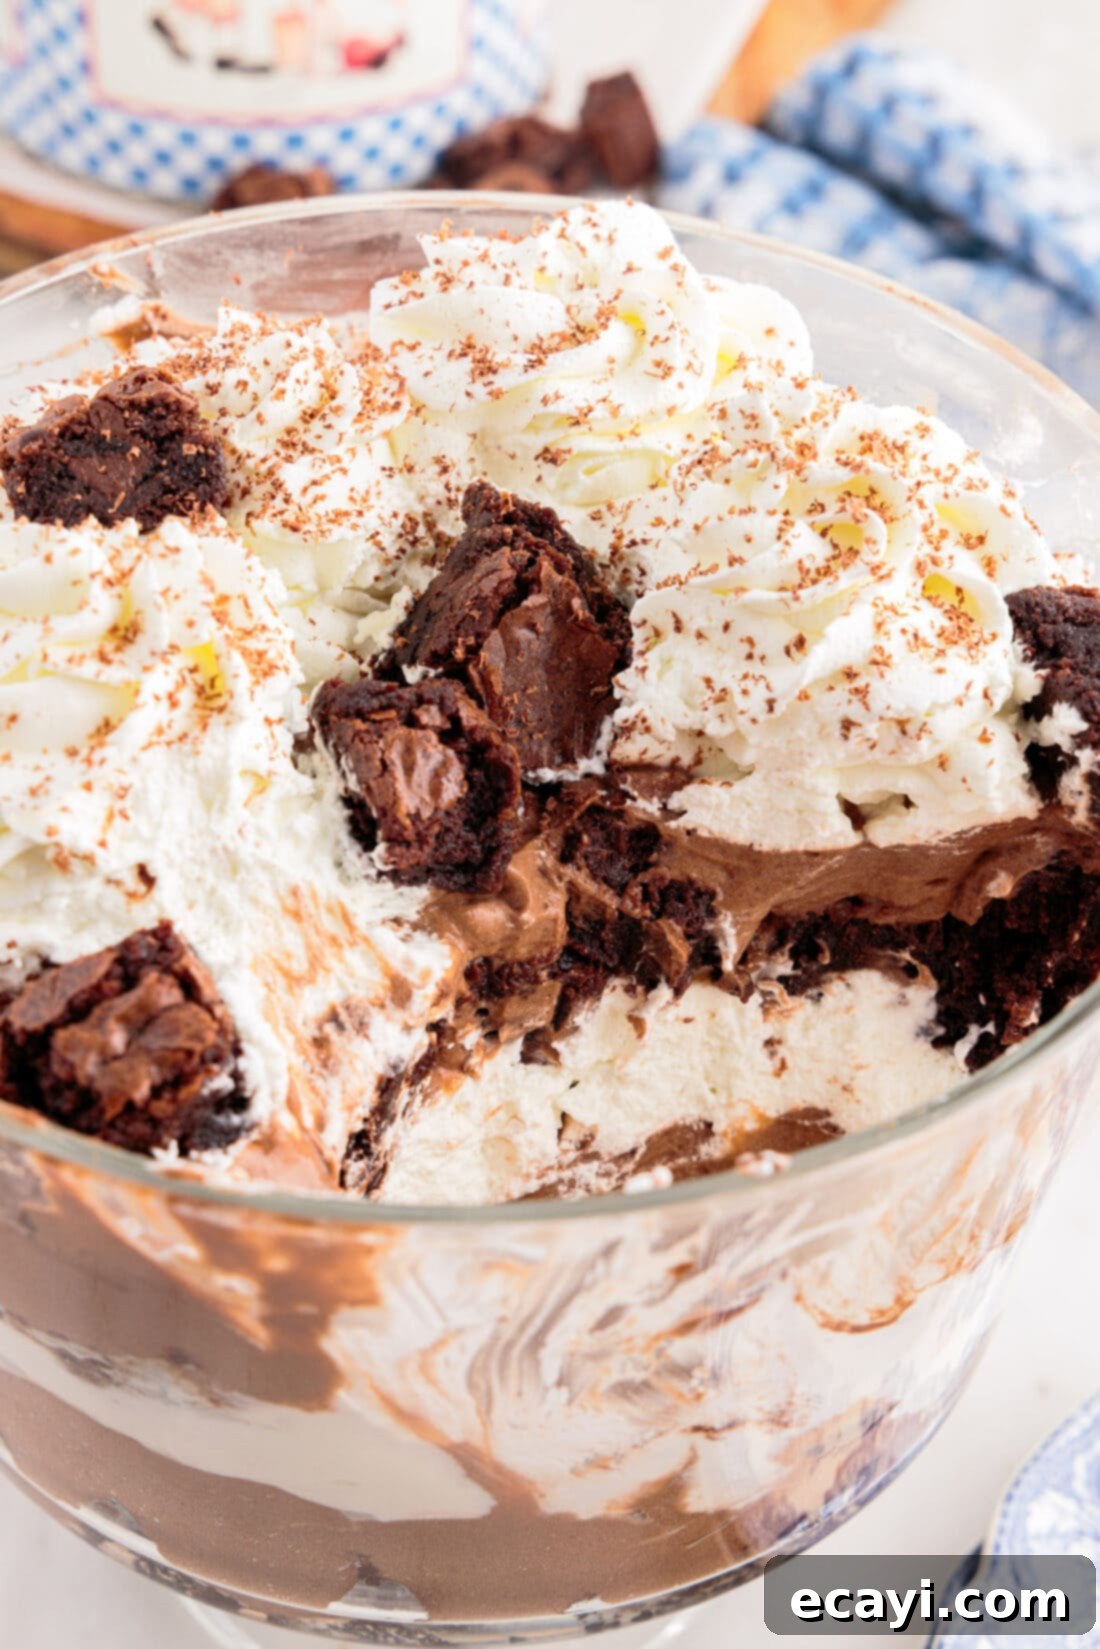
Once your exquisite brownie trifle has chilled to perfection, it’s ready to be the star of your dessert table! Scoop generous portions directly from the trifle dish into individual serving bowls or elegant dessert cups. The beauty of a trifle is its striking visual appeal, so make sure your serving dishes allow the layers to shine. Beyond the traditional presentation, here are some fantastic ways to serve and elevate your brownie trifle:
- Classic Garnish: The simple elegance of piped whipped cream and delicate chocolate shavings (or curls) as we did is always a winner. It adds a sophisticated touch and a hint of extra chocolate flavor and texture. You can achieve beautiful chocolate curls by gently scraping a vegetable peeler along the edge of a block of chocolate.
- Cookie Crunch: Introduce another layer of texture by sprinkling crushed or whole Oreo cookies (or other chocolate sandwich cookies) on top or between the layers. The contrast between the soft trifle and crunchy cookies is delightful.
- Sweet Sprinkles & Chips: A colorful medley of chocolate chips, mini chocolate chips, or festive sprinkles can add a playful touch, especially for birthdays or casual gatherings. White chocolate chips would provide a nice visual contrast as well.
- Candy Bar Delight: For an extra dose of indulgence, chop up your favorite candy bars like Reese’s Peanut Butter Cups, Snickers, Twix, or Butterfinger and scatter them over the whipped cream topping. This adds a burst of varied flavors and textures that chocolate lovers will adore.
- Decadent Drizzles: Elevate the flavor profile with a generous drizzle of warm caramel sauce, rich chocolate fudge sauce, or even a tangy raspberry sauce over each serving. These additions can transform the trifle into an even more luxurious dessert.
- A La Mode: Serve each portion alongside a scoop of premium vanilla bean ice cream or a complementary flavor like coffee or mint chocolate chip for an ultimate dessert experience. The cold ice cream melting into the trifle is simply divine.
- Nutty Crunch: Toasted chopped nuts like pecans, walnuts, or almonds can add a sophisticated crunch and a warm, earthy flavor that complements the chocolate beautifully.
- Fresh Fruit Burst: Brighten up the rich chocolate with a scattering of fresh berries like raspberries, blueberries, or thinly sliced strawberries just before serving. Their tartness provides a wonderful contrast.
Whether you’re hosting a formal dinner, a casual family reunion, a holiday feast, or celebrating a special milestone, this brownie trifle with its endless customization possibilities is sure to be a memorable dessert that caters to all palates and leaves everyone craving more!
Explore More Delicious Trifle Creations
If you’ve fallen in love with the ease and elegance of trifle desserts, you’re in luck! There’s a whole world of layered delights waiting to be discovered. Trifles are incredibly versatile, adapting to a myriad of flavor combinations and seasonal ingredients. From vibrant fruit trifles to rich and decadent chocolate varieties, these impressive desserts are perfect for any occasion. Here are some more of our favorite trifle recipes that you might enjoy:
- Banana Trifle: A delightful combination of bananas, vanilla pudding, and whipped cream.
- Raspberry Trifle: Layers of fresh raspberries, cake, and creamy goodness for a fruity treat.
- Chocolate Lasagna Trifle: All the flavors of a classic chocolate lasagna, transformed into a beautiful layered trifle.
- Strawberry Shortcake Trifle: A perfect summer dessert featuring fresh strawberries, soft cake, and whipped cream.
- Chocolate Peppermint Trifle: A festive and refreshing trifle, ideal for the holiday season, with a cool peppermint kick.
Each of these recipes offers a unique flavor profile and an equally stunning presentation, making them excellent choices for entertaining or simply treating yourself to something special. Happy layering!
I love to bake and cook and share my kitchen experience with all of you! Remembering to come back each day can be tough, that’s why I offer a convenient newsletter every time a new recipe posts. Simply subscribe and start receiving your free daily recipes!
Brownie Trifle
IMPORTANT – There are often Frequently Asked Questions within the blog post that you may find helpful. Simply scroll back up to read them!
Print It
Pin It
Rate It
Save ItSaved!
Ingredients
- 2 boxes brownie mix prepared, yielding one 13×9 pan of brownies
- 3 cups cold whole milk
- 5.1 ounce box instant chocolate pudding mix
- 8 cups whipped cream (equivalent to a 32 oz carton of heavy whipping cream, sweetened to taste) OR Cool Whip
- dark chocolate bar shaved, optional for garnish
Things You’ll Need
-
Trifle bowl
-
Mixing bowls
-
Whisk
Before You Begin
- You will need a 13×9 inch pan of prepared brownies for this recipe – which is equal to two boxes of brownie mix, baked and completely cooled. There might be a few pieces of brownies leftover, which you can use as extra garnish or simply enjoy as a chef’s treat. You can use store-bought brownies or even make a double batch of homemade fudge brownies if you prefer for a truly artisanal touch.
- Be sure to use instant chocolate pudding mix for this recipe otherwise the mixture will not set properly. Cook-and-serve pudding will not thicken when mixed cold.
- We recommend making homemade whipped cream for the best flavor and texture. Whip a full 32 oz. carton of heavy whipping cream and sweeten it with about 1 cup of powdered sugar (you can also use granulated sugar, but powdered sugar offers better stability and smoother texture). Whip until soft peaks form, then add the sugar, then continue whipping until stiff peaks form. Don’t overwhip to avoid grainy cream. You can easily substitute with Cool Whip if desired for convenience and increased stability, especially if making ahead.
- You can prepare the pudding and bake the brownies the day before. Store them separately in the refrigerator. The brownies are easiest to cut and assemble if they’ve been chilled, as this firms them up and prevents crumbling. The whipped cream should be whipped right before assembly for the freshest results. If you plan to assemble this trifle a day in advance, using Cool Whip is highly recommended as it is significantly more stable compared to homemade whipped cream. For optimal freshness and presentation, it’s best to assemble this trifle the morning of your event.
- STORAGE – Cover the assembled trifle tightly with plastic wrap or transfer to an airtight container. Store in the refrigerator for up to 3 days. The brownies will soften over time, but the flavor will remain delicious.
Instructions
-
Cut completely cooled brownies into uniform 1-inch cubes.
-
In a large mixing bowl, whisk together the cold milk and instant chocolate pudding mix for 2-3 minutes until the pudding begins to thicken significantly.
-
Gently stir in about 1 cup of the prepared whipped cream into the thickened chocolate pudding mixture until just combined.
-
Arrange a layer of brownie pieces to cover the bottom of a trifle dish. Evenly spoon ½ of the lightened pudding mixture and then ½ of the remaining whipped cream over the brownie pieces.
-
Add a second layer of the remaining brownies, followed by the rest of the pudding mixture. Dollop or pipe the remaining whipped cream artistically to top the trifle.
-
Shave some dark chocolate bar over the whipped cream for an elegant garnish. Optionally, scatter a few more brownie pieces on top. Chill for at least 2-4 hours before serving to allow flavors to meld and layers to set.
Nutrition
The recipes on this blog are tested with a conventional gas oven and gas stovetop. It’s important to note that some ovens, especially as they age, can cook and bake inconsistently. Using an inexpensive oven thermometer can assure you that your oven is truly heating to the proper temperature. If you use a toaster oven or countertop oven, please keep in mind that they may not distribute heat the same as a conventional full sized oven and you may need to adjust your cooking/baking times. In the case of recipes made with a pressure cooker, air fryer, slow cooker, or other appliance, a link to the appliances we use is listed within each respective recipe. For baking recipes where measurements are given by weight, please note that results may not be the same if cups are used instead, and we can’t guarantee success with that method.
