The Ultimate Guide to Baking a Creamy, Classic Cherry Cheesecake from Scratch
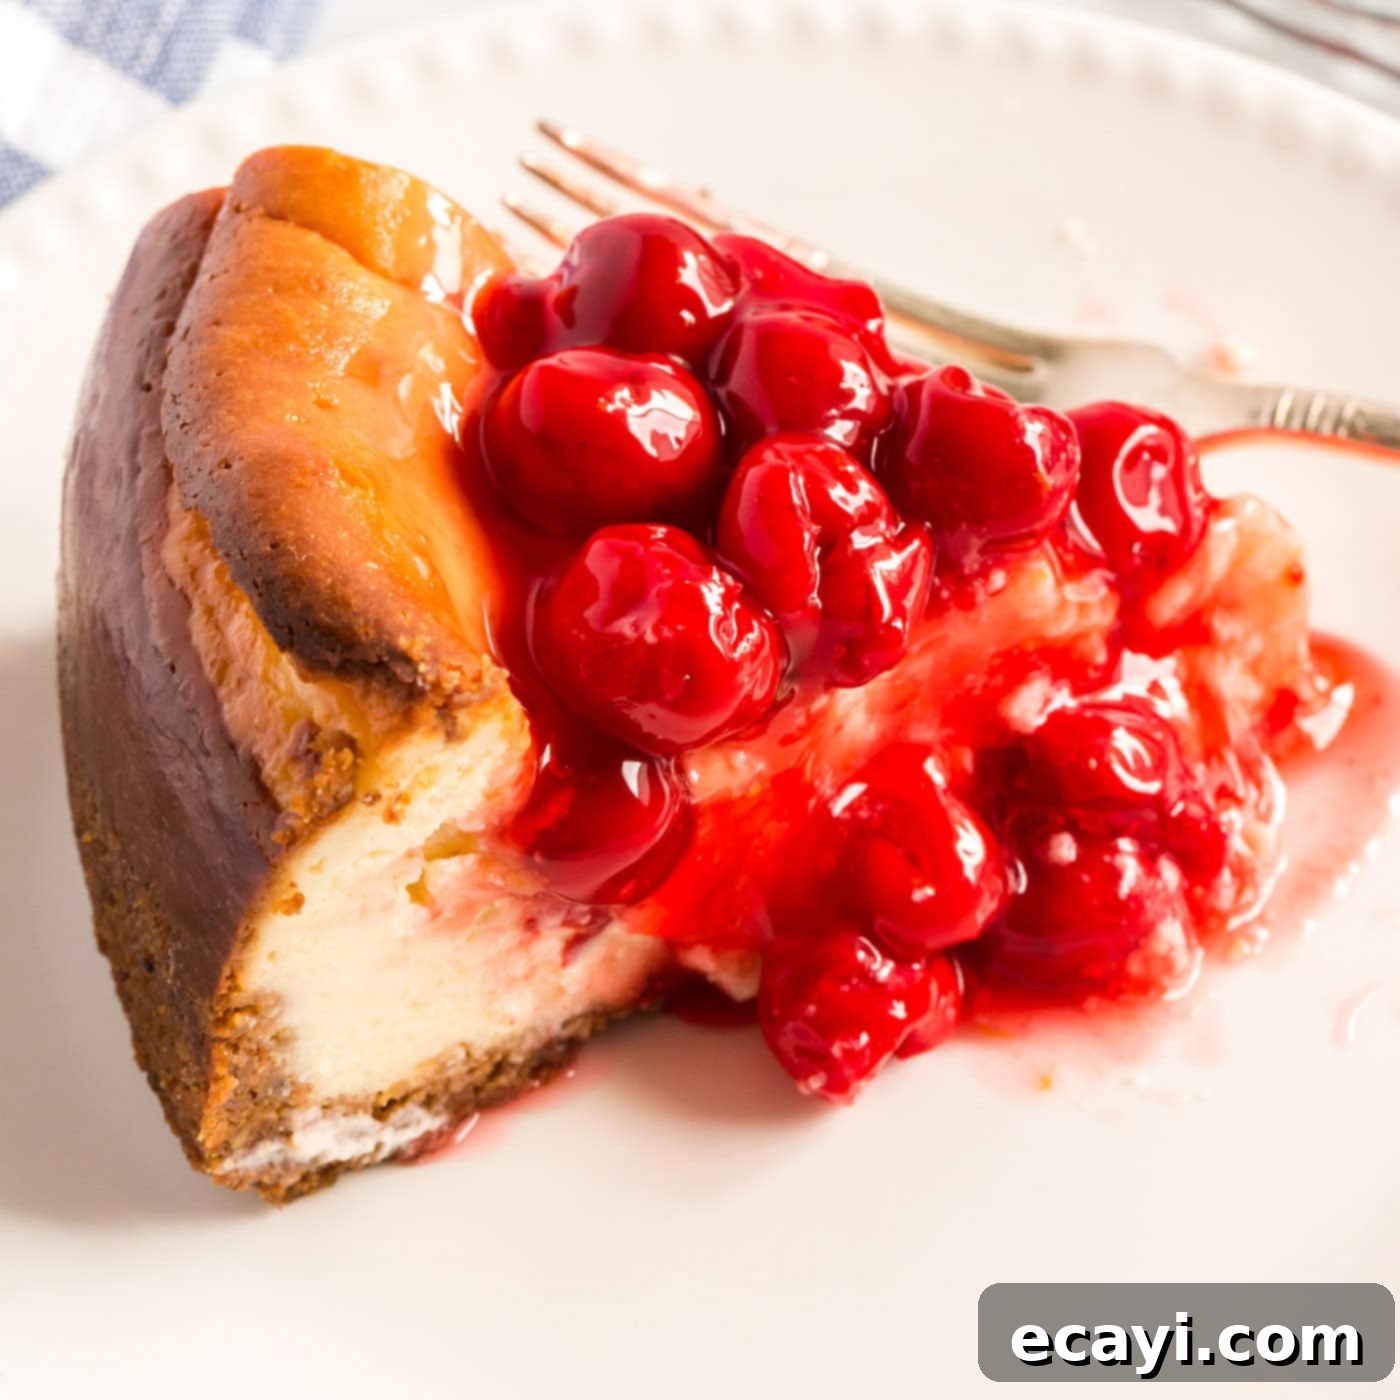
Are you dreaming of sinking your teeth into the most decadent, perfectly baked cherry cheesecake you’ve ever tasted? Look no further! This comprehensive guide will walk you through crafting a creamy, rich cheesecake, topped with a luscious cherry pie filling, using just ten essential ingredients. Forget those quick, simplified versions; this recipe is for a truly satisfying, old-fashioned baked cheesecake that will become your go-to dessert for any occasion. Prepare to impress yourself and your guests with this delightful, homemade treat!
Why This Homemade Cherry Cheesecake Recipe Stands Out
There’s an undeniable magic to a cheesecake baked from scratch, and this cherry cheesecake truly embodies that magic. In a world full of shortcuts, many cheesecake recipes have been simplified, reduced to a mere assembly of cream cheese, instant pudding, and Cool Whip piled into a pre-made crust. While those quick fixes certainly have their place for a speedy dessert, they simply can’t compare to the profound richness, smooth texture, and deep flavor profile of a good old-fashioned, oven-baked cheesecake.
This recipe works because it honors the traditional methods that ensure a superior result. We prioritize quality ingredients and specific techniques, like the crucial water bath, to create a cheesecake that is luxuriously creamy, perfectly set, and free from cracks. The careful blending of high-quality cream cheese with fresh eggs, a touch of sour cream for tenderness, and the subtle tang of lemon juice creates a filling that is both ethereal and satisfying. When combined with a robust graham cracker and walnut crust and crowned with a vibrant cherry topping, you get a dessert that isn’t just eaten, but savored. It’s an experience, not just a treat, and that’s why this recipe will earn its place as a cherished favorite in your kitchen.
RELATED: For a quicker alternative without sacrificing flavor, be sure to try our Instant Pot Cherry Cheesecake too!
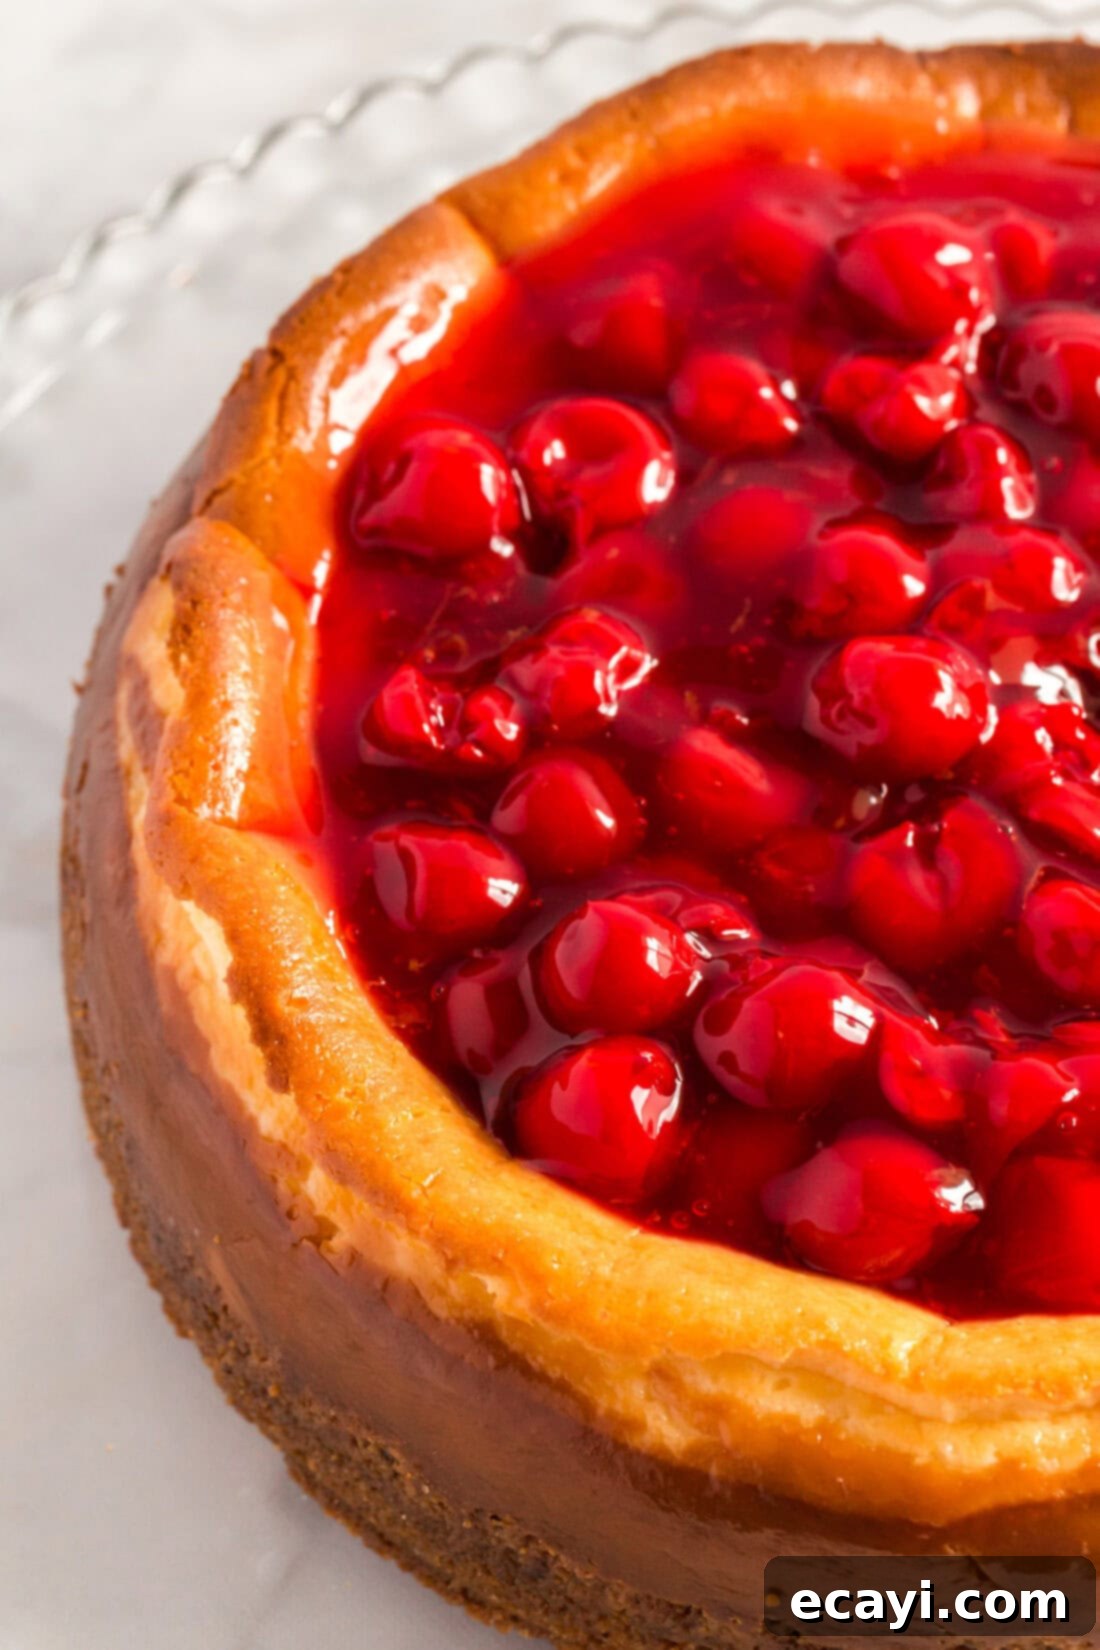
Key Ingredients for the Best Cherry Cheesecake & Smart Substitutions
Achieving the perfect cheesecake begins with understanding your ingredients. Below, you’ll find detailed information on each component, along with helpful tips and substitution suggestions. For all exact measurements and full instructions, please refer to the printable recipe card at the end of this post.
CRUST – Our recipe calls for a delightful mix of graham cracker crumbs and finely chopped walnuts, providing a wonderful textural contrast and depth of flavor. If walnuts aren’t your preference or you have nut allergies, you can easily use other nuts like pecans or almonds, or simply increase the amount of graham cracker crumbs for a classic, nut-free crust. For a different flavor profile, consider using vanilla wafers, ginger snaps, or even chocolate cookies for the crumbs. Just ensure your chosen crumbs are finely crushed and mixed thoroughly with the melted butter and a small amount of sugar to create a cohesive base that holds together beautifully.
CREAM CHEESE – This is the star of your cheesecake! Always opt for full-fat block cream cheese, not the spreadable kind in a tub, as it has a higher fat content and firmer consistency essential for a rich, dense cheesecake. Ensure your cream cheese is completely softened to room temperature before you begin mixing. This is crucial for achieving a smooth, lump-free batter. Cold cream cheese will result in a lumpy texture and may lead to overmixing, which can incorporate too much air and cause cracking.
SOUR CREAM – The addition of sour cream is a secret weapon for an incredibly smooth, moist, and tender cheesecake texture. It introduces a subtle tang that balances the sweetness of the cream cheese, and its acidity helps to break down the proteins in the cream cheese, contributing to that silky mouthfeel. If sour cream isn’t available, full-fat Greek yogurt can be used as a substitute, but be aware it might alter the texture slightly and introduce a more pronounced tang.
EGGS – Eggs are your primary binding agent, providing structure and richness to the cheesecake. It’s imperative to use large eggs, as specified in the recipe. Jumbo eggs contain more liquid, which can throw off the delicate balance of the batter and potentially lead to a less firm set. Like cream cheese, ensure your eggs are at room temperature. This helps them incorporate more evenly into the batter, preventing overmixing and promoting a consistent, smooth cheesecake.
SUGAR – Granulated sugar sweetens the cheesecake and contributes to its overall structure and moisture. We divide the sugar between the crust and the filling to ensure balanced sweetness throughout. Feel free to adjust the amount slightly in the filling to suit your preference, but don’t reduce it too drastically as it plays a role in the cheesecake’s texture.
FILLING (Cherry Pie Filling) – The luscious cherry topping is what makes this a “cherry” cheesecake! You have the flexibility to use a high-quality homemade cherry pie filling for an extra touch of gourmet goodness, or opt for a convenient canned variety from the grocery store. If using canned, look for brands with high fruit content. To elevate a canned filling, you can stir in a handful of fresh or frozen cherries, a dash of almond extract, or a bit of fresh lemon zest for brightness.
CORNSTARCH – This seemingly small addition plays a big role in the cheesecake’s success. Cornstarch acts as a stabilizer, helping to create a firmer, more stable cheesecake and significantly reducing the likelihood of unsightly cracks forming on the surface during baking and cooling. It contributes to that perfectly smooth, dense consistency without altering the flavor. In a pinch, all-purpose flour can be used, but cornstarch typically yields a silkier texture.
LEMON JUICE & VANILLA EXTRACT – These flavor enhancers are non-negotiable! Freshly squeezed lemon juice brightens the overall flavor profile, cutting through the richness of the cream cheese and adding a subtle, zesty note. Pure vanilla extract adds warmth and depth, complementing the other flavors beautifully. Don’t skimp on quality for these; they make a noticeable difference.
Step-by-Step Guide: Crafting Your Perfect Cherry Cheesecake
These step-by-step photos and detailed instructions are here to guide you through the process, helping you visualize how to make this delicious recipe. For a convenient printable version of this recipe, complete with precise measurements and instructions, simply Jump to Recipe at the bottom of this post.
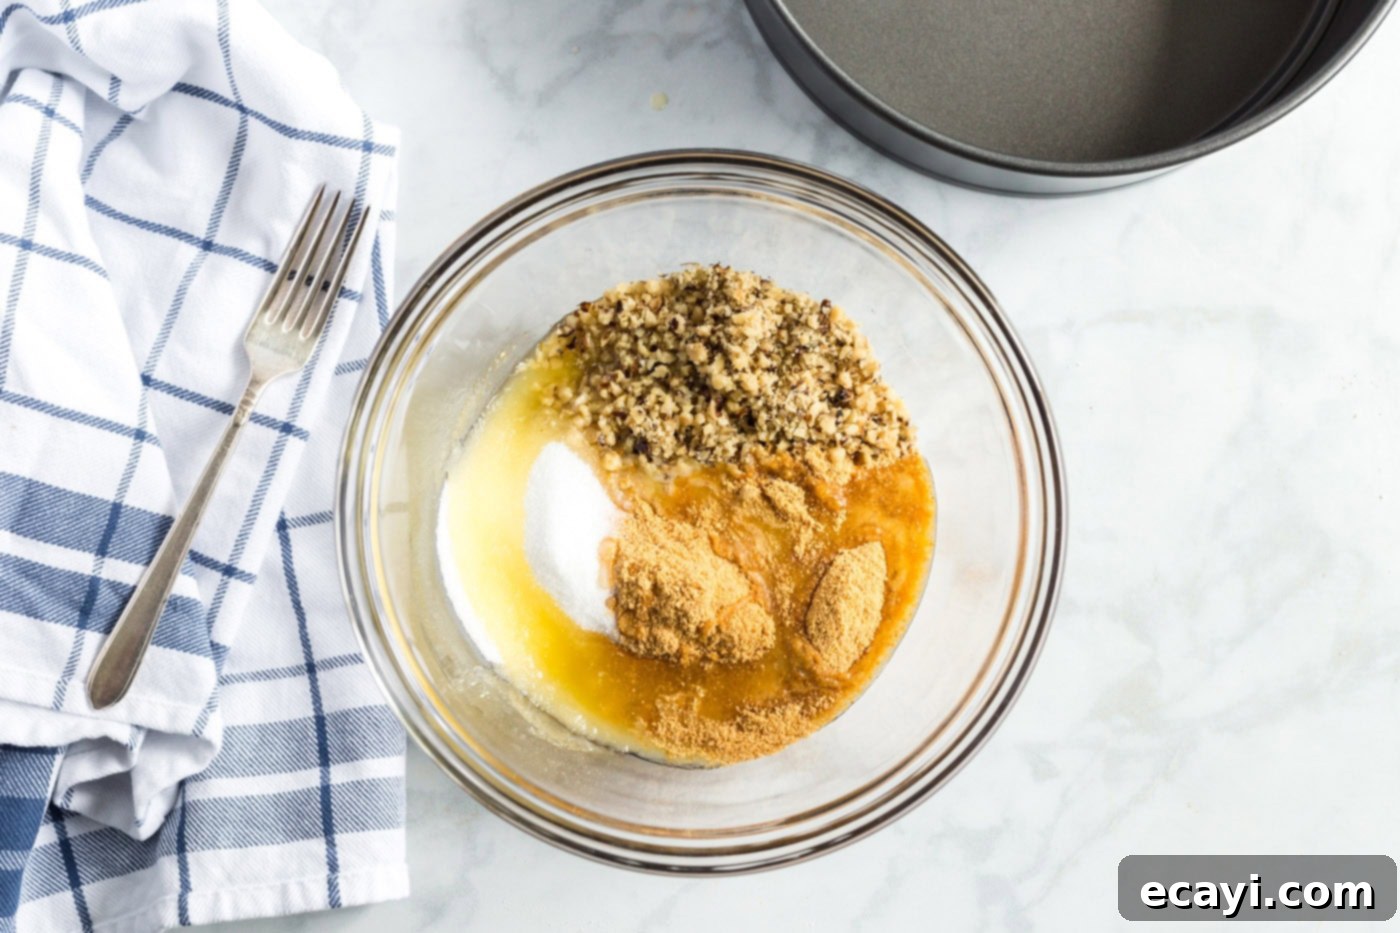
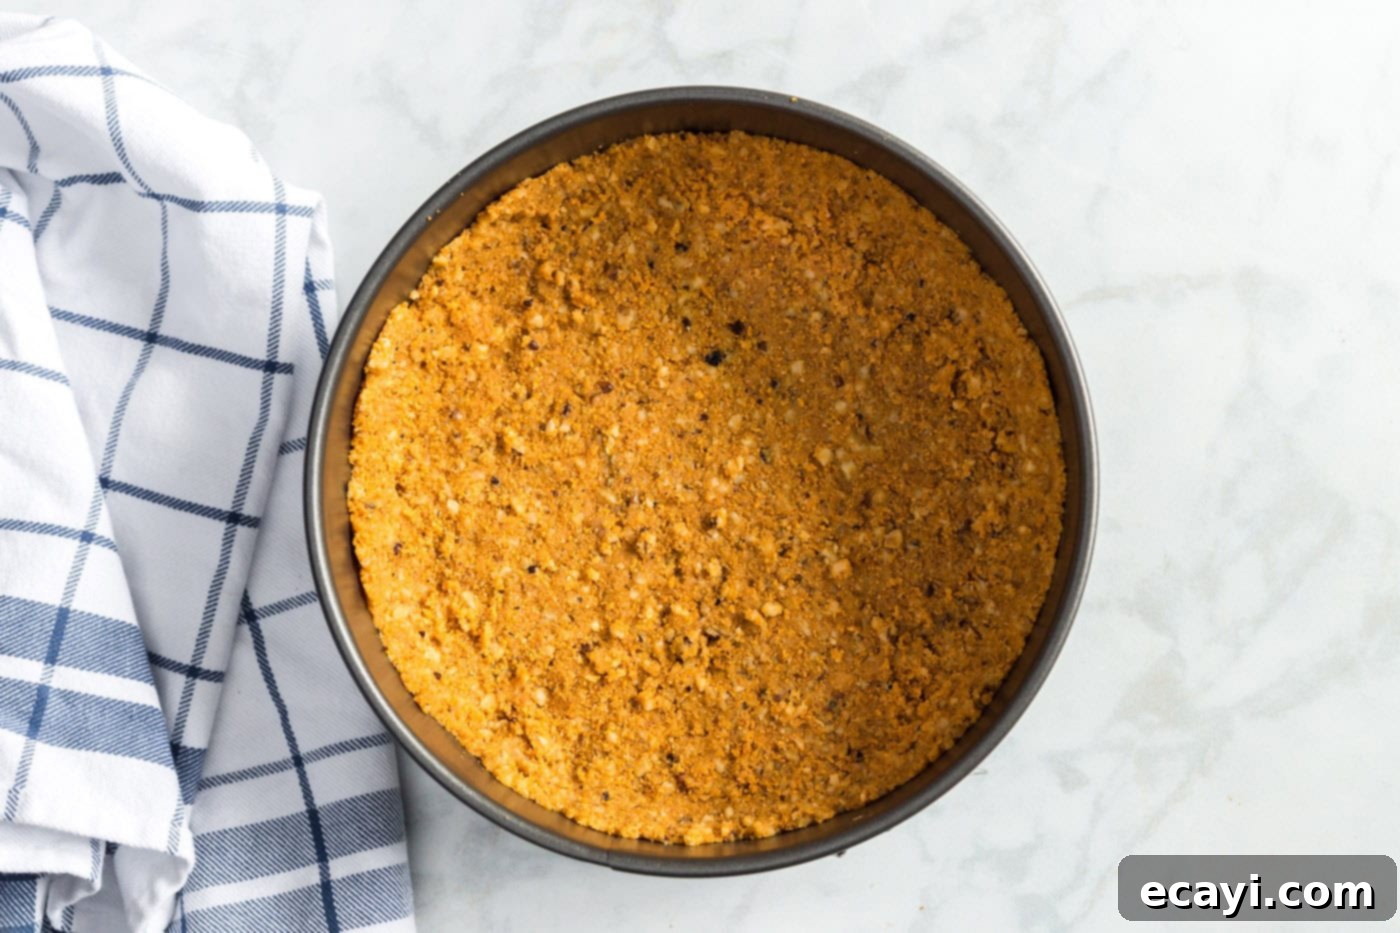
- **Prepare the Crust:** Begin by preheating your oven to 350 degrees F (175°C). In a medium-sized bowl, combine the graham cracker crumbs, finely chopped walnuts (if using), melted and cooled butter, and 1/4 cup of the granulated sugar. Use a fork to mix these ingredients thoroughly until the mixture resembles wet sand and holds together when pressed. This ensures an even distribution of flavor and moisture. Firmly press this mixture onto the bottom and about 1 1/2 inches up the side of a 9-inch springform pan. Pressing firmly is key to a stable crust that won’t crumble. For an extra crispy crust, you can pre-bake it for 8-10 minutes, then let it cool before adding the filling.


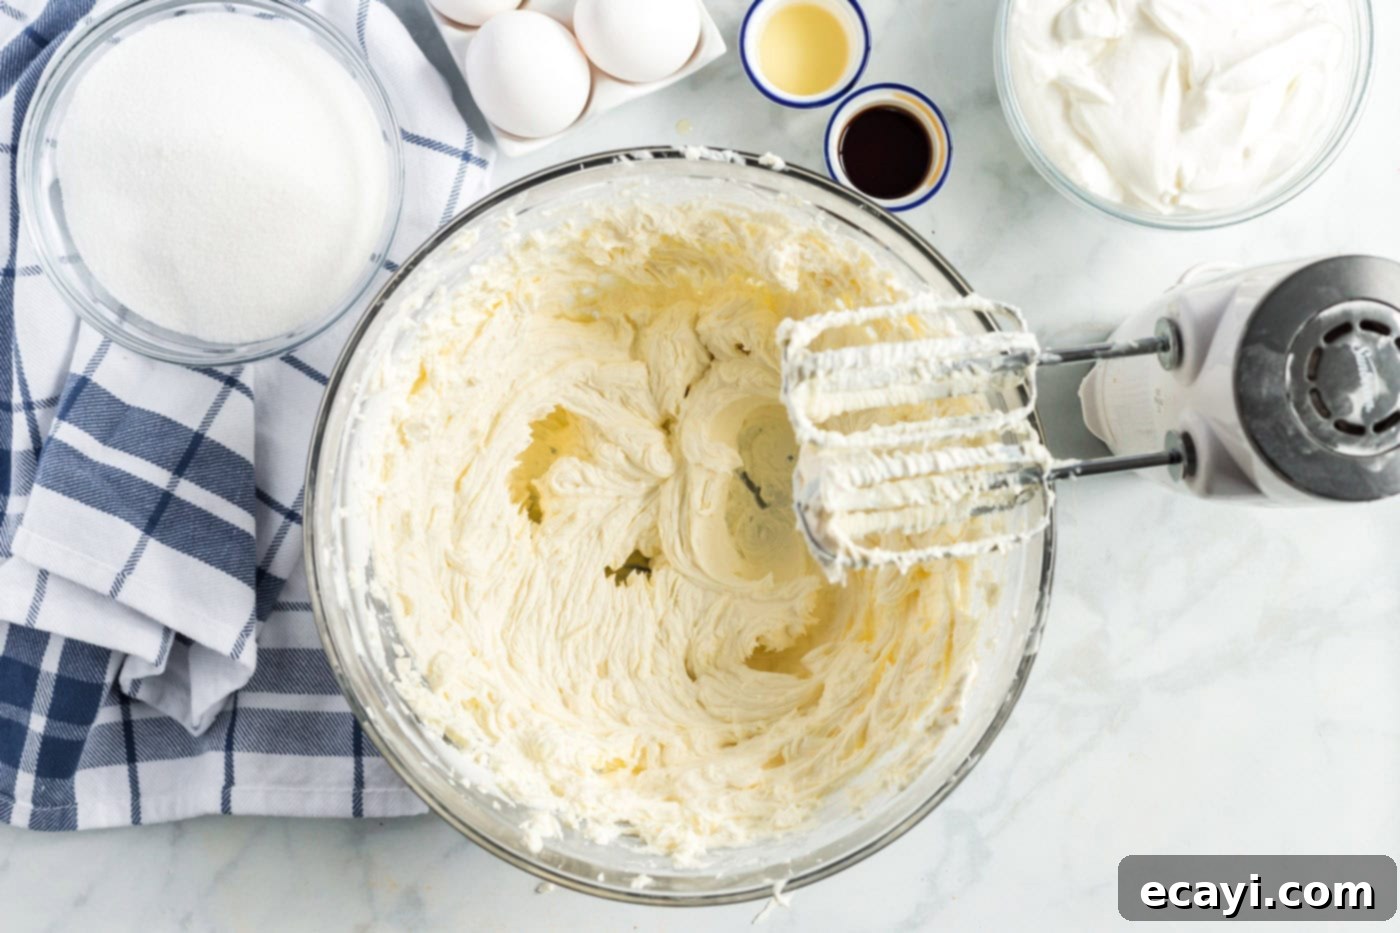
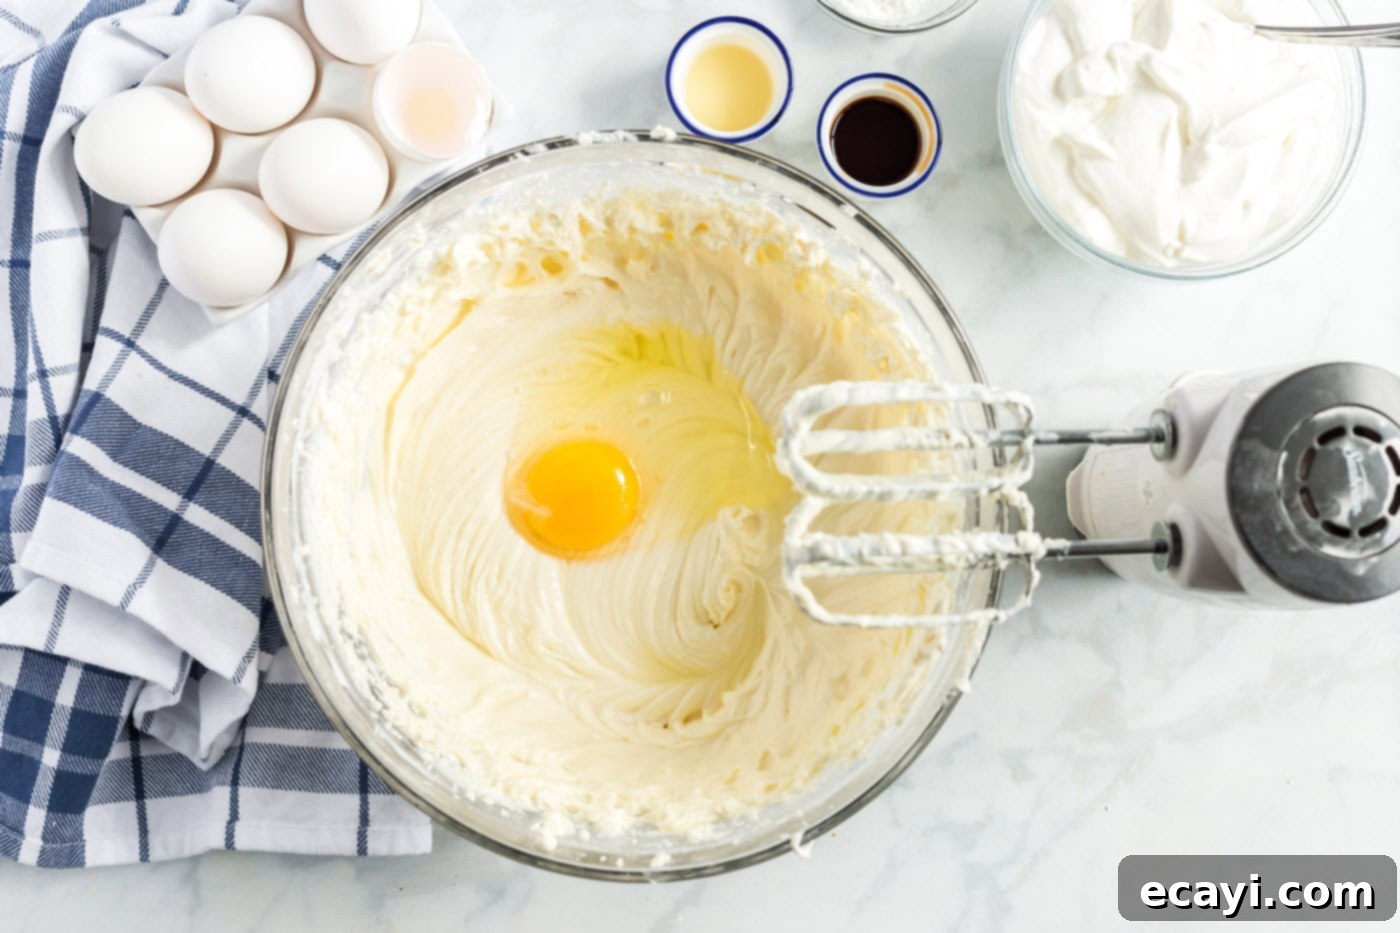
- **Create the Creamy Filling Base:** In a large mixing bowl, using an electric mixer set to medium speed, beat the softened cream cheese until it is completely smooth and creamy, with no lumps remaining. This might take 2-3 minutes. Gradually, and slowly, beat in 1 1/2 cups of sugar until well combined. Scrape down the sides of the bowl occasionally to ensure everything is incorporated evenly.

- **Incorporate Remaining Filling Ingredients:** Reduce the mixer speed to low. Beat in the eggs, one at a time, incorporating each egg fully before adding the next. This prevents overmixing, which can introduce too much air and lead to cracks. Once the eggs are just combined, beat in the sour cream, cornstarch, 1 tablespoon of lemon juice, and vanilla extract. Continue beating at medium speed for three minutes. This final beat ensures all ingredients are perfectly emulsified, creating a smooth, velvety batter that is essential for a truly perfect cheesecake.

- **Prepare for the Water Bath:** To ensure a gently baked, supremely creamy, and crack-free cheesecake, a water bath (bain-marie) is highly recommended. Begin by wrapping the bottom of your springform pan tightly with several layers of heavy-duty aluminum foil. This creates a protective barrier, preventing any water from seeping into your crust during baking.
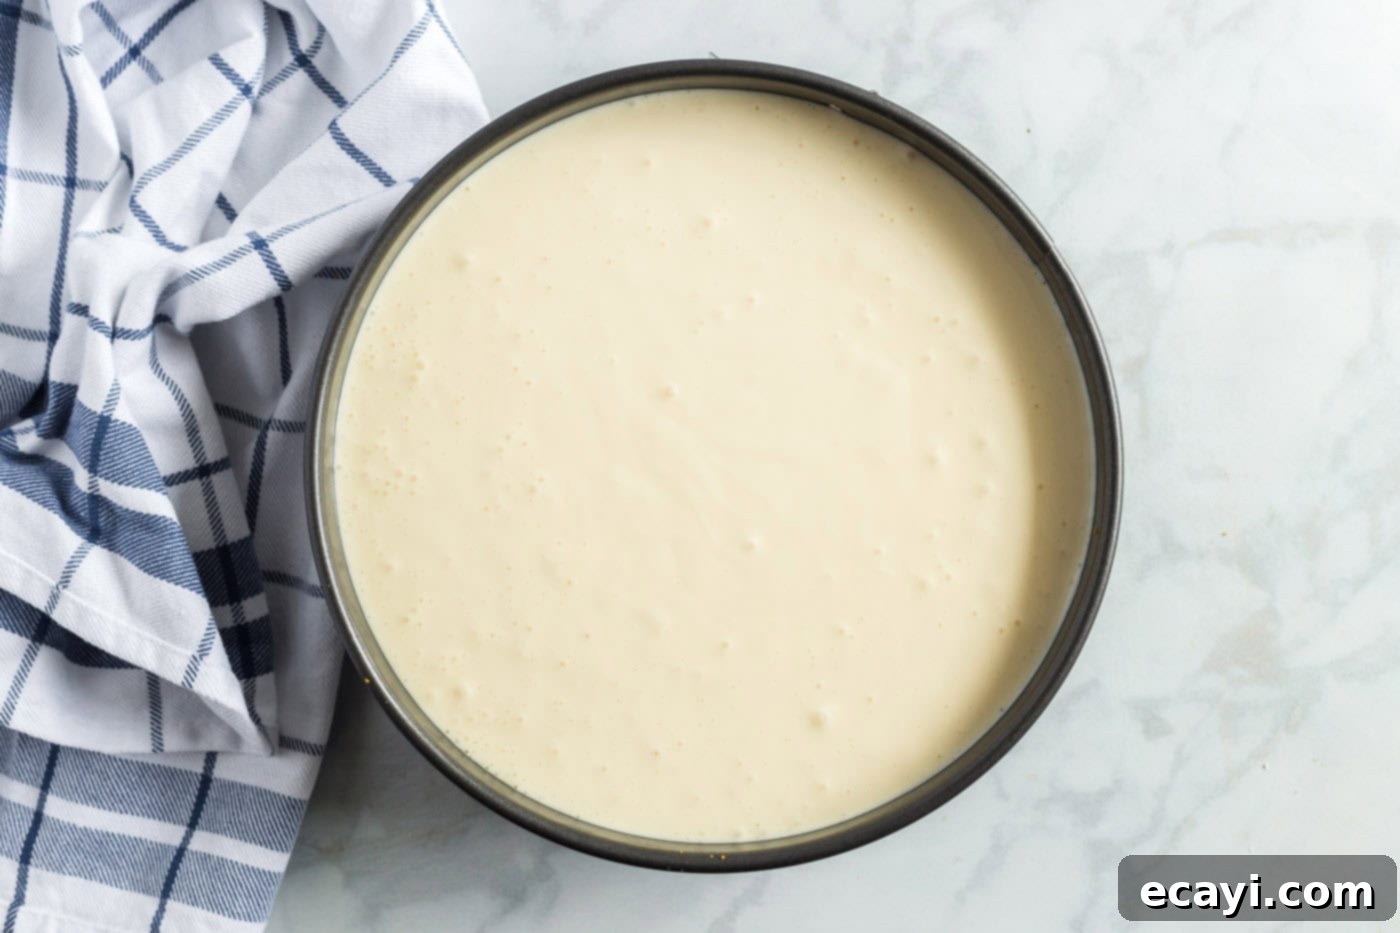
- **Bake with a Water Bath:** Carefully pour the prepared cheesecake mixture into the foil-wrapped springform pan, smoothing the top with a spatula. Place the cheesecake pan in the center of a larger roasting pan. Now, gently add a couple of inches of hot water to the roasting pan, ensuring the water level comes about halfway up the sides of the springform pan. Carefully transfer the entire roasting pan assembly into your preheated oven. Bake for approximately 1 hour, or until the edges of the cheesecake are set, and the center still has a slight jiggle when gently shaken. This subtle jiggle indicates it’s cooked just right, as it will continue to set as it cools.

- **Cooling is Crucial:** Once baking is complete, turn off the oven but leave the cheesecake inside with the oven door partially ajar for 30 minutes. This gradual cooling prevents temperature shock, a common cause of cracks. After 30 minutes, remove the cheesecake from the oven and carefully lift it out of the water bath. Place the cheesecake (still in its pan) on a wire rack to cool completely to room temperature.
- **Chill for Perfection:** Once cooled to room temperature, cover the pan loosely with plastic wrap and transfer the cheesecake to the refrigerator. Chill for a minimum of 2 hours, but for the absolute best texture, flavor, and ease of slicing, chilling overnight is highly recommended. This allows the cheesecake to fully set and its flavors to meld beautifully.
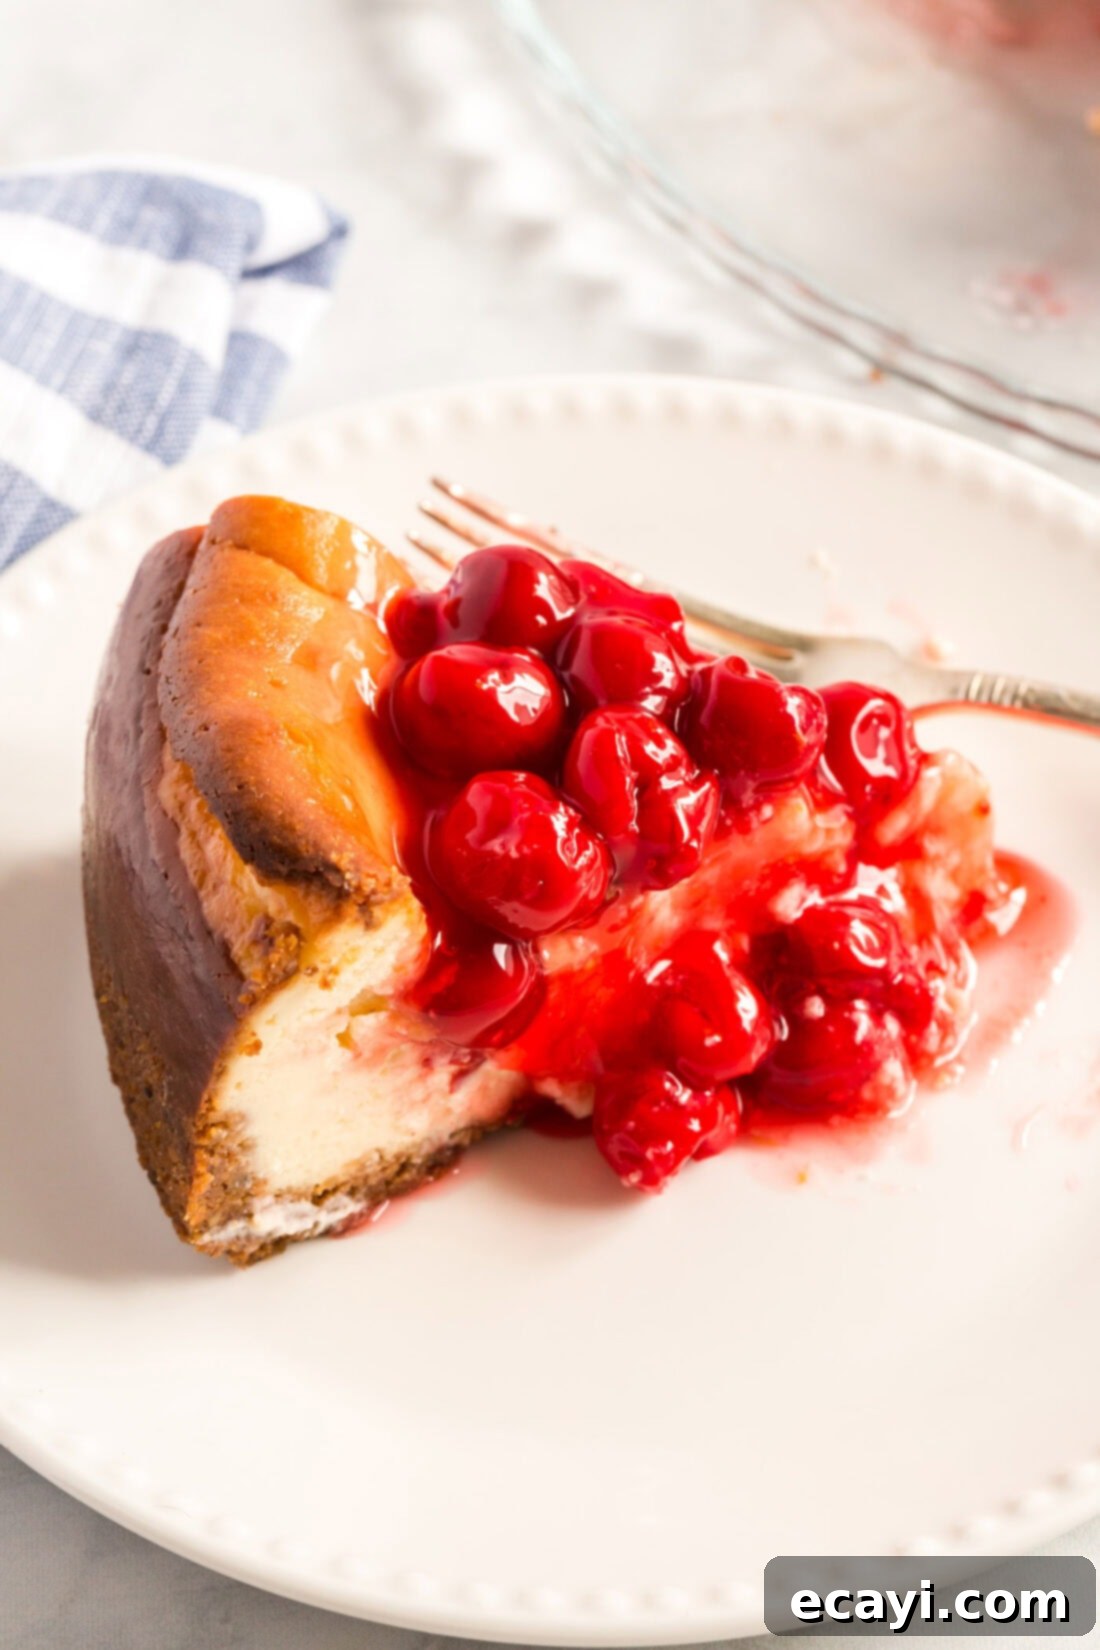
- **Serving Your Masterpiece:** To serve, carefully remove the sides of the springform pan. Run a thin, sharp knife around the edge of the cheesecake before releasing the springform to ensure a clean separation. Using a large, flat spatula, gently loosen the cake from the pan bottom and slide it onto your serving plate.
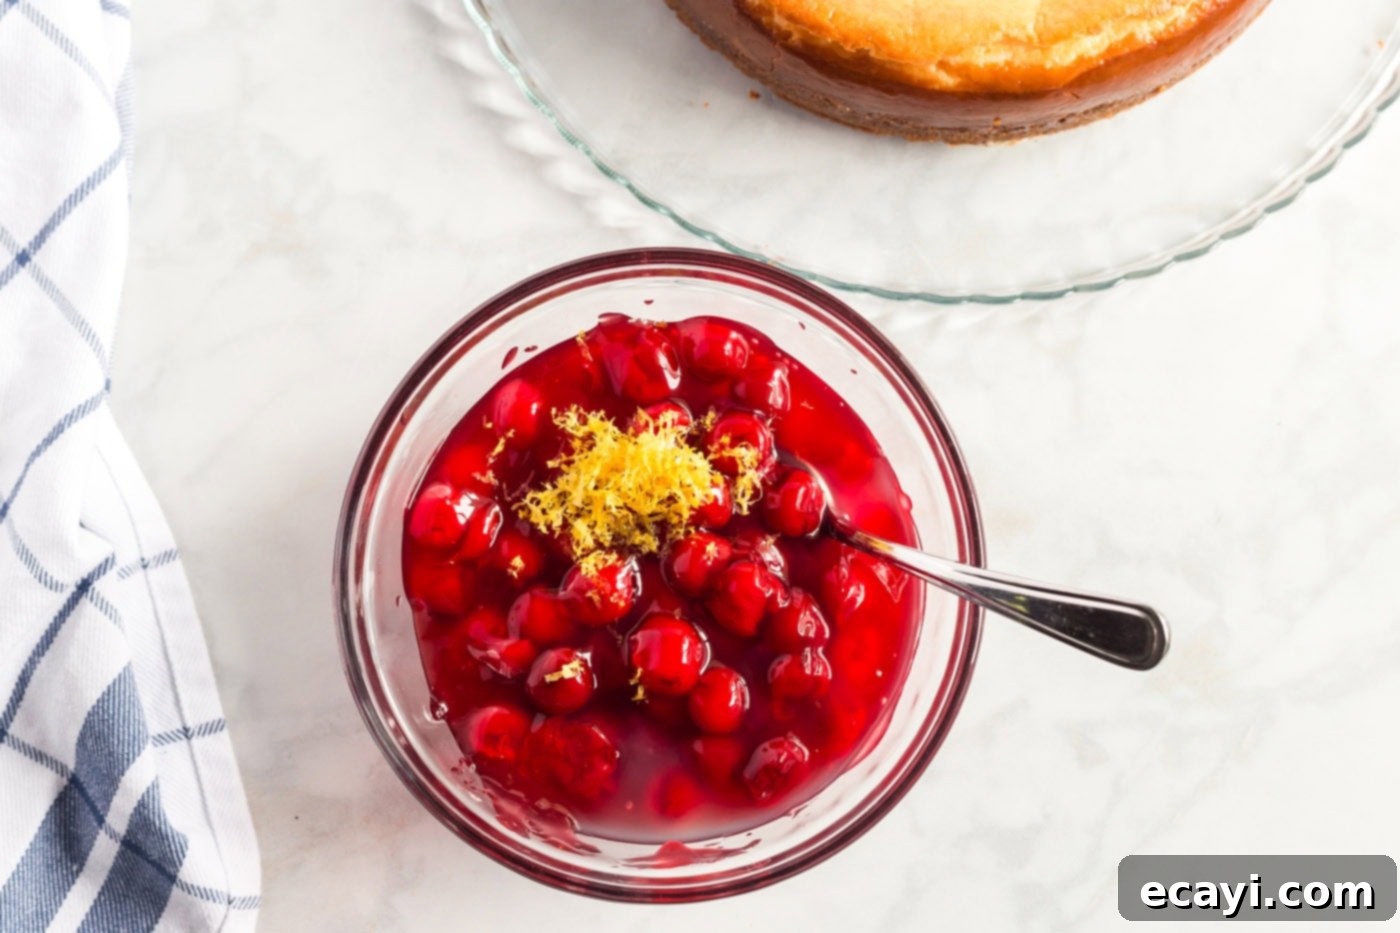
- **Add the Cherry Topping:** In a small bowl, mix together all the cherry topping ingredients: the canned cherry pie filling, 1 tablespoon of grated lemon peel, and 1/2 teaspoon of lemon juice. This extra lemon brightens the fruit flavor. Spoon the prepared cherry topping evenly over the chilled cheesecake, creating a vibrant and delicious crown. Slice and serve!

Frequently Asked Questions & Expert Tips for Cheesecake Success
A water bath, also known as a bain-marie, is a crucial technique for baking cheesecakes that are perfectly creamy and free from cracks. You start by wrapping the bottom of your springform pan with heavy-duty foil to prevent any water from seeping in. After pouring your cheesecake mixture into this pan, you place the springform pan inside a larger roasting pan. The roasting pan should be sufficiently large to hold the springform pan with some room around it, and its sides should be a few inches high. You then add about two inches of hot water to the roasting pan before placing the entire setup into the oven. The steam created by the hot water provides a moist, even heat environment, which allows the cheesecake to bake slowly and gently. This prevents the top of your cheesecake from drying out and forming a tough crust, which is the primary cause of cracking. The result is a beautifully smooth, custardy texture from edge to center.
To maintain its freshness and creamy texture, leftover cherry cheesecake should always be stored covered in the refrigerator. Use plastic wrap or an airtight container to prevent it from absorbing odors from other foods. When properly stored, your delicious cheesecake will remain fresh and enjoyable for 5-7 days.
Yes, absolutely! This cherry cheesecake freezes wonderfully, either as a whole cake or in individual slices, making it a perfect make-ahead dessert. For best results, I recommend reserving the cherry topping and adding it just before serving. To freeze, ensure the cheesecake is fully cooled to room temperature, then wrap it securely a couple of times with plastic wrap, followed by an additional layer of aluminum foil. This double layer protects against freezer burn. It can be frozen for up to 1 month. To thaw, simply transfer the frozen cheesecake to the refrigerator overnight. Once thawed, add your fresh cherry topping and serve.
Yes, this cheesecake is an ideal candidate for making ahead, which can be a huge time-saver when preparing for a dinner party or special event. You can prepare, bake, and fully chill the cheesecake 1-2 days in advance. Be sure to wrap it tightly with plastic wrap or aluminum foil to maintain its freshness and prevent it from drying out in the refrigerator. Add the luscious cherry topping just before you plan to serve it to ensure it looks its best and maintains its vibrant appeal.
Cheesecake cracks are a common issue, often due to sudden temperature changes, over-baking, or over-mixing the batter. To prevent cracks:
- Use a Water Bath: As explained above, this provides even, moist heat.
- Don’t Over-mix: Over-mixing incorporates too much air, which expands during baking and contracts during cooling, causing cracks. Beat just until combined.
- Room Temperature Ingredients: Ensures a smooth, cohesive batter, reducing the need for excessive mixing.
- Gradual Cooling: Don’t remove the cheesecake from the oven immediately. Allow it to cool gradually in the turned-off oven with the door ajar, then on a wire rack, and finally in the refrigerator. Sudden temperature changes are a prime culprit for cracking.
- Don’t Over-bake: The center should still have a slight jiggle when done. It will continue to set as it cools.
Achieving that signature silky-smooth cheesecake texture relies on a few key factors:
- Room Temperature Ingredients: Ensure cream cheese and eggs are at room temperature. This is the single most important tip for a lump-free batter.
- Beat Cream Cheese First: Beat the cream cheese alone until it’s completely smooth before adding any other ingredients.
- Scrape the Bowl: Regularly scrape down the sides and bottom of your mixing bowl to ensure all ingredients are thoroughly incorporated.
- Don’t Over-mix After Eggs: Once the eggs are added, mix on low speed just until combined. Over-mixing can incorporate too much air, leading to a cakey, rather than dense and creamy, texture.
- Use a Fine-Mesh Sieve (Optional): For absolute perfection, you can press your finished batter through a fine-mesh sieve before pouring it into the crust. This removes any tiny lumps or unincorporated bits.
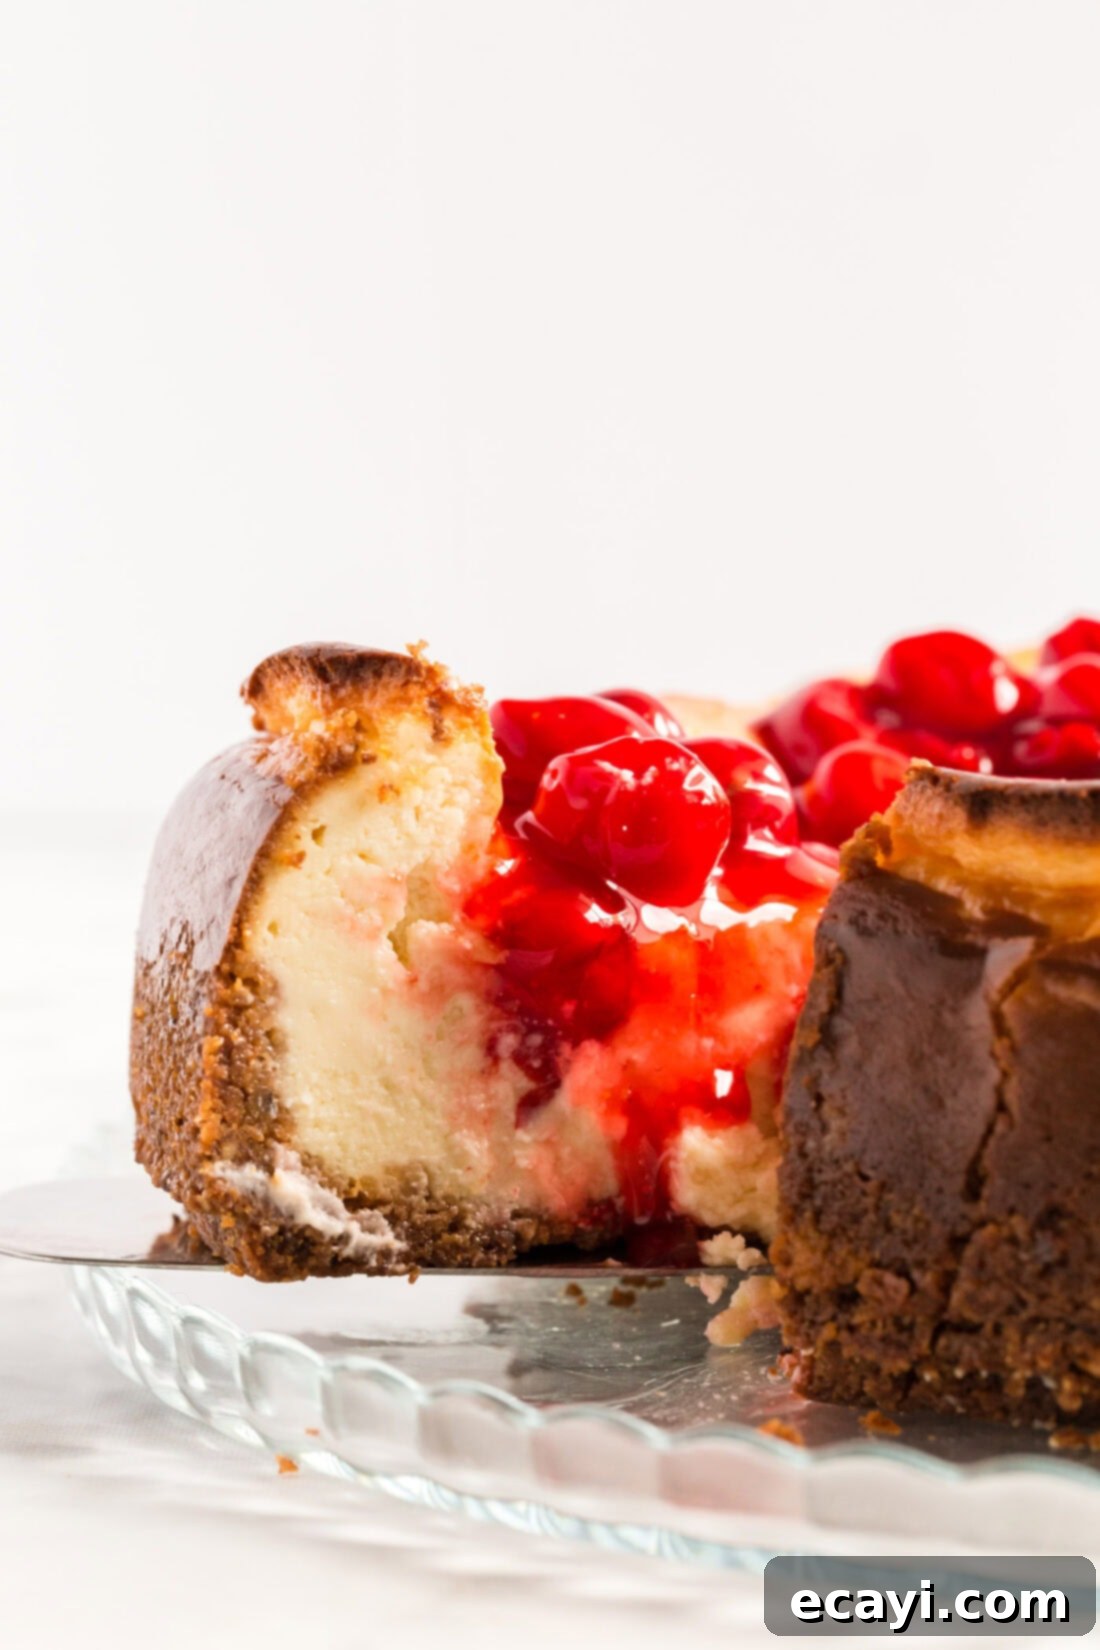
Delightful Serving Suggestions for Your Cherry Cheesecake
Cherry cheesecake is undeniably best served chilled, allowing its rich flavors and creamy texture to truly shine. While a simple slice is heavenly on its own, there are many ways to elevate this dessert. I personally adore a slice with a warm cup of freshly brewed coffee or a soothing mug of hot tea; the warmth of the beverage provides a wonderful contrast to the cool, creamy cheesecake.
For an extra touch of indulgence, consider garnishing each slice with a dollop of freshly whipped cream, a sprinkle of dark chocolate shavings, or a delicate mint sprig for a pop of color and freshness. If you’re feeling adventurous, a drizzle of chocolate syrup or a light dusting of powdered sugar can also add visual appeal and another layer of flavor.
Beyond the classic cherry, this cheesecake base is incredibly versatile! You can just as easily swap out the cherry pie filling for a different fruit, transforming it into a blueberry, blackberry, or strawberry cheesecake. While it wouldn’t be a “cherry” cheesecake anymore, the rich, creamy foundation provides an excellent canvas for all sorts of delicious variations. Imagine it topped with a vibrant raspberry compote, a decadent caramel sauce, or even a tangy lemon curd for a completely different yet equally delightful experience. Don’t be afraid to experiment and find your new favorite combination!
Explore More Delicious Cheesecake Recipes
If you’ve fallen in love with the art of cheesecake making, or simply can’t get enough of this delightful dessert, we have plenty more recipes for you to explore. From rich and complex flavors to simpler, no-bake options, there’s a cheesecake for every craving and occasion:
- Tiramisu Cheesecake: A sophisticated blend of Italian classic and creamy cheesecake.
- Strawberry Swirl Cheesecake: Beautiful and bursting with fresh berry flavor.
- Salted Caramel Cheesecake: The perfect balance of sweet and savory indulgence.
- English Trifle Cheesecake: A unique take on two beloved desserts.
- No Bake Mini Cheesecakes: Quick, easy, and portion-controlled for individual treats.
I love to bake and cook and share my kitchen experience with all of you! Remembering to come back each day can be tough, that’s why I offer a convenient newsletter every time a new recipe posts. Simply subscribe and start receiving your free daily recipes, delivered right to your inbox!
Cherry Cheesecake
IMPORTANT – There are often Frequently Asked Questions and Expert Tips within the blog post that you may find helpful. Simply scroll back up to read them for additional insights and troubleshooting!
Print It
Rate It
Save ItSaved!
Ingredients
- 1 cup graham-cracker crumbs
- ½ cup California walnuts finely chopped
- ⅓ cup butter melted (cooled it to room temp)
- 1 ¾ cups sugar divided
- 24 oz cream cheese 3 (8-oz) pkgs
- 6 large eggs
- 2 cups sour cream
- 2 Tablespoons cornstarch
- 1 Tablespoons lemon juice
- 2 teaspoon vanilla extract
Cherry Topping
- 21 ounce can cherry pie filling
- 1 Tablespoons grated lemon peel
- ½ teaspoon lemon juice
Things You’ll Need
-
9″ springform pan
-
Electric mixer
-
roasting pan
-
Wire cooling racks
Before You Begin
What’s a Water Bath?
A water bath (bain-marie) is essential for baking a creamy, crack-free cheesecake. You start by wrapping the bottom of your springform pan with several layers of heavy-duty foil to prevent water from seeping in. Then, after adding the cheesecake mixture, you’ll place the springform pan in the center of a larger roasting pan.
The roasting pan should be large enough to comfortably hold the springform pan, with sides high enough to hold a couple of inches of water. Add hot water to the roasting pan, ensuring it comes about halfway up the sides of the springform. Place the entire assembly into the oven. The steam created during baking provides even, moist heat, preventing the cheesecake from drying out, cracking, and ensuring a smooth, custardy texture.
Instructions
-
Preheat oven to 350 degrees F (175°C). In a medium bowl, use a fork to thoroughly mix the graham cracker crumbs, finely chopped California walnuts (if using), melted and cooled butter, and 1/4 cup sugar. Press this mixture firmly and evenly onto the bottom and up the side of a 9-inch springform pan, to within 1 1/2 inches of the top edge.1 cup graham-cracker crumbs, 1/2 cup California walnuts, 1/3 cup butter
-
In a large bowl, using an electric mixer at medium speed, beat the softened cream cheese until it is completely smooth and lump-free (about 2-3 minutes). Slowly beat in 1 1/2 cups sugar until fully incorporated. Reduce mixer speed to low. Beat in the 6 large eggs, one at a time, ensuring each egg is just combined before adding the next. Then, beat in the sour cream, cornstarch, 1 tablespoon lemon juice, and vanilla extract. Increase speed to medium and beat for three minutes until the mixture is light and creamy.24 oz cream cheese, 6 large eggs, 2 cups sour cream, 2 Tablespoons cornstarch, 1 Tablespoons lemon juice, 2 teaspoon vanilla extract
-
To ensure a creamy, crack-free cheesecake, I highly recommend using a water bath. Wrap the bottom and sides of your springform pan with several layers of heavy-duty foil to prevent any water from seeping in.
-
Pour the cheesecake mixture into the foil-wrapped springform pan. Carefully place the cheesecake pan in the center of a larger roasting pan. Gently add a couple of inches of hot water to the roasting pan, ensuring it comes about halfway up the sides of the springform pan. Carefully place the entire roasting pan assembly into your preheated oven and bake for 1 hour, or until the edges are set and the center still has a slight, gentle jiggle.
-
Once baking is complete, turn off the oven. Leave the cheesecake inside the oven with the door partially open for 30 minutes. This gradual cooling prevents thermal shock and cracks. After 30 minutes, remove the cheesecake from the oven and the water bath. Cool in the pan on a wire rack until it reaches room temperature.
-
Once cooled to room temperature, cover the pan securely with plastic wrap and chill the cheesecake in the refrigerator for at least 2 hours. For optimal setting and flavor development, chilling overnight is highly recommended.
-
To serve: carefully run a thin knife around the edge of the pan before releasing the springform side. Use a large spatula to gently loosen the cake from the pan bottom, then slide it onto your serving plate.
-
In a small bowl, mix together all the cherry topping ingredients: the 21-ounce can of cherry pie filling, 1 tablespoon of grated lemon peel, and 1/2 teaspoon of lemon juice. Spoon this delicious cherry topping evenly over the chilled cheesecake just before serving.21 ounce can cherry pie filling, 1 Tablespoons grated lemon peel, 1/2 teaspoon lemon juice
Expert Tips & FAQs
- Storage: Store leftover cheesecake, covered tightly with plastic wrap or in an airtight container, in the refrigerator for 5-7 days.
- Freezing for Later: You can freeze this cherry cheesecake either whole or in individual slices. For the best quality, I strongly recommend reserving the cherry topping and adding it fresh just before you are planning on serving the thawed cheesecake. To freeze, ensure the cheesecake is fully cooled to room temperature. Wrap it securely a couple of times with plastic wrap, followed by an additional layer of aluminum foil to prevent freezer burn. Freeze for up to 1 month. To thaw, simply transfer the frozen cheesecake to the refrigerator and allow it to thaw overnight.
- Make Ahead Perfection: This cheesecake is an excellent candidate for advance preparation, making your entertaining stress-free! You can prepare, bake, and fully chill the cheesecake in the refrigerator 1-2 days in advance of when you plan to serve it. Just be sure to wrap it tightly with plastic wrap or aluminum foil. Always add the beautiful cherry topping right before serving for the freshest appearance and taste.
- Achieving a Perfect Slice: For clean slices, use a sharp knife that has been run under hot water and then wiped dry before each cut. This helps to prevent the cheesecake from sticking to the knife and creates smooth, elegant portions.
Nutrition Information
The recipes on this blog are tested with a conventional gas oven and gas stovetop. It’s important to note that some ovens, especially as they age, can cook and bake inconsistently. Using an inexpensive oven thermometer can assure you that your oven is truly heating to the proper temperature. If you use a toaster oven or countertop oven, please keep in mind that they may not distribute heat the same as a conventional full sized oven and you may need to adjust your cooking/baking times. In the case of recipes made with a pressure cooker, air fryer, slow cooker, or other appliance, a link to the appliances we use is listed within each respective recipe. For baking recipes where measurements are given by weight, please note that results may not be the same if cups are used instead, and we can’t guarantee success with that method.
This post was originally published here on September 23, 2008. It has been updated and expanded to provide more comprehensive instructions, expert tips, and improved SEO for your baking pleasure.
