The Ultimate Decadent Nigella’s Chocolate Fudge Cake: A Recipe for Unforgettable Indulgence
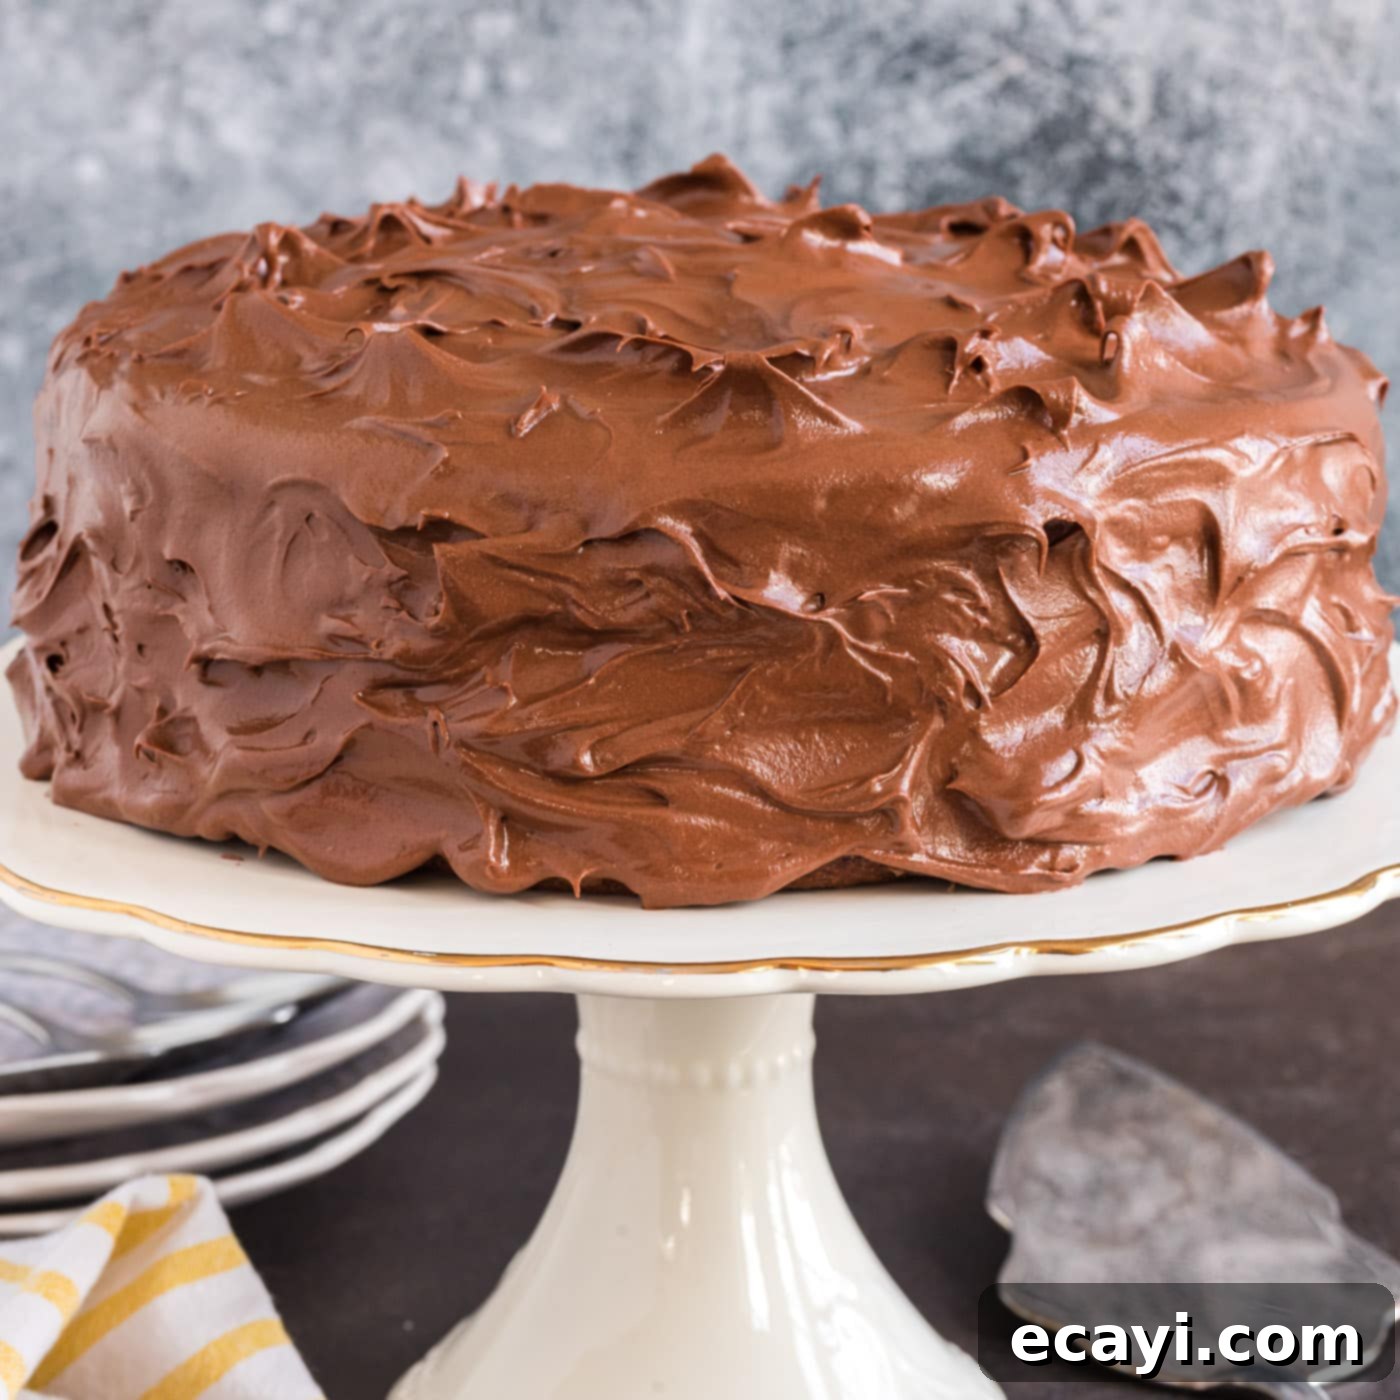
Nigella Lawson’s Chocolate Fudge Cake is not merely a dessert; it’s an experience. This majestic two-tiered chocolate cake, crowned with a luxuriously silky fudge frosting, promises an unparalleled level of richness and moistness. Beloved by countless home bakers, it has earned its reputation as truly the best chocolate cake ever. Each forkful is a journey into blissful, intense chocolatey goodness, making it a staple for any celebration or a much-needed moment of pure indulgence.
Why This Decadent Chocolate Cake Recipe Is a Must-Try
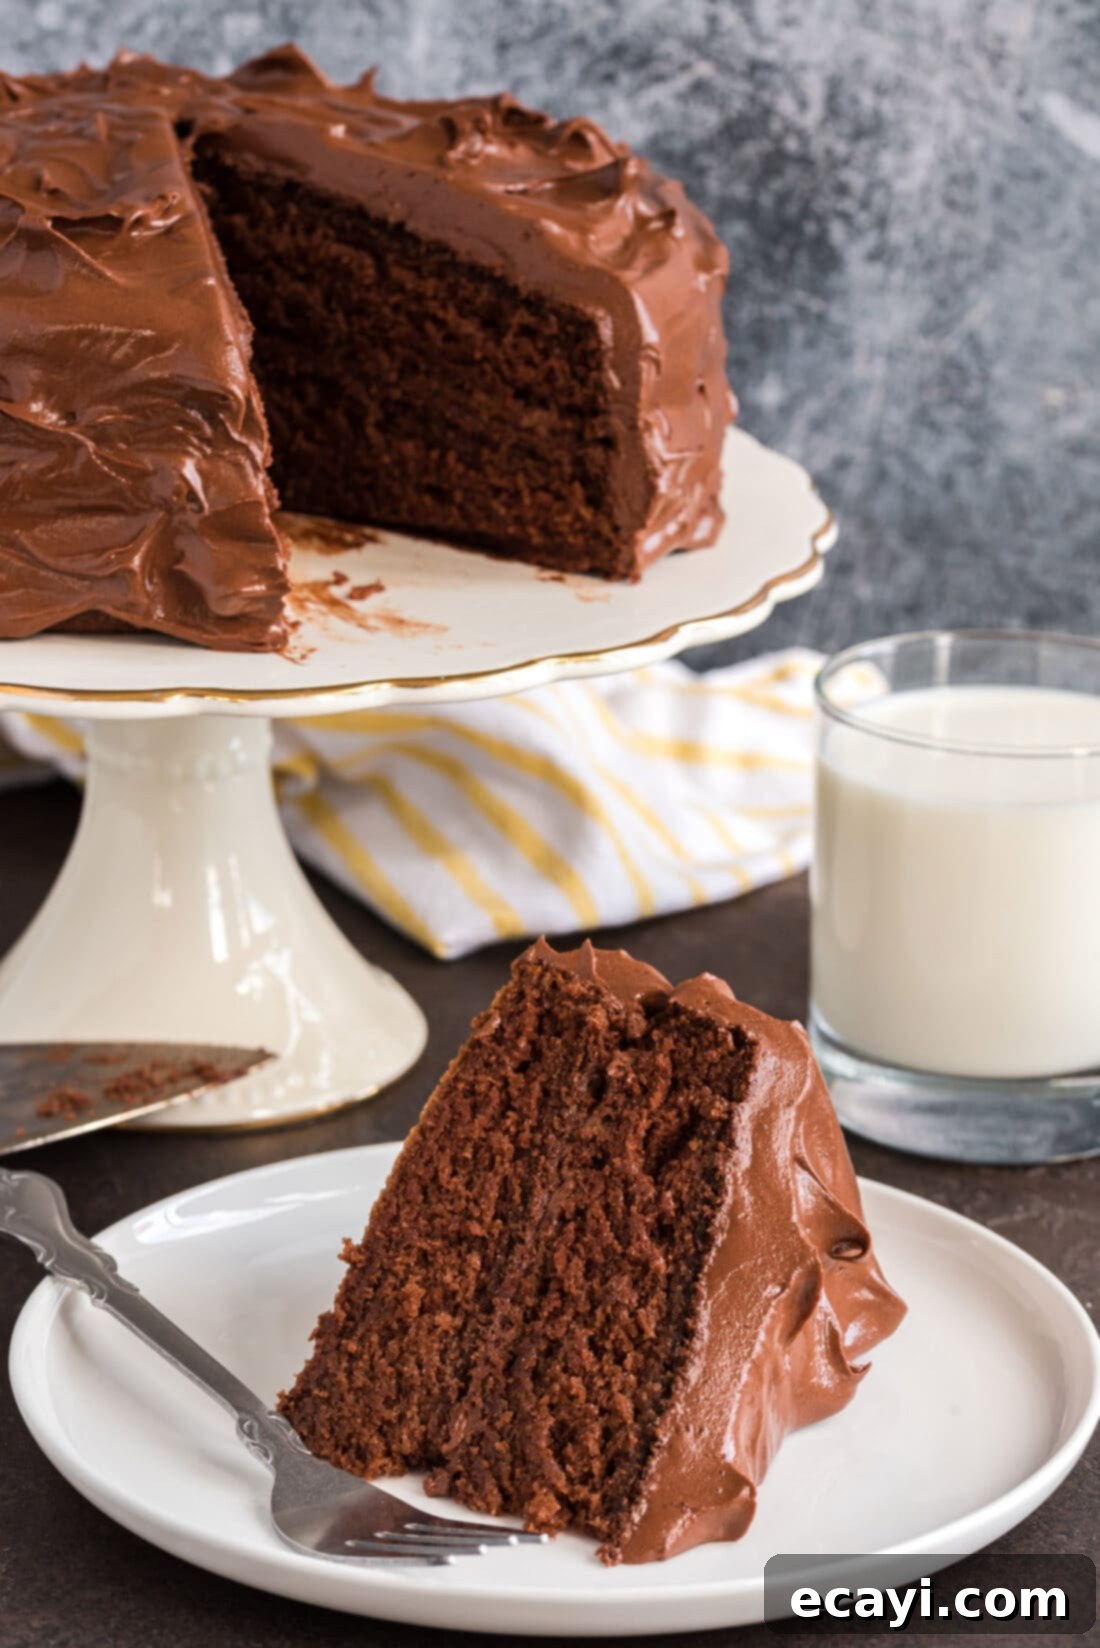
If you’ve been on a quest for the absolute best chocolate cake recipe, your search ends here. Nigella Lawson’s Chocolate Fudge Cake from her iconic cookbook Nigella Bites stands head and shoulders above the rest. What makes this particular recipe so extraordinary? It’s a harmonious blend of intensely rich chocolate flavor, an incredibly moist and tender crumb, and a generous blanket of the silkiest chocolate fudge frosting. It’s a cake that not only looks impressive but delivers on every single promise of decadent flavor.
This recipe achieves its signature moistness through a thoughtful combination of ingredients and specific techniques. The addition of sour cream and a mix of butter and oil ensures a cake that stays tender and flavorful for days, rather than drying out quickly. The depth of chocolate flavor comes from using good quality cocoa powder and then pairing it with a rich, bittersweet chocolate fudge frosting that truly elevates the entire experience. It’s a cake that consistently earns rave reviews and becomes an instant family favorite. In our household, it topped the charts for the best chocolate fudge cake, and we’ve yet to find another recipe that truly competes. Whether it’s for a special birthday, an anniversary, or simply a treat to brighten an ordinary day, this chocolate fudge cake is an absolute keeper, and one you’ll find yourself reaching for time and again.
Essential Ingredients for Your Chocolate Fudge Cake
Crafting this incredible chocolate fudge cake begins with a selection of quality ingredients. While the full list of precise measurements and instructions can be found in the printable recipe card at the end of this post, it’s worth noting that using fresh, high-quality ingredients will always yield the best results for a truly exceptional cake.
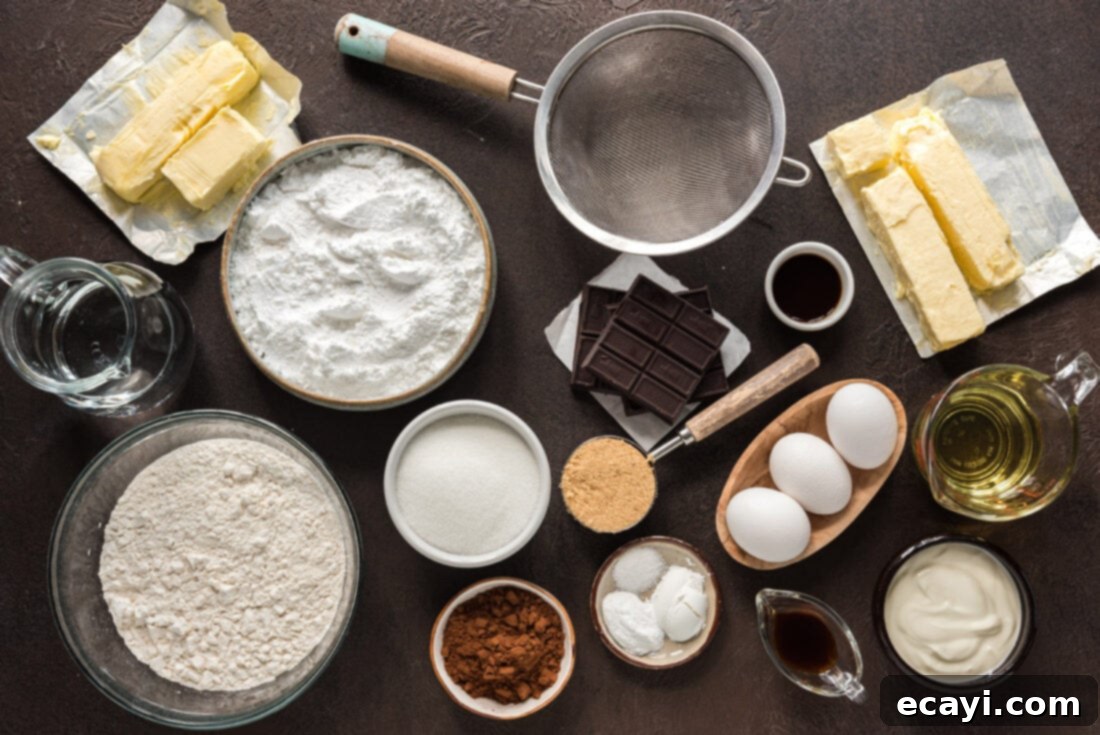
Ingredient Spotlight & Expert Substitution Tips
Achieving the perfect Nigella’s Chocolate Fudge Cake relies on understanding the role each ingredient plays. Here’s a detailed look at key components and why precise handling matters:
FLOUR – The foundation of your cake’s structure. Proper measurement of flour is absolutely paramount in baking. To avoid a dry, dense, and unappetizing cake, always use the scoop and sweep method. First, aerate your flour by gently stirring it with a spoon. Then, lightly spoon the flour into your measuring cup until it’s slightly overflowing. Finally, take the flat side of a butter knife or a straight edge and gently sweep it across the top to level the flour. Never scoop flour directly from the bag, as this compacts it, leading to an overabundance of flour and a tough cake. Likewise, avoid tapping the measuring cup, which can also pack the flour down. These common mistakes are often the main culprits behind baking failures.
SOUR CREAM – This ingredient is a secret weapon for moisture and tenderness. Sour cream adds a remarkable amount of moisture to the cake, contributing to its luscious, tender crumb. Its acidity also reacts with the baking soda in the recipe, aiding in leavening and creating a softer texture. For these reasons, I strongly advise against leaving it out or attempting to substitute it. While some might consider plain yogurt as an alternative, sour cream offers a unique richness and tang that is hard to replicate.
COCOA POWDER – For the cake itself, using a good quality cocoa powder makes a significant difference in the depth of chocolate flavor. Dutch-processed cocoa powder, which is less acidic and has a darker color, often contributes to a richer, less bitter chocolate taste in cakes when paired with baking soda. Natural cocoa powder can also be used, but may slightly alter the cake’s pH and final flavor profile.
BUTTER & OIL – This recipe cleverly uses both melted butter and canola oil for a superior texture. Butter provides that rich, classic flavor we all adore, while oil ensures the cake remains incredibly moist and tender. Since oil is liquid at room temperature, it keeps the cake softer and prevents it from drying out as quickly as an all-butter cake might. Ensure your butter is melted and cooled slightly before combining to avoid cooking the eggs prematurely.
SUGARS – Both granulated and light brown sugar are used in this recipe. Granulated sugar provides primary sweetness and aids in structure, while light brown sugar adds a subtle molasses flavor and additional moisture, contributing to the cake’s overall richness and tender texture.
EGGS – Large eggs are critical for structure, moisture, and binding the ingredients together. Ensure they are at room temperature for the best emulsification with other wet ingredients.
FROSTING CHOCOLATE – The quality of chocolate here is paramount for a truly decadent frosting. To achieve incredible richness and a deep chocolate flavor, I highly recommend using bittersweet chocolate with a minimum of 70% dark cocoa solids. Brands like Lindt or Ghirardelli offer excellent options. Using lesser quality or milk chocolate will result in a frosting that is overly sweet and lacks the complex, intense chocolate notes that define this cake. This recipe is designed to yield a generous amount of frosting, enough to beautifully cover a two-tiered cake with ample frosting between layers and on top and sides. If you prefer a lighter frosting and only plan to ice between the layers and the top, you can certainly cut the frosting recipe in half. Any leftover frosting can be stored in an air-tight container and frozen for future use; just thaw and re-beat until fluffy.
Crafting Nigella’s Perfect Chocolate Fudge Cake: Step-by-Step Guide
These step-by-step photos and instructions are here to help you visualize how to make this recipe. For the complete printable version, including all measurements and detailed instructions, please Jump to Recipe at the bottom of this post.
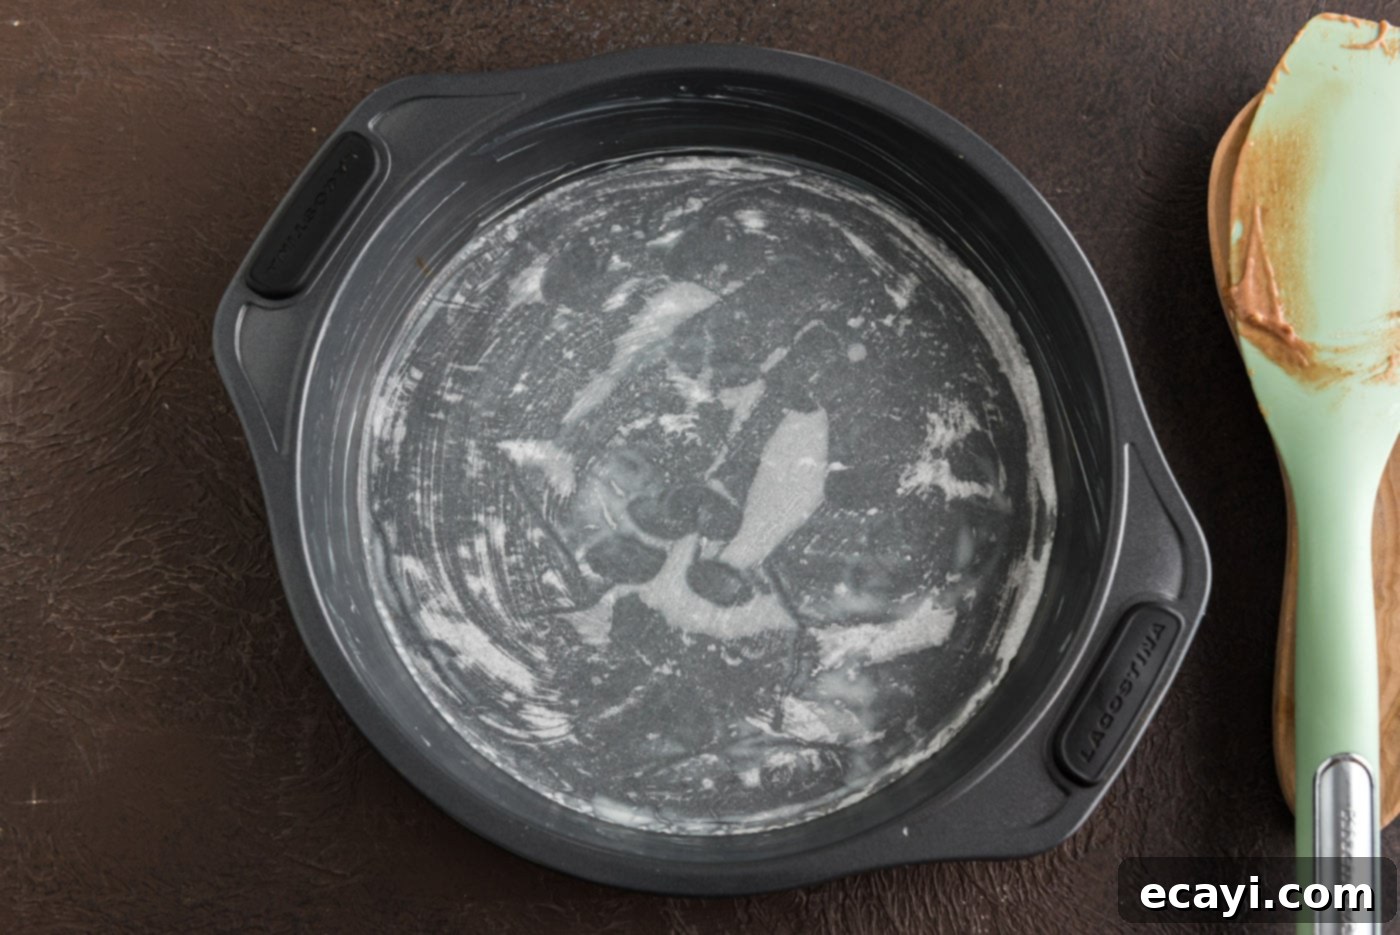
- Begin by preheating your oven to 350 degrees F (175°C). Properly prepare two 8-inch cake pans by generously buttering them and then lining the bottoms with parchment paper. This crucial step prevents sticking and ensures your beautiful cake layers release easily. Consider using high-quality cake pans for even baking.

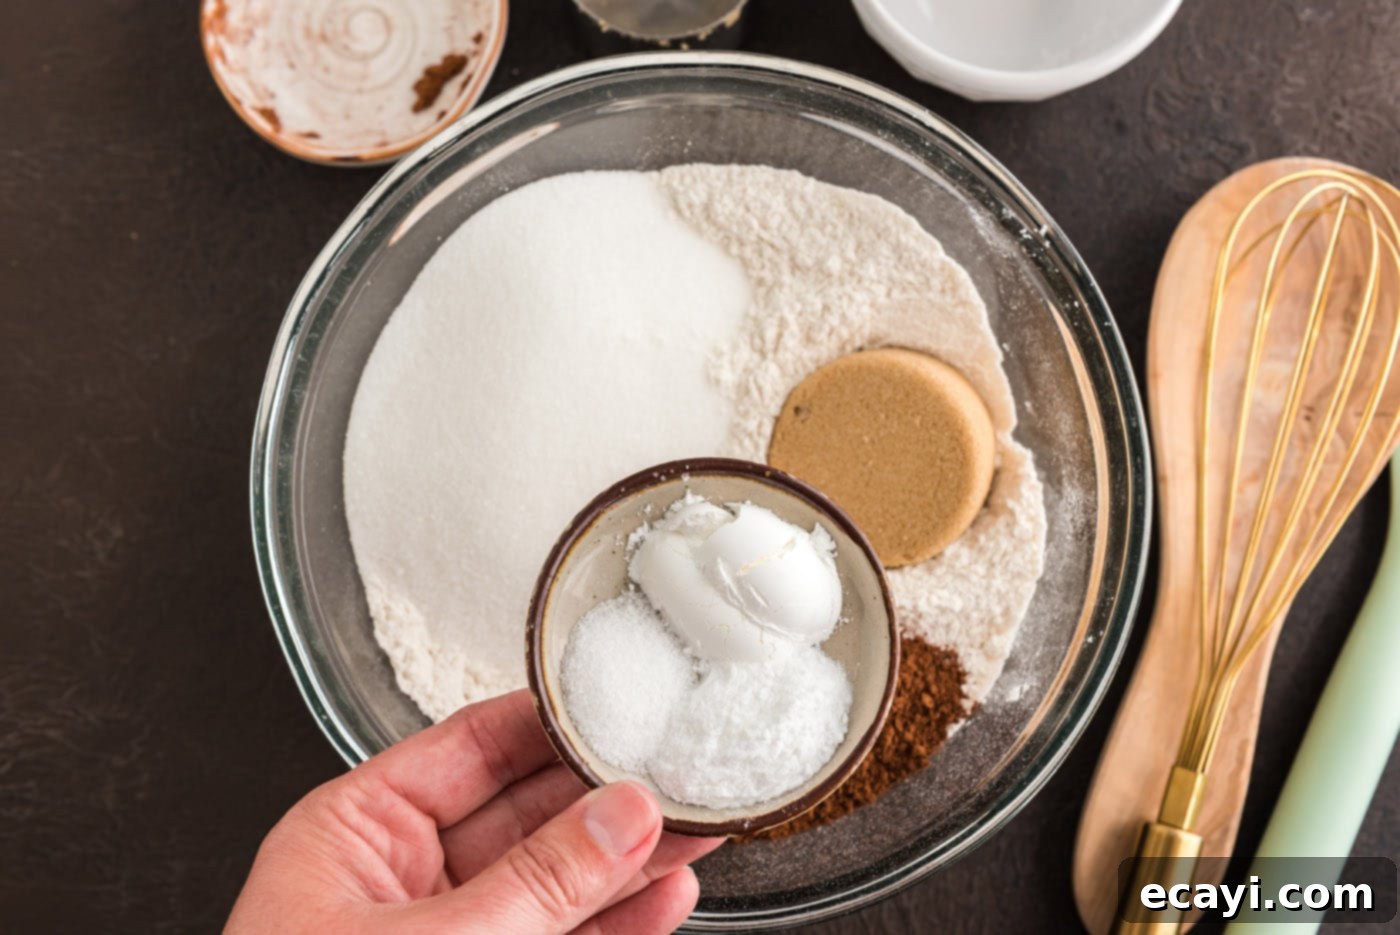
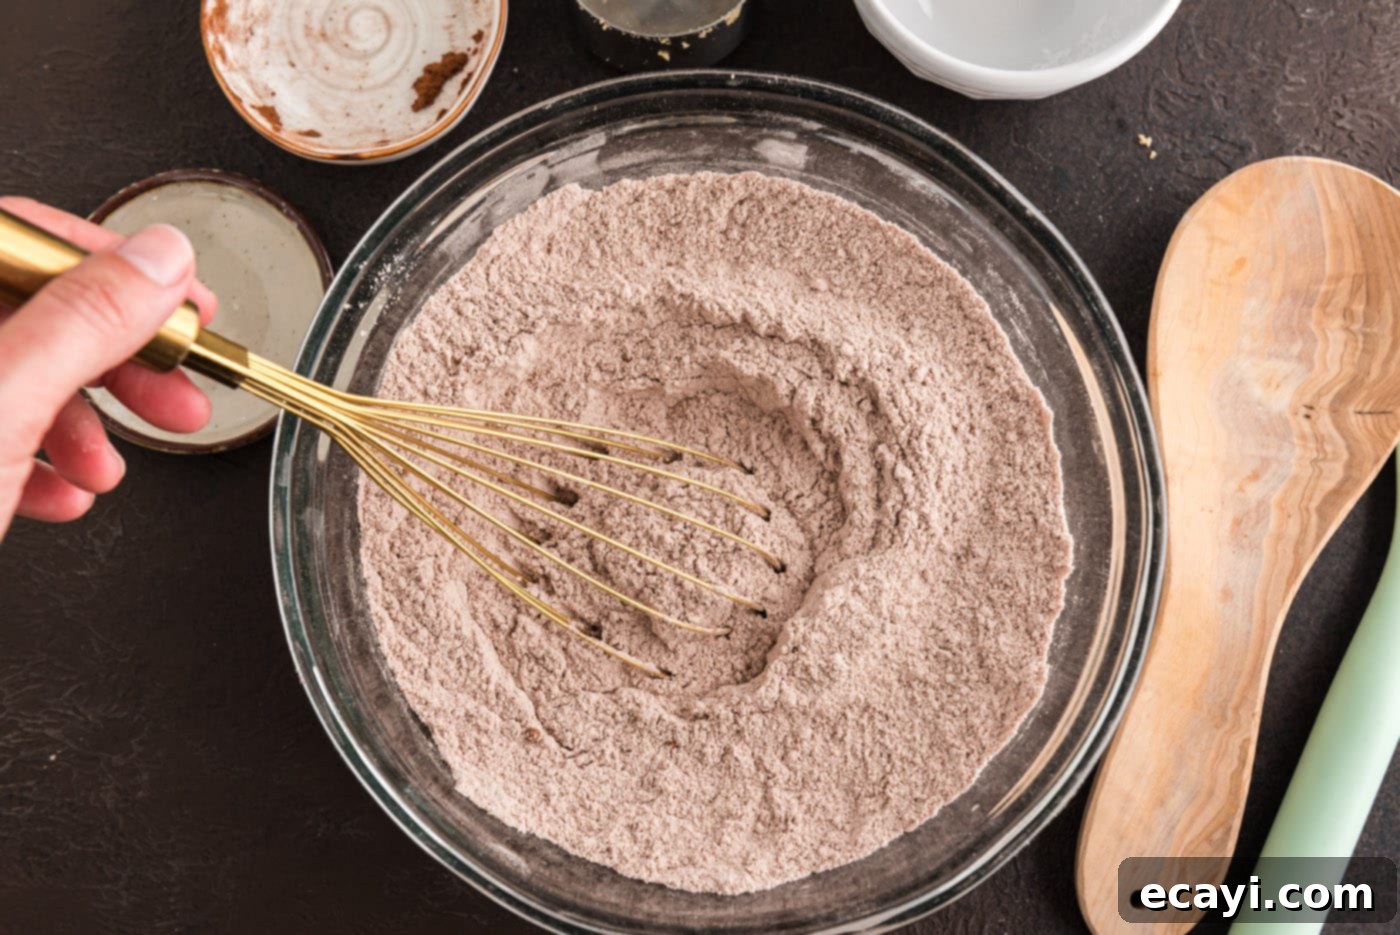
- In a large mixing bowl, combine all your dry ingredients: the carefully measured flour, both granulated and brown sugars, rich cocoa powder, baking powder, baking soda, and salt. Whisk these ingredients together thoroughly to ensure they are well-combined and that the leavening agents are evenly distributed throughout the mixture.


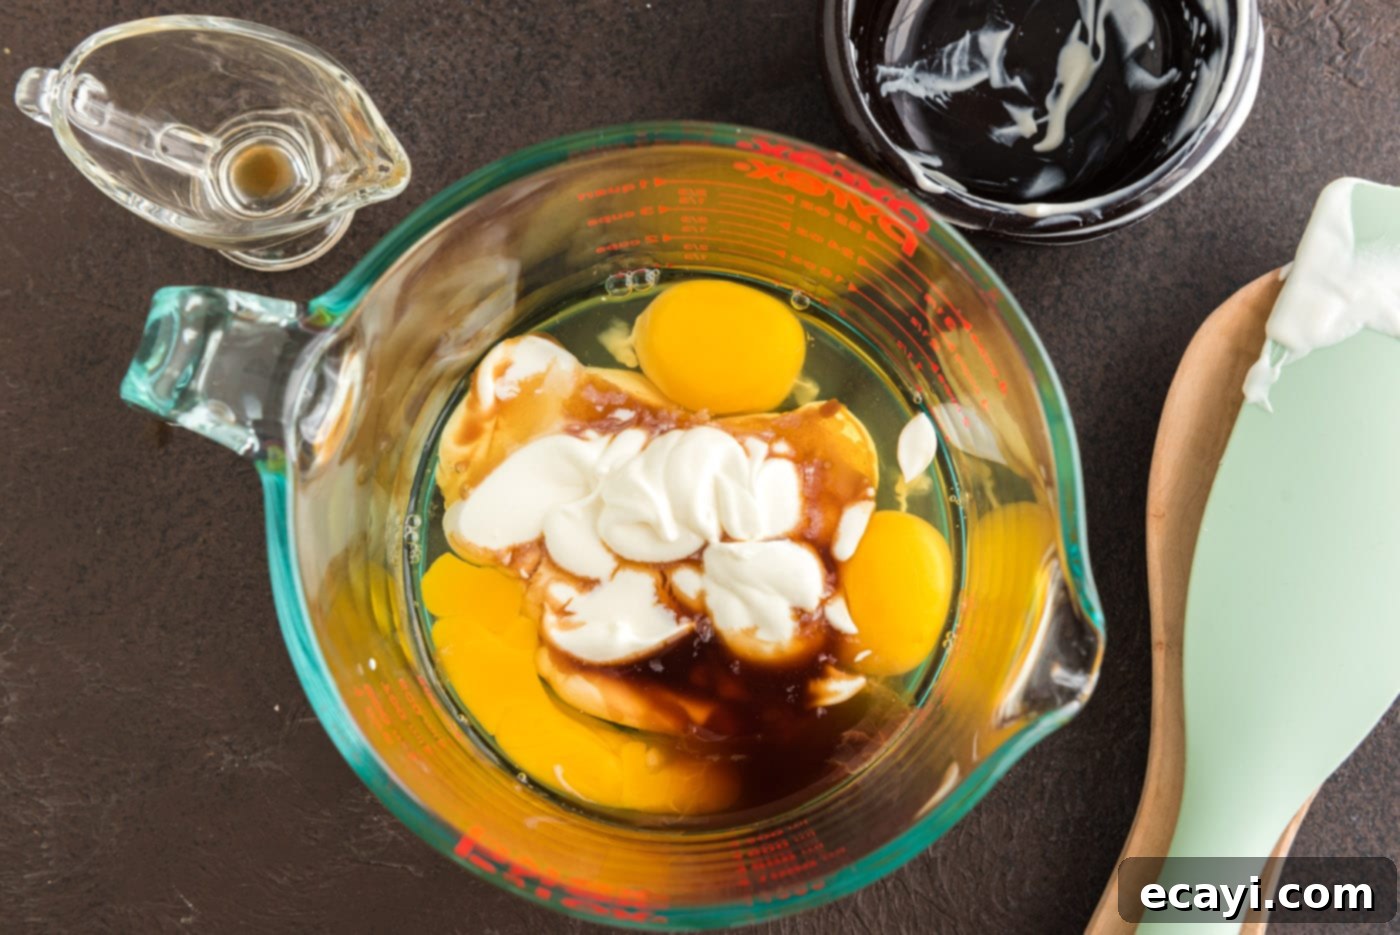
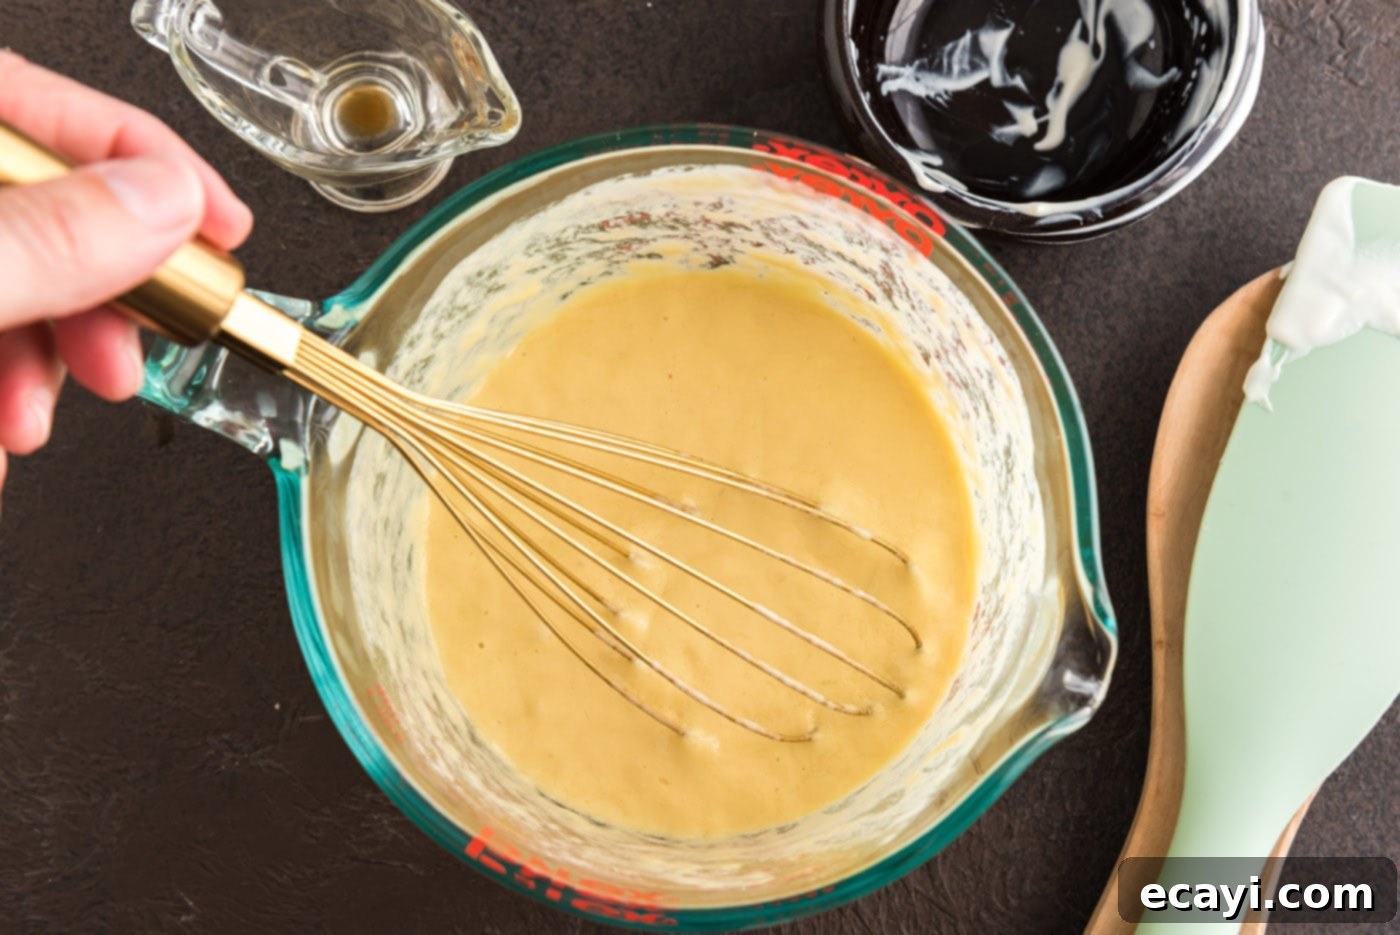
- In a separate bowl or a wide-necked measuring cup, whisk together the wet ingredients: eggs, sour cream (essential for moisture!), and vanilla extract. Continue whisking until the mixture is completely blended and smooth. Ensure these ingredients are at room temperature for optimal emulsification.


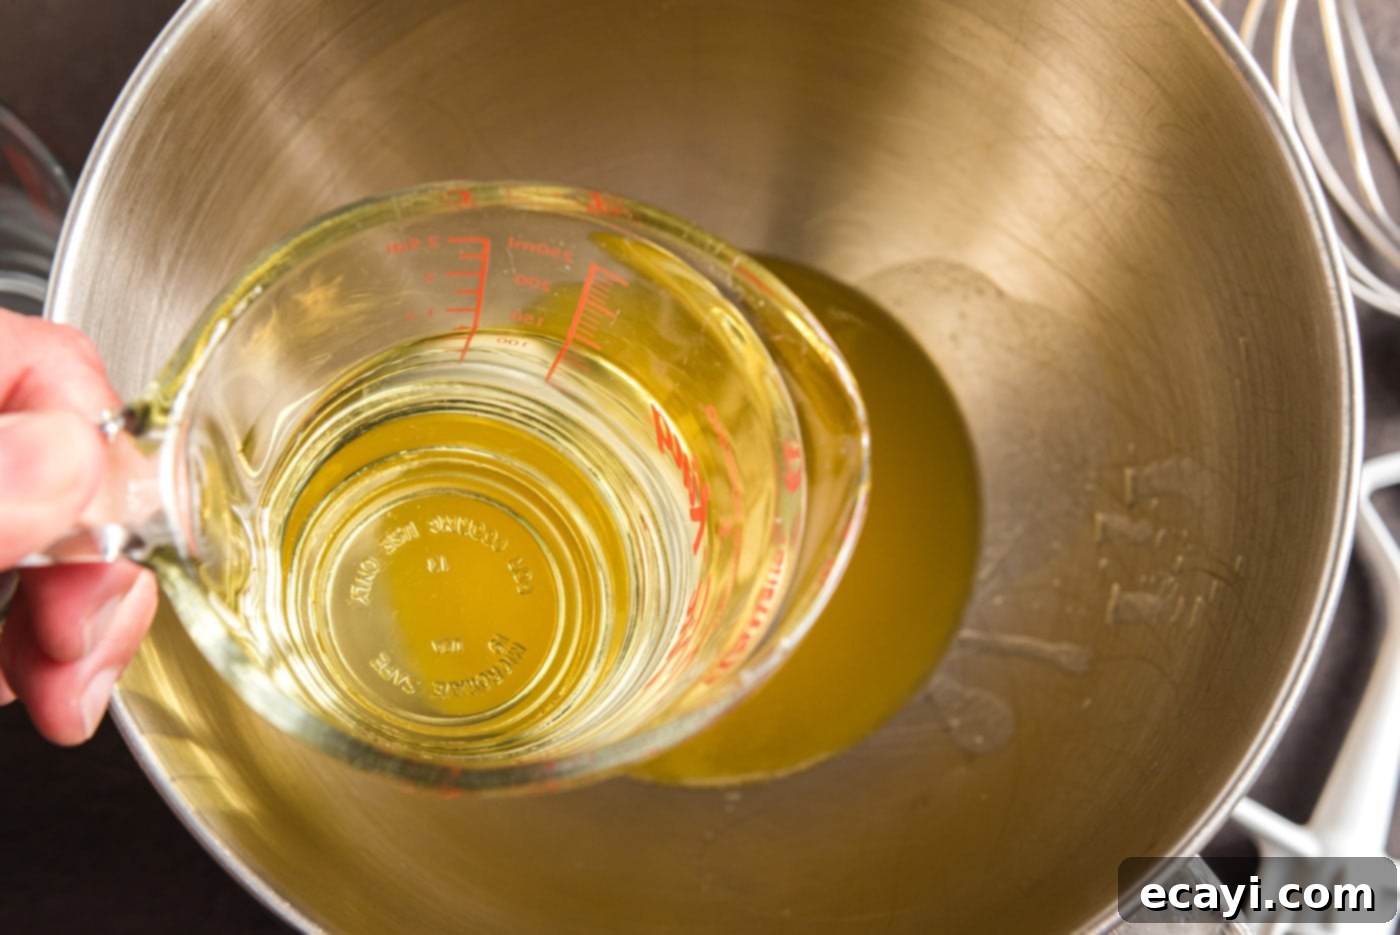
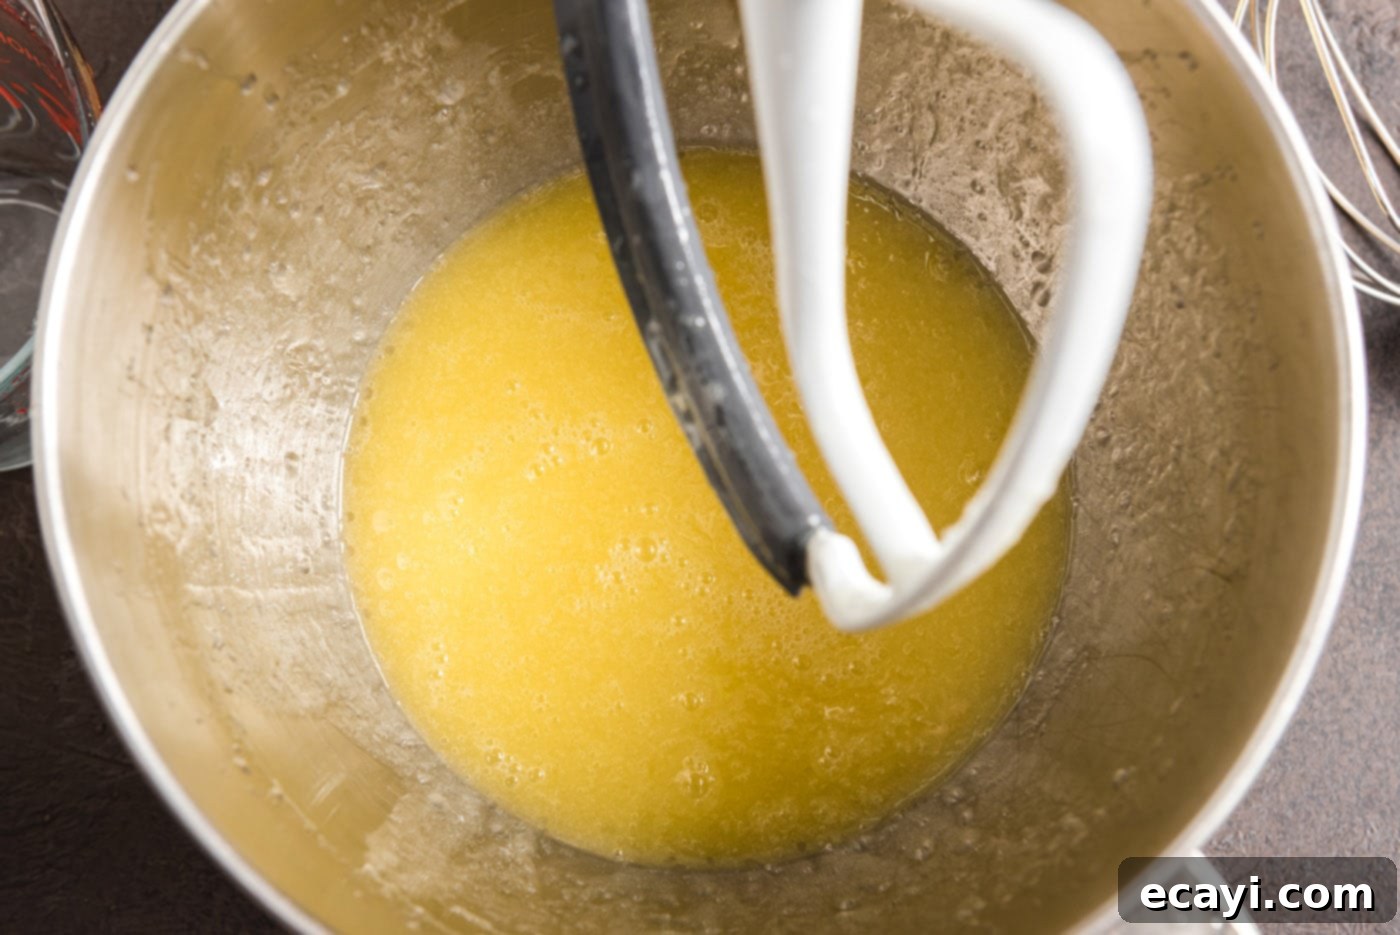
- Using either a standing mixer or a handheld electric mixer, combine the melted butter and canola oil in a large bowl. Beat them together until they are just blended. Then, gradually beat in the chilled water until fully incorporated. If using a hand mixer, you’ll need another large bowl for this step, whereas a standing mixer comes with its own convenient bowl.


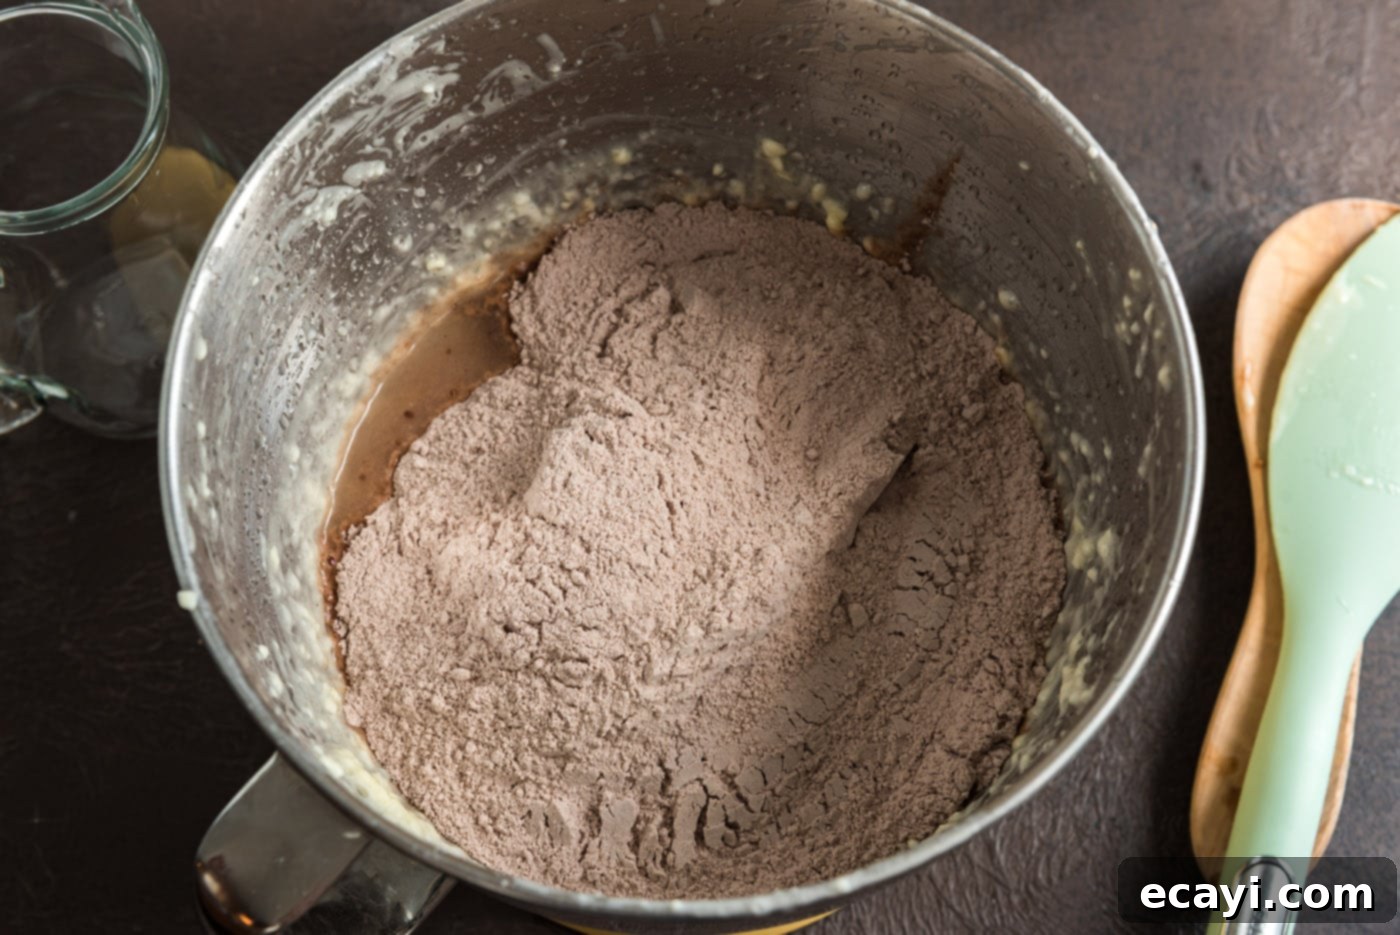
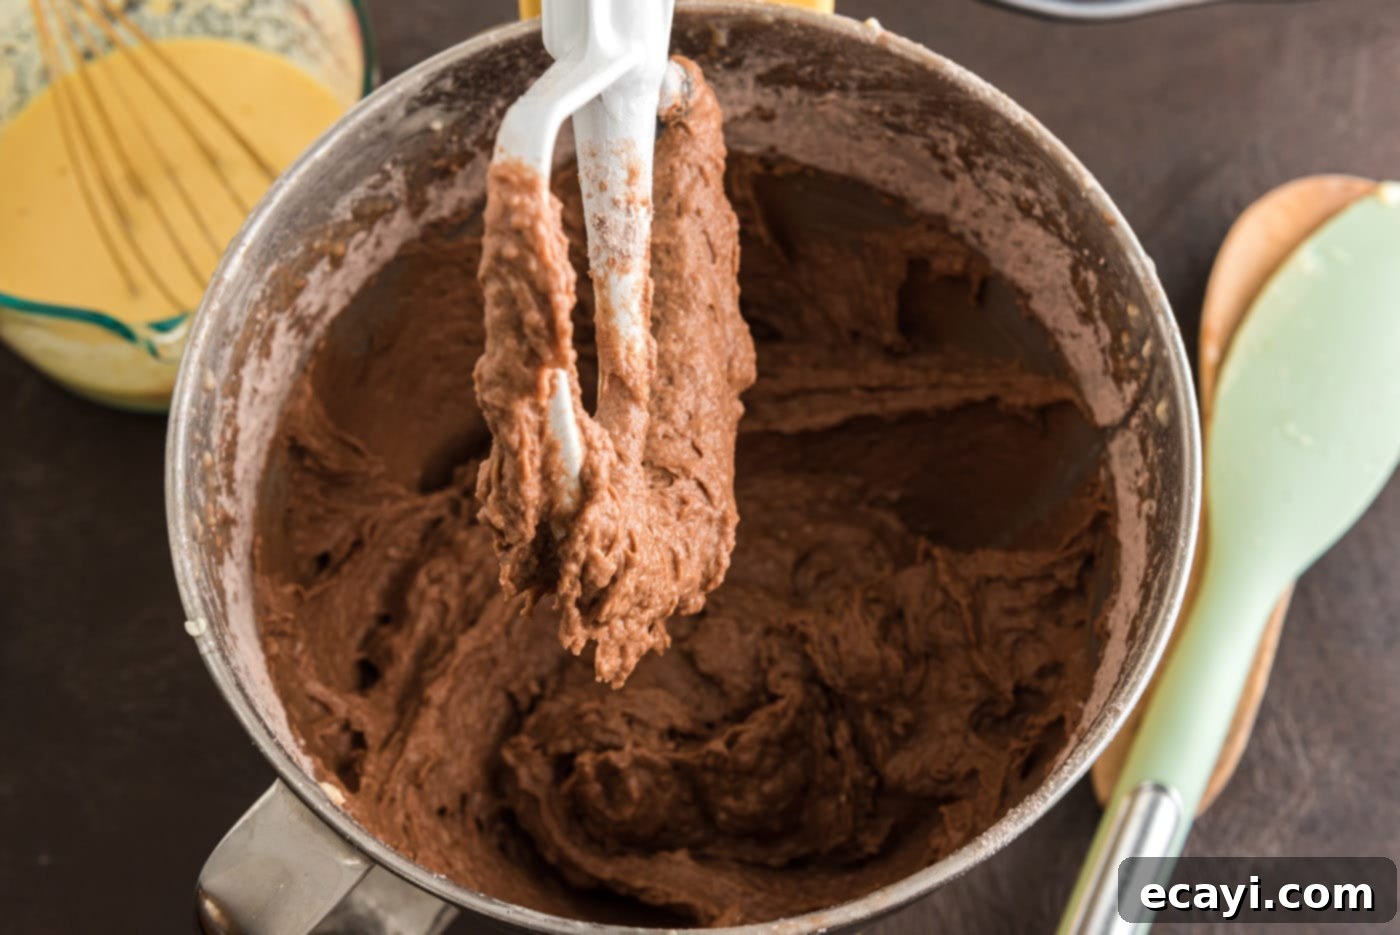
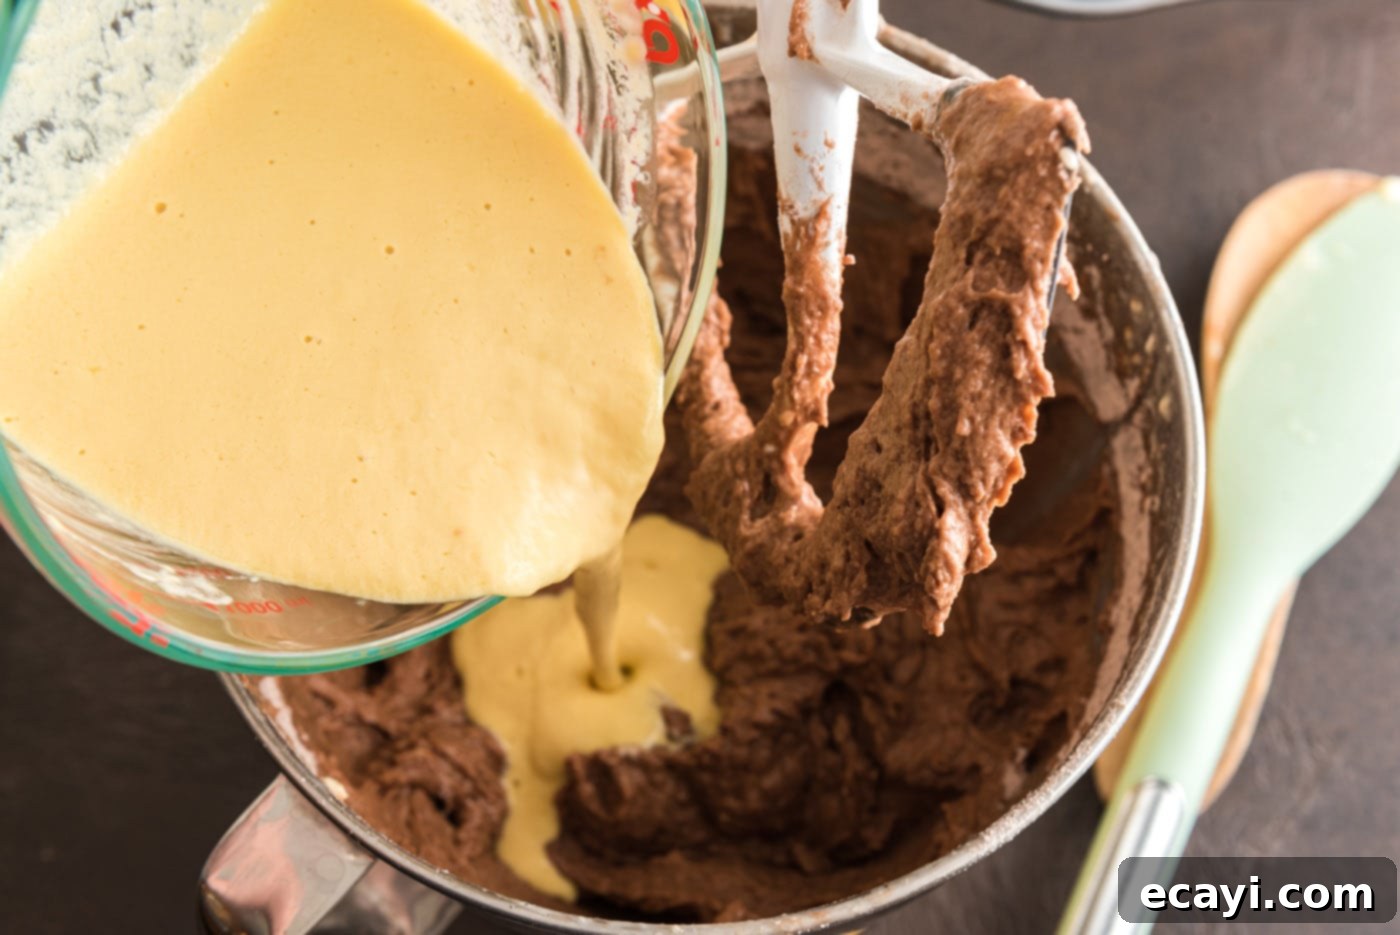
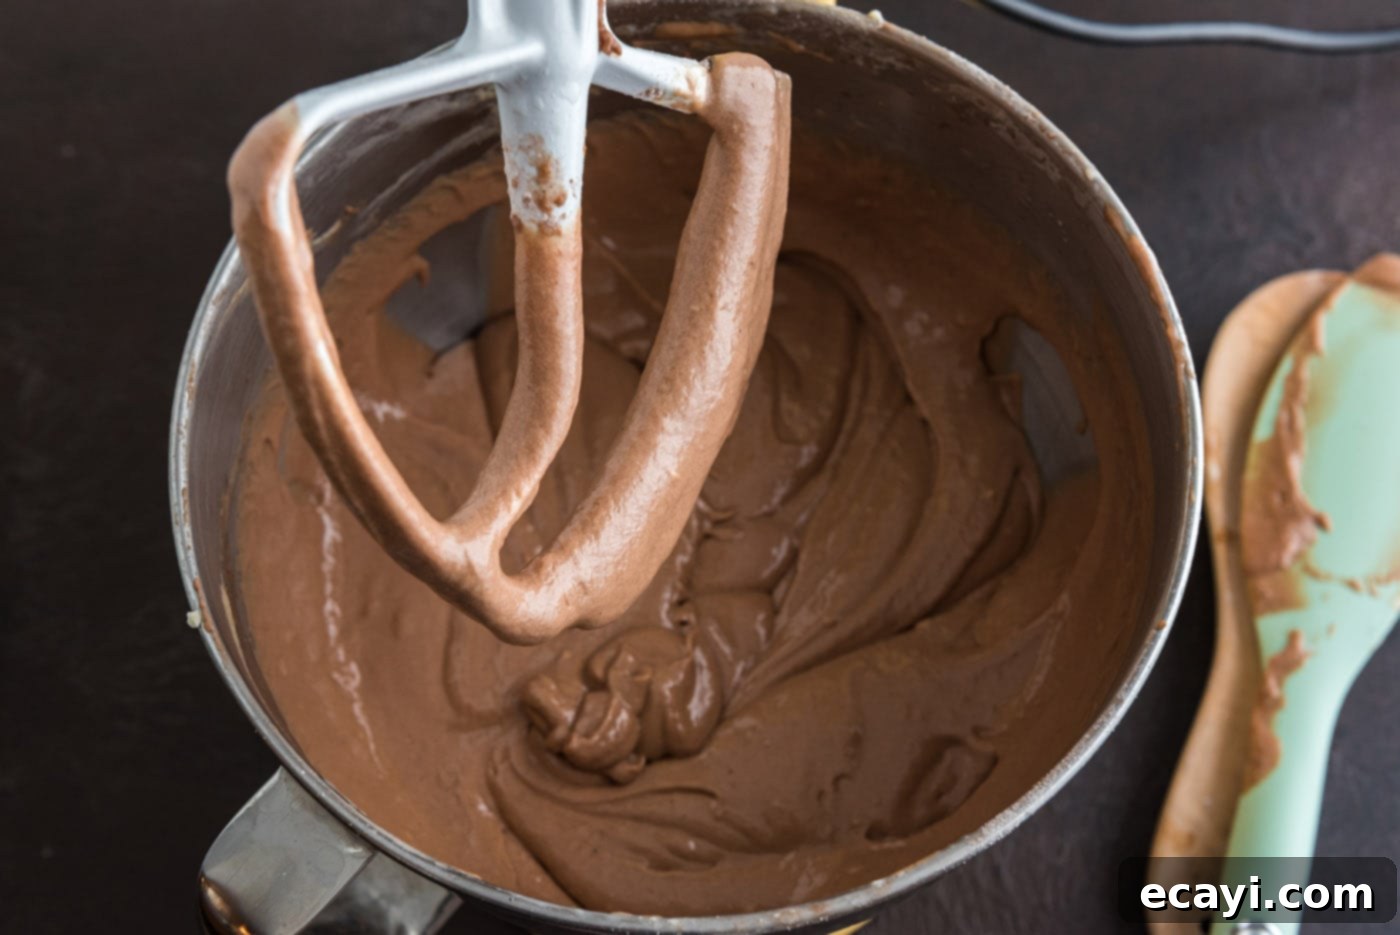
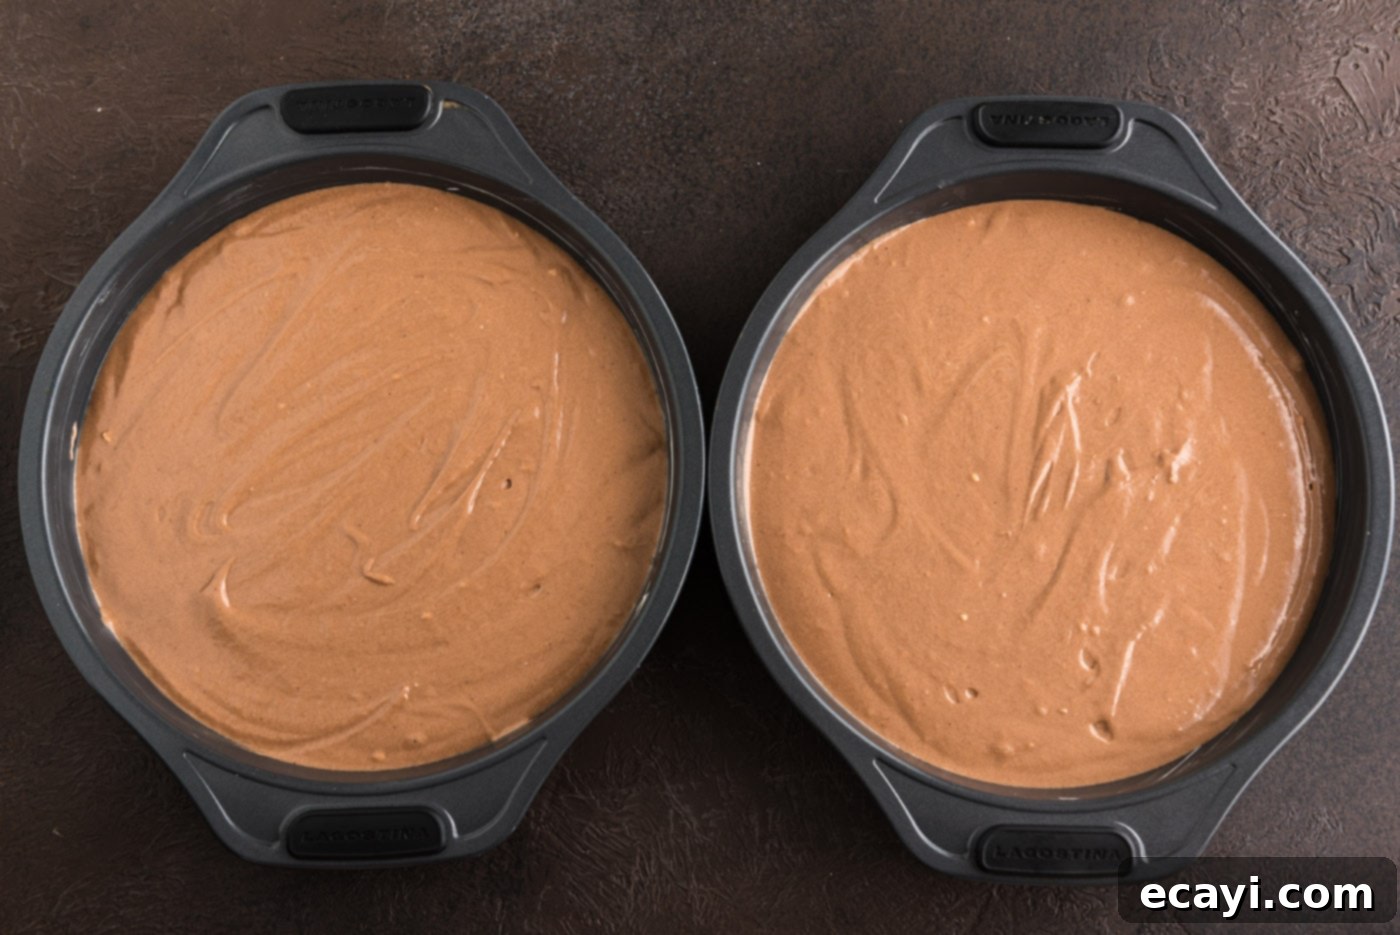
- Now, add all the dry ingredients into the butter and oil mixture at once. Mix them together on a slow speed, just until they are barely combined. Overmixing at this stage can lead to a tough cake. Next, pour in the egg and sour cream mixture and mix again, still at a slow speed, until everything is just blended into a smooth batter. Divide the rich chocolate batter evenly between your two prepared cake pans.


- Bake the cakes for approximately 25 to 30 minutes, or until a cake-tester inserted into the center comes out clean. The cakes should also spring back lightly when gently touched. Once baked, allow the cakes to cool in their pans on a wire rack for about 15 minutes. This allows them to firm up slightly. After 15 minutes, carefully invert the cakes onto the wire rack to cool completely. Patience is key here; frosting a warm cake will lead to a melty, messy disaster.

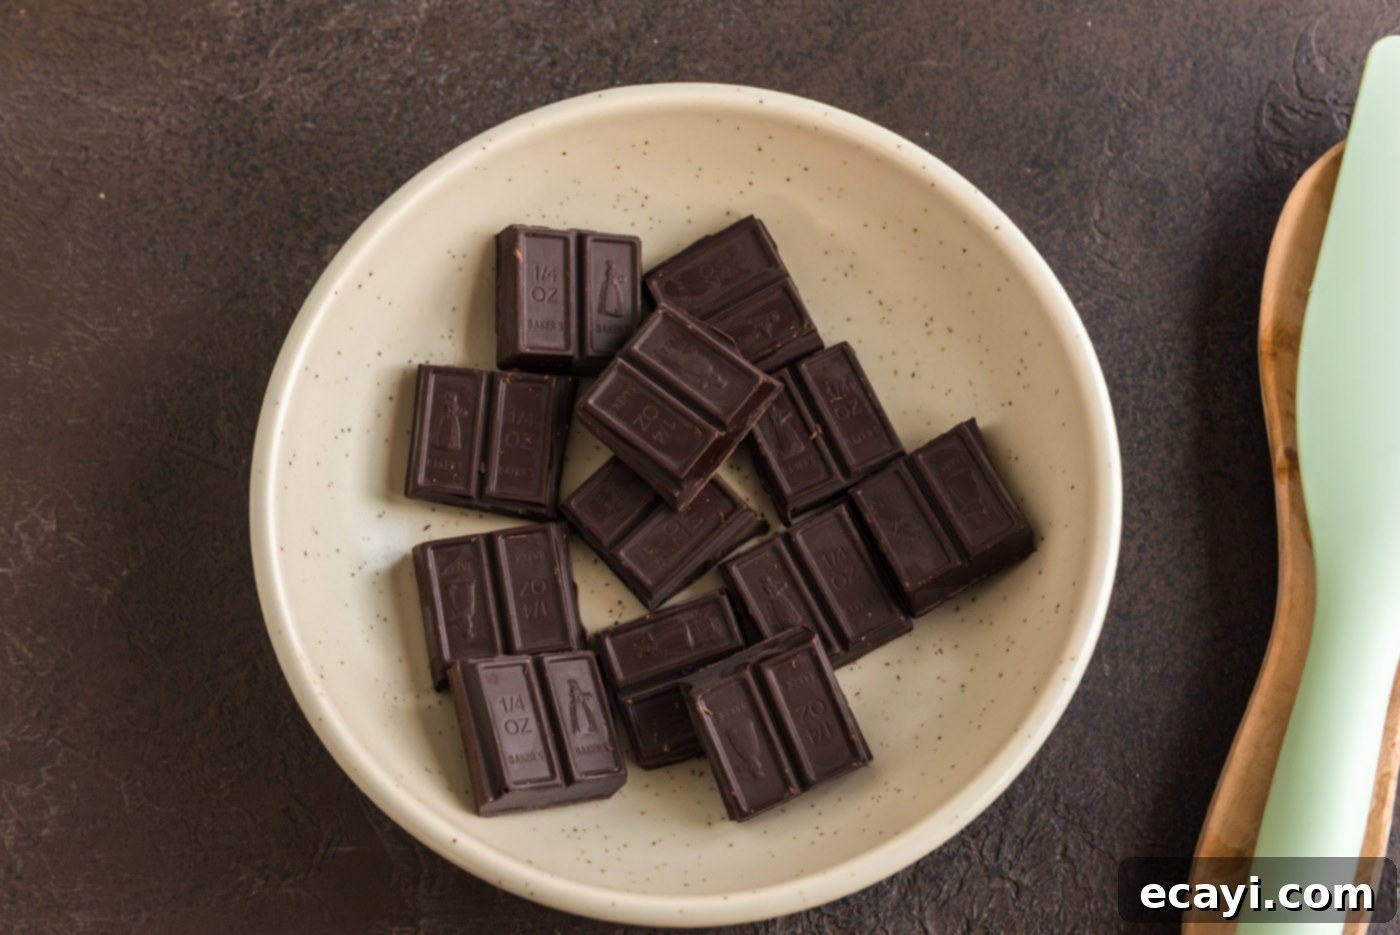
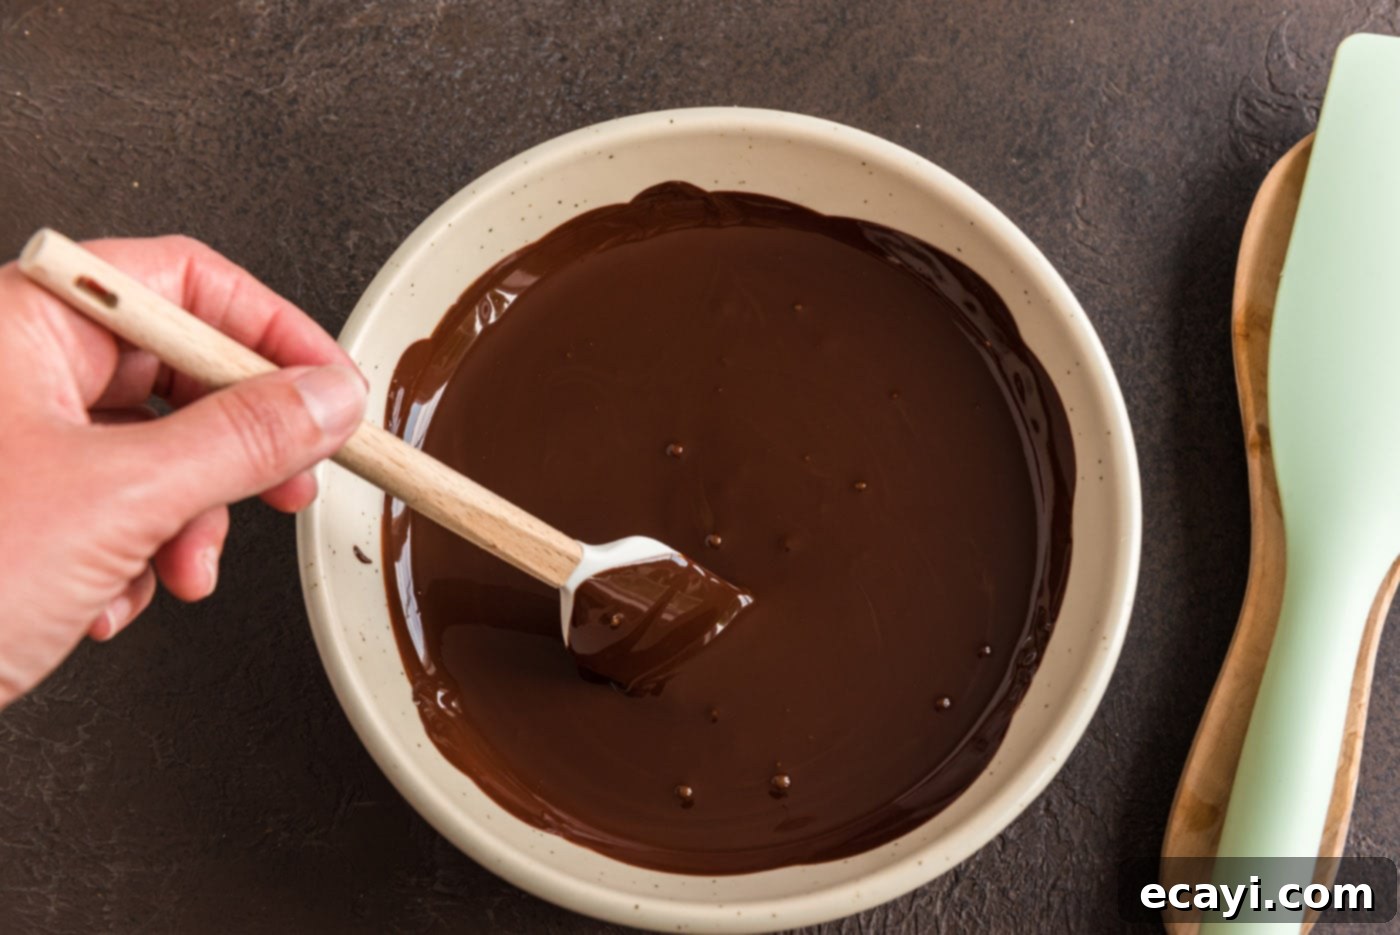
- While the cakes are cooling, prepare the luscious fudge frosting. Melt the bittersweet chocolate using a microwave (2 to 3 minutes on medium power, stirring every minute, should do the trick) or by placing it in a heatproof bowl set over a saucepan of simmering water (a double boiler method). Be careful not to let the bowl touch the water. Once melted, set the chocolate aside to cool slightly to a lukewarm temperature; you don’t want it to be hot.


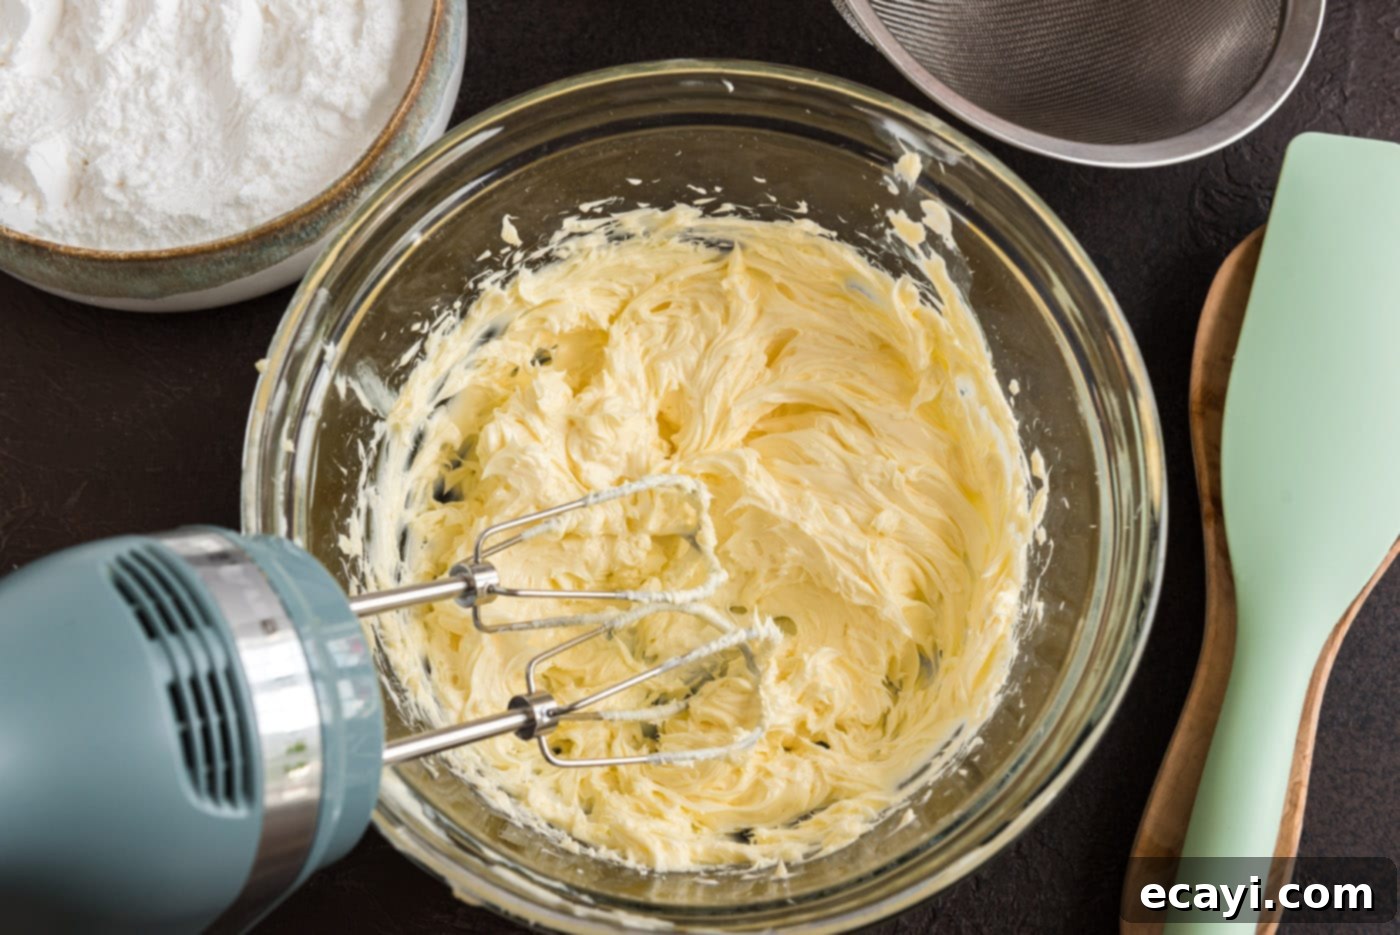
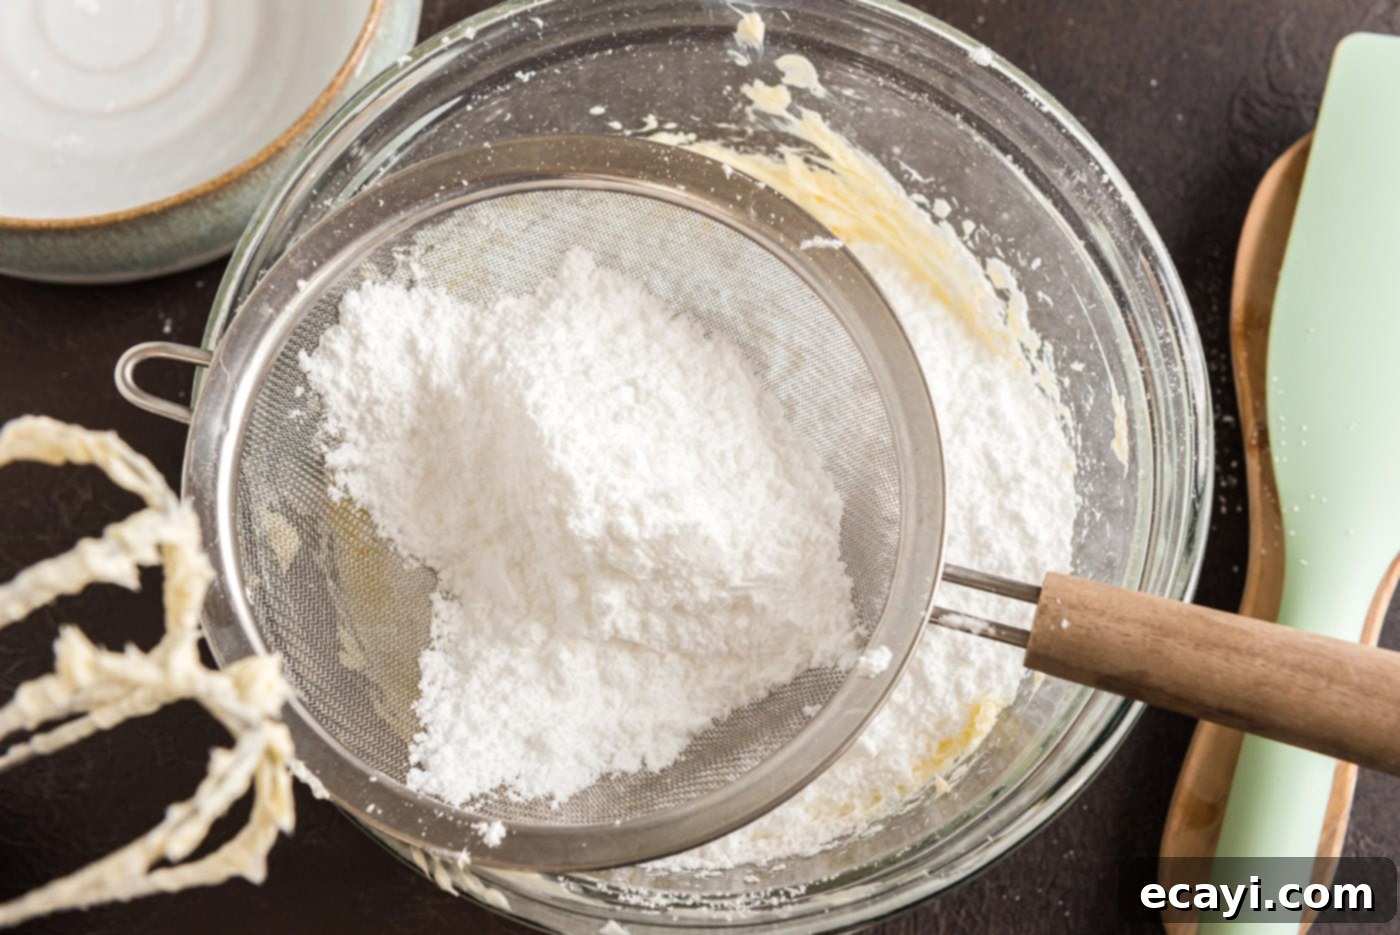
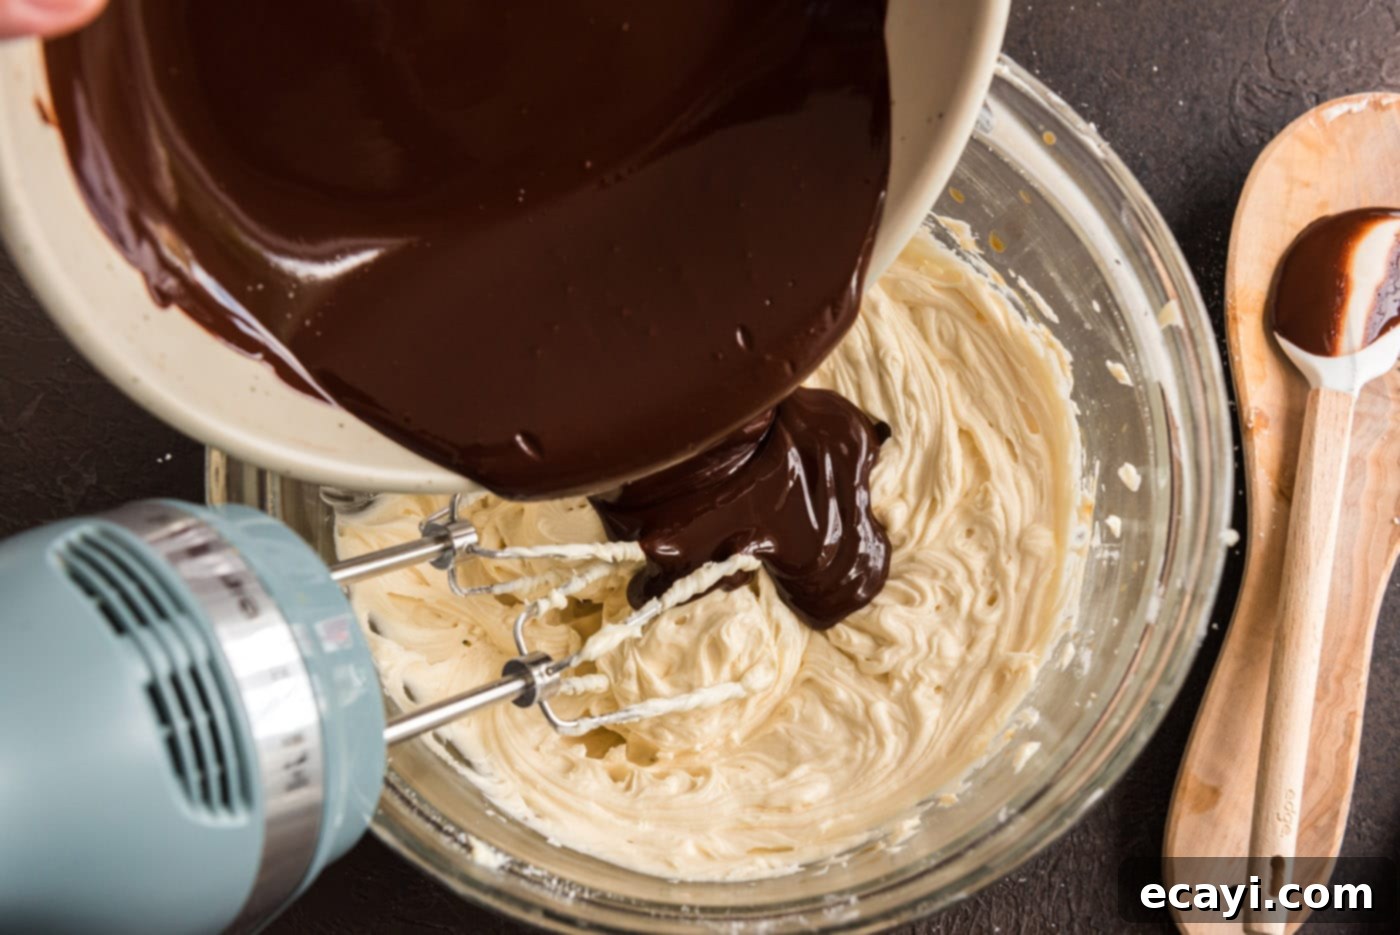
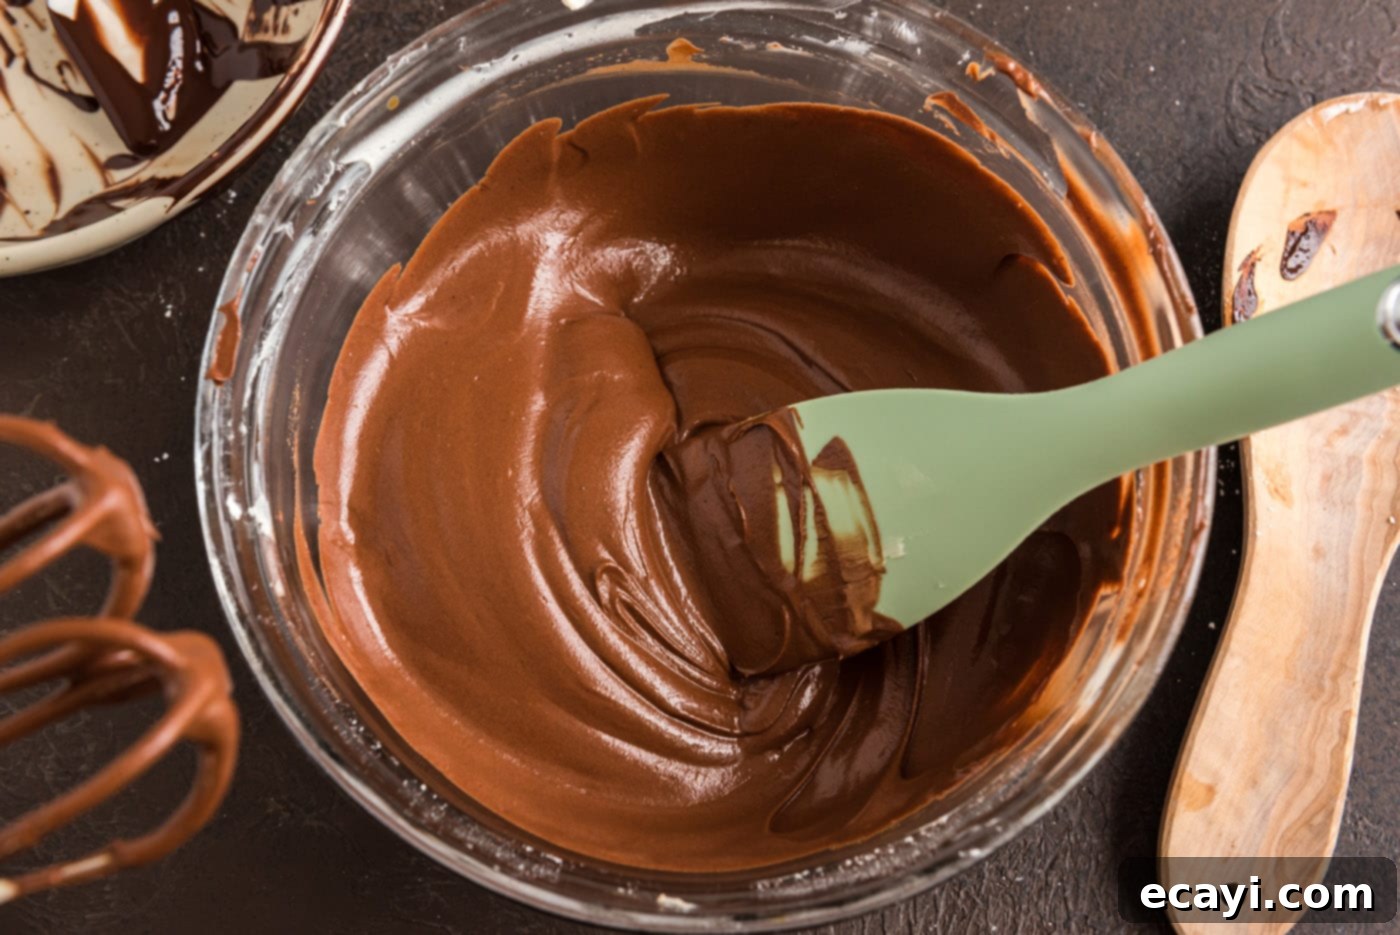
- In another clean bowl, beat the softened unsalted butter until it is light, pale, and creamy. This aerates the butter, contributing to a fluffy frosting. Next, gradually add the sifted confectioners’ sugar to the butter, beating again until the mixture is light and fluffy. Finally, gently beat in the vanilla extract and the slightly cooled melted chocolate. Mix until the frosting is gloriously glossy, smooth, and uniformly rich brown.


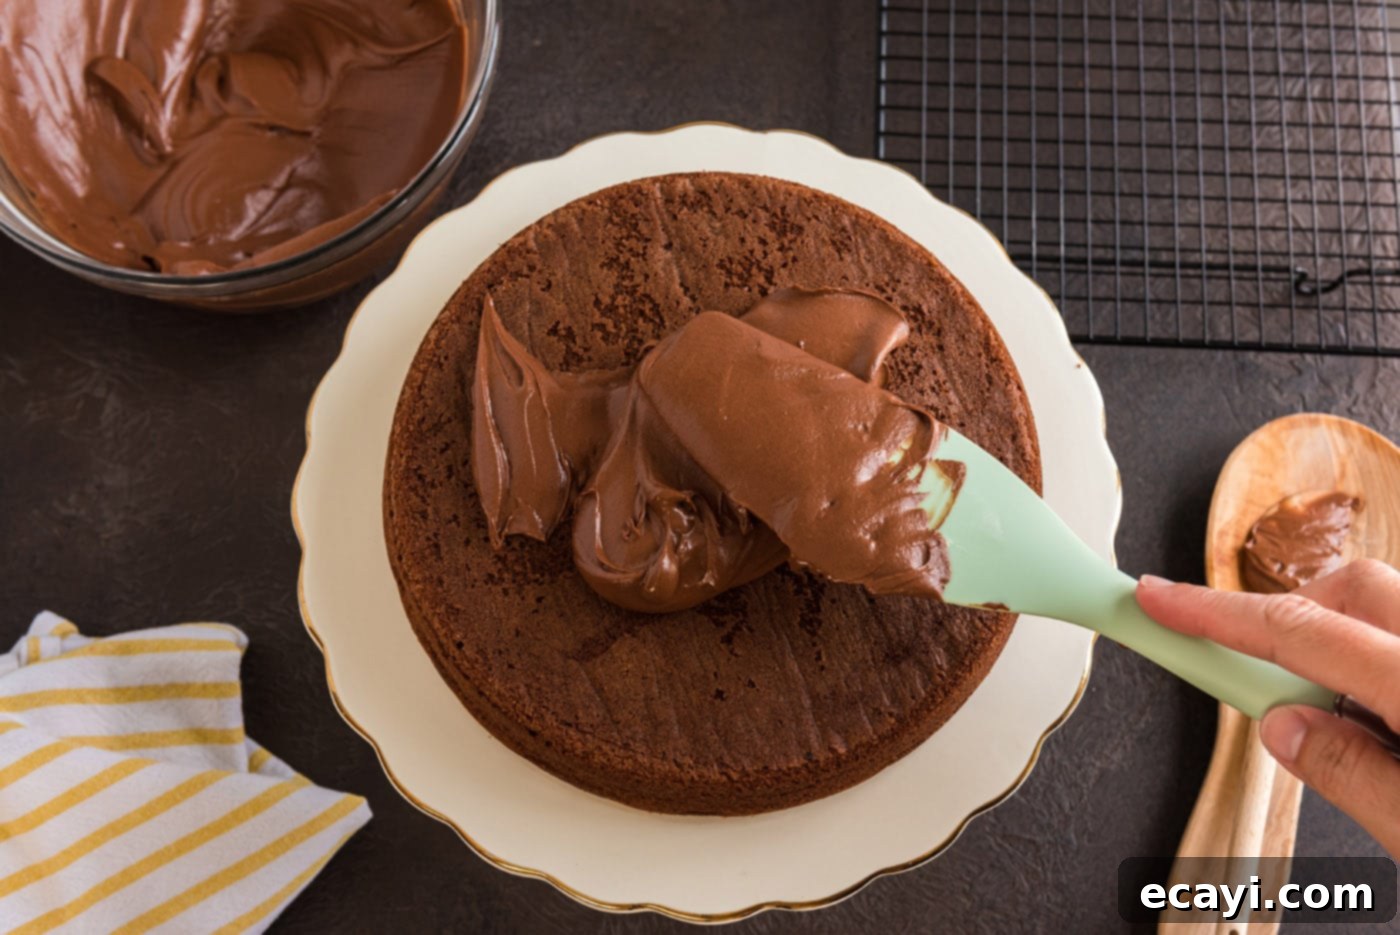
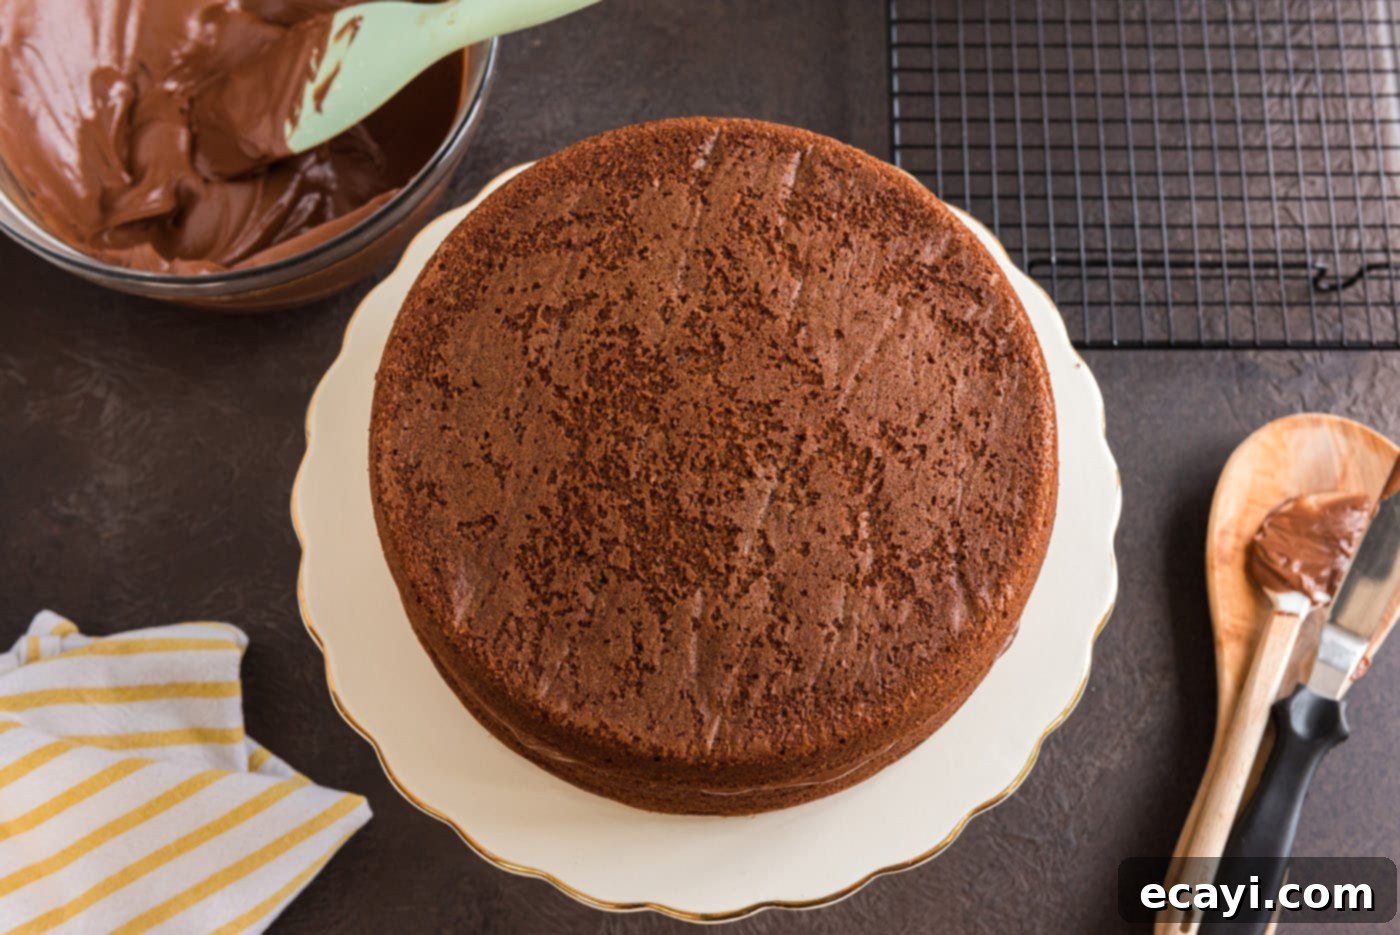
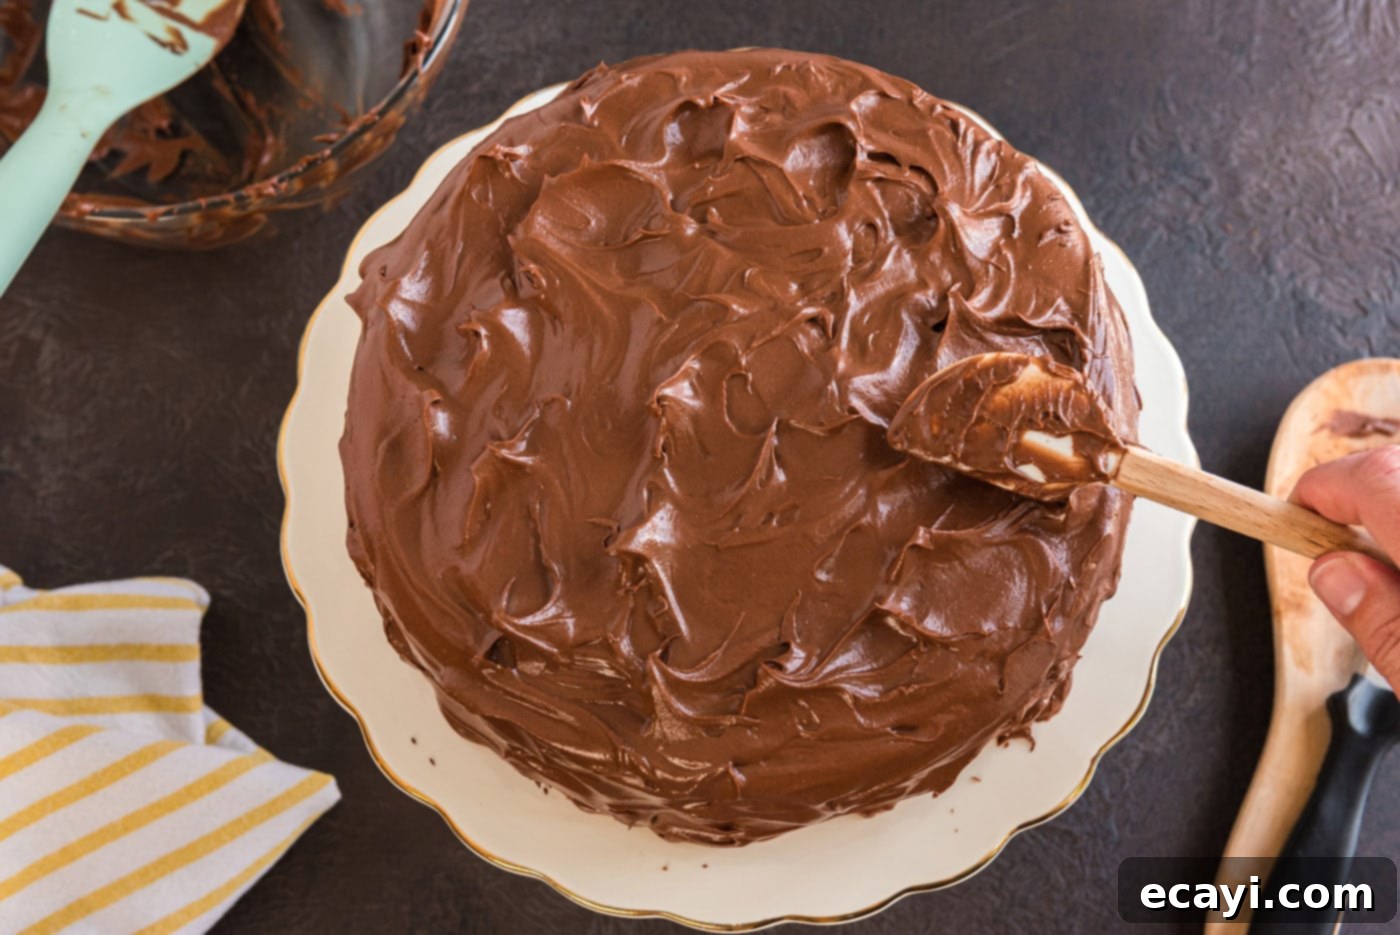
- Once your cake layers are completely cool, it’s time to assemble. Place one cake layer on your serving plate or cake stand. Spread about a quarter of the rich fudge frosting evenly over this layer. Carefully place the second cake layer on top, creating a beautiful two-tiered masterpiece. Now, use the remaining frosting to generously ice the top and sides of the entire cake. Use an offset spatula or a rubber spatula to spread and smooth the frosting, creating an elegant, polished finish. Take your time to achieve smooth sides and a perfectly level top for a truly professional look.


Frequently Asked Questions & Expert Baking Tips
To maintain its incredible moisture and freshness, store your chocolate fudge cake in an airtight container or on a cake stand equipped with a lid. This is crucial to prevent the cake from drying out. Keep the cake at room temperature for up to 4 days. There is no need to refrigerate this cake, as chilling can sometimes make chocolate cakes seize up and become less tender. If you plan on transporting the cake, I highly recommend using a cake carrier, which also doubles as an excellent storage solution.
Absolutely! This chocolate fudge cake freezes beautifully. For best results, prepare and freeze the unfrosted cake layers. Once the layers are completely cool, individually wrap each one tightly in plastic wrap, ensuring no air can get in. Follow this with a second layer of aluminum foil for added protection against freezer burn. Store these well-wrapped cake layers in the freezer for up to 3 months. When you’re ready to enjoy the cake, simply thaw the wrapped layers at room temperature before unwrapping and frosting. You can also freeze individual slices of the frosted cake by wrapping them similarly, making it easy to enjoy a single serving whenever a craving strikes.
Expert Tips for Baking Success:
- Room Temperature Ingredients: Always ensure your eggs, sour cream, and butter (for frosting) are at room temperature. This allows them to combine more smoothly and evenly, creating a consistent batter and frosting texture.
- Don’t Overmix: When combining wet and dry ingredients for the cake batter, mix only until just combined. Overmixing develops the gluten in the flour, leading to a tough, dry cake.
- Accurate Oven Temperature: Oven temperatures can vary significantly. Invest in an inexpensive oven thermometer to ensure your oven is consistently heating to the correct temperature. This is vital for consistent baking results.
- Cool Completely: Resist the urge to frost a warm cake! A warm cake will melt the frosting, leading to a runny mess. Ensure your cake layers are completely cooled before applying the fudge frosting.
- Quality Chocolate for Frosting: As mentioned, using high-quality bittersweet chocolate with at least 70% cocoa solids makes a world of difference in the depth of flavor and smooth texture of the fudge frosting.
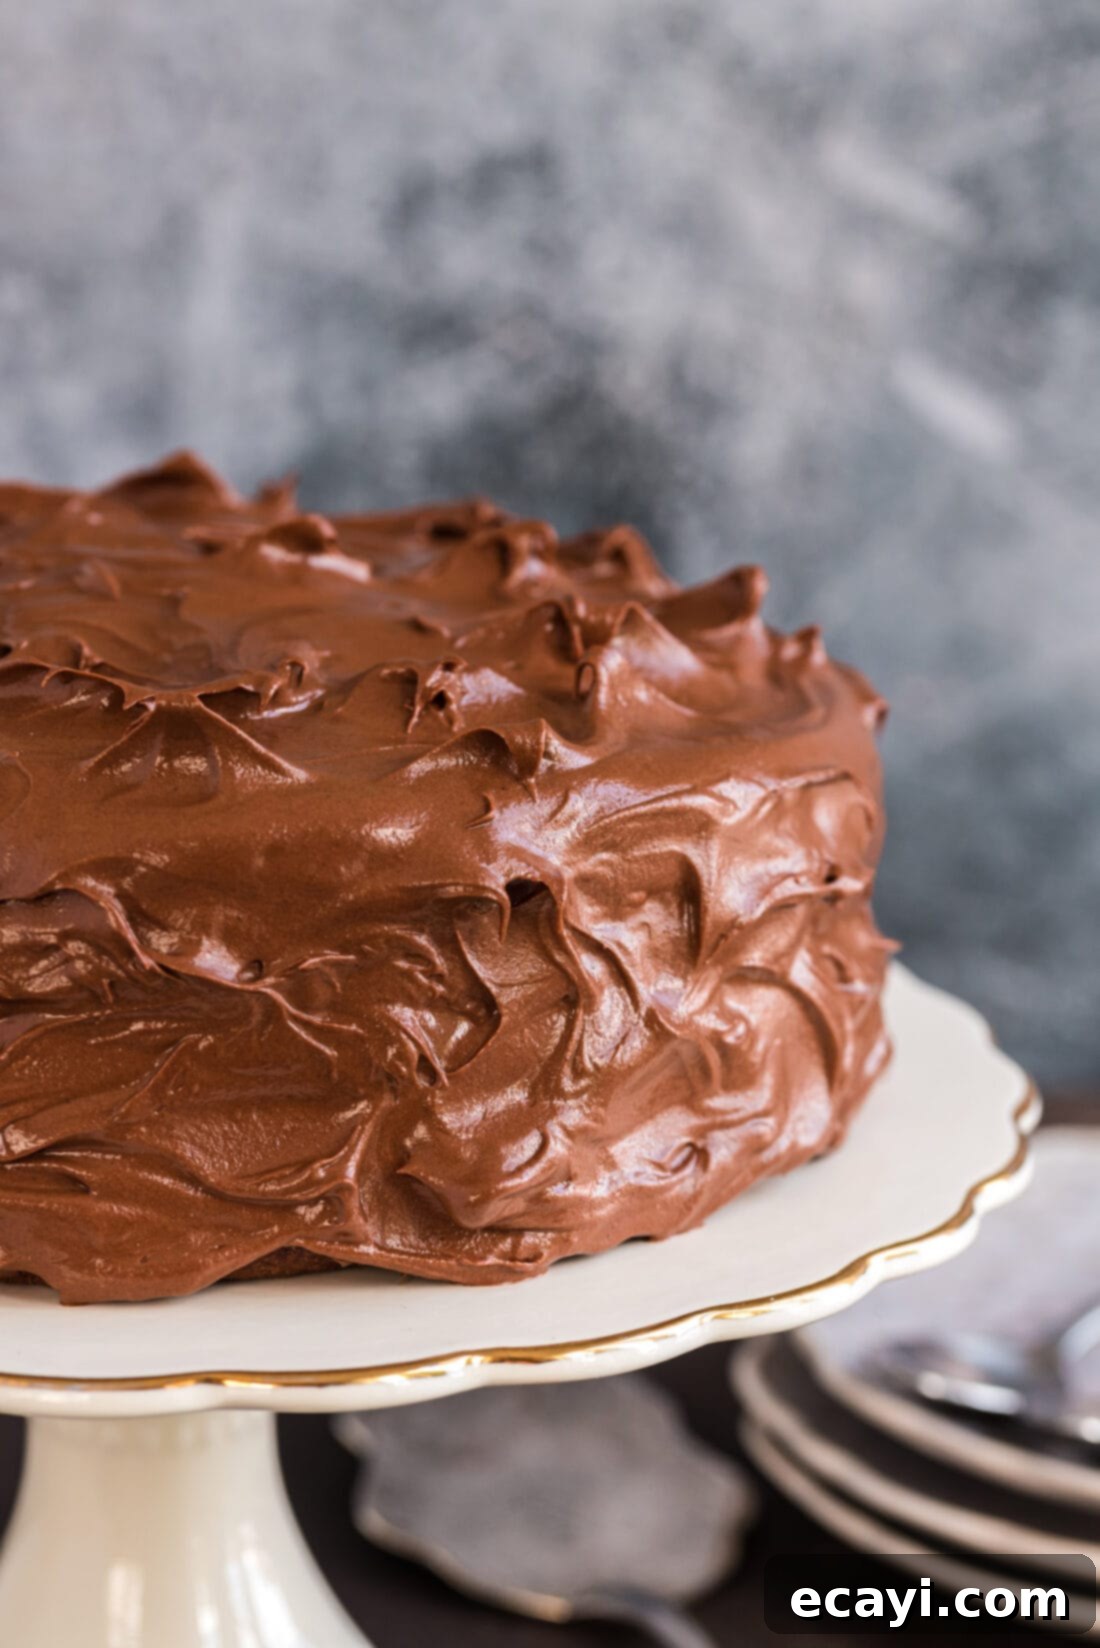
Delightful Serving Suggestions for Your Fudge Cake
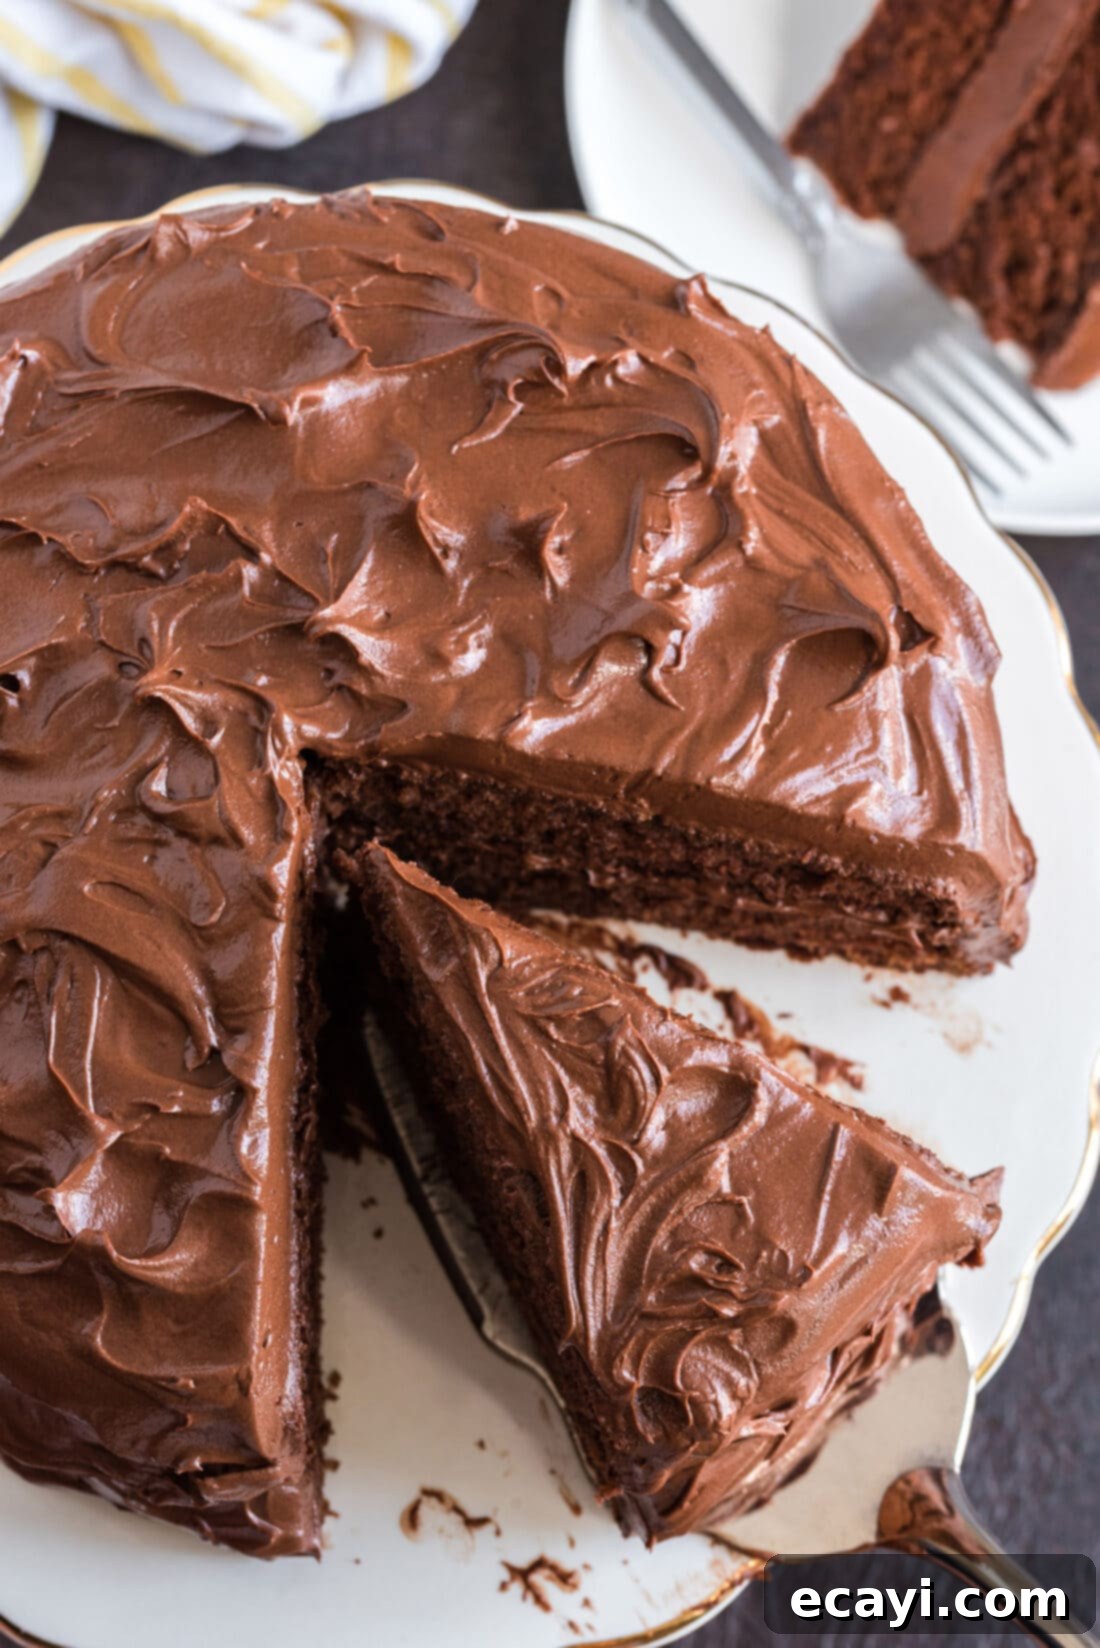
Nigella’s Chocolate Fudge Cake is a masterpiece on its own, but there are countless ways to enhance the experience. While a tall, cold glass of milk is the classic accompaniment, transforming each bite into pure comfort, consider these ideas to elevate your indulgence. Sometimes, I even sneak a slice with my morning coffee – it’s a truly decadent way to start the day!
For an extra treat, serve a slice with a scoop of vanilla bean ice cream or a complementary flavor like coffee, mint, or even raspberry swirl. A dollop of freshly whipped cream can add a beautiful contrast in texture and lighten the richness slightly. Fresh berries, such as raspberries or strawberries, provide a tart counterpoint to the deep chocolate, making it feel even more gourmet. A delicate sprinkle of flaky sea salt over the frosting just before serving can enhance the chocolate flavor and add a sophisticated touch. This fudge cake is so divine and versatile that it suits any occasion, whether it’s a festive birthday celebration, a joyous graduation, a romantic anniversary, a friendly potluck gathering, or simply a spontaneous “just because” moment to treat yourself and your loved ones. Enjoy every magnificent, chocolate-filled bite!
Explore More Delicious Cake Recipes
If you love baking and are always on the lookout for new sweet delights, here are some other fantastic cake recipes you might enjoy:
- Tiramisu Cake
- Red Velvet Cake
- Mayonnaise Cake
- Classic White Cake
- German Chocolate Cake
- Nigella’s Old Fashioned Chocolate Cake
I love to bake and cook and share my kitchen experience with all of you! Remembering to come back each day can be tough, that’s why I offer a convenient newsletter every time a new recipe posts. Simply subscribe and start receiving your free daily recipes!
Nigella’s Chocolate Fudge Cake
IMPORTANT – There are often Frequently Asked Questions within the blog post that you may find helpful. Simply scroll back up to read them!
Print It
Pin It
Rate It
Save ItSaved!
Ingredients
Cake
- 2 ⅔ cups all-purpose flour
- ¾ cup plus 1 Tablespoon granulated sugar
- ⅓ cup light brown sugar
- ¼ cup best-quality cocoa powder
- 2 teaspoons baking powder
- 1 teaspoon baking soda
- ½ teaspoon salt
- 3 large eggs
- ½ cup plus 2 Tablespoons sour cream
- 1 tablespoon vanilla extract
- ¾ cup unsalted butter melted and cooled*
- ½ cup canola oil
- 1 ⅓ cups chilled water
Fudge Frosting
- 6 ounces bittersweet chocolate minimum 70 percent cocoa solids
- 1 cup plus 2 tablespoons unsalted butter softened
- 1 ¾ cups confectioners’ sugar sifted
- 1 tablespoon vanilla extract
Things You’ll Need
-
Measuring cups and spoons
-
2 8-inch cake pans
-
Mixing bowls
-
Electric mixer
Before You Begin
- Properly measuring your flour is the key to success when it comes to baking. To do so, measure your flour using the scoop and sweep method. Aerate the flour with a spoon, then scoop the flour into a measuring cup until it is slightly overflowing. Then, take the flat end of a butter knife and gently sweep it across the top to level it. Never scoop flour straight from the bag and do not tap the measuring cup to pack in the flour. Doing either of those two things is typically the main culprit for dry, dense cake – which we definitely don’t want.
- Try not to use anything less than 70% dark cocoa solids for the frosting as it adds incredible decadence. Lindt or Ghirardelli are great options. This recipe will yield enough icing to frost the entire cake, you can cut it in half if you only want to ice in between the layers and the top portion. Otherwise, you can always pop any leftovers in an air-tight container and freeze it for later use.
- Using sour cream in cake adds a lot of moisture, I wouldn’t suggest leaving it out or substituting it.
- Store your fudge cake in an air-tight container or on a cake stand fitted with a lid. Keep at room temperature for up to 4 days. You do not need to refrigerate this cake. If transporting, I suggest using a cake carrier (which you can also use for storage).
- You can prepare and freeze the unfrosted cake layers. Individually wrap the two cake layers in plastic wrap followed by a layer of aluminum foil. Store in the freezer for up to 3 months and thaw at room temperature, unwrapped.
Instructions
Cake
-
Preheat the oven to 350 degrees F. Butter and line the bottom of 2 (8-inch) cake pans.
-
In a large bowl, mix together the flour, sugars, cocoa, baking powder, baking soda and salt.
-
In another bowl or wide-necked measuring cup whisk together the eggs, sour cream and vanilla until blended.
-
Using a standing or handheld electric mixer, beat together the melted butter and corn oil until just blended (you’ll need another large bowl for this if using the hand mixer; the standing mixer comes with its own bowl), then beat in the water. Add the dry ingredients all at once and mix together at a slow speed. Add the egg mixture, and mix again until everything is blended and then pour into the prepared pans.
-
Bake the cakes for 25 to 30 minutes, or until a cake-tester comes out clean. Cool the cakes in their pans on a wire rack for 15 minutes, and then turn the cakes out on the rack to cool completely.
Icing
-
Melt the chocolate in the microwave – 2 to 3 minutes on medium should do it – or in a bowl sitting over a pan of simmering water, and let cool slightly.
-
In another bowl beat the butter until it’s soft and creamy and then add the sifted confectioners’ sugar and beat again until everything’s light and fluffy. Gently add the vanilla and chocolate and mix together until everything is glossy and smooth.
-
Sandwich the middle of the cake with about a quarter of the icing, and then ice the top and sides, too, spreading and smoothing with a rubber spatula.
Nutrition
The recipes on this blog are tested with a conventional gas oven and gas stovetop. It’s important to note that some ovens, especially as they age, can cook and bake inconsistently. Using an inexpensive oven thermometer can assure you that your oven is truly heating to the proper temperature. If you use a toaster oven or countertop oven, please keep in mind that they may not distribute heat the same as a conventional full sized oven and you may need to adjust your cooking/baking times. In the case of recipes made with a pressure cooker, air fryer, slow cooker, or other appliance, a link to the appliances we use is listed within each respective recipe. For baking recipes where measurements are given by weight, please note that results may not be the same if cups are used instead, and we can’t guarantee success with that method.
This post originally appeared here on June 29, 2011 and has since been updated with new photos and expert tips.
