Decadent Triple Chocolate Poke Cake: Your Ultimate Guide to a Rich & Moist Dessert
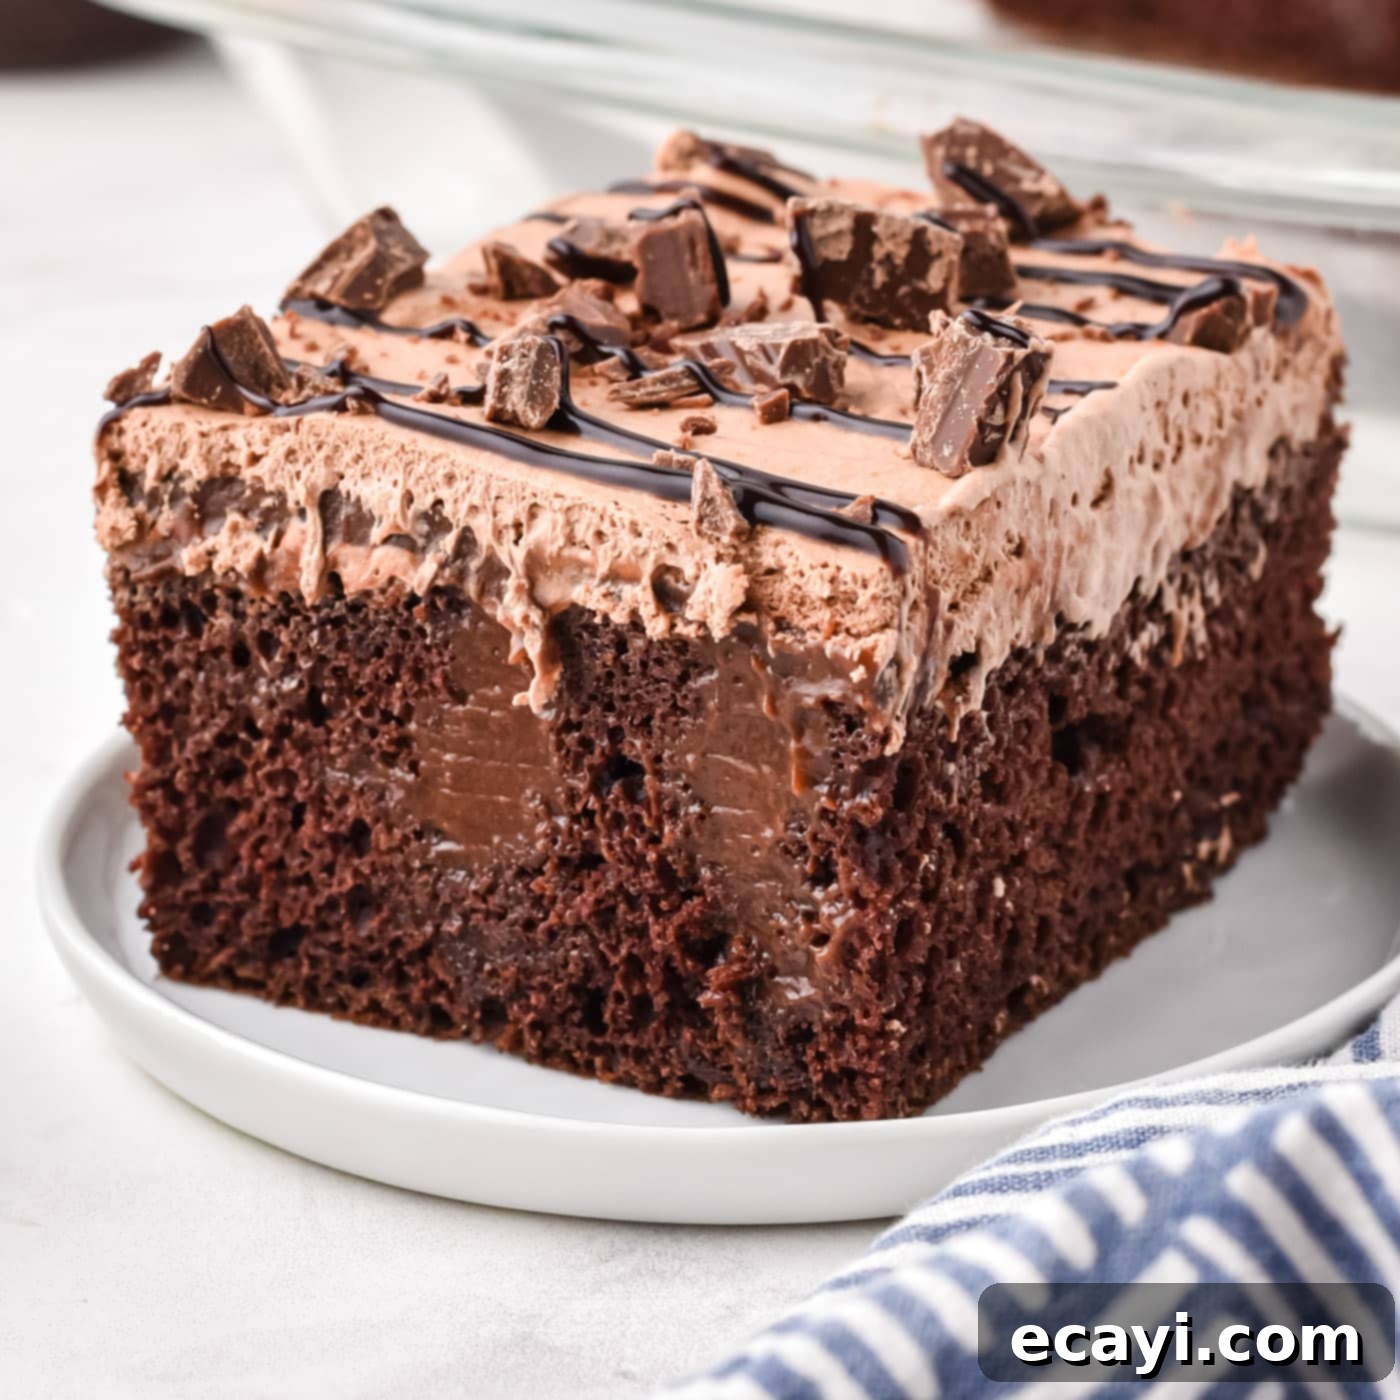
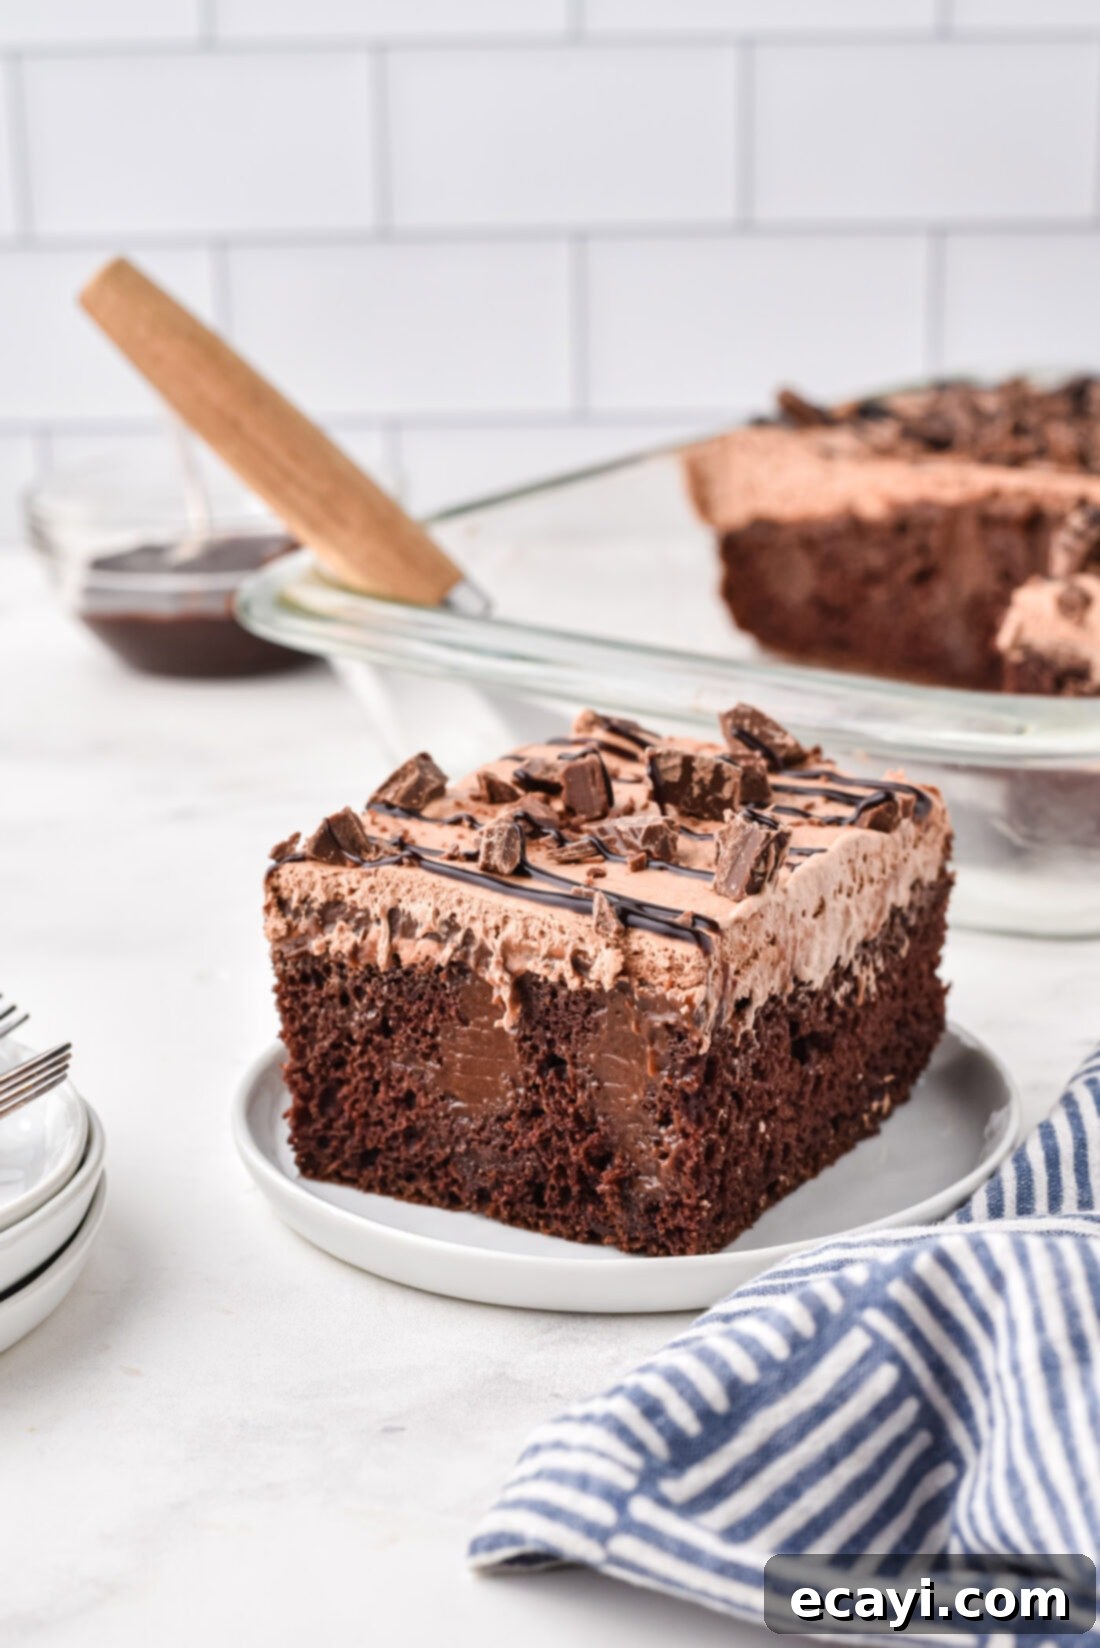
Prepare yourself for an extraordinary chocolate experience with this utterly decadent triple chocolate poke cake. This recipe is a true ode to chocolate lovers, combining three layers of rich, creamy, and intensely satisfying cocoa goodness. We start with a perfectly baked devil’s food cake, known for its deep, dark chocolate flavor and tender crumb. Once baked, the cake is generously infused with creamy instant chocolate pudding, ensuring every bite is incredibly moist and succulent. Finally, it’s crowned with a luscious, homemade fluffy chocolate whipped topping, providing a light yet intensely chocolaty finish. To complete this masterpiece, we add an extra drizzle of velvety chocolate syrup and a sprinkle of chopped chocolate candy for that irresistible crunch and visual appeal. Whether you’re a seasoned baker or a beginner, this easy-to-follow recipe promises a show-stopping dessert perfect for any occasion – from casual family gatherings to elegant dinner parties. Get ready to bake a chocolate cake that will leave everyone craving another slice!
Why This Triple Chocolate Poke Cake is a Must-Try
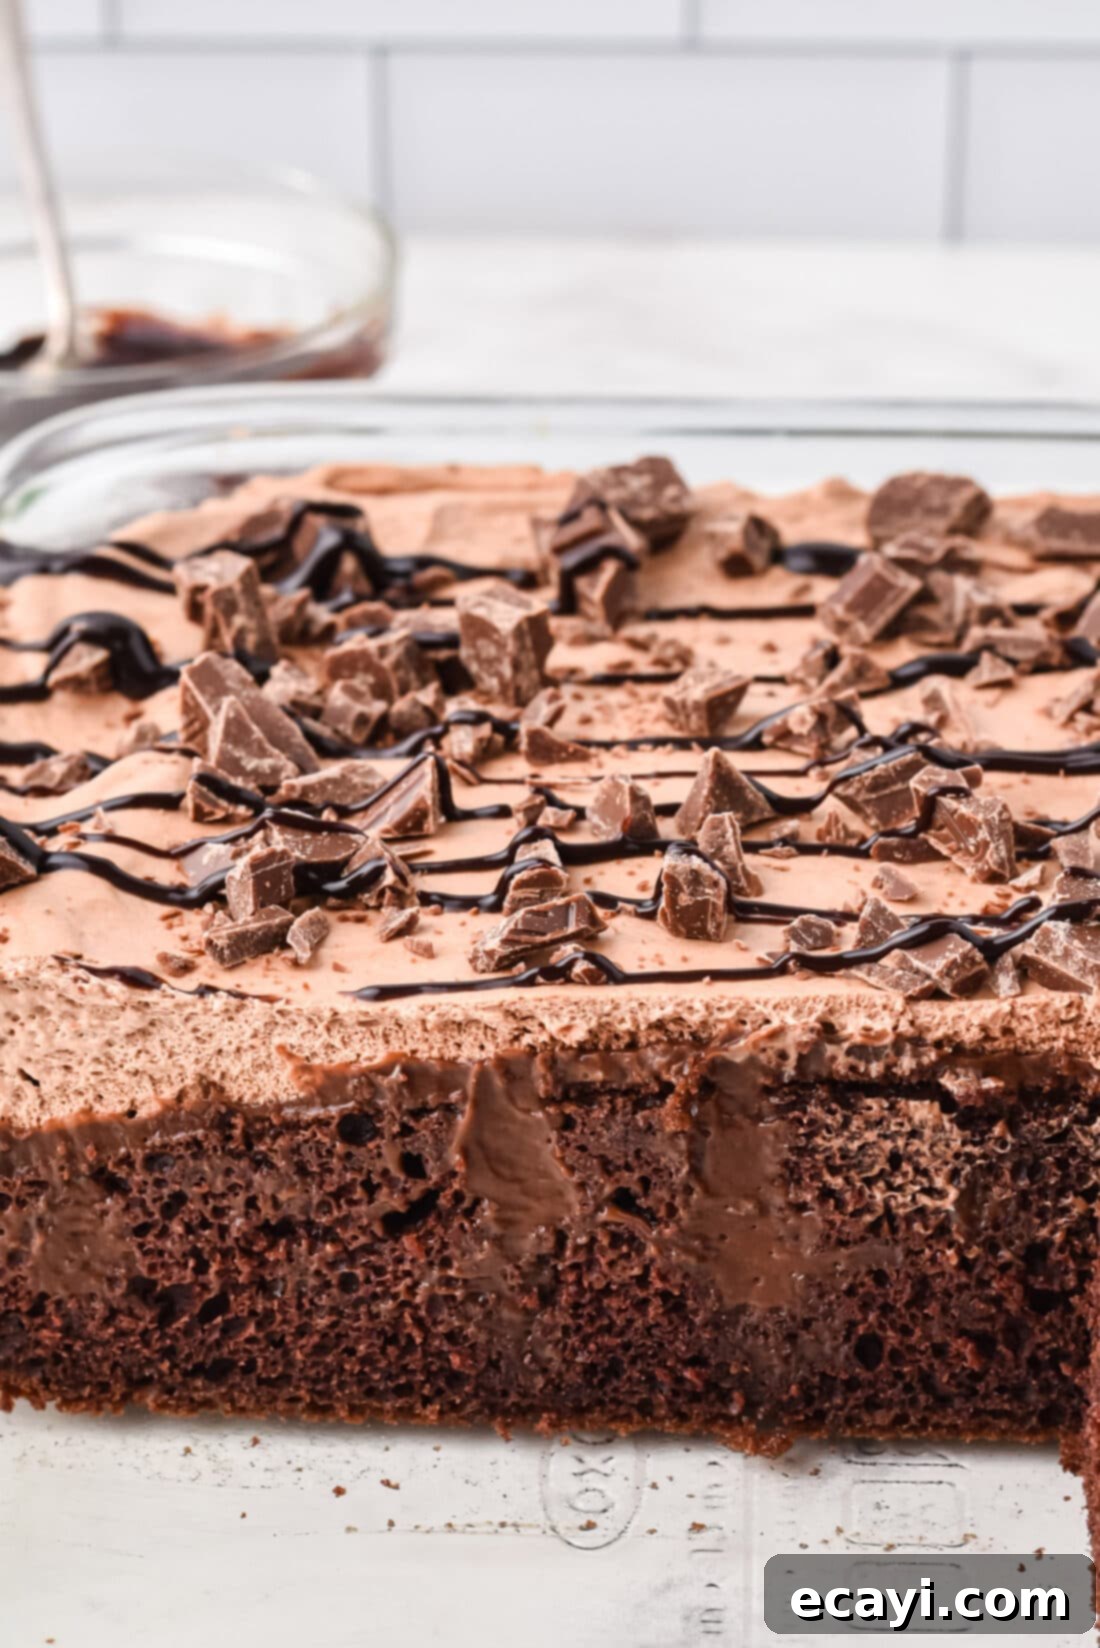
This triple chocolate poke cake isn’t just another dessert; it’s a culinary triumph designed for maximum flavor with minimal fuss. For any true chocolate aficionado, this cake truly is a dream come true, delivering an unparalleled depth of chocolate in every single forkful. The magic begins with the humble poke cake technique, a brilliant method that transforms a simple boxed cake mix into an extraordinary, moist, and flavorful dessert. By poking holes in the warm cake and pouring instant chocolate pudding over it, the pudding seeps deep into the cake’s structure, creating pockets of rich, creamy moisture throughout. This process makes the cake ultra-moist and incredibly supple, far beyond what a standard cake could achieve on its own.
What makes this particular chocolate poke cake recipe stand out is its delightful layering of chocolate. You get the deep cocoa notes from the devil’s food cake, the smooth creaminess from the chocolate pudding, and the airy sweetness of the homemade chocolate whipped topping. This harmonious blend of textures and flavors ensures a truly sensational eating experience. It’s the perfect “chocolate on chocolate” dessert – impressive enough to be the star of any potluck, holiday gathering, or birthday party, yet surprisingly simple to prepare. The use of a boxed cake mix and instant pudding significantly cuts down on prep time, making it accessible even for busy home cooks who want to create something special without spending hours in the kitchen. While we’ve explored many variations of poke cakes, often using vanilla or yellow cake bases for recipes like our Boston cream poke cake, this rich chocolate rendition takes indulgence to a whole new level. The ease and versatility of this dessert mean the possibilities for customization are truly endless, inviting you to experiment with various garnishes and toppings to make it uniquely yours.
Key Ingredients for Your Triple Chocolate Poke Cake
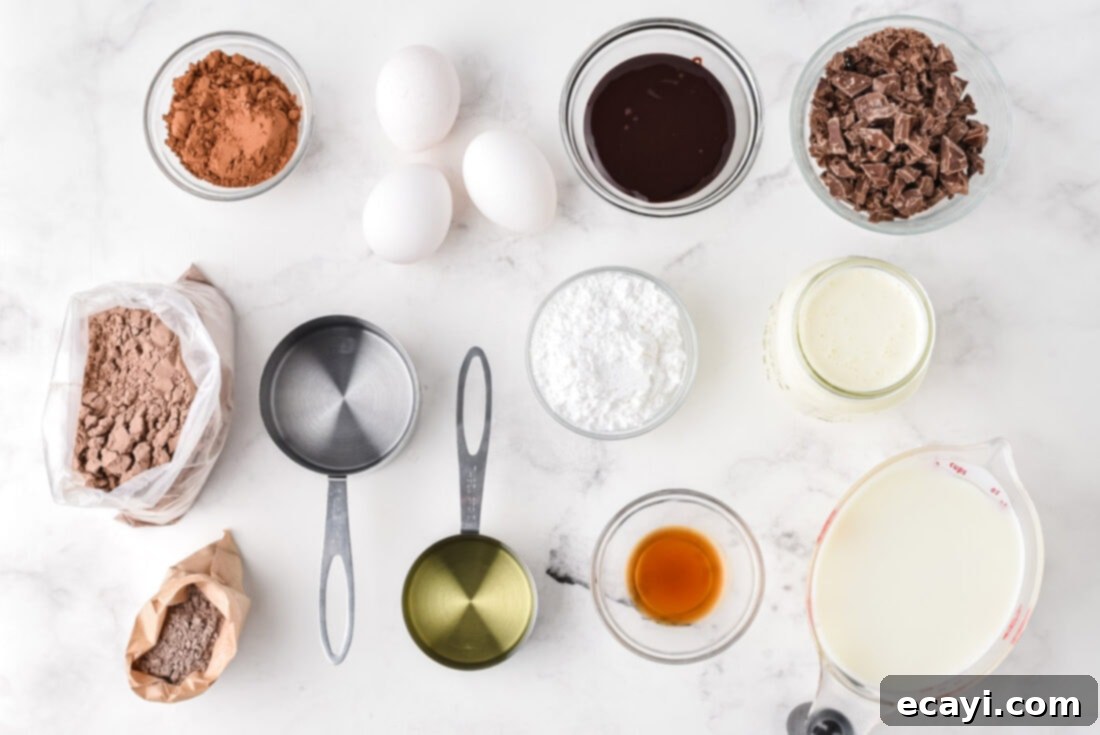
Crafting this incredible triple chocolate poke cake requires just a few readily available ingredients, making it an ideal recipe for both experienced and novice bakers. While the full list of precise measurements and step-by-step instructions can be found in the printable recipe card at the bottom of this post, let’s dive into some specifics about the key components and offer helpful substitution suggestions to ensure your baking success.
Ingredient Information & Expert Substitution Suggestions
CAKE BASE – For ultimate convenience and consistent results, we highly recommend starting with a devil’s food cake box mix. This choice ensures a deep, rich chocolate flavor that forms the perfect foundation for our triple chocolate theme. Remember to also gather the additional ingredients specified on the back of your chosen cake mix box, which typically include eggs, oil, and water (the accompanying photo illustrates the ingredients required for our specific mix). While devil’s food is our top pick, feel free to experiment with other chocolate varieties such as a rich chocolate fudge mix, a milder milk chocolate mix, or even a more intense dark chocolate mix, depending on your preference. For those who love to bake from scratch and have a go-to recipe for a moist chocolate cake, you can absolutely prepare your cake from scratch to elevate this dessert even further. Just ensure it’s baked in a 13×9 inch pan.
PUDDING LAYER – The secret to the incredible moistness and unique texture of any poke cake lies in the pudding. It is absolutely crucial to use instant pudding for this recipe; cooked pudding will not achieve the desired consistency and absorption. We opted for a classic regular chocolate instant pudding, which complements the devil’s food cake beautifully. However, if you’re looking to deepen the chocolate intensity, a dark chocolate instant pudding would be a fantastic and recommended substitution. The beauty of this layer is its versatility – you can truly use any flavor of instant pudding you desire, opening up a world of creative poke cake variations beyond just chocolate. Think white chocolate or even a caramel pudding for a delightful twist!
CHOCOLATE WHIPPED TOPPING – Our homemade chocolate whipped topping adds a light, airy, and intensely chocolaty cloud to the top of your cake. This component is surprisingly quick and simple to make, requiring just heavy cream, unsweetened cocoa powder, powdered sugar, and vanilla extract. Simply combine all these ingredients in a chilled mixing bowl and beat them with an electric mixer until lovely stiff peaks form – much like preparing traditional whipped cream, but with a delicious cocoa twist. For those short on time or preferring a different option, you can easily substitute the homemade whipped cream with store-bought alternatives like Cool Whip or any other ready-made whipped topping. If using a pre-made topping, consider folding in a tablespoon or two of cocoa powder for an extra chocolate boost.
How to Make This Irresistible Triple Chocolate Poke Cake
For those who prefer visual guidance, these step-by-step photos and detailed instructions are designed to help you effortlessly create this incredible chocolate poke cake. Don’t forget, you can Jump to the full Recipe Card at the very bottom of this post for a printable version complete with all precise measurements and concise instructions.
- Prepare for Whipped Topping: To ensure your homemade chocolate whipped topping achieves perfect, stable stiff peaks, plan ahead. Place a large mixing bowl (or the bowl of your stand mixer along with its whisk attachment) into the freezer for approximately 2 hours. A thoroughly chilled bowl is key to preventing overmixing and achieving that ideal airy consistency.
- Preheat Oven: Refer to your chosen devil’s food cake mix package for specific oven temperature instructions. Typically, this will be around 350°F (175°C). Ensure your oven is fully preheated before placing the cake inside for even baking.
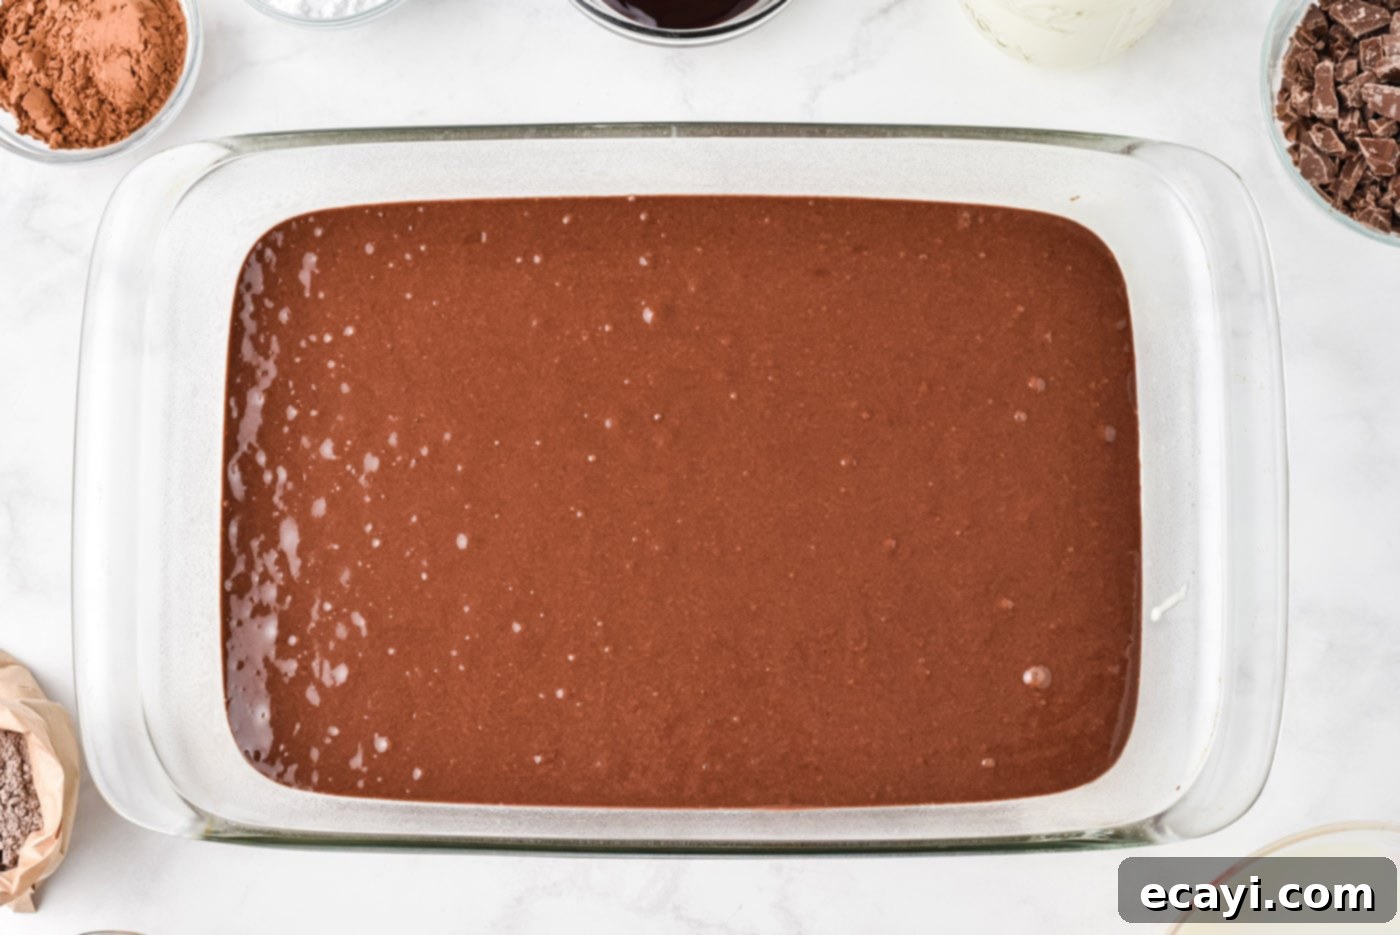
- Bake the Cake: Following the directions on your cake mix box, prepare the devil’s food cake batter. Pour the batter into a 13×9 inch baking dish that has been greased and floured (or lined with parchment paper for easy removal). Bake according to the package directions, usually for 30-35 minutes, or until a wooden skewer inserted into the center comes out clean.

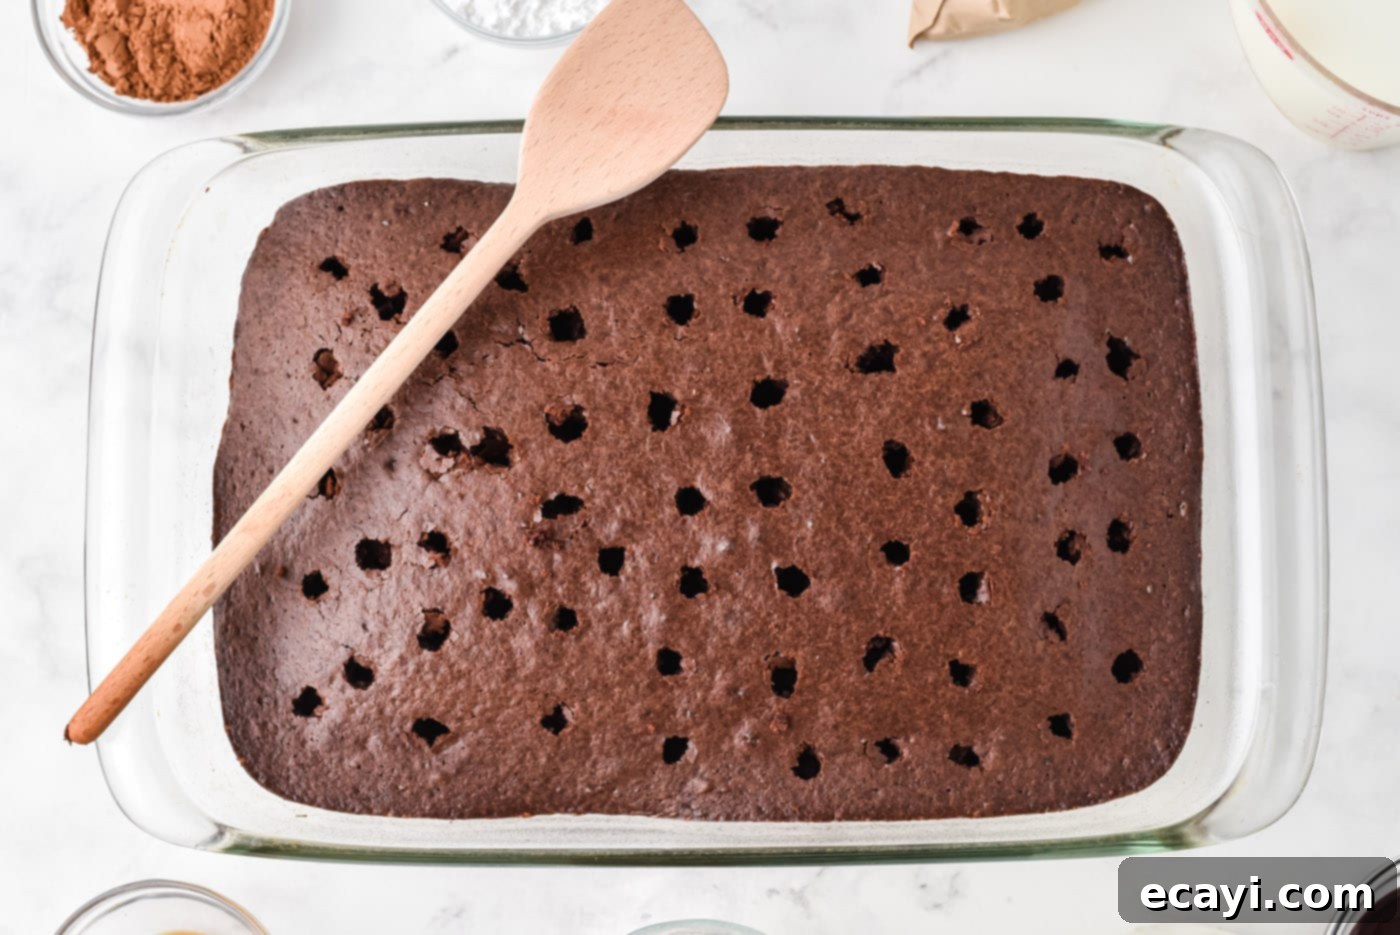
- Poke the Holes: Once your chocolate cake is perfectly baked, remove it from the oven and immediately begin poking holes while it’s still hot. The warmth helps the pudding seep in more effectively. Use the round end of a wooden spoon or a similar utensil (even a large fork will work for smaller holes) to create evenly spaced holes across the entire surface of the cake.
EXPERT TIP – Aim to poke the holes about 1-2 inches apart from each other. Be mindful not to create too many holes or make them too close together, as this can compromise the cake’s structural integrity and potentially cause it to fall apart when you try to slice it. The goal is generous pockets for pudding, not a crumbling cake!

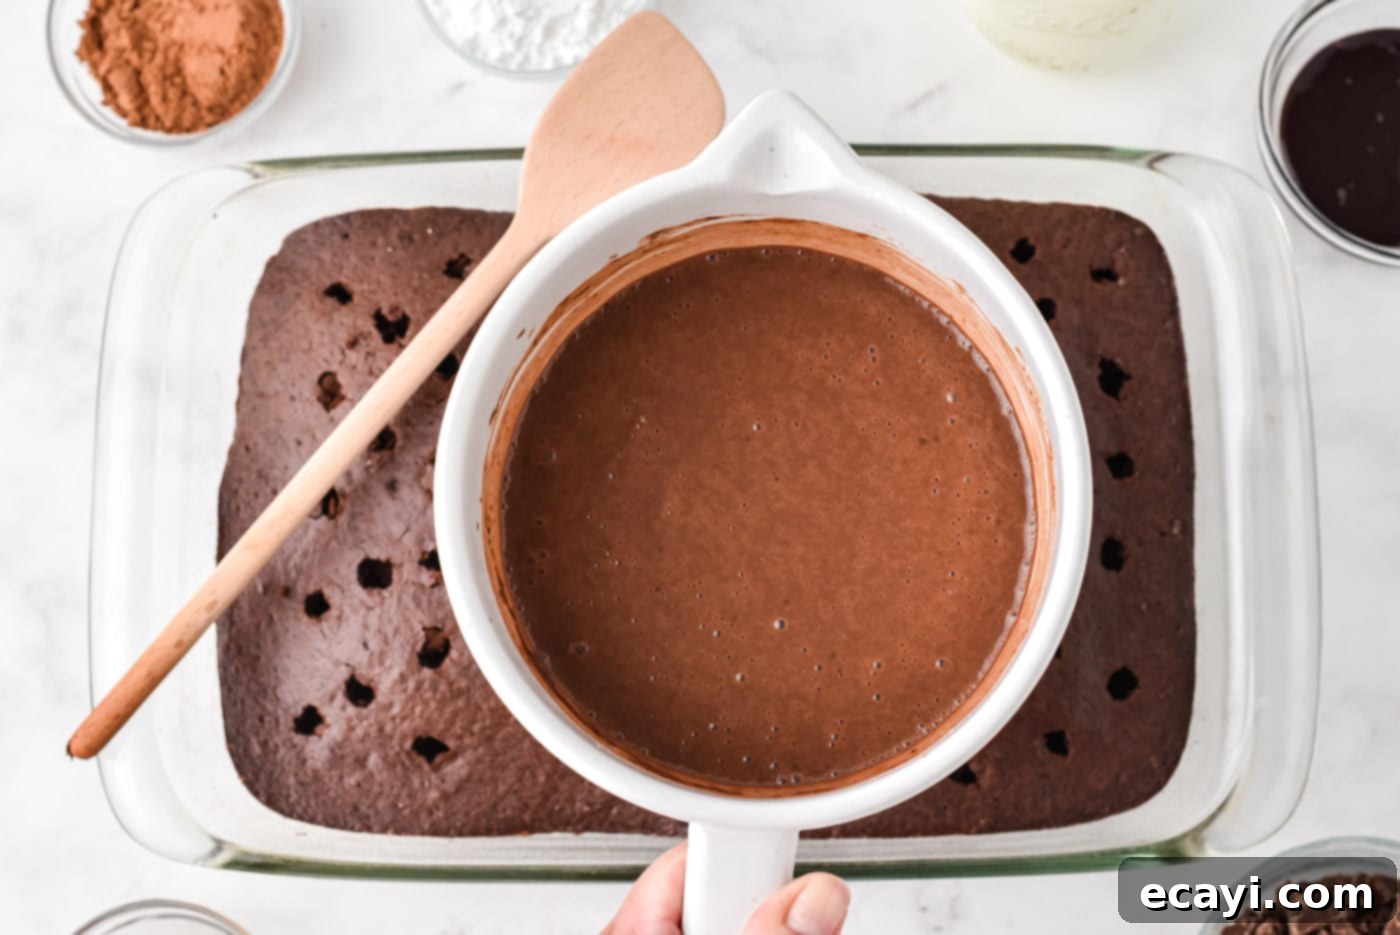
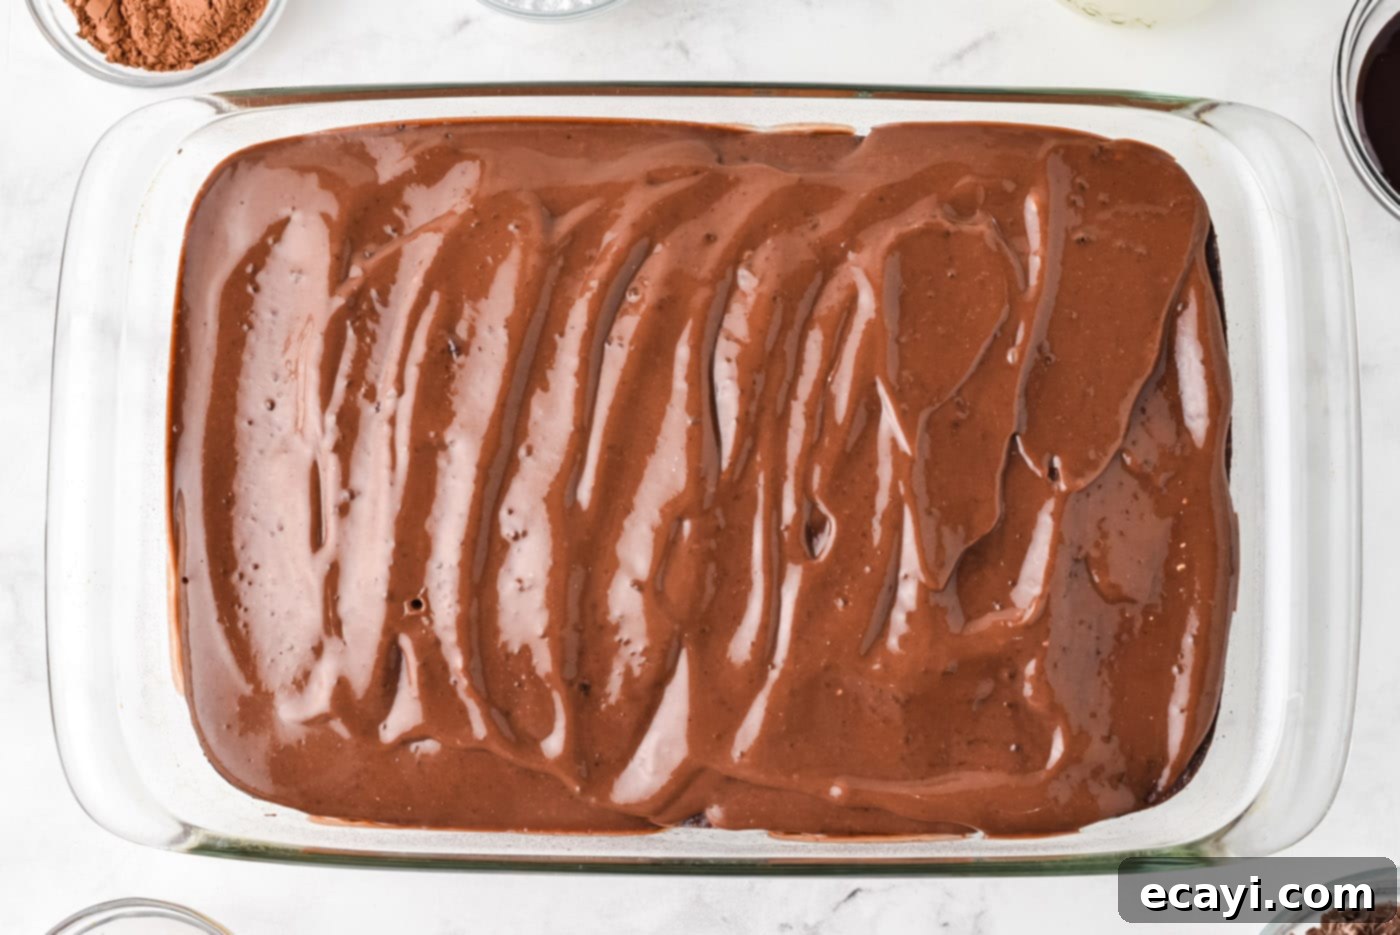
- Infuse with Pudding: In a separate bowl, whisk together the instant chocolate pudding mix with 2 cups of cold milk until smooth and slightly thickened. The “instant” aspect is key here, as it sets quickly and beautifully. Promptly pour this creamy pudding mixture evenly over the entire hot cake, making sure to saturate all the freshly poked holes. The pudding will begin to sink into the cake, creating those delightful moist pockets.


- Ensure Absorption: To aid the pudding in settling deeply into every hole, gently tap the bottom of the baking pan on your kitchen counter a few times. This helps release any trapped air and encourages the pudding to fully immerse, maximizing the cake’s moistness.
- Cool Completely: Allow the cake to cool down to room temperature on a wire rack. This step is crucial before adding the whipped topping; otherwise, the topping will melt.
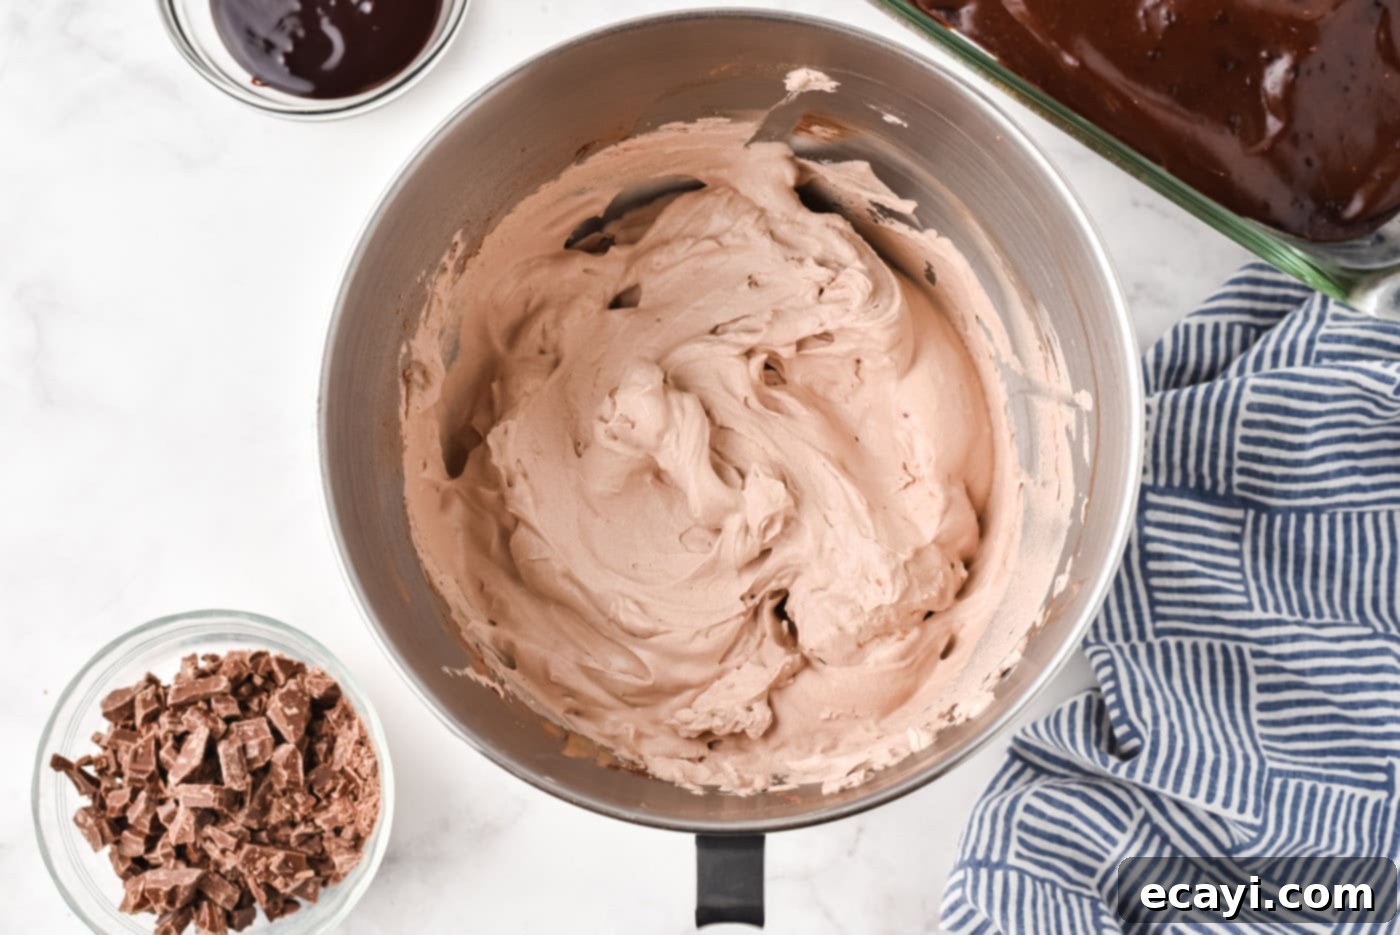
- Prepare Chocolate Whipped Topping: Once the cake is fully cooled, retrieve your chilled mixing bowl from the freezer. Add the heavy cream, unsweetened cocoa powder, powdered sugar, and a splash of pure vanilla extract into the cold bowl. Using an electric mixer (handheld or stand mixer), beat the mixture on medium-high speed. Continue beating until light, airy, and firm stiff peaks form. Be careful not to overmix, or it can turn grainy.

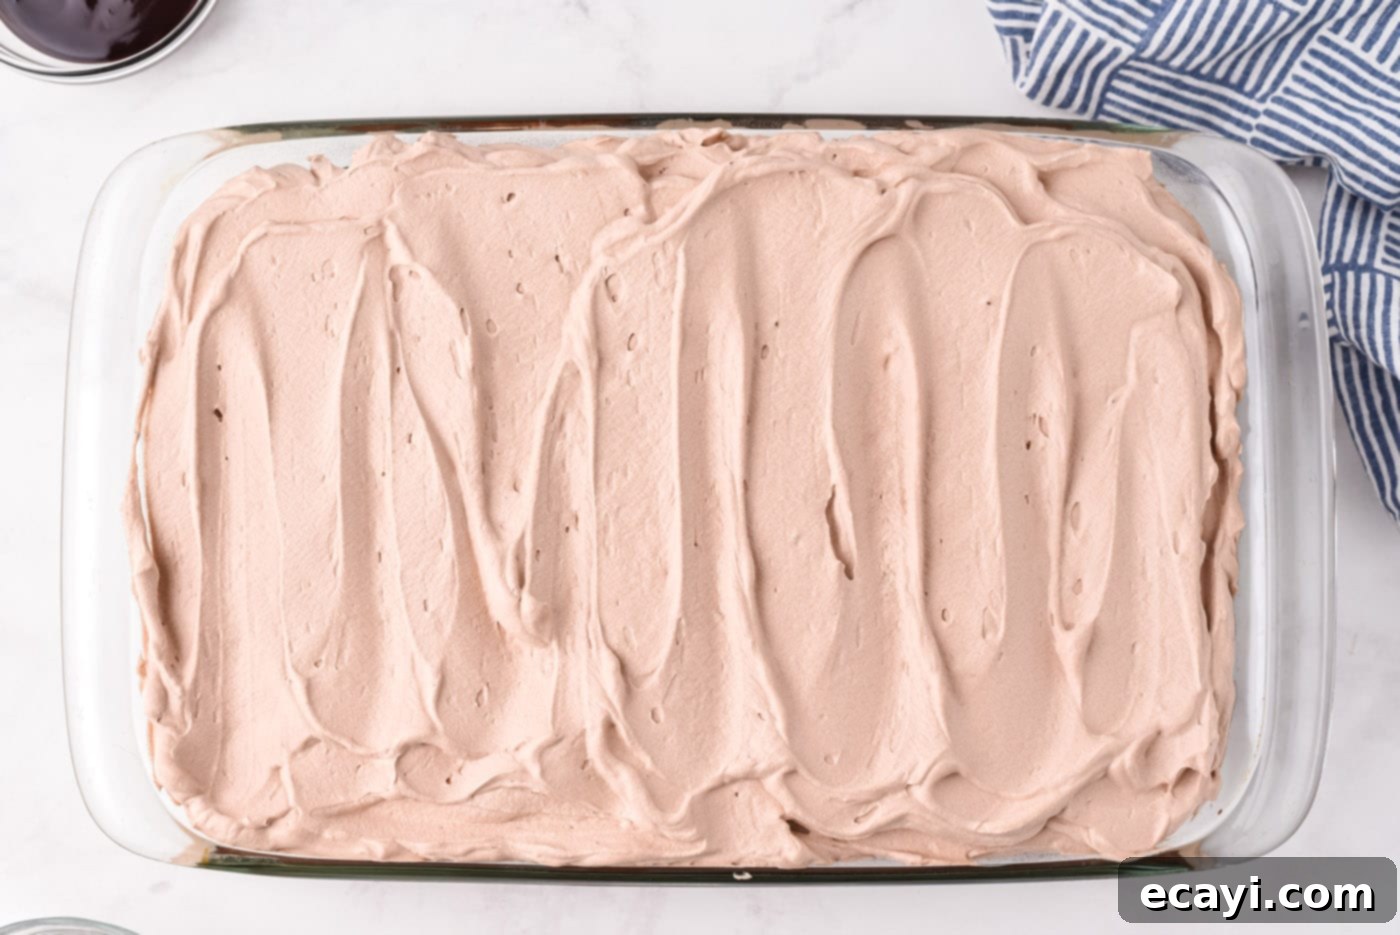
- Frost the Cake: Gently scoop the freshly made chocolate whipped cream onto the completely cooled and pudding-infused cake. Using an offset spatula or the back of a spoon, spread the whipped topping evenly across the top, creating a beautiful, fluffy layer.

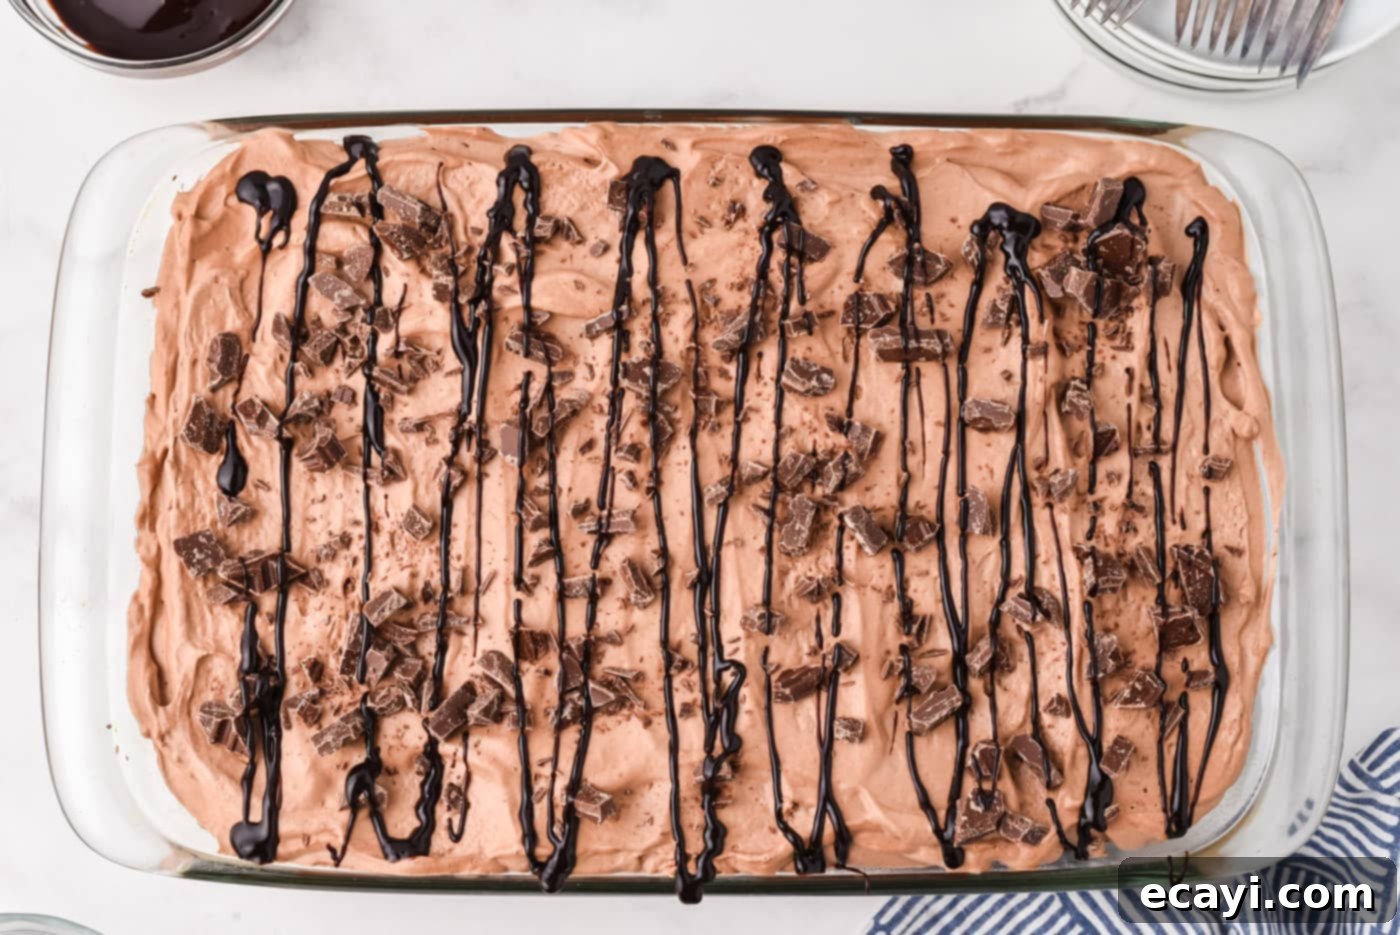
- Garnish & Finish: For the ultimate triple chocolate poke cake presentation and flavor, generously sprinkle chopped chocolate bars or chocolate chips over the whipped topping. A final artistic drizzle of chocolate syrup adds both visual appeal and an extra touch of sweetness. This step is where you can truly customize your cake!

- Chill Thoroughly: To allow the flavors to meld beautifully and the pudding to fully set, refrigerate your finished chocolate poke cake for a minimum of 4 hours. Ideally, chilling overnight yields the best results, making the cake easier to slice and enhancing its moist, rich texture. Serve chilled or slightly above room temperature for optimal enjoyment.
Frequently Asked Questions & Expert Tips for Your Chocolate Poke Cake
Absolutely, making this chocolate poke cake a day in advance is not just possible, it’s highly recommended! Allowing the cake to chill overnight in the refrigerator gives the instant pudding ample time to fully soak into the cake, intensifying its moisture and flavor. This also helps the cake set beautifully, making it easier to slice and serve. You can confidently prepare this decadent dessert up to 24 hours beforehand. Just ensure it’s properly covered and stored in the refrigerator until you’re ready to impress your guests.
To maintain its incredible freshness and moistness, store your chocolate poke cake in the refrigerator. Make sure it’s kept in an airtight container or tightly covered with plastic wrap to prevent it from drying out or absorbing other food odors. When stored correctly, this delicious cake will remain fresh and delightful for 4-5 days, making it perfect for enjoying over several days or for meal prepping your dessert!
While this recipe shines with devil’s food cake for a truly triple chocolate experience, you can certainly experiment! A classic chocolate fudge mix, a rich dark chocolate mix, or even a simple yellow cake mix would create a delicious variation. Just remember that changing the cake base will alter the overall flavor profile, but the poke cake technique will still ensure a moist and delightful result.
The key to perfect stiff peaks in homemade whipped cream is using very cold ingredients and a very cold bowl. Ensure your heavy cream is straight from the refrigerator, and definitely use a mixing bowl that has been chilled in the freezer for at least 30 minutes, ideally 2 hours as recommended. Also, be sure you’re using heavy whipping cream (not just “whipping cream” which has a lower fat content) and beat it at medium-high speed until it thickens. If it’s still not setting, it might be due to a warm bowl, warm cream, or insufficient fat content in the cream.
Poking holes in the cake while it’s still warm from the oven is crucial because the warmth helps the cake absorb the liquid pudding more effectively. The pores of the cake are more open when hot, allowing the pudding to seep in deeper and create those pockets of moist, flavorful goodness that define a poke cake. Waiting until the cake is completely cool would result in less absorption and a less uniformly moist cake.
Creative Serving Suggestions for Your Triple Chocolate Poke Cake
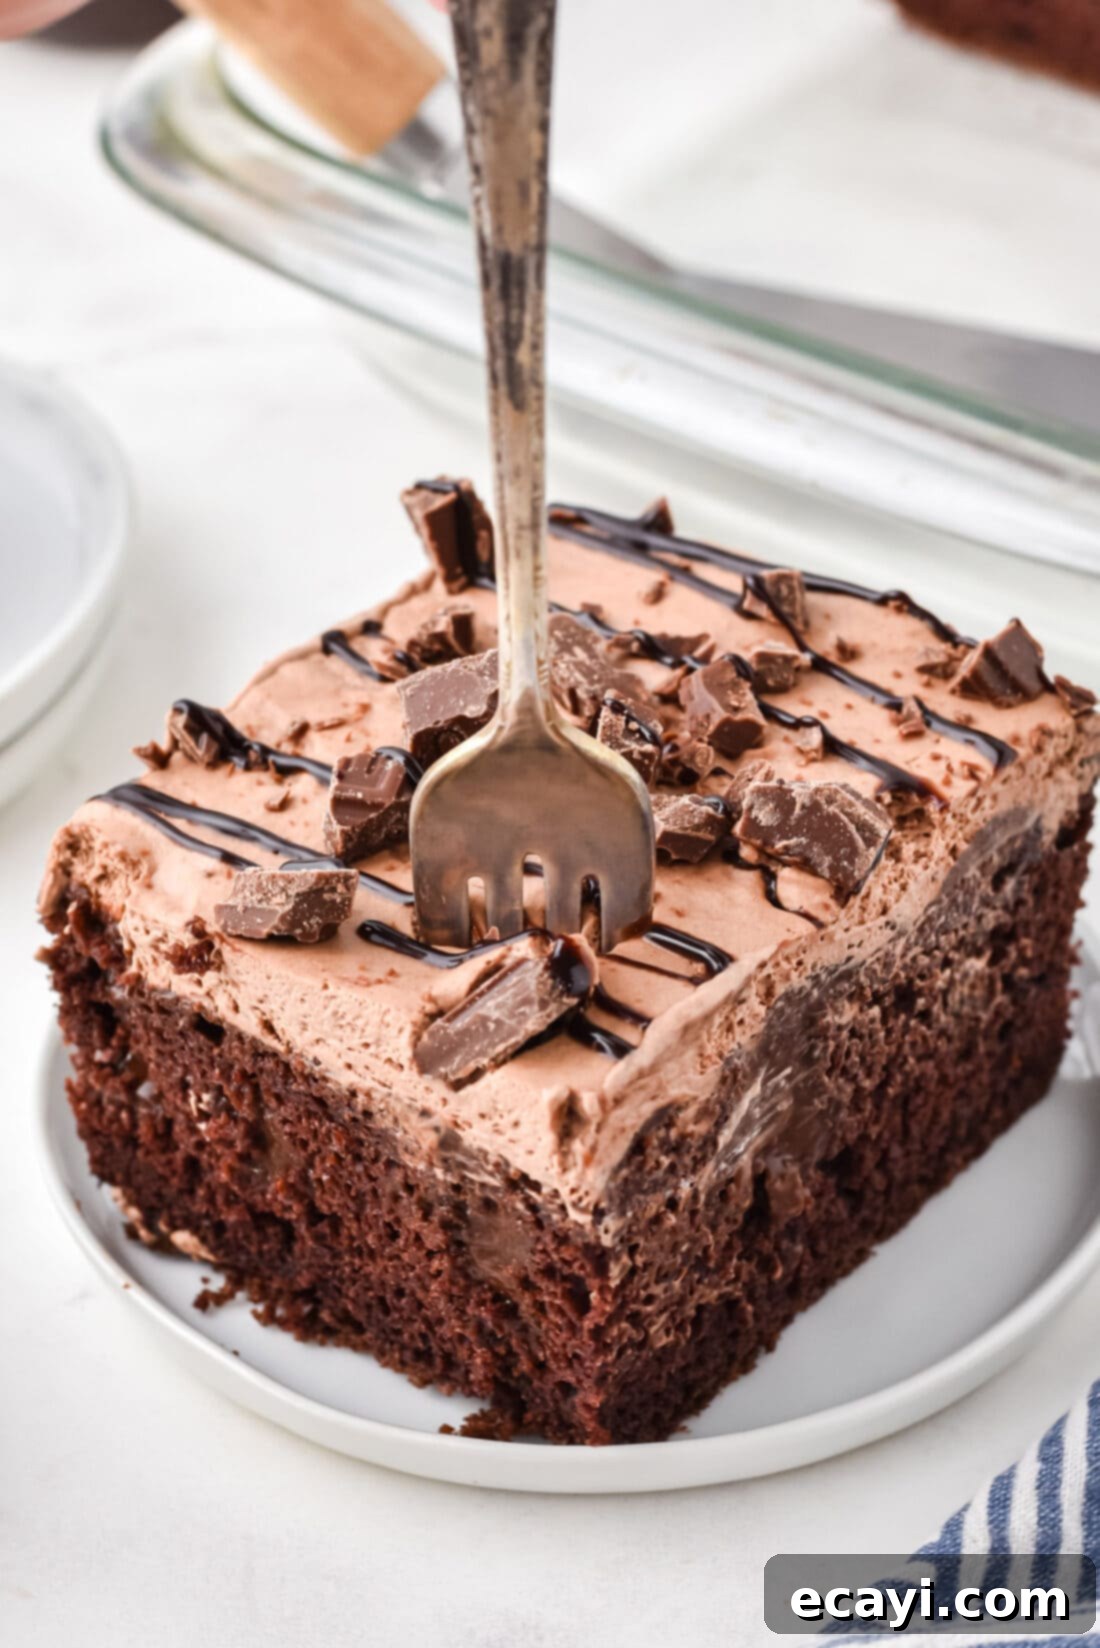
While our triple chocolate poke cake is undeniably delicious on its own, its versatility truly shines when it comes to serving. The beauty of this recipe is that there’s simply no “wrong” way to enjoy it, making it adaptable to any preference or occasion. You can serve the cake chilled straight from the refrigerator, which enhances the firm, set texture of the pudding and whipped topping, or allow it to sit at room temperature for about 15-20 minutes before serving for a slightly softer, melt-in-your-mouth experience.
Elevate your serving with an array of delightful toppings that complement and enhance the rich chocolate flavors. Consider adding:
- Extra Chocolate Goodness: For even more chocolate, sprinkle on brownie bits, mini chocolate chips, or shaved chocolate curls.
- Candy Crunch: Add a fun textural element and an extra layer of sweetness with chopped Reese’s peanut butter cups, Snickers bars, or your favorite chocolate candy.
- Fruity Freshness: Balance the richness with a touch of fresh fruit like sliced strawberries, raspberries, or even cherries. The slight tartness provides a wonderful contrast.
- Drizzles Galore: Beyond the chocolate syrup, a luxurious caramel drizzle or a sweet white chocolate sauce can add complex layers of flavor and visual appeal.
- Nuts: Toasted chopped pecans, walnuts, or almonds can provide a delightful crunch and nutty flavor.
- Ice Cream: A scoop of vanilla bean ice cream or even chocolate ice cream alongside a slice of this cake is pure bliss.
No matter how you choose to adorn it, this moist chocolate poke cake is guaranteed to be a crowd-pleaser. Get creative and make it uniquely yours!
More Delightful Poke Cake Recipes to Explore
- Elvis Presley Cake
- Pistachio Poke Cake
- Pineapple Poke Cake
- Raspberry Poke Cake
- Lemon Curd Poke Cake
- Banana Pudding Poke Cake
- Red White and Blue Poke Cake
I love to bake and cook and share my kitchen experience with all of you! Remembering to come back each day can be tough, that’s why I offer a convenient newsletter every time a new recipe posts. Simply subscribe and start receiving your free daily recipes!
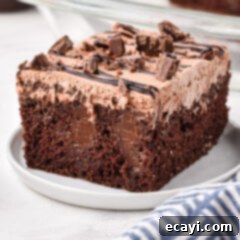
Chocolate Poke Cake
IMPORTANT – There are often Frequently Asked Questions within the blog post that you may find helpful. Simply scroll back up to read them!
Print It
Pin It
Rate It
Save ItSaved!
Ingredients
- 15.25 oz Devil’s food cake mix *PLUS ingredients called for on back of box*
- 3.9 oz instant chocolate pudding 1 box
- 2 cups cold milk
Chocolate Whipped Topping
- 2 cups heavy whipping cream
- ¼ cup unsweetened cocoa powder
- ½ cup powdered sugar
- 1 tsp pure vanilla extract
Garnish
- 1 cup chopped chocolate or chocolate chips
- chocolate syrup optional, for drizzling
Things You’ll Need
-
13×9 baking dish
-
Electric mixer
-
Mixing bowls
Before You Begin
- Nutrition facts are an estimate – if you have dietary concerns please refer to the back of your particular boxed cake mix for accurate measurements/ingredients as each different cake mix varies.
- Optionally top your chocolate poke cake with brownie bits, chopped Reese’s cups, snickers, fresh fruit, shaved chocolate, mini chocolate chips, chocolate sauce, or caramel drizzle.
- Store covered with an air-tight lid or tightly wrapped with plastic wrap in the refrigerator for 4-5 days.
- You can make this cake a day in advance. Store in the refrigerator, covered, until ready to serve.
Instructions
-
Place a large mixing bowl or the bowl of your standing mixer in the freezer for approximately 2 hours (this will allow your topping to form nice stiff peaks without over mixing).
-
Preheat the oven according to your cake mix package directions.
-
Prepare the devil’s food cake mix using the ingredients called for on the back of the box. Bake in a 13×9 baking dish according to package directions.
-
After the cake has finished baking, remove it from the oven. Using the end of a wooden spoon, poke holes in the hot cake. Poke the holes about 1-2 inches apart from each other. You don’t want to overdo the holes as adding too many can cause the cake to fall apart once removed from the pan.
-
Whisk together instant pudding and 2 cups of cold milk. Pour over the top of the cake, filling the holes.
-
Tap the bottom of the dish gently on the counter to ensure the pudding sinks into the holes.
-
Allow cake to cool completely.
-
Once the cake is cooled, remove the bowl from the freezer. Add the heavy cream, cocoa powder, powdered sugar, and vanilla to the cold mixing bowl.
-
Using an electric mixer, beat until stiff peak forms.
-
Scoop chocolate whipped cream onto the cooled cake, spreading into an even layer.
-
Top with chopped chocolate bars and chocolate drizzle.
-
Refrigerate for at minimum 4 hours or until ready to serve.
Nutrition
The recipes on this blog are tested with a conventional gas oven and gas stovetop. It’s important to note that some ovens, especially as they age, can cook and bake inconsistently. Using an inexpensive oven thermometer can assure you that your oven is truly heating to the proper temperature. If you use a toaster oven or countertop oven, please keep in mind that they may not distribute heat the same as a conventional full sized oven and you may need to adjust your cooking/baking times. In the case of recipes made with a pressure cooker, air fryer, slow cooker, or other appliance, a link to the appliances we use is listed within each respective recipe. For baking recipes where measurements are given by weight, please note that results may not be the same if cups are used instead, and we can’t guarantee success with that method.
