Easy No-Bake Chocolate Peanut Butter Hearts: Your Ultimate Guide to Homemade Valentine’s Day Treats
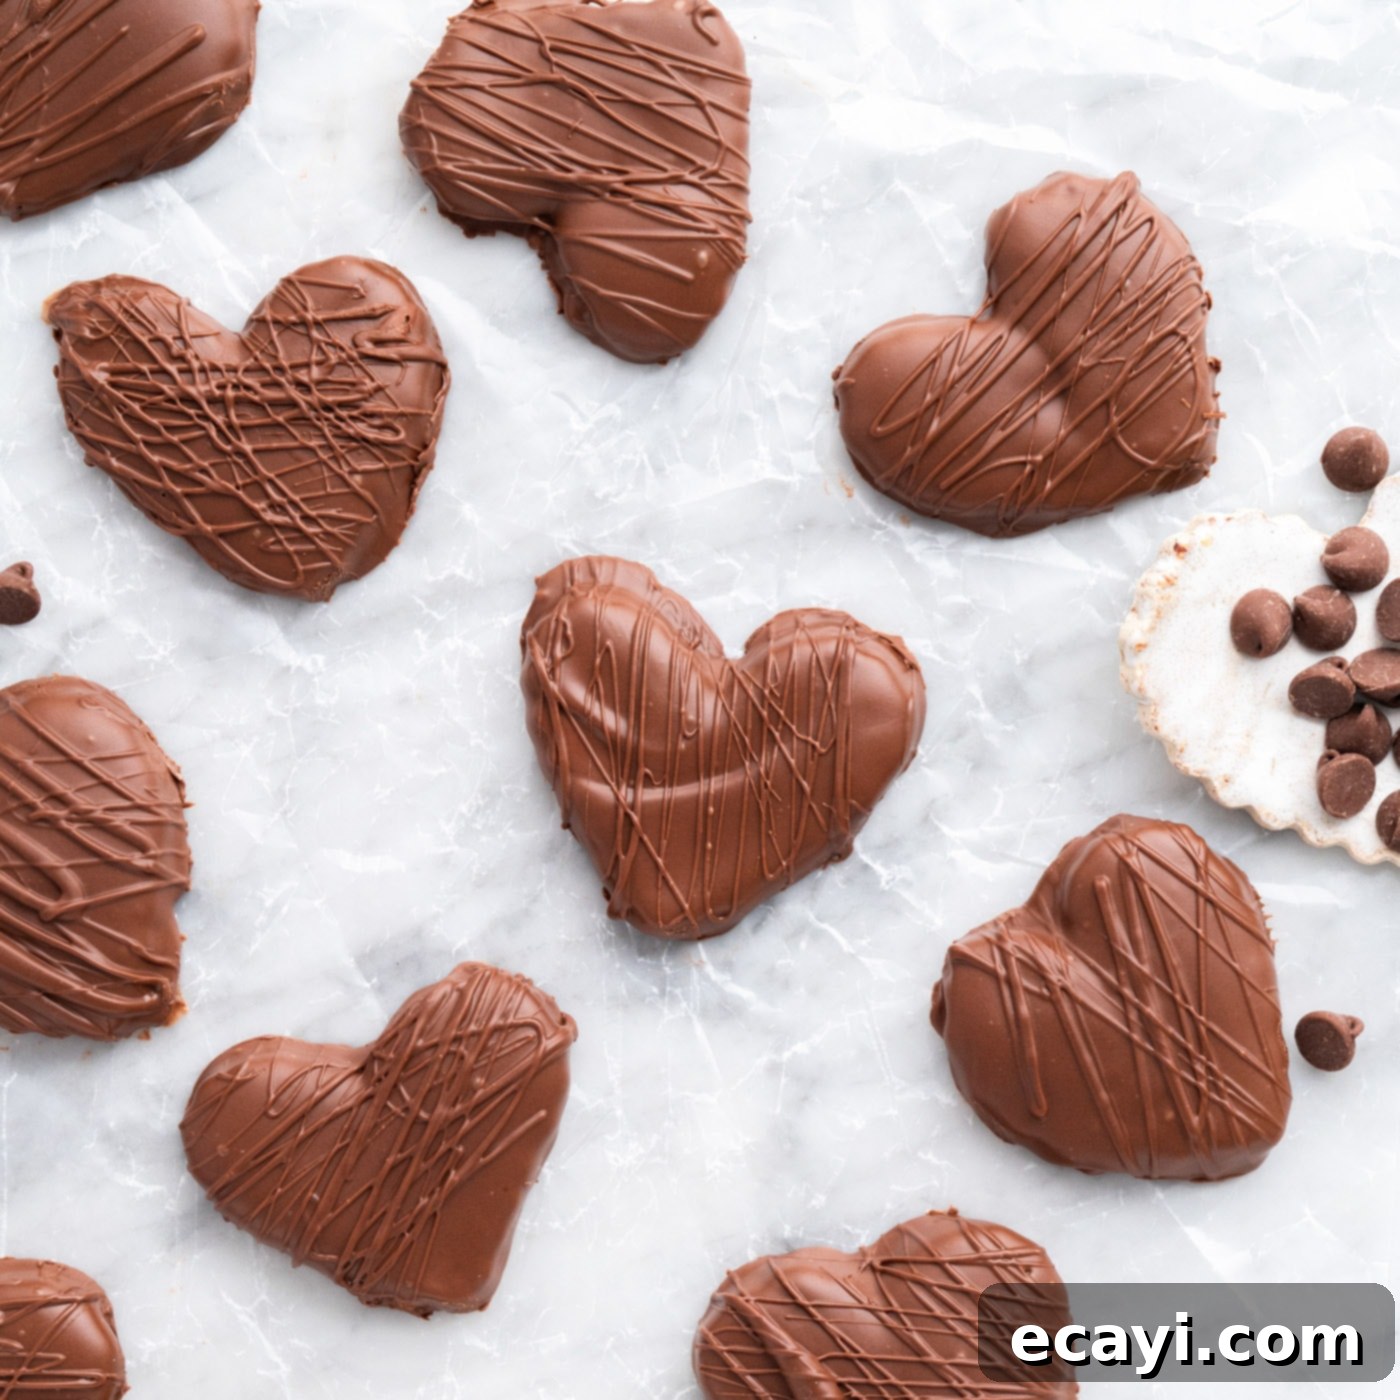
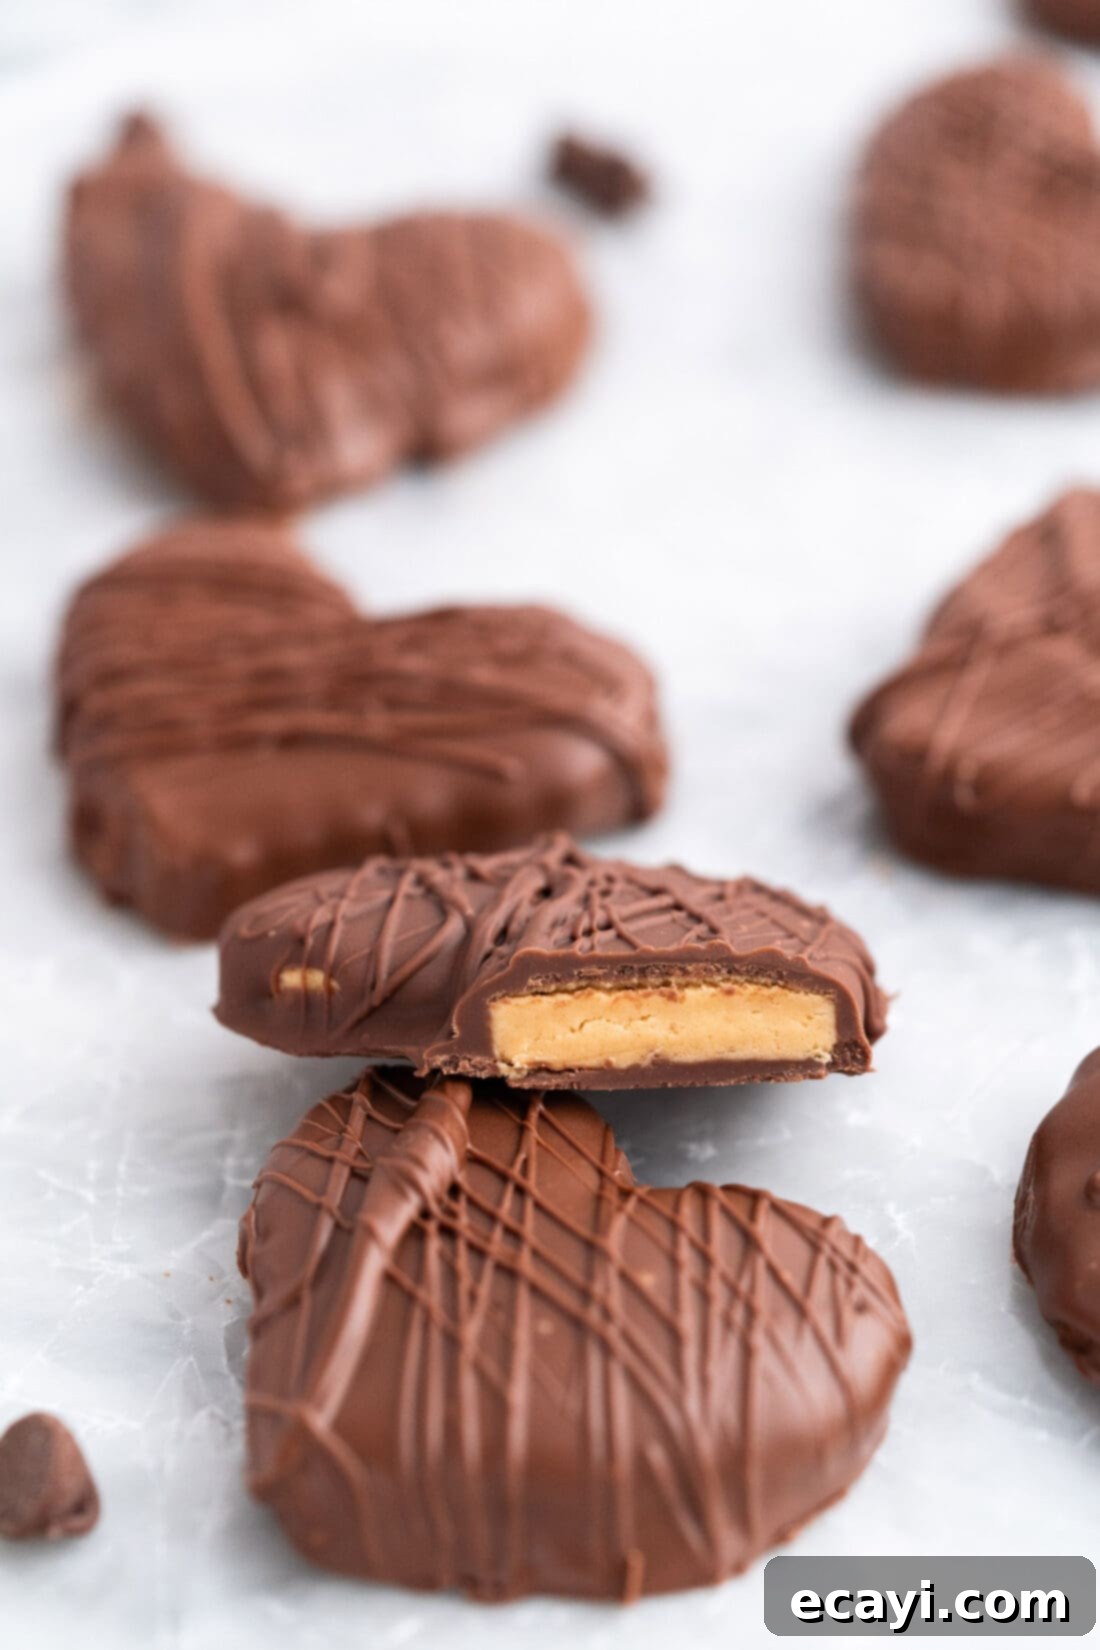
There’s something truly magical about the combination of rich chocolate and creamy peanut butter, especially when crafted into delightful, heart-shaped treats. These no-bake chocolate peanut butter hearts are more than just a dessert; they’re a labor of love, requiring only five simple ingredients and a dash of passion. Perfect for gifting, snacking, or sharing with someone special, these homemade goodies embody the classic salty-sweet harmony that keeps us coming back for more. Dive into this incredibly easy recipe and discover how to create a batch of these irresistible candies that will melt hearts with every bite.

Why This Recipe Is a Sweet Success
Valentine’s Day, with its emphasis on love and affection, practically begs for an array of adorable sweet treats. While we adore classic heart Oreo truffles and charming conversation heart cookies, this chocolate peanut butter hearts recipe stands out as a true gem in our collection. Its simplicity, combined with universal appeal, makes it an absolute winner for any occasion, especially when you want to show someone you care without spending hours in the kitchen.
What makes these particular treats so special? Firstly, they are entirely no-bake, meaning no oven time is required! This is a huge advantage for busy schedules or for those who prefer to keep their kitchen cool. Secondly, the ingredient list is remarkably short – just five staples are all you need to create these confectionery masterpieces. This recipe truly works because it takes a beloved flavor pairing – chocolate and peanut butter – and presents it in an approachable, fun, and customizable format. The hands-on process of mixing, rolling, and cutting the hearts is enjoyable for all ages, making it a fantastic activity to do with kids or a relaxing way to unwind. Whether you’re preparing them for a romantic gesture, a thoughtful neighborly gift, or simply to satisfy your own sweet cravings throughout the month, these homemade peanut butter and chocolate candies are guaranteed to be a hit. Their enduring popularity stems from their rich flavor, delightful texture, and the undeniable charm of a perfectly shaped heart.
The process is as straightforward as it gets. You’ll begin by blending powdered sugar, creamy peanut butter, a hint of vanilla, and a pinch of salt until a pliable, dough-like consistency is achieved. This mixture is then rolled out flat, creating the perfect canvas for your heart-shaped cookie cutter. Once the shapes are cut, a quick chill helps them firm up before their glorious dip into velvety melted chocolate. After a brief setting period, these irresistible treats are ready to be savored. The biggest challenge? Resisting the urge to devour them all in one sitting!
Essential Ingredients for Your Hearts
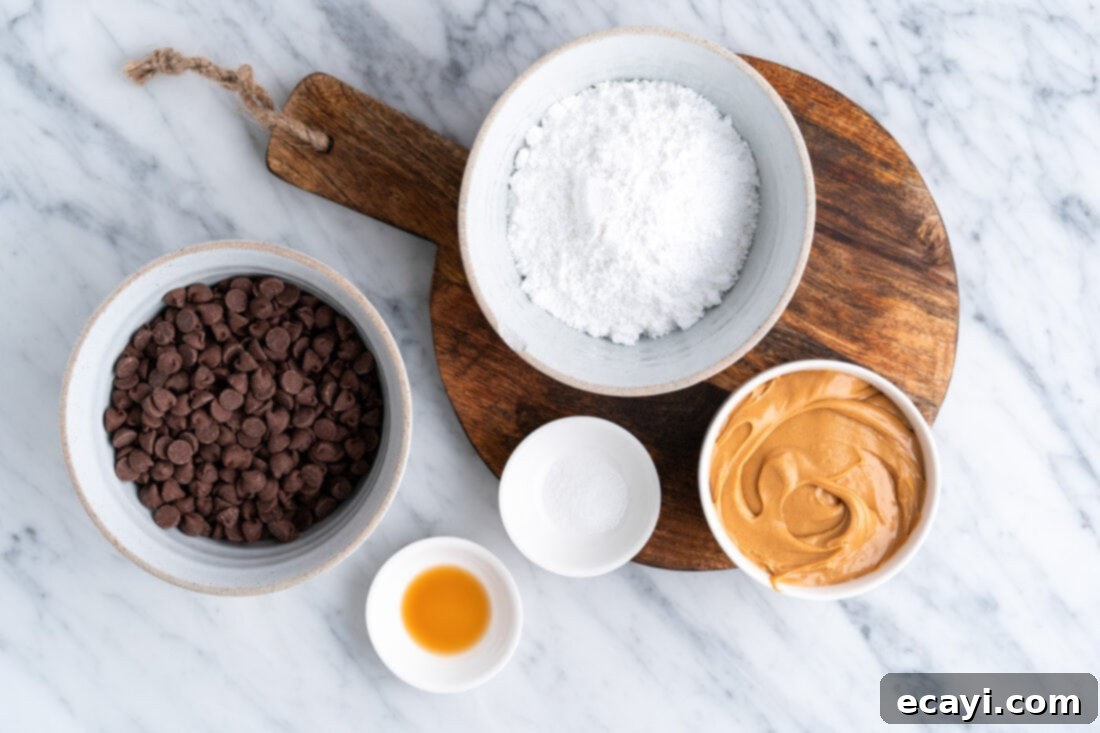
To embark on this delightful culinary adventure, you’ll only need a handful of readily available ingredients. For the precise measurements and detailed instructions, please refer to the printable recipe card located at the conclusion of this post. Rest assured, these ingredients are simple and contribute to the overall ease and deliciousness of these no-bake treats.
Ingredient Spotlight & Smart Substitutions
Understanding your ingredients is key to successful baking and no-bake creations. Here’s a closer look at the stars of this recipe, along with some helpful tips and substitution ideas:
PEANUT BUTTER: The foundation of these hearts is, of course, peanut butter. For this particular recipe, using a creamy peanut butter is highly recommended. Brands like Jif or Skippy work wonderfully due to their smooth consistency and balanced flavor, which contributes to the ideal texture of the peanut butter mixture. Avoid using natural peanut butter varieties that require stirring, as their oil separation can affect the dough’s consistency, making it too oily or crumbly. If you only have natural peanut butter on hand, ensure it’s extremely well-mixed and be prepared to adjust the amount of powdered sugar slightly. Depending on environmental factors such as humidity, and the specific brand of peanut butter you use, you may find that the mixture needs a touch more powdered sugar to reach the perfect Play-Doh-like consistency. It should be firm enough to roll out easily without sticking excessively, yet not so dry that it crumbles. This balance is crucial for beautifully formed hearts.
CHOCOLATE: We call for milk chocolate in this recipe, which offers a sweet and classic coating that pairs perfectly with the peanut butter filling. You have the flexibility to use either high-quality milk chocolate chips or a bar of milk chocolate, finely chopped. If using a bar, chopping it into smaller pieces will help it melt more evenly and quickly. While candy melts are an option for their vibrant colors and easy melting properties, be aware that they often contain more sugar and artificial flavors, which can result in a less rich and authentic chocolate taste compared to regular chocolate. For those who prefer a different flavor profile, feel free to experiment with other types of chocolate. Dark chocolate will provide a more intense, less sweet contrast to the peanut butter, while semi-sweet chocolate offers a middle ground. If you’re feeling adventurous or want a different aesthetic, white chocolate can also be used, though it tends to be sweeter and requires careful melting to prevent seizing.
Crafting Your Chocolate Peanut Butter Hearts: A Step-by-Step Guide
These step-by-step photos and instructions are here to guide you visually through making this recipe. For a quick reference, you can Jump to Recipe to get the printable version, complete with all measurements and instructions at the bottom of this page.
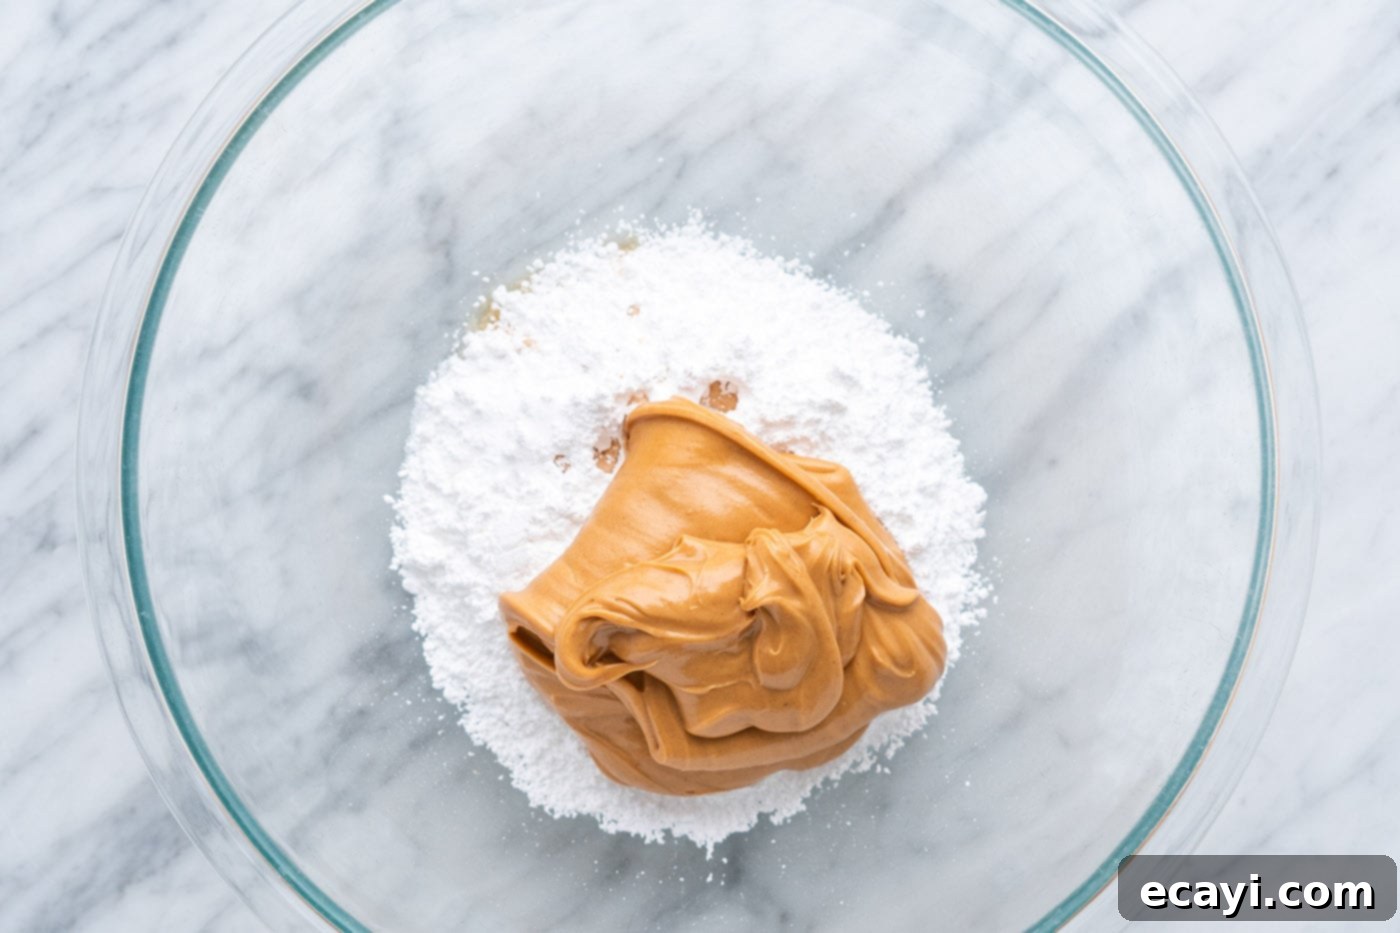
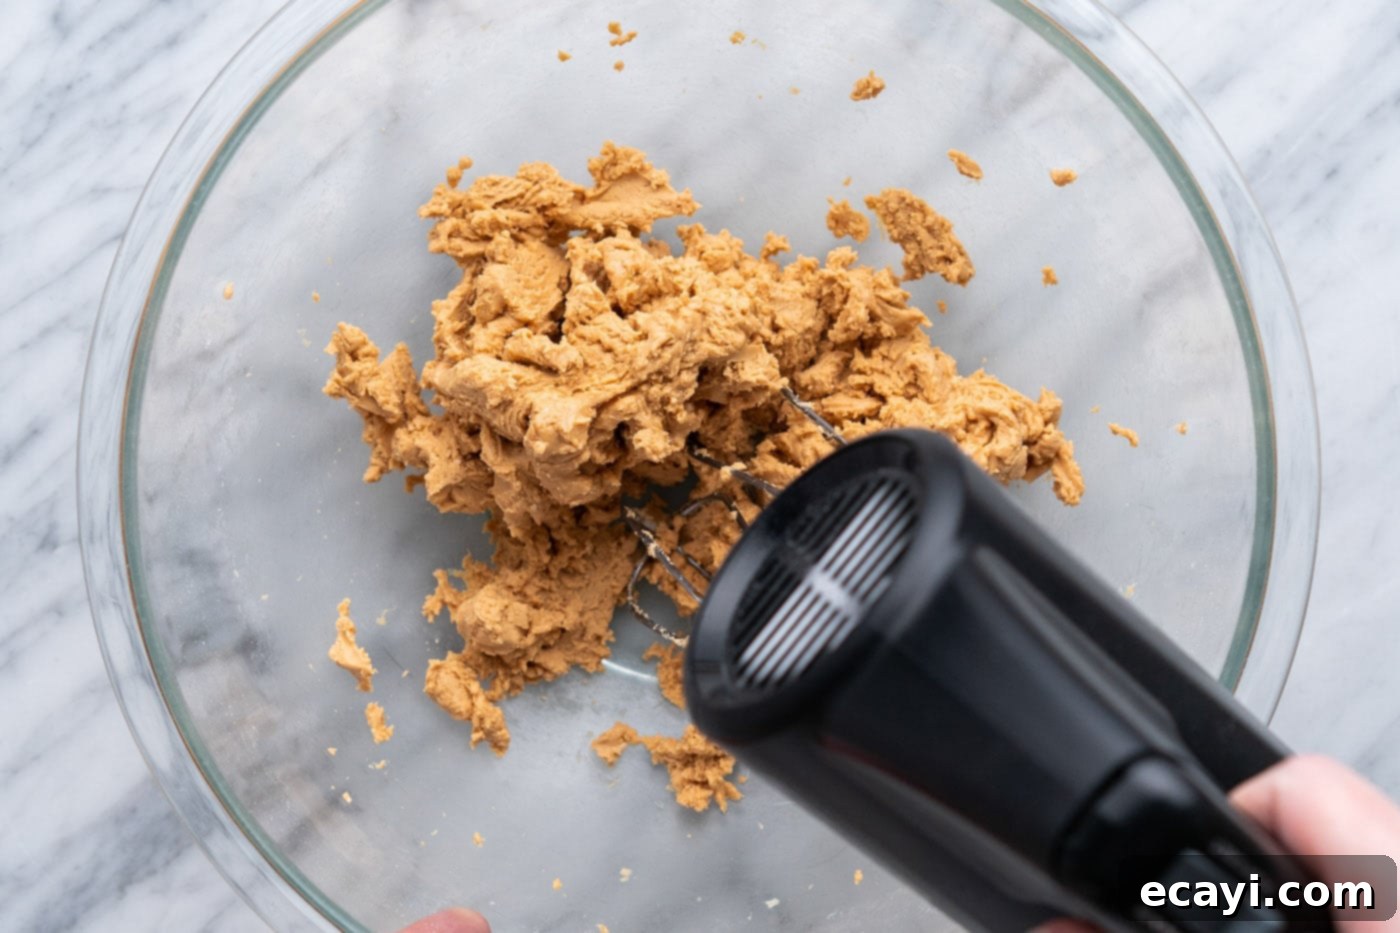
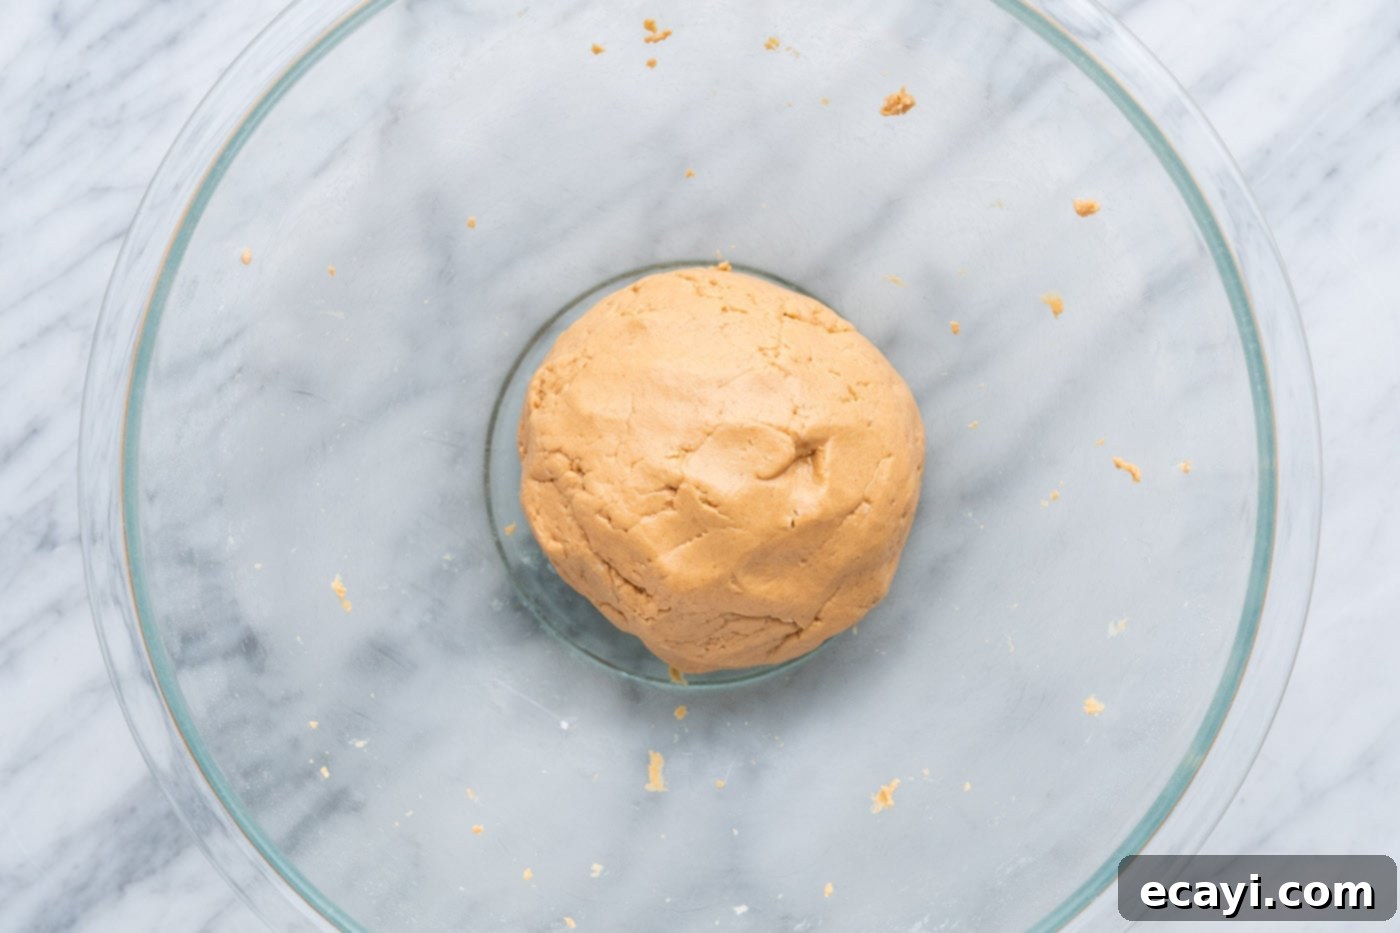
- Prepare the Peanut Butter Mixture: In a large mixing bowl, combine the powdered sugar, creamy peanut butter, vanilla extract, and salt. Use a handheld electric mixer to beat these ingredients together until they are thoroughly combined. The mixture will initially appear crumbly, but as you continue to mix, it will come together. Towards the end, it’s often more effective to set aside the mixer and use your hands to knead the mixture. This is similar to working with bread dough – the warmth of your hands helps to bring the ingredients together into a smooth, cohesive ball. The final consistency should resemble soft Play-Doh, easy to handle and roll.


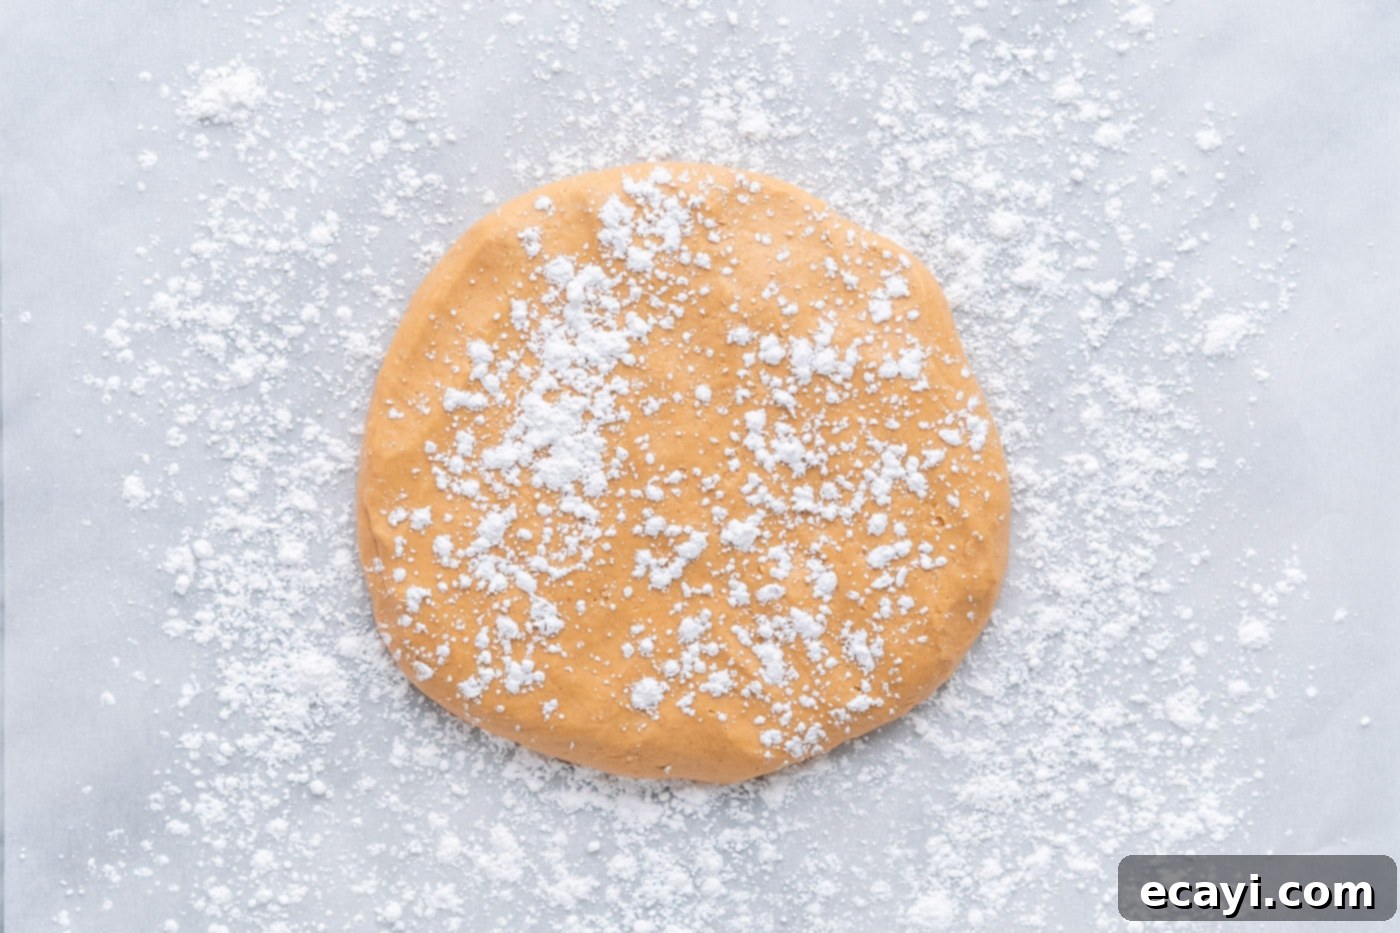
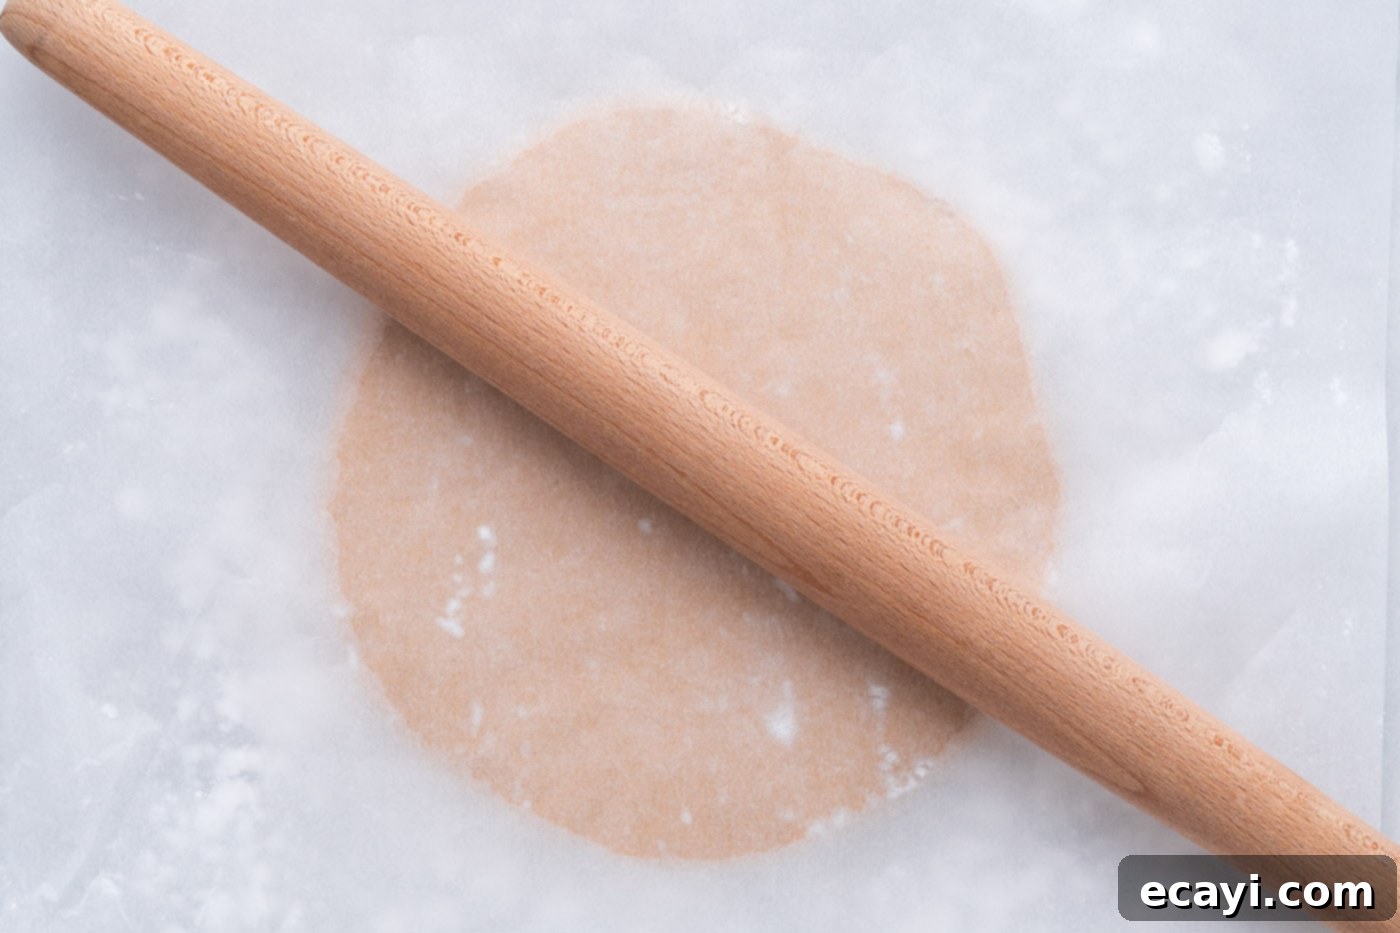
- Roll Out the Dough: Lay a piece of parchment paper onto your countertop. Lightly dust the paper with a sprinkle of powdered sugar – this prevents sticking and makes rolling easier. Place your peanut butter ball onto the dusted parchment paper, then sprinkle a little more powdered sugar over the top. Using a rolling pin, carefully roll out the peanut butter mixture into a uniform circle, approximately 9 inches in diameter and about 1/2 inch thick. Aim for even thickness across the entire circle to ensure your hearts are consistent in size and cook evenly.


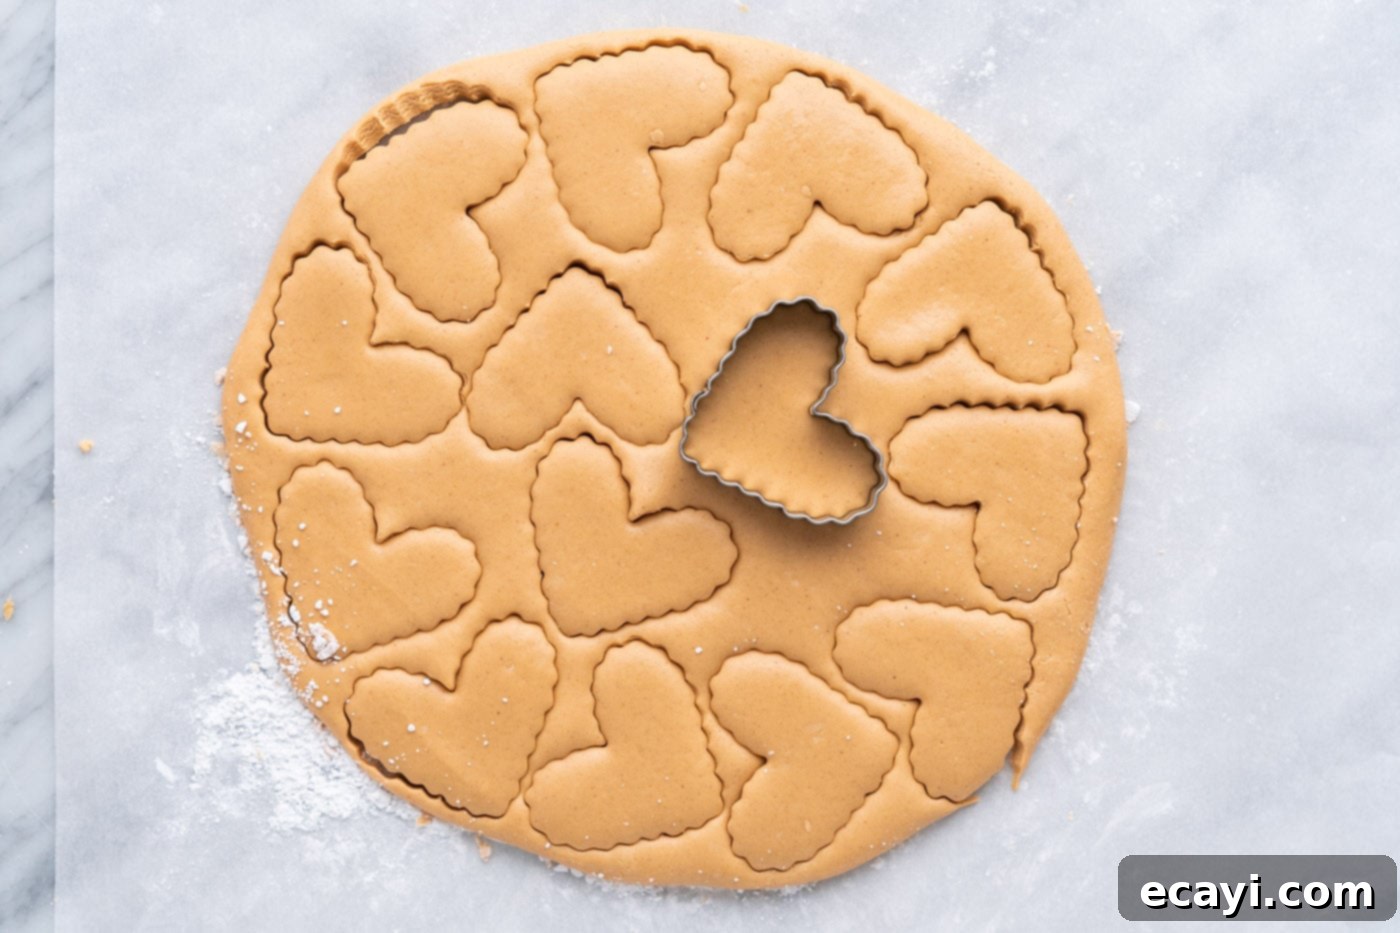
- Cut Out the Hearts: Now for the fun part! Take a small heart-shaped cookie cutter and begin stamping out as many hearts as you can from your rolled-out peanut butter dough. Work efficiently to maximize your yield. Once you’ve cut out the initial batch, gather all the remaining scraps of dough, gently re-form them into a ball, and roll them out again. Continue this process of cutting, gathering, and re-rolling until all of the peanut butter mixture has been transformed into charming heart shapes.

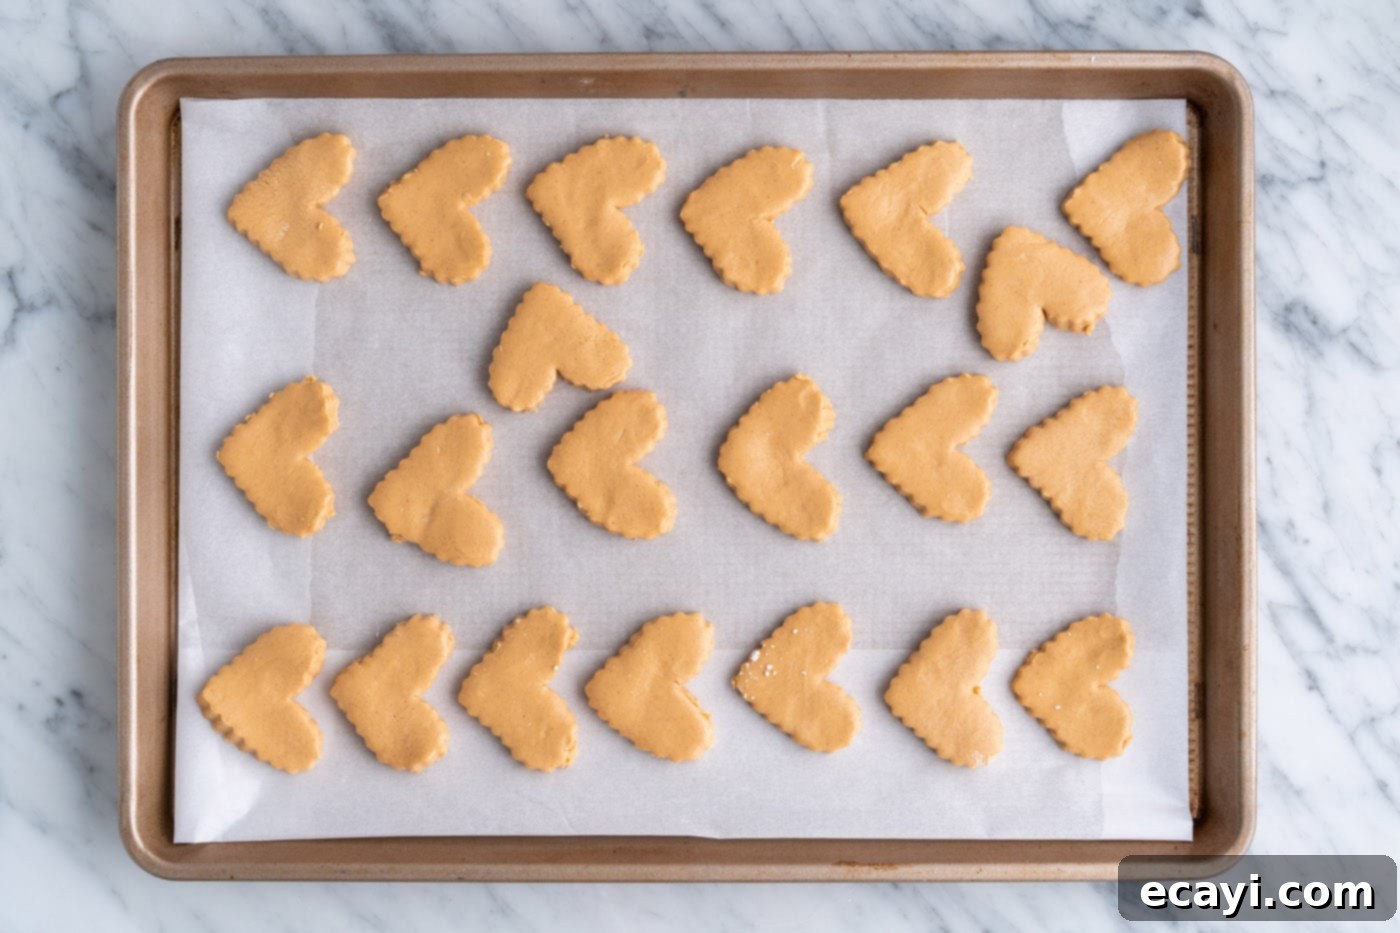
- Chill the Hearts: Carefully arrange the freshly cut peanut butter hearts onto a baking tray that has been lined with parchment paper. This parchment paper will prevent sticking and make for easy removal later. Place the tray in the freezer for a quick chill of 20 minutes, or if you have more time, the refrigerator for 2 hours. Chilling is a crucial step as it firms up the peanut butter, making the hearts easier to dip into chocolate without falling apart and ensuring a cleaner coating.

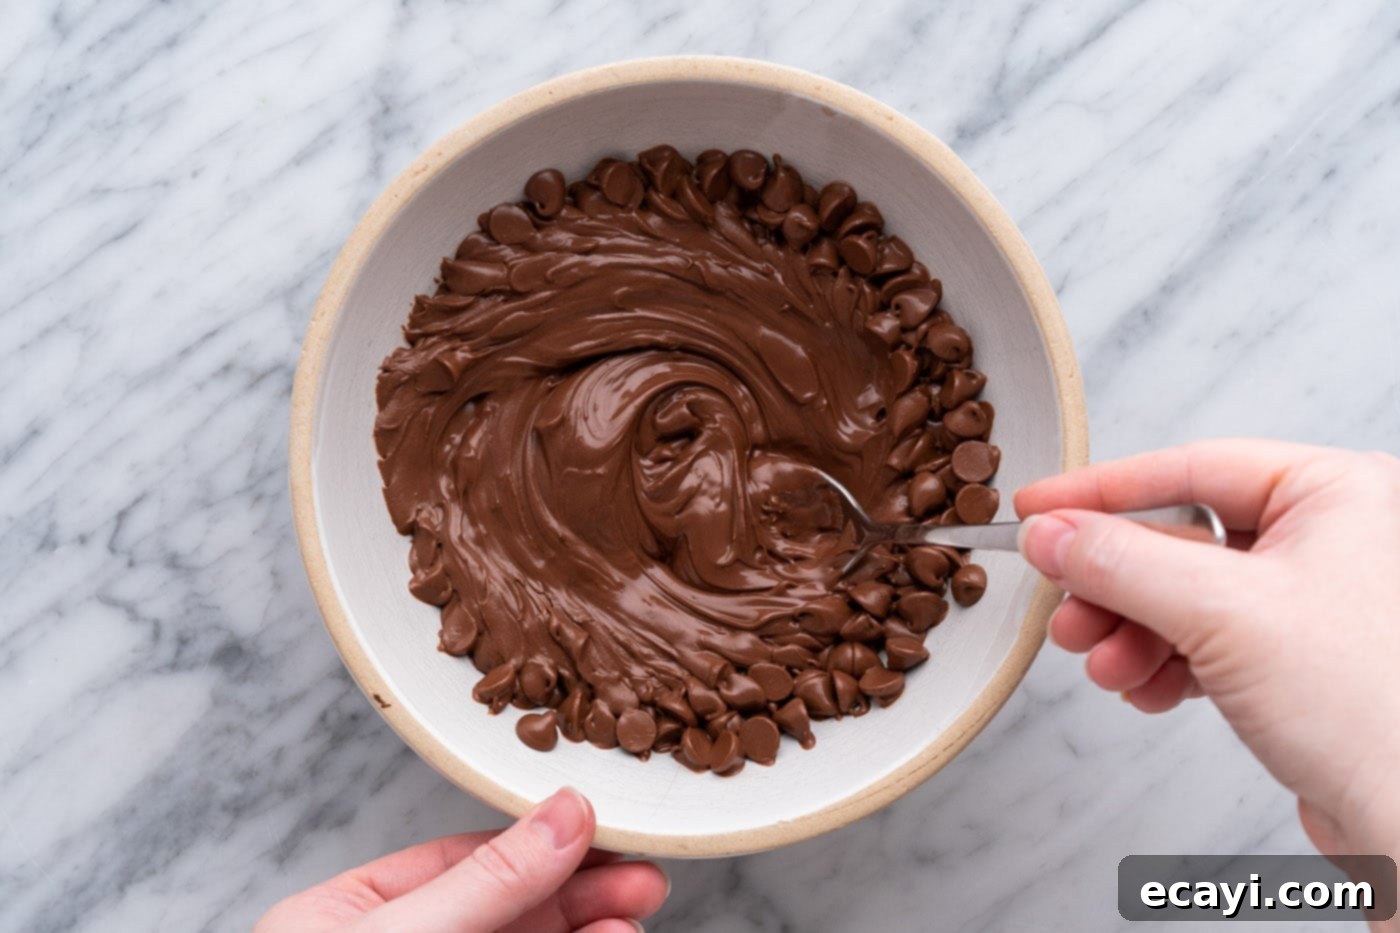
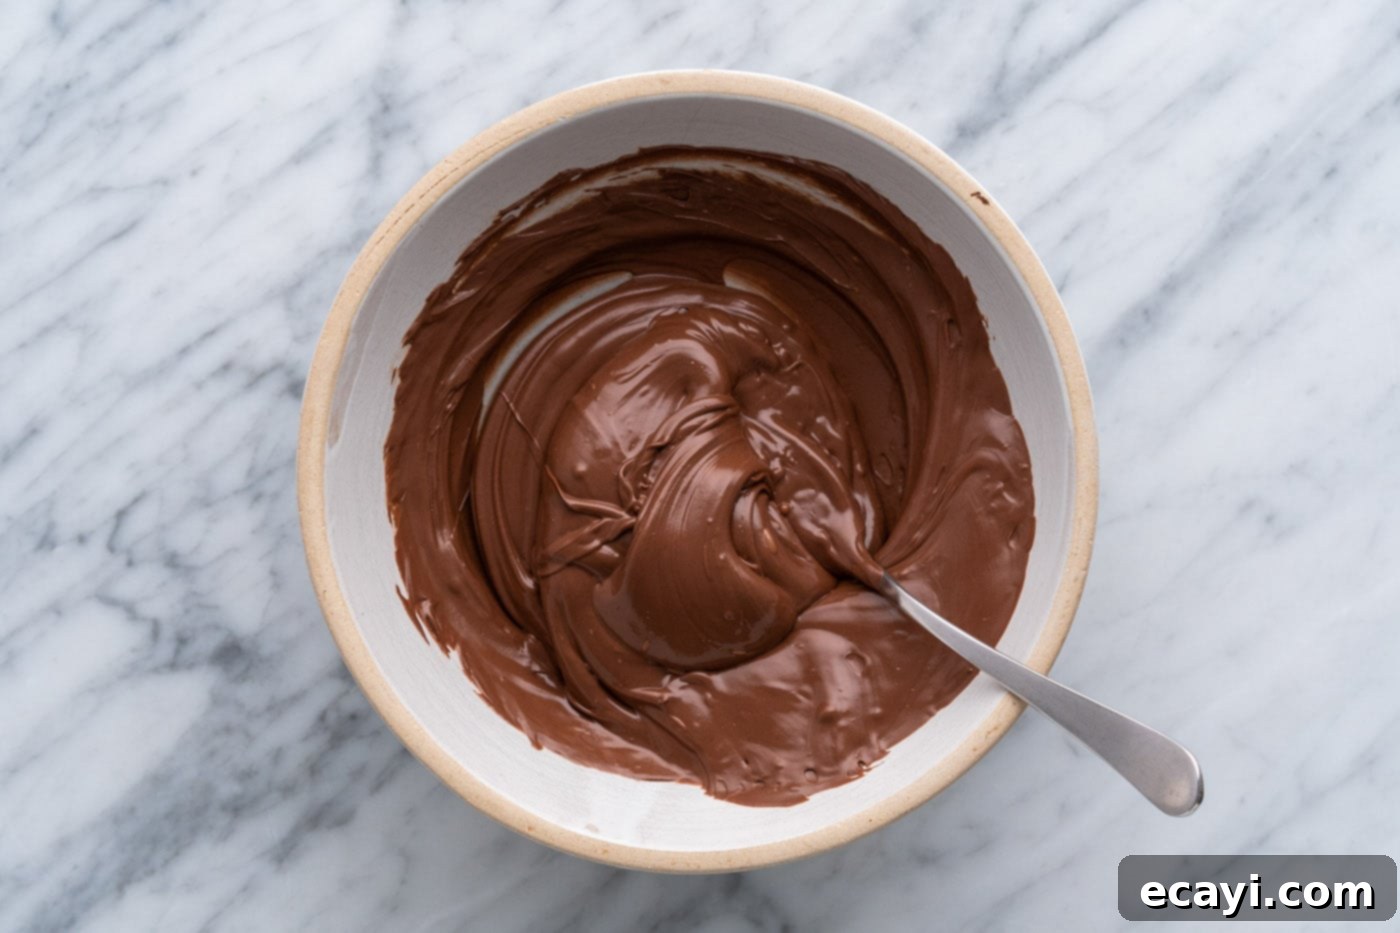
- Melt the Chocolate: While your hearts are chilling, it’s time to prepare the chocolate coating. Place your chopped milk chocolate or chocolate chips into a microwave-safe bowl. Heat in short bursts (30 seconds at a time), stirring well after each interval, until the chocolate is smooth and fully melted. Alternatively, you can use a double boiler for a more controlled melting process, which helps prevent scorching. Stir continuously until velvety smooth.


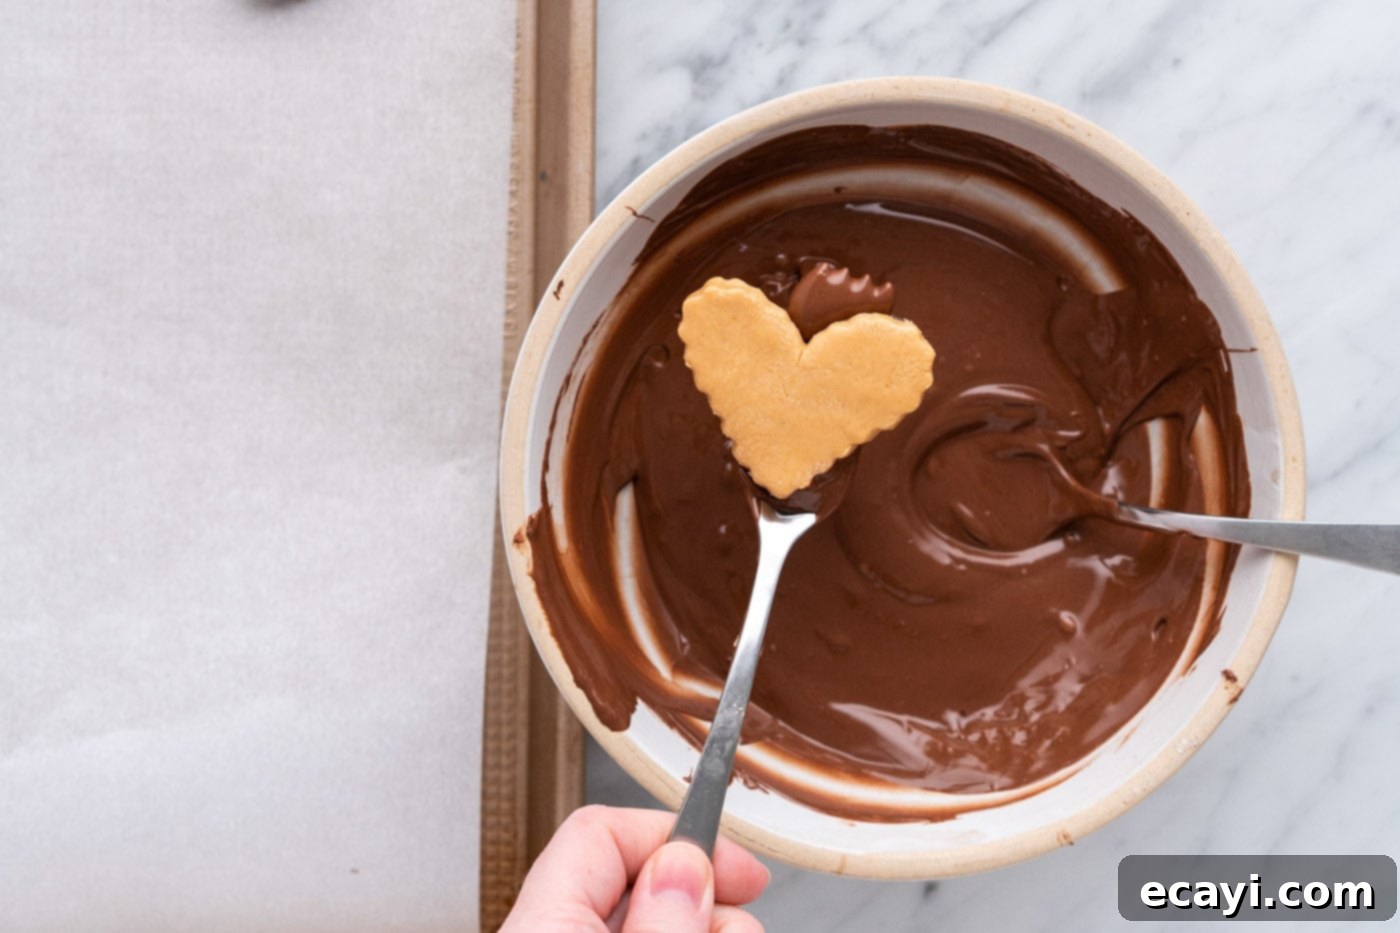
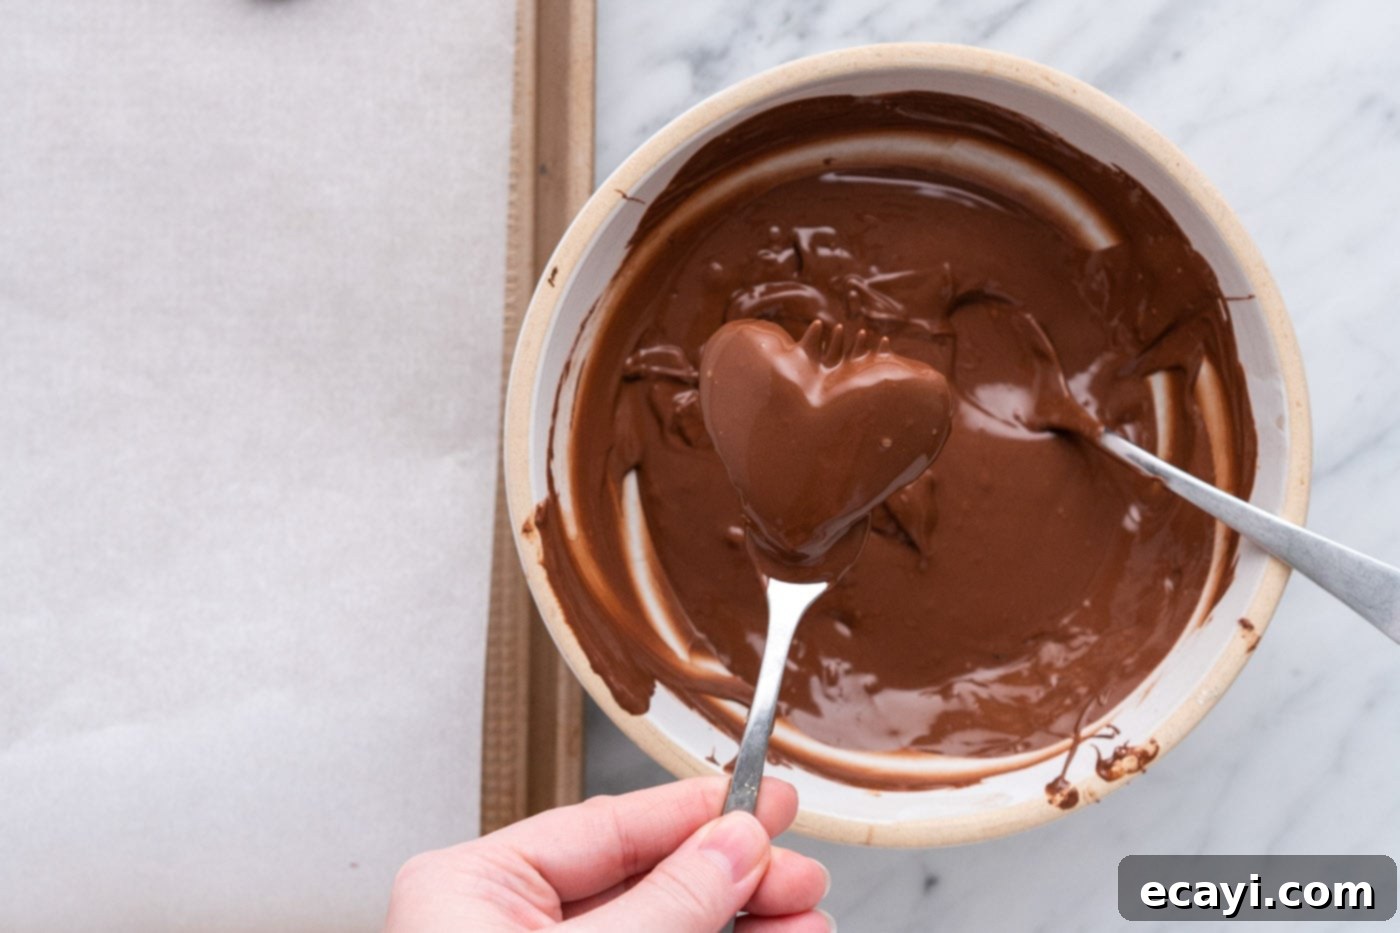
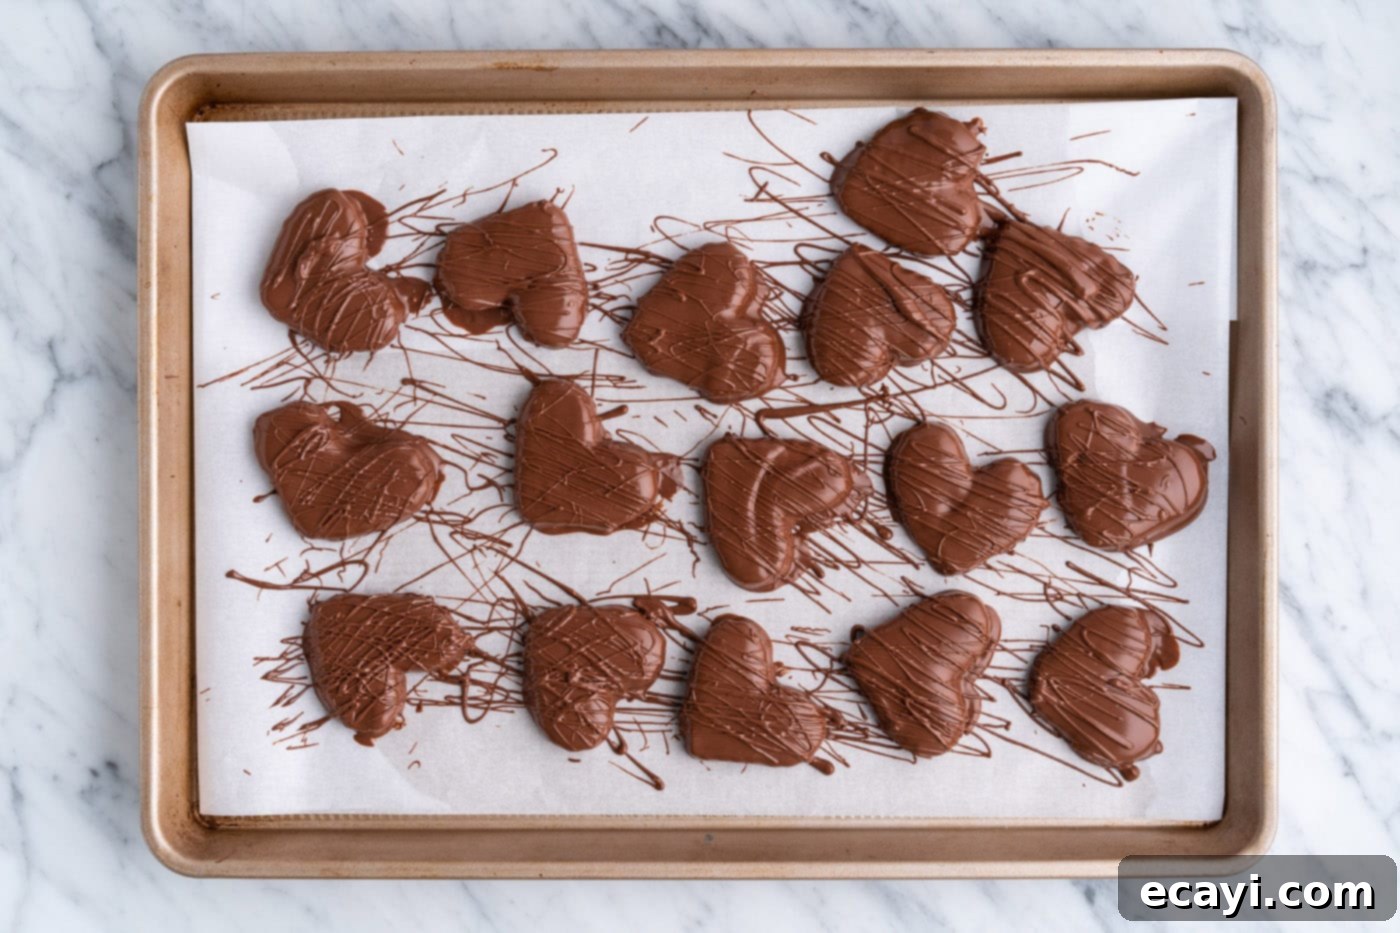
- Dip and Decorate: Once your peanut butter hearts are thoroughly chilled and the chocolate is perfectly melted, it’s dipping time! Using a fork or a dipping tool, carefully submerge each heart into the melted chocolate, ensuring it’s fully coated. Lift the heart, allowing any excess chocolate to drip back into the bowl, then gently place it back onto the parchment-lined baking paper. If you have any melted chocolate remaining after dipping all the hearts, don’t let it go to waste! You can use it to create elegant drizzles over the finished hearts for an extra decorative touch.


- Allow to Set: The final step before enjoyment is patience! Allow the chocolate to fully harden and set on the peanut butter hearts. This can be done by leaving them at room temperature, or if you’re in a hurry, placing them back in the refrigerator for about 15-30 minutes. Once the chocolate is firm to the touch, your beautiful, homemade chocolate peanut butter hearts are ready to be served and devoured.
Frequently Asked Questions & Expert Tips
Proper storage is key to maintaining the freshness and deliciousness of your homemade chocolate peanut butter hearts. Once they are completely cooled and the chocolate coating has fully hardened, transfer them to an airtight container. To prevent them from sticking together or damaging their delicate chocolate coating, it’s best to separate layers with pieces of parchment paper. You can store these delightful treats at room temperature for up to 3-4 days, keeping them away from direct sunlight or heat sources. For extended freshness, especially in warmer climates, storing them in the refrigerator is an excellent option, where they will keep well for 6-7 days. Just be sure to let them come to room temperature for a few minutes before serving for optimal flavor and texture.
Absolutely! These peanut butter hearts are wonderfully freezer-friendly, making them perfect for meal prep or for stashing away for future cravings. After the chocolate has completely hardened and the hearts are thoroughly cooled, arrange them in a single layer on a baking sheet lined with parchment paper. This step, known as “flash freezing,” prevents them from sticking together. Once they are solid (typically after 1-2 hours in the freezer), you can transfer them to an airtight freezer-safe container or a large zip-top bag. Layer them with parchment paper if stacking to protect the chocolate. They will keep beautifully in the freezer for up to 3 months. When you’re ready to enjoy, you can either eat them frozen for a firmer, chewy texture, or allow them to thaw at room temperature for about 15-30 minutes until they reach your desired consistency. Freezing is an excellent way to extend their shelf life and always have a delightful treat on hand!
The yield of this recipe is primarily determined by the size of the heart-shaped cookie cutter you use. With a cookie cutter that is approximately 2 1/4 inches wide, you can expect to get around 20 chocolate peanut butter hearts. This number includes re-rolling and cutting the dough scraps. If you use a smaller cutter, you’ll naturally yield more hearts, while a larger cutter will produce fewer but bigger treats. Don’t worry about the scraps – simply gather them, gently knead them back into a ball, and roll them out again until all the peanut butter mixture is used up. This ensures you maximize your batch and don’t waste any of that delicious dough!

Creative Serving and Gifting Ideas
These chocolate peanut butter hearts are incredibly versatile, making them suitable for many occasions beyond just Valentine’s Day. Simply by changing your cookie cutter shape, you can adapt these treats for almost any holiday or celebration. Imagine using an egg-shaped cutter for a sweet Easter surprise, a pumpkin or ghost for a spooky Halloween delight, a festive shamrock for St. Patrick’s Day, or even stars for Fourth of July. The possibilities are endless, allowing you to personalize them for birthdays, anniversaries, or just because.
For an extra touch of flair and visual appeal, consider various garnishing options. If you have any leftover melted chocolate, a decorative drizzle over the set hearts can add a professional finish. Alternatively, melt down red, pink, or white candy wafers to create colorful drizzles that pop, especially for festive occasions. Valentine-themed sprinkles are another delightful addition that instantly elevates the look of these simple candies. For a gourmet touch, a tiny sprinkle of flaky sea salt on top of the still-wet chocolate can enhance the salty-sweet dynamic beautifully.
When it comes to gifting, these homemade treats are truly special. Arrange a few hearts in a clear cellophane baggie and tie it with a festive ribbon for a charming, personal present. For a more sophisticated presentation, line small bakery boxes with parchment paper and nestle the hearts inside. You can even include a handwritten tag with a sweet message. These make wonderful gifts for teachers, co-workers, friends, or simply as a token of appreciation for loved ones. Paired with a warm cup of coffee, a glass of milk, or as part of a larger dessert platter, these chocolate peanut butter hearts are always a welcome indulgence.
More Irresistible Peanut Butter & Chocolate Recipes
- Homemade Peanut Butter Cups
- Decadent Peanut Butter Brownies
- Easy No Bake Peanut Butter Bars
- Festive Valentine Muddy Buddies
- Classic Chocolate Peanut Butter Balls
- Adorable Valentine’s Day Heart Cupcakes
I love to bake and cook and share my kitchen experience with all of you! Remembering to come back each day can be tough, that’s why I offer a convenient newsletter every time a new recipe posts. Simply subscribe and start receiving your free daily recipes!

Chocolate Peanut Butter Hearts
IMPORTANT – There are often Frequently Asked Questions within the blog post that you may find helpful. Simply scroll back up to read them!
Print It
Pin It
Rate It
Save ItSaved!
Ingredients
- 1 ⅔ cups powdered sugar plus more for rolling out peanut butter mixture
- 1 cup creamy peanut butter such as Skippy
- ½ teaspoon vanilla extract
- ⅛ teaspoon salt
- 12 ounces milk chocolate chopped. or chocolate chips
Things You’ll Need
-
Hand mixer
-
Rolling pin
-
Baking sheet
-
Parchment paper
Before You Begin
- The consistency of your peanut butter mixture is key. Depending on factors like your specific peanut butter brand and local humidity, you might need to add a little more powdered sugar to achieve a Play-Doh-like texture that rolls out easily without being too sticky or mushy.
- The number of hearts yielded will vary with the size of your cookie cutter. Using a 2 1/4-inch wide cutter typically produces about 20 hearts, including re-rolling scraps.
- This recipe uses milk chocolate for coating. You can use chocolate chips or chopped chocolate bar. While candy melts are an option, they often taste sweeter and more artificial. Feel free to substitute with dark, white, or semi-sweet chocolate for different flavor profiles.
- Store fully cooled, hardened chocolate peanut butter hearts in an airtight container, separated by parchment paper, at room temperature or in the refrigerator for 6-7 days. For longer storage, freeze for up to 3 months.
Instructions
-
Add the powdered sugar, peanut butter, vanilla, and salt to a large bowl. Use a handheld electric mixer to beat until well-combined. Towards the end, it helps to knead the mixture with your hands, as if you were making bread dough. Form the peanut butter mixture into a ball.
-
Place a piece of parchment paper down on your countertop and lightly dust the paper with powdered sugar. Put the peanut butter ball on top, and then sprinkle on a little more powdered sugar. Roll it out to a circle about 9 inches in diameter and about 1/2-inch thick.
-
Use a small heart shaped cookie cutter to stamp out as many hearts as you can. Gather the scraps, re-roll them, and stamp out more hearts, continuing this way until all the peanut butter mixture is gone.
-
Arrange the peanut butter hearts on a parchment-lined baking tray. Chill in the freezer for 20 minutes, or in the fridge for 2 hours.
-
Melt the chocolate in a microwave-safe bowl or a double boiler.
-
Dip the chilled peanut butter hearts in the melted chocolate, and then place them back onto the parchment paper so the chocolate can set. If there’s extra chocolate, you can drizzle it decoratively on top.
-
Let the chocolate harden before serving.
Nutrition
The recipes on this blog are tested with a conventional gas oven and gas stovetop. It’s important to note that some ovens, especially as they age, can cook and bake inconsistently. Using an inexpensive oven thermometer can assure you that your oven is truly heating to the proper temperature. If you use a toaster oven or countertop oven, please keep in mind that they may not distribute heat the same as a conventional full sized oven and you may need to adjust your cooking/baking times. In the case of recipes made with a pressure cooker, air fryer, slow cooker, or other appliance, a link to the appliances we use is listed within each respective recipe. For baking recipes where measurements are given by weight, please note that results may not be the same if cups are used instead, and we can’t guarantee success with that method.
