Irresistible No-Bake Chocolate Peanut Butter Lasagna: Your Ultimate Easy Dessert Recipe
Prepare to be swept away by the decadent delight of this easy no-bake chocolate peanut butter lasagna. It’s a harmonious blend of rich chocolate and creamy peanut butter, crafted into a dessert that is light, refreshingly cool, and utterly dreamy. Far from being overly sweet or heavy, this layered masterpiece offers a perfectly balanced flavor profile that will satisfy every craving without being overwhelming.
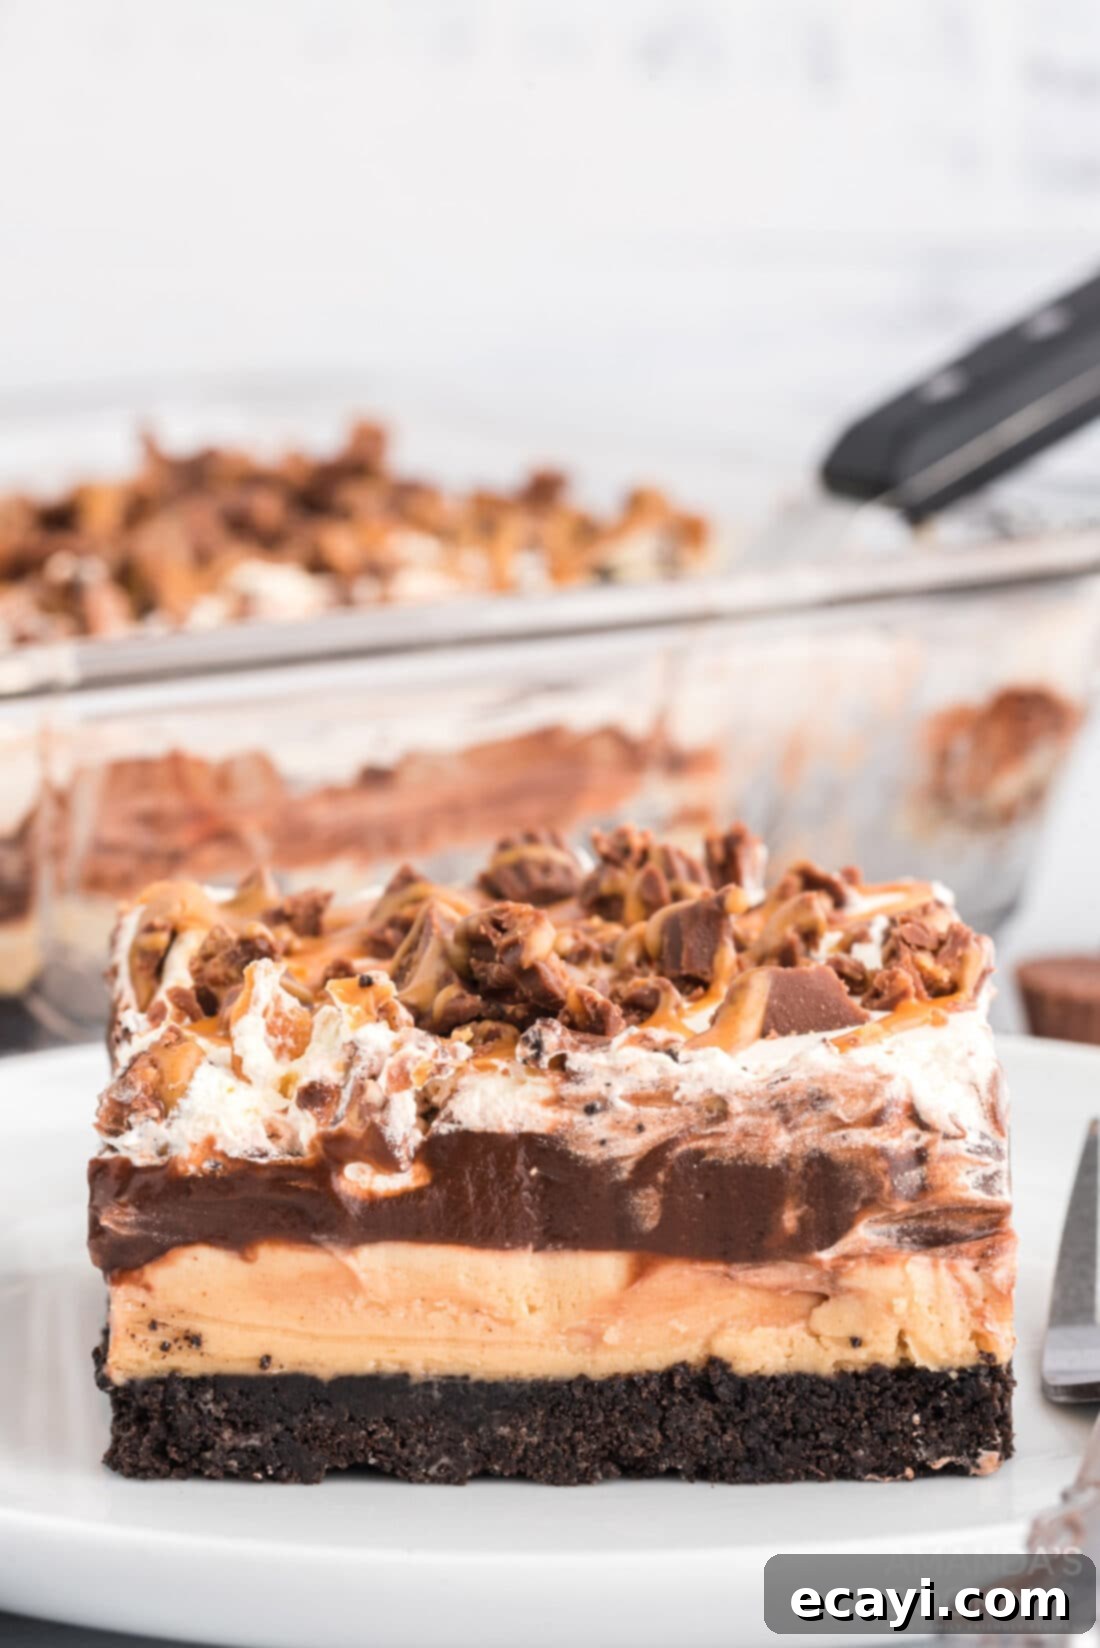
Why This No-Bake Chocolate Peanut Butter Lasagna Is a Must-Try
If you’re a fan of our popular chocolate lasagna, then get ready for an even more exhilarating flavor experience! This chocolate peanut butter lasagna takes the beloved no-bake concept and elevates it to new heights, delivering a dessert that’s truly unforgettable. The iconic pairing of peanut butter and chocolate creates a synergy that transcends their individual deliciousness, resulting in something extraordinary. Each bite is a journey through contrasting textures and complementary flavors, making it an absolute showstopper.
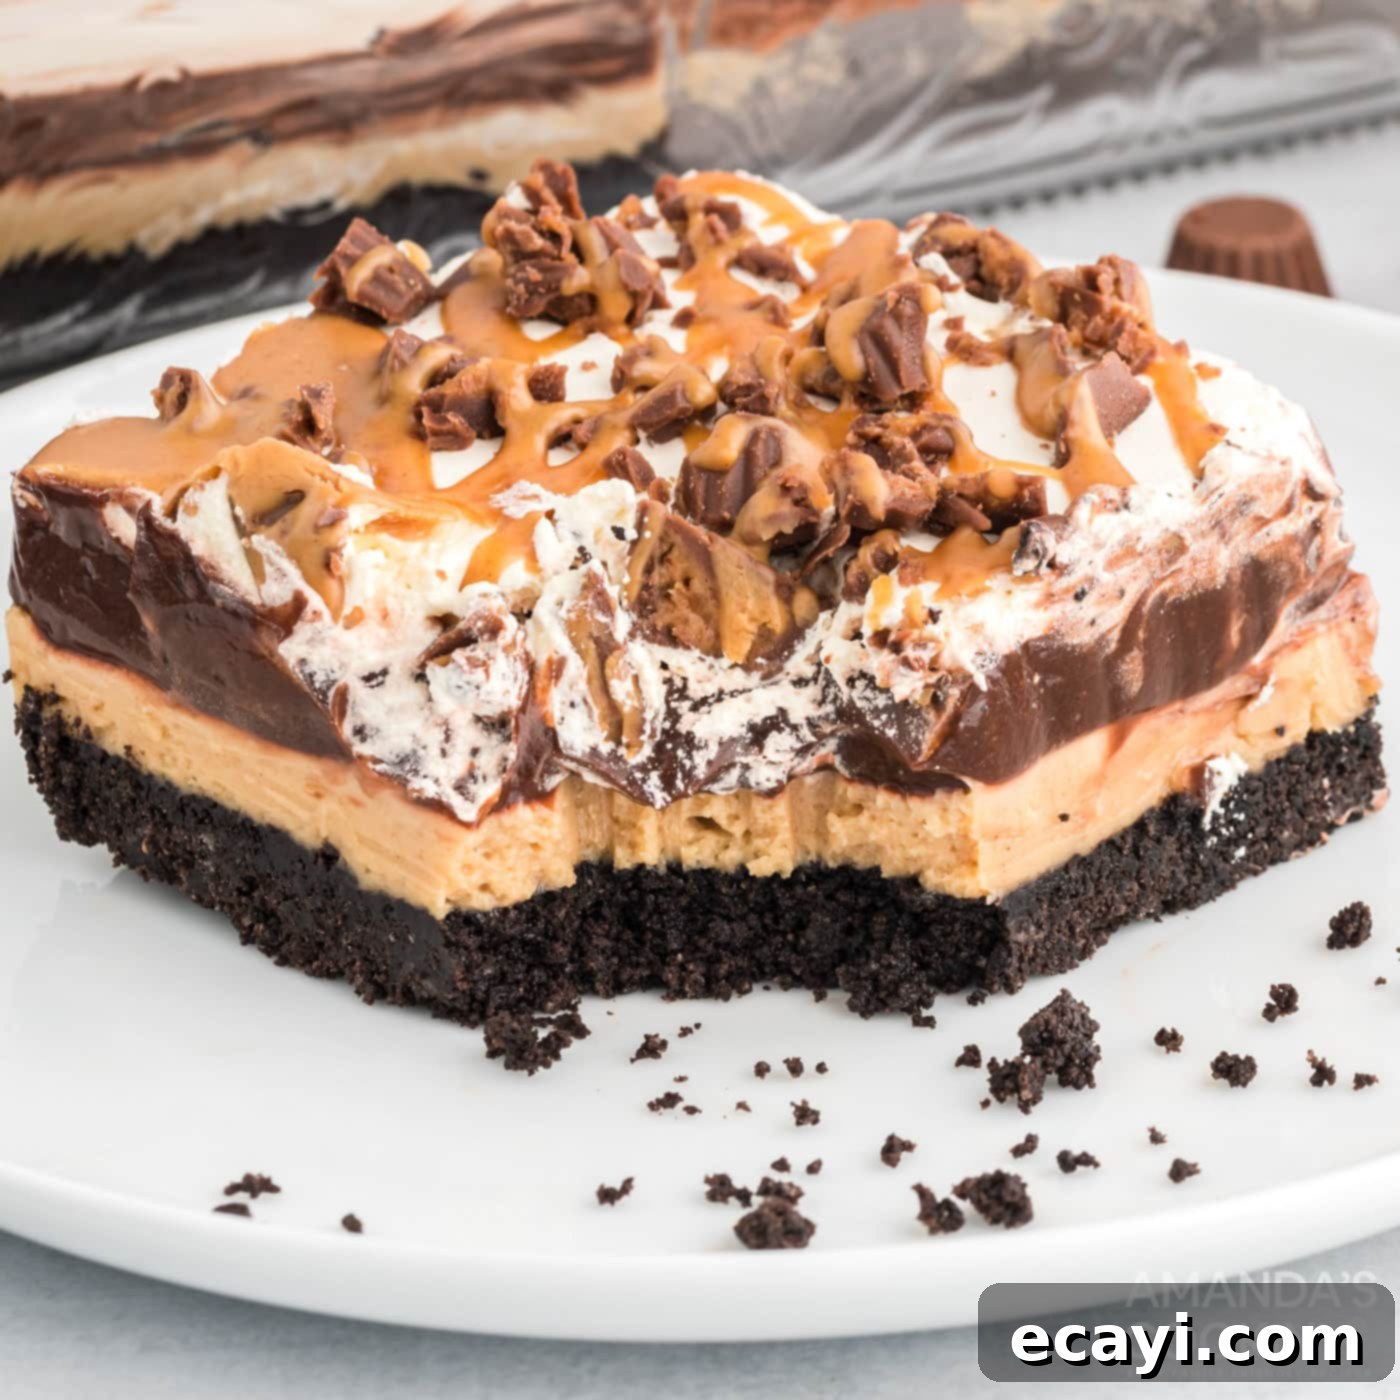
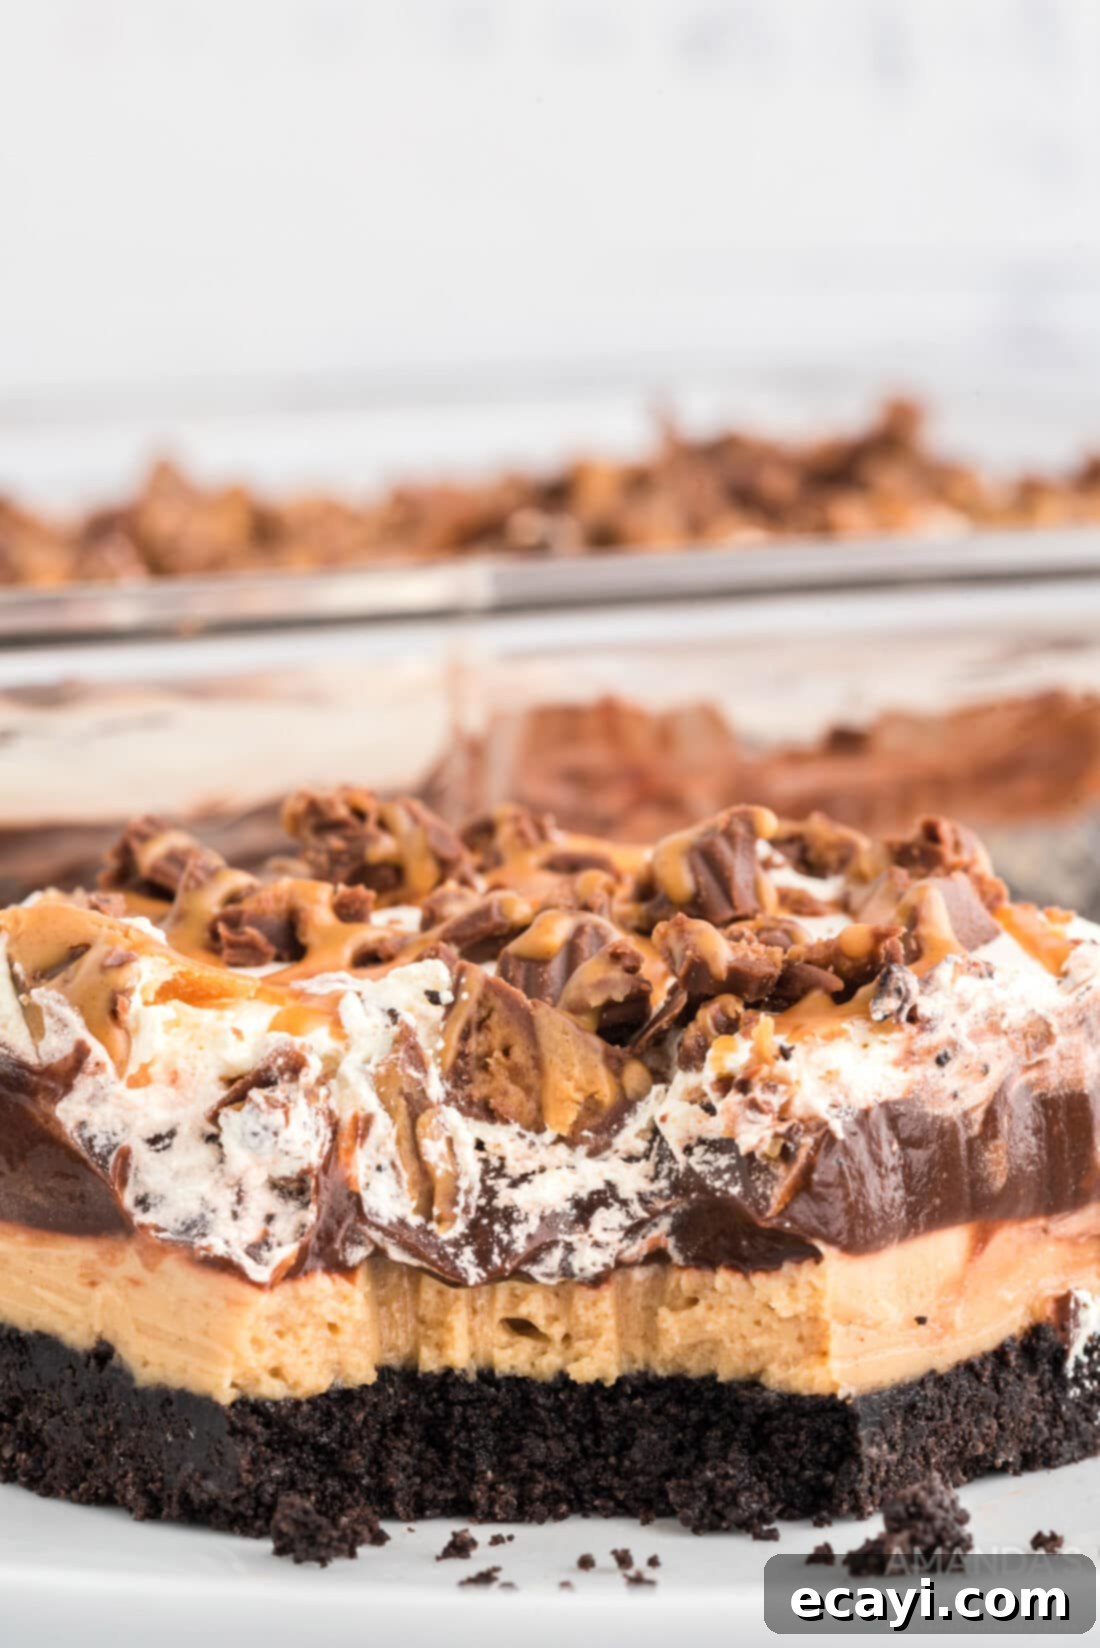
The magic begins with a perfectly crunchy, rich OREO cookie crust, providing a delightful textural foundation. This is then layered with an unbelievably smooth and velvety cream cheese-peanut butter mixture – a layer so exquisite, it tastes “out of this world amazing.” Next comes a luscious, thick layer of instant chocolate pudding, adding that essential cocoa depth. A generous topping of fluffy Cool Whip provides a light, airy contrast, while copious amounts of chopped peanut butter chocolate candies and a final drizzle of warm, melted peanut butter crown this dessert with an extra touch of indulgence. It’s not just a dessert; it’s a celebration of two classic flavors coming together in a surprisingly simple, yet spectacular, no-bake format that’s perfect for any occasion.
Essential Ingredients for Your No-Bake Chocolate Peanut Butter Lasagna
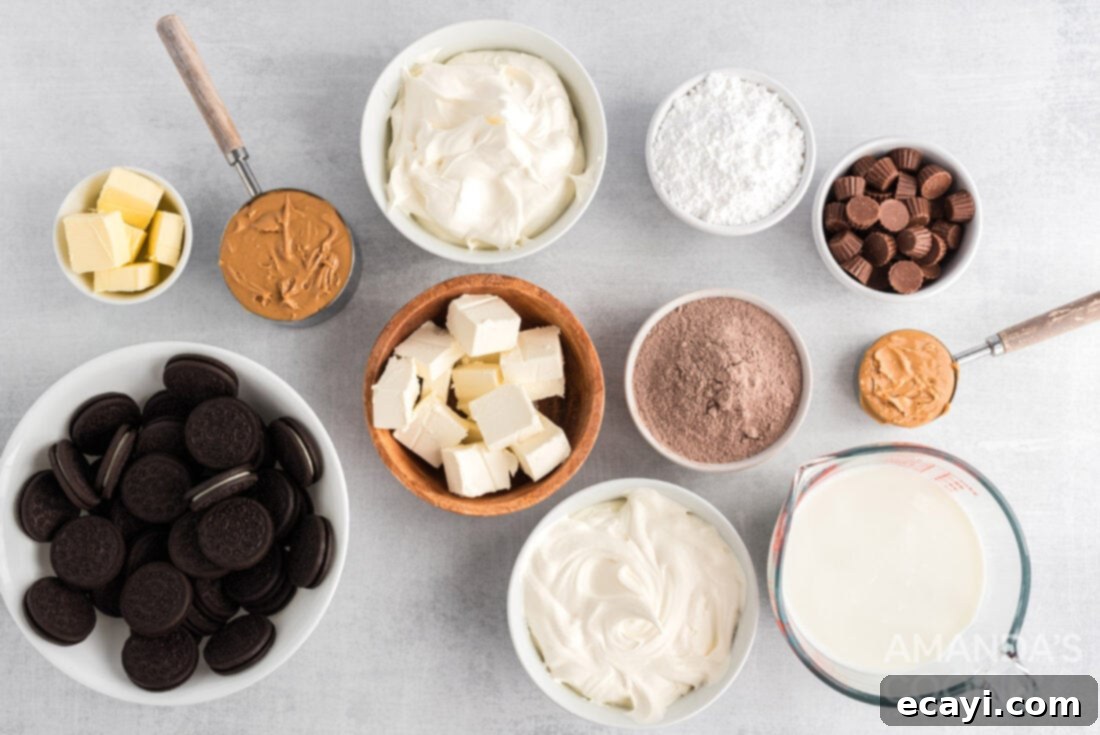
Crafting this incredible no-bake chocolate peanut butter dessert requires a handful of readily available ingredients. You’ll find a complete list of all measurements, quantities, and detailed instructions in the printable recipe card located at the very end of this post. Gather these components, and you’ll be well on your way to creating a stunning and delicious treat that’s sure to impress!
Ingredient Insights & Clever Substitution Ideas
Understanding each ingredient and knowing your options can make all the difference in perfecting your no-bake chocolate peanut butter lasagna. Here’s a breakdown of what you’ll need and how you can customize it:
CRUST: There’s truly nothing quite like the classic OREO cookie crust. For this recipe, you’ll use whole OREOs, including their creamy filling, and pulse them in a food processor until they form fine crumbs. These crumbs are then mixed with melted butter and pressed firmly into your baking dish. The OREO crumbs create a sturdy, flavorful base that holds all the delightful layers above. If you don’t own a food processor, don’t worry! Simply place the OREOs in a sturdy gallon-sized zipper plastic bag and use a rolling pin to crush them into fine crumbs. Once crushed, spoon the crumbs into a bowl, mix in the melted butter thoroughly, and then press into your pan. Feel free to experiment with different OREO flavors – the peanut butter chocolate ones would amplify the theme beautifully, or you could opt for a classic chocolate graham cracker crust for a slightly different take. For a gluten-free option, many brands offer excellent gluten-free chocolate sandwich cookies that would work just as well.
LAYERS: The key to a successful no-bake dessert is using the right type of pudding. Ensure you purchase instant pudding mix, not the “cook and serve” variety, as it needs to set up quickly without heat. Our recipe also calls for Cool Whip for its airy texture and stability. While Cool Whip is convenient, if you prefer a homemade touch, you can certainly substitute it with an equal amount of homemade whipped topping. To do this, whisk 3 cups of heavy whipping cream until medium peaks form. Please note that homemade whipped cream, unless stabilized, may not hold its shape as well as Cool Whip, especially when layered. If you desire the stability of Cool Whip with a homemade flavor, consider making your own stabilized whipped cream using gelatin or cream of tartar. The peanut butter layer benefits from smooth peanut butter for a silky texture, but if you love a bit of crunch, a portion of crunchy peanut butter could be folded in.
TOPPING: We’ve chosen chopped mini Reese’s cups for an undeniable chocolate-peanut butter punch on top. However, this is where you can truly let your creativity shine! Feel free to include Reese’s Pieces for an added pop of color and texture, or perhaps a mix of both. Other fantastic topping options include mini peanut butter chips, chocolate chips (milk, dark, or white!), finely shaved chocolate, chopped roasted peanuts for extra crunch, or even a mix of your favorite chopped candy bars. Finally, a warm drizzle of creamy peanut butter provides a beautiful finish and an extra layer of nutty goodness, completing this sensational dessert.
Effortless Steps to Craft Your Chocolate Peanut Butter Lasagna
These step-by-step photos and detailed instructions are designed to help you easily visualize how to prepare this delicious no-bake chocolate peanut butter lasagna. For a convenient printable version of this recipe, complete with precise measurements and comprehensive instructions, simply Jump to Recipe at the bottom of this post.
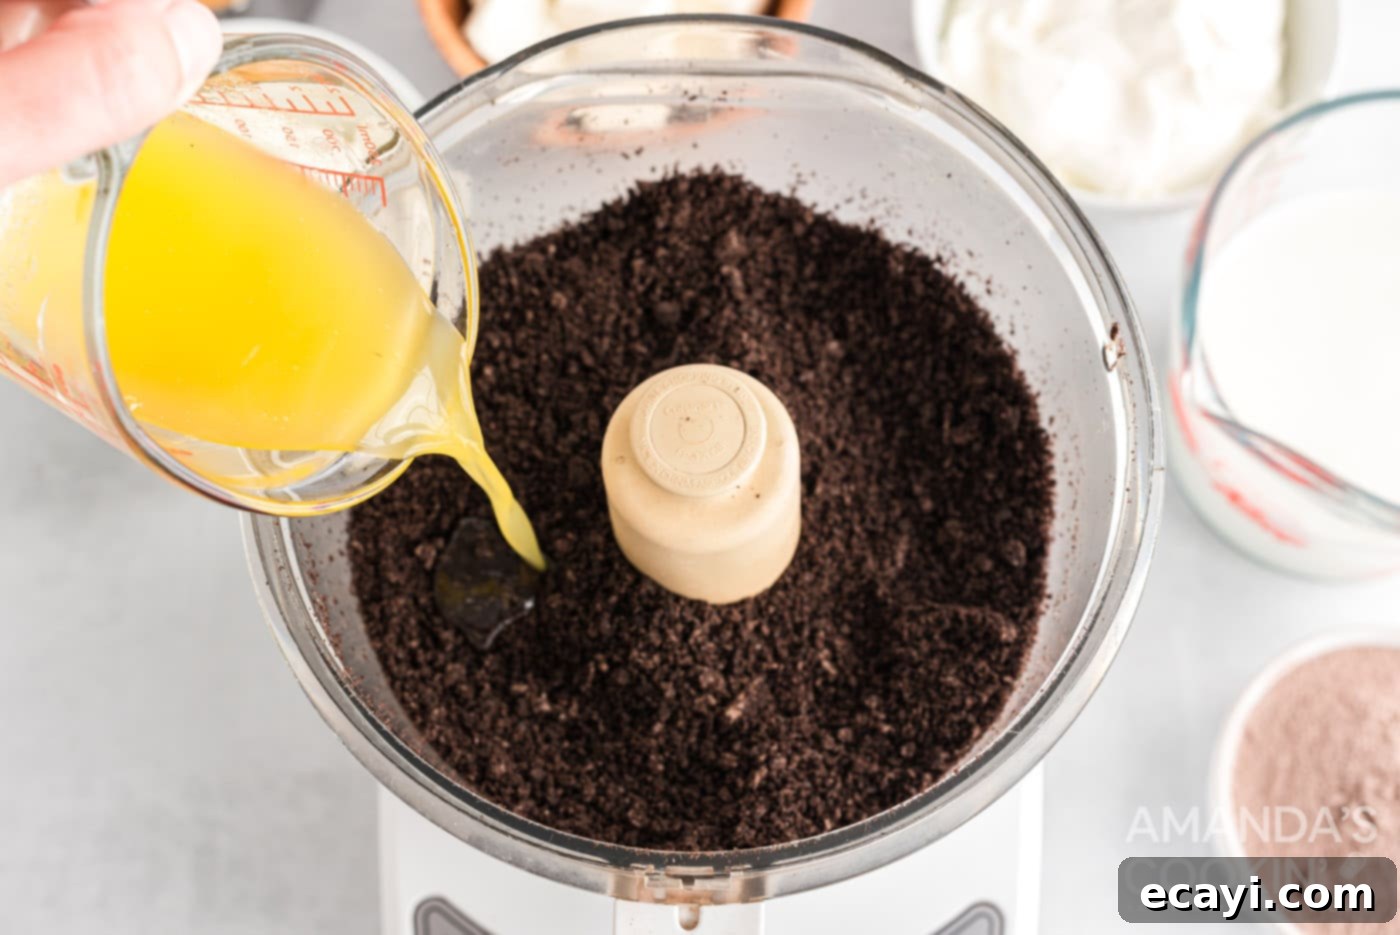
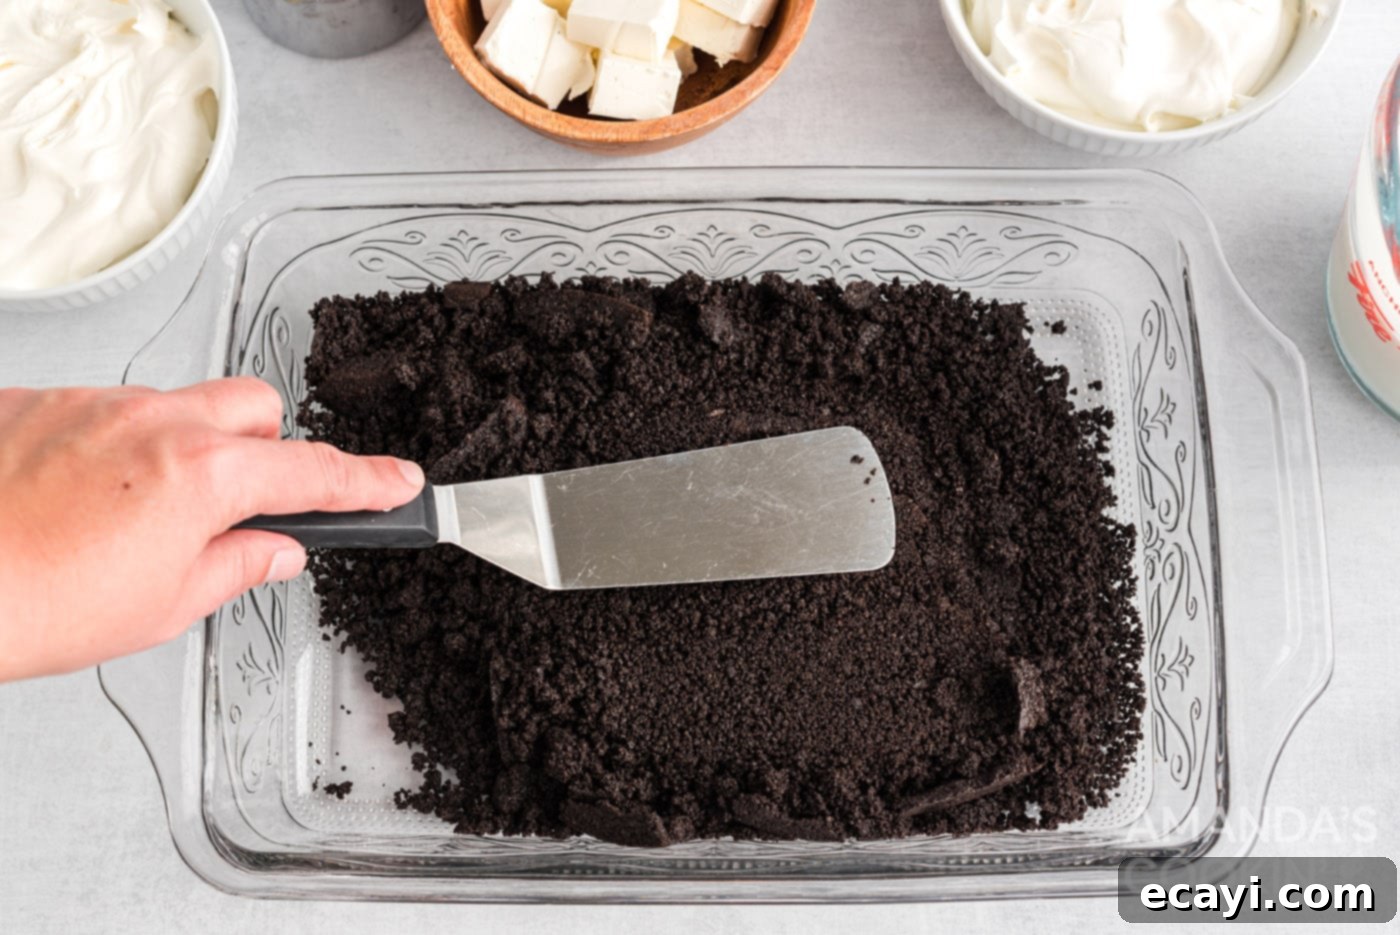
- **Prepare the OREO Crust:** Start by placing the entire OREO cookies (cream filling included) into a food processor. Pulse until they transform into very fine crumbs. Pour in the melted butter and pulse again until the butter is fully incorporated and the crumbs are moistened. Press this mixture firmly and evenly into the bottom of a 13×9 baking dish. This is your foundation, so ensure it’s compact. Place the baking dish in the refrigerator to chill for at least 10 minutes while you prepare the subsequent layers. This helps the crust set and become firm.


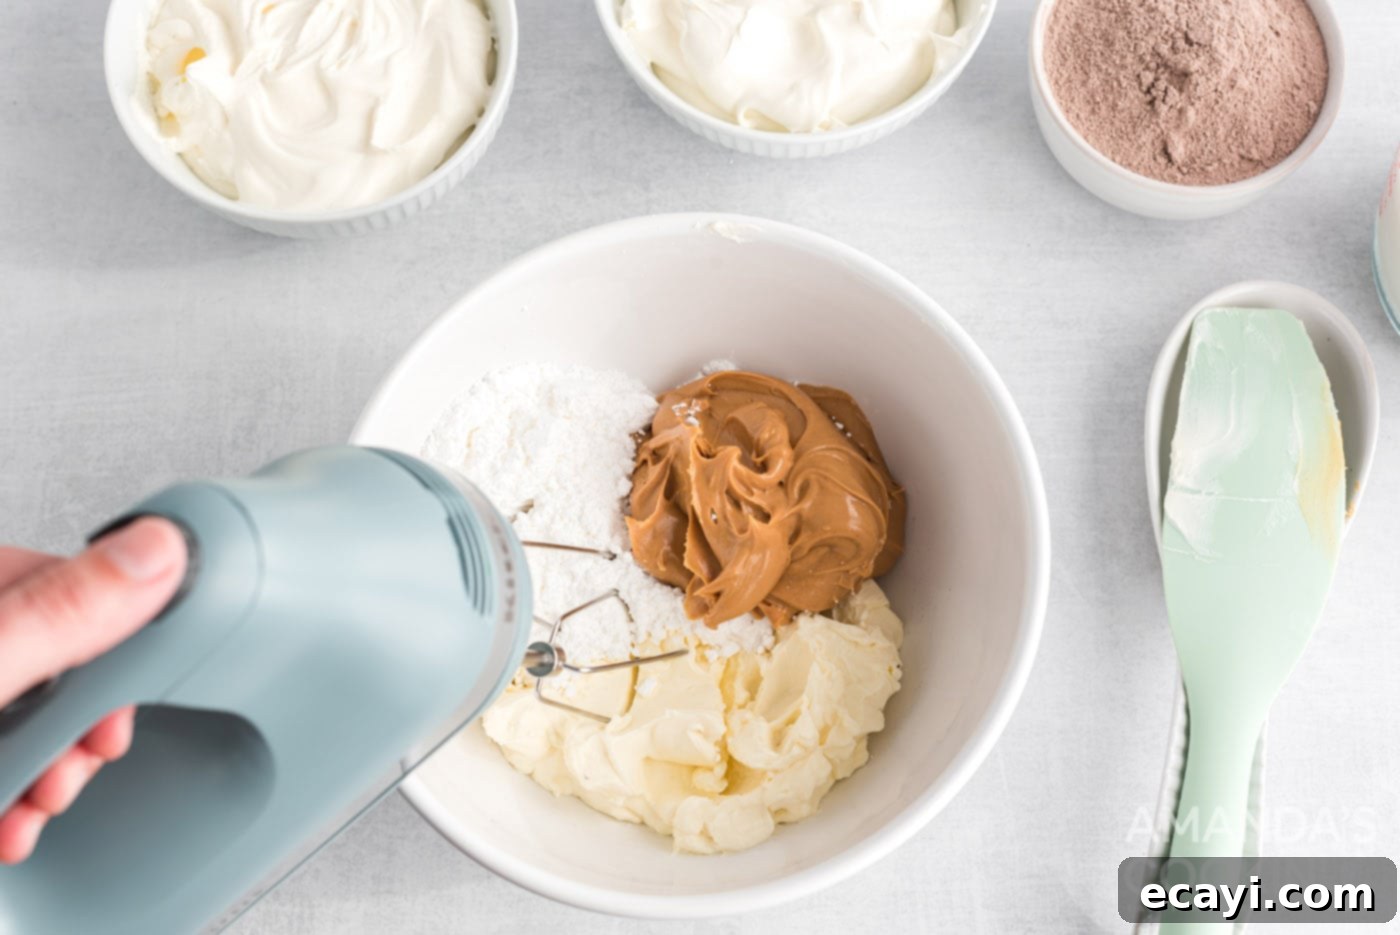
- **Whip the Peanut Butter Cream Cheese Layer:** In a large mixing bowl, combine the softened cream cheese, powdered sugar, and smooth peanut butter. Use an electric mixer to beat these ingredients together until the mixture is completely smooth and creamy, which typically takes about 2 minutes. Scrape down the sides of the bowl as needed to ensure everything is thoroughly combined.

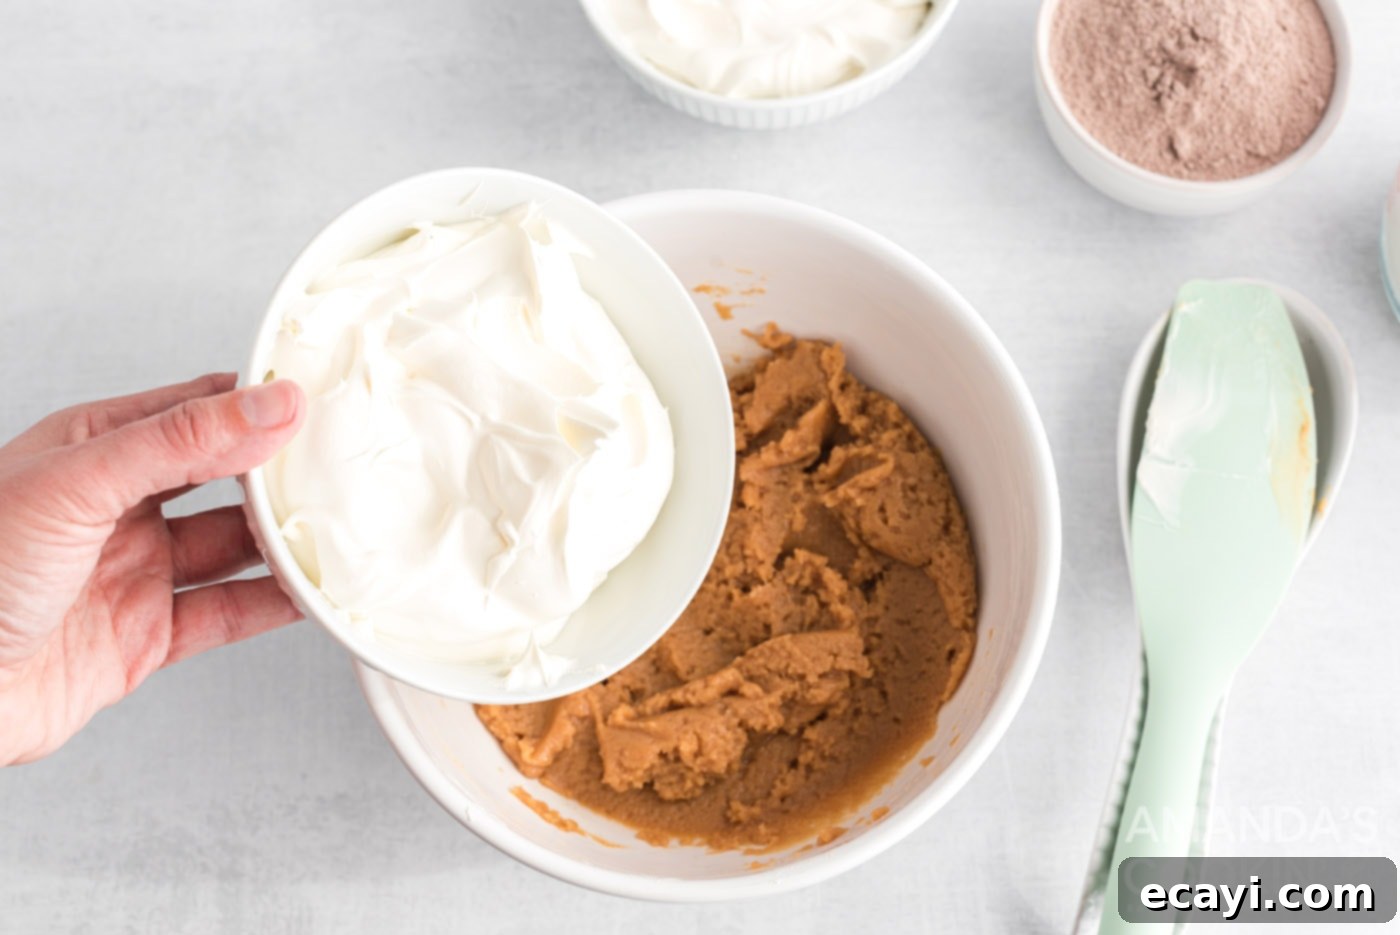
- **Fold in Cool Whip:** Gently fold in the Cool Whip into the peanut butter-cream cheese mixture until it’s fully incorporated and the mixture is light and airy. Be careful not to overmix, as this can deflate the Cool Whip. Set this delicious layer aside.

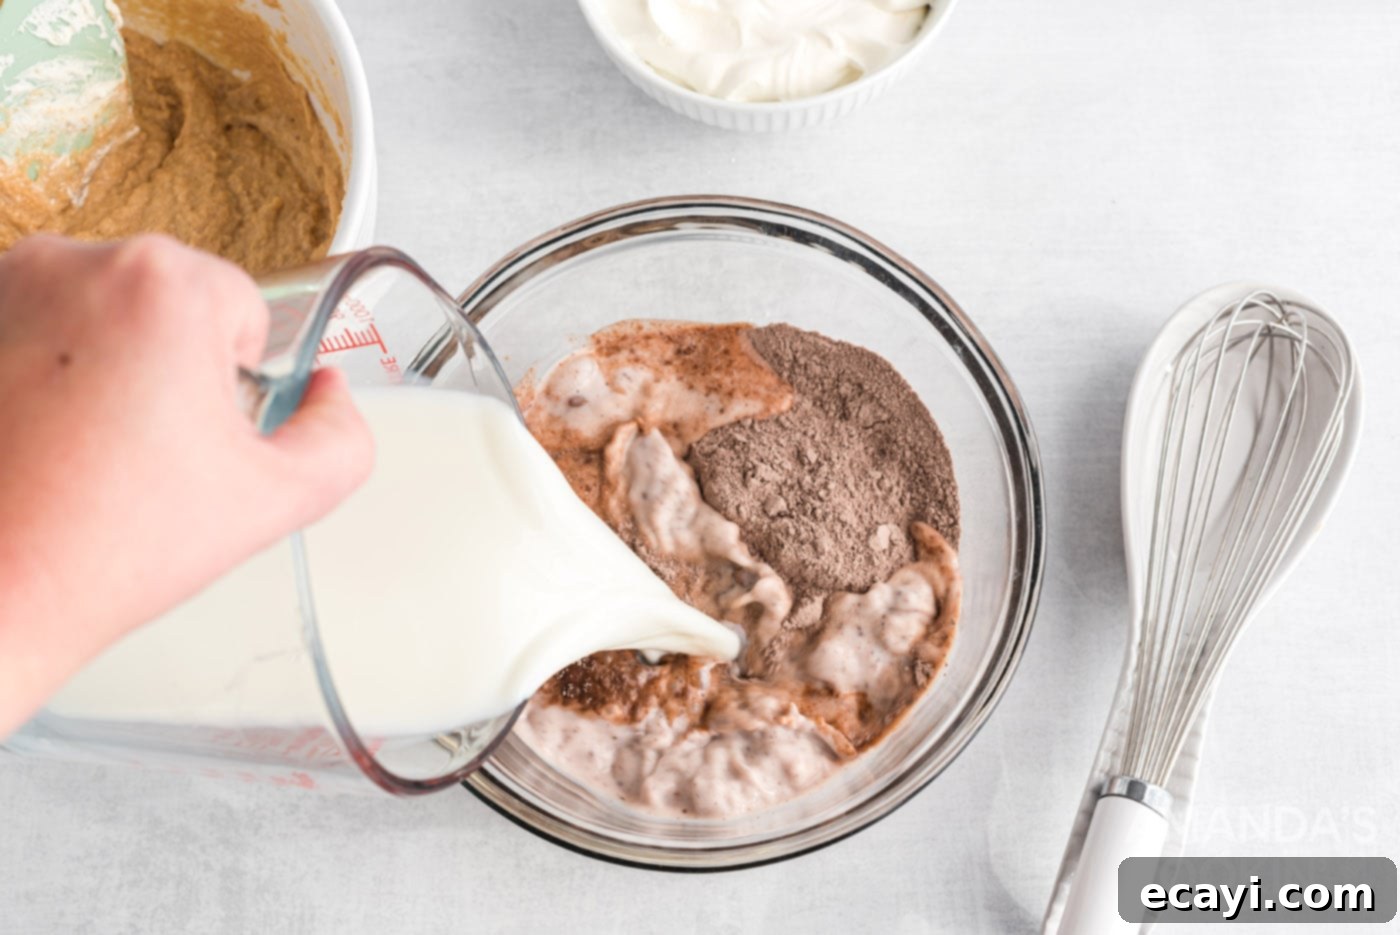
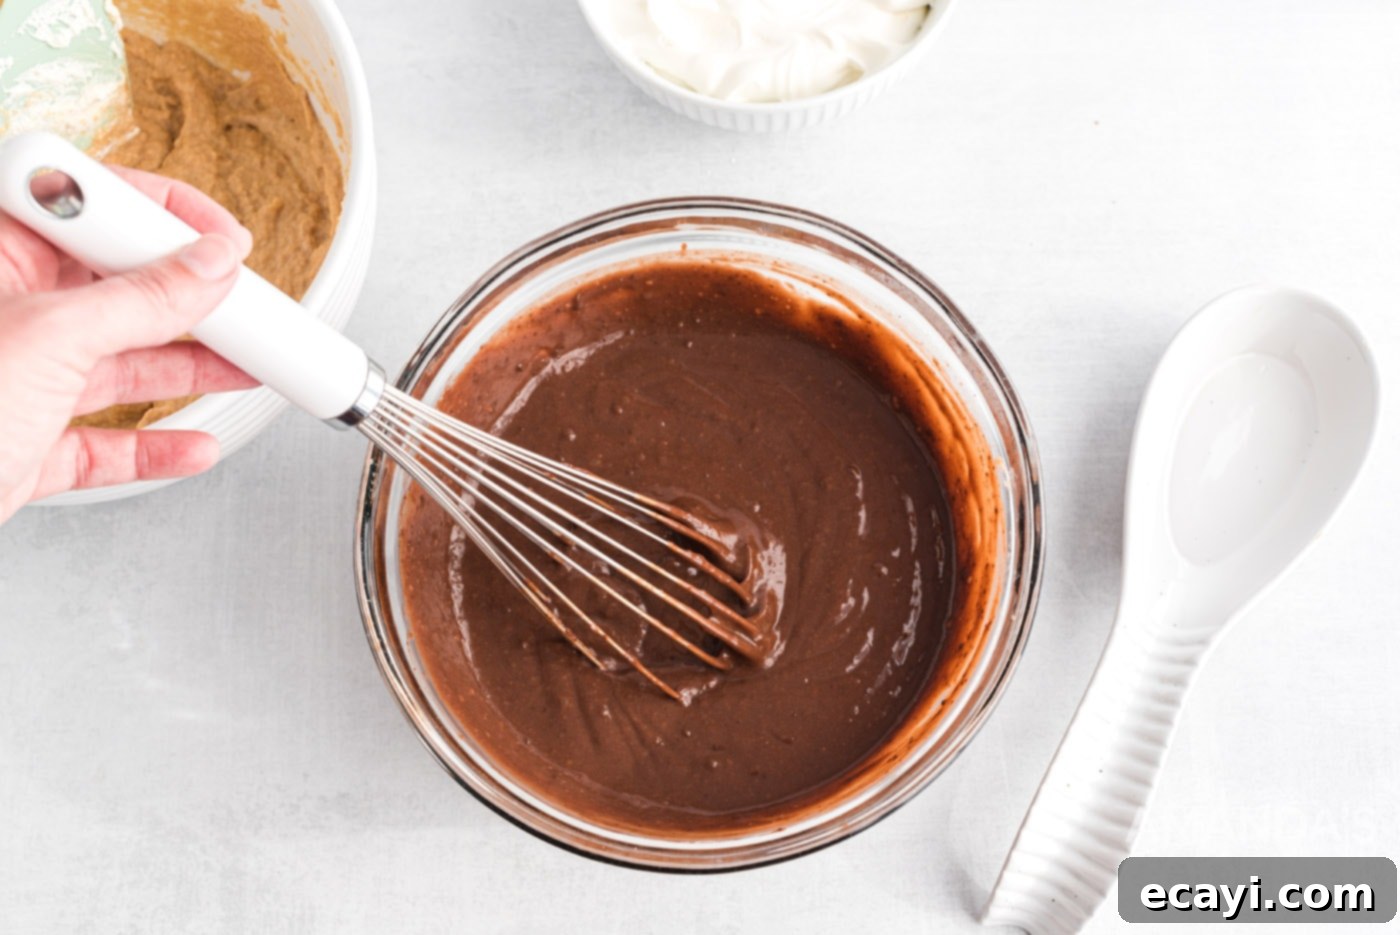
- **Prepare the Chocolate Pudding:** In a separate bowl, whisk together the instant chocolate pudding mix and milk until the pudding thickens. This usually takes just a couple of minutes. Make sure there are no lumps.


- **Assemble the Layers – Step 1:** Retrieve your baking dish with the chilled OREO crust from the refrigerator.
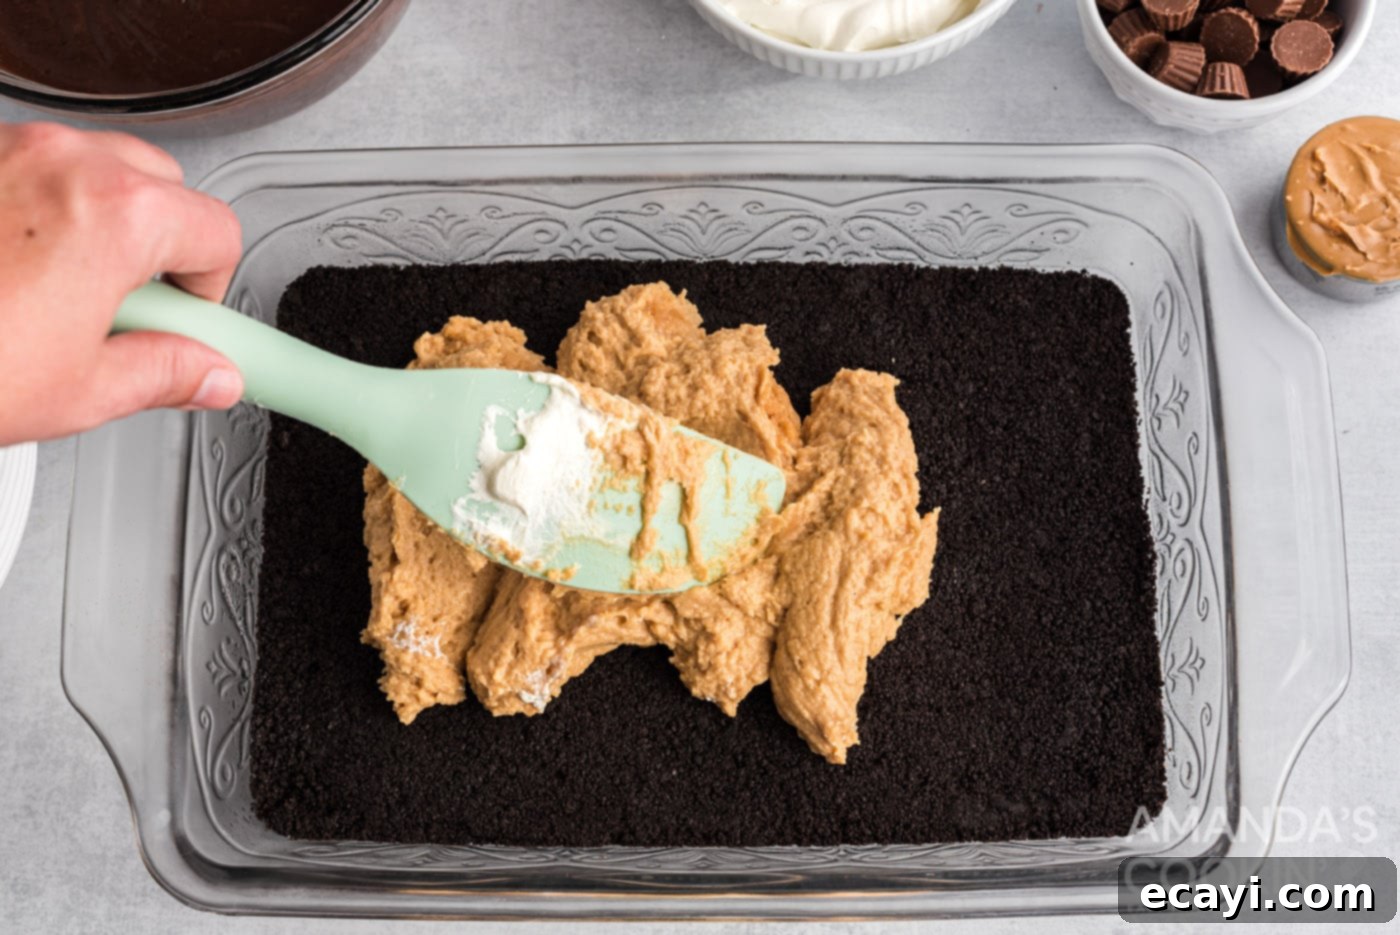
- **Assemble the Layers – Step 2:** Carefully pour the creamy peanut butter-cream cheese mixture over the chocolate cookie crust. Use an offset spatula or the back of a spoon to gently smooth it out into an even layer, extending all the way to the edges of the pan.

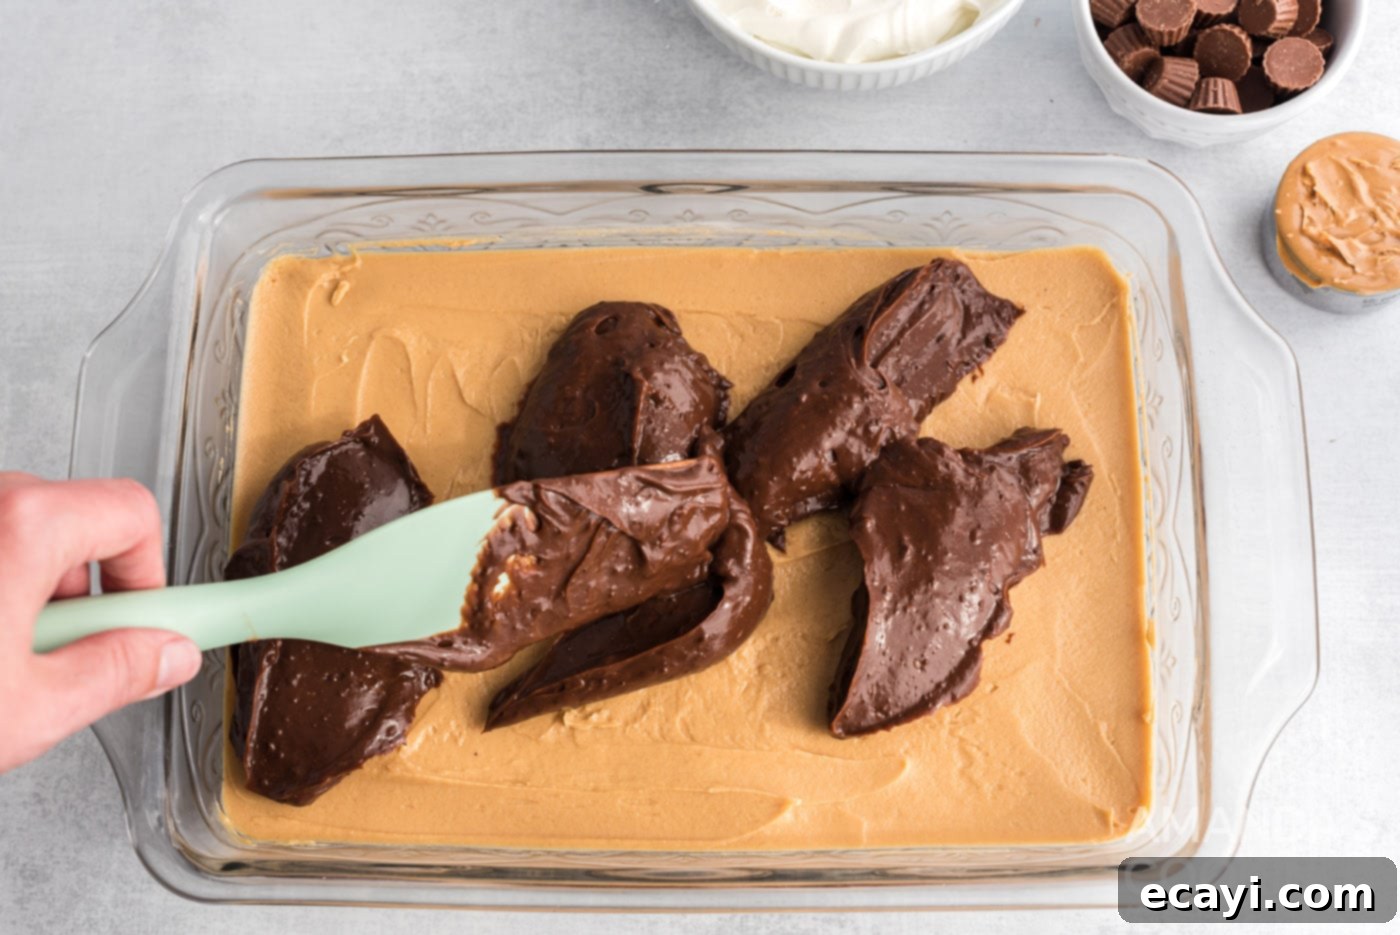
- **Assemble the Layers – Step 3:** Next, spoon the thickened chocolate pudding layer over the peanut butter layer. Smooth it out carefully, trying not to disturb the layer beneath. A gentle hand will ensure clean, distinct layers.

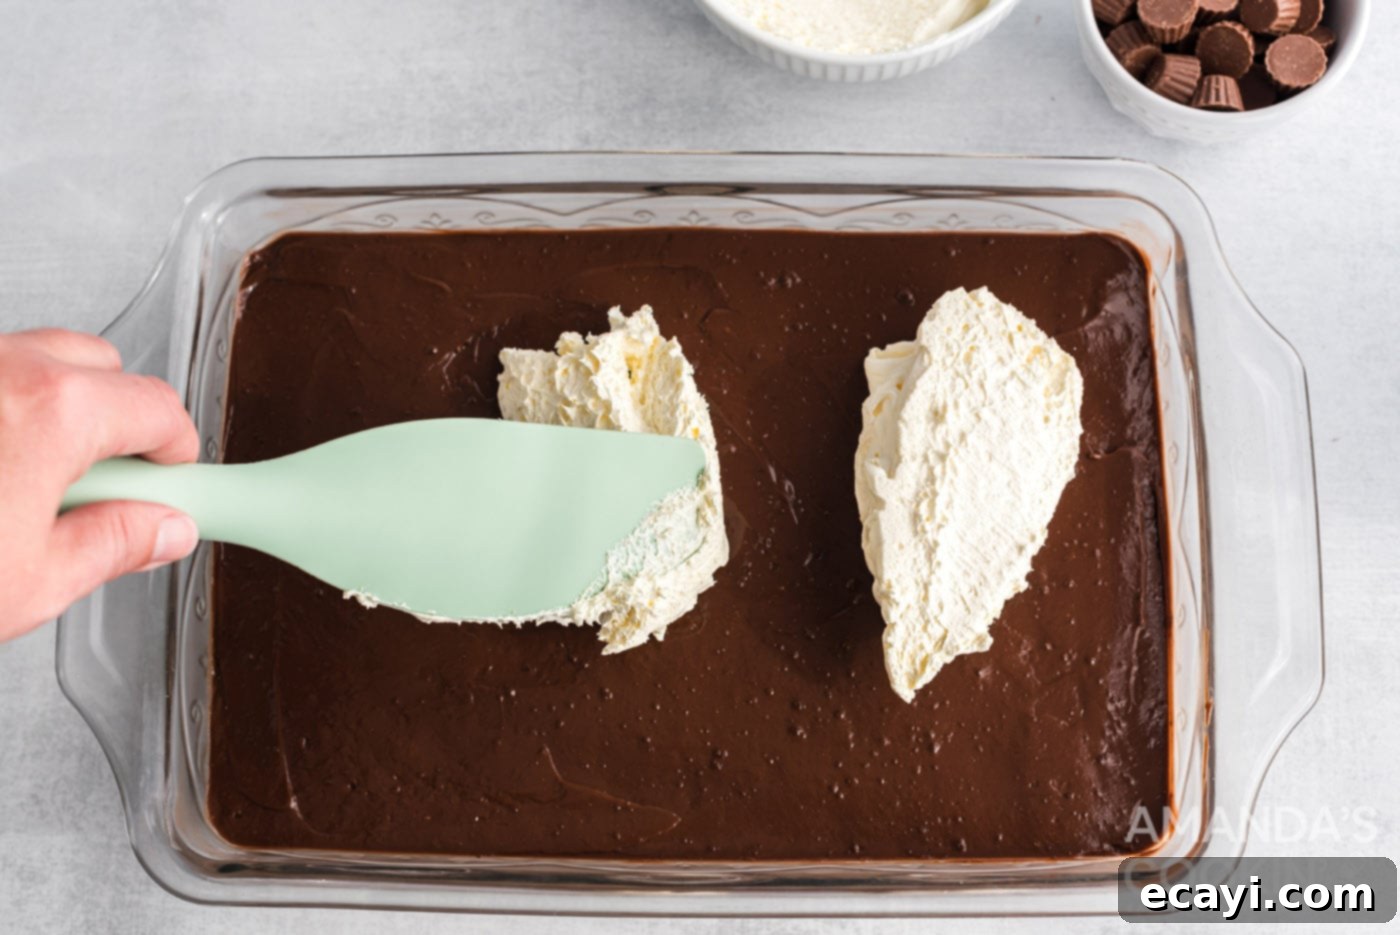
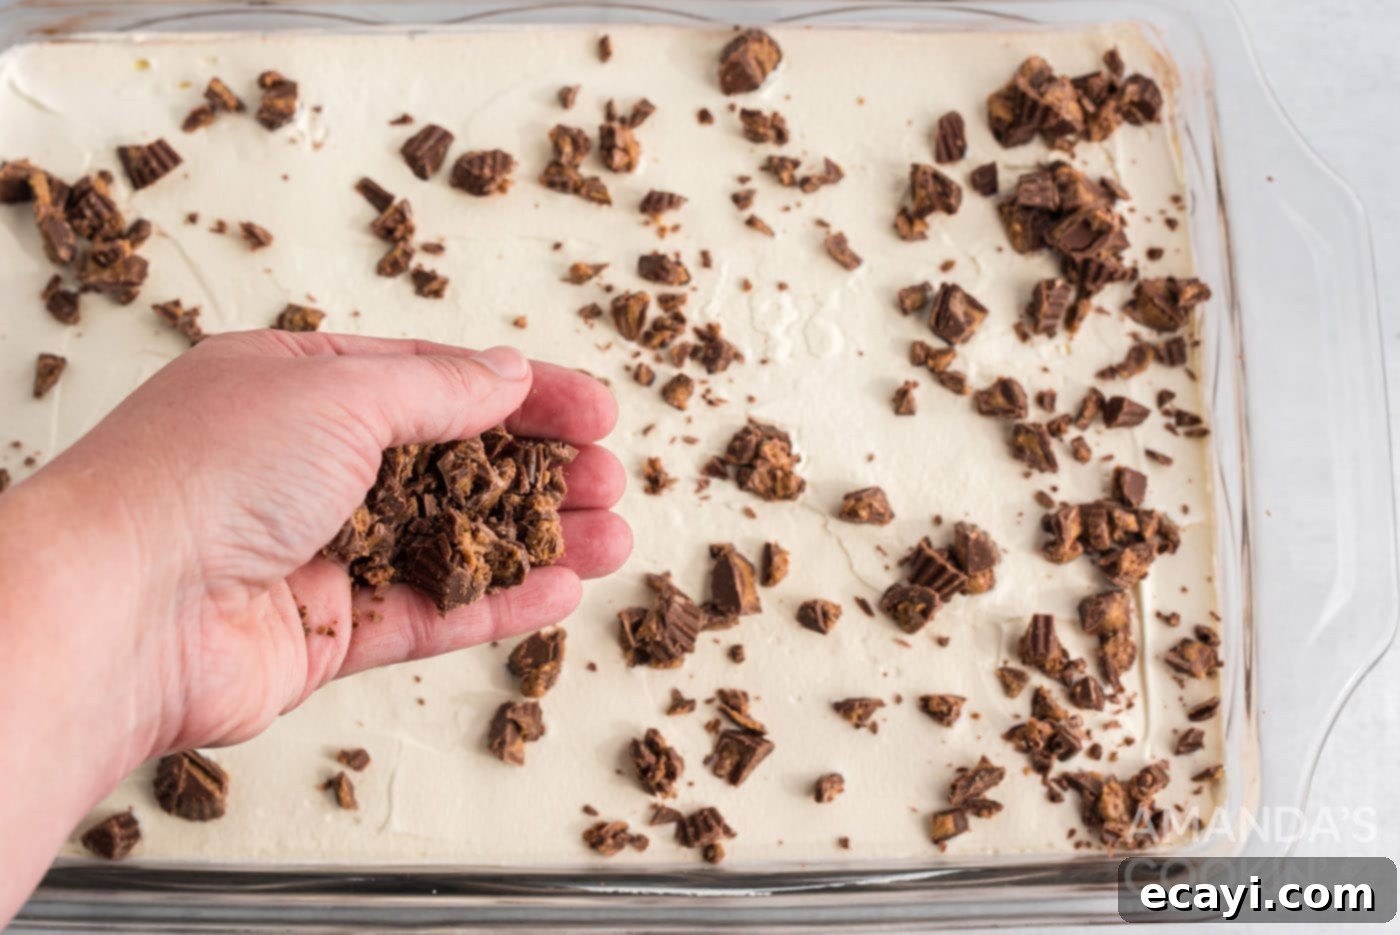
- **Add the Final Topping:** Dollop and spread the remaining Cool Whip over the chocolate pudding layer, creating a fluffy white cloud. Then, generously sprinkle the chopped peanut butter cups (or your chosen candy toppings) evenly over the Cool Whip.


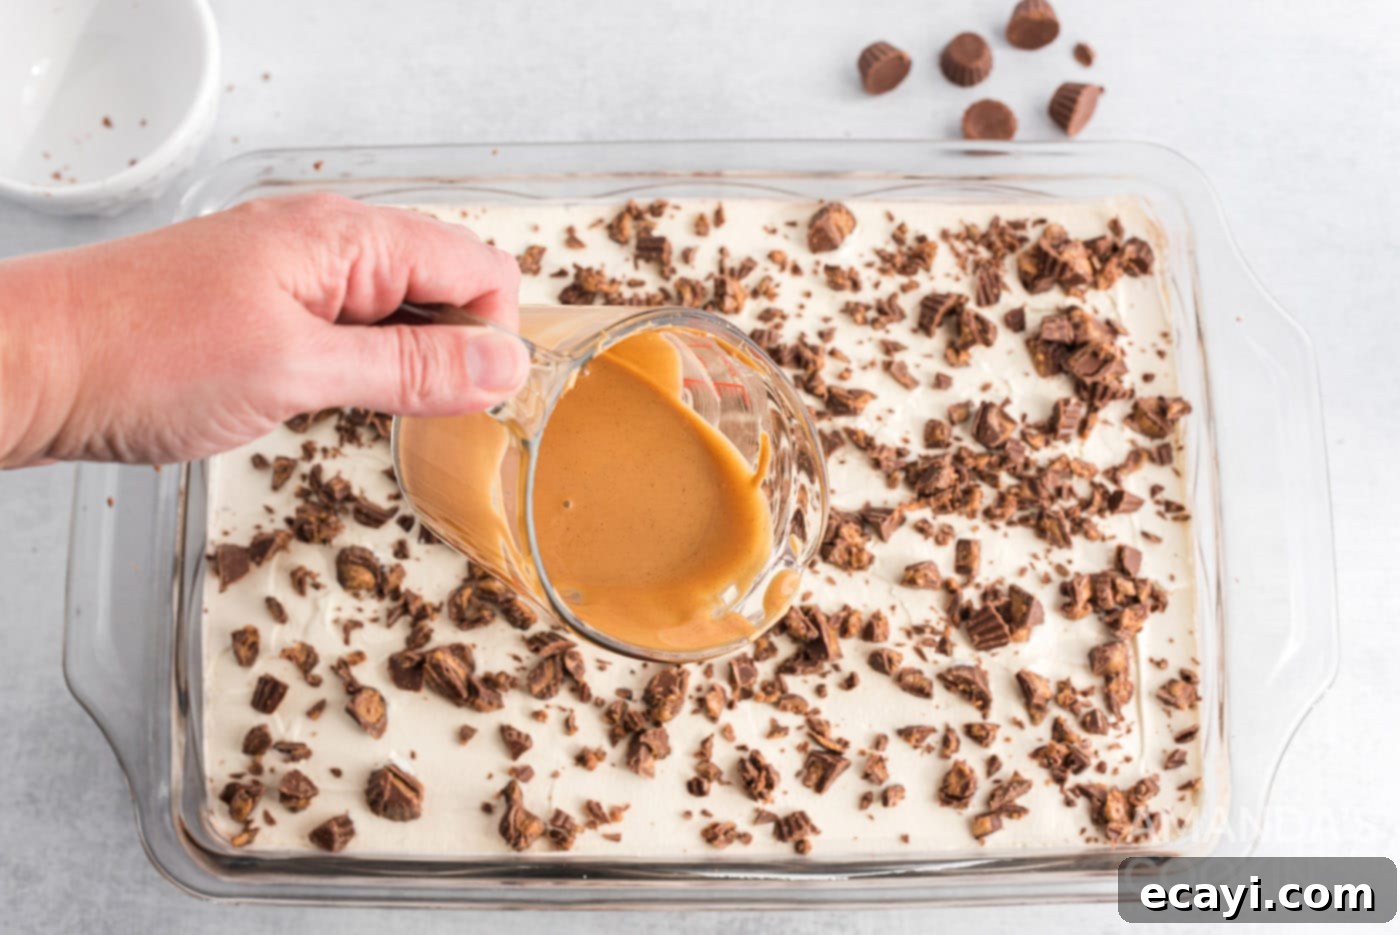
- **The Finishing Drizzle & Chill:** Warm the additional peanut butter in the microwave for a few seconds until it achieves a smooth, drizzling consistency. Drizzle this warm peanut butter decoratively over the top of the lasagna. Finally, cover the baking dish and chill the entire dessert in the refrigerator for at least 4 hours, or ideally overnight, before slicing and serving. This crucial chilling time allows all the layers to set properly and the flavors to meld beautifully, ensuring clean slices and maximum deliciousness.

Frequently Asked Questions & Expert Tips for Success
The possibilities for toppings are virtually endless! Beyond the suggested chopped mini Reese’s cups, you could add Reese’s Pieces, mini peanut butter or chocolate chips (or a combination of both), elegantly shaved chocolate curls, finely chopped peanuts or pecans for an added nutty crunch, or even a different type of melted chocolate drizzle. Don’t be afraid to get creative with sprinkles, crushed pretzels for a salty-sweet twist, or even a dusting of cocoa powder!
Absolutely! This chocolate peanut butter lasagna is an ideal make-ahead dessert, which makes it perfect for entertaining or busy schedules. I highly recommend preparing it at least a day in advance. This extended chilling time allows all the layers to fully set and the flavors to deepen and meld together beautifully. Store it covered tightly in an airtight container in the refrigerator until you’re ready to serve.
To maintain its freshness and delicious texture, store any leftover chocolate peanut butter lasagna in an airtight container in the refrigerator. Baking dishes with snug-fitting lids are fantastic for this purpose, keeping the dessert protected from odors and moisture. It will remain wonderfully fresh and enjoyable for 3-4 days.
For the best results, ensuring all the layers are perfectly set and firm enough to slice cleanly, this no-bake lasagna requires a minimum chilling time of 4 hours. However, for an optimal experience where flavors are fully developed and textures are ideal, chilling it overnight is highly recommended. Patience is a virtue here!
While technically possible, freezing this lasagna is not generally recommended. The Cool Whip and pudding layers can sometimes alter in texture once thawed, becoming slightly watery or less creamy. If you must freeze it, do so without the final Cool Whip and peanut butter drizzle. Wrap individual slices tightly in plastic wrap, then foil, and store in an airtight container for up to 1 month. Thaw in the refrigerator overnight before adding fresh Cool Whip and toppings.
A standard 13×9 inch (33×23 cm) baking dish is perfect for this recipe. It allows for beautiful, distinct layers and yields a generous number of servings, making it ideal for gatherings.
Achieving perfectly neat slices of your no-bake lasagna is easy with a simple trick: use a sharp knife and clean it with hot water and a paper towel between each slice. This prevents the layers from sticking and smudging, ensuring every piece looks as good as it tastes. Also, make sure the lasagna is thoroughly chilled – this is key to firm layers that won’t shift.
Perfect Serving Suggestions for Your No-Bake Lasagna
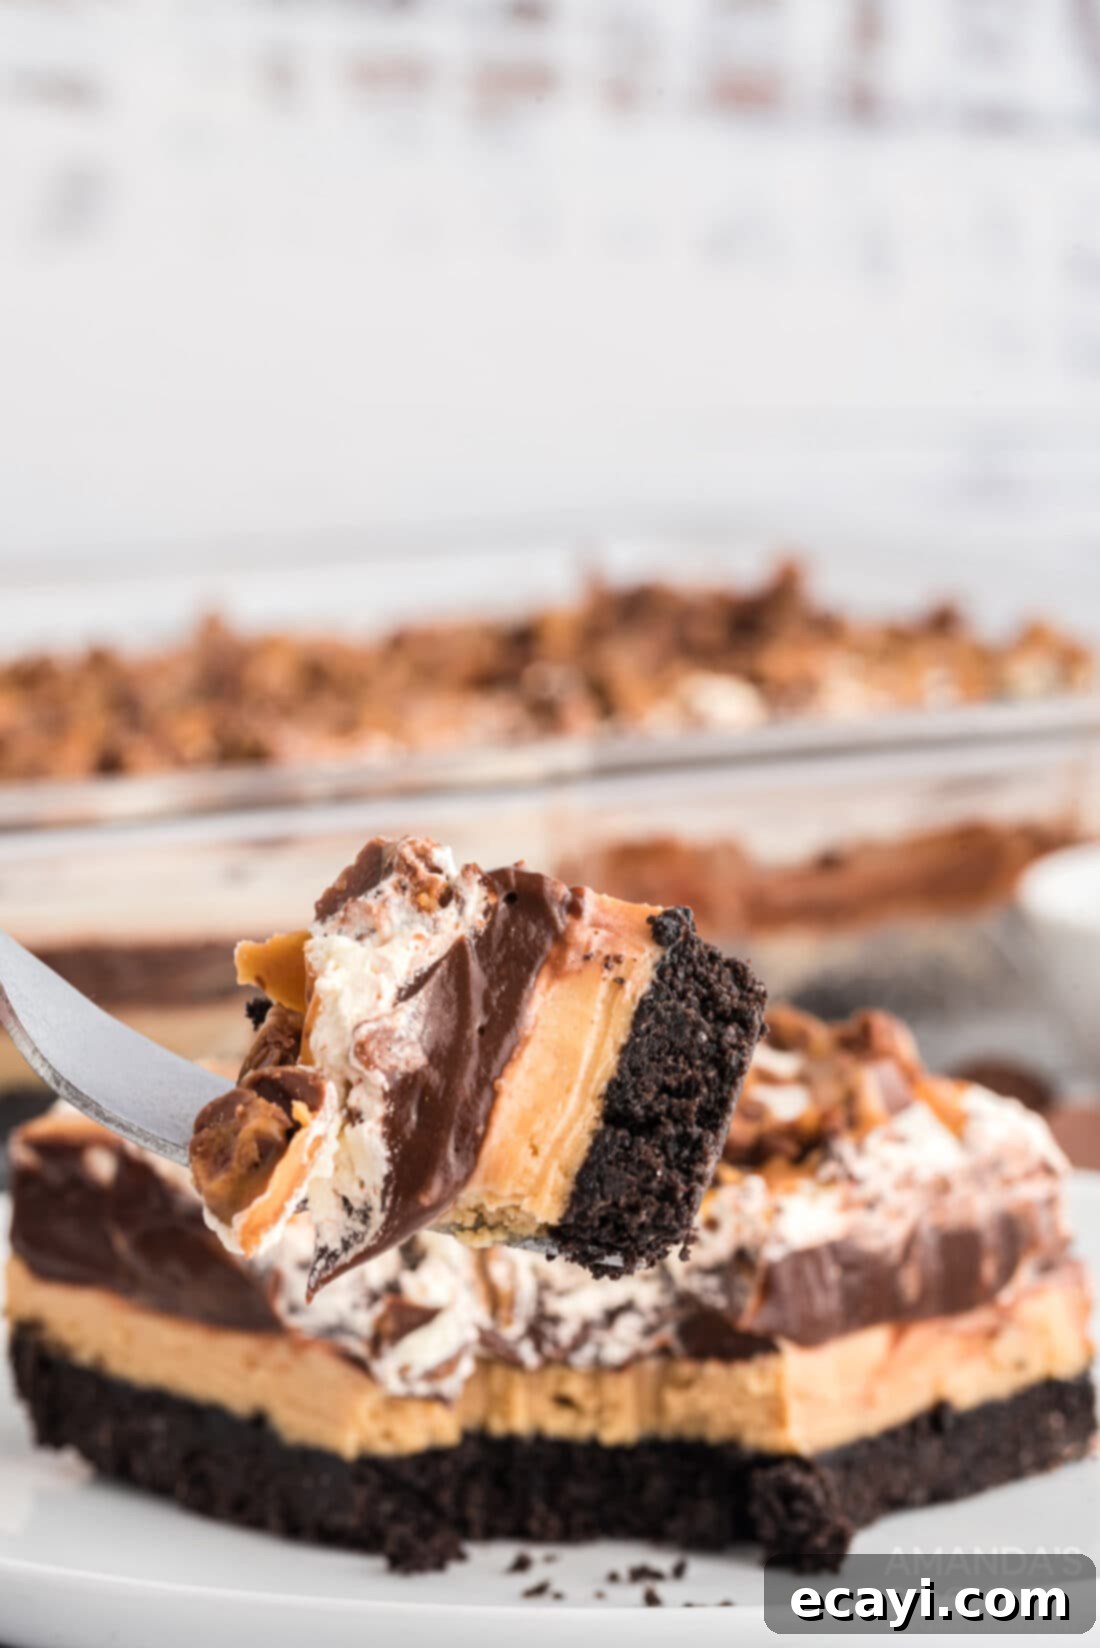
One of the many charms of this exquisite no-bake chocolate peanut butter lasagna is its perfectly balanced flavor. The peanut butter, while prominent, is never overpowering, artfully blended to deliver its signature taste without the sticky, heavy texture typically associated with it. Instead, you get the pure, rich essence of peanut butter harmoniously combined with the smooth cream cheese and luxurious chocolate, resulting in a perfectly balanced and incredibly delightful no-bake treat. This thoughtful construction means it’s surprisingly light and enjoyable, even after a heartier meal.
This dessert is a true crowd-pleaser and shines in a variety of settings. Serve it chilled at potlucks, family gatherings, casual BBQs, festive birthday celebrations, retirement parties, or during lively game nights. Its ease of preparation and universal appeal make it suitable for virtually any occasion where a delicious, fuss-free dessert is desired. For an extra touch of elegance, you can serve slices with a side of fresh berries or a light dusting of cocoa powder. Pair it with a cup of coffee, a glass of cold milk, or even a scoop of vanilla ice cream for an added indulgence. No matter how you present it, this chocolate peanut butter lasagna is guaranteed to be a hit!
More Irresistible Chocolate Peanut Butter Recipes
If you’re as enamored with the classic combination of chocolate and peanut butter as we are, you’re in for a treat! This dynamic duo forms the heart of many beloved desserts. For more ways to enjoy this perfect pairing, explore these other fantastic recipes:
- Homemade Peanut Butter Cups
- Easy No-Bake Peanut Butter Bars
- Decadent Chocolate Peanut Butter Balls
- Chewy Chocolate Peanut Butter Cookies
- Moist Chocolate Peanut Butter Cupcakes
- Rich Fudge Brownies with Peanut Butter Frosting
I pour my heart into creating and sharing delicious recipes and kitchen experiences with all of you! To make sure you never miss out on a new culinary adventure, I offer a convenient newsletter delivered right to your inbox every time a new recipe is posted. Simply subscribe here and start receiving your free daily recipes to inspire your next meal or dessert!
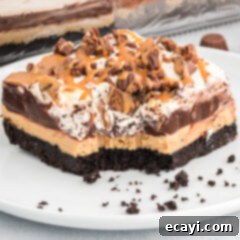
Chocolate Peanut Butter Lasagna
IMPORTANT – There are often Frequently Asked Questions within the blog post that you may find helpful. Simply scroll back up to read them!
Print It
Pin It
Rate It
Save ItSaved!
Ingredients
Crust
- 36 Oreos regular, not double stuffed, with the cream included
- ⅓ cup butter melted
Peanut Butter Layer
- 8 oz cream cheese softened
- 1 cup smooth peanut butter
- 1 cup powdered sugar aka confectioners sugar or icing sugar
- 8 oz Cool Whip 2 cups
Chocolate Layer
- 7.8 oz Instant Chocolate Pudding 2 boxes (4 serving size)
- 2 ¾ cup milk
Topping
- 8 oz Cool Whip 2 cups
- ⅓ cup peanut butter warmed in microwave
- 1 cup mini Reese’s cups chopped
Things You’ll Need
-
Electric mixer
-
13×9 baking dish
-
Food processor
Before You Begin
- If you are traveling with this chocolate peanut butter lasagna, be sure to keep it in the refrigerator until you are ready to leave. If possible, transport in a cooler with ice if your trip is longer than 30 minutes. When you arrive, pop it in your hostess’ refrigerator. This will ensure it stays perfectly chilled and set.
- A food processor will make creating the OREO crust significantly easier and faster, resulting in uniformly fine crumbs. However, if you don’t have a food processor, you can easily adapt! Place the OREOs in a sturdy gallon zipper plastic bag and use a rolling pin to crush them into crumbs. Then, use a wooden spoon to thoroughly mix in the melted butter until well combined.
- It’s important not to remove the cream centers from the OREO cookies; use them whole. Also, opt for regular OREOs, not Double Stuffed, as the ratio of cookie to cream is ideal for the crust. Approximately 36 cookies will yield about 3 cups of crumbs, which is the perfect amount for your 13×9 inch pan.
Instructions
-
Place the Oreos in a food processor until they are fine crumbs. Add melted butter to the Oreos in the food processor and pulse until combined. Press into bottom of 13×9 pan. Place the baking dish in the fridge for at least 10 minutes as you prep the other ingredients.
-
Use a mixer to combine the cream cheese, powdered sugar and peanut butter until smooth, about 2 minutes.
-
Fold in cool whip until fully incorporated. Set aside.
-
Whisk together instant chocolate pudding and milk until thickened.
-
Remove the baking dish from the fridge.
-
Pour the peanut butter-cream cheese mixture over the chocolate cookie crust and smooth down using an offset spatula.
-
Next, add the pudding layer and smooth out.
-
Top with Cool Whip. Sprinkle the chopped PB cups on top.
-
Warm the peanut butter in the microwave until it reaches drizzling consistency. Drizzle PB over the top. Chill until ready to serve.
Nutrition
The recipes on this blog are tested with a conventional gas oven and gas stovetop. It’s important to note that some ovens, especially as they age, can cook and bake inconsistently. Using an inexpensive oven thermometer can assure you that your oven is truly heating to the proper temperature. If you use a toaster oven or countertop oven, please keep in mind that they may not distribute heat the same as a conventional full sized oven and you may need to adjust your cooking/baking times. In the case of recipes made with a pressure cooker, air fryer, slow cooker, or other appliance, a link to the appliances we use is listed within each respective recipe. For baking recipes where measurements are given by weight, please note that results may not be the same if cups are used instead, and we can’t guarantee success with that method.
