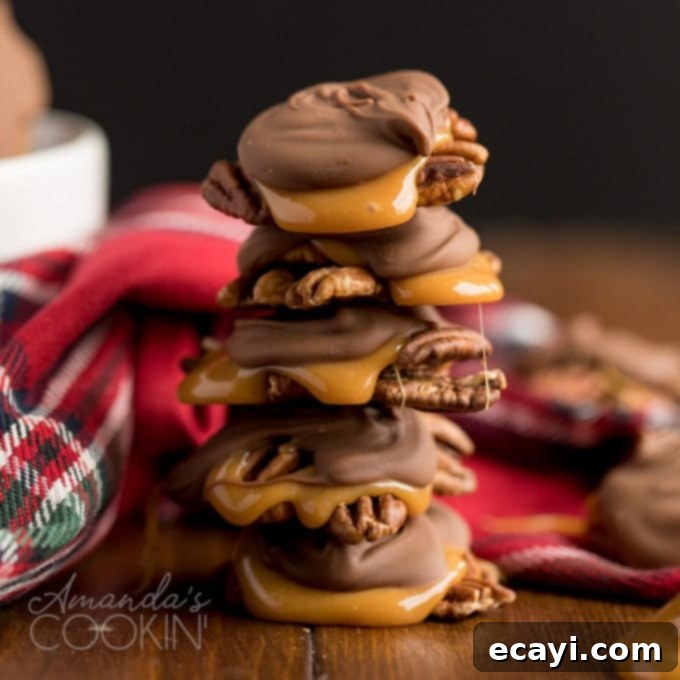
Easy Homemade Chocolate Turtles: The Ultimate Recipe for Sweet & Salty Perfection
There’s an undeniable magic in creating your own sweets, and making chocolate turtles at home is perhaps one of the most rewarding and surprisingly simple culinary adventures you can embark on. These delightful confections are not only easy and fast to prepare, ready in mere minutes, but they also boast an irresistible combination of textures and flavors that will tantalize your taste buds. Imagine the satisfying crunch of perfectly toasted pecans, followed by the soft, luxurious chewiness of rich caramel, all enrobed in a generous coating of smooth, melting chocolate. It’s a symphony of salty and sweet that makes homemade turtles an instant favorite, perfect for personal indulgence or as an elegant, thoughtful edible gift. The holiday season, in particular, becomes even more special when you share the joy of homemade candy, and these chocolate pecan clusters are sure to be a star.
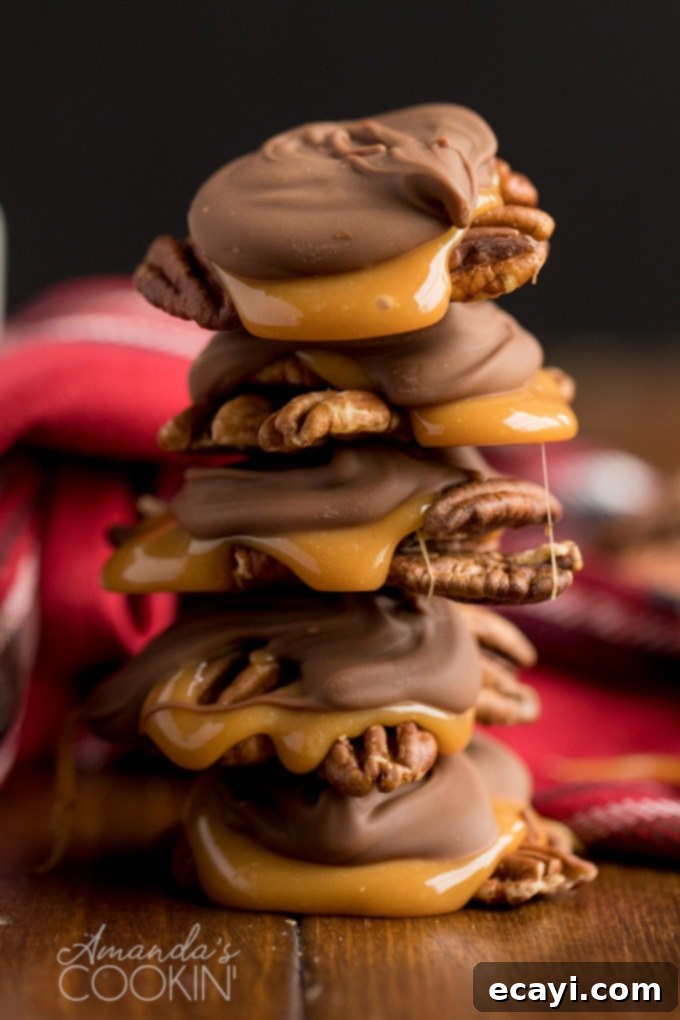
Irresistible Homemade Chocolate Turtles: A Quick & Simple Recipe
Prepare to amaze yourself and your loved ones with how effortlessly you can craft these gourmet-quality chocolate turtles right in your own kitchen. This no-bake recipe is so straightforward, you’ll likely wonder why you ever bought them from a specialty chocolate shop! With just a few basic ingredients and minimal effort, you can create a batch of these exquisite treats that rival any store-bought version. Homemade chocolate turtles are an excellent addition to festive cookie tins alongside your favorite fudge recipes and a medley of holiday cookies, making your holiday gift baskets truly unforgettable. Their delightful balance of nutty, sweet, and rich flavors makes them a standout confection for any occasion.
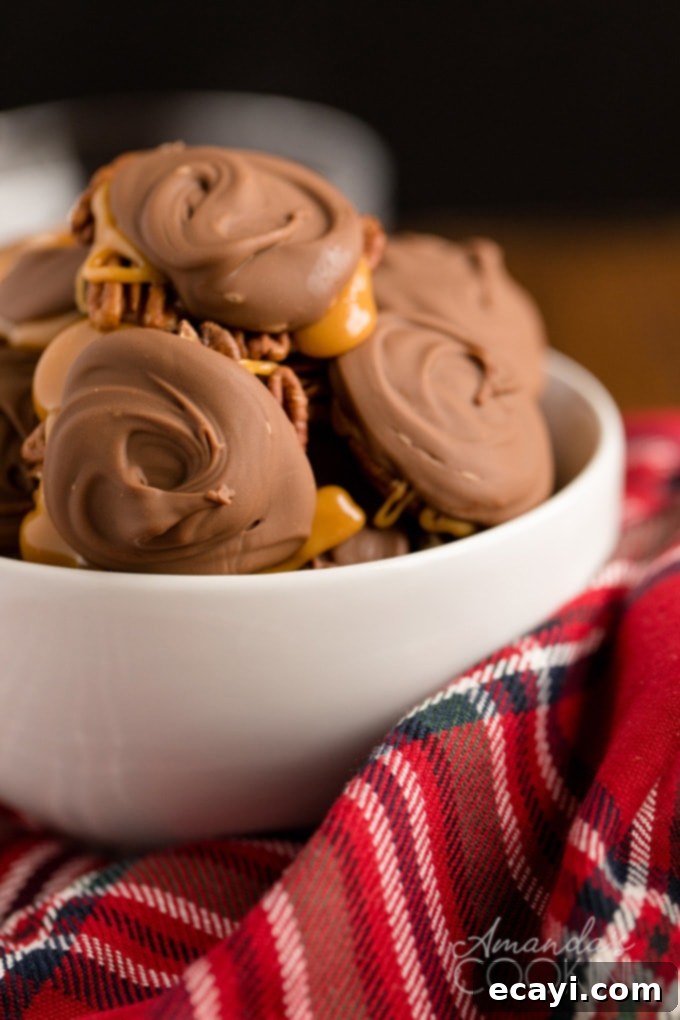
Essential Ingredients for Your Perfect Chocolate Turtles
The magic of these chocolate turtles lies in the harmonious blend of their simple yet incredibly flavorful components. This classic treat brings together the wholesome nuttiness of pecans, the delightful sweetness and chew of caramel, and the luxurious depth of chocolate. What’s even better? You only need four ingredients, and there’s absolutely no baking involved, making this a perfect recipe for beginners or anyone short on time but big on craving something delicious. Each ingredient plays a crucial role in delivering that signature turtle experience: the satisfying crunch, the smooth chew, and the rich, balanced flavor.
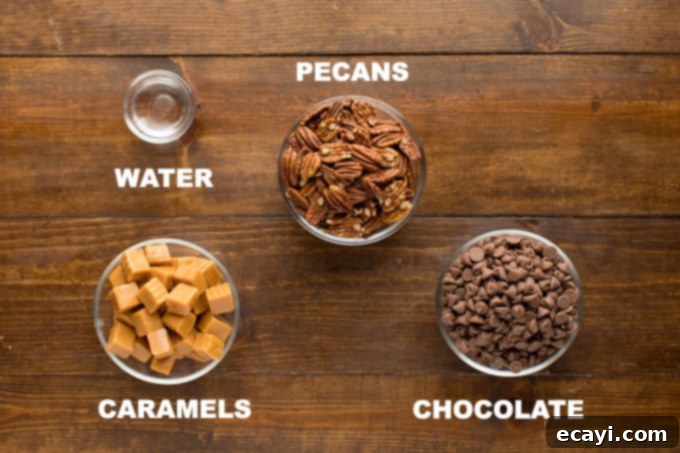
- 8 ounces pecans, toasted: Pecans are the foundation of a good turtle. Toasting them is a vital step that enhances their natural flavor, bringing out a deeper, nuttier aroma and a more satisfying crunch. This makes a huge difference compared to using raw pecans.
- 12 ounces caramels, unwrapped: Pre-packaged soft caramels are a fantastic shortcut here, saving you a lot of time and effort compared to making caramel from scratch. They provide that signature gooey, chewy texture that perfectly binds the pecans and chocolate.
- 1 tablespoon water: Just a small amount of water helps to melt the caramels into a smooth, pliable consistency, making them easy to spoon over the pecan clusters. Don’t skip this, as it prevents the caramel from becoming too stiff or grainy.
- 12 ounces semisweet chocolate: Semisweet chocolate offers a balanced sweetness that complements the rich caramel and pecans without being overly sugary. It melts beautifully and provides a glossy, firm shell for your turtles.
Helpful Tools for No-Fuss Candy Making
While this recipe is incredibly simple and doesn’t require any fancy equipment, having a few basic kitchen tools on hand will make the process even smoother and more enjoyable. These are common items you likely already own, but ensuring they are ready will streamline your chocolate turtle creation process:
- Baking sheet: A sturdy baking sheet provides a flat surface for arranging your pecan clusters and finished turtles. It’s essential for both the pecan toasting step and the final assembly.
- Parchment paper or a silicone baking mat: Lining your baking sheet is crucial. It prevents the caramel and chocolate from sticking, making it incredibly easy to remove your finished turtles without any mess or breakage. A silicone mat is reusable and offers a perfectly non-stick surface.
- Glass bowls: You’ll need at least two microwave-safe bowls for melting the caramel and the chocolate separately. Glass bowls are ideal because they heat evenly in the microwave and are easy to clean.
- Spoon: A durable spoon is needed for stirring the melted caramel and chocolate, and for carefully spooning them over the pecan clusters. A sturdy metal or silicone spoon works best.
Expert Kitchen Tips for Perfect Chocolate Turtles
Achieving perfect chocolate turtles is simple, especially with a few insider tips to guide you. These suggestions will help you customize your turtles and troubleshoot common issues, ensuring a delicious outcome every time:
- Chocolate Variety: While semisweet chocolate is a classic choice, feel free to experiment with your favorite type of chocolate. Dark chocolate will offer a more intense, less sweet flavor, milk chocolate will be creamier and sweeter, and even white chocolate can create a unique profile. For a quicker set and easier handling, you can also opt for candy melts, Candi-Quik, or almond bark. These are designed to melt smoothly and harden quickly, making them excellent for candy making.
- Thinning Chocolate: If your melted chocolate seems a bit too thick for easy drizzling or coating, don’t fret! You can easily thin it out by stirring in a small amount (just a drop or two at a time) of coconut oil or vegetable oil. Be cautious not to add too much, as this can affect the chocolate’s setting texture and flavor. Stir well until you achieve the desired consistency.
- Caramel Convenience: While making homemade caramel can be a fun project, it adds a significant amount of time and complexity to this recipe. For speed and ease, using pre-packaged, individually wrapped caramels is highly recommended. They melt down perfectly and consistently, ensuring your turtles have that wonderfully soft, chewy center without the extra fuss.
- The Power of Toasting Pecans: This step is often overlooked but is absolutely essential for bringing out the best flavor in your pecans. Toasting intensifies their natural oils, giving them a rich, nutty depth and a crisper texture that elevates the entire candy. You can achieve this in the oven or on the stovetop, with detailed instructions provided below. Don’t skip this crucial step for maximum flavor! You can also lightly salt the pecans before or after toasting for an added dimension of flavor, creating that irresistible salty-sweet contrast.
- Cooling and Setting: Patience is key when allowing your caramel and chocolate to set. Rushing this step can lead to messy, unformed turtles. If you’re in a hurry, you can place the baking sheet in the refrigerator for 10-15 minutes after each step (caramel and chocolate) to speed up the setting process. However, letting them set at room temperature often yields a better texture.
- Add-ins and Toppings: Get creative! Before the chocolate fully sets, sprinkle your turtles with a pinch of flaky sea salt for an extra gourmet touch, or add some festive sprinkles for holiday cheer. You could also drizzle them with white chocolate or a contrasting color of candy melt for visual appeal.
Optimal Storage for Your Homemade Chocolate Turtles
Proper storage is key to maintaining the freshness and deliciousness of your homemade chocolate turtles. Fortunately, these treats are quite versatile and can be stored at room temperature or even frozen for longer enjoyment, ensuring they remain a delightful indulgence whenever a craving strikes.
- Room Temperature Storage: For immediate enjoyment or gifting within a few weeks, store your chocolate turtles in an airtight container at room temperature. Placed in a cool, dry pantry or countertop, they will maintain their quality for up to 2-3 weeks. If your home tends to be on the warmer side (above 70°F or 21°C), the chocolate might become slightly soft, and the caramel could get stickier. In such cases, it’s best to store them in the refrigerator. Just remember to bring them to room temperature for about 15-20 minutes before serving to allow the flavors and textures to fully develop.
- Refrigeration: If you live in a warm climate, or simply prefer a firmer turtle, refrigeration is a great option. Store them in an airtight container, preferably with layers separated by parchment or waxed paper to prevent sticking. They will last for several weeks in the fridge.
- Freezer Storage: Chocolate turtles freeze exceptionally well, making them an excellent make-ahead treat for future gatherings or unexpected cravings. To freeze, arrange the fully set turtles in a single layer on a baking sheet and place them in the freezer for about an hour until firm. Once firm, transfer them to an airtight freezer-safe container, layering them between sheets of parchment or waxed paper to prevent them from sticking together. Frozen chocolate turtles can be stored for up to 3 months. When you’re ready to enjoy them, simply take them out of the freezer and let them thaw at room temperature for about 30 minutes to an hour until they reach your desired texture.
Step-by-Step Guide: Crafting Your Own Chocolate Turtles
Let’s dive into the fun part: making these incredible chocolate turtles! The process is divided into two main stages: preparing the pecans and then assembling the caramel and chocolate layers. Follow these steps carefully for the best results.
1. Toasting the Pecans: Enhancing Flavor and Crunch
Toasting pecans is a non-negotiable step that vastly improves the flavor and texture of your turtles. It brings out their natural oils, making them fragrant and deliciously crunchy. You can choose between two easy methods:
Oven Method:
- Preheat your oven to 350 degrees F (175 degrees C). Line a rimmed baking sheet with parchment paper or a silicone baking mat to prevent sticking and make cleanup a breeze.
- Spread the pecans evenly in a single layer on the prepared baking sheet. It’s important not to overcrowd the pan, as this can lead to uneven toasting.
- Toast the pecans in the preheated oven until they become fragrant and are lightly browned, which typically takes about 7 to 10 minutes. Keep a close eye on them, stirring halfway through, as nuts can burn quickly. Once they smell delightfully nutty and have a golden hue, they’re ready. Remove them from the oven and let them cool completely.
Stovetop Method:
- Place a dry skillet (without any oil) over medium heat. Once the skillet is warm, add the pecans in a single layer.
- Toast the pecans, stirring or tossing them occasionally, until they are fragrant and lightly browned. This method is faster than the oven, usually taking only about 2 to 5 minutes. Again, constant vigilance is key to prevent burning. Remove them from the skillet immediately once toasted and let them cool.
2. Assembling Your Delicious Chocolate Turtles
Once your pecans are perfectly toasted and cooled, it’s time to bring all the components together to create your delectable chocolate turtles.
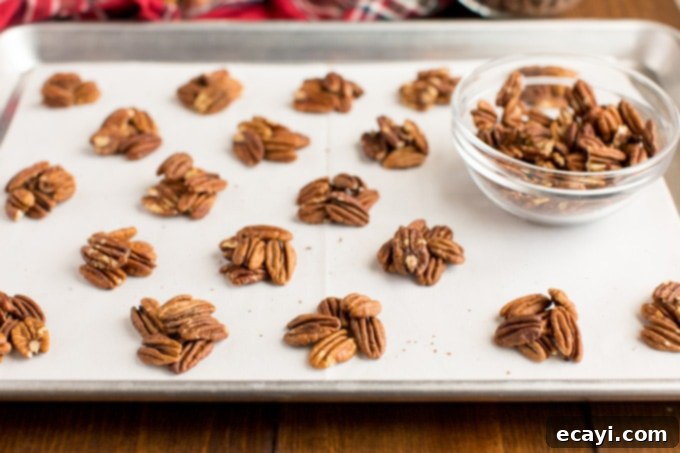
- On a fresh sheet of parchment paper or a silicone baking mat, arrange the cooled toasted pecans into 18 small, individual mounds. Each mound should consist of about 4-5 pecans, clustered closely together to form the “body” of your turtle. Ensure they are spaced adequately apart, allowing room for the caramel and chocolate.
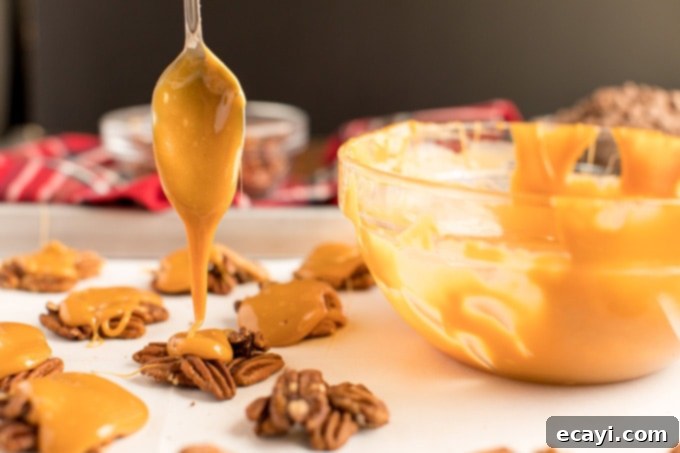
- In a microwave-safe bowl, combine the unwrapped caramels and the 1 tablespoon of water. Microwave the mixture in 30-second intervals, stirring thoroughly after each interval, until the caramels are completely melted and smooth. The water helps create a softer, more pliable caramel, ideal for spooning. Be careful not to overheat the caramel, as it can become stiff.
- Using a spoon, carefully dollop about 2 teaspoons of the warm, melted caramel over the center of each pecan mound. Try to cover the pecans as much as possible, letting the caramel seep between them to bind them together. Once the caramel is applied, allow it to set for 2-3 minutes; this brief setting time prevents the caramel from blending too much with the hot chocolate when applied next.
- Place the semisweet chocolate (chips or chopped bars) in another clean, microwave-safe bowl. Melt the chocolate in the microwave in 30-second intervals. To prevent scorching and achieve the smoothest melt, I highly recommend melting the chocolate at 70% power. Stir the chocolate well after each interval. Continue microwaving and stirring until the chocolate is fully melted and beautifully smooth, with no lumps remaining.
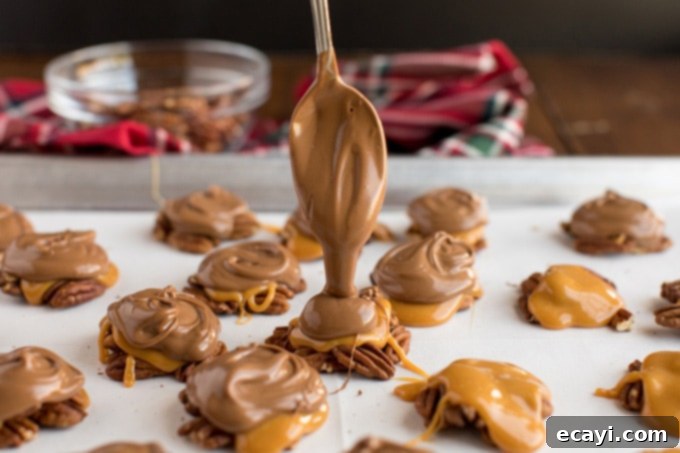
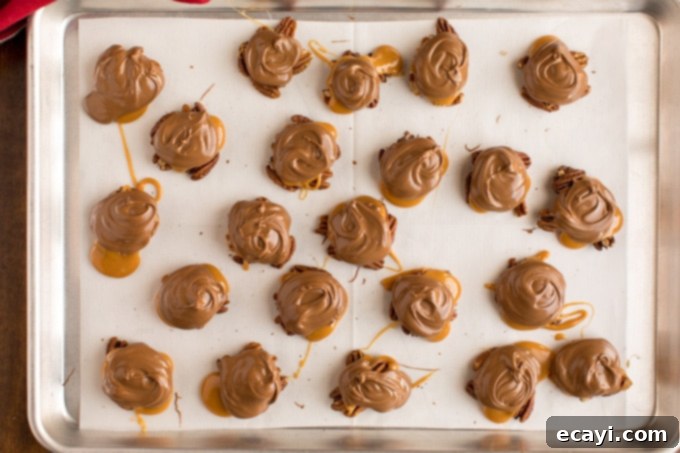
- Now for the grand finale! Spoon approximately 2 teaspoons of the melted chocolate over each caramel-pecan cluster, ensuring the caramel is mostly covered. You can gently spread the chocolate with the back of the spoon to achieve an even coating. Once all clusters are topped, allow the chocolate to set completely at room temperature or in the refrigerator. This can take anywhere from 30 minutes to a few hours, depending on your room temperature and the type of chocolate used. Once fully set, they are ready to enjoy or package!
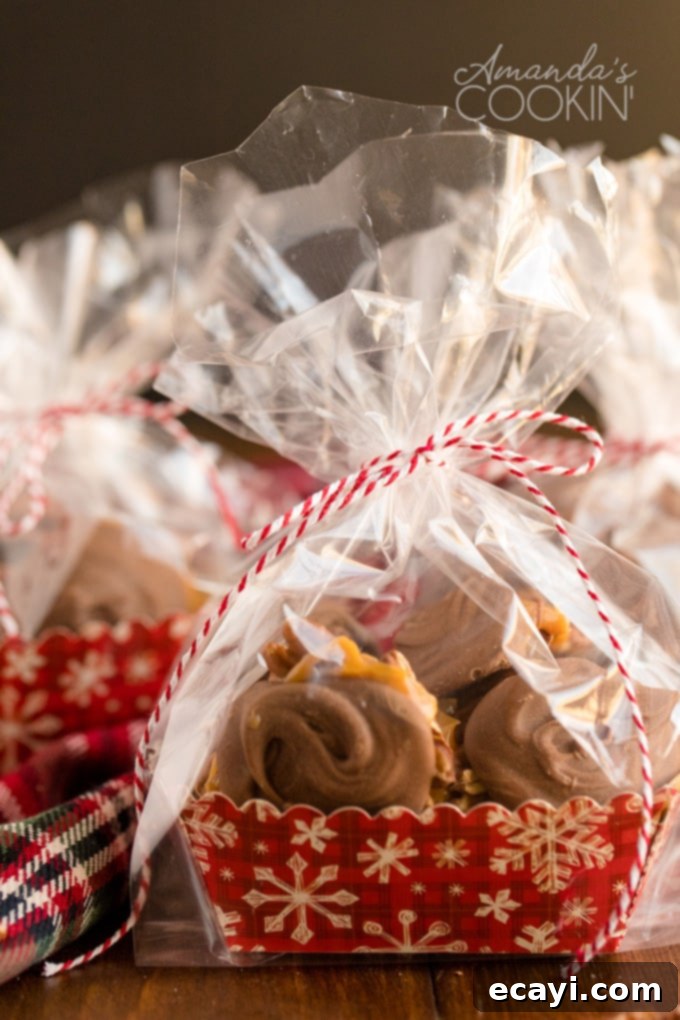
Making treats for the holidays, or any day, brings such joy, and these chocolate turtles perfectly encapsulate all my favorite things: they’re crunchy, chewy, salty, and sweet, all rolled into one utterly delicious package! This delightful homemade candy also makes an impressive and much-appreciated hostess gift, a thoughtful present for teachers, or a wonderful addition to any festive spread. Their elegant appearance belies their simple creation, making them a secret weapon for any home baker.
Discover More Irresistible Candy Recipes
If you’ve enjoyed crafting these homemade chocolate turtles, you’ll love exploring other easy and delicious candy recipes. Expand your repertoire of sweet treats with these additional favorites:
- Saltine Toffee: A delightfully addictive treat with a crunchy, buttery, and chocolatey crust.
- Candied Pecans: Sweet, crispy pecans perfect for snacking or as a topping.
- Homemade Peanut Brittle: Classic crunchy brittle packed with peanuts.
- Candy Cane Pretzel Sticks: A festive and easy sweet and salty snack.
- Chocolate Walnut Fudge: Rich, creamy fudge studded with crunchy walnuts.
- Microwave Caramels: Quick and easy homemade caramels, perfect for beginners.
- Chocolate Truffles: Decadent, melt-in-your-mouth chocolate delights.

Chocolate Turtles
IMPORTANT – There are often Frequently Asked Questions and detailed tips within the blog post that you may find helpful. Simply scroll back up to read them!
Print It
Rate It
Save ItSaved!
Ingredients
- 8 ounces pecans toasted, for enhanced flavor
- 12 ounces caramels unwrapped (approx. 36 individual caramels)
- 1 tablespoon water to help melt the caramel smoothly
- 12 ounces semisweet chocolate chips or chopped bar, for coating
Things You’ll Need
-
Baking sheets
-
Silicone baking mat (or parchment paper)
-
Glass bowls (microwave-safe)
-
Spoon (for stirring and spooning)
Before You Begin
- Chocolate Choice: Instead of semi-sweet, you can use your favorite type of chocolate! Dark chocolate for a richer flavor, milk chocolate for extra creaminess, or even white chocolate for a different look. Candy melts, Candi-Quik, or almond bark are also great options for easy melting and setting.
- Thinning Chocolate: If your melted chocolate becomes too thick to work with, stir in a drop or two of coconut oil or vegetable oil until it reaches the desired smooth consistency.
- Caramel Shortcut: While making homemade caramel is wonderful, using pre-packaged wrapped caramels significantly reduces the preparation time for this recipe without sacrificing flavor or texture.
- Toasting Pecans: This step is crucial for enhancing the nutty flavor of the pecans. You can toast them in the oven or on the stovetop; detailed instructions for both methods are provided in the printable recipe instructions below. Consider a light sprinkle of sea salt on the pecans before toasting for an added salty-sweet dimension.
How to Store Chocolate Turtles
These homemade chocolate turtles can be stored at room temperature or in the freezer, offering flexibility for your enjoyment or gifting plans.
- Room Temperature: Store your turtles in an airtight container at room temperature for up to 2-3 weeks. For warmer climates, or if your home is usually above 70°F, refrigerate them instead to prevent melting. Always bring them to room temperature for about 15-20 minutes before serving to ensure optimal flavor and texture.
- Freezing: To freeze, layer the cooled and set turtles between sheets of parchment or waxed paper in an airtight freezer-safe container. They can be frozen for up to 3 months. Thaw at room temperature before serving.
Instructions
-
First, toast the pecans. You can toss the pecans lightly in oil before toasting if you prefer, and a sprinkle of salt adds a wonderful savory note!
Oven method for toasting pecans:
-
Preheat your oven to 350 degrees F (175°C). Line a rimmed baking sheet with parchment paper or a silicone baking mat for easy cleanup.
-
Spread the pecans evenly on the prepared baking sheet. Toast in the oven until they are fragrant and lightly browned, typically about 7 to 10 minutes. Stir them once halfway through to ensure even toasting, and watch carefully to prevent burning.
Stovetop method for toasting pecans:
-
In a dry skillet over medium heat, toast the pecans until they are fragrant. This usually takes about 2 to 5 minutes, tossing or stirring occasionally to prevent uneven cooking. Remove them from the pan as soon as they are lightly browned.
Making the chocolate turtles:
-
On a lined baking sheet (with parchment paper or a silicone mat), create 18 small mounds of the toasted pecans. Each mound should contain about 4-5 pecans, arranged to form a base.
-
Combine the unwrapped caramels and the 1 tablespoon of water in a microwave-safe bowl. Microwave in 30-second intervals, stirring well after each, until the caramel is completely melted and smooth. This typically takes 1.5 to 2 minutes total.
-
Spoon approximately 2 teaspoons of the melted caramel over the center of each pecan mound, allowing it to bind the pecans together. Let the caramel set for 2-3 minutes before proceeding to the chocolate topping.
-
Place the semisweet chocolate in a separate microwave-safe bowl. Melt the chocolate in 30-second intervals, stirring thoroughly after each. I recommend melting at 70% power to prevent scorching. Continue until the chocolate is smooth and fully melted.
-
Spoon about 2 teaspoons of the melted chocolate over each caramel-pecan cluster, ensuring the caramel is well covered. Allow the chocolate to set completely at room temperature or in the refrigerator before serving or storing.
Nutrition
The recipes on this blog are tested with a conventional gas oven and gas stovetop. It’s important to note that some ovens, especially as they age, can cook and bake inconsistently. Using an inexpensive oven thermometer can assure you that your oven is truly heating to the proper temperature. If you use a toaster oven or countertop oven, please keep in mind that they may not distribute heat the same as a conventional full sized oven and you may need to adjust your cooking/baking times. In the case of recipes made with a pressure cooker, air fryer, slow cooker, or other appliance, a link to the appliances we use is listed within each respective recipe. For baking recipes where measurements are given by weight, please note that results may not be the same if cups are used instead, and we can’t guarantee success with that method.
