Easy No-Bake Grasshopper Pie: A Refreshing Mint Chocolate Dream!
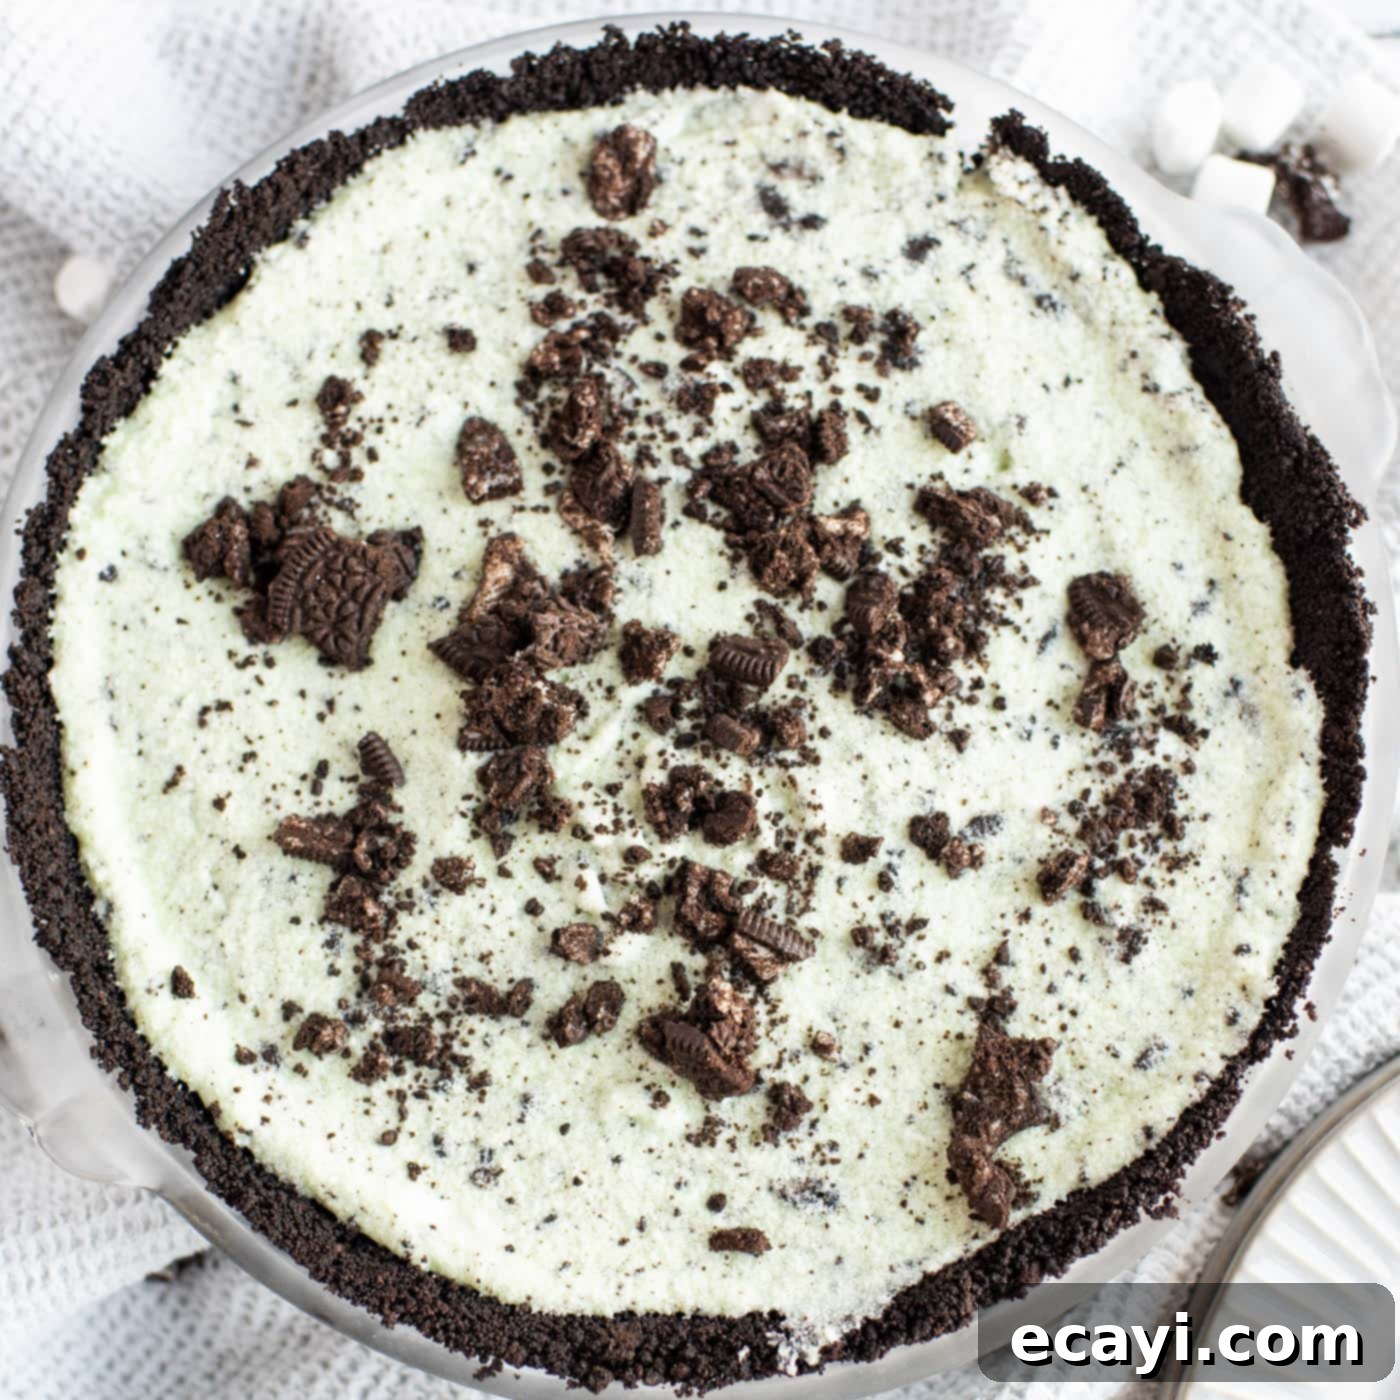
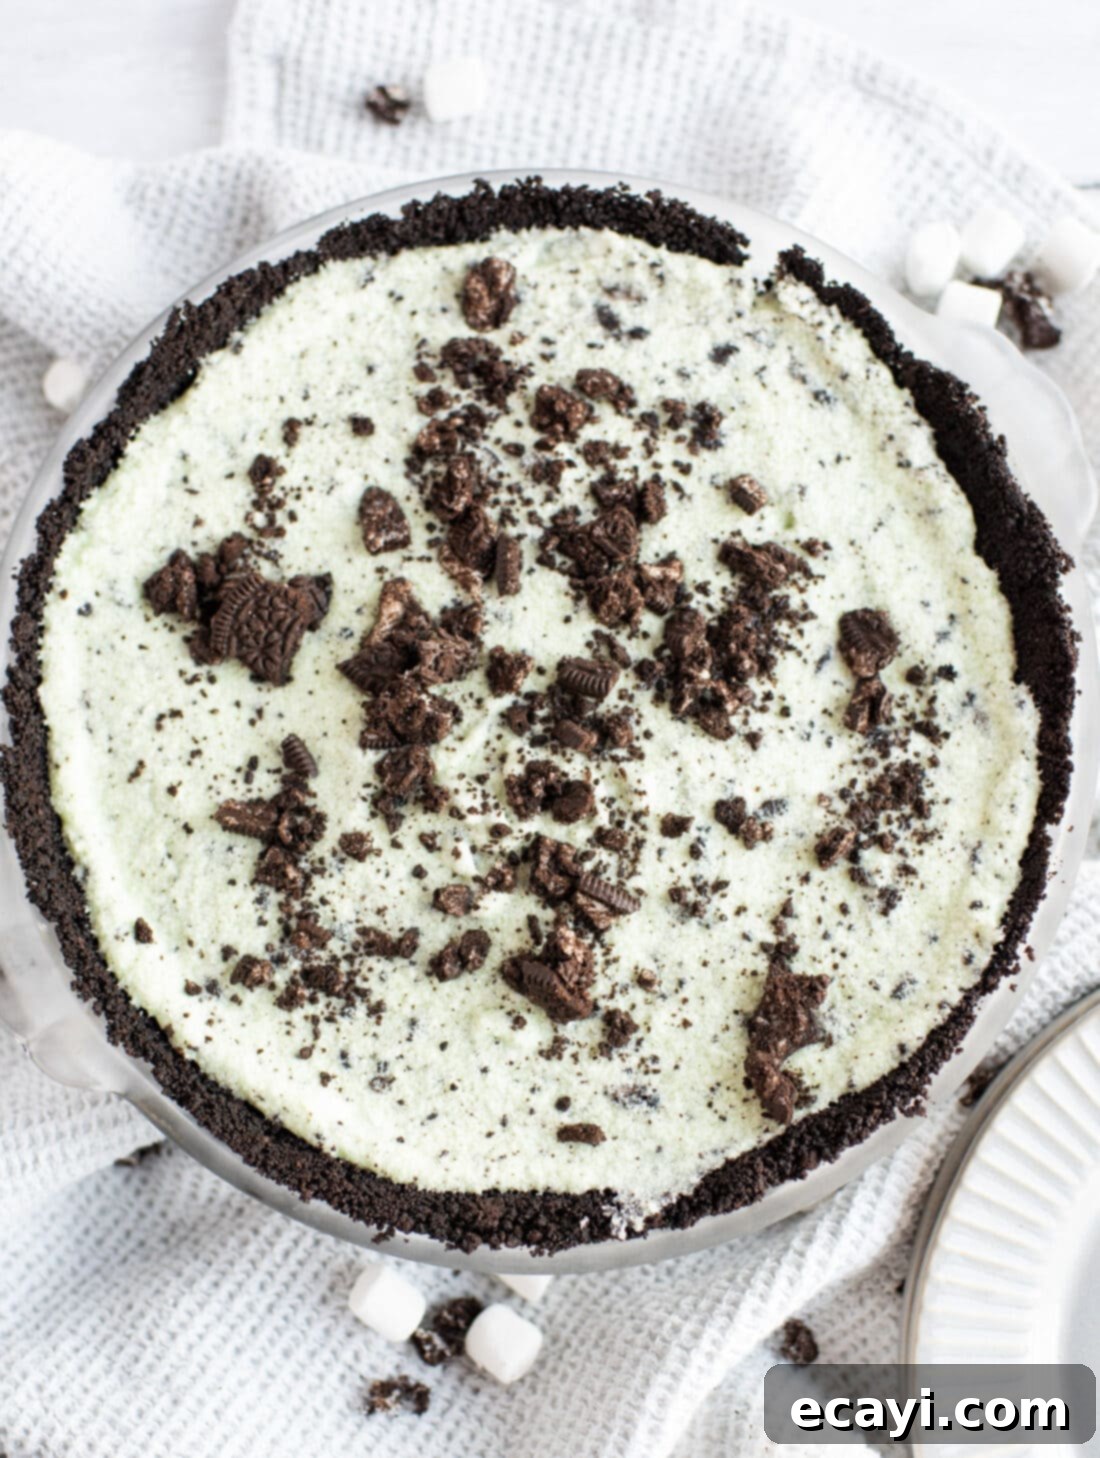
Prepare to be enchanted by this delightful, no-bake Grasshopper Pie! With its irresistible combination of sweet mint and rich chocolate, all wrapped in a lusciously creamy, light-as-air filling, this dessert promises to melt in your mouth. Our special version offers all the classic flavors without a drop of alcohol, requires no baking, and comes together with just 7 simple ingredients. It’s the perfect chilled treat for any occasion, from casual family dinners to festive holiday gatherings, and is sure to become a cherished recipe in your dessert repertoire.
Why This No-Bake Grasshopper Pie Recipe is a Must-Try
Grasshopper pie takes inspiration from the classic Grasshopper cocktail, delivering a fantastic fusion of mint and chocolate flavors. While many traditional recipes rely on crème de menthe for that signature minty kick, our family-friendly approach cleverly substitutes the alcohol with a vibrant peppermint extract and a touch of green food coloring. This ensures everyone can enjoy a slice of this heavenly dessert, making it ideal for gatherings where children or non-drinkers are present. The “no-bake” aspect is another huge win, especially during busy holidays or hot summer months when you want to avoid turning on your oven. Imagine the convenience of whipping up a show-stopping dessert without any oven time!
This recipe truly shines for its simplicity and the impressive results it delivers. With minimal effort, you get a pie that looks as festive as it tastes. The contrast between the rich chocolate crust and the airy, minty filling, studded with crunchy Oreo bits, creates a truly unforgettable experience. Whether you’re planning your holiday dessert table for Christmas, Thanksgiving, St. Patrick’s Day, or simply craving a refreshing mint chocolate treat, this Grasshopper Pie is a guaranteed crowd-pleaser that comes together quickly and easily.
Essential Ingredients for Your Grasshopper Pie
Crafting this luscious Grasshopper Pie requires only a handful of readily available ingredients, making it an incredibly accessible recipe for home bakers of all skill levels. The magic lies in the simple combination of a rich chocolate crust and a airy, mint-infused filling. You won’t need any complex or hard-to-find items, ensuring a smooth and enjoyable preparation process. For a complete list of precise measurements, ingredients, and step-by-step instructions, please refer to the printable recipe card located at the very end of this post.
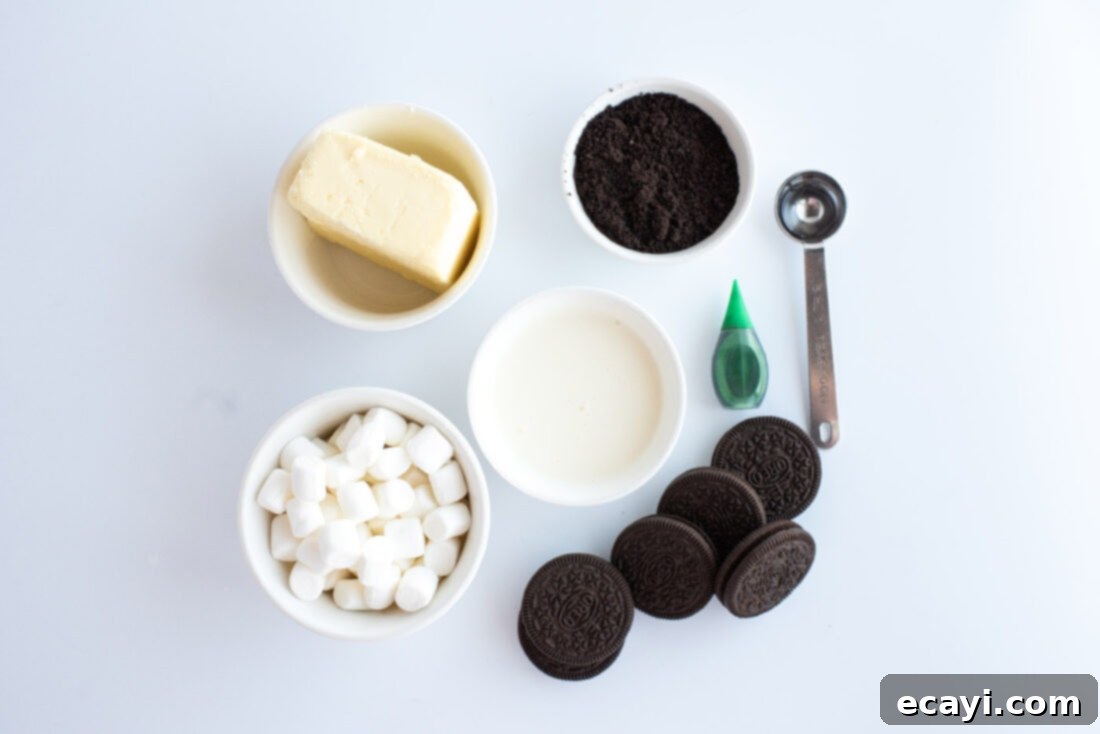
Ingredient Spotlight & Expert Substitution Tips
Let’s dive deeper into the core ingredients that bring this Grasshopper Pie to life, along with some fantastic ideas for substitutions and variations to help you customize it to your taste.
The Perfect Pie Crust
CRUST – Our chosen crust is a simple yet decadent mix of crushed chocolate graham crackers and melted butter. Graham cracker crusts are a tried-and-true foundation for many no-bake desserts due to their ease of preparation and delightful crunch. They provide a fantastic textural contrast to the creamy filling. To create the crumbs, you can either purchase pre-crushed graham cracker crumbs or easily make your own by pulsing whole chocolate graham crackers in a food processor until fine. If you don’t have a food processor, a large zip-top bag and a rolling pin work just as well!
While chocolate graham crackers are excellent, don’t hesitate to personalize your pie. A popular alternative, and one we adore in our mint chocolate lasagna, is an Oreo cookie crust. Simply crush about 25-30 regular Oreos (filling included) and mix them with melted butter to form a similar base. For a different twist, you could even try a regular vanilla graham cracker crust or a chocolate wafer cookie crust. The key is to have a sturdy, flavorful base that complements the minty filling.
The Dreamy Mint Chocolate Filling
FILLING – The star of this pie is its incredibly smooth, minty, and subtly sweet filling, crafted from marshmallows, heavy cream, peppermint extract, green food coloring, and a scattering of crushed Oreos. The marshmallows are crucial not only for sweetness but also for helping the pie set into a firm yet yielding texture once chilled. They provide a wonderfully light and fluffy consistency that makes each bite heavenly.
- Marshmallows: Mini marshmallows melt more easily and evenly, but large marshmallows can also be used; just ensure they are fully melted.
- Heavy Cream: This provides the rich, creamy base. When whipped, it introduces air, giving the pie its characteristic lightness. Ensure your heavy cream is very cold before whipping to achieve stiff peaks.
- Peppermint Extract: This is where the signature mint flavor comes from. Peppermint extract offers a stronger, crisper mint taste compared to spearmint or regular mint extract, which can sometimes taste more like chewing gum. Start with the recommended amount and adjust to your preference – a little goes a long way!
- Green Food Coloring: While entirely optional, a few drops of green food coloring give this pie its iconic, vibrant hue, making it visually appealing and clearly signaling its minty flavor. Gel food coloring provides a more intense color with less liquid, but liquid drops work perfectly too.
- Crushed Oreos: We use regular Oreos for a classic chocolate cookie crunch, but for an extra punch of mint, consider using mint-flavored Oreos. These add another layer of flavor and texture that perfectly complements the filling. Make sure to reserve some for sprinkling on top as a garnish!
Step-by-Step: How to Craft Your Own Grasshopper Pie
These step-by-step photos and detailed instructions are here to guide you through the process, helping you visualize each stage of making this delicious pie. For the complete printable recipe, including exact measurements and a convenient list of all ingredients and instructions, simply Jump to Recipe at the bottom of this post.
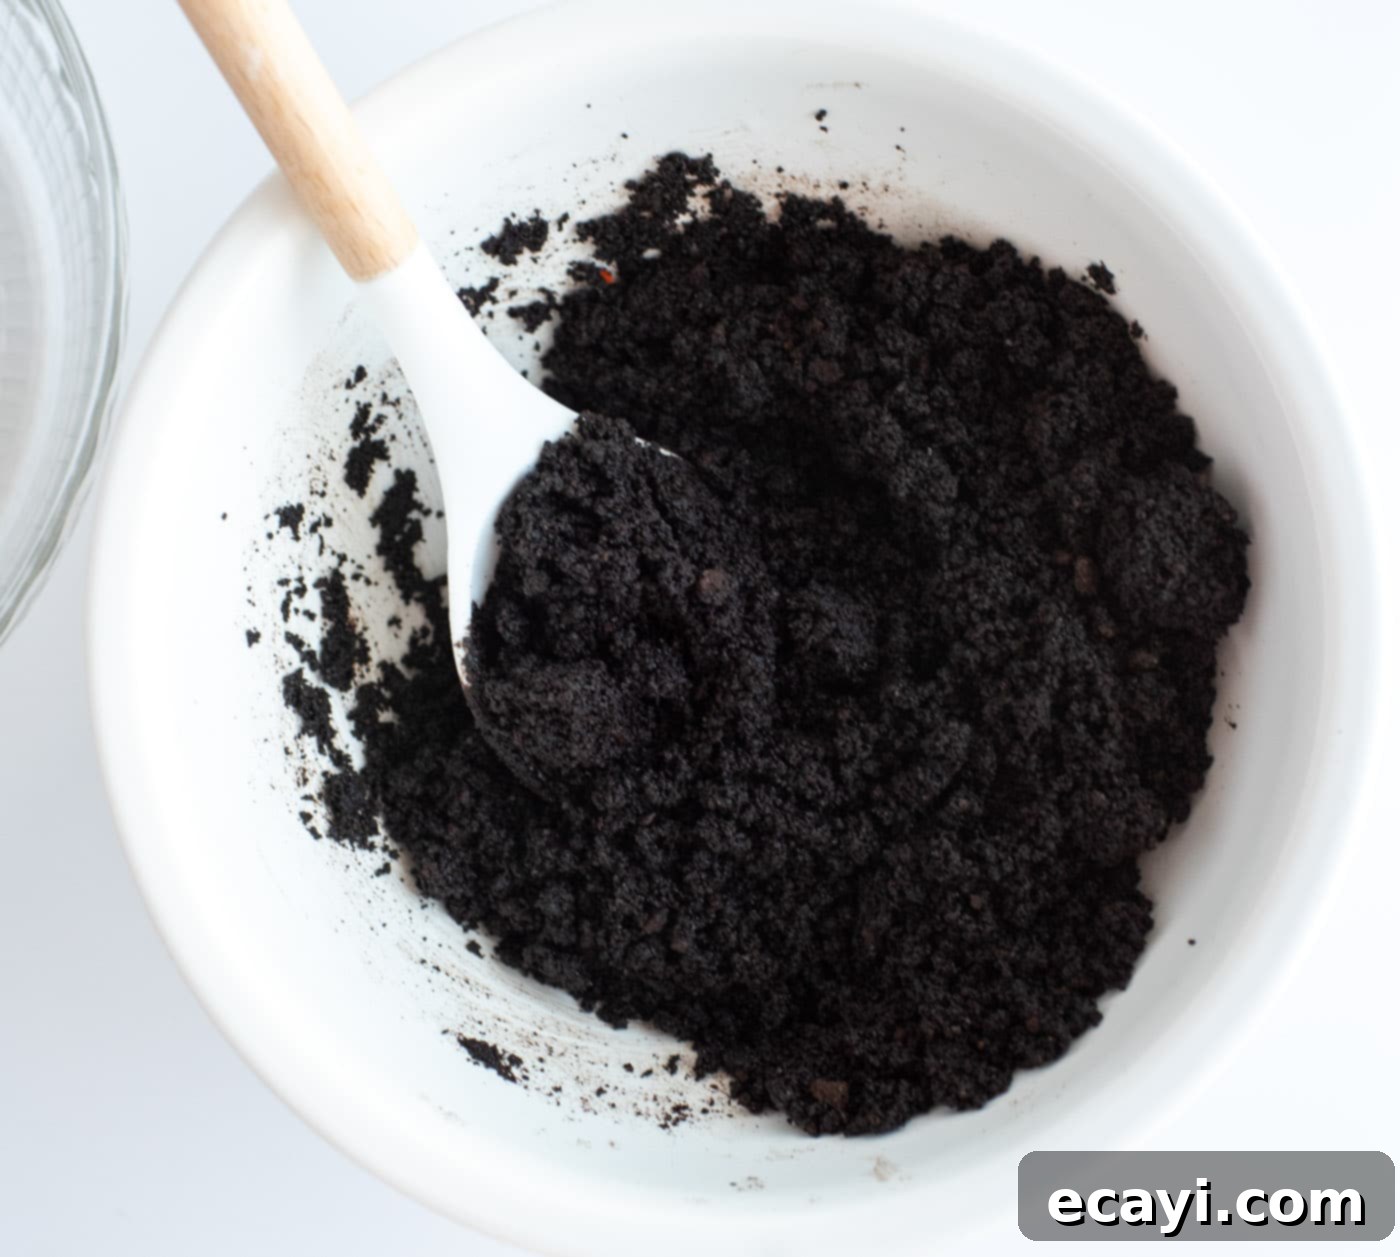
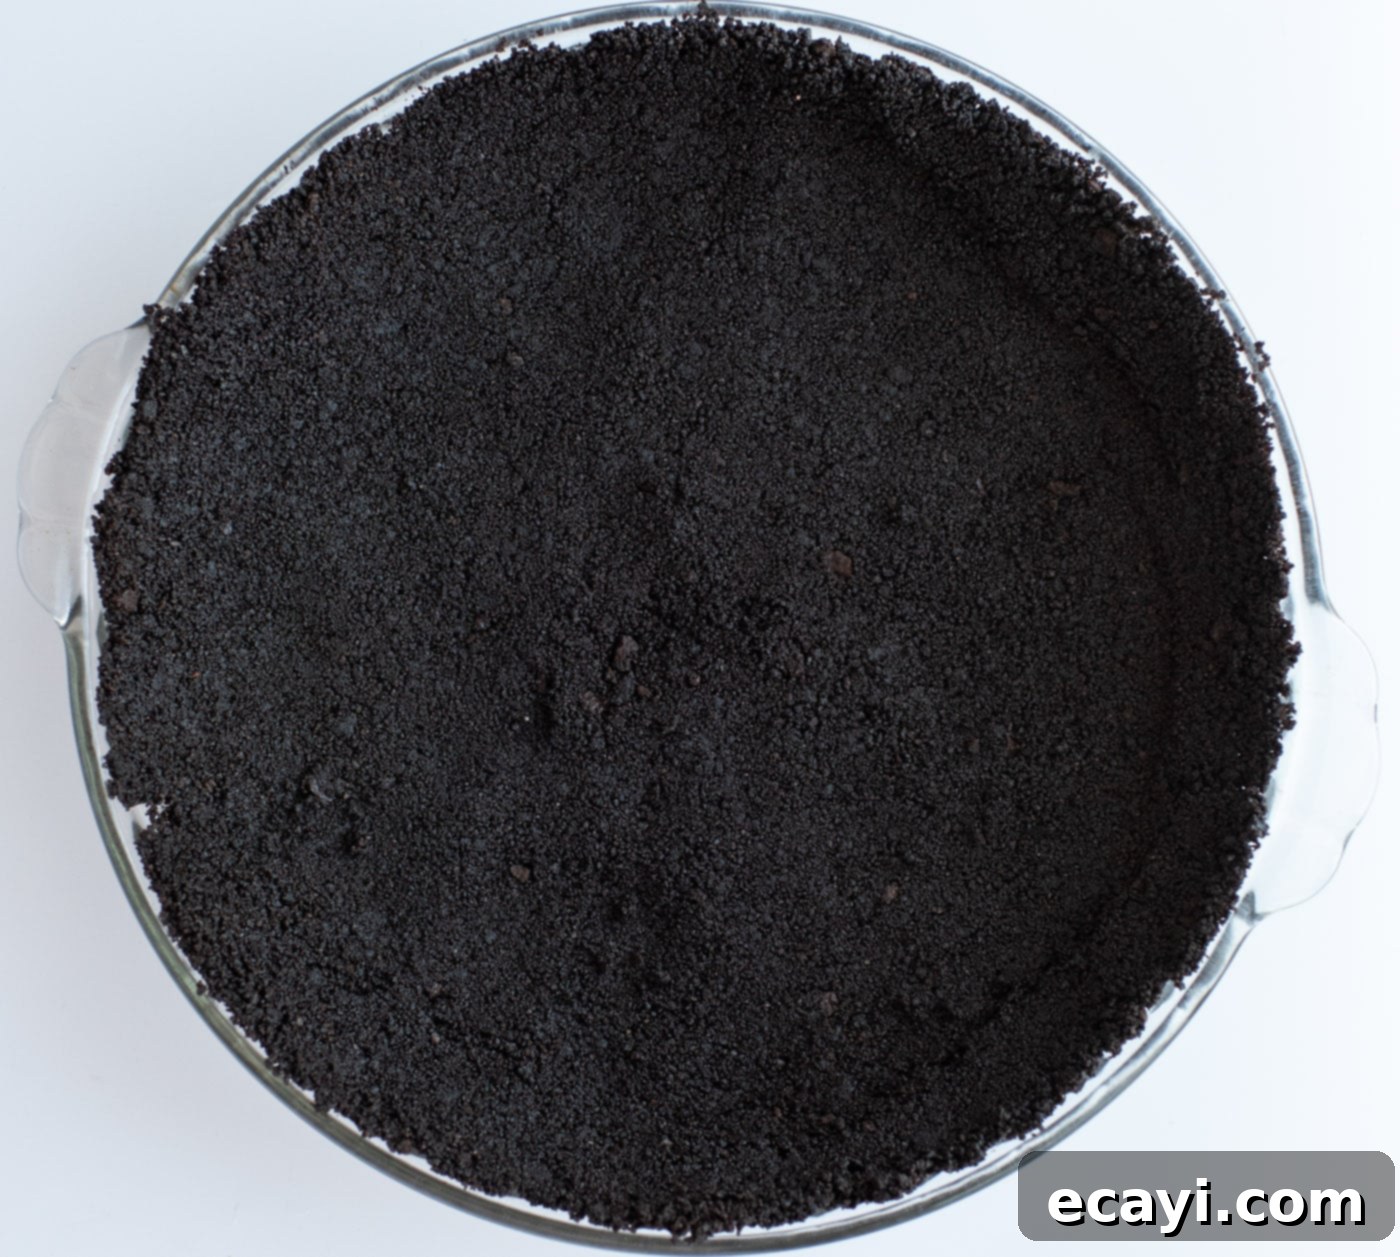
- Prepare the Chocolate Graham Cracker Crust: In a medium bowl, combine the melted butter with the chocolate graham cracker crumbs. Mix thoroughly until the crumbs are evenly moistened. Press this mixture firmly and evenly into the bottom and up the sides of an 8 or 9-inch pie plate. A flat-bottomed measuring cup or the back of a spoon can help you get a compact and smooth crust. Place the prepared crust into the freezer for at least 15-20 minutes while you prepare the filling. This helps it firm up and prevents it from crumbling when you add the filling.


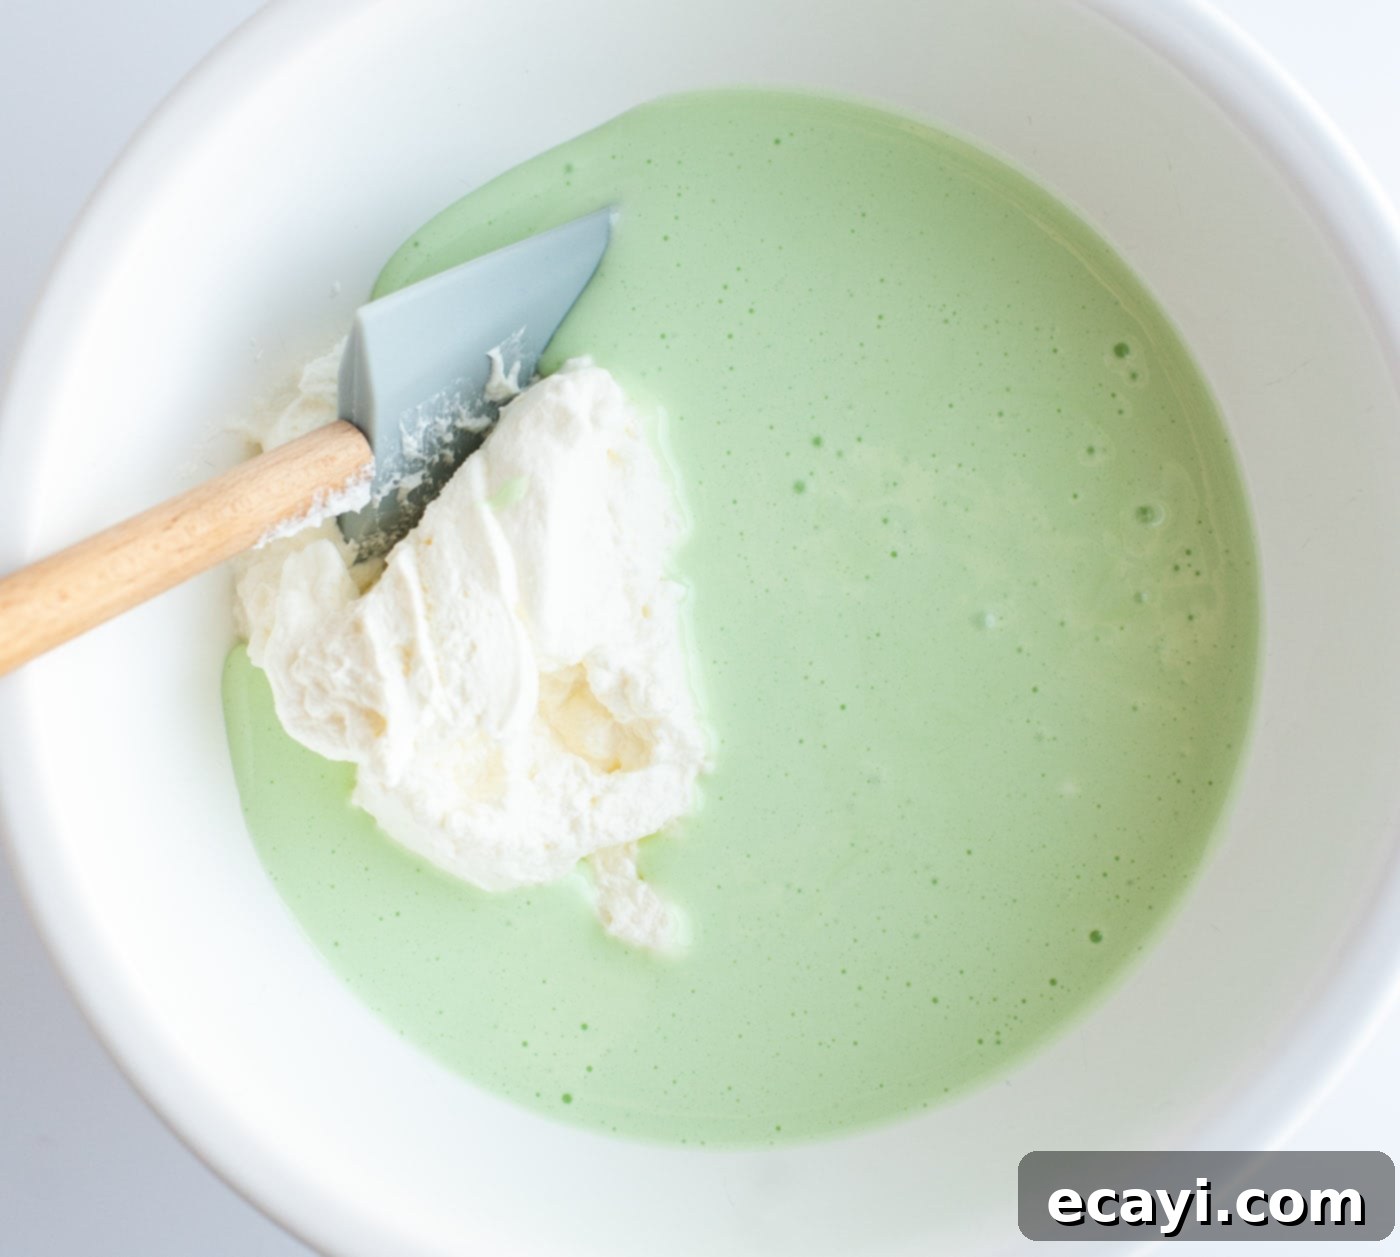
- Melt Marshmallows for the Filling Base: Using a double boiler (or a heat-safe bowl set over a pot of simmering water, ensuring the bowl doesn’t touch the water), combine the mini marshmallows with 2/3 cup of heavy cream. Stir frequently until the marshmallows are completely melted and the mixture is smooth and well combined. This gentle heat prevents scorching and ensures a silky consistency. Once melted, remove the mixture from the heat. Stir in the peppermint extract and, if desired, a few drops of green food coloring to achieve that iconic grasshopper green hue. Set the mixture aside and allow it to cool slightly to room temperature, or until it’s just warm but not hot. This step is crucial so it doesn’t melt the whipped cream in the next step.

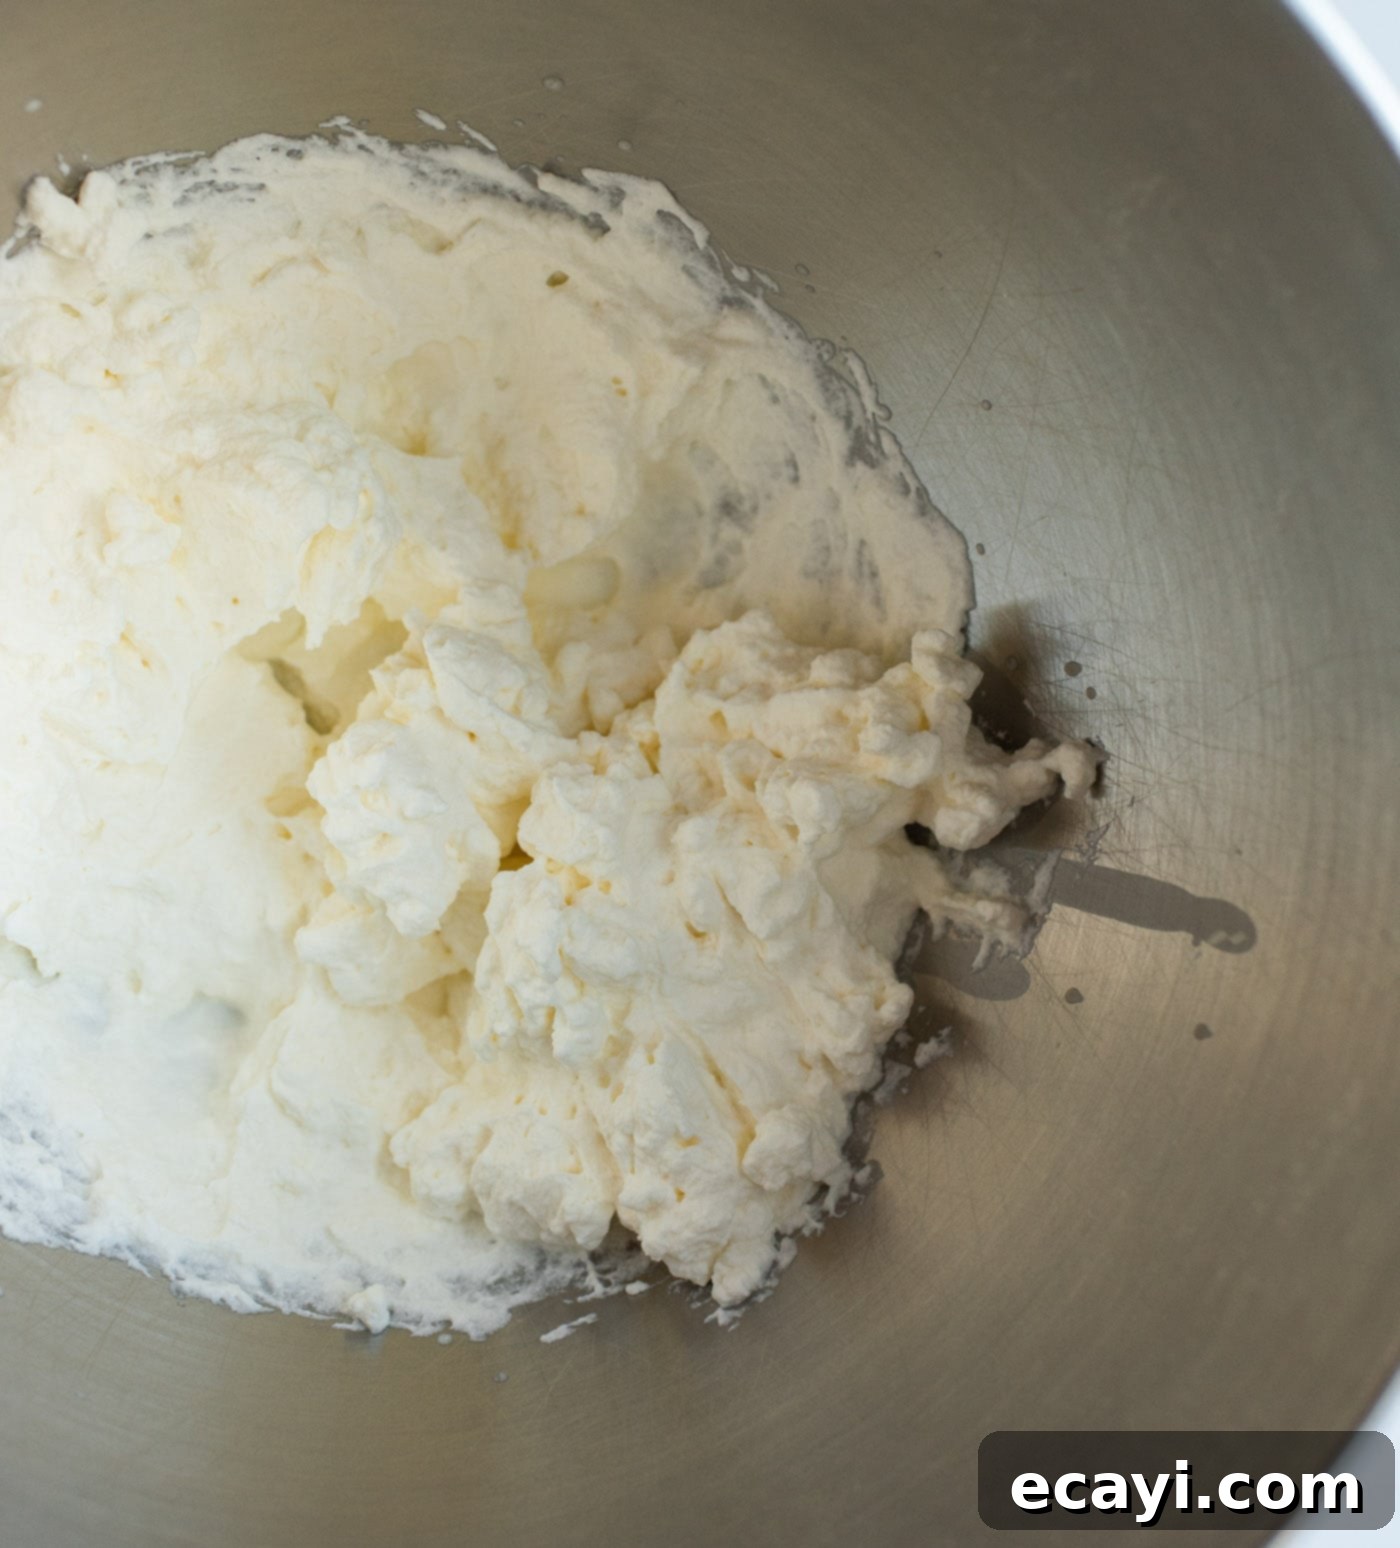
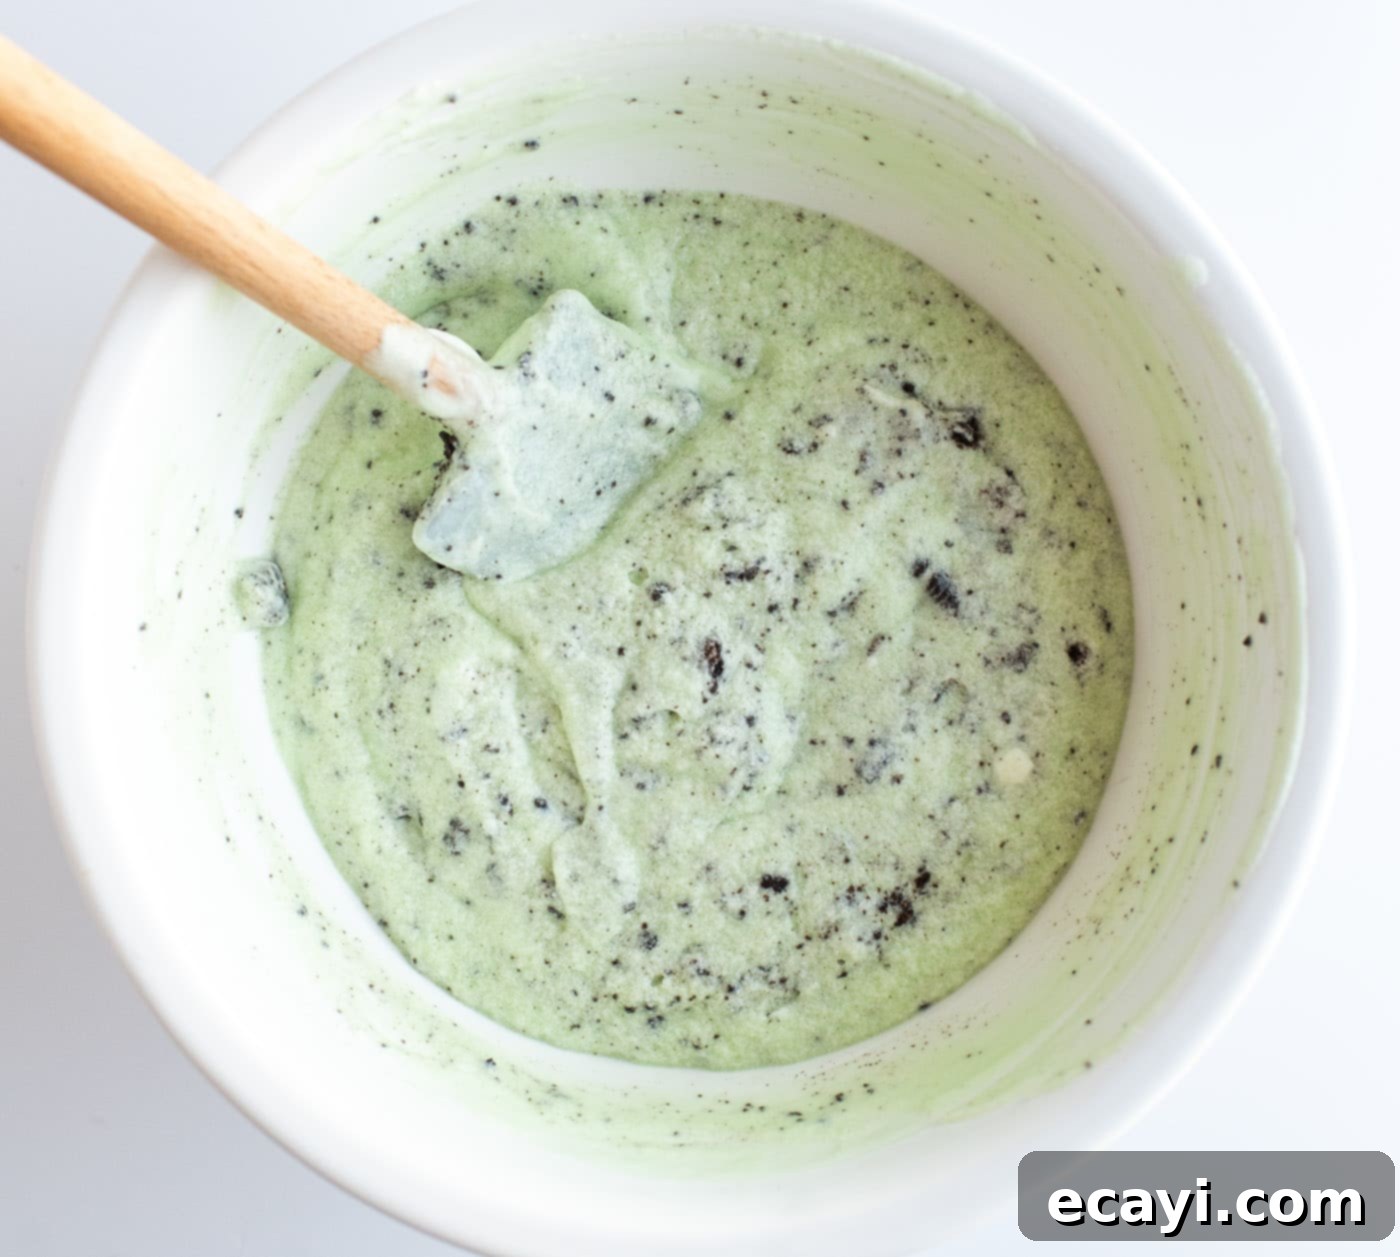
- Fold in Whipped Cream and Oreos: In a separate, chilled bowl, use an electric mixer to beat 1 cup of cold heavy cream until stiff peaks form. Be careful not to overbeat, or you’ll end up with butter! Once whipped, gently fold this whipped cream into the slightly cooled marshmallow mixture using a spatula. Use a light hand to preserve the airiness of the whipped cream. Next, fold in 3/4 of your crushed Oreos. Reserve the remaining 1/4 of the crushed Oreos for garnishing the top of the pie later. The crushed Oreos add a wonderful texture and additional chocolate flavor throughout the minty filling.


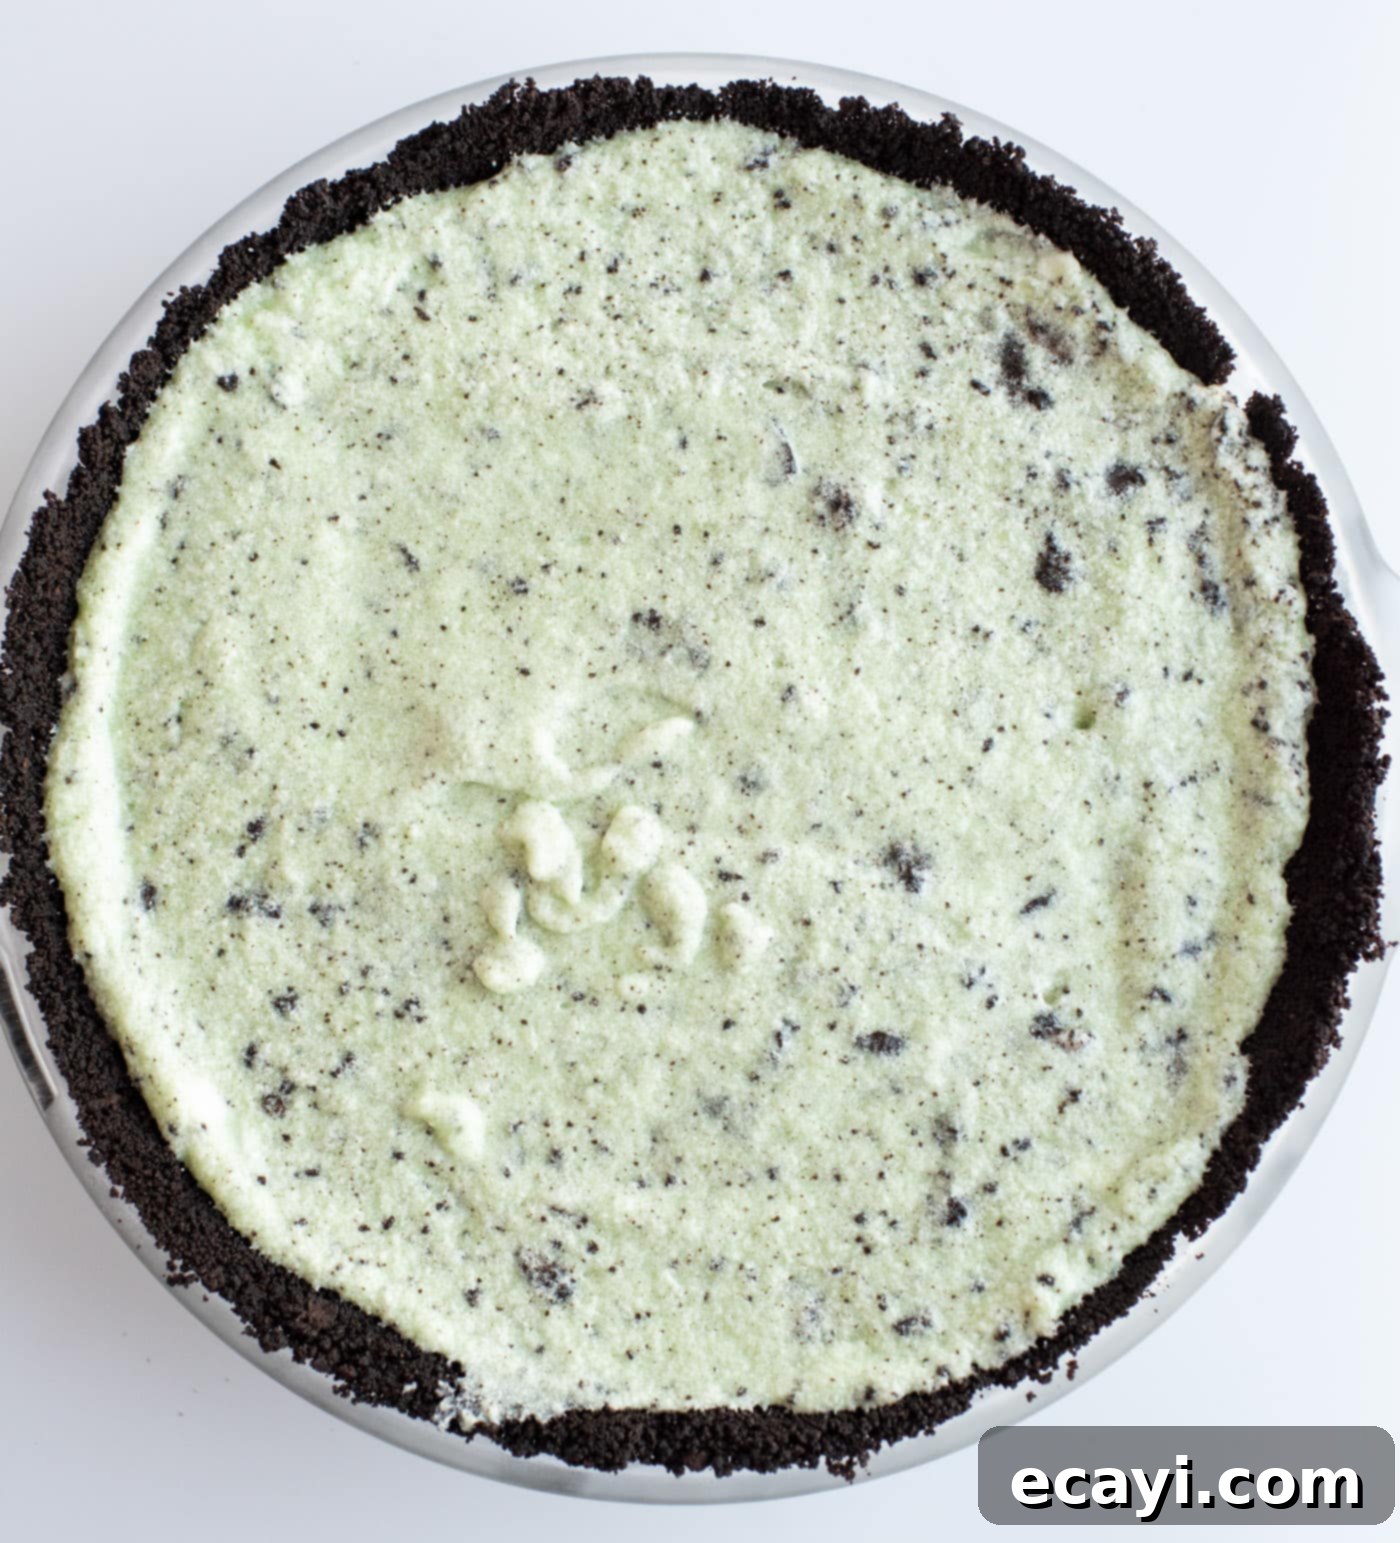
- Assemble and Chill the Pie: Carefully pour the finished mint-chocolate marshmallow mixture into your chilled chocolate graham cracker crust, spreading it evenly with a spatula. Sprinkle the top with the remaining reserved crushed Oreos. For the pie to set properly, place it back in the freezer for a minimum of two hours. For the best results and a perfectly firm slice, freezing for 4-6 hours or even overnight is recommended. This allows the marshmallows and cream to stabilize, creating that ideal creamy yet firm texture. Serve directly from the freezer for the ultimate chilled dessert experience!

Frequently Asked Questions & Expert Tips for Success
Absolutely, freezing is not just an option, it’s a crucial step in this recipe! You need to freeze Grasshopper Pie to help it set properly and achieve its ideal consistency. It’s designed to be served directly from the freezer and tastes best when thoroughly chilled or even frozen solid. For optimal freshness and texture, we recommend enjoying the pie within 3-4 days. However, if properly stored, this pie can actually keep in the freezer for up to 2 months. To store it long-term, wrap it tightly in multiple layers of plastic wrap, followed by a layer of aluminum foil, or transfer slices to an airtight freezer-safe container. This protects it from freezer burn and preserves its delicious minty flavor.
Yes, this Grasshopper Pie is an excellent make-ahead dessert! You can easily prepare it a few days in advance, or even up to a week before your event, and store it in the freezer until you are ready to serve. This is a huge time-saver, especially when entertaining. To store it in advance, ensure it’s well-wrapped. While still in its pie plate, wrap the entire pie several times with plastic wrap, then add a final protective layer of aluminum foil. This prevents air exposure and maintains its freshness. There’s no need to thaw it before serving; simply pull it out of the freezer, slice, and enjoy!
The key to a crisp no-bake crust is chilling! Make sure you press the crust mixture very firmly into the pie plate and freeze it for at least 15-20 minutes before adding the filling. This allows the butter to solidify and bind the crumbs together. Also, ensure your marshmallow filling has cooled slightly to room temperature before folding in the whipped cream and adding it to the crust. A warm filling can soften the crust. Freezing the assembled pie quickly and thoroughly helps maintain crust integrity.
The setting power of this pie primarily comes from the marshmallows and the whipped heavy cream. If your pie seems too soft, it might be due to a few factors. First, ensure you used enough marshmallows and they were fully melted and combined with the cream. Second, confirm that your heavy cream was beaten to stiff peaks; under-whipped cream won’t provide the necessary structure. Lastly, adequate freezing time is critical. If it’s still soft, simply return it to the freezer for a few more hours, or even overnight, to allow it to fully firm up.
Delightful Serving Suggestions
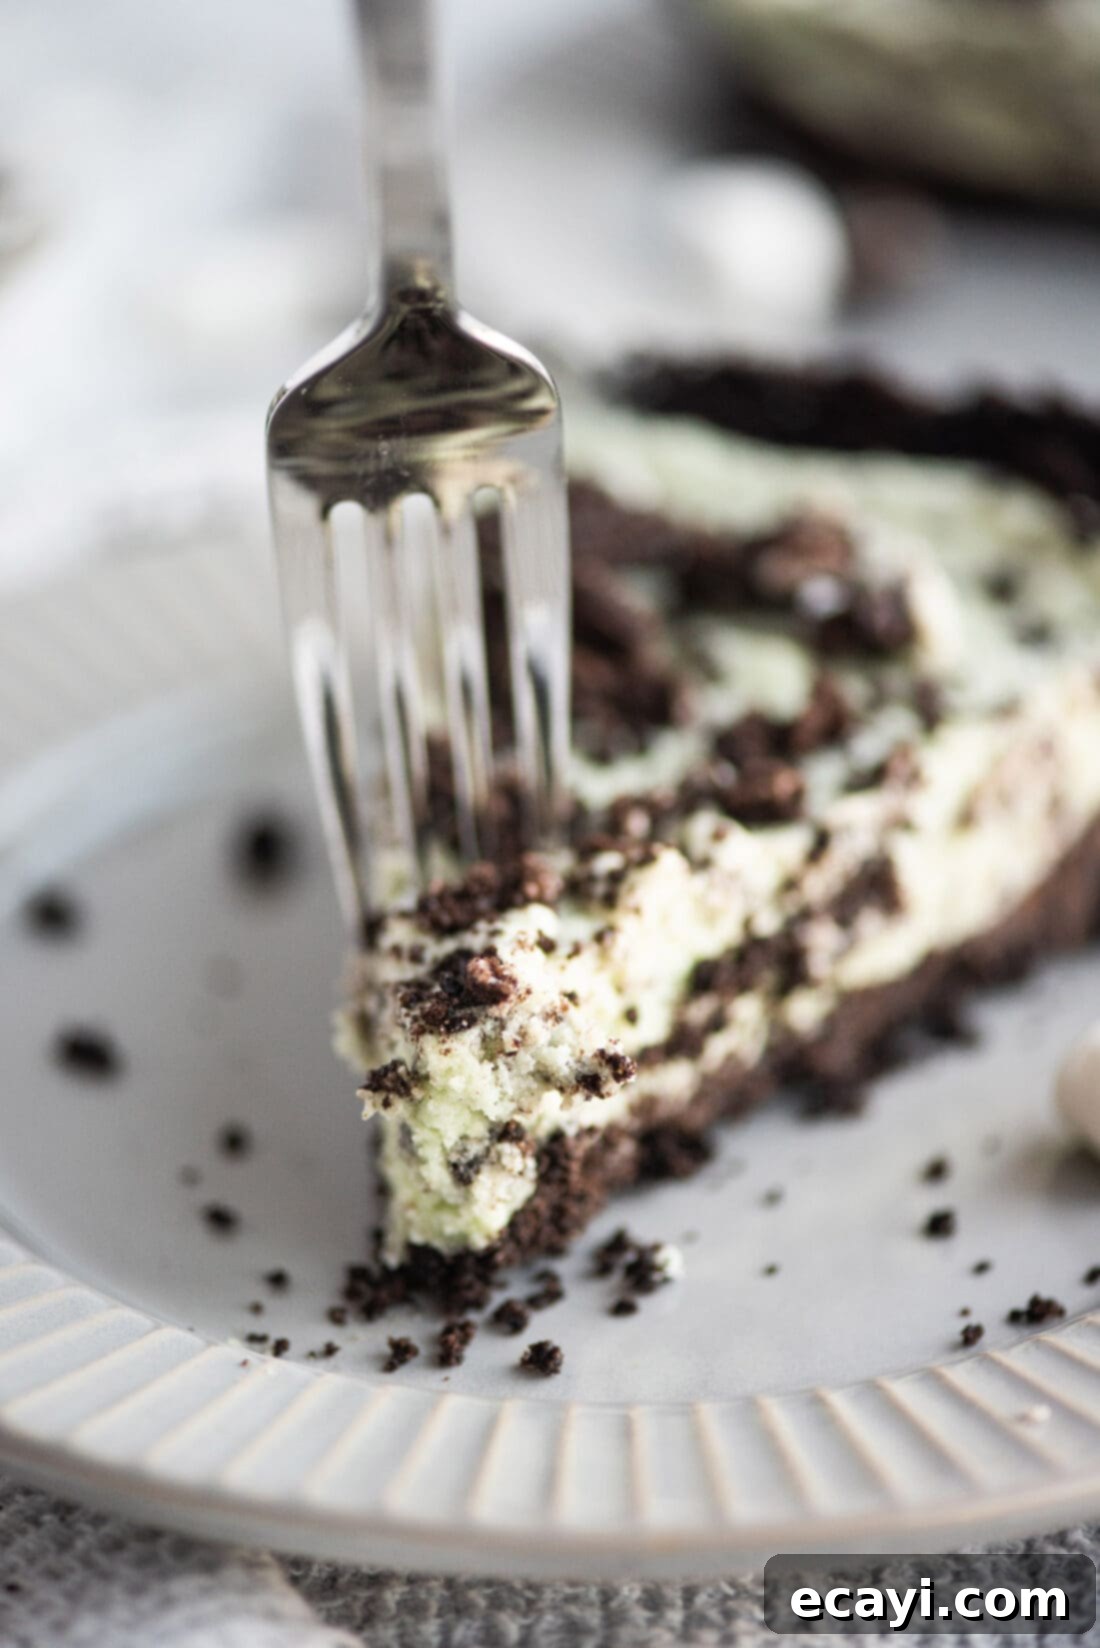
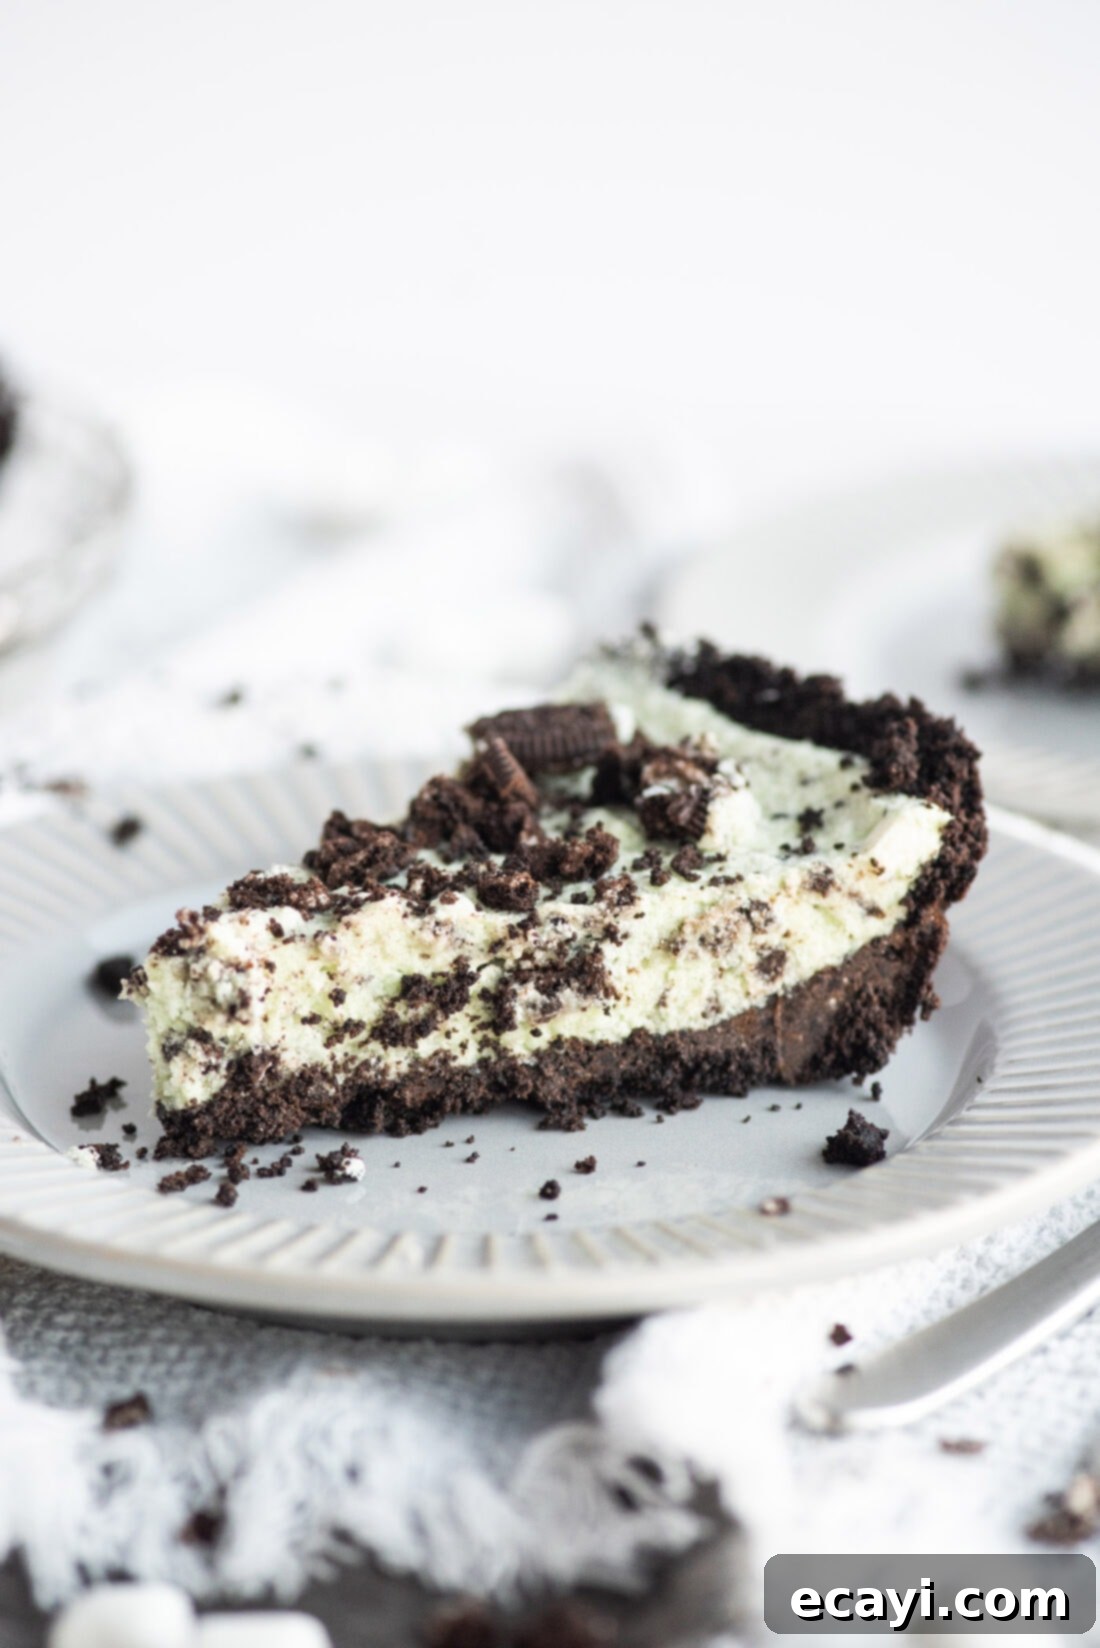
While this Grasshopper Pie is absolutely delectable on its own with just a sprinkle of crushed Oreos, a little extra garnish can elevate it even further! This is one of those pies that truly shines when served well-chilled or even straight from the freezer. The cold enhances the refreshing mint flavor and creates a wonderful, almost ice cream-like texture.
Here are some fabulous ideas to present your Grasshopper Pie with flair:
- Whipped Topping: A generous dollop of homemade whipped cream or a ready-made whipped topping like Cool Whip adds another layer of creaminess and visual appeal. You can pipe it artistically or simply spoon it on.
- Chocolate Shavings: Use a vegetable peeler to create delicate chocolate curls from a bar of dark or milk chocolate. Sprinkle these over the top for an elegant touch and added chocolate flavor.
- Andes Mints: Chop up a few Andes mint candies and scatter them over the pie. Their distinct mint-chocolate flavor and slight crunch are a perfect match.
- Additional Crushed Cookies: Beyond the reserved crushed Oreos, consider adding extra chocolate graham cracker crumbs or even some finely crushed chocolate wafers for more texture.
- Chocolate Syrup Drizzle: A light drizzle of chocolate syrup can add a beautiful visual pattern and an extra touch of decadence.
No matter how you choose to serve it, this Grasshopper Pie is bound to be a memorable dessert that leaves everyone feeling refreshed and satisfied.
Explore More Mint Chocolate Delights
If you’ve fallen in love with the irresistible combination of mint and chocolate in this Grasshopper Pie, you’re in for a treat! We have a collection of other fantastic recipes that celebrate these two beloved flavors. Dive into these equally delicious creations:
- Mint Chocolate Lasagna
- Chocolate Mint Brownies
- Oreo Thin Mint Shooters
- Mint Chocolate Popsicles
- Chocolate Mint Cookies
- Homemade Mint Chocolate Chip Ice Cream
I absolutely adore spending time in the kitchen, experimenting with flavors and sharing my culinary adventures with all of you! To make sure you never miss out on a new, delicious recipe, I offer a convenient newsletter delivered straight to your inbox every time a fresh post goes live. Simply subscribe today and start receiving your free daily dose of kitchen inspiration!

Grasshopper Pie
IMPORTANT – There are often Frequently Asked Questions within the blog post that you may find helpful. Simply scroll back up to read them!
Print It
Pin It
Rate It
Save ItSaved!
Ingredients
Crust
- 1 ½ cups chocolate graham cracker crumbs
- ¼ cup butter melted
Filling
- 3 ½ cups mini marshmallows
- ⅔ cups heavy whipping cream for marshmallow mixture
- 1 cup heavy whipping cream for whipped cream
- 1 ½ teaspoon peppermint extract
- 4 drops green food coloring optional
- 12 Oreos crushed, regular or mint flavored
Things You’ll Need
-
9 inch pie pan
-
Electric mixer
-
Double boiler
Before You Begin
- You can buy graham crumbs directly from the store or you can crush whole graham crackers by placing them in a food processor. If you do not have a food processor, you can also place graham crackers in a large ziptop bag and crush them with a rolling pin. This technique also works perfectly for crushing Oreos!
- For the best whipped cream, ensure your heavy cream, mixing bowl, and whisk attachments are very cold. You can place the bowl and whisk in the freezer for 10-15 minutes before whipping.
- When melting marshmallows, avoid high heat to prevent them from becoming tough. The double boiler method ensures a gentle, even melt. If using a microwave, heat in short bursts (15-30 seconds), stirring well after each, until smooth.
Instructions
-
In a medium bowl, thoroughly mix the melted butter and chocolate graham cracker crumbs until well combined. Press this mixture firmly and evenly into the bottom and sides of an 8 or 9-inch pie plate. Place the prepared crust into the freezer to chill while you prepare the filling.
-
Using a double boiler, combine the mini marshmallows and 2/3 cup heavy cream. Stir frequently until the marshmallows are completely melted and the mixture is smooth. Remove from heat, then stir in the peppermint extract and green food coloring (if desired). Set aside and allow the mixture to cool slightly to room temperature.
-
In a separate chilled bowl, use an electric mixer to beat 1 cup of cold heavy cream until stiff peaks form. Gently fold this whipped cream into the cooled marshmallow mixture. Then, gently fold in 3/4 of the crushed Oreos. Reserve the remaining 1/4 of the crushed Oreos for topping.
-
Pour the completed mint-chocolate filling mixture into the chilled pie crust, spreading it evenly. Sprinkle the top with the remaining reserved crushed Oreos. Place the pie back in the freezer for at least two hours (or preferably 4-6 hours, or overnight) to allow it to fully set before slicing and serving.
Nutrition
The recipes on this blog are tested with a conventional gas oven and gas stovetop. It’s important to note that some ovens, especially as they age, can cook and bake inconsistently. Using an inexpensive oven thermometer can assure you that your oven is truly heating to the proper temperature. If you use a toaster oven or countertop oven, please keep in mind that they may not distribute heat the same as a conventional full sized oven and you may need to adjust your cooking/baking times. In the case of recipes made with a pressure cooker, air fryer, slow cooker, or other appliance, a link to the appliances we use is listed within each respective recipe. For baking recipes where measurements are given by weight, please note that results may not be the same if cups are used instead, and we can’t guarantee success with that method.
This post originally appeared here on June 6, 2009, and has since been completely updated and expanded with a new recipe, fresh photos, detailed expert tips, and enhanced content to provide the best possible experience for our readers.
