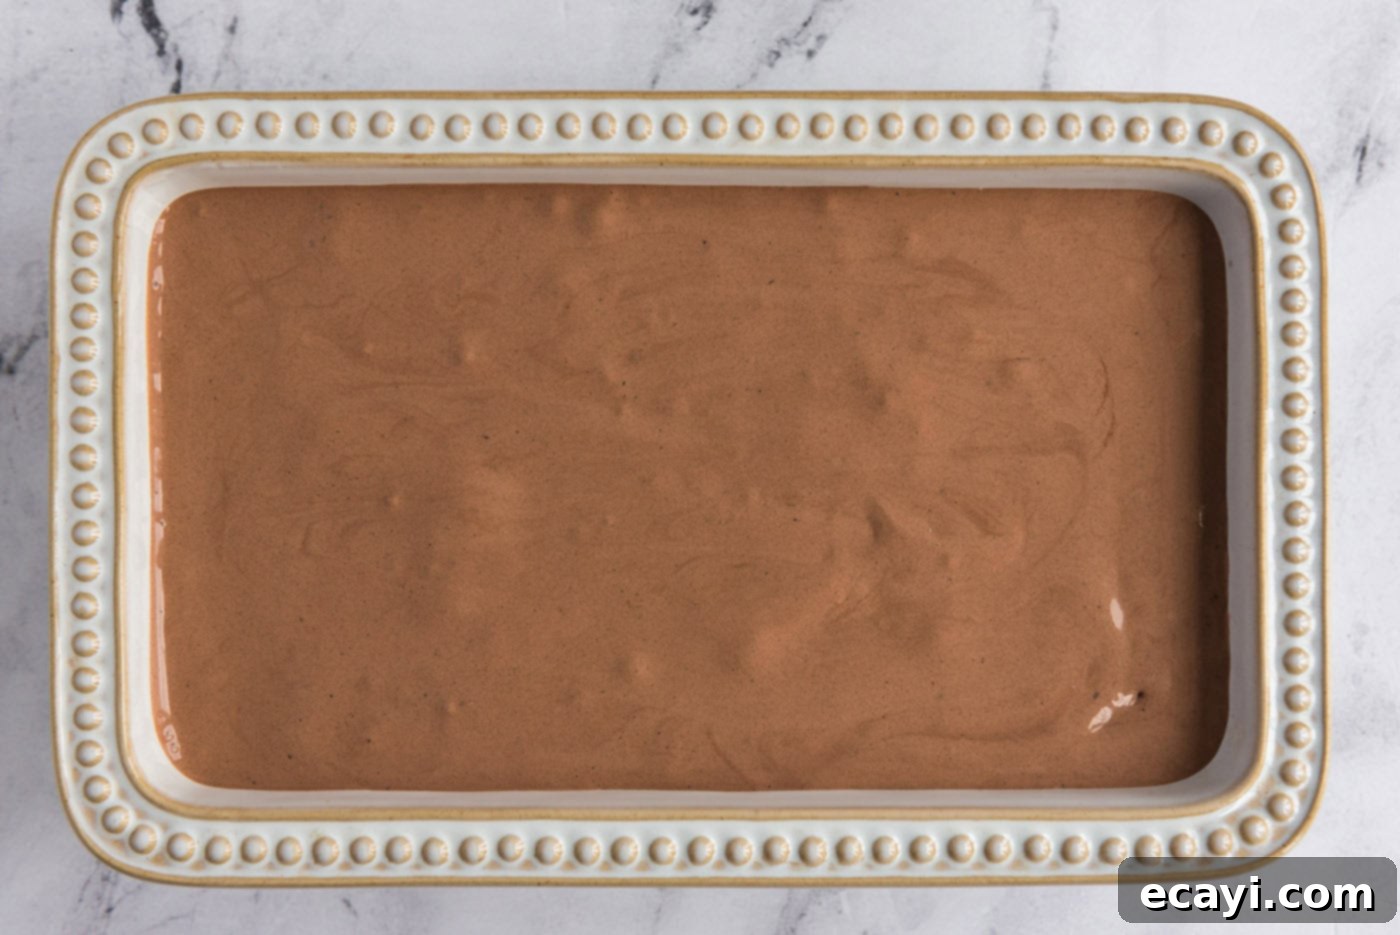
The Ultimate Guide to Making Rich & Creamy Homemade Chocolate Ice Cream
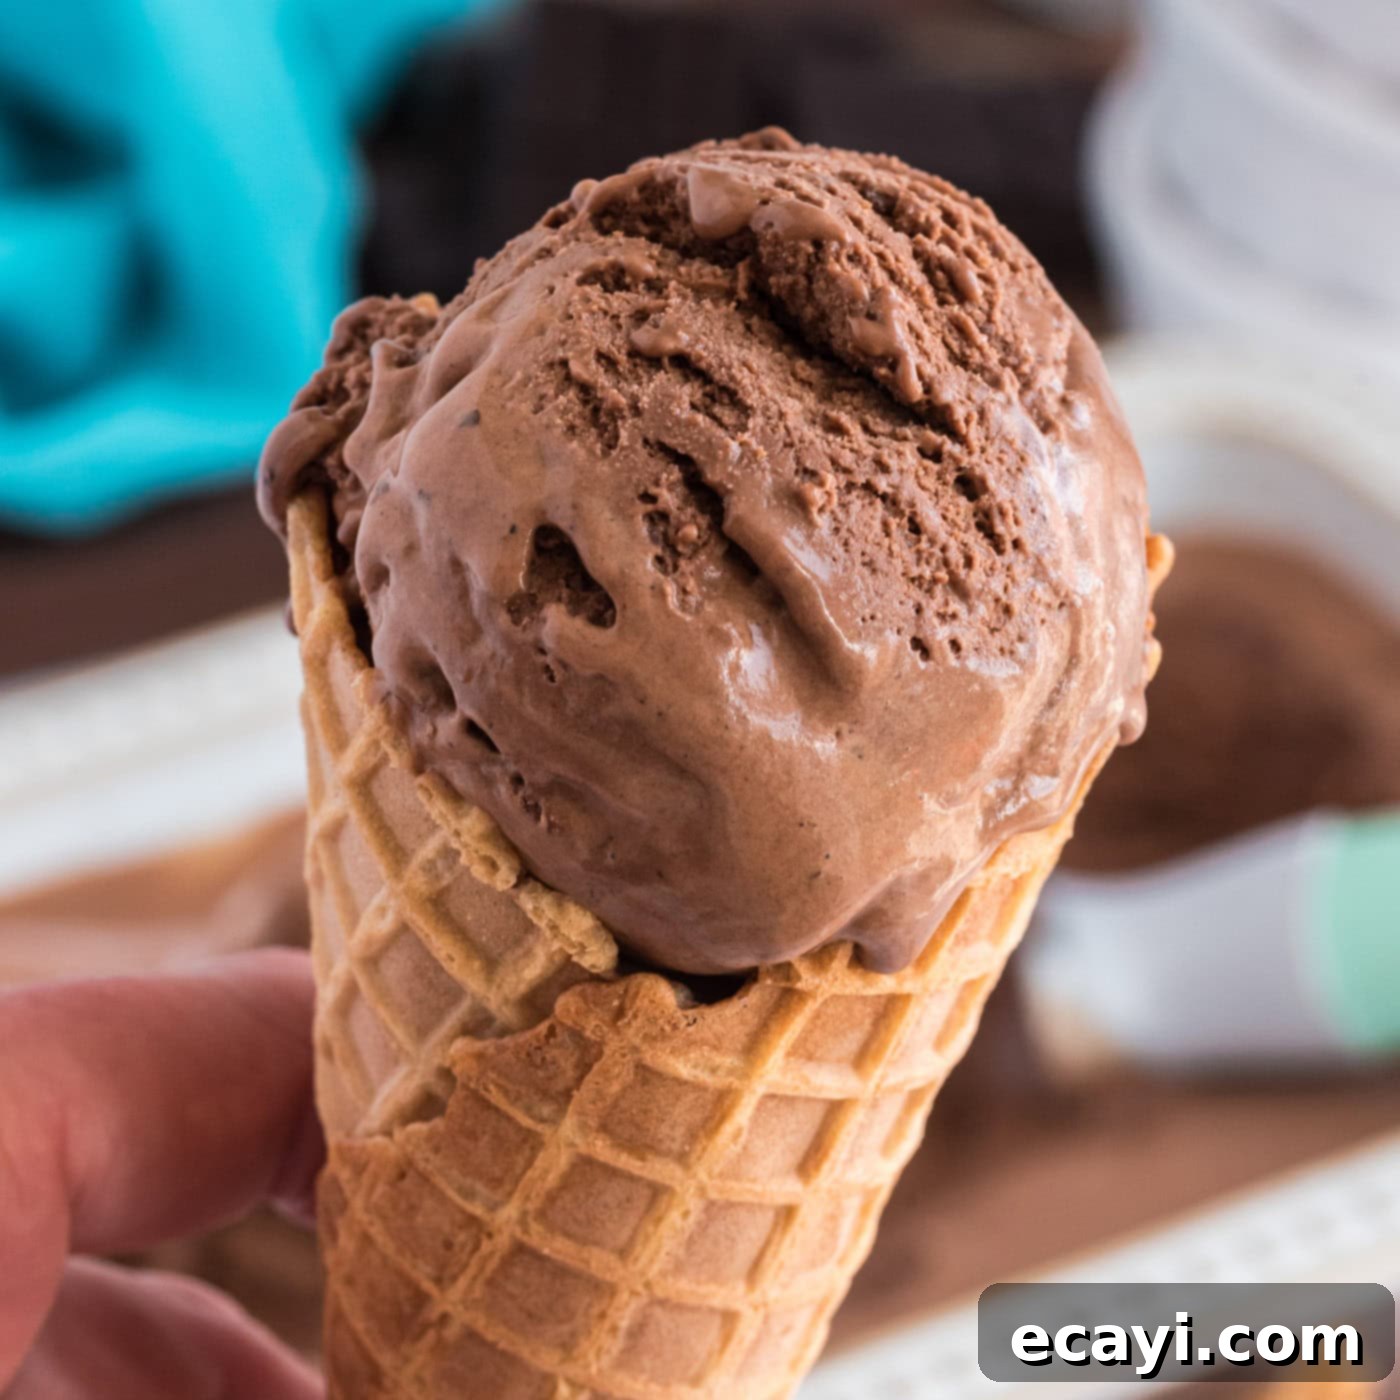
Prepare to delight your taste buds with the best homemade chocolate ice cream recipe you’ll ever find! This classic, old-fashioned dessert delivers an incredibly rich, decadent, and velvety-smooth texture that’s simply irresistible. Forget about store-bought tubs – with just 7 simple ingredients and the help of an ice cream maker, you can churn out a frozen treat that will transport you straight back to childhood summers. It’s a simple pleasure that promises pure bliss in every scoop, making it a perfect dessert for any occasion.
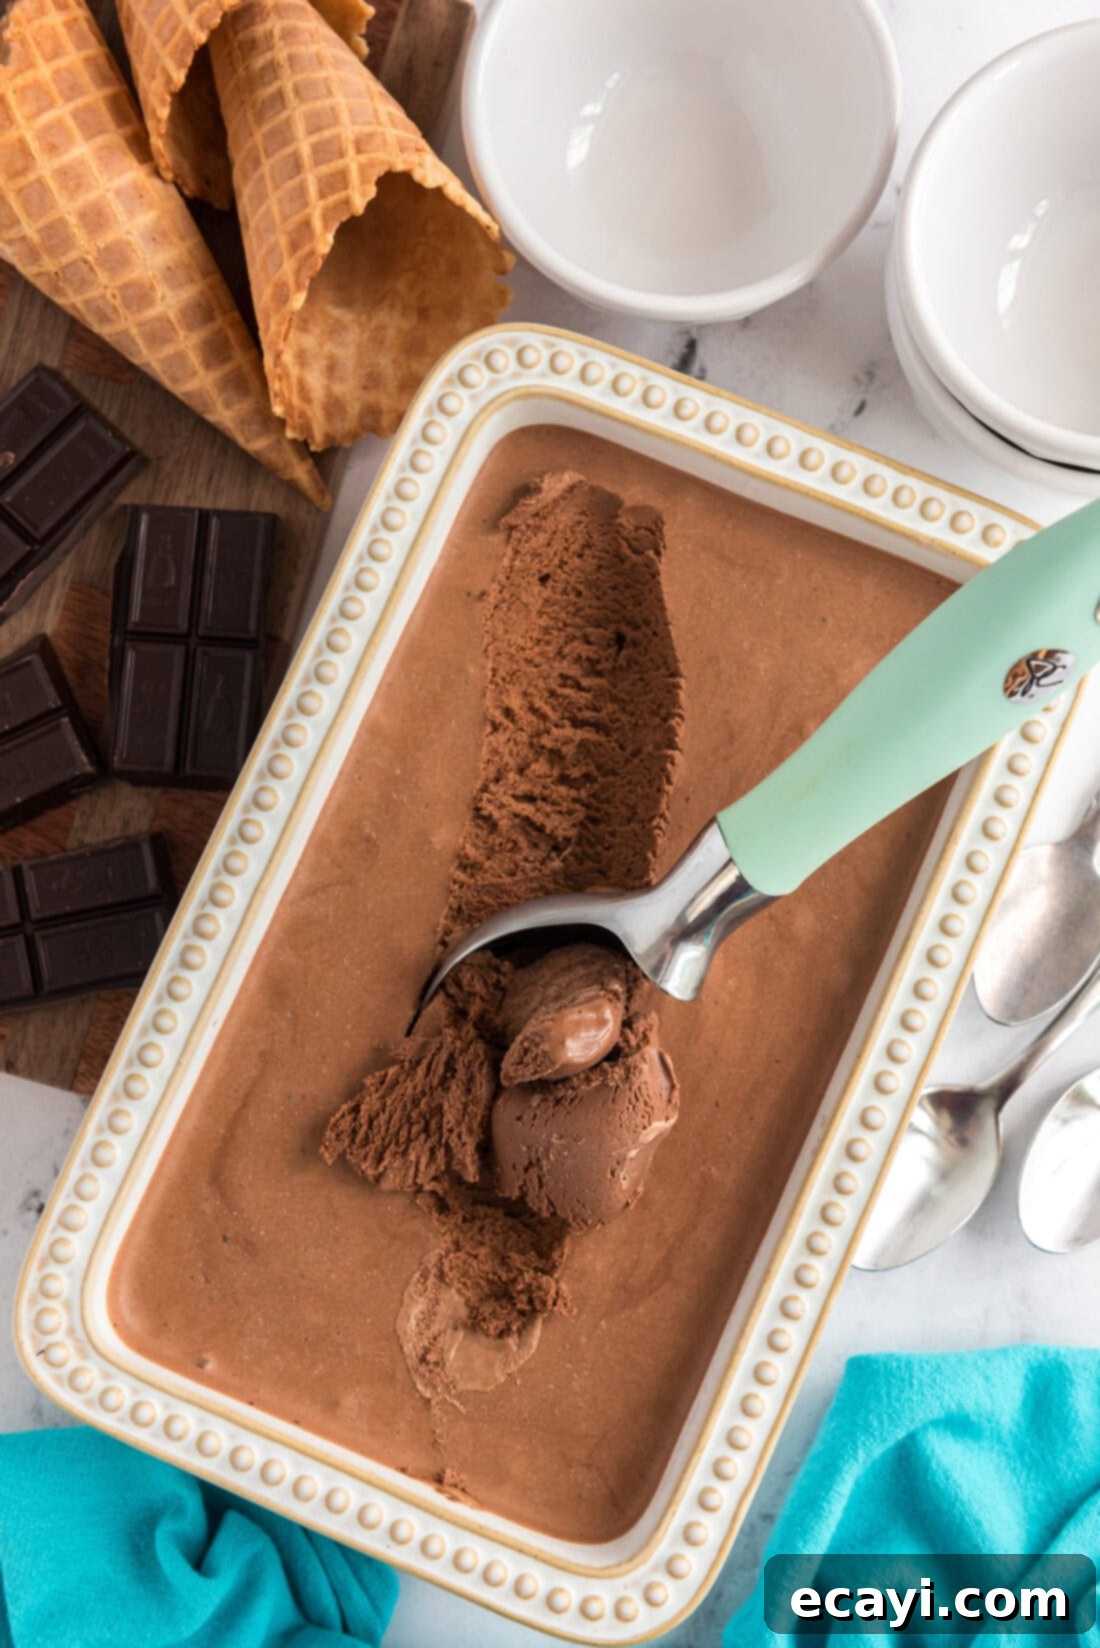
Why This Homemade Chocolate Ice Cream Recipe Is a Must-Try
This isn’t just any chocolate ice cream recipe; it’s a meticulously crafted formula designed for unparalleled frozen dessert perfection. The result is a truly decadent, luxuriously silky, and wonderfully creamy ice cream that remains effortlessly scoopable straight from the freezer. What more could you possibly desire from a classic, old-fashioned chocolate ice cream? Its richness is unparalleled, achieved through a careful balance of high-quality ingredients and a time-tested method.
The subtle pinch of salt isn’t just for seasoning; it acts as a magical flavor enhancer, making the deep cocoa notes of the chocolate shine even brighter and creating a more complex, satisfying taste profile. The high fat content from the heavy cream, combined with the emulsifying power of eggs, ensures a smooth, luscious texture free from ice crystals. I’ve been perfecting and making this exact homemade chocolate ice cream recipe since 2008, and it has become a cherished staple in my home. It consistently delivers that perfect balance of sweetness and deep chocolate flavor, creating a nostalgic experience with every spoonful. I am confident that you and your loved ones will fall in love with it just as much as we have!
While this particular recipe yields the absolute best results with an ice cream maker, which ensures that signature smooth texture by continuously breaking up ice crystals as the mixture freezes, we understand that not everyone has one. If you’re searching for a delicious no-churn chocolate ice cream version that doesn’t require special equipment, be sure to explore our dedicated no-churn chocolate ice cream recipe. However, for that truly authentic, rich, and creamy experience, an ice cream maker is highly recommended for this traditional, custard-based recipe.
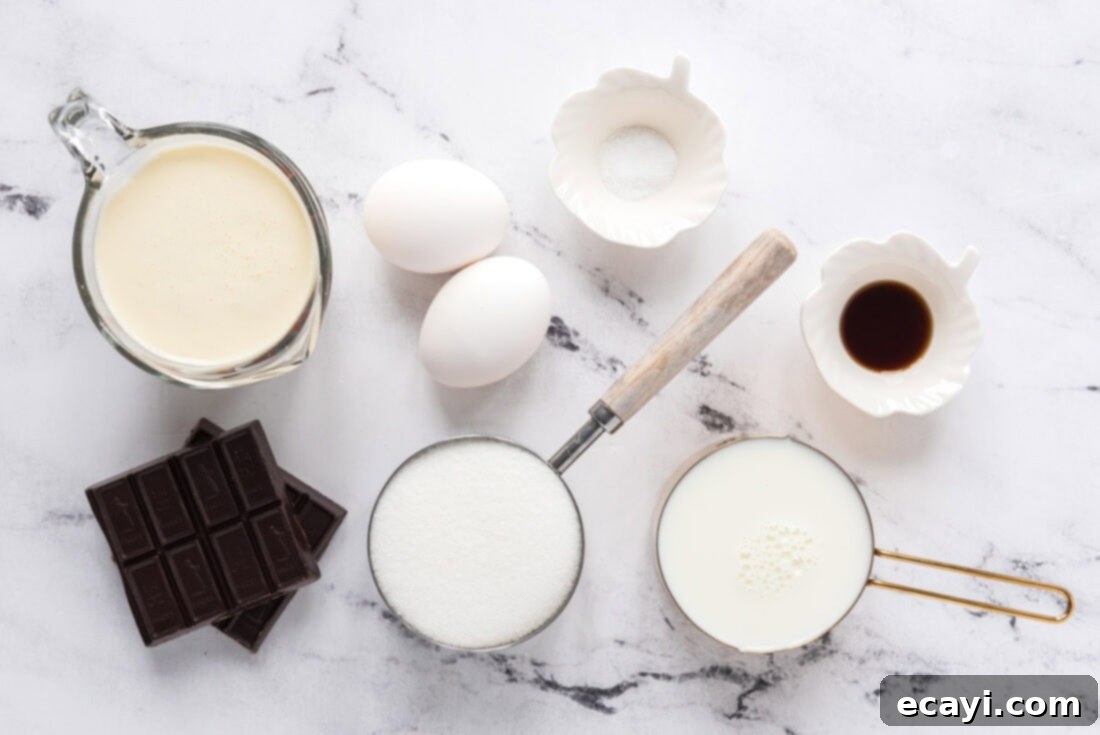
Essential Ingredients for Your Perfect Homemade Chocolate Ice Cream
Crafting exceptional homemade chocolate ice cream begins with gathering high-quality, fresh ingredients. Each component plays a crucial role in achieving the rich flavor and irresistibly creamy texture you desire. While the full list of precise measurements, all ingredients, and detailed instructions can be found in the convenient printable recipe card at the conclusion of this post, here’s a quick overview of what you’ll need to gather to create this delightful frozen dessert:
- Unsweetened Chocolate: The foundation of our deep, intense chocolate flavor. Choosing a good quality baking chocolate is key.
- Milk: Provides liquid volume, helps create the custard base, and contributes to the overall creaminess without being overly heavy.
- Large Eggs: Essential for richness, body, and their emulsifying properties, which ensure a silky-smooth, custard-like base.
- Granulated Sugar: Not only sweetens the ice cream but also crucially helps prevent the formation of large ice crystals, resulting in a wonderfully soft and scoopable texture.
- Heavy Whipping Cream: The primary source of fat, absolutely essential for achieving a truly decadent, luxurious, and silky-smooth ice cream.
- Vanilla Extract: Enhances and rounds out the chocolate flavor, adding a touch of aromatic warmth and complexity.
- Pinch of Salt: A secret weapon that balances the sweetness and intensifies the deep cocoa notes, making the chocolate flavor truly pop.
Having these ingredients on hand before you begin will ensure a smooth and enjoyable ice cream-making process!
Ingredient Deep Dive & Smart Substitution Suggestions
Understanding the vital role each ingredient plays in your homemade chocolate ice cream is paramount for achieving success. Here’s a closer look at each component, along with some considerations for substitutions and why certain choices are highly recommended:
HEAVY CREAM: The Cornerstone of Unmatched Creaminess
Ice cream’s signature rich and creamy texture is directly attributable to its fat content, and heavy whipping cream is our hero in this regard. With a minimum of 36% milk fat, it provides the luxurious mouthfeel and smooth consistency that defines premium, high-quality ice cream. The fat globules in heavy cream interfere with the formation of large ice crystals during freezing, ensuring a silky, decadent product that doesn’t become icy or hard. If you were to substitute lower-fat dairy products like milk, half-and-half, or light cream for heavy whipping cream, the finished ice cream would inevitably be less smooth, significantly less rich, and much more prone to developing noticeable ice crystals. While you can experiment, be aware that you’ll sacrifice some of the decadent texture. For the absolute best results and that dreamy, soft-serve-like scoopable experience, sticking to heavy cream is not just recommended, it’s essential.
EGGS: For Body, Smoothness, and Stability in Your Custard Base
The eggs in this recipe, specifically the yolks, contribute significantly to the ice cream’s body, richness, and overall creamy texture. They are natural emulsifiers, meaning they help to bind the fat and water molecules together within the custard base. This binding action prevents separation and creates a smoother, more stable mixture that freezes beautifully. This emulsifying action also helps inhibit the formation of large ice crystals during freezing, resulting in that desirable soft, dense, and scoopable texture that is characteristic of a high-quality, custard-style ice cream. If you have concerns about consuming raw or lightly cooked eggs, I strongly recommend opting for pasteurized eggs, which are heat-treated to eliminate potential bacteria while maintaining their functionality in the recipe. Alternatively, in traditional French-style ice cream, the base is cooked gently until it thickens, further reducing any raw egg concerns.
CHOCOLATE: The Heartbeat of Deep, Authentic Flavor
The quality and type of your chocolate directly impact the depth and intensity of your homemade chocolate ice cream. For this recipe, it’s absolutely essential to choose a high-quality bar of **unsweetened chocolate**. Unsweetened chocolate, also known as baking chocolate, is 100% cocoa solids with no added sugar. This allows us precise control over the sweetness level of the finished ice cream and ensures we achieve a deep, robust, and authentic chocolate flavor without it being overly sweet or cloying. Avoid using semi-sweet or milk chocolate chips, as they often contain stabilizers and less cocoa mass, which can affect the texture of your melted chocolate and, consequently, your ice cream. If you only have cocoa powder on hand, you could adapt the recipe by “blooming” it with some hot liquid to enhance its flavor, but for the purest, most intense chocolate experience as intended by this specific recipe, unsweetened baking chocolate is the key to unlocking that rich, classic taste.
SUGAR: Sweetness and Crucial Texture Control
Granulated sugar not only provides the necessary sweetness to balance the bitterness of the unsweetened chocolate and the richness of the cream but also plays a vital, often overlooked, role in the texture of your ice cream. Sugar acts as an antifreeze agent, lowering the freezing point of the mixture and inhibiting the formation of large, hard ice crystals. This is precisely what contributes to the ice cream’s soft, smooth, and easily scoopable consistency. Adjusting the sugar content even slightly can significantly impact how firm or soft your final product is; too little sugar can result in a harder, icier ice cream, while too much can make it overly soft or syrupy.
MILK: Balancing the Richness and Enhancing Flow
While heavy cream provides the bulk of the fat and richness, milk helps to thin out the custard base slightly and contributes to its overall liquid volume. Using whole milk will add a bit more richness than skim milk, but the fat content from the heavy cream is paramount. The milk helps achieve the perfect consistency for churning, ensuring the base isn’t overly thick but still incredibly flavorful. It acts as a vehicle for the chocolate and other flavors.
VANILLA EXTRACT & SALT: Essential Flavor Amplifiers
A good quality vanilla extract is more than just a sweet aroma; it acts as a flavor enhancer, rounding out and deepening the chocolate profile. It adds a subtle complexity and aromatic warmth that makes the ice cream truly irresistible. Don’t be tempted to skip it! And that tiny pinch of salt? It’s a culinary secret weapon that works wonders. Salt enhances all the other flavors, particularly the chocolate, making it taste richer, more vibrant, and multi-dimensional, while simultaneously balancing the sweetness. It’s a small addition that makes a huge difference in the final, harmonious taste profile.
Step-by-Step: Crafting Your Decadent Homemade Chocolate Ice Cream
These step-by-step photos and detailed instructions are designed to help you visualize and confidently execute this delicious recipe. For a convenient printable version of this recipe, complete with precise measurements and comprehensive instructions, simply Jump to Recipe at the bottom of this post.
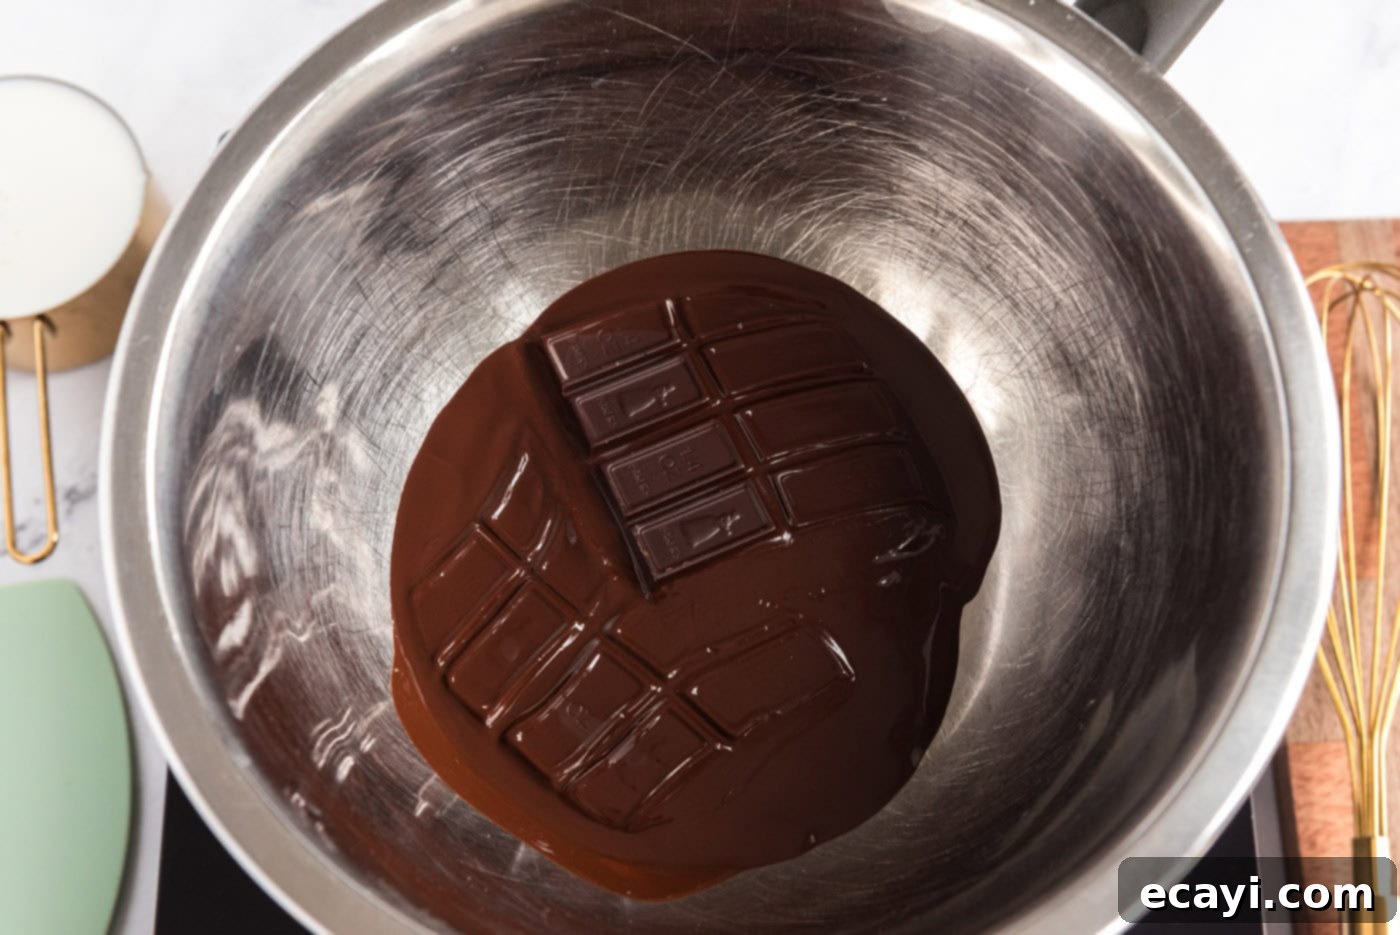
- Melt the Unsweetened Chocolate: Begin by carefully melting the unsweetened chocolate. Place the chopped chocolate in the top of a double boiler set over hot, but not boiling, water. The gentle, indirect heat from the steam will slowly and evenly melt the chocolate, preventing it from scorching or seizing. Stir occasionally with a heat-proof spatula until it’s completely smooth and free of any lumps.
EXPERT TIP – Don’t have a double boiler? You can easily create a makeshift one! Use a heat-safe bowl (such as a stainless steel or glass bowl) that fits snugly over a saucepan without its bottom touching the water. Fill the saucepan with a couple of inches of water and bring it to a gentle simmer. Place the chocolate in the bowl over the simmering water. Be sure the water is simmering gently, not boiling vigorously, to prevent any steam or water droplets from splashing into the chocolate, which can cause it to seize and become grainy.

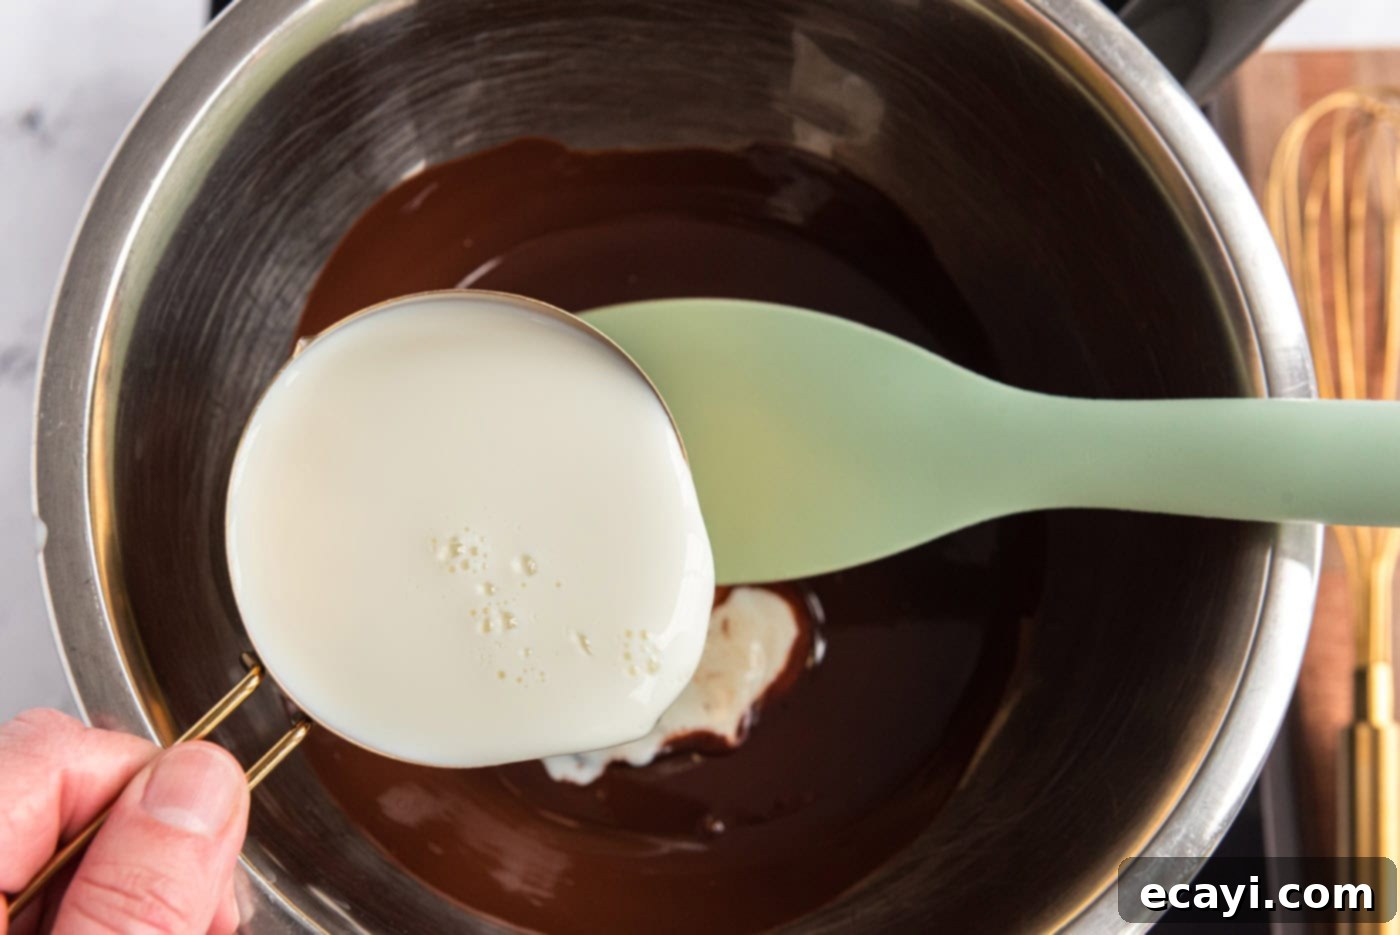
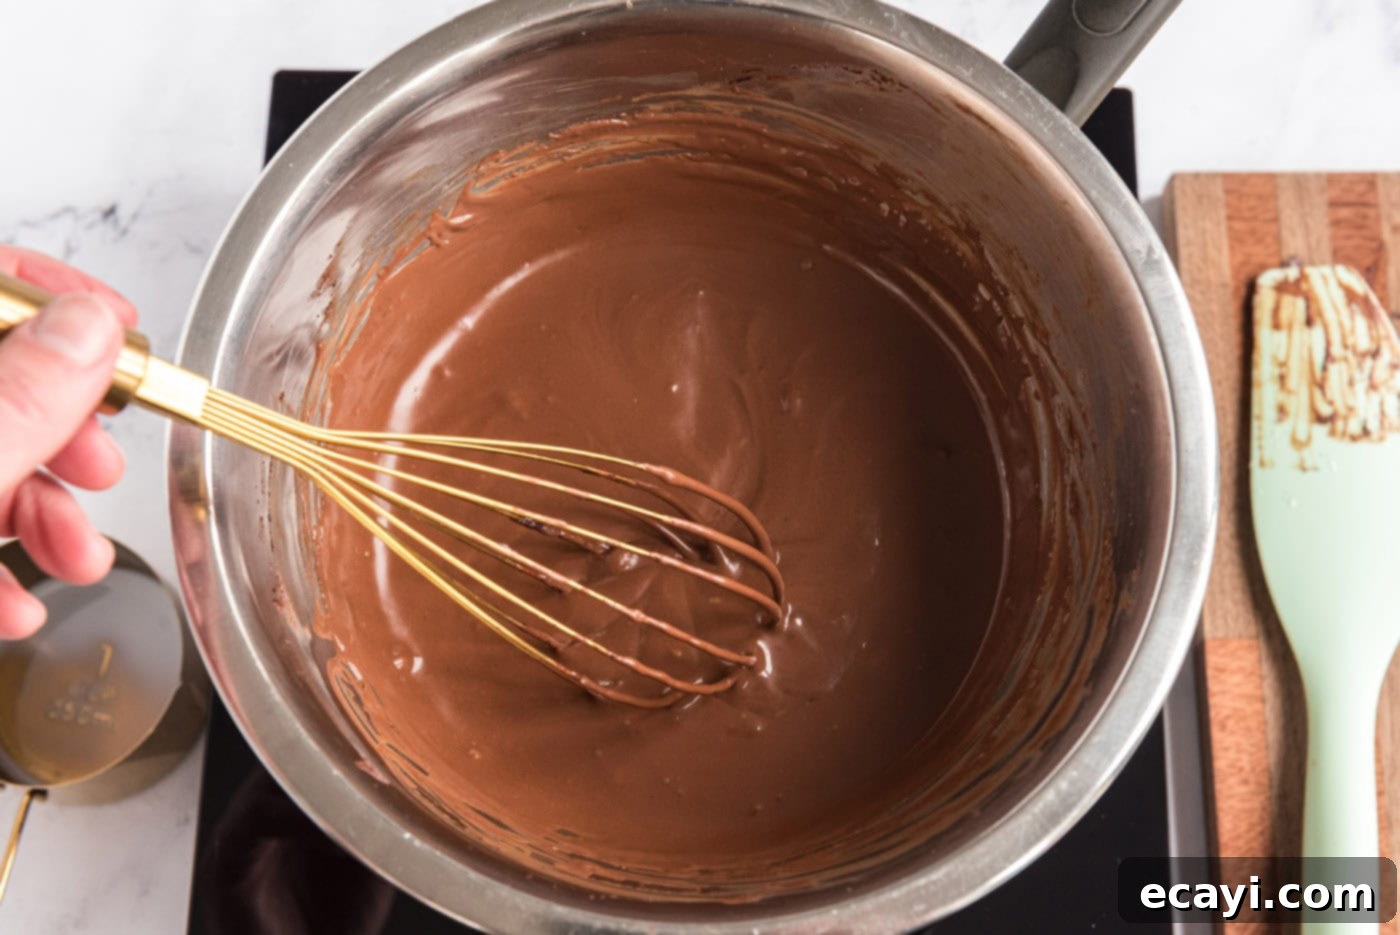
- Whisk in Milk and Cool: Once the chocolate is fully melted and smooth, gradually pour in the milk while continuously whisking. Continue to heat the mixture gently over the double boiler (or makeshift setup), stirring constantly, until it becomes completely smooth, homogeneous, and well combined. This step ensures that the chocolate is thoroughly integrated with the liquid, creating a uniform, glossy base. Remove the chocolate-milk mixture from the heat immediately and set it aside to cool completely to room temperature. It is absolutely crucial for this mixture to be cool before combining it with the egg and cream mixture in a later step; adding hot liquid to eggs can cause them to scramble.


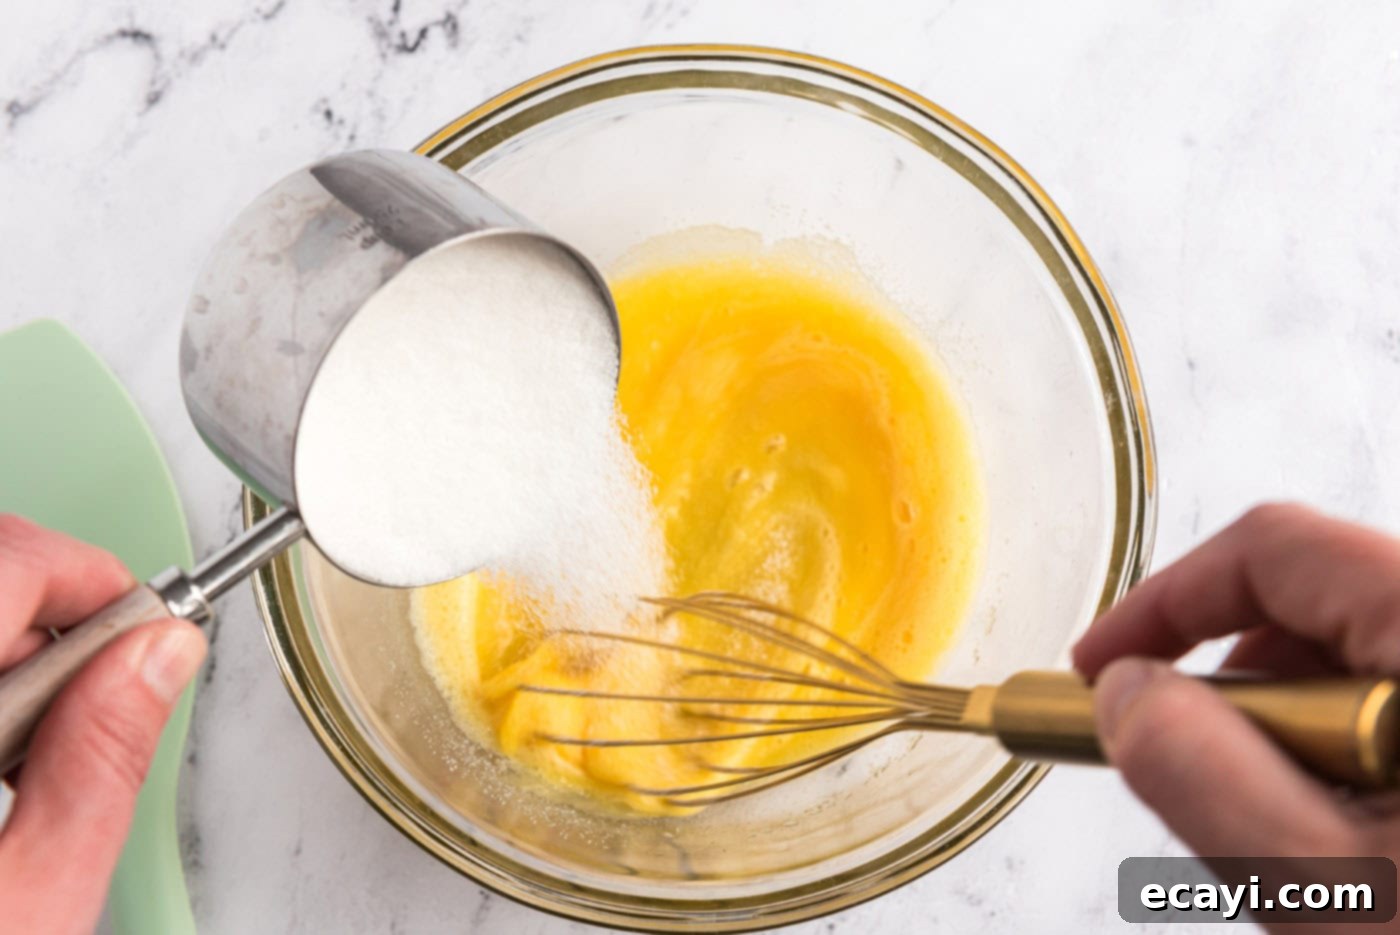
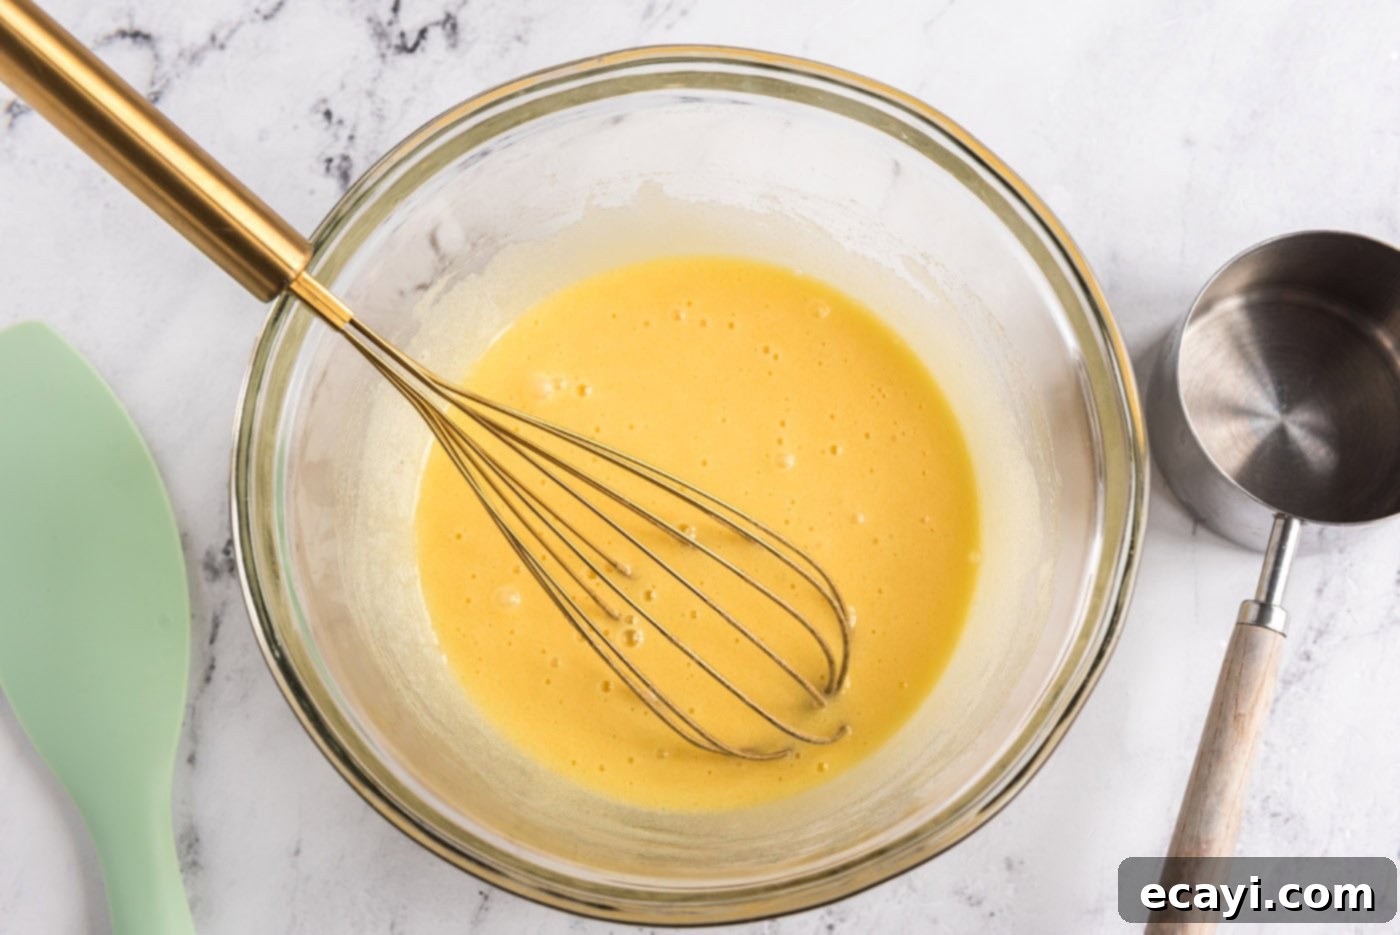
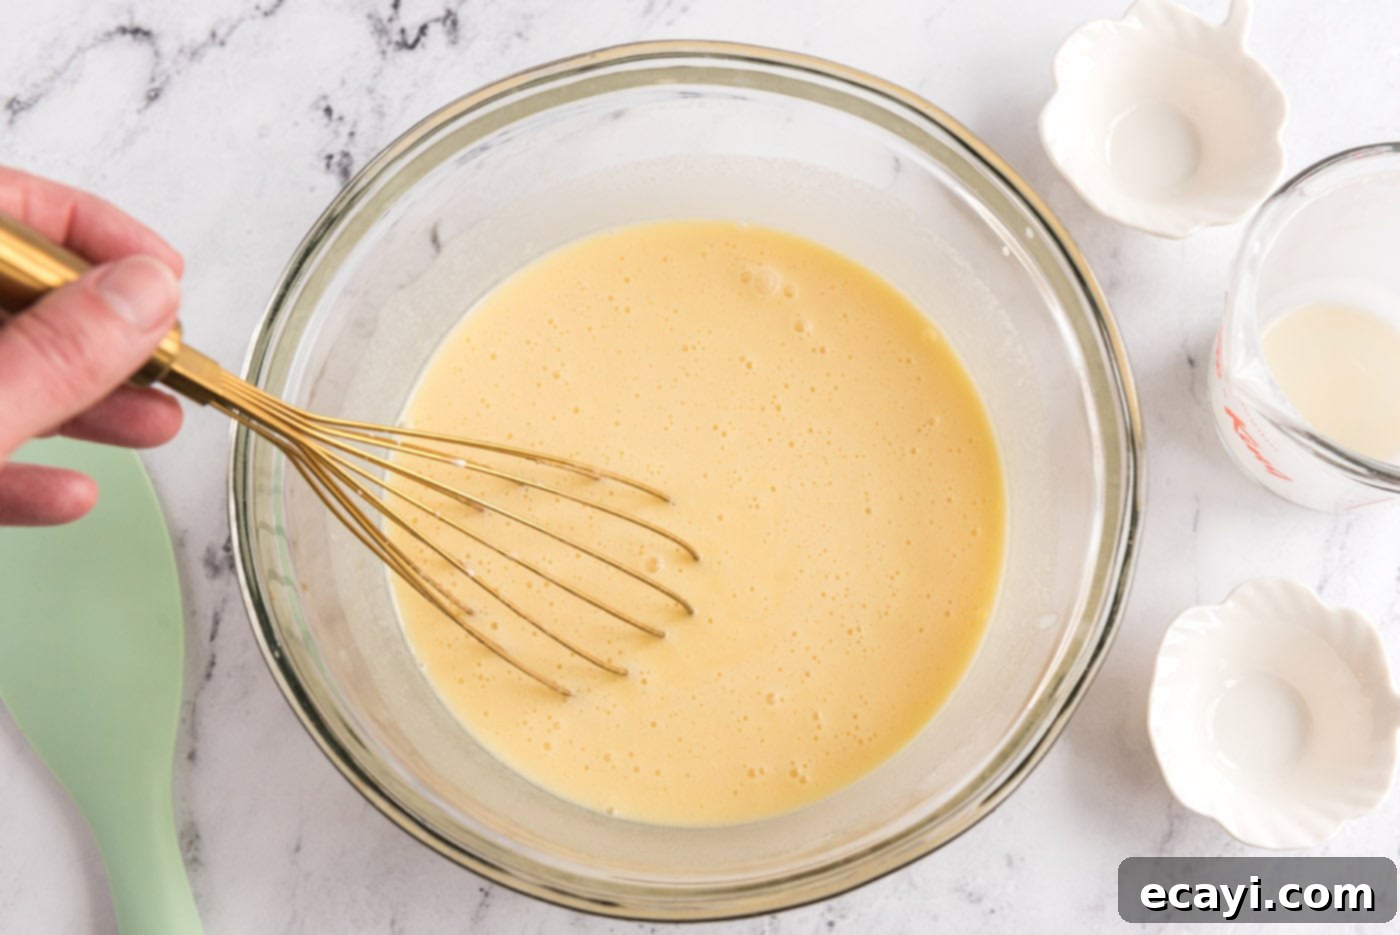
- Prepare the Egg and Sugar Base: In a separate large mixing bowl, begin by whisking the eggs until they are light, pale yellow, and noticeably fluffy. This process typically takes 1-2 minutes and incorporates air, which contributes to the ice cream’s smooth texture. Next, gradually whisk in the granulated sugar, adding it a little at a time to ensure it dissolves evenly. Continue whisking vigorously until the sugar is completely dissolved and thoroughly blended into the eggs, which should take about 1 minute more. The mixture should appear thickened and form a “ribbon” when you lift the whisk, slowly falling back into the bowl. This indicates a properly aerated and sweetened egg base.


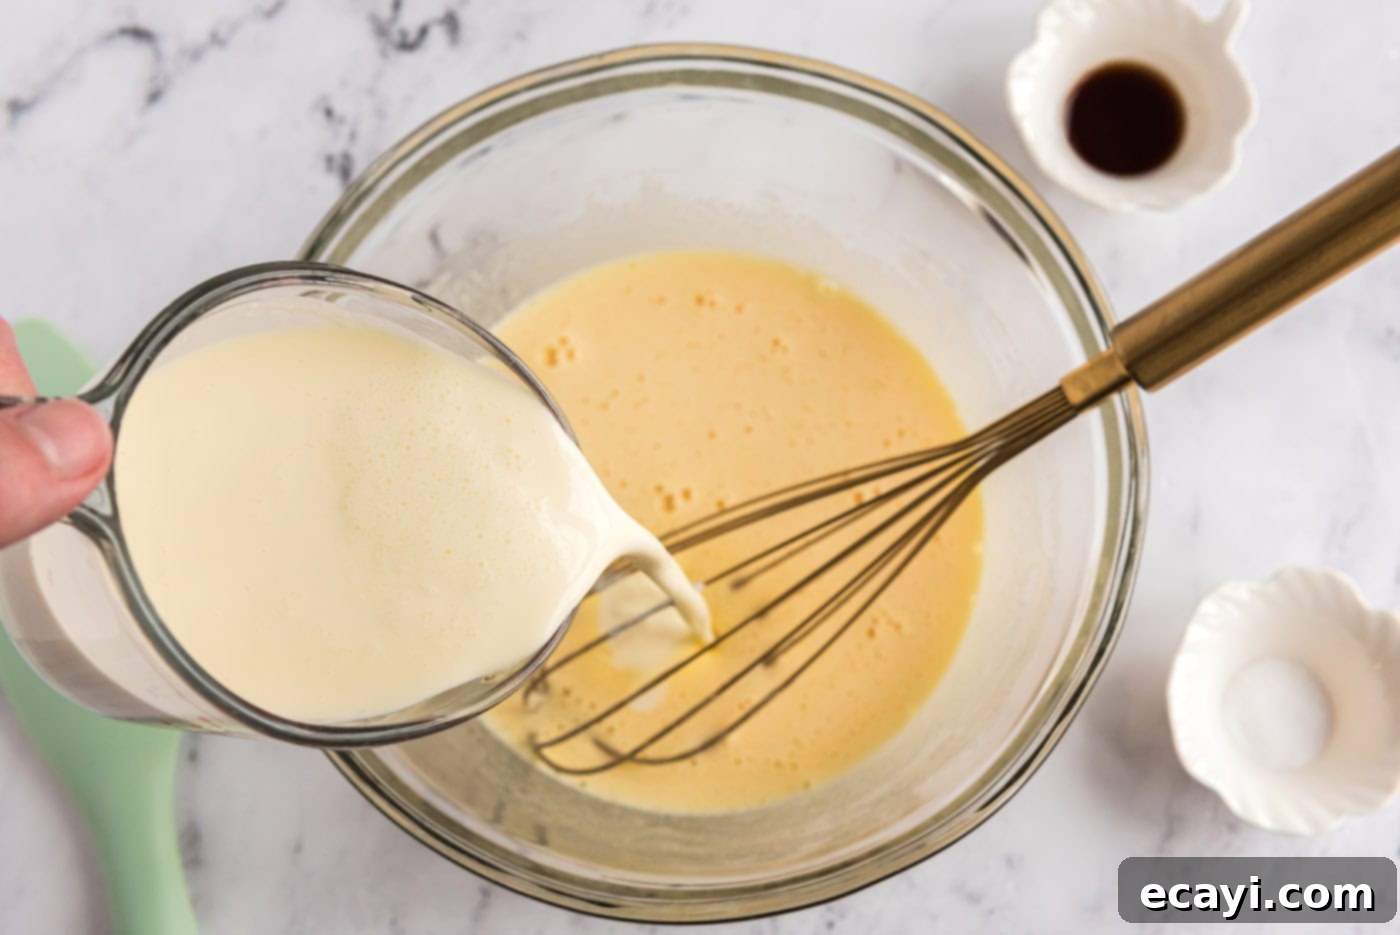
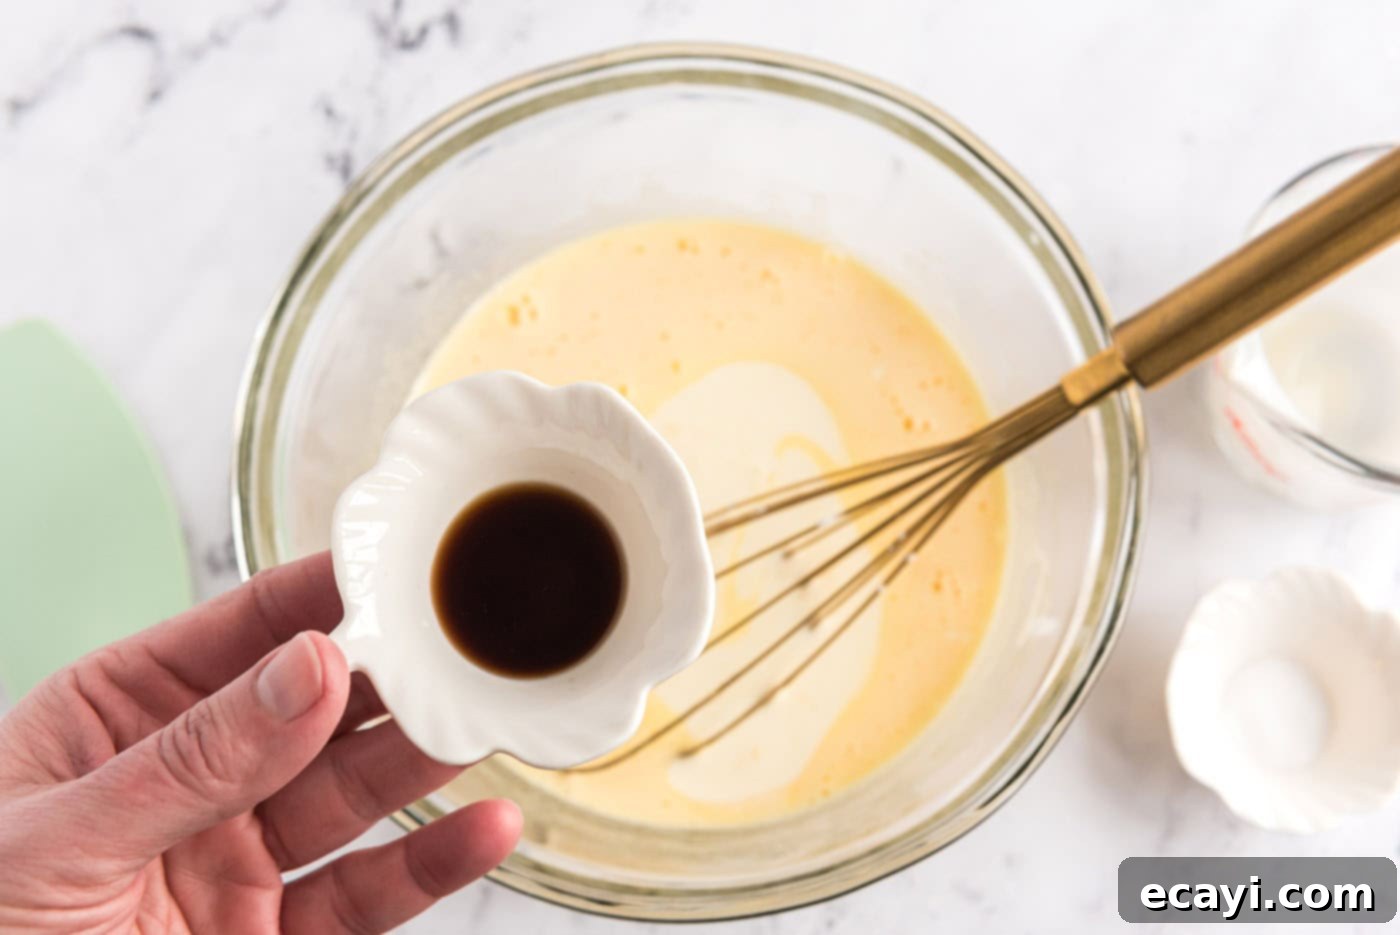
- Combine Dairy and Flavorings: To the beautifully whisked egg and sugar mixture, add the heavy whipping cream, the vanilla extract, and the pinch of salt. Whisk all these ingredients together thoroughly until they are well combined and the mixture is completely uniform. This forms the rich, flavorful custard base that will eventually become your decadent ice cream. Ensure everything is fully incorporated so the flavors are evenly distributed.


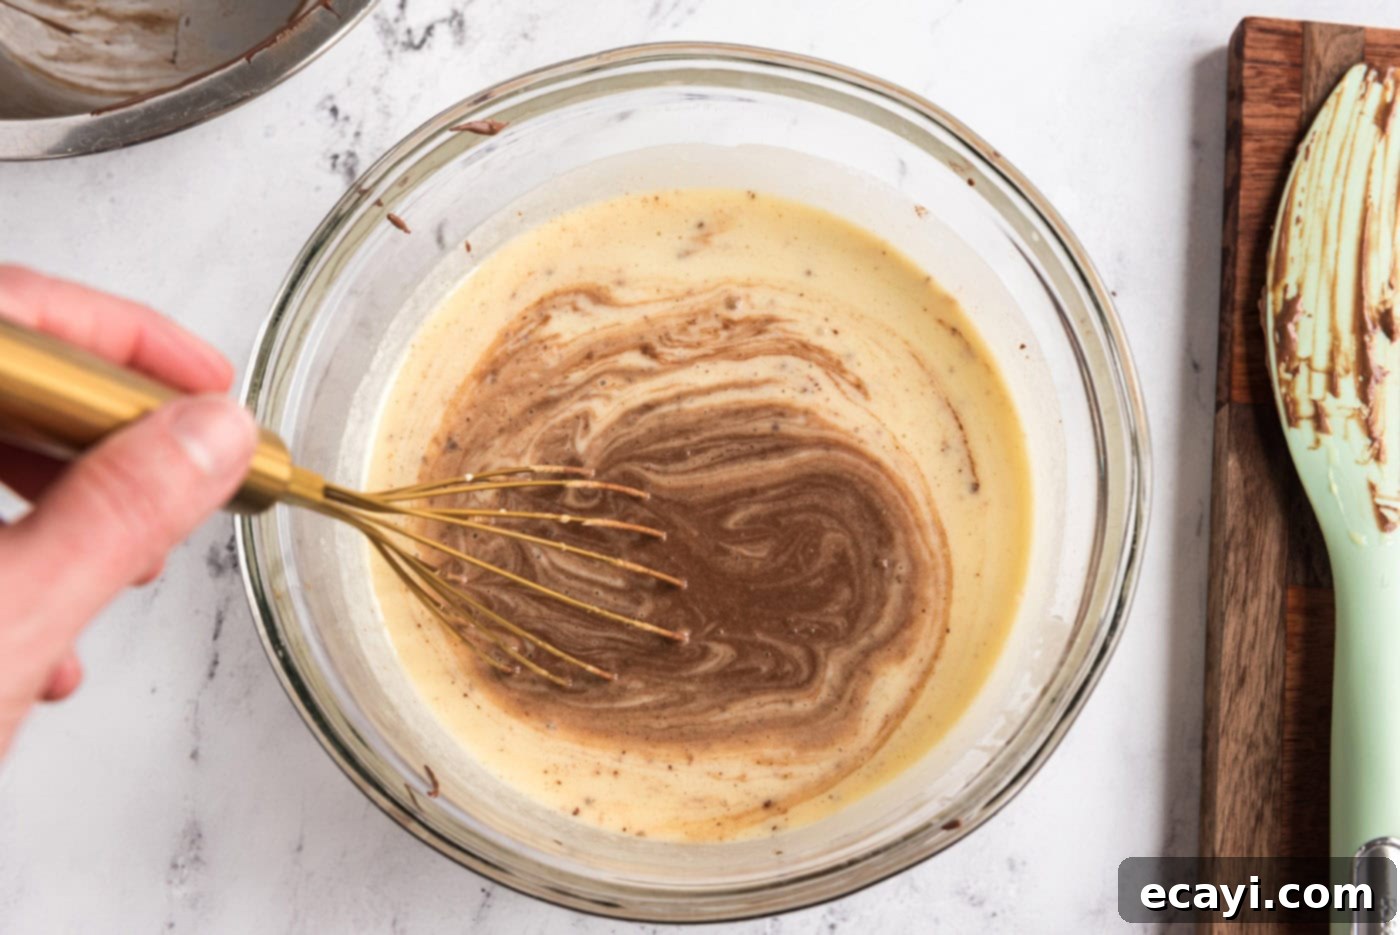
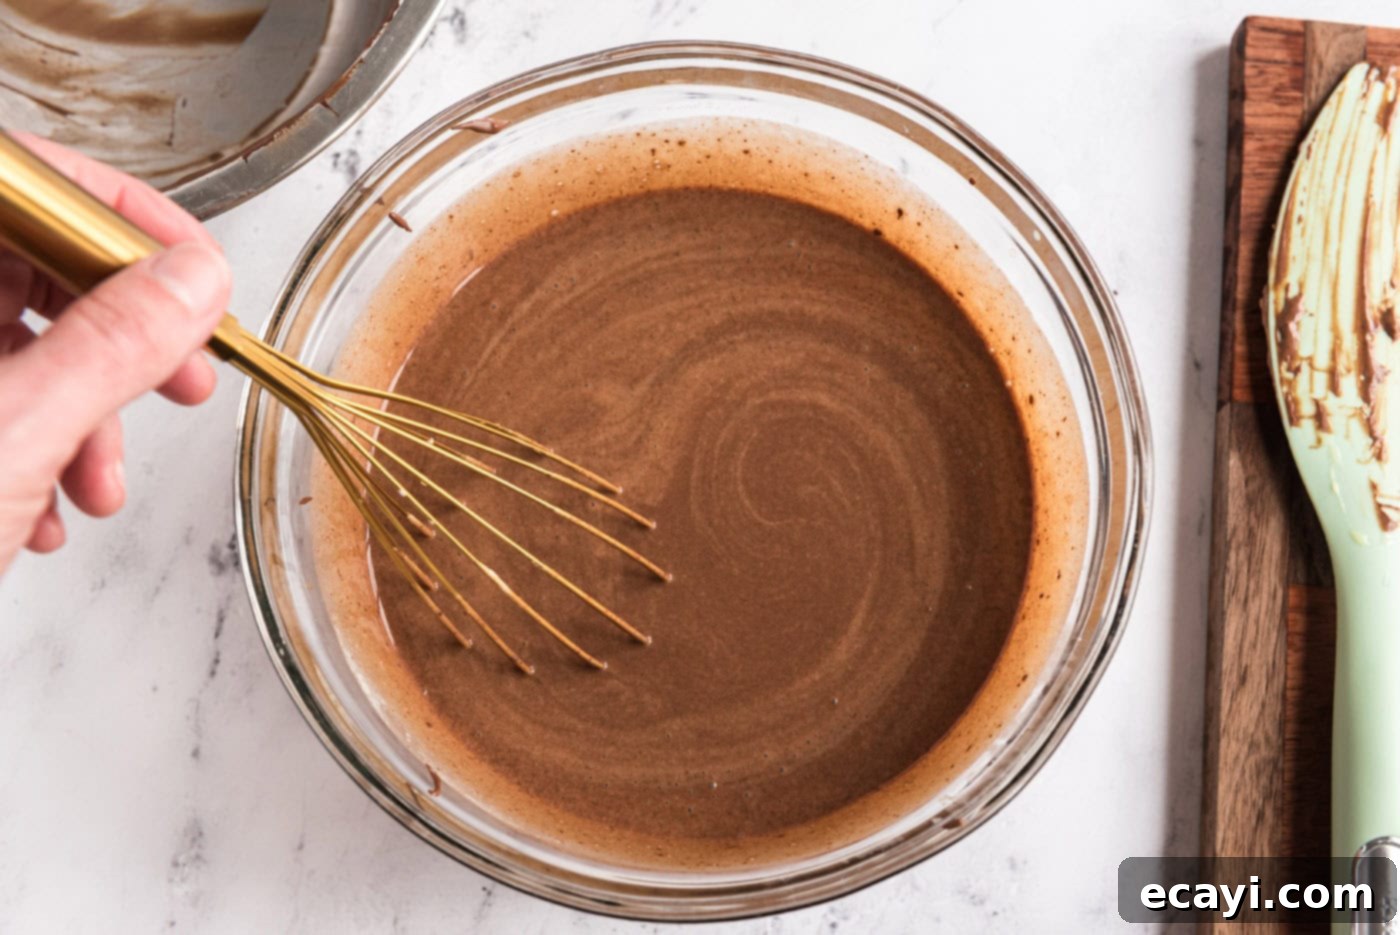
- Integrate the Cooled Chocolate Mixture: Now, carefully pour the completely cooled chocolate-milk mixture into the cream and egg mixture. Gently whisk or stir until both mixtures are thoroughly blended, creating a beautiful, uniform, and richly colored chocolate ice cream base. Take your time to ensure there are no streaks of unmixed chocolate or cream, resulting in a perfectly consistent base.


- Chill for Optimal Churning: Cover the bowl containing your prepared chocolate ice cream base with plastic wrap, ensuring the wrap directly touches the surface of the mixture. This prevents a “skin” from forming and locks in moisture. Refrigerate the mixture until it is thoroughly cold, ideally for a minimum of 1-3 hours, or even better, overnight. The colder the mixture is before churning, the more efficiently and effectively your ice cream maker will churn it, resulting in a much smoother, creamier final product with significantly fewer ice crystals. Don’t rush this step – patience here truly pays off in texture.
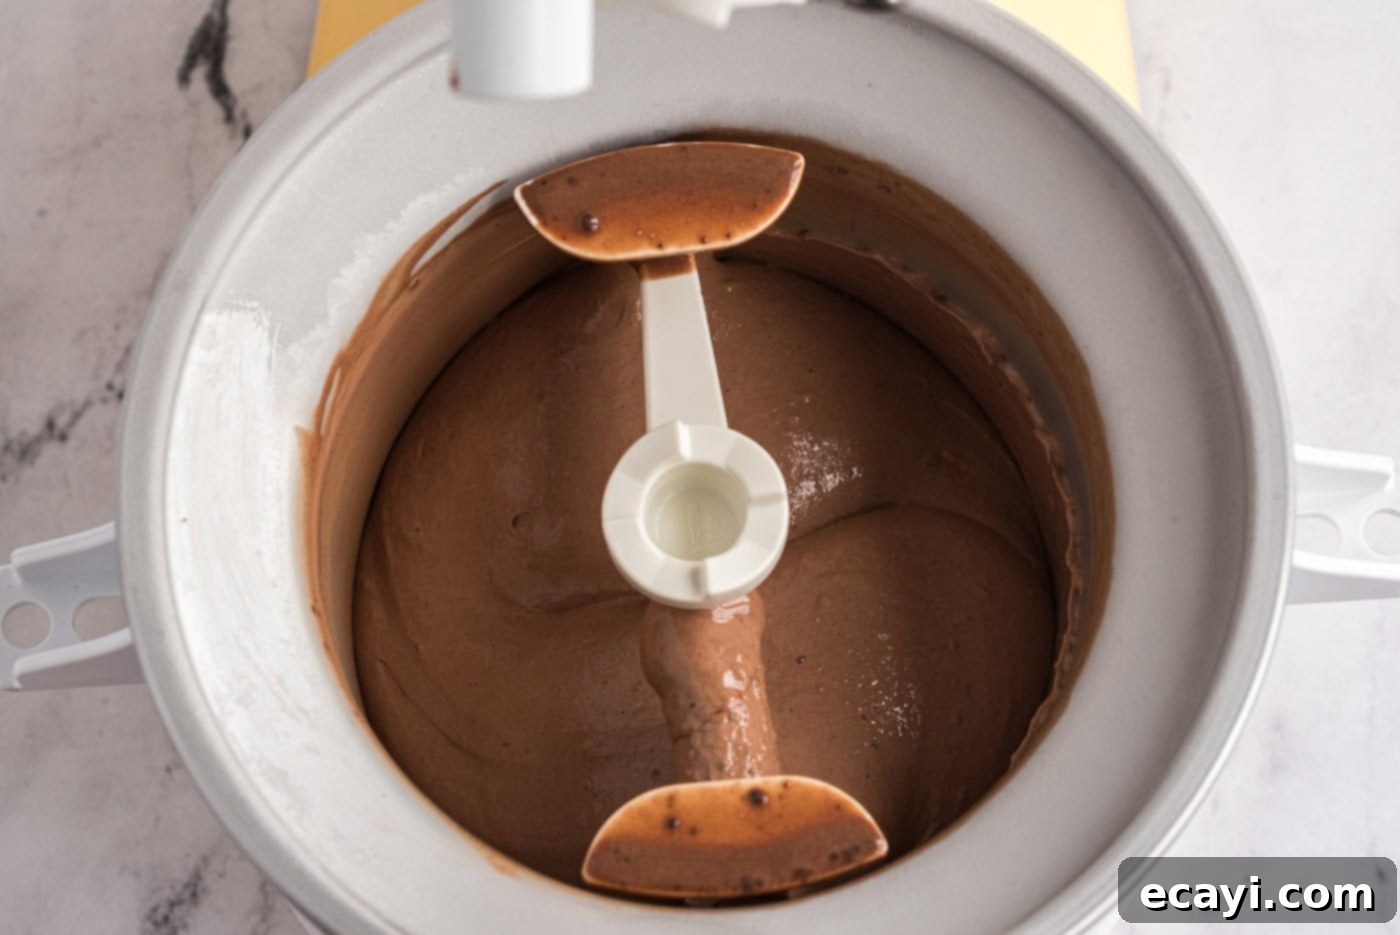
- Churn and Freeze: Once the base is perfectly chilled, transfer the mixture into your pre-frozen ice cream maker bowl. Follow the manufacturer’s instructions for churning. Churning typically takes about 20-30 minutes, during which the mixture will thicken and freeze to the consistency of soft-serve ice cream. This recipe yields approximately 1 generous quart of exquisite homemade chocolate ice cream. Once churned, immediately transfer the soft ice cream to an airtight, freezer-safe container. An 8×4 loaf pan works well; cover it tightly with plastic wrap (pressing it onto the surface to prevent freezer burn) and then with foil. Freeze for at least 4-6 hours (or ideally overnight) to allow it to firm up to a perfectly scoopable consistency.


Frequently Asked Questions & Expert Tips for Perfect Homemade Ice Cream
While this specific recipe is crafted for optimal results with an ice cream maker to achieve its signature smooth, rich texture, creating a truly decadent no-churn version requires quite a few ingredient substitutions and a fundamentally different method. The churning process continuously incorporates air and breaks up ice crystals as the mixture freezes, which is essential for a creamy result. Without it, you’d typically need ingredients like sweetened condensed milk and pre-whipped heavy cream to achieve a similar soft-serve-like consistency. For a fantastic alternative, hop over to our dedicated no-churn chocolate ice cream recipe to see how to make a delicious version without an ice cream maker.
Homemade chocolate ice cream, when stored properly in an airtight freezer-safe container, can be kept in the freezer for 2-3 weeks. It’s important to note that because it doesn’t contain the artificial stabilizers and preservatives found in commercial ice creams, its texture and quality will naturally degrade faster. To prevent freezer burn and maintain optimal taste and creaminess, press a piece of plastic wrap directly onto the surface of the ice cream before securing the lid. Enjoy it within this timeframe for the best possible flavor and texture!
Absolutely! Customizing your homemade chocolate ice cream with mix-ins is one of the most exciting and delicious parts of making it yourself. You can add a wide variety of delectable additions such as chopped nuts (like almonds, walnuts, or pecans), mini marshmallows, brownie chunks, chocolate chips (milk, dark, or white), cookie pieces (such as crushed Oreos or chocolate chip cookies!), or even your favorite chopped candy pieces. The key is to add these extra ingredients during the last 5 minutes of churning. This timing ensures they are evenly distributed throughout the ice cream without getting crushed too finely or sinking to the bottom. Get creative and make it truly your own personalized frozen masterpiece!
Homemade ice cream can sometimes turn out harder or icier than desired, often due to a few common factors. The most frequent culprits include insufficient fat content (if you’ve substituted heavy cream with lower-fat dairy), too little sugar (which acts as an antifreeze and lowers the freezing point), or not chilling the ice cream base thoroughly enough before churning. Over-churning can also sometimes lead to a slightly harder texture. Ensure you’re using heavy cream as specified, and don’t reduce the sugar. Most importantly, proper and prolonged chilling of the base before it goes into the ice cream maker is vital for creating small ice crystals and a creamy result. To make it easier to scoop, always let your homemade ice cream sit at room temperature for 5-10 minutes before serving.
Yes, chilling the ice cream base thoroughly before churning is arguably one of the most critical steps for achieving optimal creaminess and texture. A well-chilled base (ideally for 3 hours, or even better, overnight) ensures that the mixture is as cold as possible before it enters the ice cream maker. The colder the base, the faster it will freeze once churning begins. The faster it freezes, the smaller the ice crystals will be, resulting in a much smoother, more luxurious, and less icy texture. Skipping this step or not chilling long enough can lead to a grainier, icier, and less pleasant consistency. Think of it as pre-cooling your ingredients for the best possible outcome.
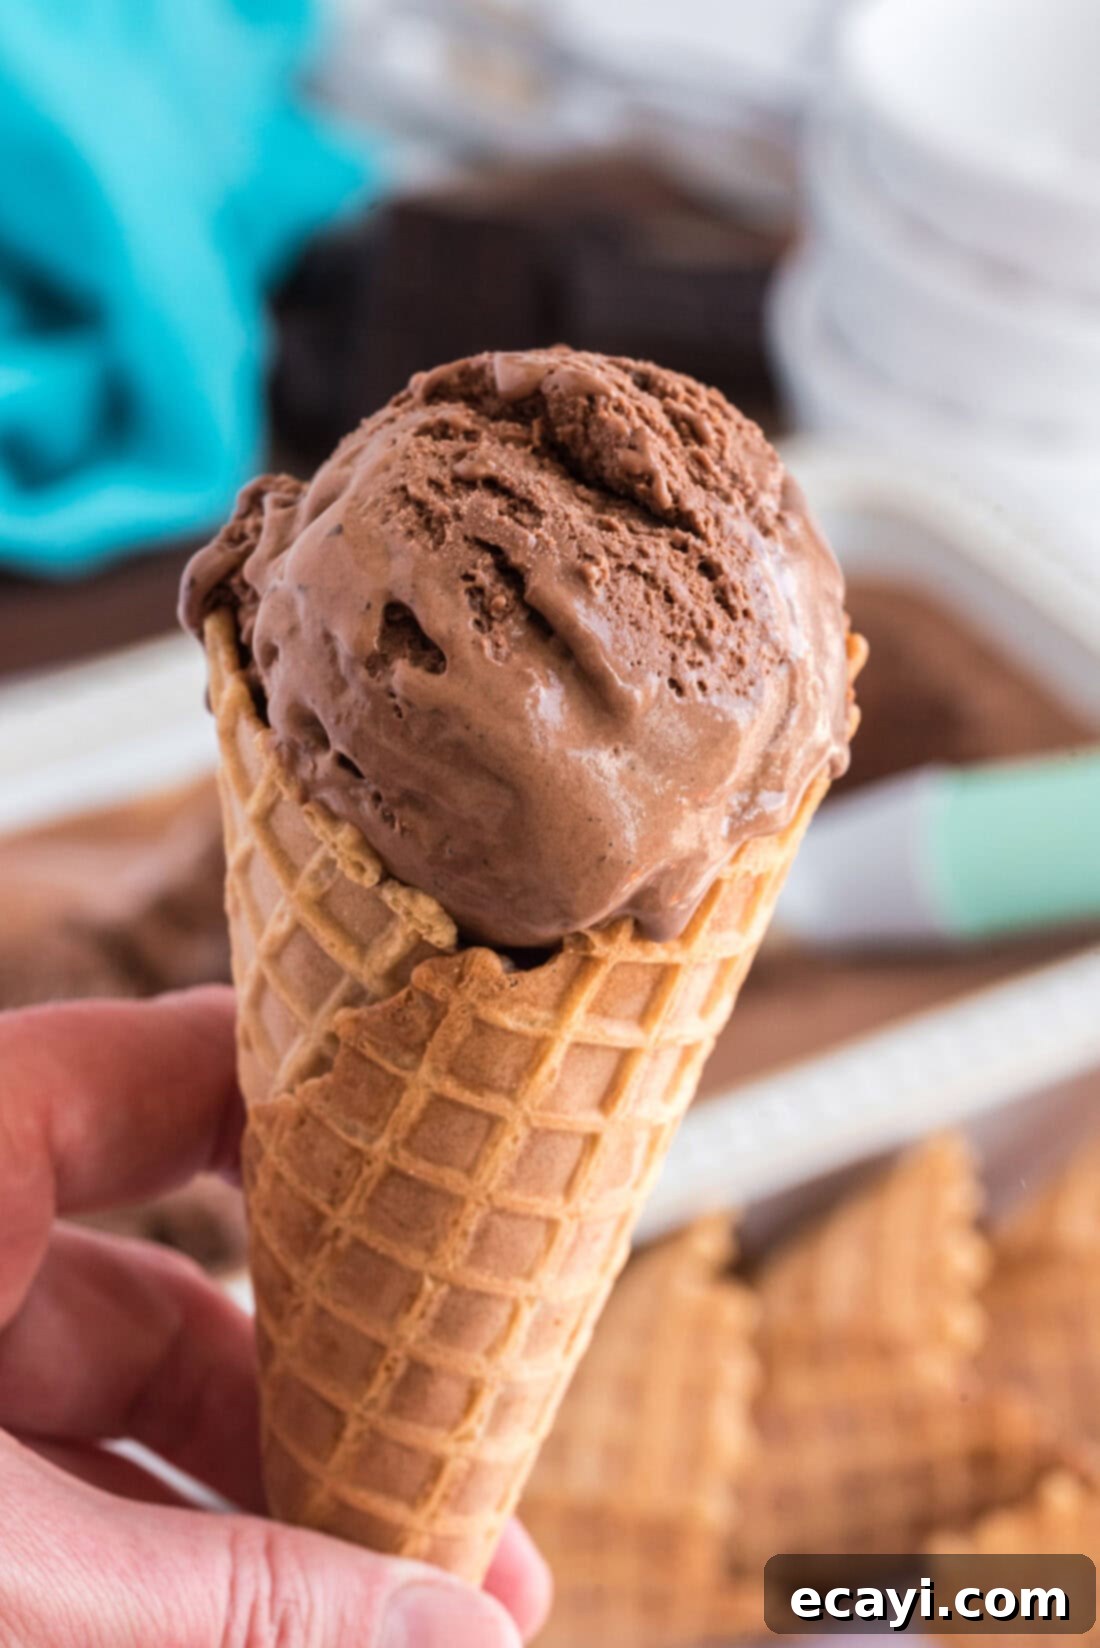
Delightful Serving Suggestions for Your Homemade Chocolate Ice Cream
Once your homemade chocolate ice cream has achieved its perfect firm consistency in the freezer, it’s time to indulge in the fruits of your labor! To ensure easy and delightful scooping, allow the ice cream to sit at room temperature for about 5-10 minutes before serving. This brief period helps it soften just enough to achieve that ideal scoopable texture, ensuring every bite is smooth and creamy.
While this rich and creamy chocolate ice cream is absolutely divine and perfectly satisfying on its own, it also serves as an incredible base for a myriad of delicious toppings and creative dessert combinations. Consider elevating your ice cream experience with your favorite additions such as:
- Sauces and Drizzles: A generous pour of warm hot fudge sauce, gooey caramel, a tangy raspberry coulis, or a decadent chocolate ganache.
- Crunchy Elements: Sprinkles (rainbow or chocolate), chopped nuts (pecans, walnuts, almonds), crushed cookies (like Oreos or shortbread), granola, or even pretzel pieces for a delightful sweet and salty contrast.
- Sweet Candy & Chocolate: Mini chocolate chips, chopped candy bars (such as Snickers or Reese’s Peanut Butter Cups), or chocolate-covered espresso beans for an extra caffeine kick.
- Creamy Toppings: A generous swirl of homemade whipped cream, a dollop of fluffy marshmallow fluff, or even a spoonful of creamy peanut butter.
- Fresh Fruit: Sliced bananas, fresh berries (strawberries, raspberries, blueberries), or pitted cherries for a burst of freshness and color.
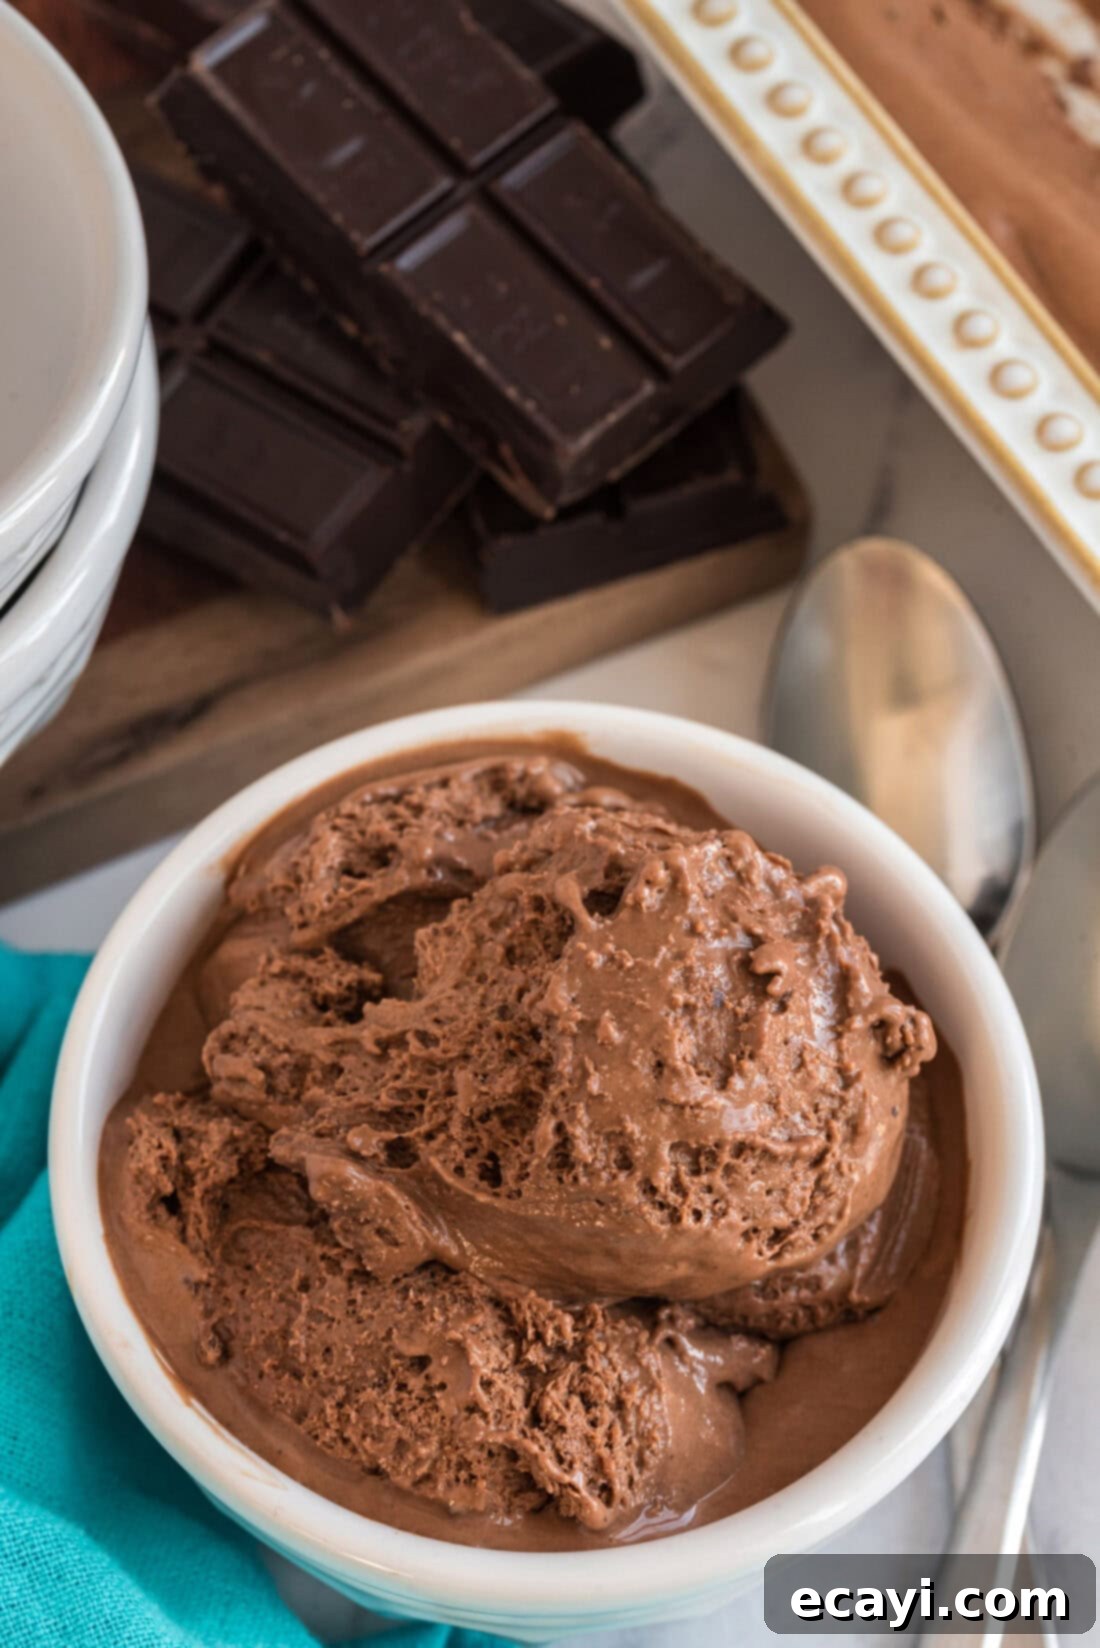
However you choose to enjoy it – whether scooped simply into a classic bowl, piled high on a crispy waffle cone, or as the star of an elaborate sundae – this homemade chocolate ice cream promises a truly satisfying and memorable dessert experience. Its deep, rich flavor and luxurious texture make it a standalone treat, but it also welcomes a world of delicious accompaniments. So go ahead, scoop it up, get creative, and savor every delightful spoonful!
Explore More Irresistible Homemade Ice Cream Recipes
If you’ve loved making and enjoying this rich homemade chocolate ice cream, you’re in for a treat! The world of homemade frozen desserts is vast, exciting, and full of delicious possibilities. Expanding your ice cream repertoire is a rewarding culinary journey. Here are some other fantastic ice cream recipes to try, each offering a unique flavor profile and a delightful experience for your palate:
- Rocky Road Ice Cream: A beloved classic combining creamy chocolate ice cream with fluffy marshmallows, crunchy nuts, and sometimes chocolate chunks for a delightful textural adventure.
- White Chocolate Ice Cream: A sweet, creamy, and luxurious alternative for those who adore the delicate, buttery notes of white chocolate. It’s a surprisingly rich and elegant treat.
- Peanut Butter Chocolate Chip Ice Cream: The perfect marriage of salty, nutty peanut butter swirls and sweet, decadent chocolate chips, creating an irresistible flavor combination.
- Homemade Mint Chocolate Chip Ice Cream: A refreshing and vibrant ice cream featuring cool mint flavor balanced with delicious shards of rich chocolate – a timeless and incredibly popular favorite.
I absolutely adore spending time in the kitchen, experimenting with new flavors, and sharing my culinary adventures and tested recipes with all of you! Remembering to come back each day for new inspiration can sometimes be a challenge, which is why I offer a convenient newsletter delivered straight to your inbox every time a fresh recipe is posted. Simply subscribe today and start receiving your free daily recipes – never miss a delicious update and always have something new to try!

Homemade Chocolate Ice Cream
IMPORTANT – There are often Frequently Asked Questions within the blog post that you may find helpful. Simply scroll back up to read them!
Print It
Pin It
Rate It
Save ItSaved!
Ingredients
- 4 ounces unsweetened chocolate
- 1 cup milk
- 2 large eggs
- 1 cup granulated sugar
- 1 cup heavy whipping cream
- 1 teaspoon vanilla extract
- 1 pinch salt
Things You’ll Need
-
Double boiler or heat safe bowl
-
Ice cream maker
-
Mixing bowls
-
Whisk
-
8×4 loaf pan or similar
Before You Begin
- Choose a good quality bar of unsweetened chocolate for this recipe.
- You can add chopped or slivered almonds, marshmallows, brownie chunks, candy pieces, you name it. Add any extra ingredients in during the last minute of churning.
- If you are concerned about using eggs in ice cream, I would suggest opting for pasteurized eggs.
Instructions
-
Melt the unsweetened chocolate in the top of a double boiler over hot, not boiling water.
TIP – Don’t have a double boiler? You can use a heat-safe boil, such as a stainless steel bowl, instead. Be sure it fits over your saucepan. You do not want the water to touch the bottom of the bowl.
-
Gradually whisk in the milk and heat, stirring constantly, until smooth. Remove from the heat and let cool.
-
Whisk the eggs in a mixing bowl until light and fluffy, 1-2 minutes. Whisk in the sugar, a little at a time, then continue whisking until completely blended, about 1 minute more.
-
Add the cream, vanilla, and salt and whisk to blend. Pour the chocolate mixture into the cream mixture and blend.
-
Cover and refrigerate until cold, about 1-3 hours, depending on your refrigerator.
-
Transfer the mixture to an ice cream maker and freeze following the manufacturer’s instructions. Makes 1 generous quart.
Expert Tips & FAQs
- When ready to serve, allow the homemade chocolate ice cream to sit at room temperature for 5-10 minutes to soften before scooping.
- Homemade chocolate ice cream can be stored in the freezer, covered, for 2-3 weeks.
Nutrition
The recipes on this blog are tested with a conventional gas oven and gas stovetop. It’s important to note that some ovens, especially as they age, can cook and bake inconsistently. Using an inexpensive oven thermometer can assure you that your oven is truly heating to the proper temperature. If you use a toaster oven or countertop oven, please keep in mind that they may not distribute heat the same as a conventional full sized oven and you may need to adjust your cooking/baking times. In the case of recipes made with a pressure cooker, air fryer, slow cooker, or other appliance, a link to the appliances we use is listed within each respective recipe. For baking recipes where measurements are given by weight, please note that results may not be the same if cups are used instead, and we can’t guarantee success with that method.
This post originally appeared here on Dec 15, 2008 and has since been updated with new photos and expert tips to ensure the best possible experience for our readers.
