Decadent & Easy Homemade Mocha Truffles Recipe: Your Guide to Melt-in-Your-Mouth Chocolate Delights
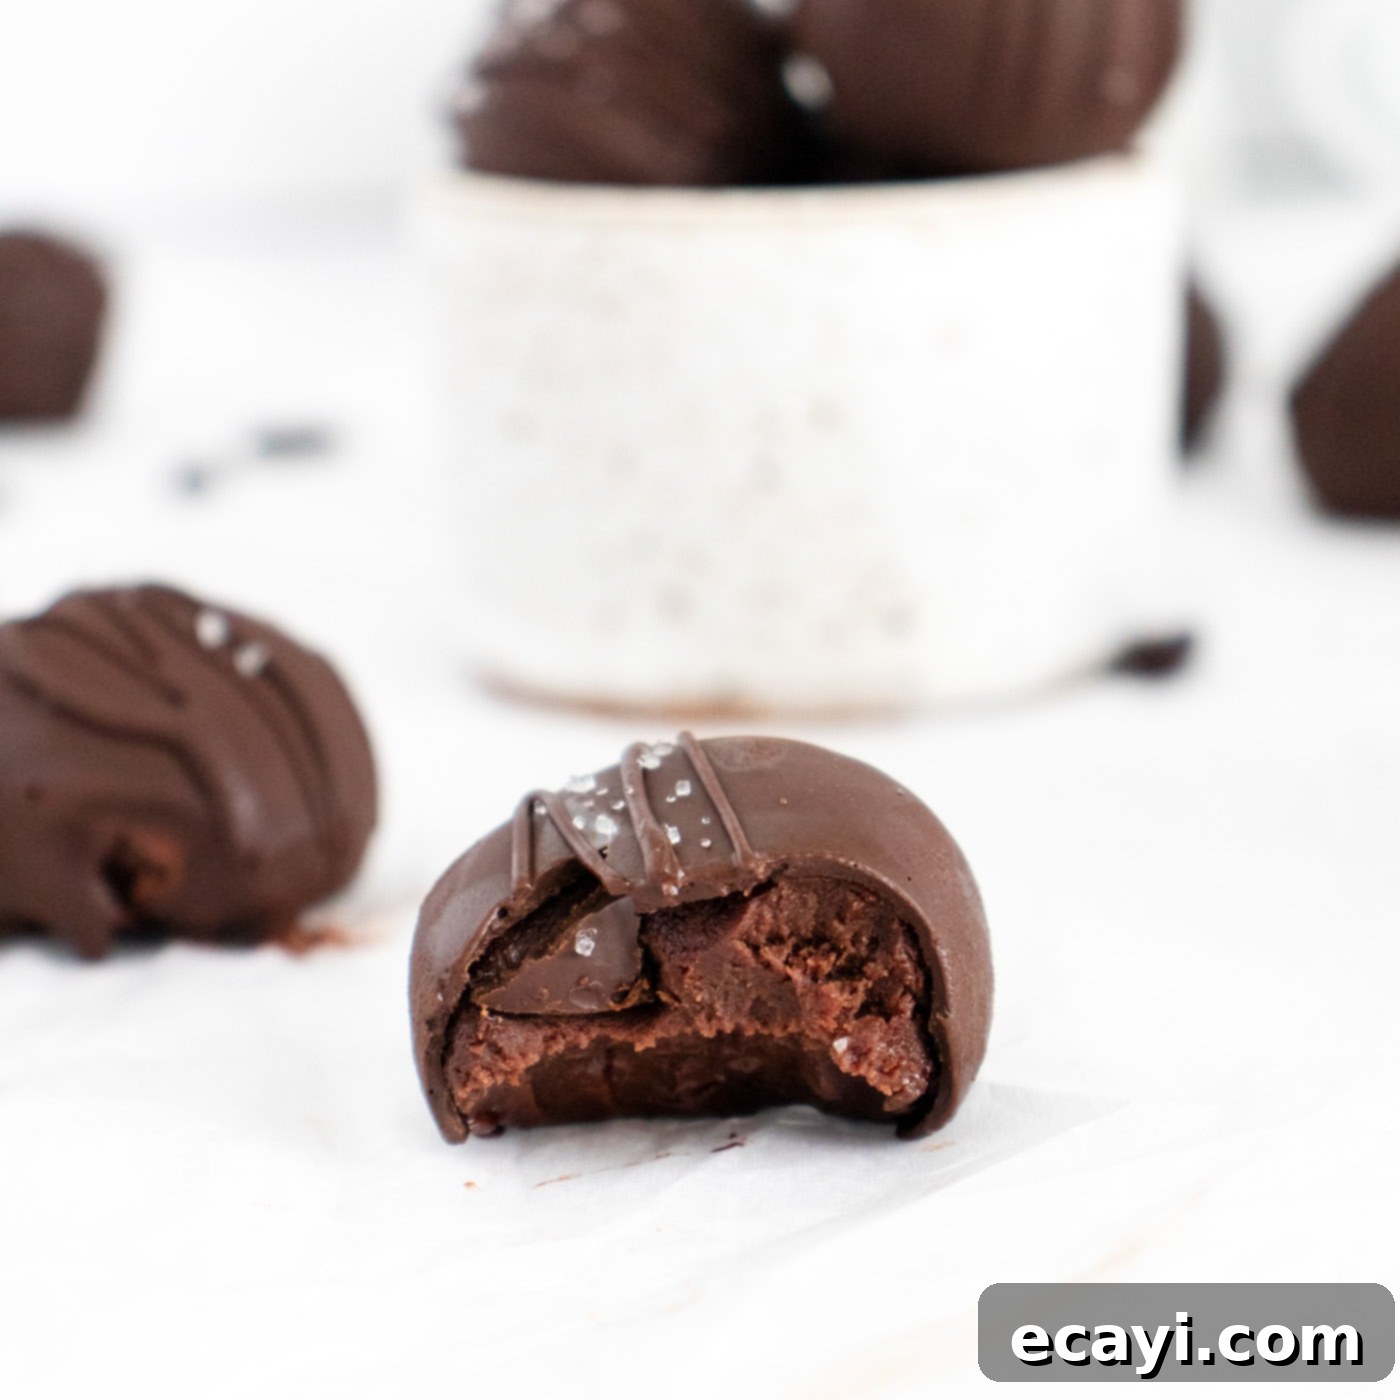
Imagine a bite-sized piece of heaven, rich with deep chocolate and aromatic coffee notes, melting effortlessly in your mouth. Making these luxurious treats is far easier than you might think! Our simple recipe for decadent mocha truffles is designed to guide you through creating perfect, melt-in-your-mouth confections coated in a smooth chocolate shell. Whether you’re a seasoned baker or a kitchen novice, these espresso-infused chocolate delights are a rewarding project that promises impressive results and incredible flavor.
Why You’ll Adore This Mocha Truffle Recipe
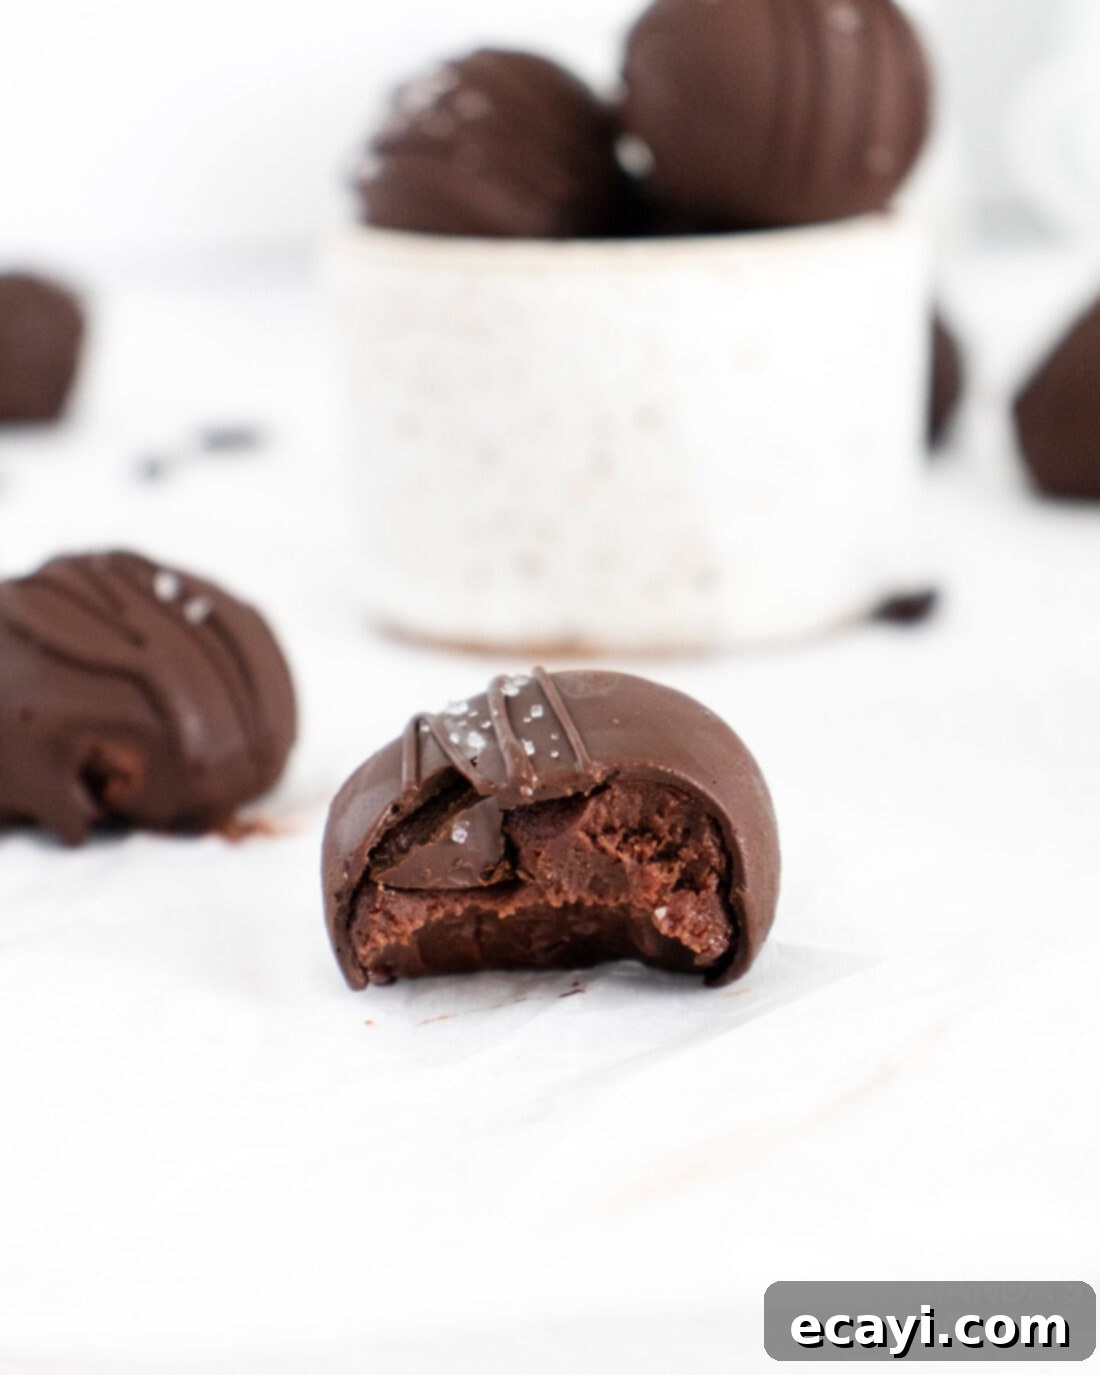
There are countless reasons why these mocha truffles are a perennial favorite, and why we’re confident they’ll become a staple in your dessert repertoire. Beyond their undeniably delicious flavor, their versatility and ease of preparation make them truly stand out. Truffles are the quintessential edible gift, perfect for almost any occasion. Picture them nestled in decorative cupcake liners within a charming goodie box or bag – they make a thoughtful, homemade present for Valentine’s Day, Mother’s Day, Christmas, birthdays, anniversaries, or even as a simple token of appreciation.
What truly sets this recipe apart is the incredible room it provides for customization. While the classic chocolate-coated mocha truffle is divine, you can easily personalize these confections to suit any palate or theme. Consider rolling them in finely chopped nuts like pistachios or hazelnuts for an added crunch and earthy flavor. A dusting of rich cocoa powder offers a sophisticated, slightly bitter contrast, while a sprinkle of flaky sea salt elevates the chocolate and espresso notes beautifully. For a festive touch, colorful sprinkles can transform them into a party-ready treat. Imagine a drizzle of contrasting white chocolate or a swirl of melted caramel for an extra layer of decadence! The possibilities are endless, allowing you to create a unique truffle experience every time.
For those who enjoy a spirited twist, this recipe offers an exciting boozy variation. Simply substitute the espresso with an equal amount of Kahlua or another coffee liqueur. The Kahlua adds a wonderful depth and warmth, creating an adult-friendly confection that’s perfect for after-dinner indulgence or a special celebration. This adaptability ensures that these truffles are never boring and can be tailored to any taste preference or event.
Essential Ingredients for Your Mocha Truffles
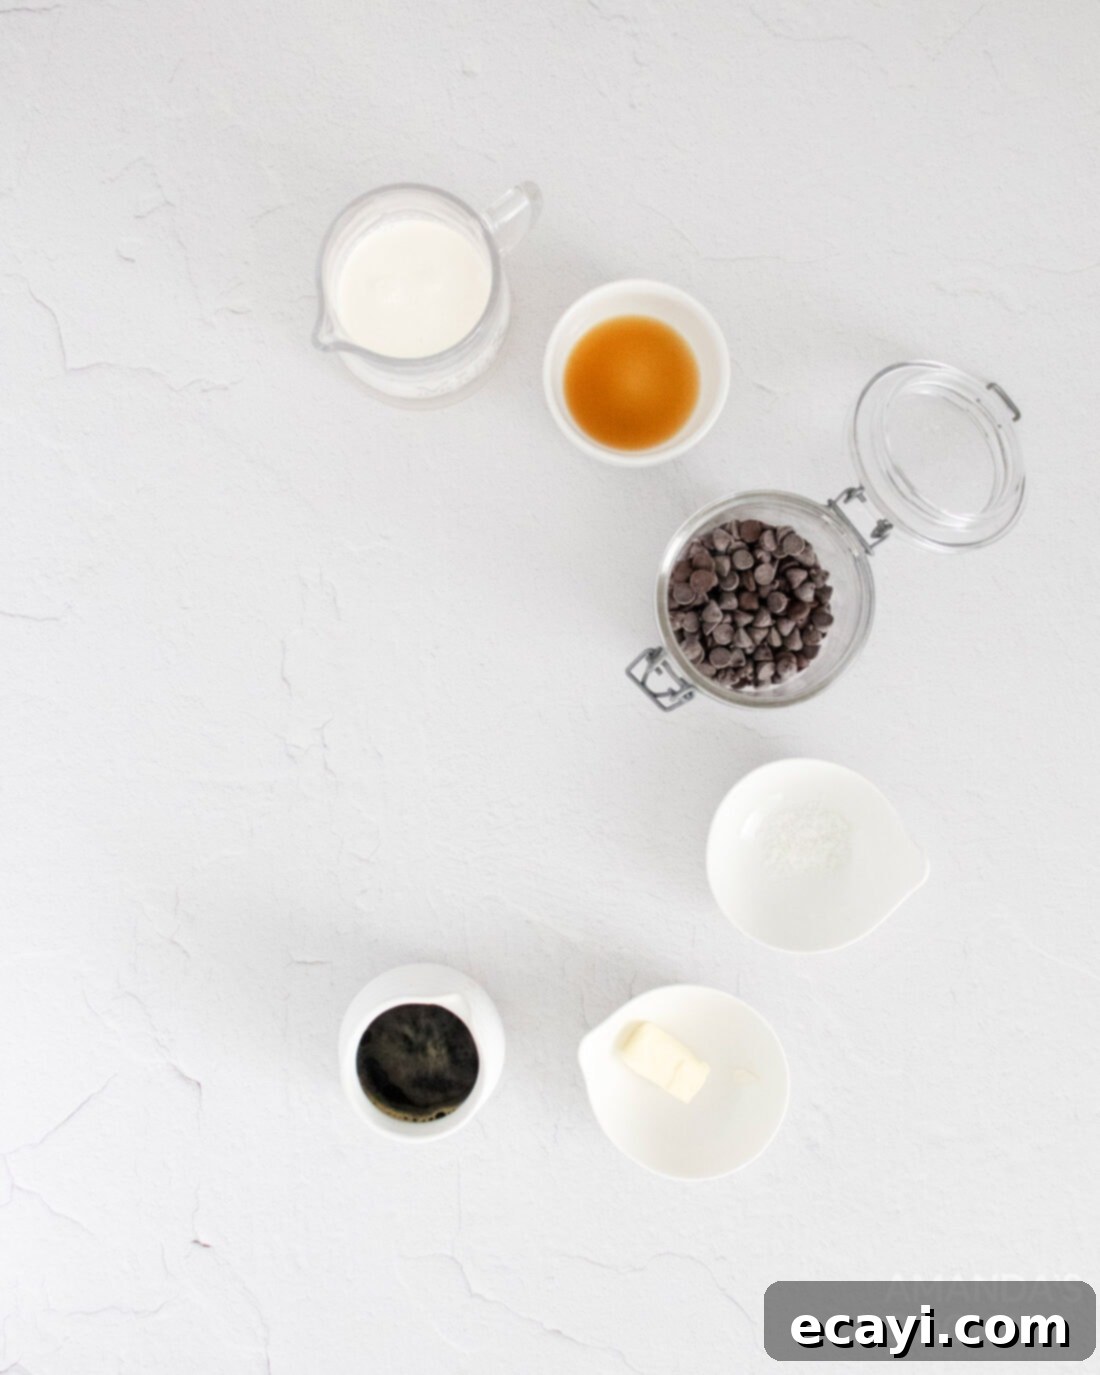
Crafting these exquisite mocha truffles requires a few key ingredients, each playing a vital role in achieving their signature rich flavor and smooth texture. Quality matters here, especially when it comes to chocolate and espresso, as they are the stars of the show.
- Heavy Whipping Cream: This provides the lush, creamy base for our ganache, giving the truffles their incredible melt-in-your-mouth consistency. Don’t substitute with lighter creams, as the fat content is crucial.
- Semi-Sweet Chocolate: The foundation of any good truffle! We recommend using high-quality semi-sweet chocolate, either finely chopped from a bar or good-quality chocolate chips. The better the chocolate, the richer and more profound your truffle flavor will be. Aim for a cacao percentage around 50-60% for a balanced sweetness and bitterness.
- Espresso or Strong Brewed Coffee: This is where the “mocha” magic happens. Freshly brewed espresso will offer the most intense and authentic coffee flavor. If you don’t have an espresso machine, a very strong brew of dark roast coffee or even instant espresso powder dissolved in a small amount of hot water can be used as a substitute. The coffee enhances the chocolate, adding a complex aromatic layer.
- Unsalted Butter: A small amount of butter adds richness, helps with the smooth texture, and contributes to the overall decadence of the truffle.
- Vanilla Extract: Pure vanilla extract provides a warm, comforting background note that complements both chocolate and coffee beautifully.
- Sea Salt: Just a pinch of flaky sea salt in the truffle mixture, and optionally as a topping, acts as a flavor enhancer, balancing the sweetness and intensifying the chocolate notes. If you don’t have sea salt, kosher salt can be used, but reduce the amount slightly as it’s less coarse.
- Coconut Oil (for coating): A touch of coconut oil added to the melting chocolate for the coating helps create a smoother, shinier, and more fluid dipping chocolate. It also helps the coating set with a lovely snap. Refined coconut oil is best to avoid any coconut flavor.
Step-by-Step Guide: Crafting Your Own Mocha Truffles
These step-by-step photos and detailed instructions are provided to help you visualize each stage of making this delightful recipe. For a convenient printable version, complete with exact measurements and instructions, you can Jump to Recipe at the bottom of the page.
- Prepare the Cream: Begin by gently warming the heavy cream. Place it in a microwave-safe bowl and heat for approximately 30-45 seconds, or until it reaches a temperature of about 115°F (46°C). The goal is to make it warm enough to melt the chocolate efficiently without boiling, which could scorch the cream.
-

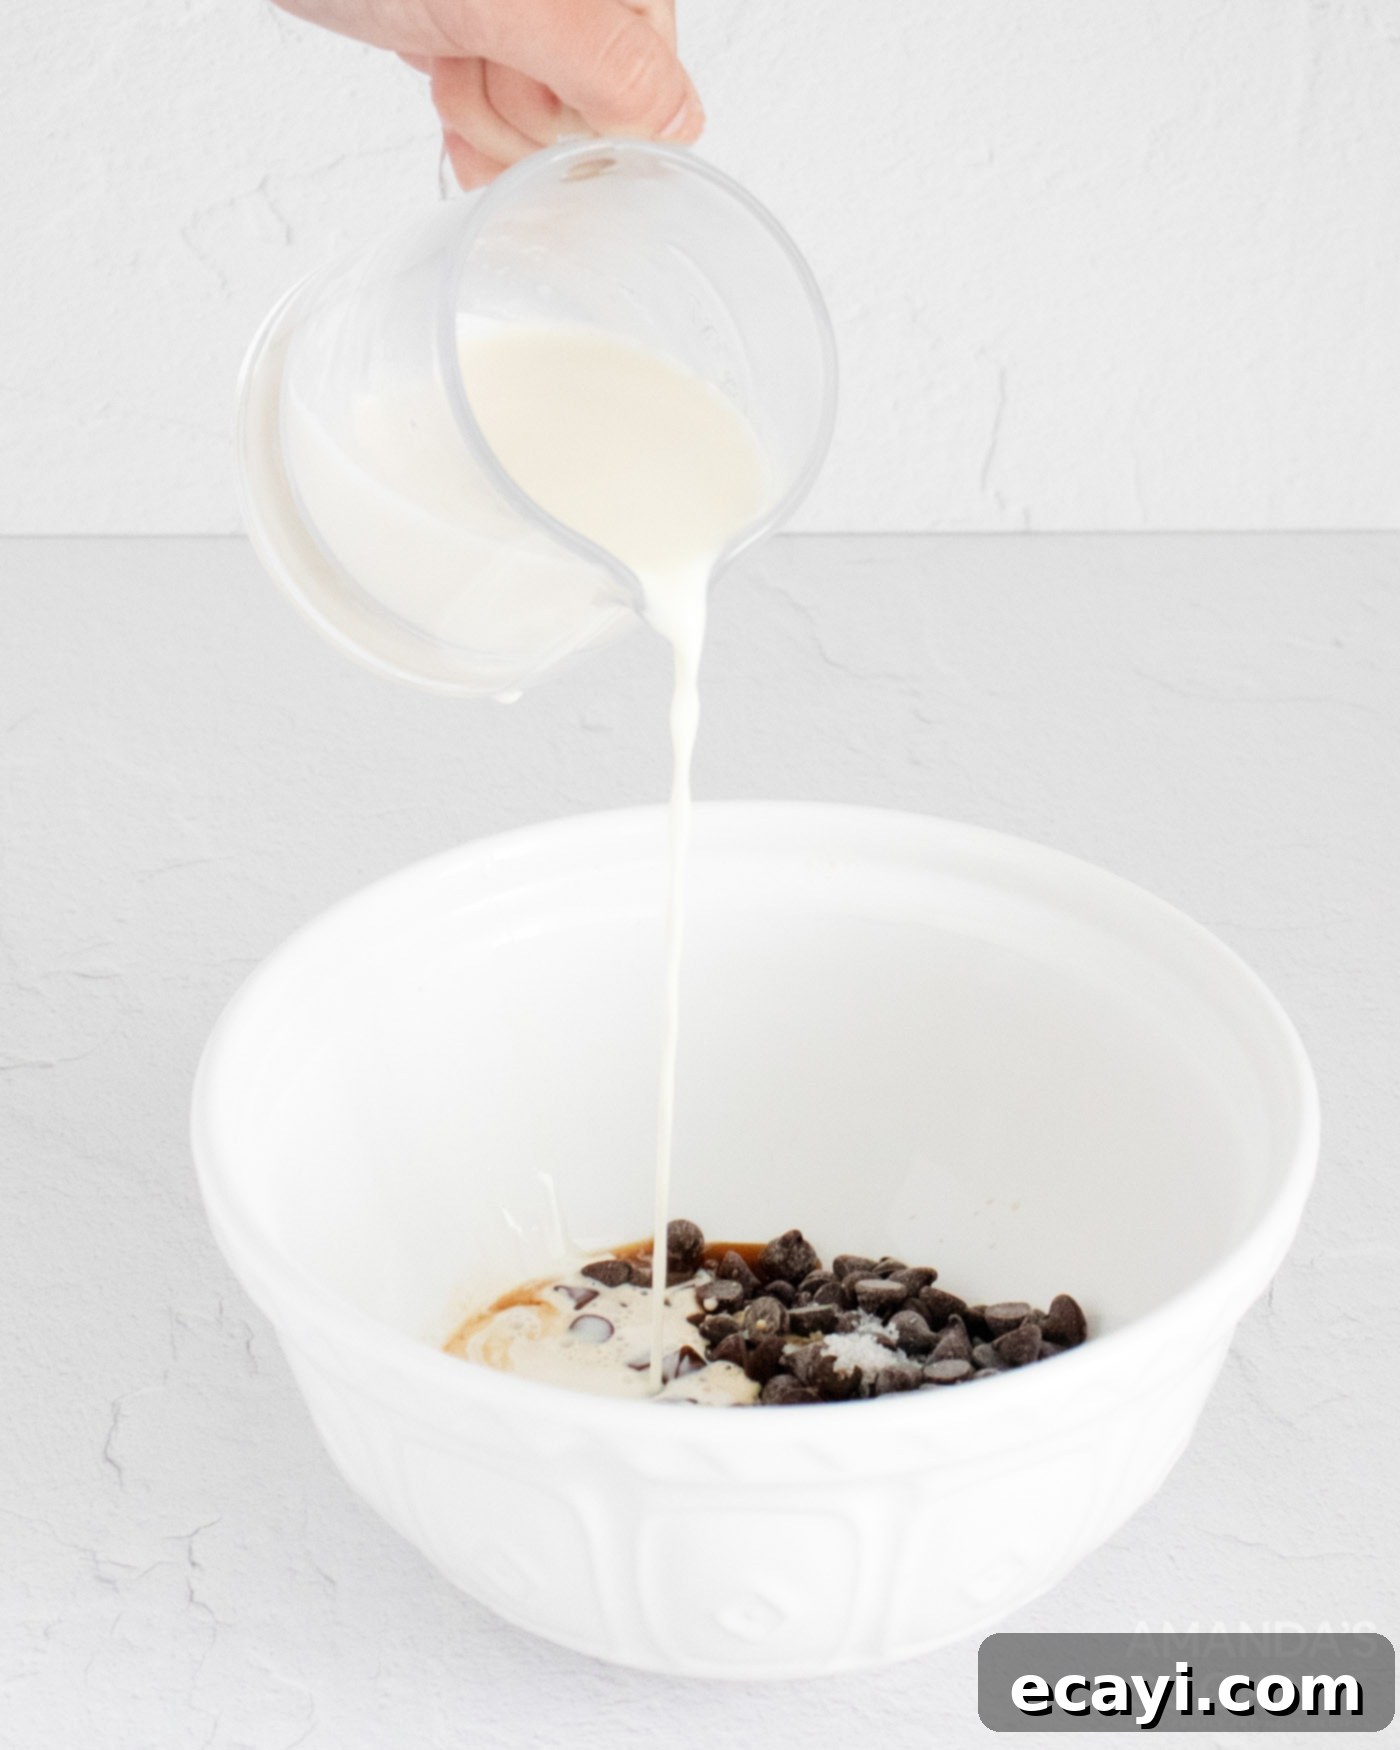
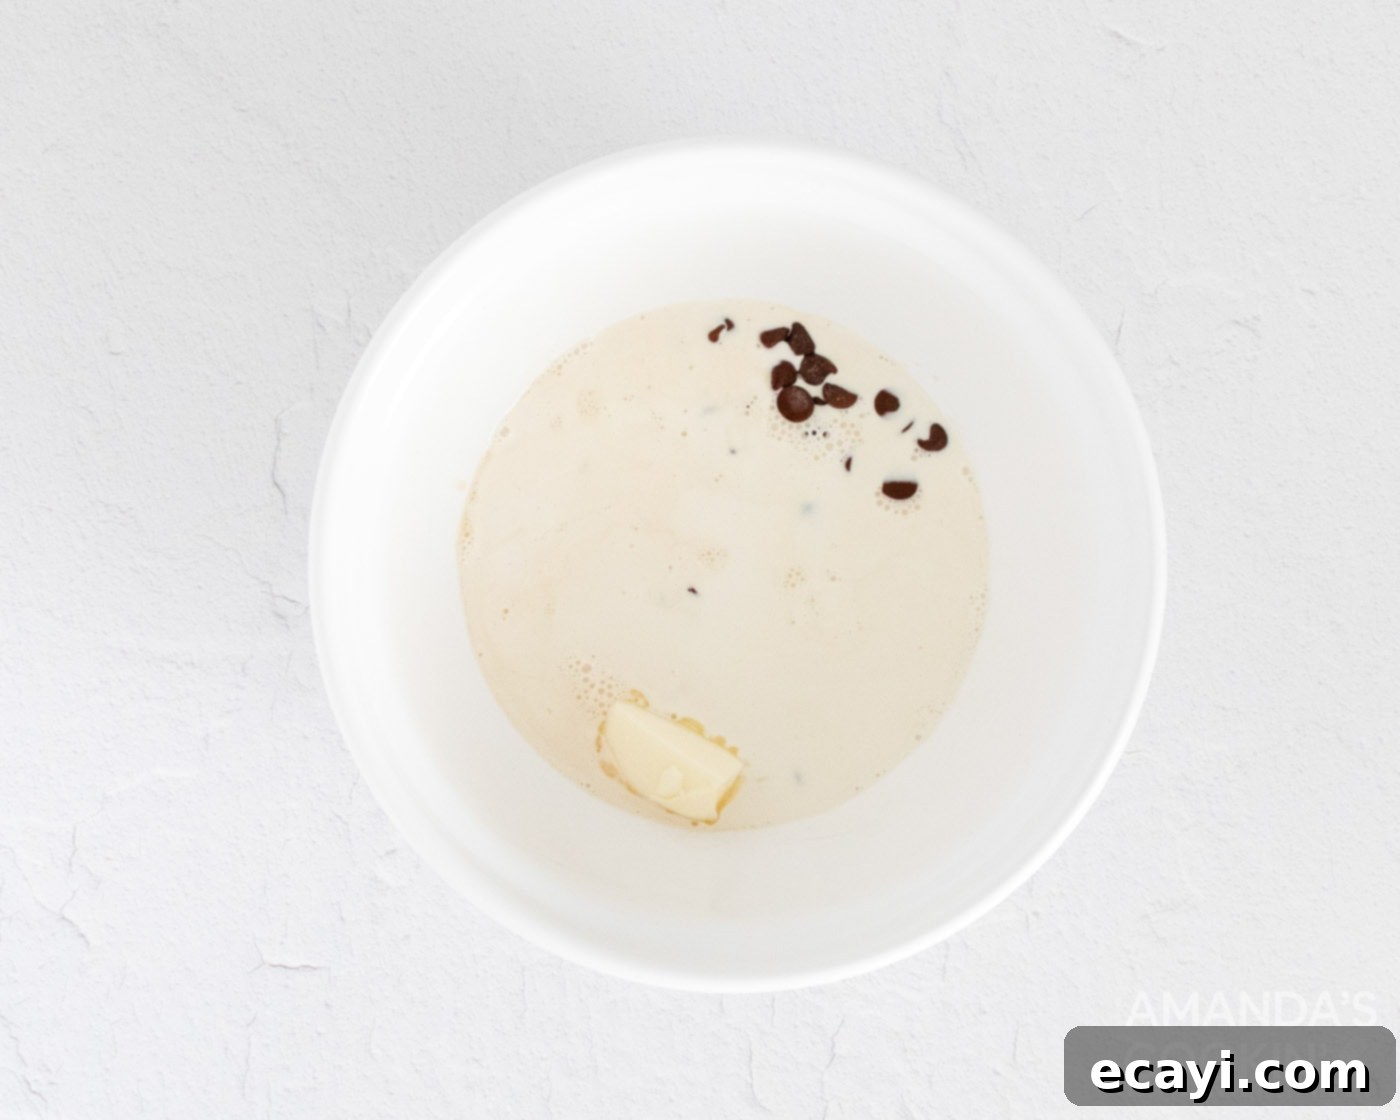
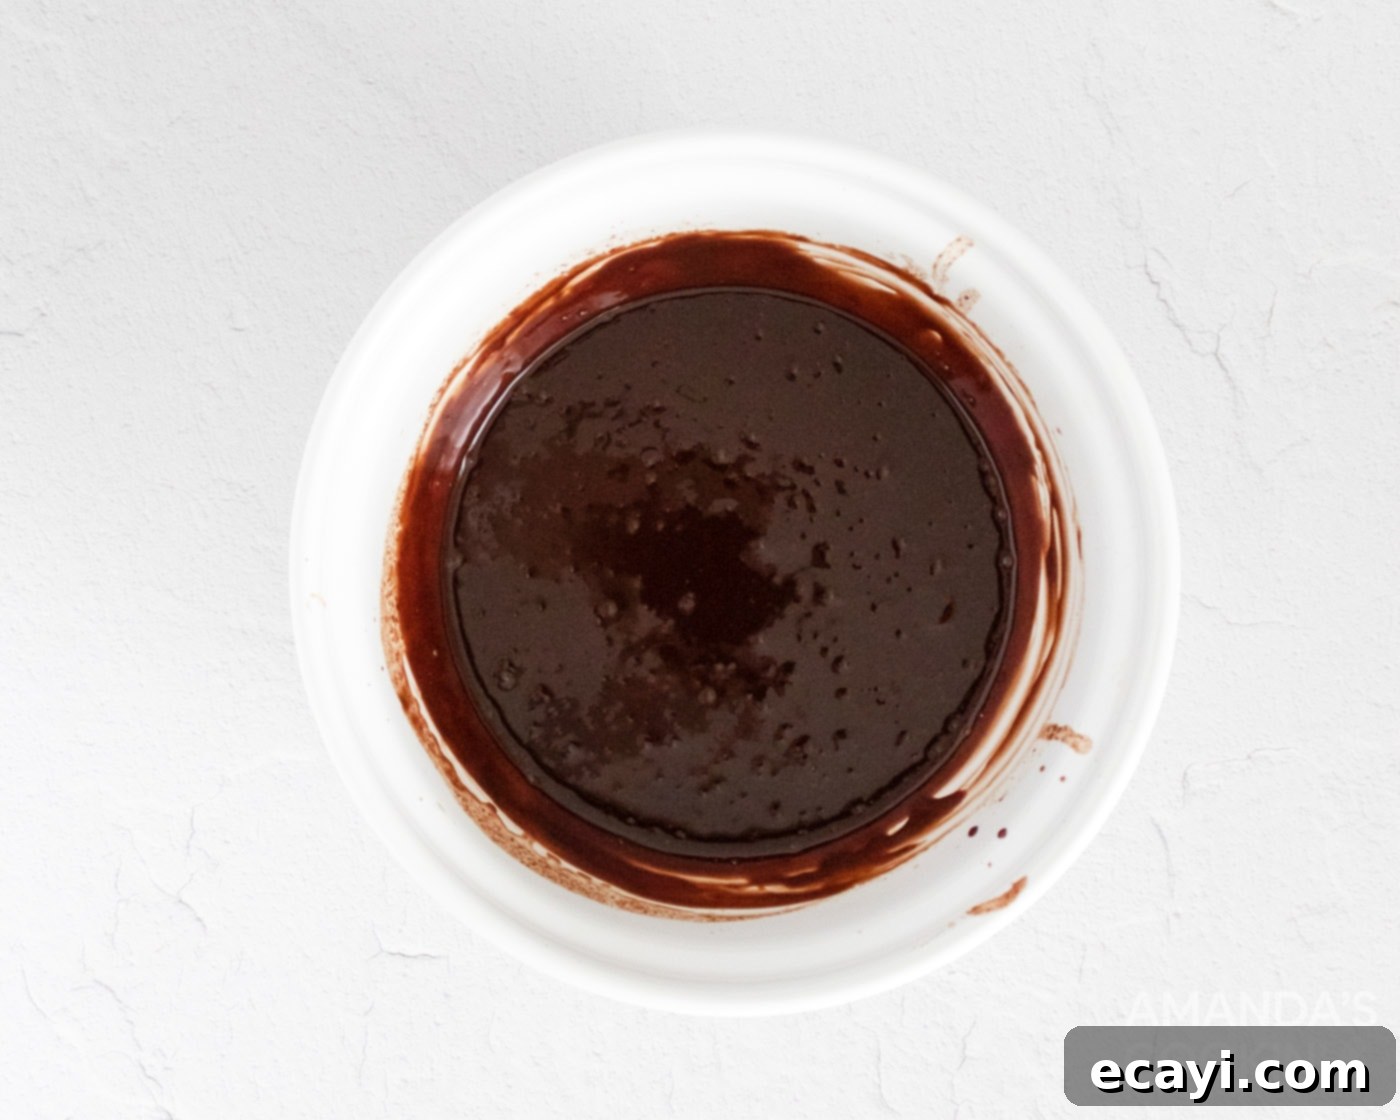
Combine Ingredients for Ganache: In a large, heat-proof bowl, combine the chopped chocolate (or chocolate chips), hot espresso, butter, vanilla extract, and sea salt. Pour the warmed heavy cream directly over these ingredients. Allow the mixture to sit undisturbed for 2-3 minutes; this allows the heat from the cream to begin melting the chocolate. Then, using a whisk, gently stir from the center outwards until all the ingredients are fully combined and you have a smooth, glossy ganache. Ensure there are no lumps of unmelted chocolate for a perfectly silky texture.
-

Chill the Ganache: Cover the bowl with plastic wrap, pressing it directly onto the surface of the ganache to prevent a skin from forming. Place the chocolate mixture in the refrigerator to chill for at least 4 hours, or until it has fully firmed up to a scoopable consistency. This chilling step is crucial for making the truffles easy to roll and ensuring they hold their shape.
-

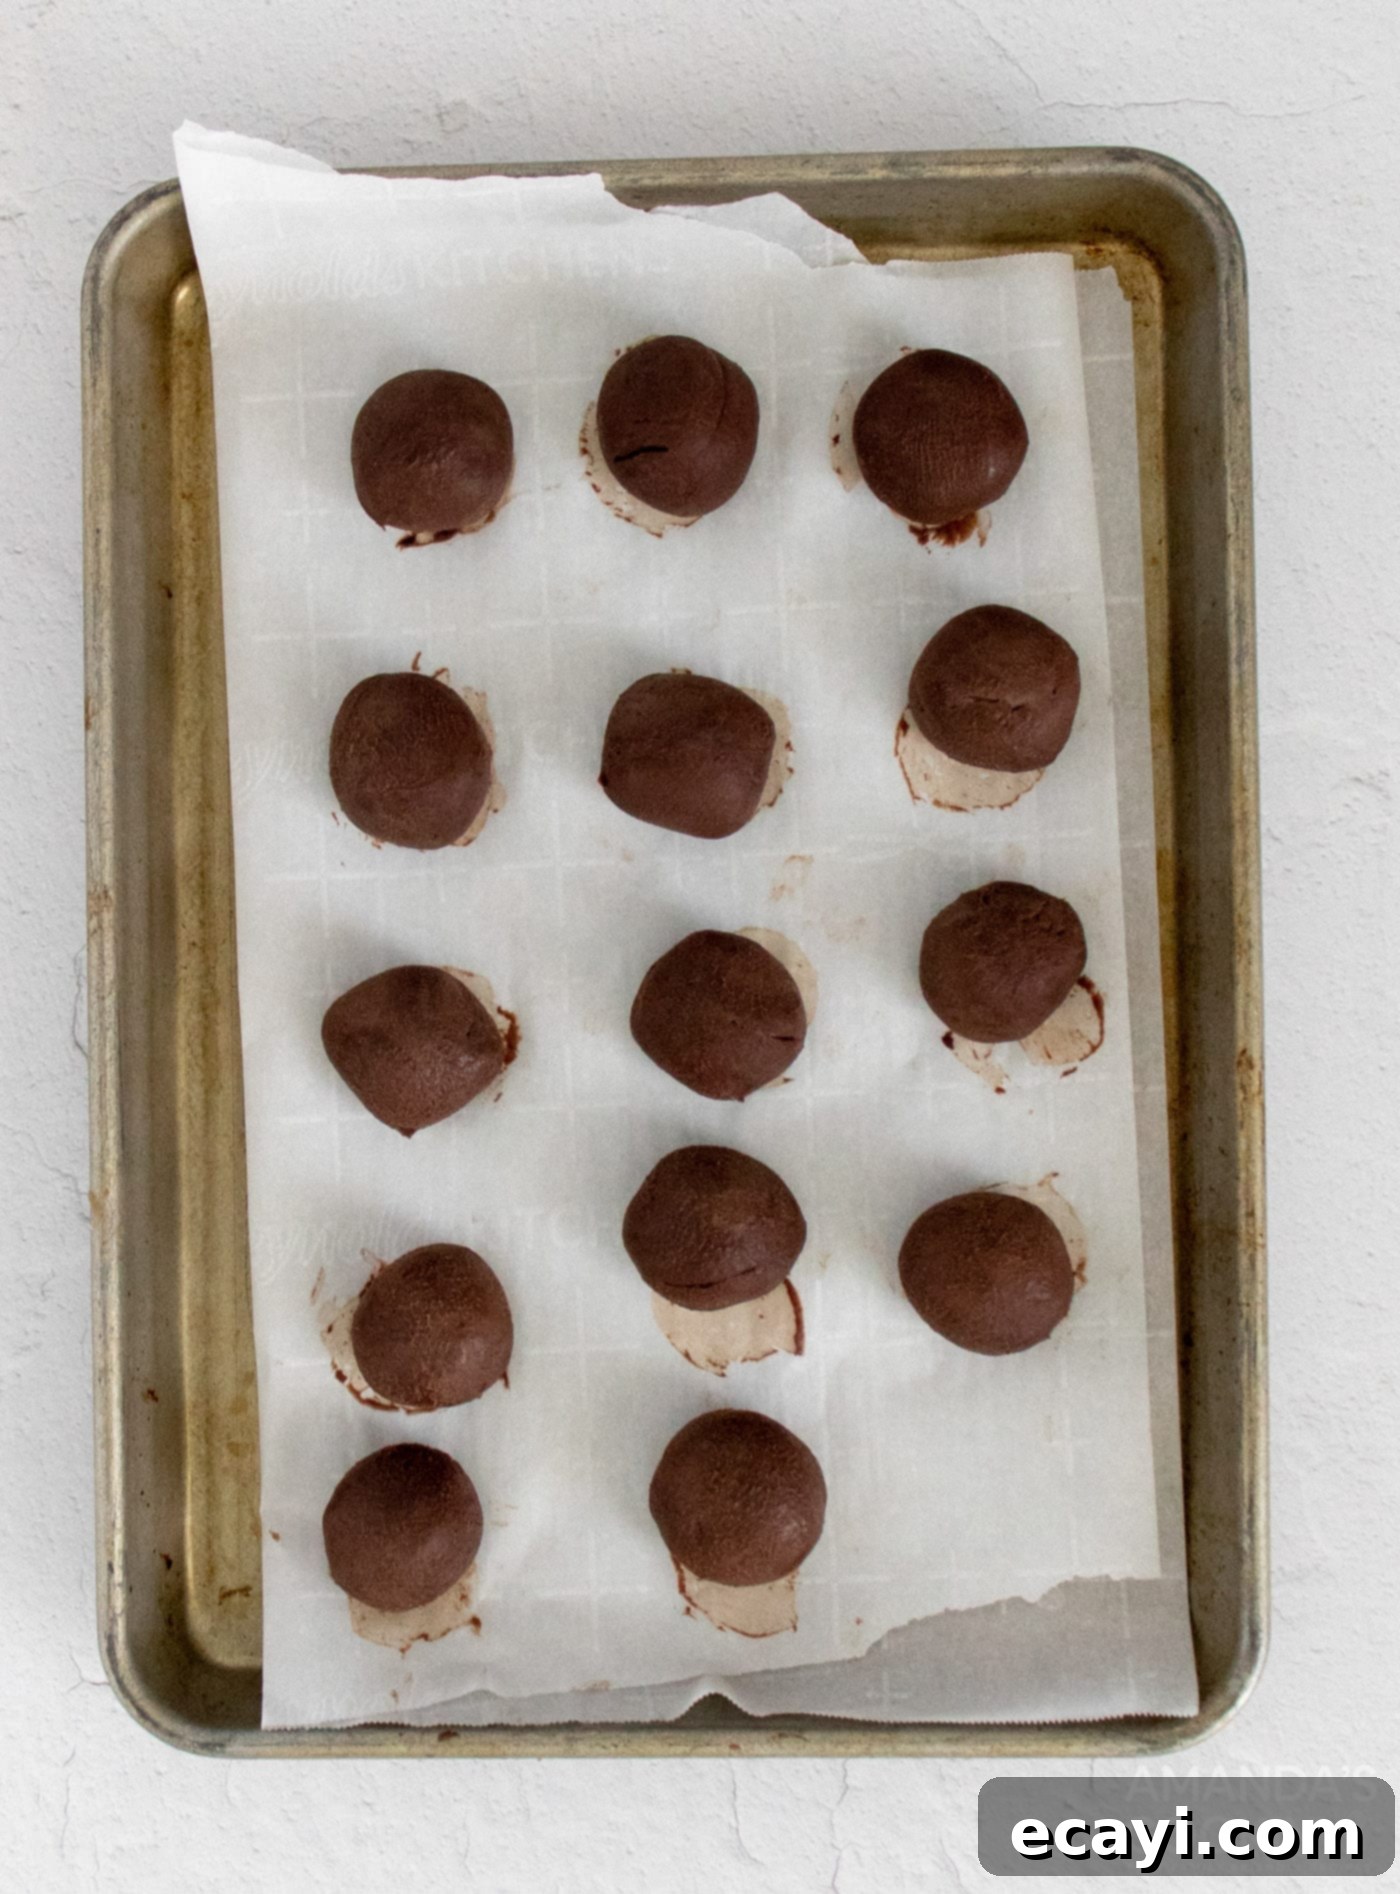
Scoop and Roll Truffles: Once the ganache is firm, use a 1 tablespoon cookie scoop or a small spoon to portion out uniform balls of the chocolate mixture. Place these scooped portions onto a parchment-lined baking sheet. To achieve perfectly smooth, round truffles, gently roll each portion between the palms of your hands. Work quickly to prevent the chocolate from melting too much from the heat of your hands.
- Pre-Chill Before Coating: Place the formed truffles back into the freezer to chill for about 10 minutes. This quick chill will help them firm up again, making them easier to coat and preventing the outer chocolate layer from cracking later.
-

Melt the Coating Chocolate: While the truffles are chilling, prepare your coating chocolate. Add the chopped chocolate and coconut oil to a medium, microwave-safe bowl. Microwave in 30-second intervals, stirring thoroughly between each interval, until the chocolate is fully melted and smooth. Be careful not to overheat the chocolate, as this can cause it to seize or burn.
- Dip and Coat: Using a fork or a dipping tool, dip each truffle one at a time into the melted chocolate coating. Ensure it’s fully coated, then lift it out, gently tapping off any excess chocolate against the rim of the bowl. Place the coated truffle back onto the parchment-lined baking sheet to set.
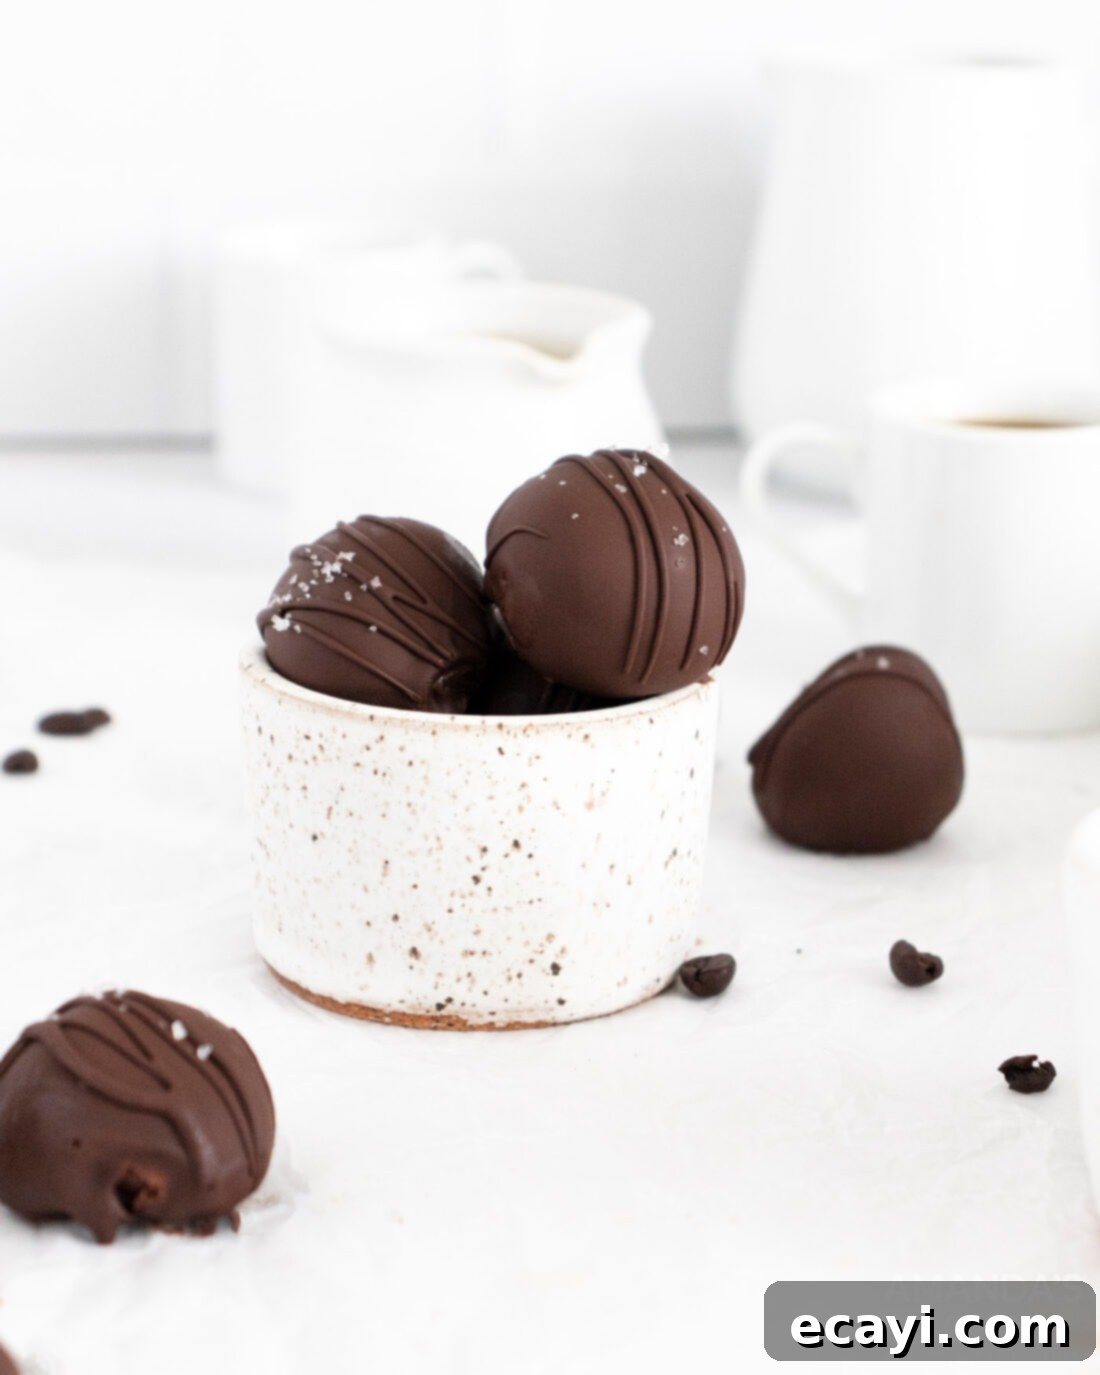
- Decorate (Optional): While the chocolate coating is still wet and pliable, this is your moment to add any desired sprinkles, sea salt, cocoa powder, or other decorations. For ours, we added a delicate sprinkle of flaky sea salt and a whimsical drizzle of extra melted chocolate for a sophisticated finish.
- Set and Enjoy: Allow the coated truffles to set completely at room temperature or in the refrigerator until the chocolate is firm. Once set, they are ready to be savored! The waiting is the hardest part.
Frequently Asked Questions About Mocha Truffles
To maintain their freshness and perfect texture, store your homemade mocha truffles in an airtight container. Keep them in the refrigerator, where they will stay wonderfully fresh for up to 3 days. For longer storage, you can freeze them (see below).
Absolutely! This recipe is incredibly adaptable to your chocolate preferences. While semi-sweet is specified for a classic flavor, dark chocolate (70% cacao or higher) will yield a more intense, less sweet truffle. Milk chocolate can be used for a sweeter, creamier result, though you might find it a bit softer at room temperature. White chocolate can also be used, but note that it behaves differently when melting, so watch it carefully. Experimenting with different chocolate types is a great way to discover your favorite truffle flavor profile!
Yes, truffles freeze beautifully! Once your truffles are fully set and coated, place them in a single layer on a baking sheet and freeze until solid (about 30-60 minutes). Then, transfer them to an airtight freezer-safe container or bag, separating layers with parchment paper. They can be stored in the freezer for up to 2-3 months. Thaw them in the refrigerator for a few hours or at room temperature for about 30 minutes before enjoying.
If your ganache is too soft after the recommended chilling time, it likely needs more time in the refrigerator. Ensure your fridge is cold enough. If it’s still too soft after an extended chill, you might have too much liquid. You can try gently reheating a small portion of the ganache, adding a bit more chopped chocolate, and melting it in, then re-chilling the whole batch. Conversely, if it’s too hard, let it sit at room temperature for a bit to soften slightly before scooping.
While the recipe calls for heavy cream and butter, you can experiment with dairy-free alternatives. Use full-fat canned coconut milk (the thick cream at the top, not the liquid) as a substitute for heavy cream, and a good quality dairy-free butter alternative. Ensure your chocolate is also dairy-free. The texture might vary slightly, but it can yield delicious results.
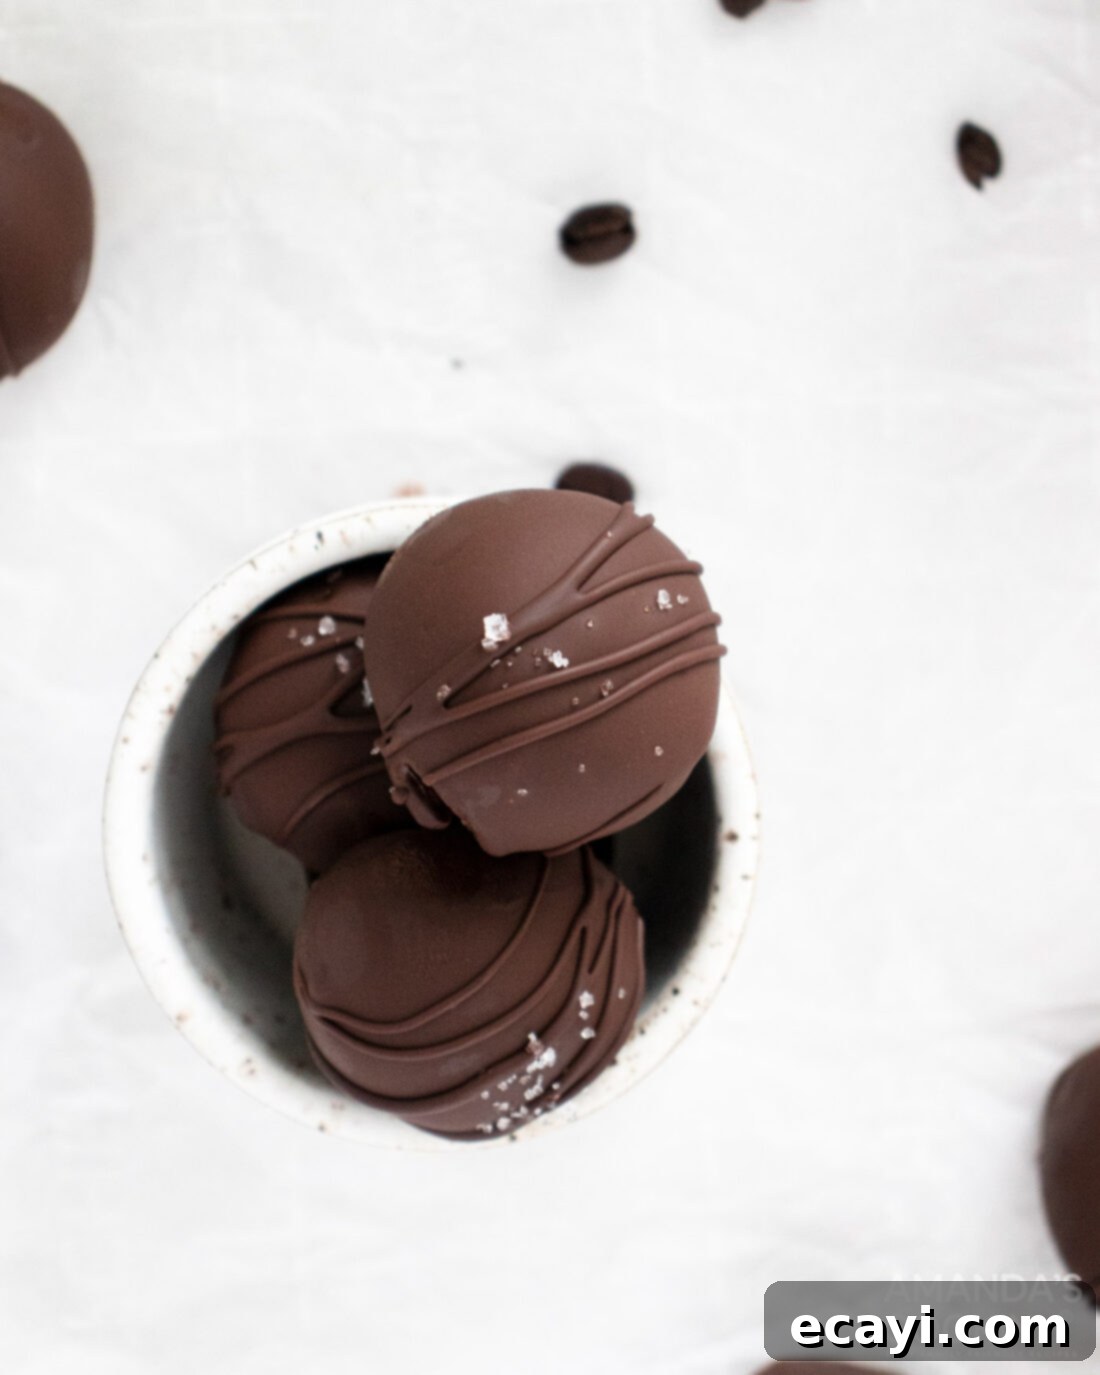
There you have it – your guide to creating truly irresistible mocha truffles! These elegant, coffee-infused chocolate treats are sure to impress. Whether you choose to wrap them in a clear cellophane bag and tie with a ribbon for a beautiful hostess gift, arrange them artfully in cupcake liners for a party platter, or simply stash them away for a moment of personal indulgence (no judgment here!), these truffles are a delightful reward for your culinary efforts. Enjoy the rich, smooth, and utterly satisfying experience of homemade gourmet confectionery.
More Indulgent Chocolate Lover Recipes
If you’re a true chocolate enthusiast, you’re in for a treat! Explore these other amazing chocolate-centric recipes that are sure to satisfy your cravings and bring joy to any occasion:
- Chocolate Covered Fruit Truffles: A delightful blend of fruit and chocolate, perfect for a lighter sweet.
- Homemade Bounty Bars: Recreate this classic coconut and chocolate candy bar at home.
- Chocolate Cheesecake Brownies: The ultimate fusion of rich brownie and creamy cheesecake.
- Chocolate Covered Strawberries: Simple, elegant, and always a crowd-pleaser.
- Chocolate Lasagna: Layers of chocolatey goodness in a no-bake dessert.
- Marbled Mocha Hot Cocoa Bombs: Elevate your hot chocolate experience with these fun, flavorful bombs.
- Chocolate Peanut Butter Cookies: The classic duo in a chewy cookie format.
- Cake Balls: Delicious cake bites coated in chocolate, perfect for any celebration.
I absolutely love to spend my time baking and cooking, and it’s a true joy to share my kitchen adventures and perfected recipes with all of you! Remembering to check back for new creations daily can be tricky, which is why I’ve made it easy for you. I offer a convenient newsletter delivered straight to your inbox every time a new recipe posts. Simply subscribe today and start receiving your free daily dose of delicious recipes!
Mocha Truffles
IMPORTANT – Don’t forget to check the Frequently Asked Questions within the blog post above for helpful tips and tricks!
Print It
Pin It
Rate It
Save ItSaved!
Ingredients
For the Truffles
- ½ cup heavy whipping cream
- 8 ounces semi-sweet chocolate chopped, chips will also work
- 2 Tbsp espresso or strong brewed coffee
- 1 Tbsp butter
- 1 tsp vanilla extract
- ½ tsp sea salt
To Coat
- 8 oz chocolate chopped
- 1 Tbsp coconut oil
Things You’ll Need
-
Baking sheets
-
Mixing bowls
Before You Begin
- The quality of your chocolate significantly impacts the final taste. Opt for a good quality semi-sweet chocolate for the best results.
- Any kind of chocolate can be used in this recipe for varied flavors. Dark chocolate offers a more intense experience, while milk chocolate provides a sweeter, milder truffle.
- To make boozy truffles and add an adult twist, substitute the espresso for an equal amount of coffee liqueur like Kahlua or even a touch of rum or brandy for a different flavor profile.
- If you don’t have flaky sea salt for the truffle mixture, you can use ¼ teaspoon of kosher salt instead. Avoid regular table salt as it can be too potent.
- Ensure your heavy cream is truly heavy whipping cream for optimal richness and setting. Lighter creams may not yield the desired consistency.
Instructions
-
Warm the heavy cream in the microwave for 30-45 seconds, or until it reaches about 115°F (46°C). This temperature is ideal for melting chocolate without scalding the cream.
-
In a large bowl, combine the warm cream, chopped chocolate, espresso, butter, vanilla extract, and sea salt. Let sit for a few minutes, then whisk until fully combined into a smooth, glossy ganache.
-
Place the chocolate mixture in the fridge to chill for at least 4 hours, or until it has fully set to a firm, scoopable consistency. This is crucial for proper truffle formation.
-
Once the chocolate has set, use a 1 tablespoon cookie scoop to portion balls onto a parchment-lined baking sheet. Gently roll them in your palms to smooth out any imperfections, creating perfect spheres.
-
Place the formed truffles in the freezer to chill for 10 minutes. This helps them firm up for easier, cleaner coating.
-
Meanwhile, add the coating chocolate and coconut oil to a medium bowl. Microwave in 30-second intervals, stirring thoroughly after each, until the chocolate is fully melted and smooth. Be careful not to overheat.
-
Dip each truffle one at a time into the melted chocolate coating. Ensure it’s fully covered, then lift it out, allowing any excess chocolate to drip off before placing it back on a parchment-lined baking sheet.
-
While the chocolate coating is still wet, add any desired sprinkles, sea salt, or other decorations. We topped ours with a light sprinkle of flaky sea salt and a delicate drizzle of extra chocolate for an elegant touch.
-
Allow the chocolate coating to set fully, either at room temperature or in the refrigerator, before enjoying these delightful treats.
-
Store the finished truffles in an airtight container in the refrigerator for up to 3 days to maintain optimal freshness.
Nutrition
The recipes on this blog are meticulously tested using a conventional gas oven and a gas stovetop to ensure consistent results. Please be aware that cooking appliances, especially as they age, can sometimes heat inconsistently. We highly recommend using an inexpensive oven thermometer to verify that your oven is accurately reaching the desired temperature. If you opt for a toaster oven or a countertop oven, remember that their heat distribution might differ from a full-sized conventional oven, potentially requiring adjustments to your cooking or baking times. For recipes that utilize a pressure cooker, air fryer, slow cooker, or similar appliance, you’ll find a link to the specific models we use within each respective recipe. In the case of baking recipes where measurements are provided by weight, we advise sticking to these weight measurements; using cup measurements may lead to varied outcomes, and we cannot guarantee success with that method.
