The Ultimate No-Bake Chocolate Cheesecake: Rich, Creamy & Effortlessly Delicious
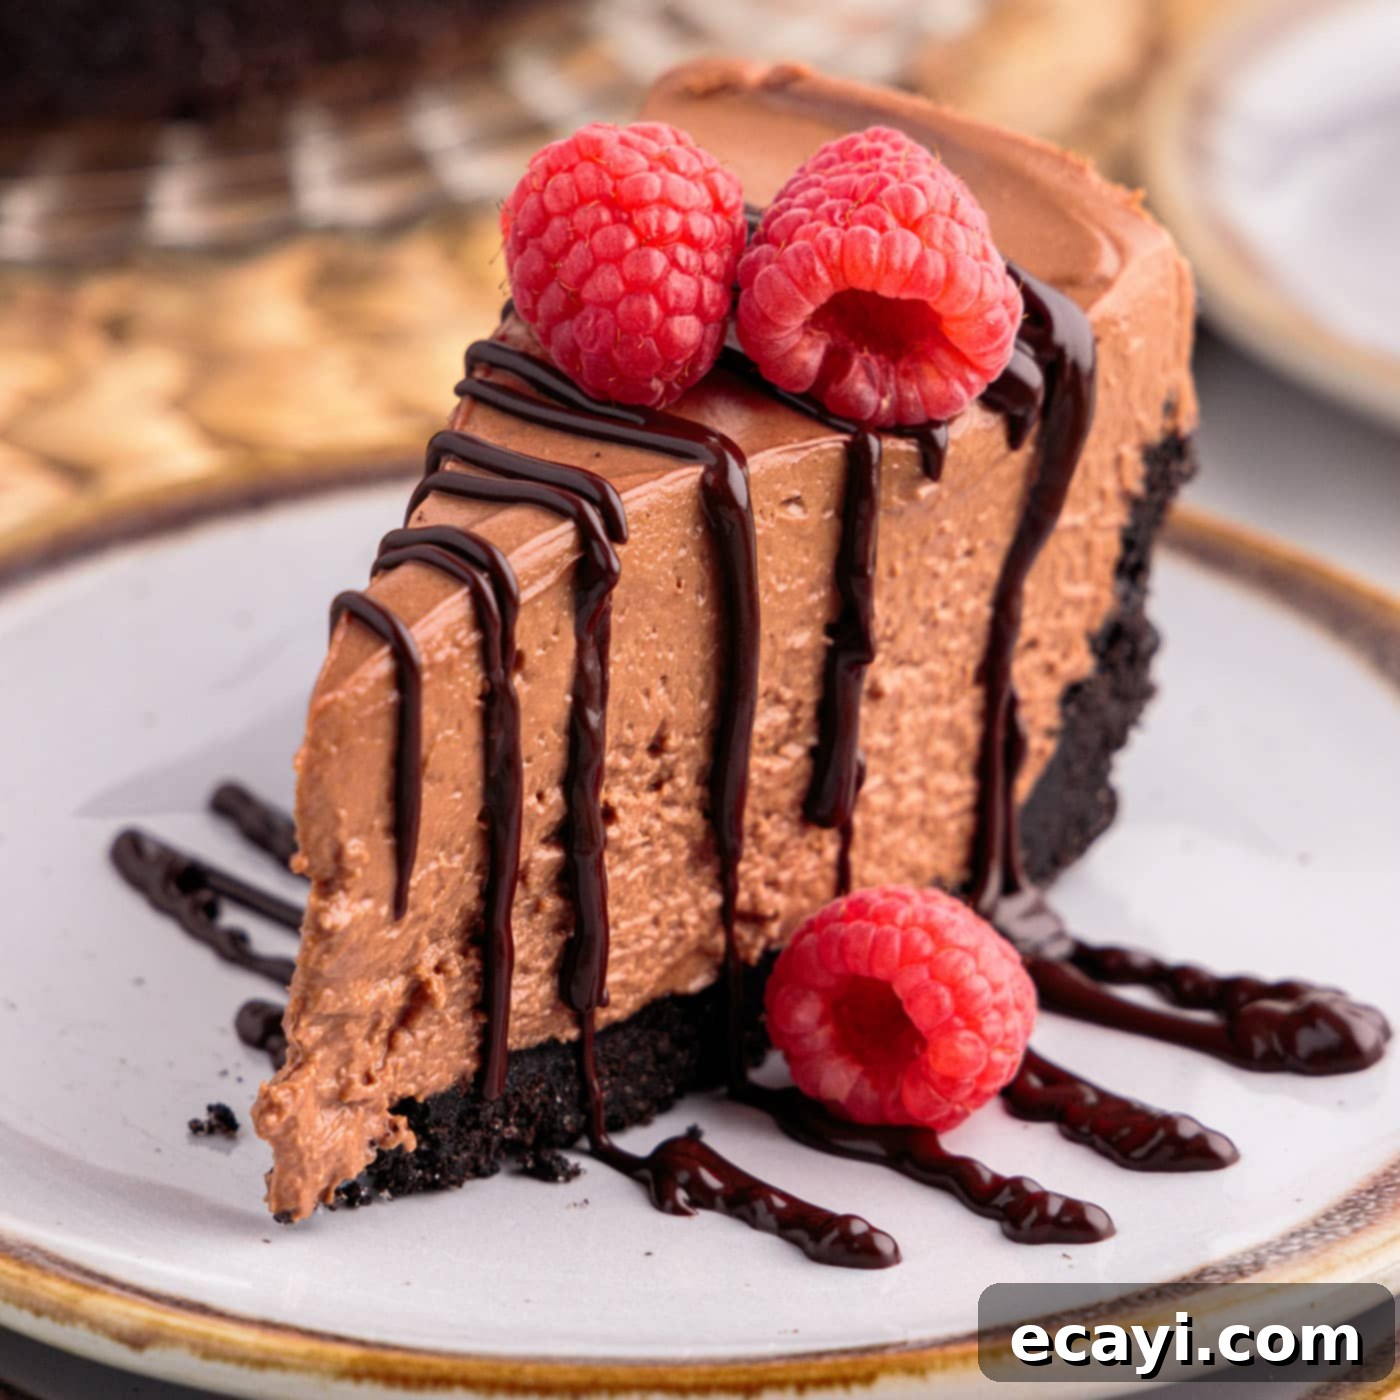
Indulge in pure bliss with this exquisite no-bake chocolate cheesecake. It’s a dessert that redefines decadence, boasting a texture so silky, rich, and velvety smooth it melts in your mouth. Crafted with a simple handful of ingredients and a perfectly balanced chocolate graham cracker crust, this cheesecake is a dream come true for chocolate lovers and busy bakers alike. Top it with a vibrant array of fresh berries and a luxurious chocolate drizzle to elevate it to the ultimate showstopper, perfect for any occasion.
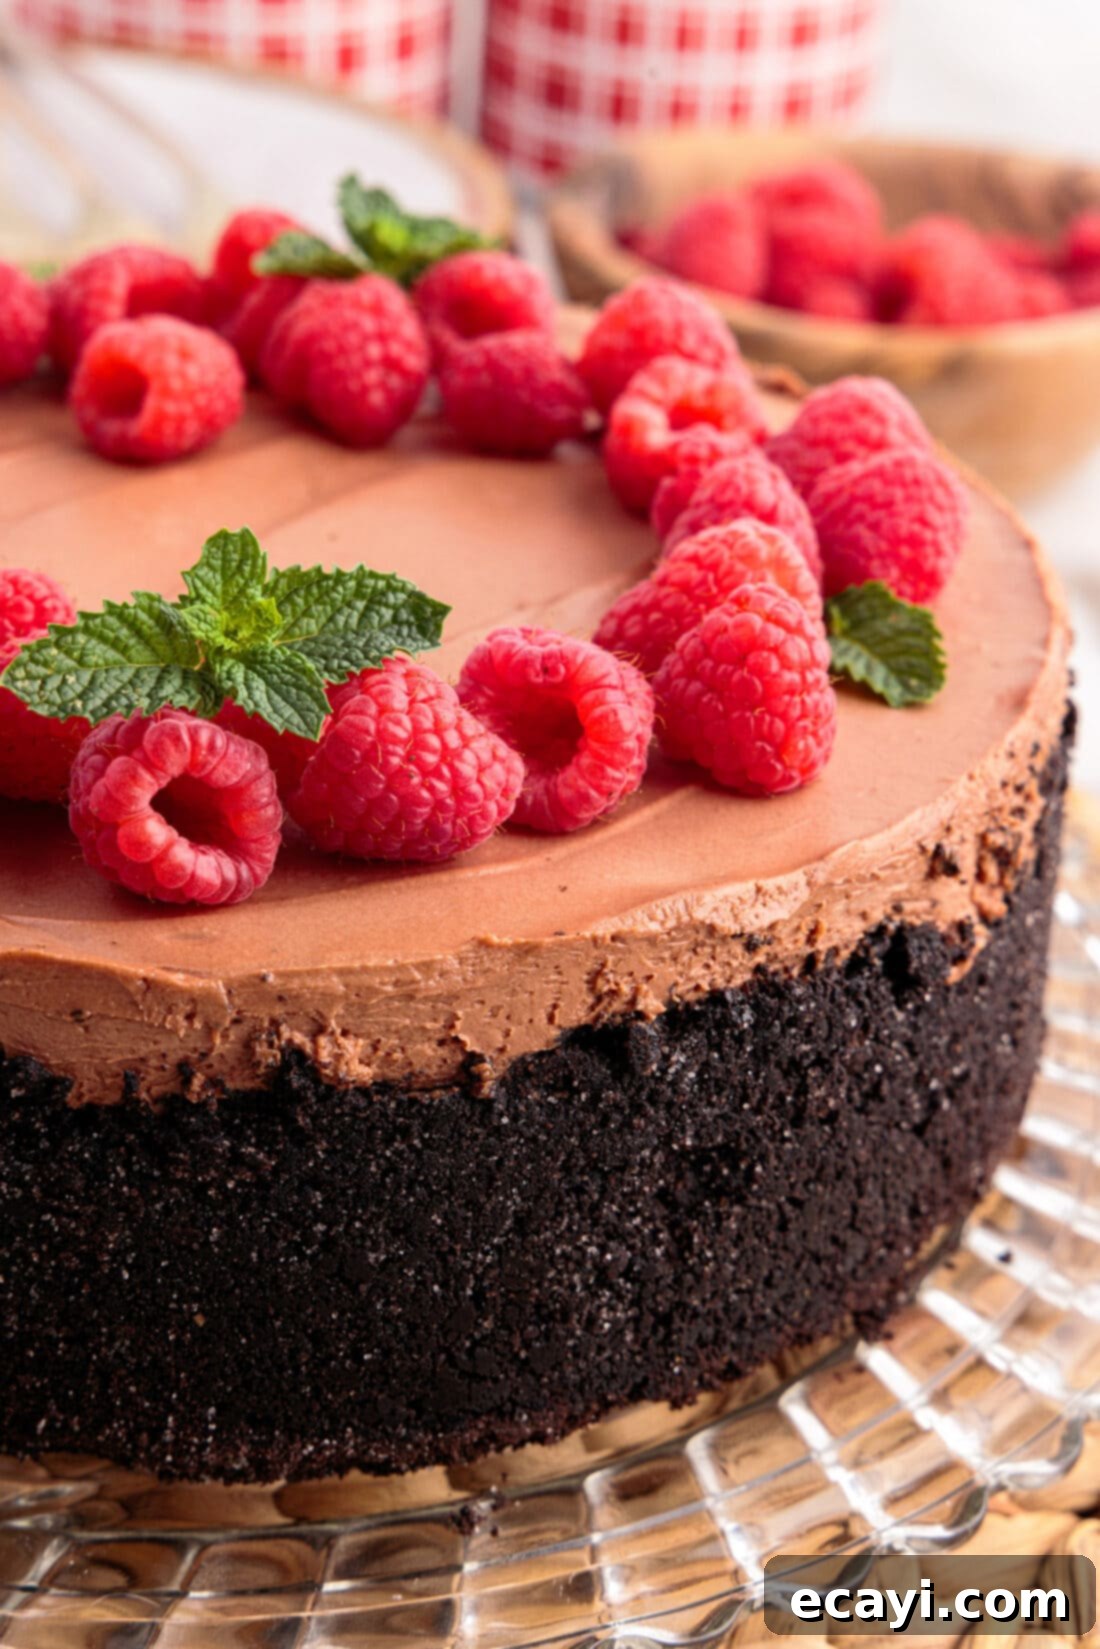
Why This No-Bake Chocolate Cheesecake Recipe Stands Out
A truly exceptional no-bake chocolate cheesecake should possess an impressive structure, standing tall and proud once perfectly chilled. But beyond its visual appeal, it’s the harmonious blend of flavors and textures that truly captivates. This recipe delivers precisely that: a sublime fusion of tangy cream cheese and generous amounts of premium chocolate, resulting in a filling that is undeniably smooth, deeply luxurious, and utterly divine in every single bite. It’s the kind of dessert that leaves a lasting impression, making everyone ask for the recipe!
Opting for a no-bake cheesecake offers a multitude of advantages, making it a fantastic choice for home cooks. Firstly, the preparation is significantly simpler than traditional baked cheesecakes, eliminating the need for a fussy water bath and the worry of cracks forming on the surface. This also means you won’t be heating up your kitchen during warmer months, making it an ideal dessert for spring and summer gatherings. The speed and ease of preparation are truly unmatched – the hardest part, arguably, is patiently waiting for it to set up in the refrigerator!
Furthermore, the versatility of no-bake cheesecakes is remarkable. You can effortlessly adapt them to infuse various flavors, from a comforting no-bake pumpkin cheesecake for autumn to lighter fruit-based variations. They can be transformed into convenient bars for casual snacking, or even piped into elegant creations like cheesecake-stuffed strawberries for a sophisticated touch. This particular chocolate rendition is a testament to that versatility, serving as a perfect base for a myriad of toppings and customizations, ensuring it can be tailored to suit any palate or occasion.
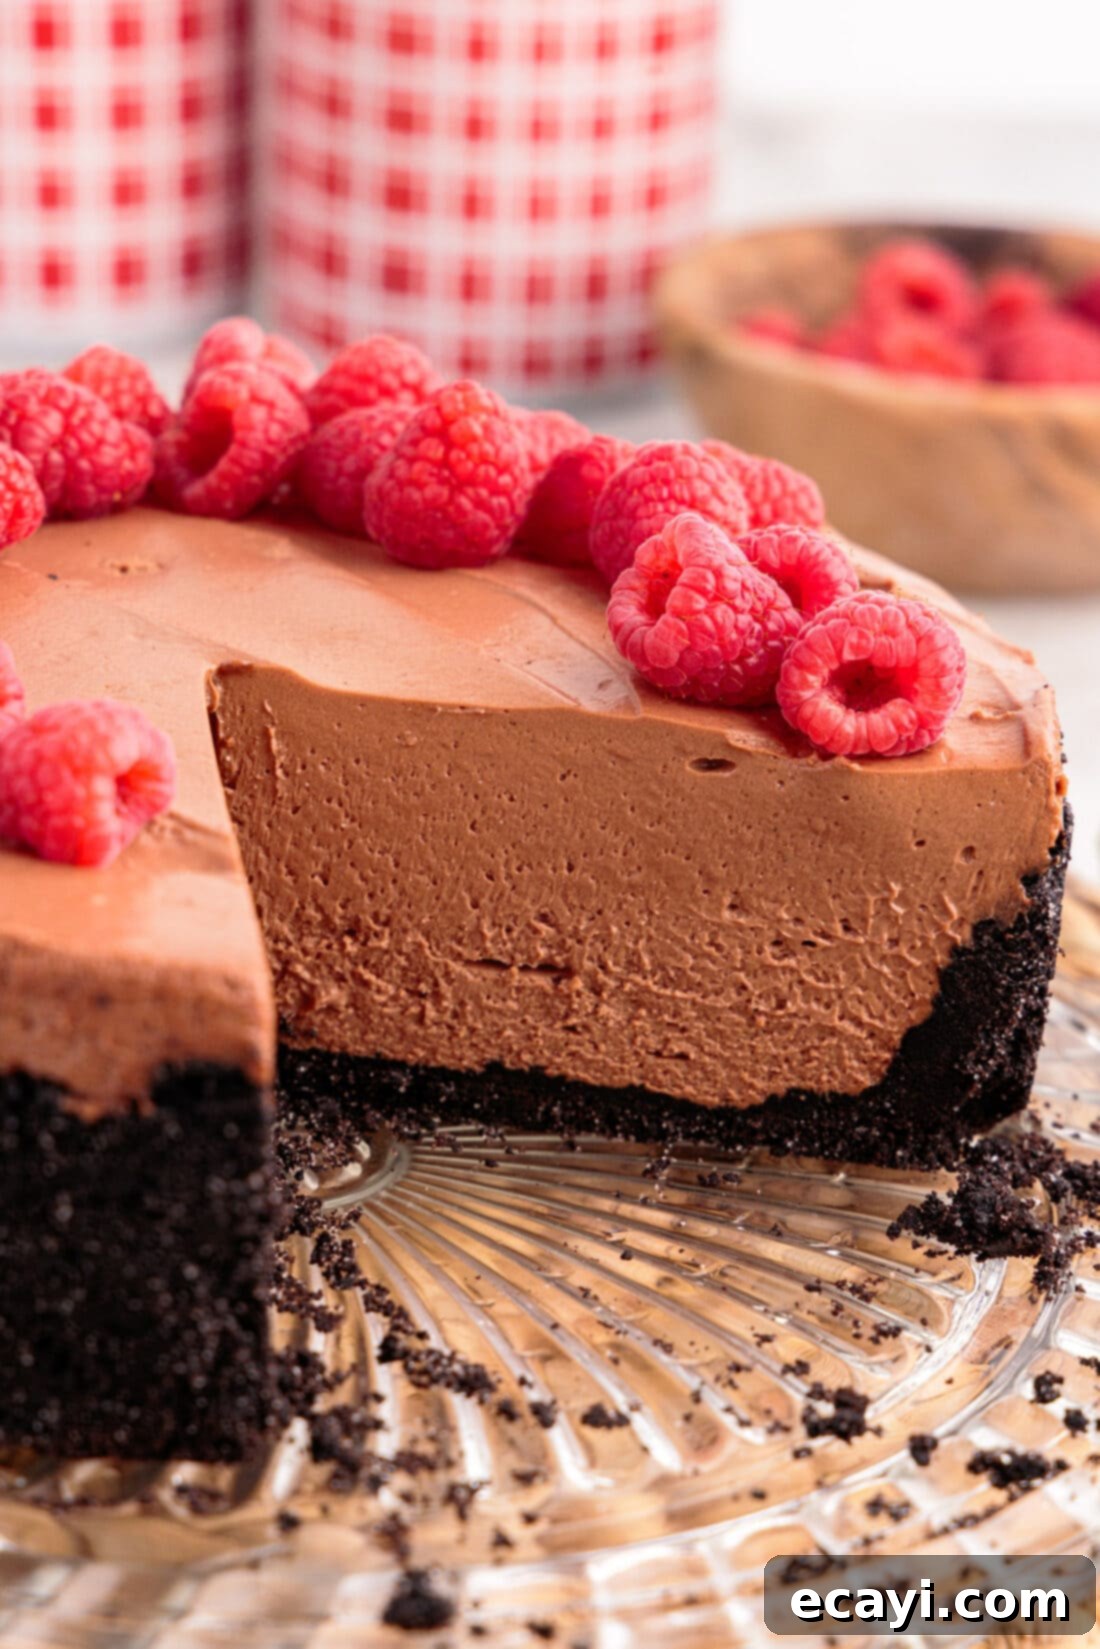
Essential Ingredients for Your No-Bake Chocolate Cheesecake
To create this magnificent no-bake chocolate cheesecake, you’ll need a selection of high-quality ingredients. While the full list with precise measurements and detailed instructions can be found in the printable recipe card at the very end of this post, let’s briefly explore the key components that make this dessert so special.
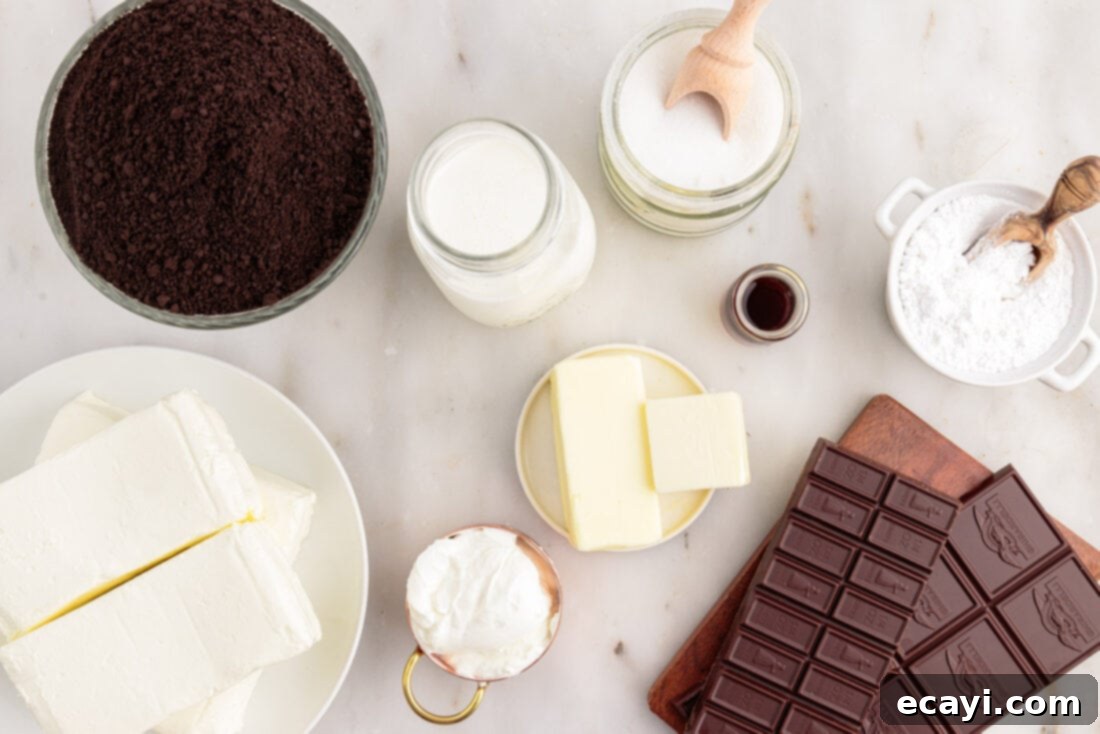
Ingredient Spotlight & Expert Substitution Advice
Understanding the role of each ingredient and knowing your options for substitutions can make all the difference in achieving a perfect cheesecake. Here’s what you need to know:
CRUST – This recipe features a rich chocolate graham cracker crust, providing a delightful cocoa foundation for the creamy filling. However, feel free to get creative with your crust! You can easily substitute it with a classic, buttery traditional graham cracker crust for a more neutral flavor that allows the chocolate filling to shine even brighter. For an extra layer of chocolatey goodness, an Oreo cookie crust (made from crushed Oreos and melted butter) is another fantastic and popular alternative that many cheesecake enthusiasts adore. Whichever you choose, ensure it’s well-pressed and chilled for a sturdy base.
CREAM CHEESE – The star of any cheesecake, cream cheese is crucial for achieving that signature tangy and rich flavor, along with a lusciously smooth texture. For the best results, always opt for full-fat brick-style cream cheese. Low-fat varieties often contain more water, which can compromise the cheesecake’s structure and consistency, making it less firm. The cream cheese absolutely *must* be at room temperature before you begin mixing. This is vital because cold cream cheese won’t beat smoothly; instead, it will form stubborn lumps that are difficult to eliminate, leading to a grainy filling. To expedite the softening process, unwrap the cream cheese, cut it into 1-inch cubes, and spread them out on a plate. Allow them to rest on the counter for about 30 minutes, or until they yield easily to a gentle press.
CHOCOLATE – The rich, intense flavor of this cheesecake comes from a thoughtful combination of both semi-sweet and bittersweet baking chocolate. This blend creates a deeply decadent profile that is perfectly balanced – rich without being overly sweet or cloying. The quality of your chocolate truly matters here, as it’s a primary flavor component. We highly recommend using a premium bar of baking chocolate from reputable brands such as Ghirardelli, Lindt, or Baker’s. Avoid chocolate chips as they contain stabilizers that prevent smooth melting and can result in a grainy texture. When melting the chocolate, be meticulous. And crucially, it’s imperative that you allow the melted chocolate to cool down completely to room temperature before incorporating it into the cream cheese mixture. Adding warm chocolate will cause the other dairy ingredients (like cream cheese and heavy cream) to separate or even melt, ruining the velvety texture of your cheesecake filling.
SOUR CREAM – A small but mighty ingredient, sour cream contributes significantly to the cheesecake’s tanginess and luxurious smoothness. It helps to lighten the richness of the cream cheese while adding a subtle depth of flavor. Ensure it’s also at room temperature for seamless incorporation.
HEAVY WHIPPING CREAM – This is what gives our no-bake cheesecake its light, airy, yet firm structure. When whipped, heavy cream incorporates air, transforming the dense cream cheese mixture into a fluffy, stable filling. Always use cold heavy whipping cream, as it whips much more effectively and quickly to achieve those desirable soft peaks.
POWDERED SUGAR – Also known as confectioners’ sugar, this fine-grained sugar dissolves beautifully into the cream cheese mixture, ensuring a smooth, lump-free filling without any gritty texture. Unlike granulated sugar, which can sometimes leave a grainy residue in no-bake desserts, powdered sugar blends seamlessly to create a truly silken finish.
VANILLA EXTRACT – A touch of pure vanilla extract enhances the overall flavor profile, adding warmth and complexity that beautifully complements the rich chocolate.
Step-by-Step Guide: Crafting Your No-Bake Chocolate Cheesecake
These step-by-step photos and instructions are designed to help you visualize each stage of making this incredible dessert. For the complete printable version of this recipe, including exact measurements and detailed instructions, please Jump to Recipe at the bottom of this post.
- Prepare Your Pan: Begin by lightly greasing a 9-inch springform pan. This ensures easy removal of the cheesecake once chilled. For an even cleaner release and to prevent any sticking, line the bottom of the pan with a round of parchment paper. This simple step makes serving effortless.
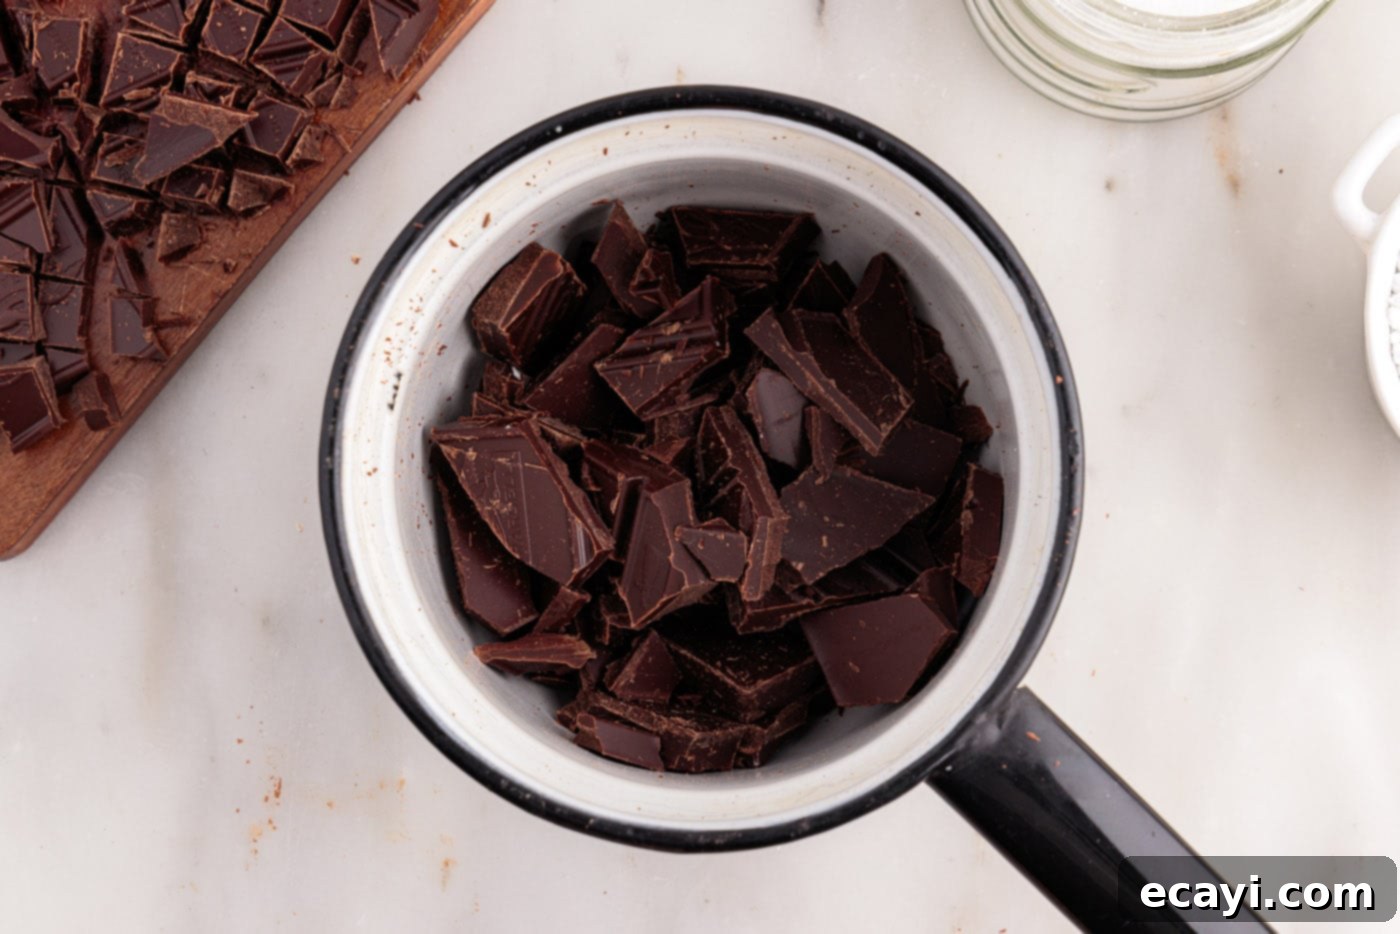
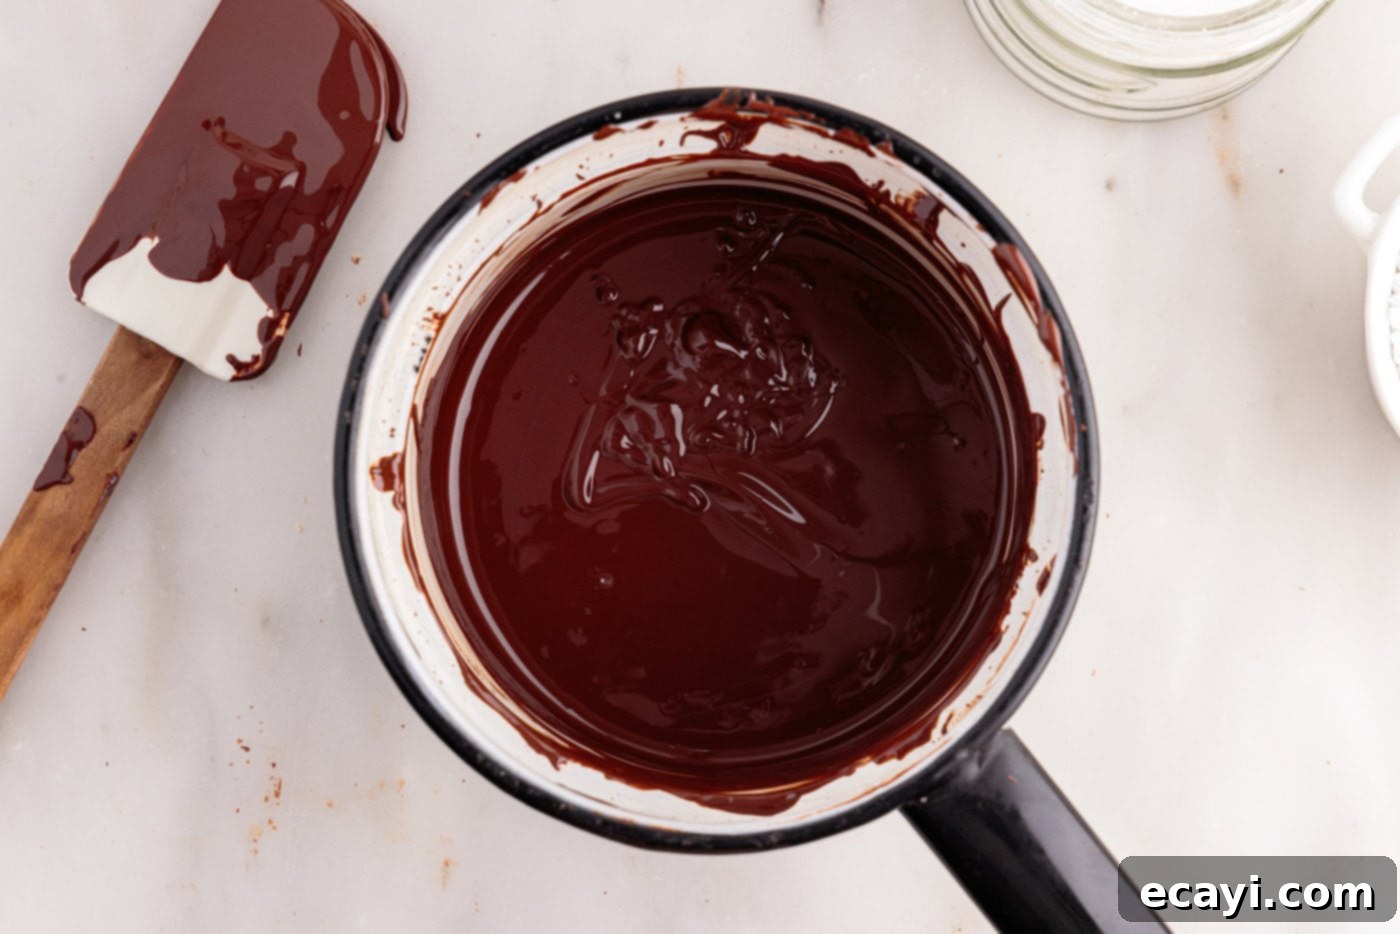
- Melt the Chocolate to Perfection: Finely chop both the bittersweet and semi-sweet baking chocolate into small, uniform pieces. This helps them melt more quickly and evenly. Place the chopped chocolate in the top pan of a double boiler. Set this over a pot of gently simmering water, ensuring the bottom of the top pan does not touch the water. Stir continuously until the chocolate is entirely melted and beautifully smooth. Once melted, immediately remove the top pan from the heat and set the chocolate aside to cool completely to room temperature. This cooling step is critical. Be extremely careful to prevent any moisture or water from getting into the melted chocolate, as even a tiny drop can cause it to seize and become grainy.
PRO TIP: The importance of cooling the melted chocolate cannot be overstated. If you add warm chocolate to the cold cream cheese mixture, it can cause the fats in the dairy to separate, resulting in a curdled or lumpy filling and a cheesecake that won’t set properly. Patience here guarantees a smooth, luscious filling.


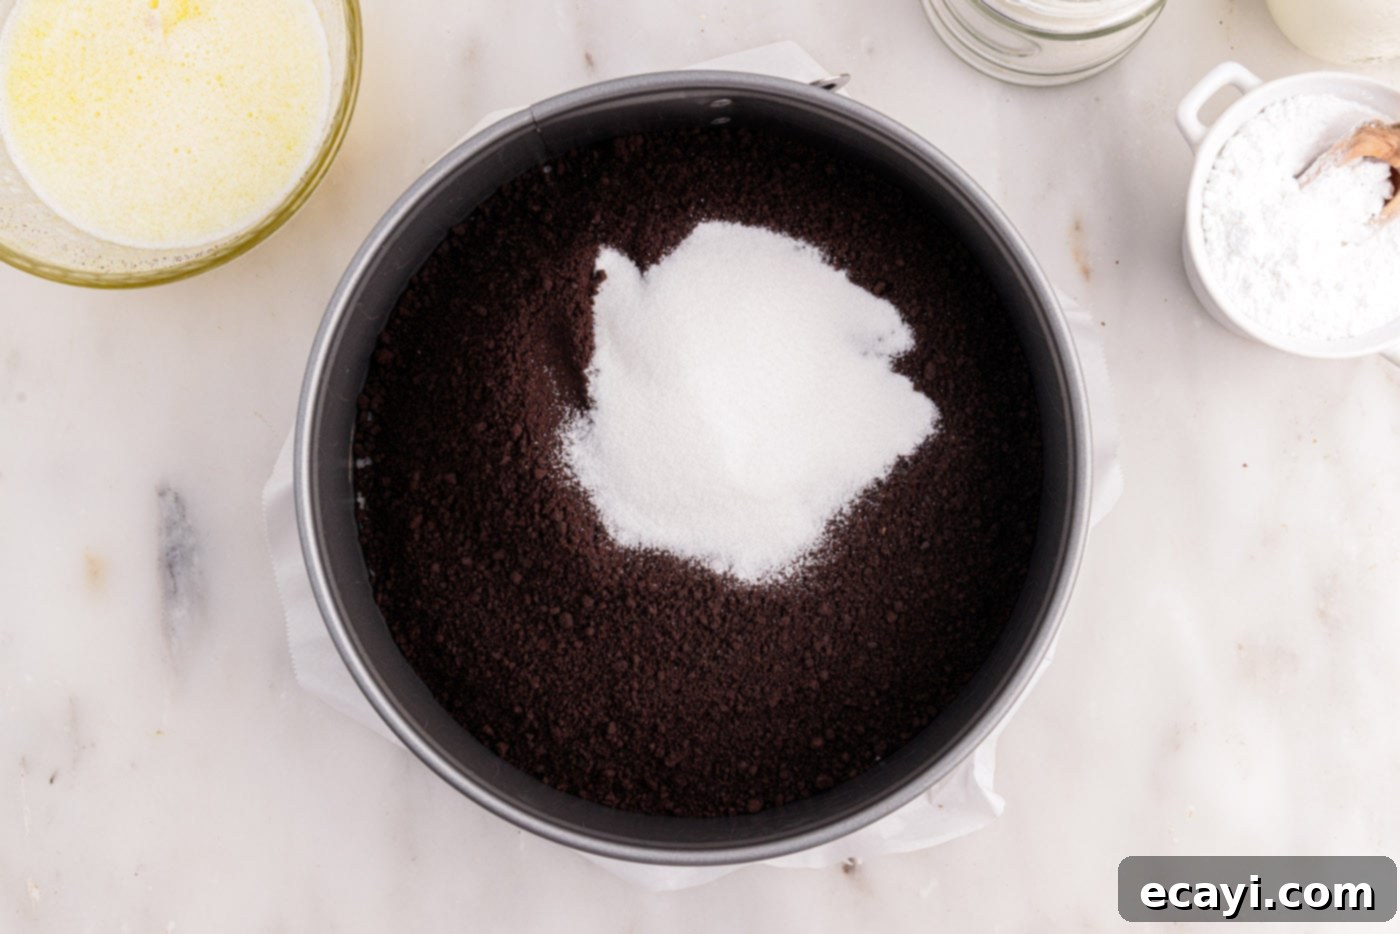
- Craft the Chocolate Graham Cracker Crust: In a mixing bowl, combine the chocolate graham cracker crumbs with the granulated sugar. Stir them together thoroughly until they are evenly distributed. You can also do this directly in the prepared springform pan if you prefer to minimize dishes.

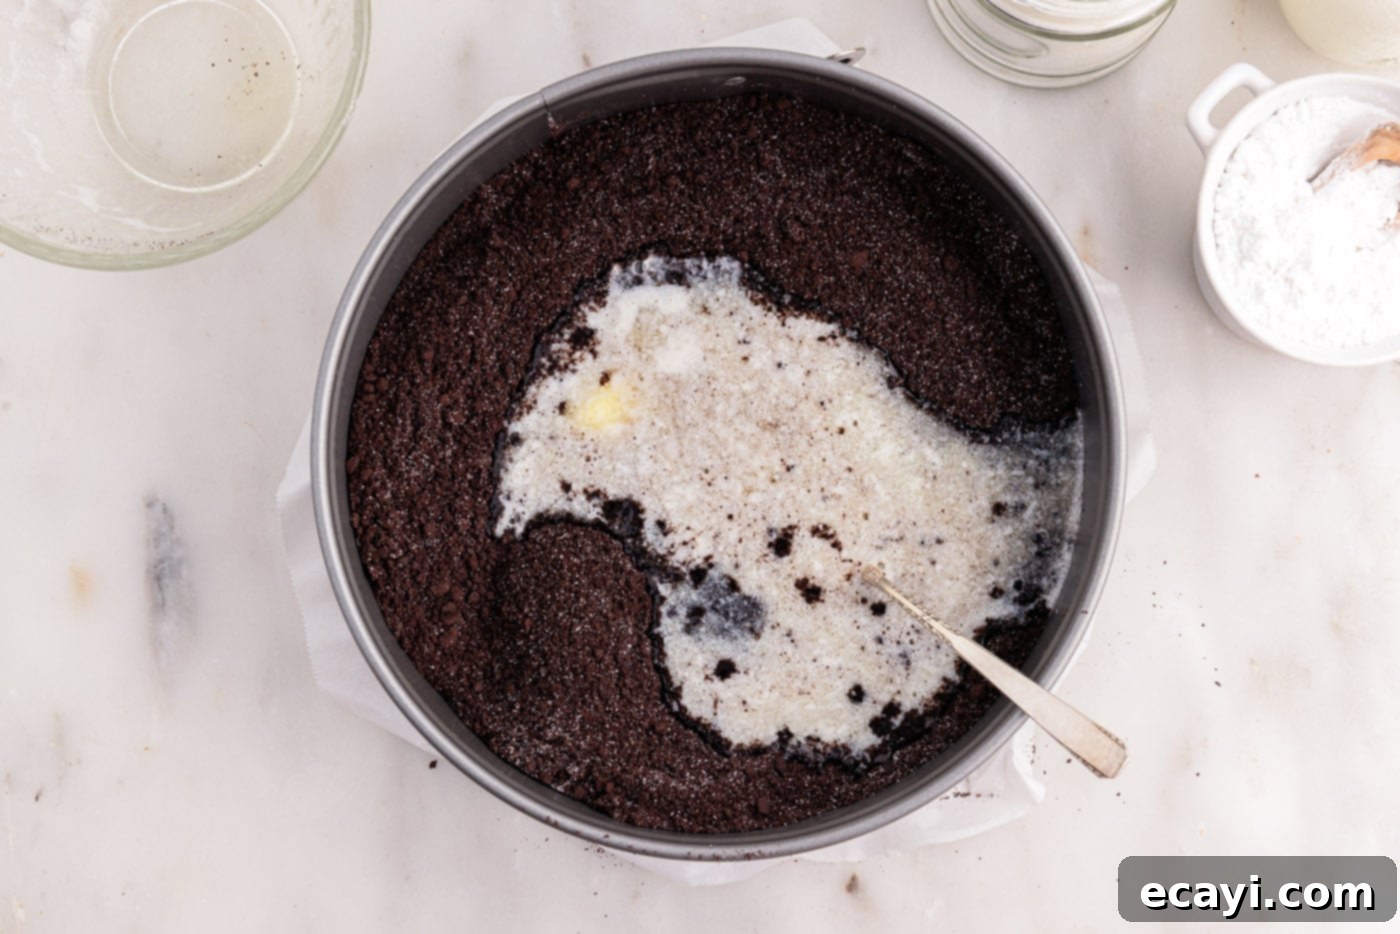
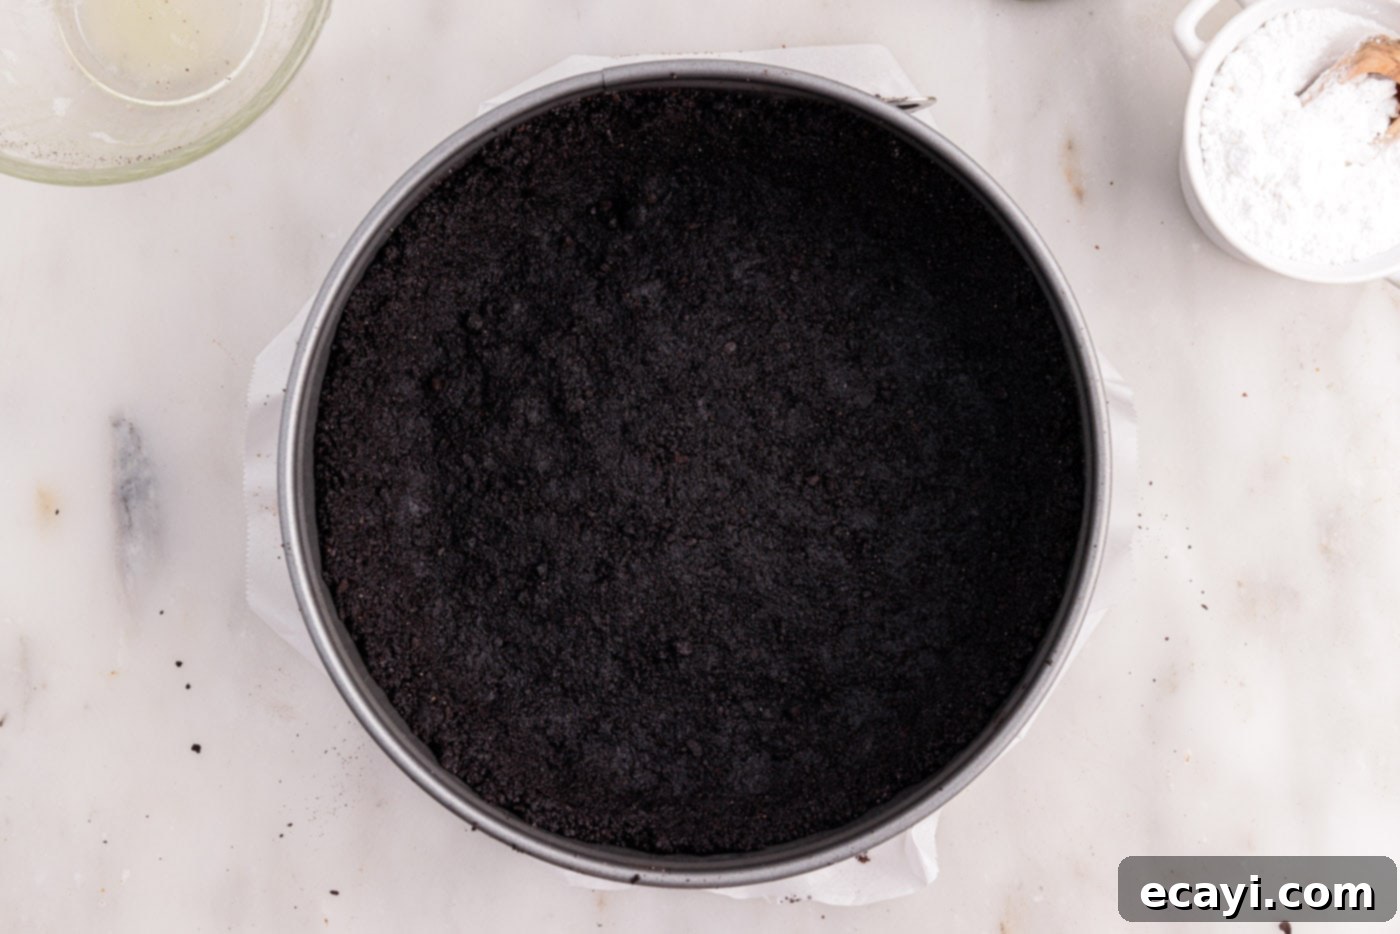
- Form and Chill the Crust: Pour the melted unsalted butter into the graham cracker and sugar mixture. Stir well with a fork or your hands until the crumbs are uniformly moistened and resemble wet sand. This sticky mixture is what will form your sturdy crust. Press the crust mixture firmly and evenly across the bottom and slightly up the sides of the prepared springform pan. Use the bottom of a glass or your fingers to compact it tightly. Once formed, place the crust in the refrigerator to firm up and chill while you prepare the cheesecake filling. This chilling step is essential for a stable, crumb-free crust.


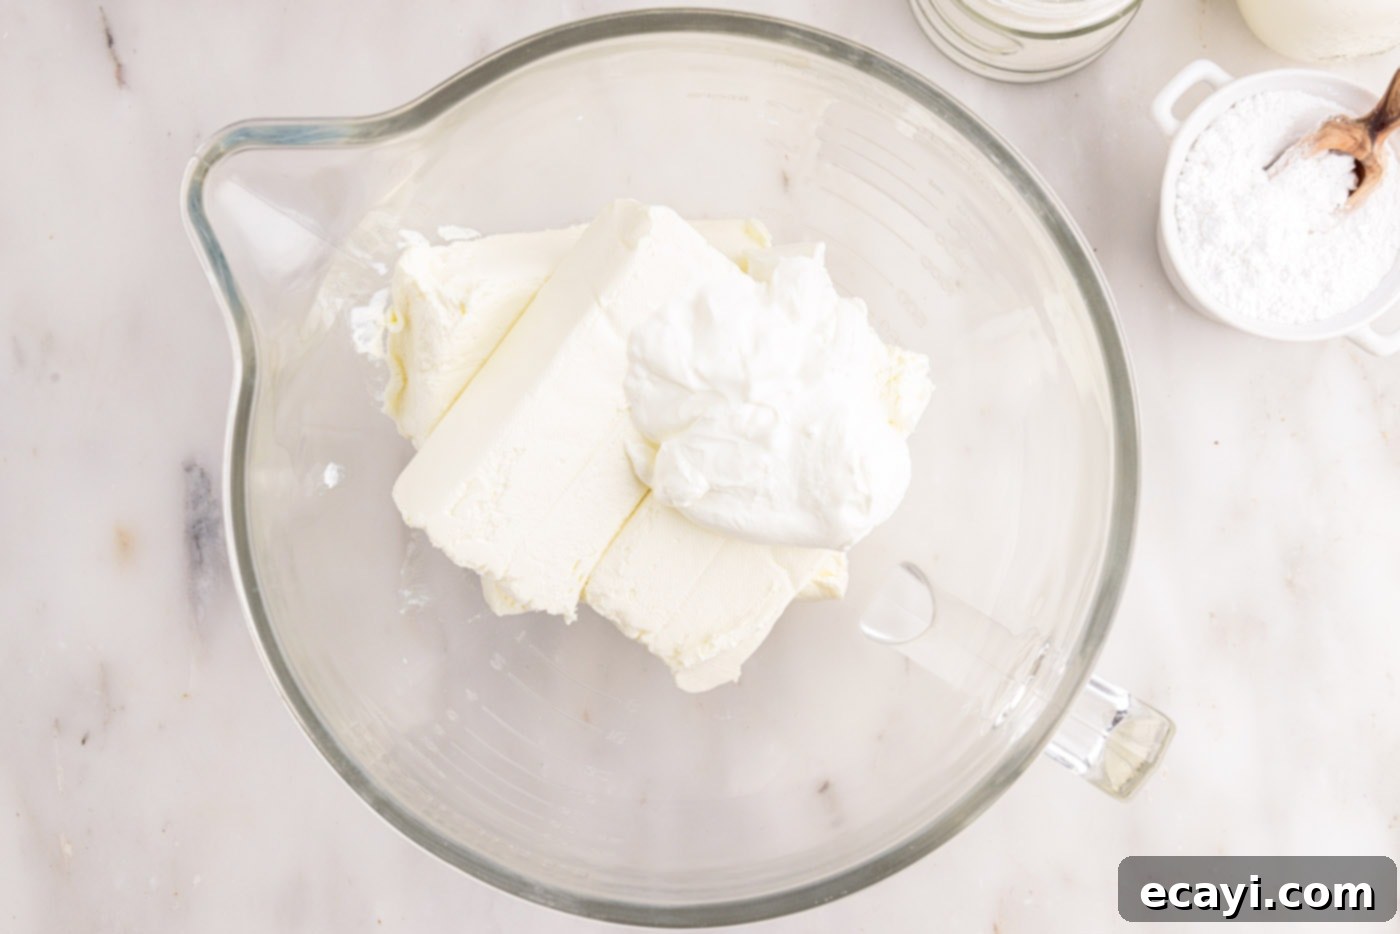
- Whip the Cream Cheese Base: In a large mixing bowl, using an electric hand mixer (or a stand mixer fitted with the paddle attachment), beat the room temperature cream cheese and sour cream together. Beat on medium speed until the mixture is incredibly fluffy, smooth, and completely free of lumps. Scrape down the sides of the bowl as needed to ensure everything is incorporated.

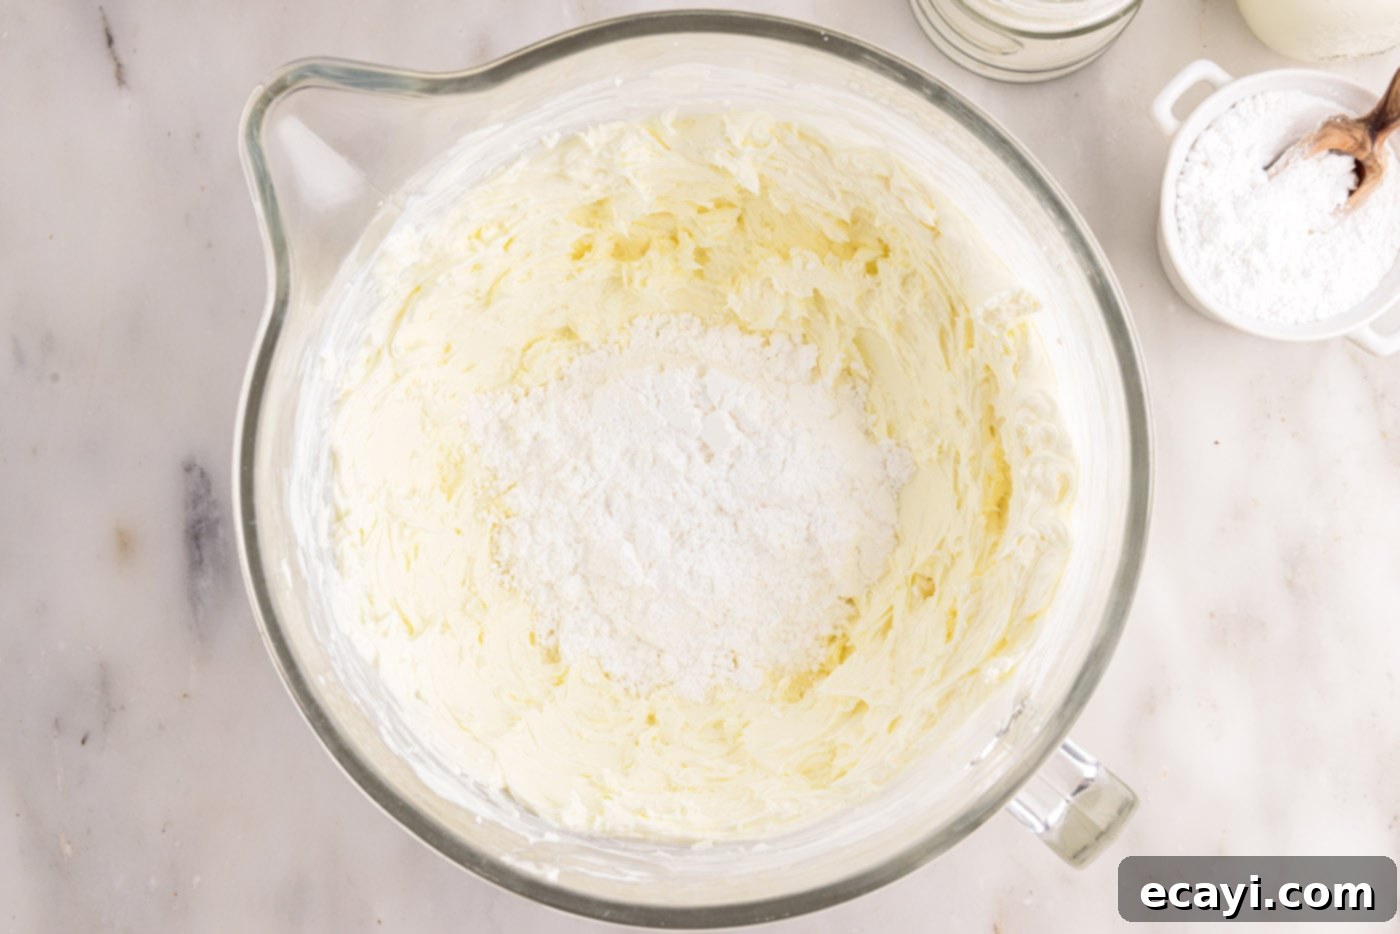
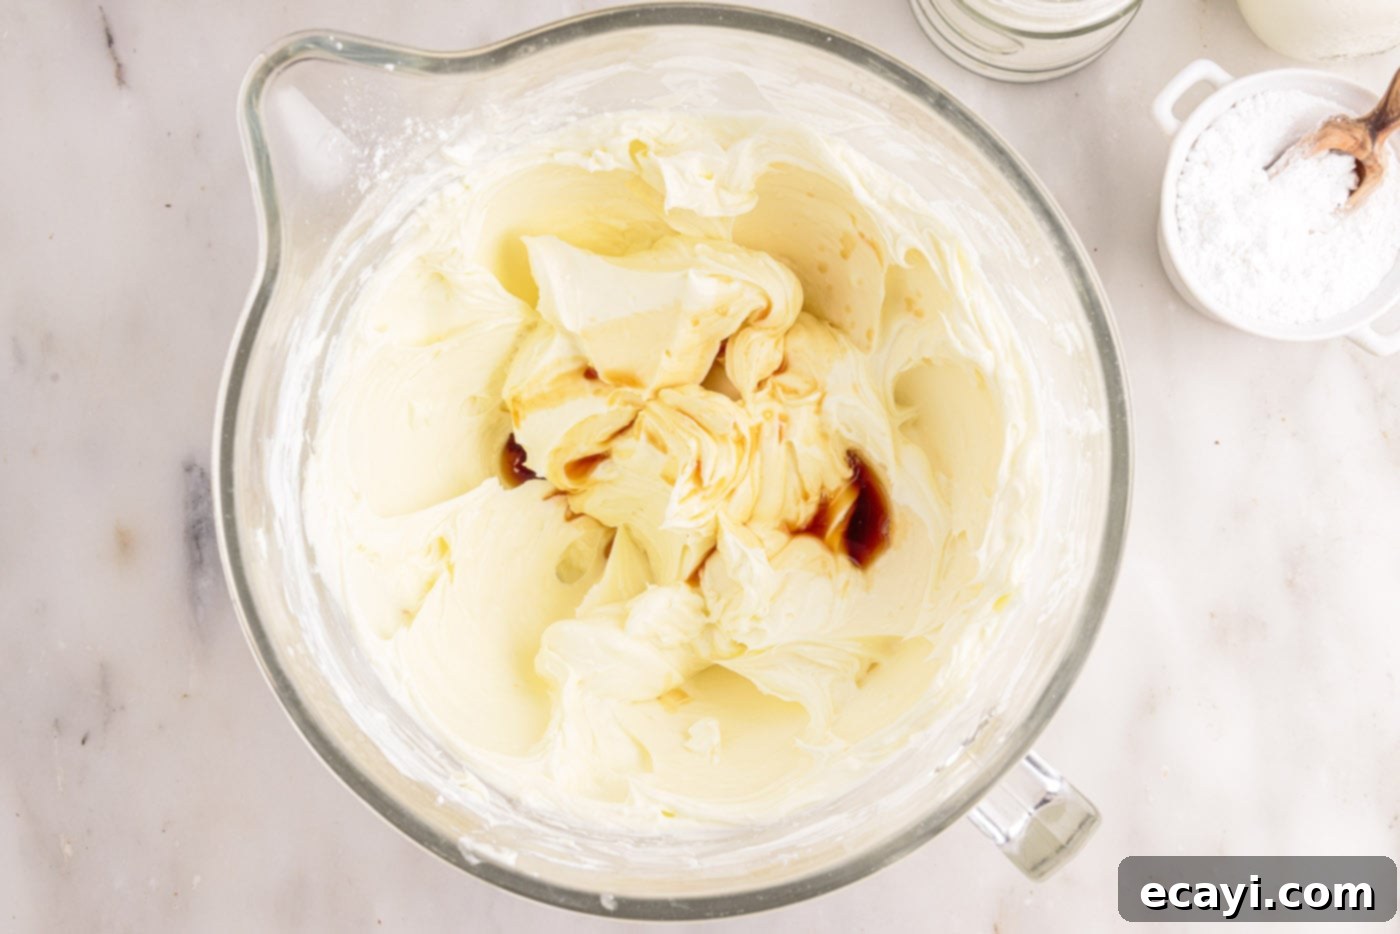
- Add Sweetness and Flavor: Gradually add the powdered sugar to the cream cheese mixture, beating until it is fully combined and the mixture is smooth again. Next, beat in the vanilla extract until just incorporated. Be careful not to overmix at this stage.


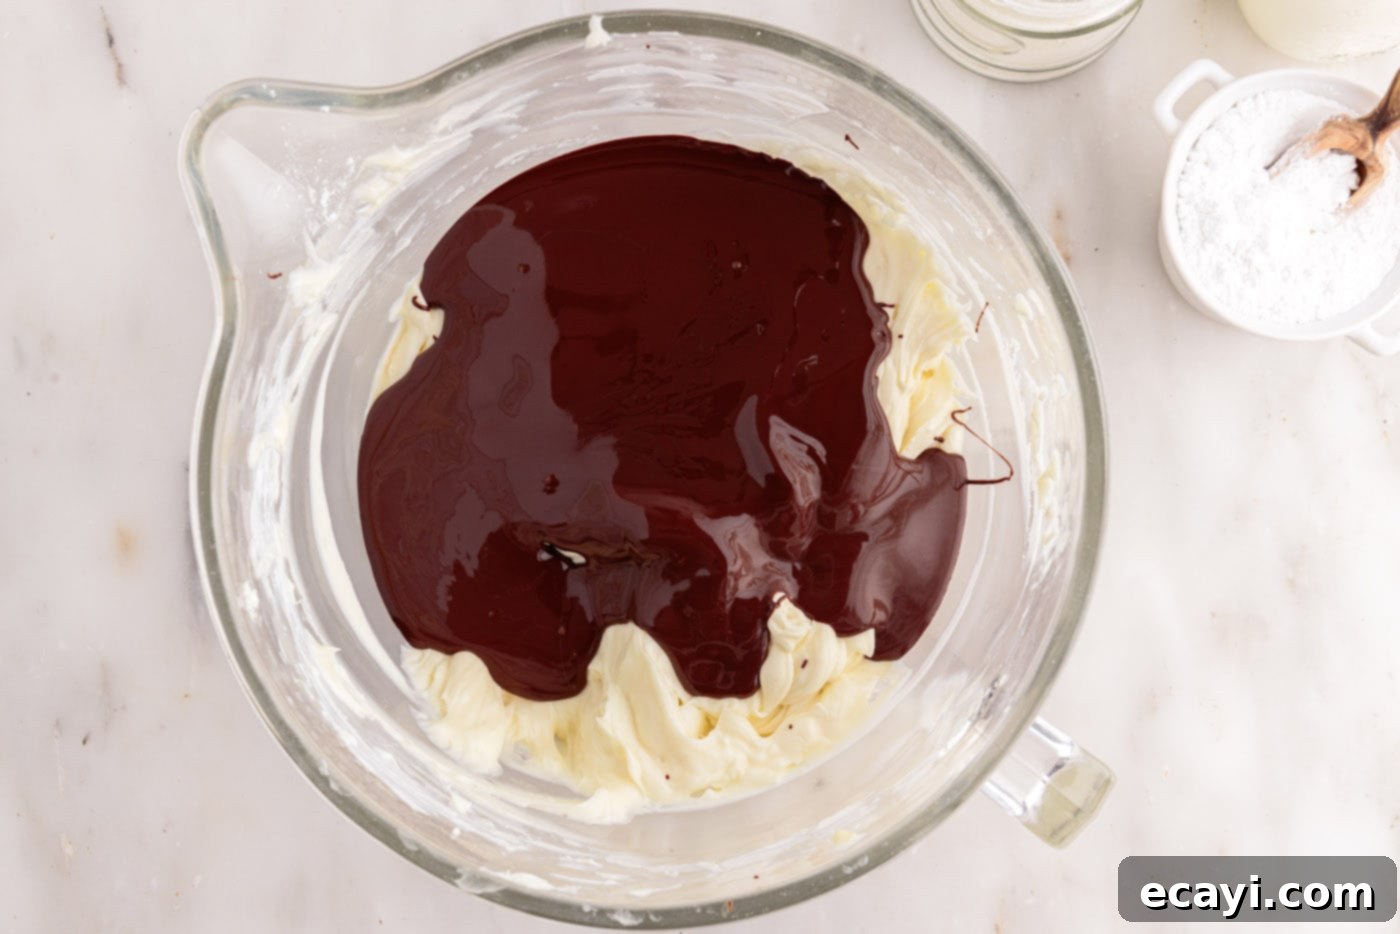
- Fold in the Cooled Chocolate: Once your melted chocolate has reached room temperature, gently pour it into the cream cheese mixture. Beat on low speed initially, then increase to medium, just until the chocolate is thoroughly combined and the mixture takes on a beautiful, uniform chocolate color. Be careful not to overmix, as this can incorporate too much air and affect the final texture.

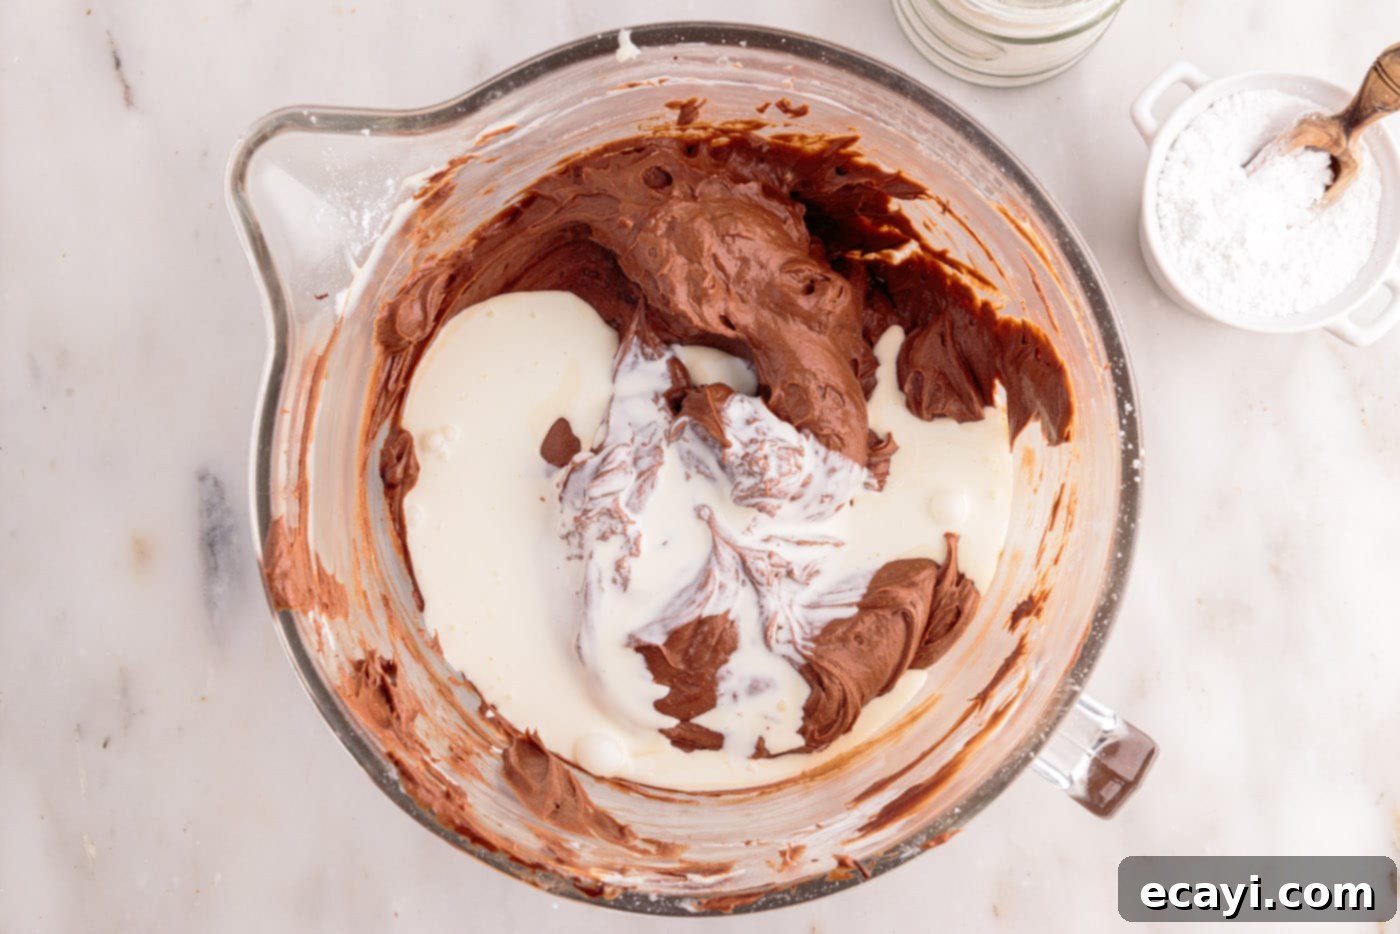
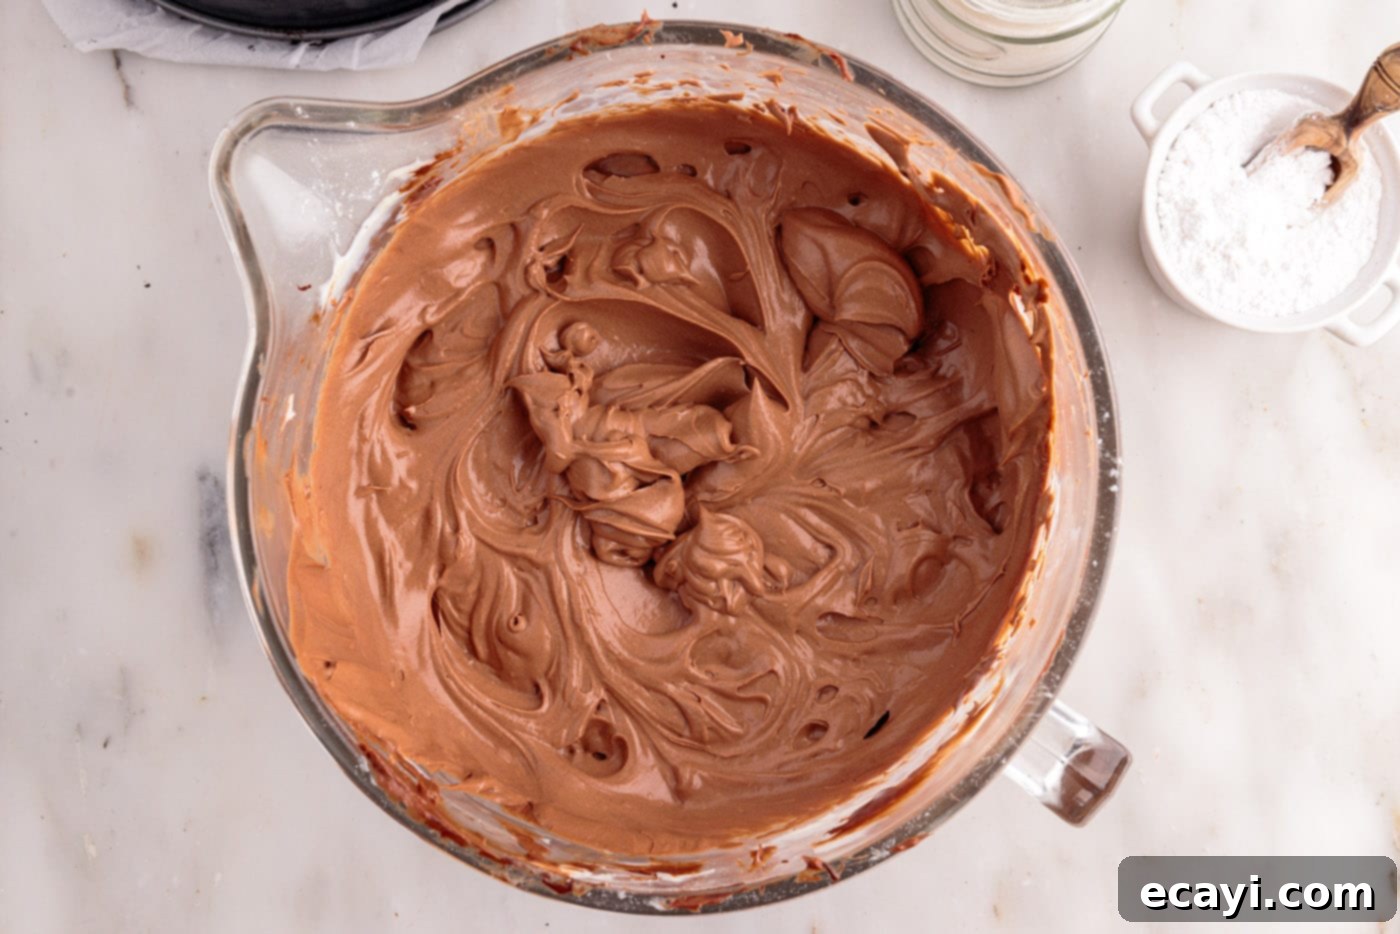
- Incorporate the Heavy Cream: Finally, pour the cold heavy cream into the chocolate cheesecake mixture. Beat on medium-high speed for 1-2 minutes longer, or until the mixture becomes wonderfully fluffy, thick, and well combined. You’ll know it’s ready when the cheesecake mixture forms soft peaks – meaning if you lift the beaters, a soft peak will hold its shape momentarily before gently folding back into itself. This ensures an airy yet firm cheesecake.
EXPERT TIP: While some recipes suggest whipping the heavy cream separately and then folding it in, beating it directly into the cheesecake mixture is a simple, effective method that produces a luxuriously silky texture and saves you from washing extra dishes!


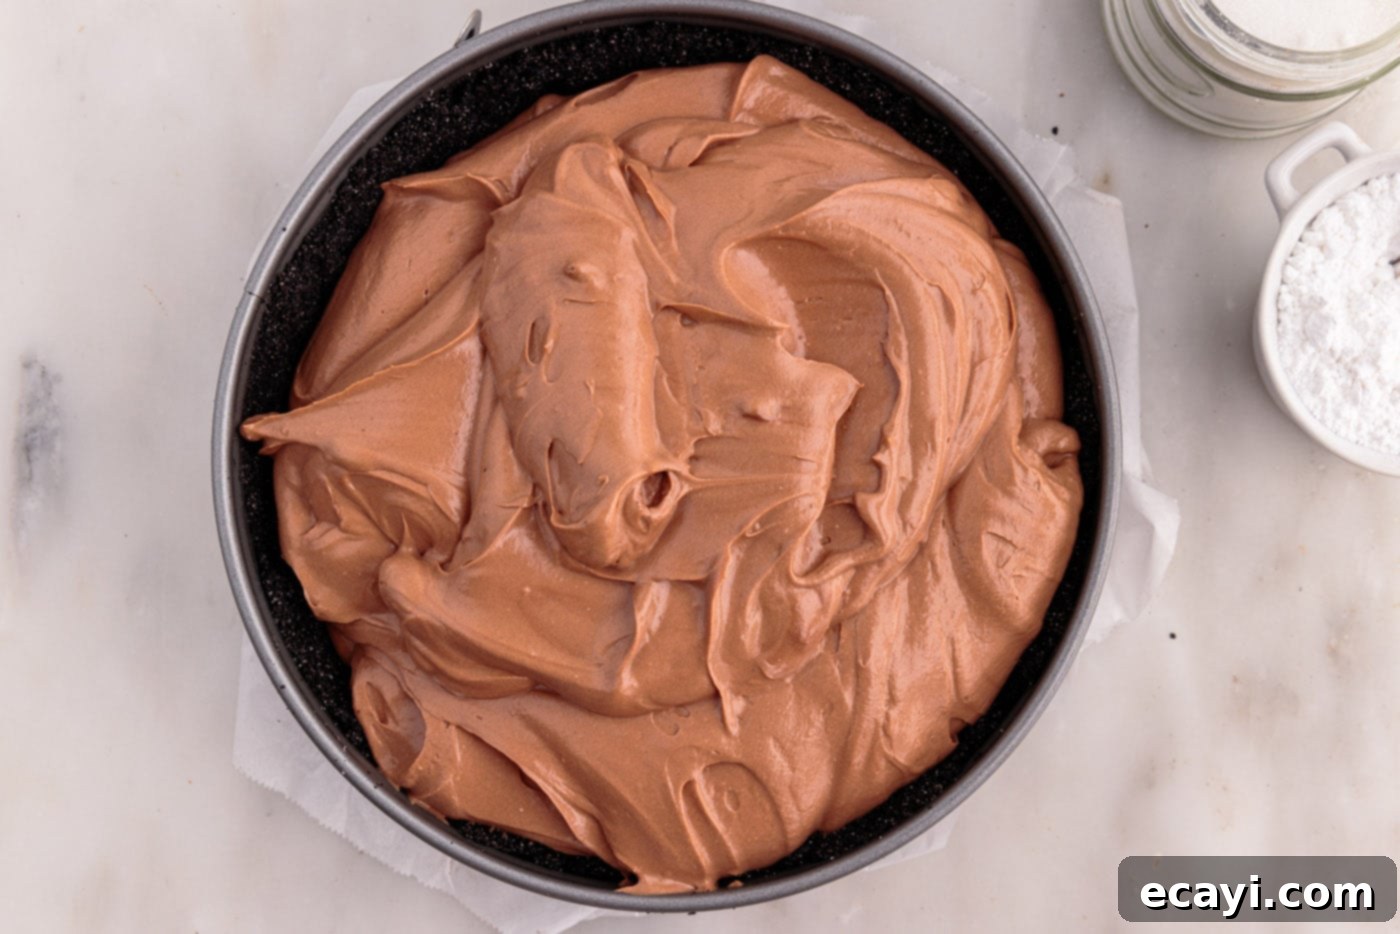
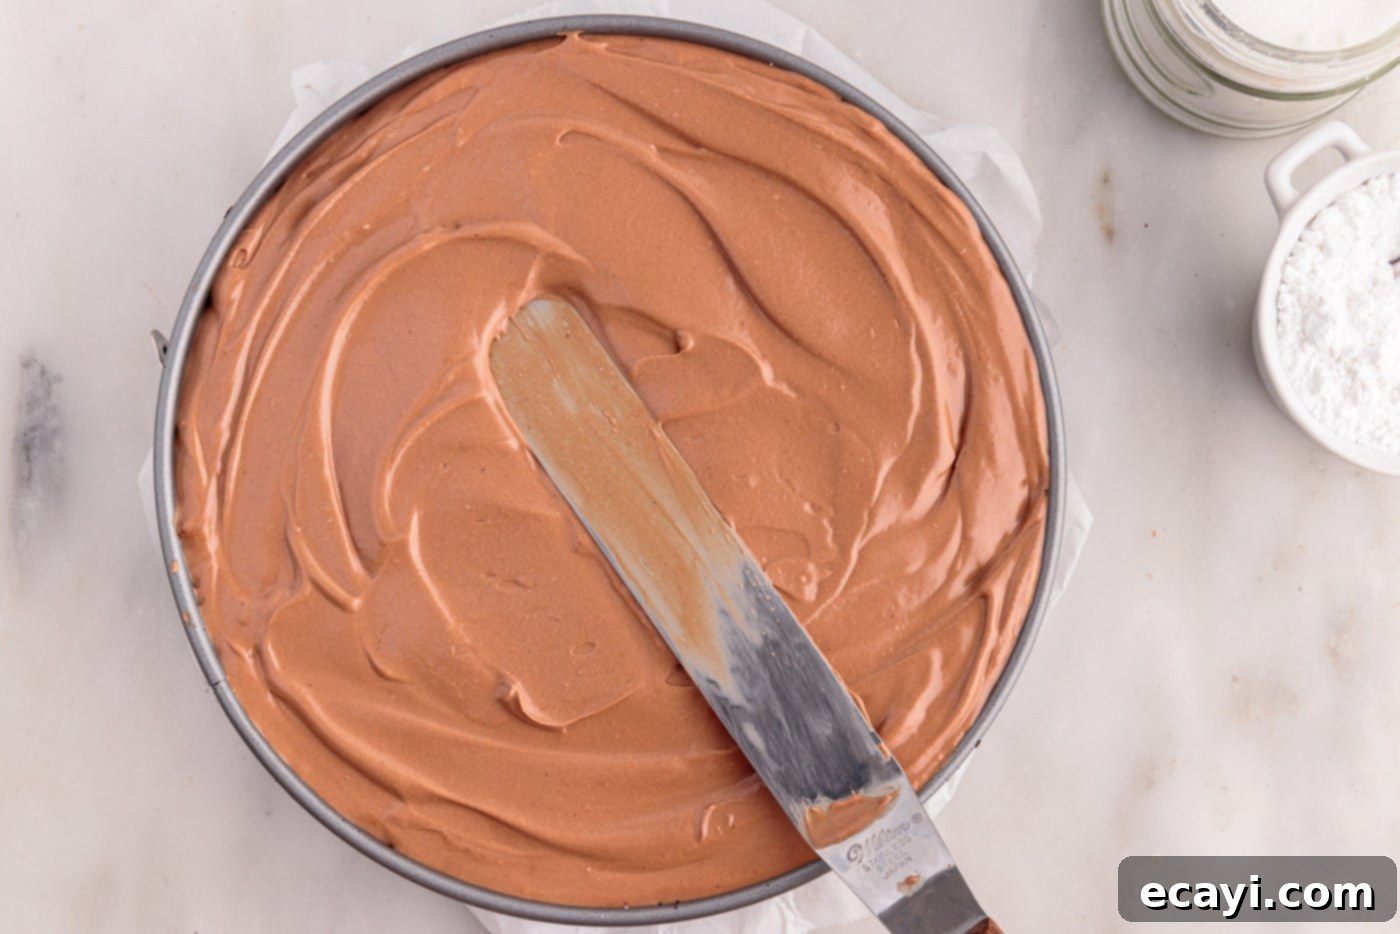
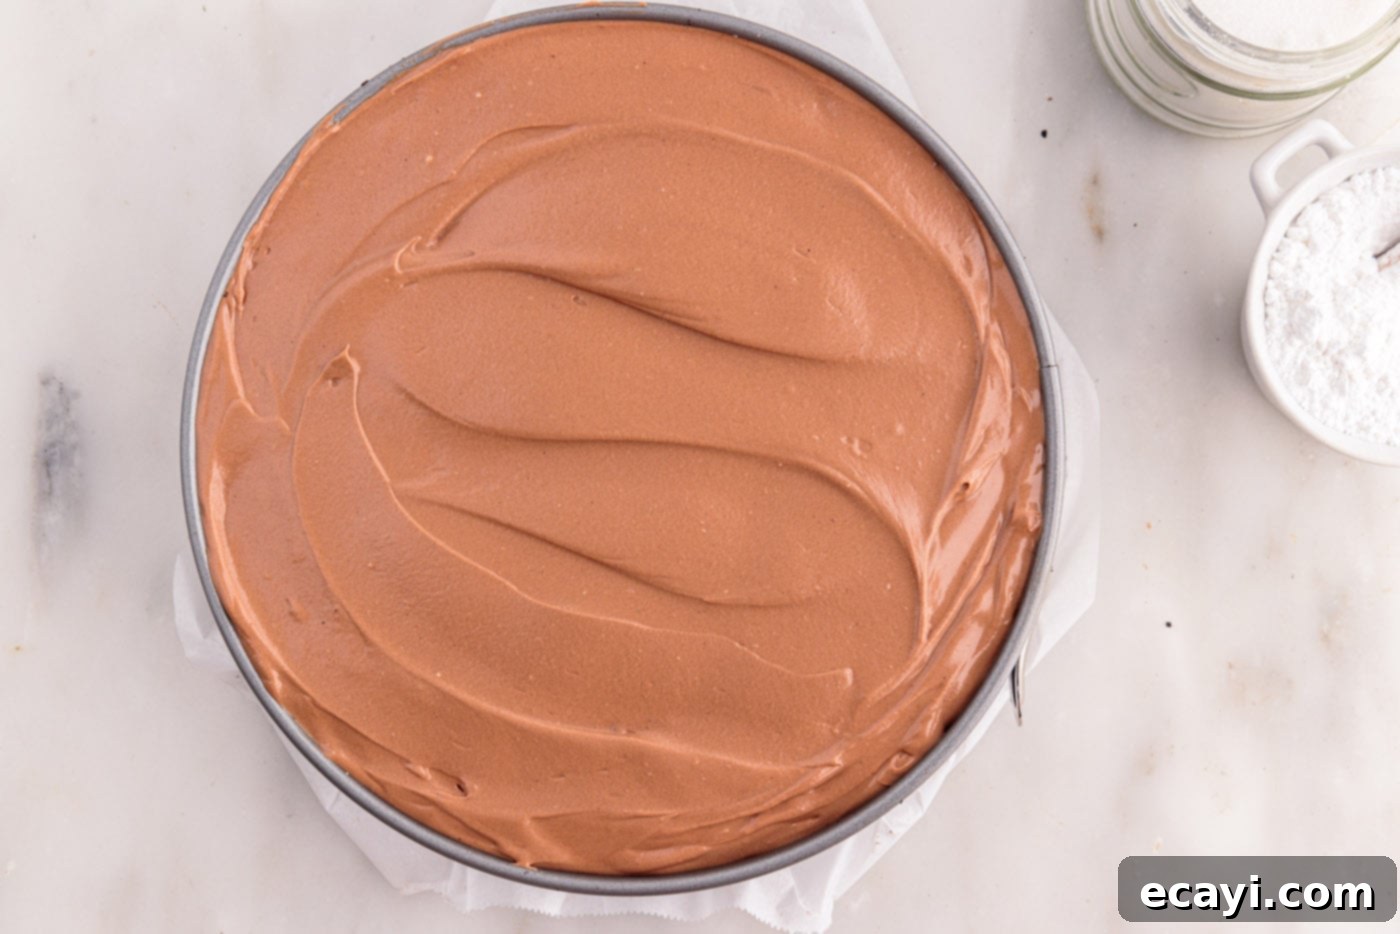
- Fill and Smooth the Crust: Gently spoon the decadent chocolate cheesecake filling evenly into the chilled crust. Use an offset spatula or the back of a spoon to carefully smooth the top of the cheesecake, creating a perfectly flat and inviting surface. Lightly tap the pan on your counter a few times to release any trapped air bubbles.


- Chill to Perfection: This is the final and arguably most important step for a successful no-bake cheesecake. Place the springform pan containing your cheesecake in the refrigerator for at least 4 hours. For the absolute best results and a truly firm, sliceable cheesecake, chilling it overnight (8 hours or more) is highly recommended. The longer it chills, the firmer and more stable it will become.

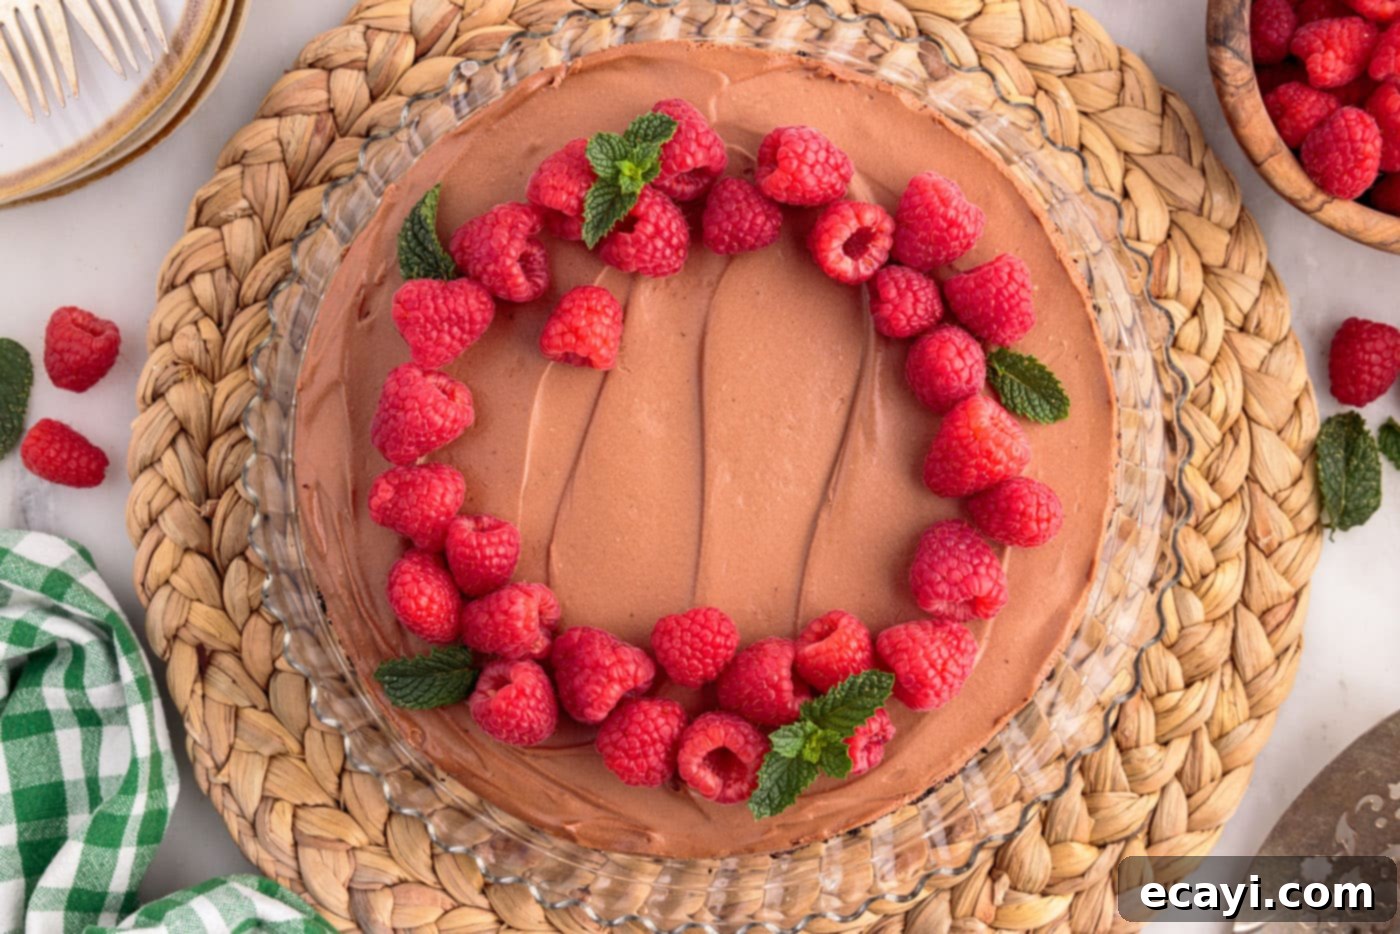
- Garnish and Serve: Once your cheesecake is perfectly set, gently run a thin knife around the edge of the pan before releasing the springform ring. Now for the fun part – garnishing! Top with a generous amount of fresh raspberries, or a dollop of freshly whipped cream. For an extra touch of indulgence, drizzle with homemade chocolate ganache or a simple chocolate sauce. Slice and serve chilled, enjoying every decadent bite!

Frequently Asked Questions & Expert Tips for No-Bake Cheesecake Success
To maintain its freshness and delightful texture, cover any leftover cheesecake tightly with plastic wrap or transfer slices to an airtight container. Store it in the refrigerator for up to 2-3 days. For optimal flavor and consistency, it’s best enjoyed within the first two days.
Absolutely! No-bake cheesecakes freeze wonderfully, making them an excellent make-ahead dessert. First, ensure the cheesecake is fully chilled and set in the refrigerator. Then, wrap it meticulously with a layer of plastic wrap, followed by a layer of heavy-duty aluminum foil. This double-layer protection prevents freezer burn. You can freeze the cheesecake for up to 1 month. When you’re ready to enjoy, thaw it overnight in the refrigerator before serving.
Lumpy cheesecake filling is most often caused by using cold cream cheese. Room temperature cream cheese is essential for achieving that ultra-smooth consistency. If your cream cheese isn’t soft enough, it won’t blend properly, leaving small curds or lumps. Additionally, ensure your melted chocolate is cooled to room temperature before adding it; warm chocolate can also cause separation and a lumpy texture.
The most common reason a no-bake cheesecake doesn’t set is insufficient chilling time or not enough heavy cream. Ensure you’ve whipped the heavy cream into soft peaks as described in the instructions, as this provides the necessary structure. Also, always allow at least 4 hours of refrigeration, but ideally 6-8 hours or overnight, for the cheesecake to firm up completely.
Yes, absolutely! While the chocolate graham cracker crust is fantastic, you can easily substitute it with a traditional graham cracker crust, an Oreo cookie crust, or even a crushed shortbread cookie crust. The key is to ensure your chosen crust is well-compacted and chilled to provide a stable base for the filling.
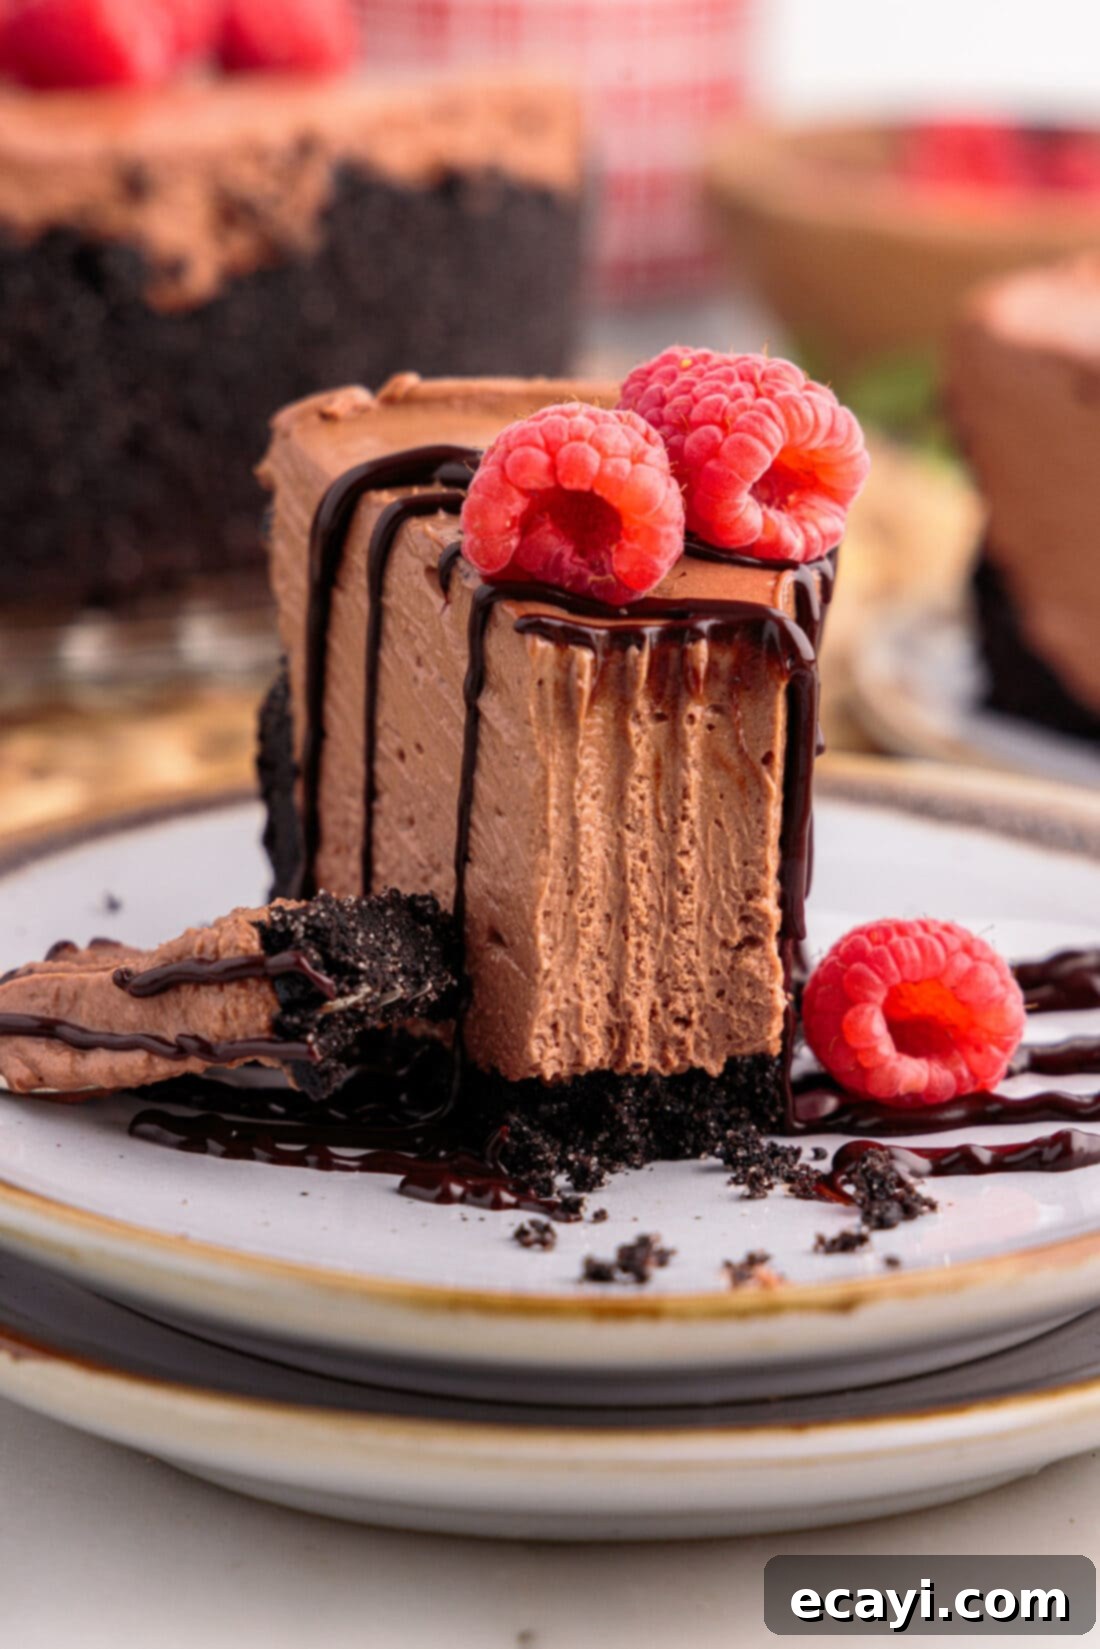
Elevate Your Dessert: Creative Serving Suggestions
One of the joys of this no-bake chocolate cheesecake is its adaptability when it comes to serving. The rich chocolate base provides a perfect canvas for a myriad of delicious toppings, allowing you to customize it for any season or celebration. Do as we did and crown your cheesecake with a vibrant explosion of fresh raspberries, their tartness offering a beautiful contrast to the sweet chocolate. Other fresh berries, such as sliced strawberries, plump blueberries, or juicy blackberries, are equally stunning and flavorful choices.
For an extra layer of indulgence, a delicate drizzle of homemade chocolate ganache or a store-bought chocolate sauce adds a touch of elegance. Feeling adventurous? Transform your cheesecake into a “turtle” inspired delight by drizzling it generously with warm caramel sauce and sprinkling it with a handful of crunchy, chopped pecans or walnuts. The combination of chocolate, caramel, and nuts is simply irresistible.
But the possibilities don’t end there! Consider these other fantastic garnishing ideas:
- Whipped Cream: A fluffy cloud of homemade whipped cream, perhaps lightly sweetened with vanilla, is a classic and always welcome addition.
- Crushed Cookies: Beyond the crust, extra crushed Oreos or even chocolate chip cookies sprinkled on top add delightful texture.
- Candy Crumbles: Chopped candy bars like Snickers, Heath bars, or Reeses’ peanut butter cups can add a fun, playful element.
- Chocolate Shavings: Use a vegetable peeler or grater to create elegant curls of chocolate for a sophisticated finish.
- Mini Chocolate Chips: A scattering of mini chocolate chips provides a subtle crunch and extra chocolatey goodness.
- Toasted Coconut: For a tropical twist, toasted coconut flakes offer a unique flavor and texture.
- Fruit Compote: A homemade berry compote (slightly warmed or chilled) can add a burst of fruity freshness.
- Fresh Mint Leaves: A few fresh mint leaves add a pop of color and a refreshing aroma.
No matter how you choose to adorn it, remember that this cheesecake is best served chilled. Enjoy every luxurious slice!
Explore More No-Bake Cheesecake Creations
If you’ve fallen in love with the ease and deliciousness of this no-bake chocolate cheesecake, you’ll be thrilled to discover a world of other no-bake cheesecake possibilities. These recipes offer the same convenience and delightful textures, making them perfect for any occasion when you crave a delectable dessert without turning on the oven.
- No Bake Cheesecake Bars
- No Bake Pumpkin Cheesecake
- No Bake Blueberry Cheesecake
- No Bake Strawberry Cheesecake Bars
- Peanut Butter Oreo No Bake Cheesecake
I love to bake and cook and share my kitchen experience with all of you! Remembering to come back each day can be tough, that’s why I offer a convenient newsletter every time a new recipe posts. Simply subscribe and start receiving your free daily recipes!
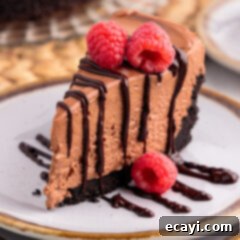
No Bake Chocolate Cheesecake
IMPORTANT – There are often Frequently Asked Questions within the blog post that you may find helpful. Simply scroll back up to read them!
Print It
Pin It
Rate It
Save ItSaved!
Ingredients
Cheesecake
- 6 ounces bittersweet baking chocolate chopped into pieces
- 6 ounces semi-sweet baking chocolate chopped into pieces
- 32 ounces cream cheese four 8 ounce packages. Softened*
- ⅓ cup sour cream
- 2 cups powdered sugar
- 2 teaspoons vanilla extract
- 1 ½ cups heavy whipping cream
Chocolate Graham Cracker Crust
- 16 ounces chocolate graham cracker crumbs
- ¾ cup granulated sugar
- ¾ cup unsalted butter melted
Things You’ll Need
-
9 inch springform pan
-
Mixing bowls
-
Hand mixer or stand mixer
-
Offset icing spatula
Before You Begin
- The cream cheese should be at room temperature so that it mixes smoothly into the cheesecake filling mixture. To help it come to room temp faster, cut the cream cheese into cubes and allow it to rest on the counter for around 30 minutes.
- This makes a nice thick crust and full cheesecake. You can easily slice 20 servings.
- If desired, you can substitute the chocolate graham crust with a traditional graham cracker crust or an Oreo cookie crust.
- A mixture of semi-sweet and bittersweet chocolate keeps this cheesecake rich and decadent without being cloyingly sweet. Use a quality bar of baking chocolate such as Ghiradelli, Lindt, or even Baker’s.
- Cover leftover cheesecake with plastic wrap or store in an airtight container in the refrigerator for 2-3 days.
- To Freeze – Be sure to chill the cheesecake first, then wrap it well with plastic wrap followed by a layer of aluminum foil and freeze for up to 1 month. Freeze overnight in the refrigerator.
Instructions
-
Grease a 9 inch springform pan and line the bottom with parchment paper.
-
Chop the chocolate into small pieces. Place in the top pan of a double boiler over simmering water, stirring until the chocolate is fully melted and smooth. Set aside to cool to room temperature. Be sure no moisture or water gets into the melted chocolate.
TIP – It’s important to cool down the melted chocolate before adding it to the cheesecake mixture so that it doesn’t melt the other ingredients or ruin the texture of the filling.
-
Combine chocolate graham cracker crumbs and granulated sugar in a mixing bowl or directly in the bottom of a springform pan. Stir to combine evenly.
-
Pour the melted butter into the graham cracker crumb mixture and stir to make a sandy mixture. Press the crust across the bottom and up the sides of the springform pan. Place crust in the refrigerator to firm up while preparing the cheesecake.
-
In a large mixing bowl, beat together cream cheese and sour cream with a mixer until fluffy and smooth.
-
Add the powdered sugar, beating until combined. Beat in the vanilla extract.
-
When the chocolate is at room temperature, pour it into the cream cheese mixture and beat to combine.
-
Add the heavy cream to the cheesecake mixture, beating for 1-2 minutes longer until fluffy and well combined. The cheesecake mixture should form soft peaks.
TIP – You can also whip the heavy cream separately and fold it into the cheesecake mixture, but beating it directly into the filling requires less dishes, is simple, and creates a silky, luxurious texture to the cheesecake.
-
Spread the cheesecake filling evenly into the chilled crust. Use an offset spatula to smooth the top of the cheesecake.
-
Place cheesecake in the refrigerator for at least 4 hours.
-
Garnish with fresh raspberries or whipped cream. You can also drizzle with chocolate ganache.
Nutrition
The recipes on this blog are tested with a conventional gas oven and gas stovetop. It’s important to note that some ovens, especially as they age, can cook and bake inconsistently. Using an inexpensive oven thermometer can assure you that your oven is truly heating to the proper temperature. If you use a toaster oven or countertop oven, please keep in mind that they may not distribute heat the same as a conventional full sized oven and you may need to adjust your cooking/baking times. In the case of recipes made with a pressure cooker, air fryer, slow cooker, or other appliance, a link to the appliances we use is listed within each respective recipe. For baking recipes where measurements are given by weight, please note that results may not be the same if cups are used instead, and we can’t guarantee success with that method.
