The Easiest 5-Ingredient No-Churn Chocolate Ice Cream Recipe (Eggless!)
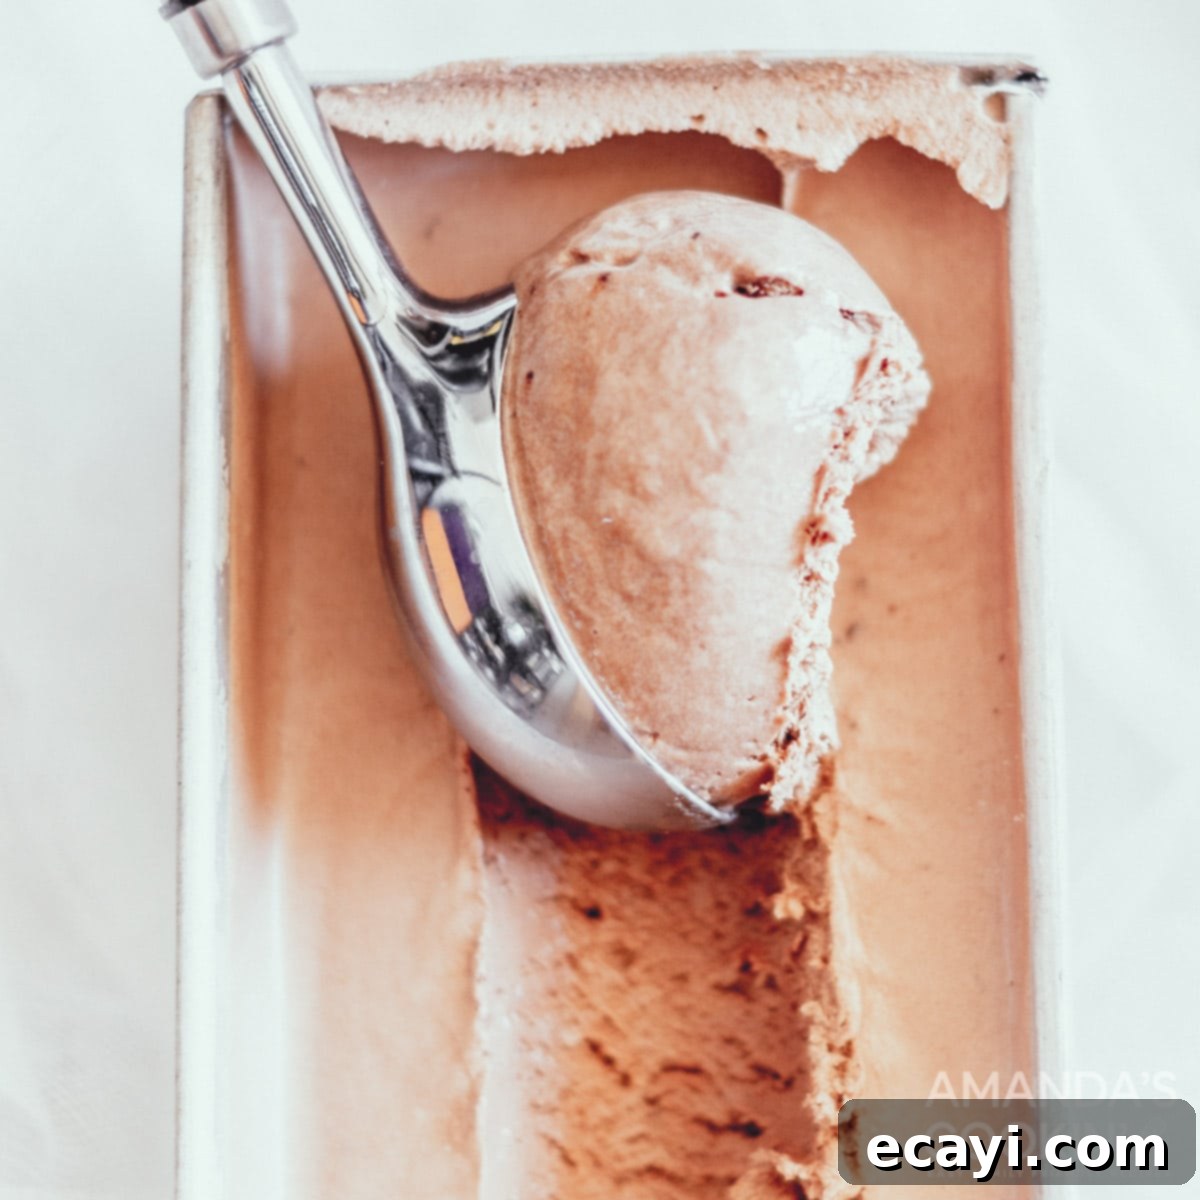
Prepare to discover your new favorite dessert! This is hands-down the easiest, most decadent chocolate ice cream recipe you will ever encounter. Forget complicated steps, fancy equipment, or the need for an expensive ice cream maker. With just 5 simple ingredients and absolutely no churning required, you can create a remarkably rich, smooth, and intensely chocolatey homemade ice cream that rivals any store-bought premium brand.
What makes this recipe truly special? Not only is it incredibly simple, but it’s also completely eggless. This means no cooking, no tempering, and no worrying about raw eggs – just pure, unadulterated chocolate bliss ready to be mixed, frozen, and enjoyed. Get ready to impress your family and friends with this fuss-free, delicious frozen treat!
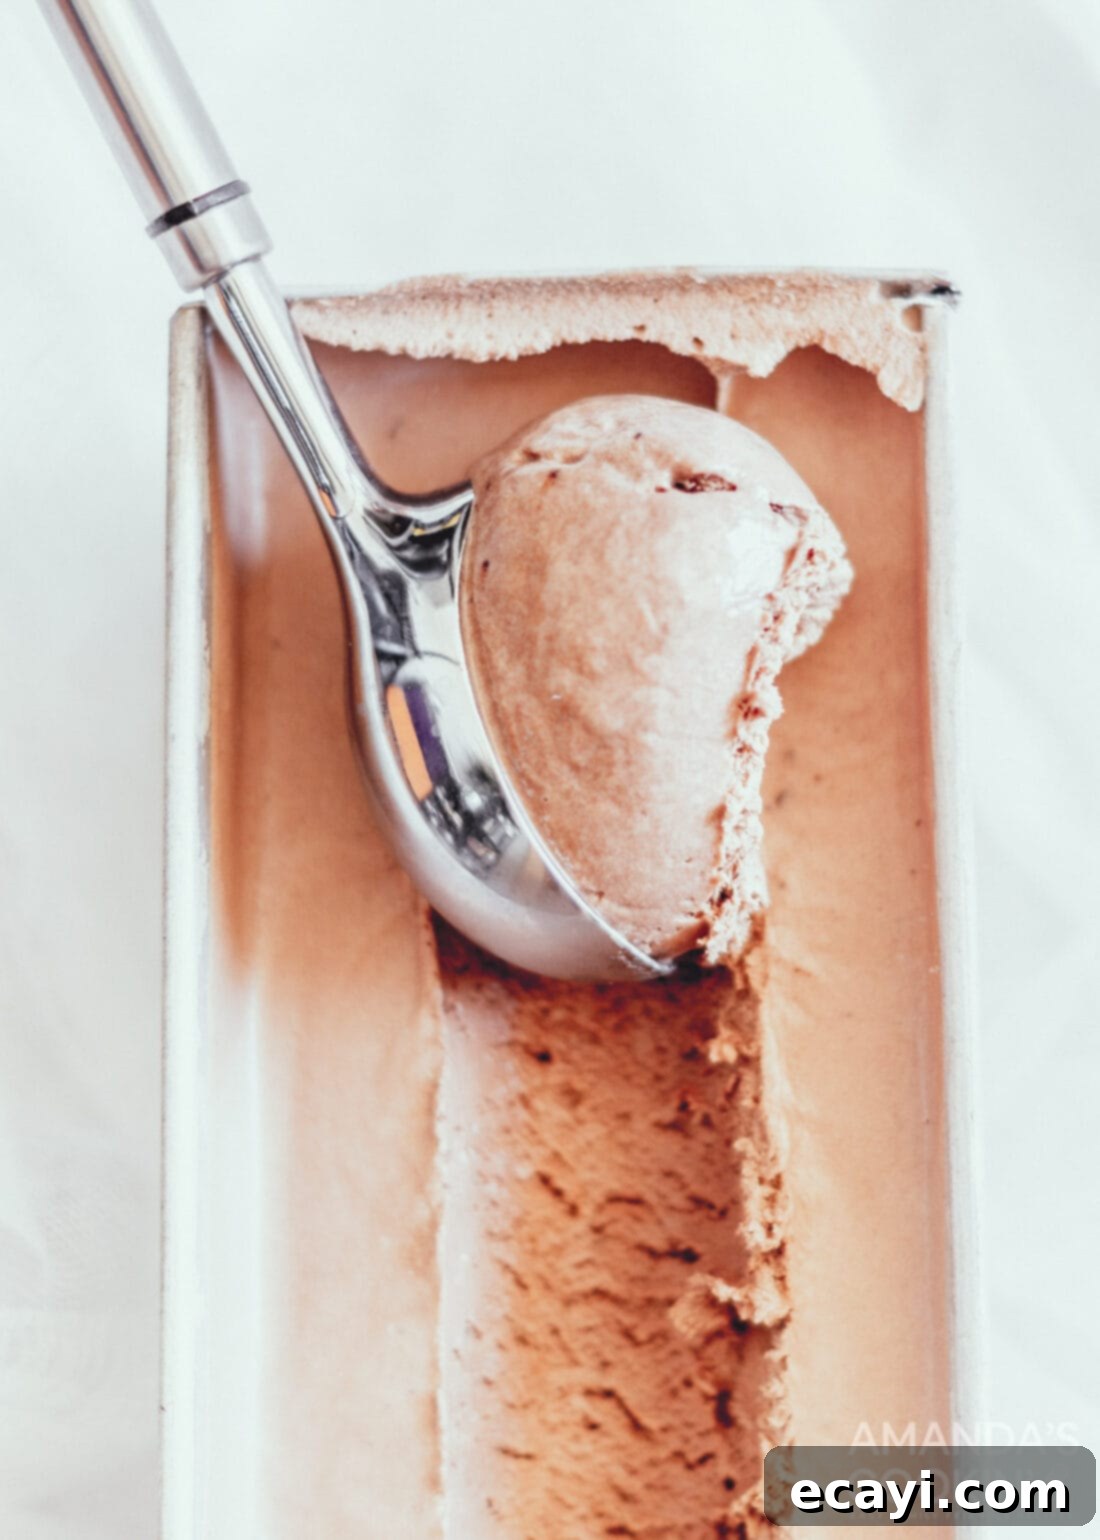
Why This Simple No-Churn Chocolate Ice Cream Recipe is a Game Changer
We absolutely adore making homemade ice cream, but we often hear the common question: “What if I don’t own an ice cream maker?” This is precisely where our incredibly simple, no-churn homemade chocolate ice cream recipe steps in to save the day. You don’t need any specialized equipment, just five common pantry ingredients and a freezer-safe container, like a loaf pan, to achieve a perfectly creamy result.
While picking up a tub of ice cream from the grocery store is always an option, there’s a unique satisfaction that comes with crafting this rich and creamy treat right in your own kitchen. This recipe delivers a superior taste and texture that often surpasses commercial varieties, making it a truly rewarding culinary experience. The absence of eggs means you can skip the cooking and tempering steps entirely, streamlining the process to a simple mix-and-freeze method. This not only saves time but also makes the recipe accessible to even the most novice of home cooks. The most challenging part of this entire process will undoubtedly be exercising patience while you wait for it to harden in the freezer!
Beyond its simplicity, this no-churn method creates an exceptionally dense and luxurious ice cream. By whipping heavy cream to stiff peaks, you incorporate air, which then becomes trapped when folded into the sweetened condensed milk and cocoa. This magical combination prevents the formation of large ice crystals, a common issue in traditional ice cream making without an ice cream machine. The result is a velvety-smooth texture that melts beautifully in your mouth, delivering an intense chocolate flavor in every spoonful. It’s perfect for a quick summer treat or a comforting dessert any time of year.
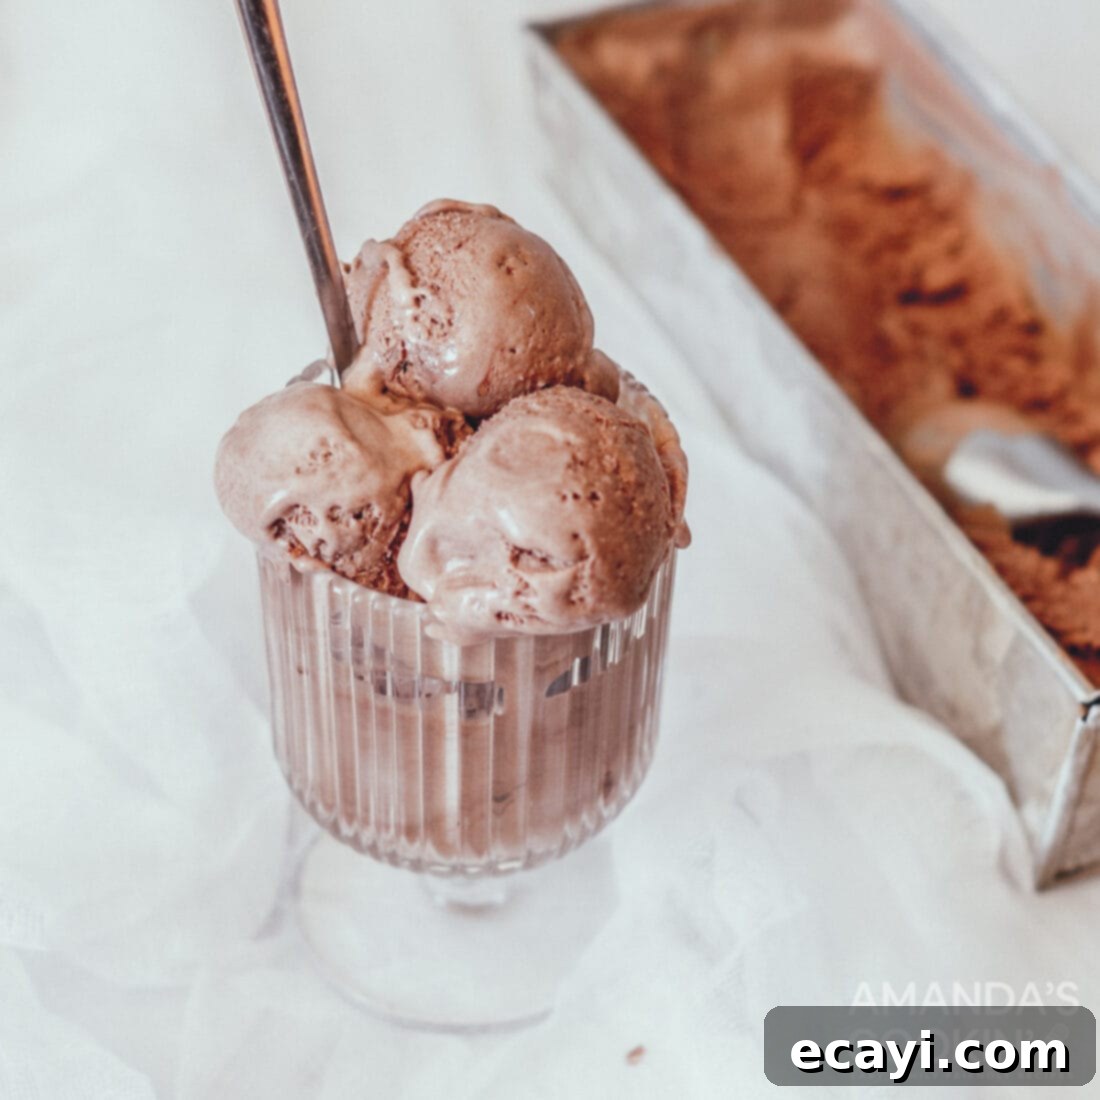
Essential Ingredients for Your No-Churn Chocolate Ice Cream
One of the many delights of this no-churn chocolate ice cream is its minimal ingredient list. You’ll only need five readily available items to create this spectacular dessert. For precise measurements, detailed quantities, and complete instructions, be sure to refer to the printable recipe card conveniently located at the end of this post.
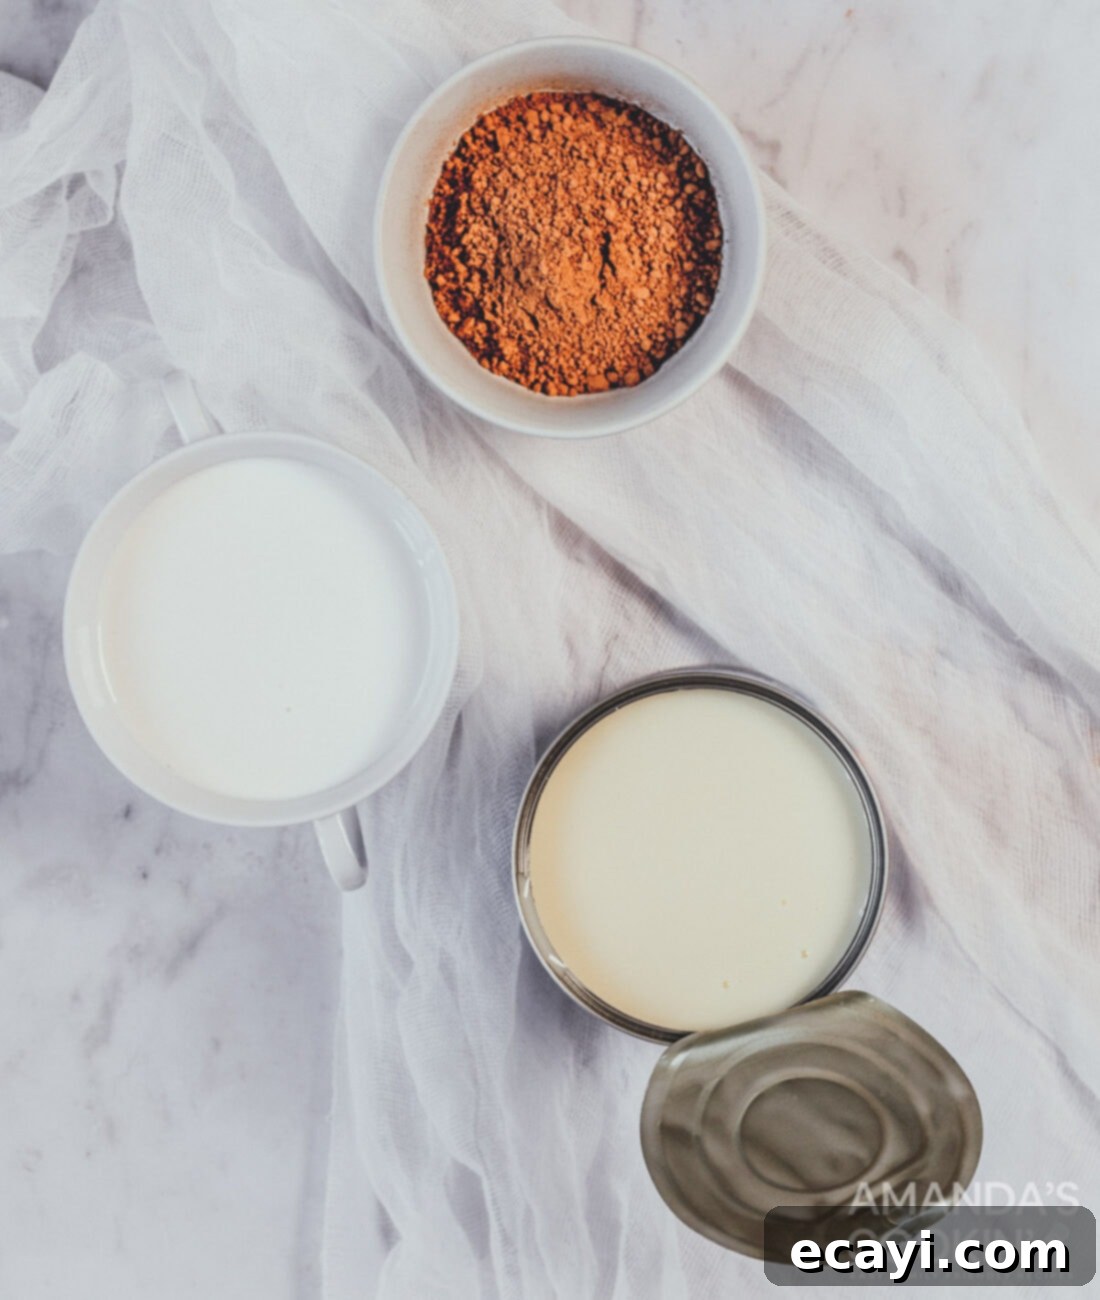
Detailed Ingredient Information and Smart Substitution Suggestions
Understanding each ingredient’s role can help you customize your chocolate ice cream to perfection and make smart substitutions if needed:
COCOA POWDER – The type of cocoa you choose will significantly impact the depth and bitterness of your final chocolate ice cream. For a classic, balanced chocolate flavor, regular unsweetened cocoa powder is a fantastic choice. If you’re a fan of deeper, richer chocolate notes, opt for a dark chocolate cocoa powder. For a less acidic, smoother chocolate taste with a darker color, Dutch process cocoa is an excellent alternative. We typically use regular baking cocoa for its reliable and delicious results, but feel free to experiment to find your preferred chocolate intensity.
SWEETENED CONDENSED MILK – This ingredient is the unsung hero of no-churn ice cream. Traditional ice cream recipes often require a combination of milk, heavy cream, and granulated sugar. Sweetened condensed milk conveniently replaces all three, simplifying the ingredient list and the preparation process. It provides both the necessary sweetness and a creamy base, contributing to the ice cream’s smooth texture without the need for cooking or additional sugar. It’s crucial to note: do NOT use evaporated milk. These two products are not interchangeable; evaporated milk is unsweetened and will not deliver the same creamy texture or sweet flavor.
HEAVY CREAM – This is the foundation of our ice cream’s luxurious, rich, and creamy texture. Heavy cream, also known as heavy whipping cream, boasts a high fat content (typically 36% or more). When whipped, it incorporates air, which is essential for creating a light, fluffy base that freezes into a smooth, scoopable ice cream rather than an icy block. While heavy cream offers the best results for maximum creaminess, you do have some flexibility. If you’re looking to reduce the fat content slightly, you can substitute a portion of the heavy cream with half-and-half in equal parts. However, be aware that doing so will result in a slightly less rich and creamy texture due to the lower fat percentage. For the ultimate indulgence, stick with full-fat heavy whipping cream.
Step-by-Step: How to Make Irresistibly Easy No-Churn Chocolate Ice Cream
These step-by-step photos and detailed instructions are provided to help you visualize each stage of making this incredibly simple recipe. For a convenient printable version of this recipe, complete with precise measurements and comprehensive instructions, you can easily Jump to the Recipe Card at the bottom of this post.
- Start by preparing your freezing container. Place a loaf pan or a dedicated ice cream storage container into your freezer. Getting the container as cold as possible before adding the mixture helps to kickstart the freezing process, reducing the time it takes for the ice cream to set and minimizing the formation of ice crystals, resulting in a smoother texture.
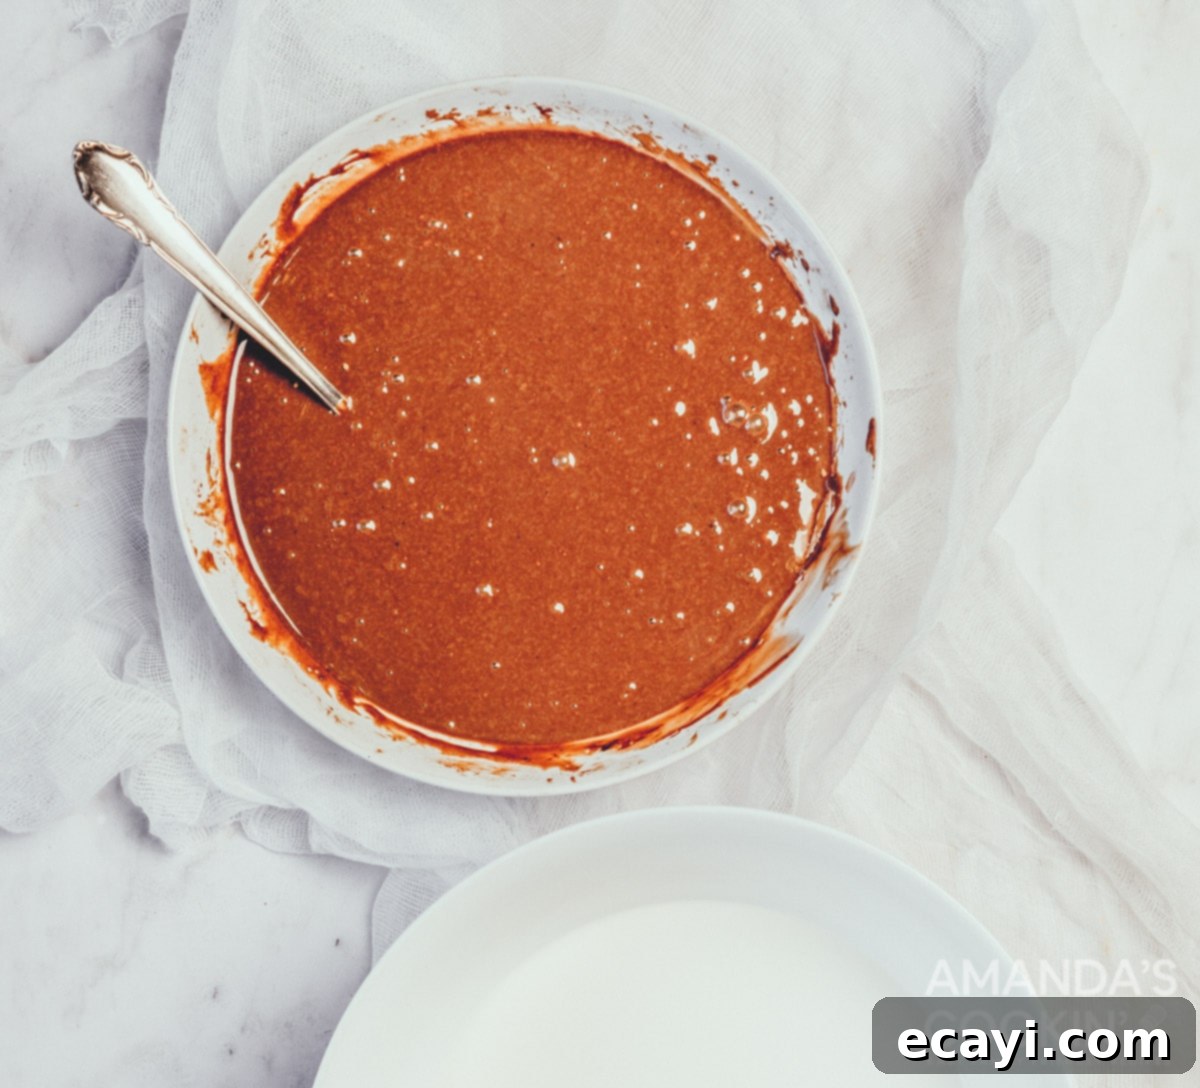
- In a large mixing bowl, combine the sweetened condensed milk, cocoa powder, vanilla extract, and a small pinch of salt. Whisk these ingredients together thoroughly until the mixture is smooth, well combined, and the cocoa powder is fully dissolved, leaving no lumps. This forms the rich, sweet chocolate base for your ice cream.
EXPERT TIP: To truly elevate the chocolate flavor and make it even more intense and complex, consider adding a teaspoon of instant espresso powder (or instant coffee granules) to the unsweetened cocoa mixture. Coffee is a natural enhancer for chocolate, deepening its notes without imparting a distinct coffee flavor to the final product. It’s a secret trick many pastry chefs use to make chocolate taste “more chocolatey.”

- In a separate, clean bowl, pour in the heavy cream. Using a hand mixer (or a stand mixer with a whisk attachment), whip the heavy cream on medium-high speed until it forms stiff but soft peaks. What does this mean? When you lift the beaters, the cream should hold its shape, but the tips of the peaks should curl slightly rather than standing straight up. Be careful not to over-whip, as it can turn grainy or even start to become butter. This whipped cream provides the essential airy, light texture for your no-churn ice cream.
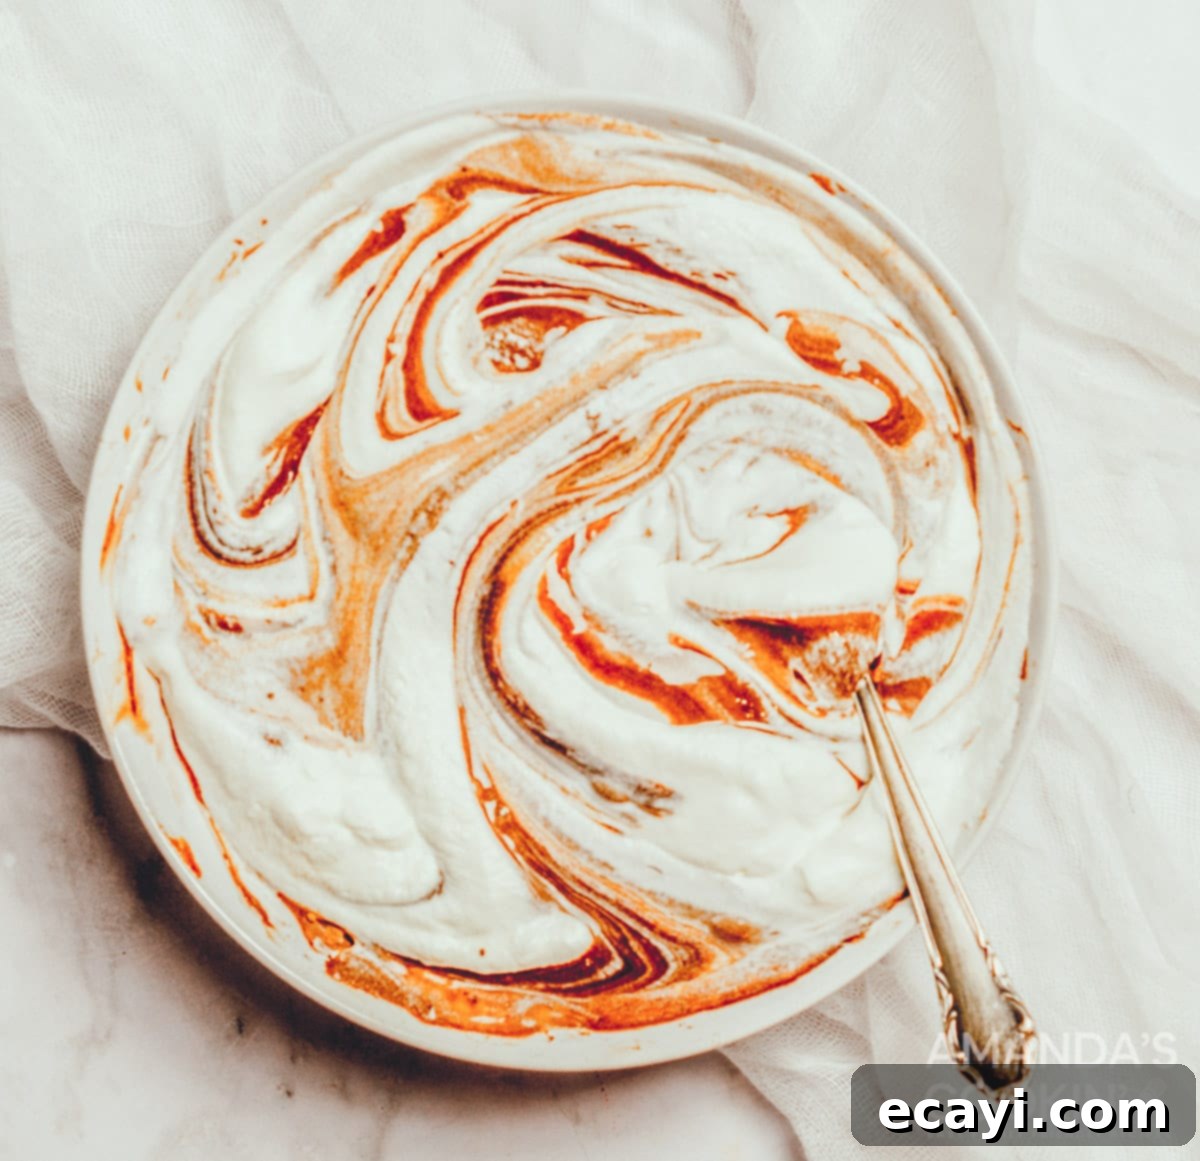
- Now, it’s time to gently combine the two mixtures. Slowly incorporate the whipped heavy cream into the chocolate condensed milk mixture. Use a large spatula and a folding technique – gently scoop from the bottom and fold over the top – to combine the ingredients. The goal here is to maintain as much of the air that you whipped into the cream as possible. This careful folding ensures your ice cream will be light, airy, and wonderfully creamy, not dense or icy. Continue folding until no streaks of white cream remain and the mixture is uniformly colored and smooth.

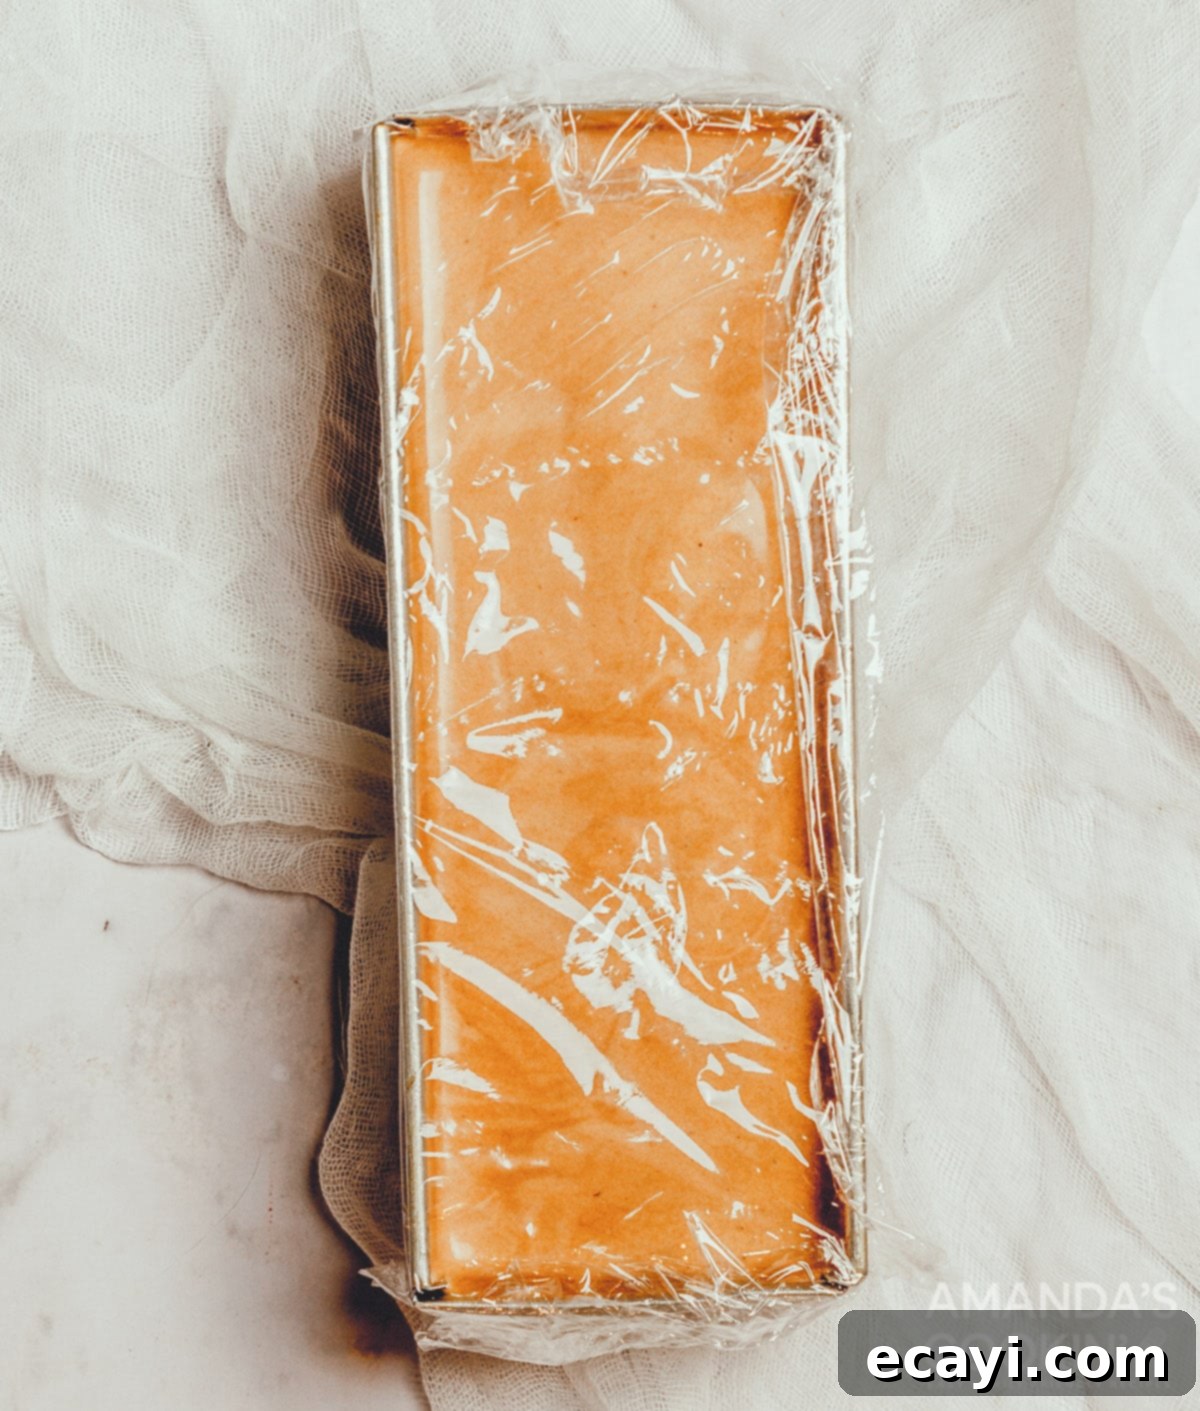
- Once perfectly combined, spoon your luscious no-churn chocolate ice cream mixture into the pre-chilled loaf pan or ice cream storage container. Smooth the top with your spatula. Then, cover the container tightly with plastic wrap. Press the plastic wrap directly onto the surface of the ice cream to minimize air exposure and prevent the formation of ice crystals on top, which can lead to a less smooth texture.
- Place the covered container into the freezer. Freeze the chocolate ice cream for a minimum of 5 hours. For the best, firmest results, it’s often ideal to freeze it overnight. Once fully set, it’s ready to be scooped and served with your favorite ice cream scoop. The waiting is truly the hardest part, but the reward of homemade, creamy chocolate ice cream is absolutely worth it!

Frequently Asked Questions & Expert Tips for Perfect No-Churn Ice Cream
Chocolate ice cream, especially those made with a higher percentage of cocoa, tends to freeze harder than other flavors. This is due to the extra cocoa solids present in the mixture, which can bind water more effectively and result in a firmer texture. But don’t worry, there are easy solutions! A quick zap in the microwave for just 15 to 20 seconds can soften it up to a perfect scooping consistency. Alternatively, simply place the container on your kitchen counter for about 20 minutes before you plan to serve it, allowing it to temper slightly. For a proactive measure, an expert tip is to add a tablespoon of clear alcohol, such as vodka, to the ice cream mixture before freezing. Because alcohol does not freeze, it effectively lowers the freezing point of the mixture, helping to keep the ice cream from getting excessively hard and maintaining a smoother, more scoopable texture.
The undeniable secret to a luscious, creamy ice cream texture lies primarily in its fat content. Fat molecules play a crucial role in preventing the formation of large, icy crystals during the freezing process. Ingredients like heavy cream are rich in fat, which emulsifies beautifully with the other ingredients, resulting in a smooth and rich mouthfeel. Therefore, if you opt to substitute the heavy cream with lower-fat alternatives like regular milk or even half-and-half, the finished ice cream will inevitably have a less smooth, less rich, and potentially icier texture. For the creamiest results, stick to full-fat heavy whipping cream as recommended in the recipe.
Absolutely! Even though this is designed as a no-churn recipe, it adapts beautifully for those who prefer to use an ice cream maker. Simply follow the initial steps of the recipe, combining the condensed milk, cocoa powder, vanilla, and salt, and then whipping the heavy cream until it forms stiff peaks. Once you have gently folded both mixtures together to create your base, pour this combined mixture directly into your ice cream maker. Churn the mixture according to the specific instructions provided by your model’s manufacturer. This method still eliminates the need for cooking eggs, but you’ll get the added benefit of aeration and consistent freezing from your machine, potentially resulting in an even silkier texture.
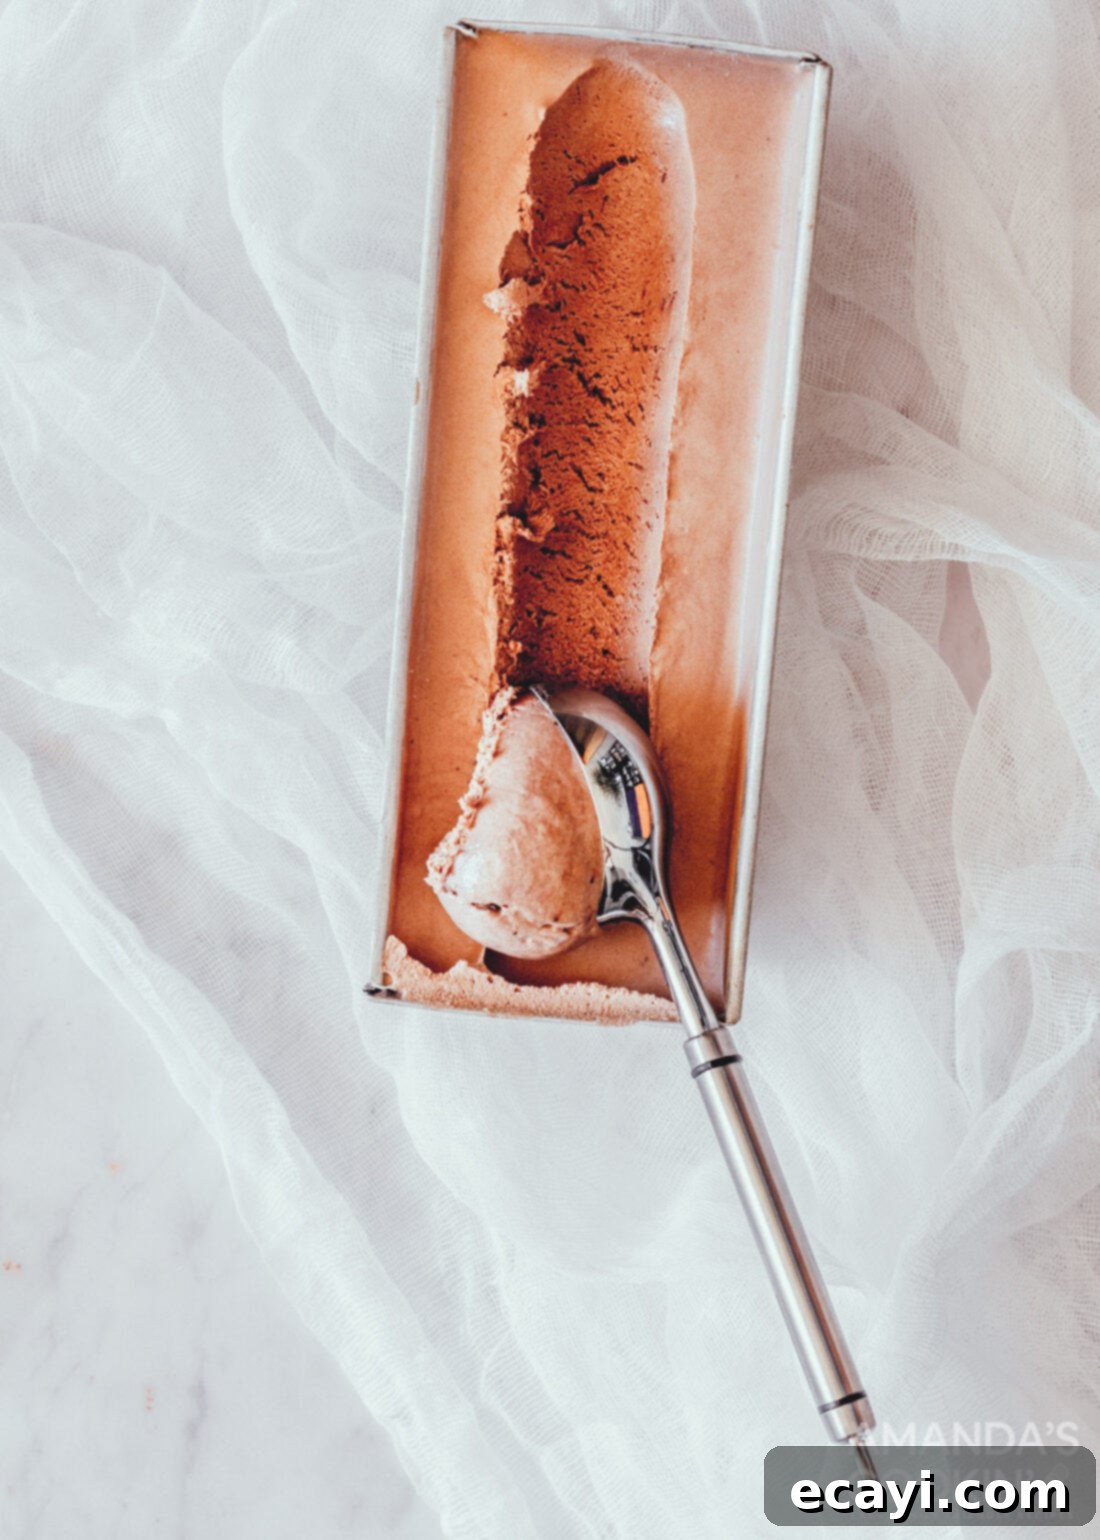
Delicious Serving Suggestions for Your Homemade Chocolate Ice Cream
I don’t know about you, but a simple bowl of rich, homemade chocolate ice cream is a pure delight all by itself. Its deep flavor and creamy texture are often all you need. However, the versatility of this easy no-churn chocolate ice cream means there are countless fun and creative ways to serve and enjoy it!
Transform it into an indulgent dessert like an ice cream cake, layering it with cookies, fudge, and whipped cream for a celebratory treat. Or, for a nostalgic snack, make classic ice cream sandwiches with your favorite cookies. This chocolate ice cream also makes a fantastic topping for a wide variety of baked goods, perfectly complementing warm fruit cobblers and crisps, or even a slice of warm brownie.
During the warmer months, whip up refreshing floats and shakes by blending it with soda or milk. For the adults, elevate your dessert game by crafting sophisticated dessert cocktails. Our Frozen Mudslide is a prime example, but chocolate ice cream also pairs wonderfully with spirits like Bailey’s Irish Cream, whipped cream vodka, Amaretto, Kahlúa, or a hint of creme de menthe for a minty twist. The possibilities are truly endless!
CUSTOMIZE WITH DELICIOUS ADD-INS – One of the best parts of homemade ice cream is the ability to customize it exactly to your liking with an array of tasty add-ins. Consider incorporating crunchy elements like chopped nuts (walnuts, pecans, almonds), crushed pretzels for a sweet and salty contrast, or your favorite cookies and candies (Oreos, chocolate chips, M&Ms). For a softer texture, try dried fruits, mini marshmallows, or swirls of melted chocolate or caramel sauce.
The key to successful mix-ins is timing. To prevent all your delicious additions from sinking straight to the bottom, wait until your ice cream has been in the freezer for about an hour or so and has started to firm up slightly. At this point, gently fold in your chosen add-ins. If the mixture is still too liquidy, they will indeed sink. You can also layer them as you spoon the ice cream into the loaf pan for an even distribution. Get creative and make your perfect personalized chocolate ice cream!
Whether you prefer a simple scoop in a cone, a cup, or a bowl, this homemade no-churn eggless chocolate ice cream is undeniably easy to make, incredibly versatile, and oh so delicious!
Explore More Delicious Ice Cream Recipes
If you’ve fallen in love with making your own frozen treats, be sure to check out these other fantastic ice cream recipes:
- Homemade Mint Chocolate Chip Ice Cream
- Rolled Ice Cream
- Vanilla Blackberry Jam Ice Cream
- Mocha Chocolate Chip Ice Cream
- Black Cow Ice Cream
- Nutella Swirl Cheesecake Ice Cream
- Root Beer Ice Cream
- Peanut Butter Chocolate Chip Ice Cream
I love to bake and cook and share my kitchen experience with all of you! Remembering to come back each day can be tough, that’s why I offer a convenient newsletter every time a new recipe posts. Simply subscribe and start receiving your free daily recipes!
No Churn Chocolate Ice Cream
IMPORTANT – There are often Frequently Asked Questions within the blog post that you may find helpful. Simply scroll back up to read them!
Print It
Pin It
Rate It
Save ItSaved!
Ingredients
- 14 oz sweetened condensed milk
- ½ cup unsweetened cocoa powder not packed, scoop and sweep to measure
- 2 teaspoons vanilla extract
- pinch of salt
- 2 cups heavy whipping cream
Things You’ll Need
-
ice cream storage container
-
Ice cream scoop
Before You Begin
- If you own an ice cream maker and wish to utilize it, you can effortlessly adapt this recipe. Simply follow the initial steps of combining the condensed milk mixture and whipping the heavy cream, then gently fold them together. Pour this prepared mixture into your ice cream maker and churn it according to the specific instructions provided by your model’s manufacturer. This method still bypasses the need for cooking eggs while leveraging your machine for aeration.
- Chocolate ice cream often freezes to a harder consistency than other flavors due to the higher content of cocoa solids. To achieve a perfectly scoopable texture, you can either briefly microwave it for 15-20 seconds or allow it to sit on the counter for about 20 minutes before serving. An advanced tip for preventing excessive hardness is to add a tablespoon of clear vodka to the mixture before freezing, as alcohol lowers the freezing point and keeps the ice cream softer.
- The luscious creaminess of ice cream is directly linked to its fat content. Using heavy cream is key to achieving this rich, smooth texture. If you choose to substitute heavy cream with lower-fat alternatives like regular milk or half-and-half, please be aware that the resulting ice cream will be less smooth and rich, potentially having a more icy consistency.
Instructions
-
Start by placing your chosen loaf pan or ice cream storage container in the freezer. This step is crucial for ensuring the container is as cold as possible, which helps the ice cream freeze more quickly and prevents the formation of large ice crystals.
-
In a spacious mixing bowl, combine the sweetened condensed milk, unsweetened cocoa powder, vanilla extract, and a delicate pinch of salt. Whisk these ingredients together until they are thoroughly blended and smooth, ensuring no lumps of cocoa powder remain.
EXPERT TIP: To intensify the chocolate flavor even further, consider adding a teaspoon of instant espresso powder or instant coffee granules to the mixture. This amplifies the chocolate notes without adding a coffee taste.
-
In a separate, clean bowl, use a hand mixer (or stand mixer with a whisk attachment) to whip the heavy cream. Continue whipping until the cream achieves stiff yet soft peaks. This means the cream should hold its shape, but the very tips of the peaks should curl slightly, indicating it’s perfectly aerated for a creamy ice cream base.
-
Gently combine the whipped cream with the chocolate condensed milk mixture. Use a large spatula to carefully fold one mixture into the other, ensuring you maintain as much air as possible in the whipped cream. Continue folding until the mixture is uniformly blended with no streaks of plain cream visible.
-
Carefully spoon the smooth no-churn chocolate ice cream mixture into your pre-chilled loaf pan. Smooth the top surface with your spatula, then cover the pan tightly with plastic wrap. Press the plastic wrap directly onto the surface of the ice cream to help prevent ice crystal formation.
-
Transfer the covered chocolate ice cream to the freezer and allow it to freeze for a minimum of 5 hours. For optimal firmness and best results, we recommend freezing it overnight. Once fully set, your rich and creamy homemade chocolate ice cream is ready to be enjoyed!
Nutrition
The recipes on this blog are tested with a conventional gas oven and gas stovetop. It’s important to note that some ovens, especially as they age, can cook and bake inconsistently. Using an inexpensive oven thermometer can assure you that your oven is truly heating to the proper temperature. If you use a toaster oven or countertop oven, please keep in mind that they may not distribute heat the same as a conventional full sized oven and you may need to adjust your cooking/baking times. In the case of recipes made with a pressure cooker, air fryer, slow cooker, or other appliance, a link to the appliances we use is listed within each respective recipe. For baking recipes where measurements are given by weight, please note that results may not be the same if cups are used instead, and we can’t guarantee success with that method.
This delightful chocolate ice cream recipe originally graced our blog on December 15, 2008, and has since been lovingly updated with fresh, enticing photos and enhanced expert tips to make your homemade ice cream experience even better.
