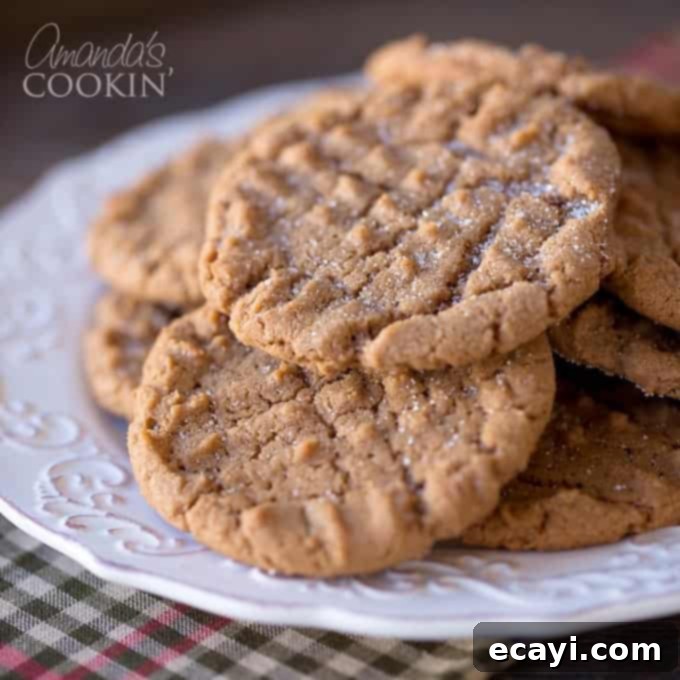
Irresistible Nutella Peanut Butter Cookies: The Ultimate Soft & Chewy Recipe
Do you find yourself constantly torn between the rich, creamy indulgence of Nutella and the nostalgic, comforting embrace of classic peanut butter cookies? What if you didn’t have to choose? Prepare to experience the best of both worlds with these sensational **Nutella Peanut Butter Cookies**! This recipe masterfully combines two beloved flavors into one utterly irresistible treat, creating a cookie that’s soft, chewy, and bursting with a harmonious blend of chocolate hazelnut and nutty goodness.
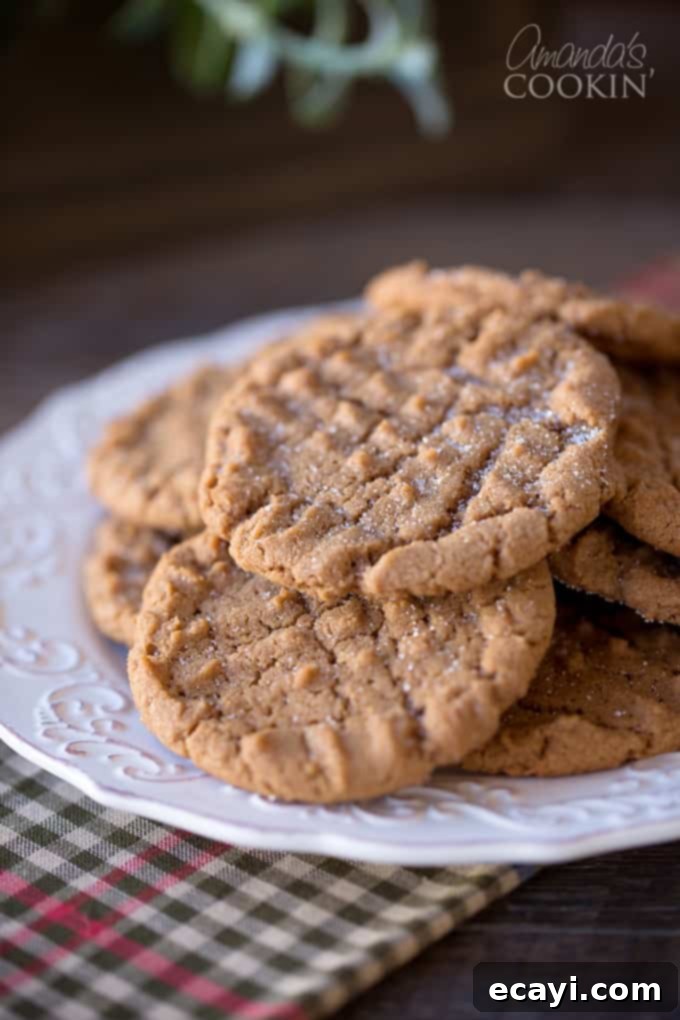
Discovering the Magic of Nutella Peanut Butter Cookies
My household has always had a special place for a perfectly baked, soft, and chewy peanut butter cookie. It’s a timeless classic that brings smiles to everyone’s faces. The idea of introducing Nutella, that glorious chocolate hazelnut spread, into our favorite peanut butter cookie recipe felt like a natural, destined evolution. The result? A truly spectacular cookie that elevates the humble peanut butter cookie to a new realm of deliciousness. These cookies are not just a dessert; they’re a delightful experience, perfect for any occasion, from a simple after-school snack to an elegant addition to your holiday gift baskets.
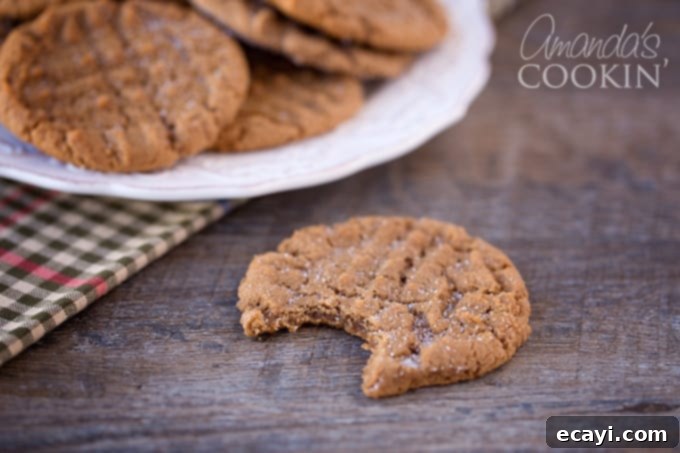
Crafting the Perfect Fusion: My Trusted Recipe
The foundation of these incredible cookies is my long-standing, cherished peanut butter cookie recipe, known for its consistent ability to produce soft and chewy results. Adapting it to incorporate Nutella was surprisingly simple yet profoundly effective. By strategically substituting a portion of the peanut butter with Nutella, we achieve that delightful swirl of flavors without compromising the beloved texture. The Nutella flavor truly shines through, offering a subtle richness that complements the peanut butter beautifully. For those who crave an even more intense Nutella presence, you can certainly experiment with a higher ratio of Nutella to peanut butter. Just be mindful that Nutella has a different consistency than peanut butter, so you might need to slightly adjust the amount of flour to maintain the perfect dough texture.
There are affiliate links in this post. That means if you buy something from that link, I will earn a small commission, but it won’t cost you anything additional. This helps support my kitchen experiments and bring you more delicious recipes!
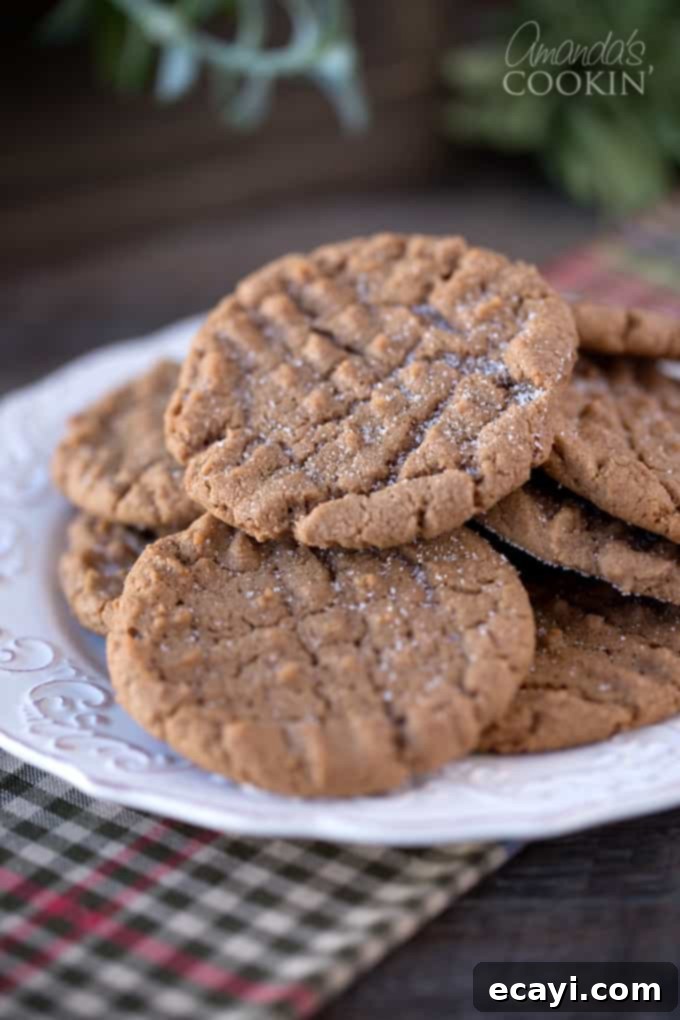
Essential Ingredients for Your Nutella Peanut Butter Cookies:
Gathering your ingredients is the first exciting step towards baking these delightful cookies. Each component plays a crucial role in achieving the desired flavor and texture. Ensure your ingredients are at room temperature where specified for optimal blending.
- 1/2 cup butter flavored shortening
- 1/4 cup creamy peanut butter
- 1/2 cup Nutella (or similar chocolate hazelnut spread)
- 1 1/4 cups firmly packed light brown sugar
- 2 tbsp milk
- 1 tbsp vanilla extract
- 1 large egg
- 2 cups all-purpose flour
- 3/4 tsp salt
- 3/4 tsp baking soda
Helpful Kitchen Tools to Simplify Your Baking Process:
Having the right tools can make all the difference in your baking journey. These specific items will help ensure your Nutella Peanut Butter Cookies come out perfectly every time.
- Electric mixer: Essential for thoroughly combining ingredients and achieving a smooth, uniform dough.
- Cookie scoop: Guarantees uniformly sized cookies, leading to even baking and a professional look.
- Baking sheet: A sturdy, reliable surface for baking your cookies to golden perfection.
- Cooling racks: Crucial for allowing cookies to cool properly, preventing sogginess and ensuring crisp edges.
Baking Secrets for Perfectly Soft & Chewy Nutella Peanut Butter Cookies
Achieving that coveted soft and chewy texture requires attention to a few key details. Here are some essential tips and explanations behind the techniques that will make your Nutella Peanut Butter Cookies truly stand out.
The Shortening vs. Butter Debate: Why Shortening Works Here
This recipe specifically calls for shortening, and there’s a good reason for it. Shortening has a higher melting point than butter, which means it doesn’t spread as quickly in the oven. This contributes significantly to the cookie’s thickness and chewiness, preventing them from becoming flat and overly crisp. While some bakers prefer butter for its flavor, substituting it for shortening in this recipe can alter the chemical makeup, potentially resulting in cookies that spread too much and become a “blobby mess.” If you insist on using butter, ensure it’s at the correct room temperature – soft enough to leave a slight indentation when gently pressed with a fingertip, but not melted or greasy. Melted butter will definitely lead to flat cookies.
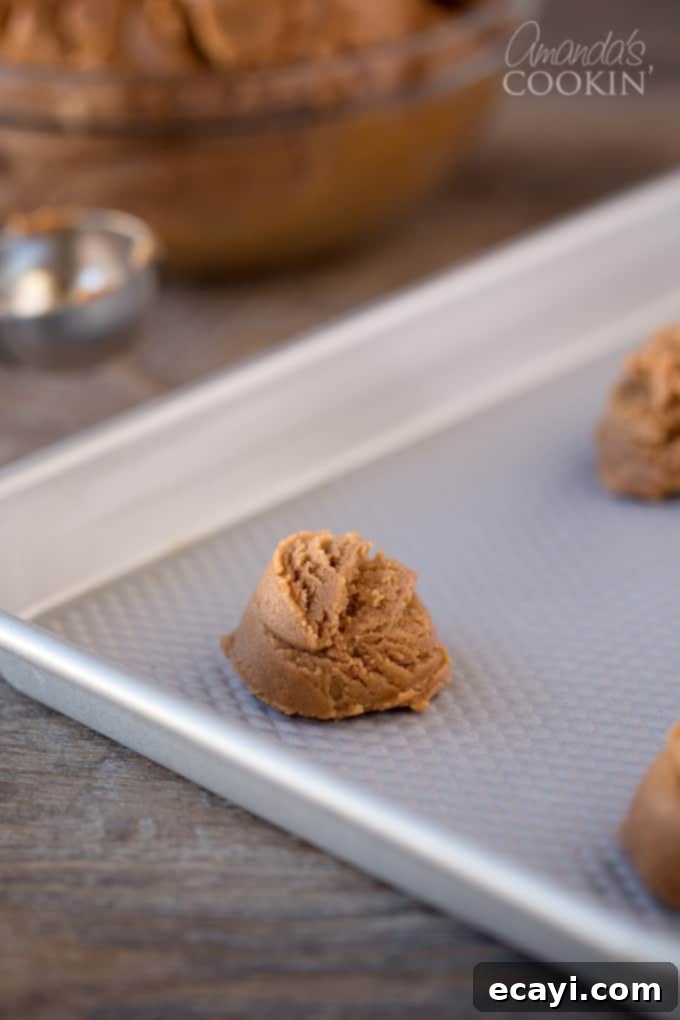
The Power of a Cookie Scoop for Uniformity
One of the easiest ways to ensure your cookies bake evenly and look professionally made is to use a cookie scoop. This inexpensive tool allows you to portion out consistent amounts of dough, guaranteeing that each cookie is roughly the same size and shape. Uniform cookies not only look better but also bake at the same rate, preventing some from being undercooked while others are overbaked. Beyond cookies, a scoop is incredibly versatile – I frequently use mine for making perfectly sized meatballs or even portioning out muffin batter!
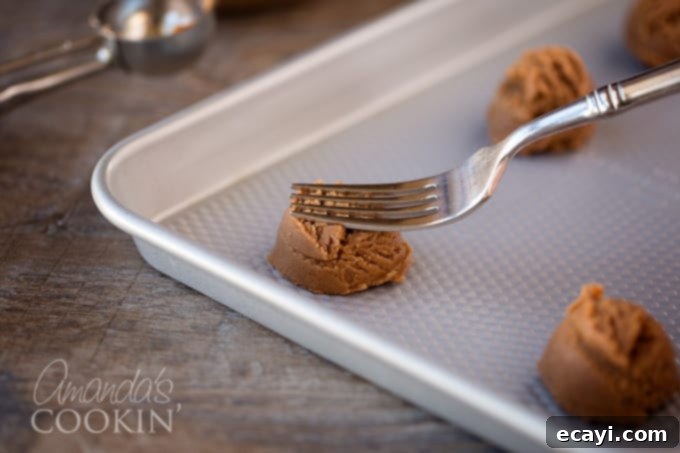
The Iconic Criss-Cross Pattern
The criss-cross pattern on peanut butter cookies is more than just a decorative touch; it serves a functional purpose. Peanut butter cookie dough tends to be denser than other cookie doughs. Gently flattening the dough balls with a fork helps them spread slightly more evenly during baking and creates more surface area for that beautiful golden crust. To create the classic criss-cross, simply press down gently with the tines of a fork, then rotate the fork 90 degrees and press again to form a cross pattern. This small detail gives your Nutella Peanut Butter Cookies that instantly recognizable, homemade charm.
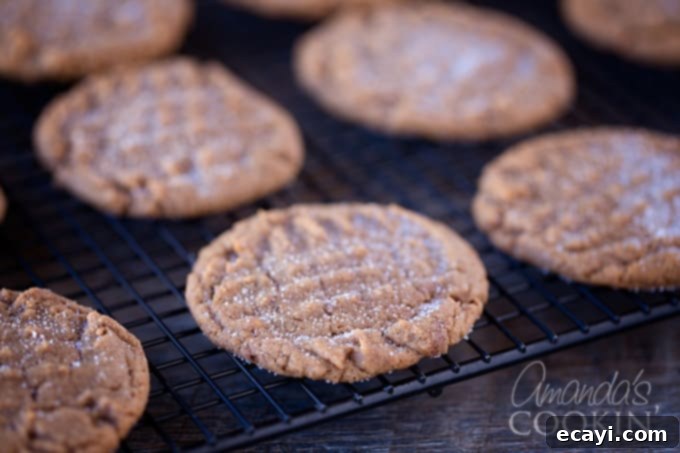
The Critical Cooling Step: Patience is a Virtue
After your cookies emerge from the oven, resist the urge to immediately transfer them to a cooling rack. This cooling step is paramount for achieving the perfect texture. When freshly baked, these cookies are incredibly delicate and prone to crumbling if handled too soon. Allowing them to rest on the hot baking sheet for at least 2 minutes (and ideally 5-10 minutes) gives them time to firm up and set. This brief period of continued cooking on the hot sheet helps them become stable enough to be moved without breaking, ensuring they retain their delightful shape and soft chewiness once fully cooled on a wire rack.
Variations to Explore and Enhance Your Nutella Peanut Butter Cookies
While the classic Nutella Peanut Butter Cookie is a star on its own, there are many ways to customize and enhance this recipe to suit your preferences or seasonal cravings:
- Double Nutella Delight: As mentioned, for an even deeper chocolate hazelnut flavor, increase the Nutella to ¾ cup and reduce the peanut butter to ⅛ cup. You might need to add an extra tablespoon or two of flour to compensate for Nutella’s thinner consistency.
- Chocolate Chip Extravaganza: Fold in a half-cup of semi-sweet or milk chocolate chips into the dough before baking for an extra layer of chocolatey goodness.
- Crunchy Nuts: For added texture, stir in a quarter-cup of finely chopped peanuts, hazelnuts, or pecans.
- Sea Salt Finish: A sprinkle of flaky sea salt on top of the cookies before baking can beautifully enhance both the sweet and nutty flavors.
- M&M’s Fun: Transform these into a more playful treat by adding colorful M&M’s, similar to Monster Cookies, which combine oatmeal, peanut butter, chocolate chips, and M&M’s! This is a fantastic option for parties or kid-friendly events.
- Chocolate Peanut Butter Cookies: If you’re a true chocolate lover, you might also adore these Chocolate Peanut Butter Cookies, another delicious adaptation of my original recipe.
Serving Suggestions for Maximum Enjoyment
These Nutella Peanut Butter Cookies are incredibly versatile. Enjoy them warm straight from the oven, or cooled for a more substantial bite. They pair wonderfully with a tall glass of cold milk, a hot cup of coffee, or even crumbled over vanilla ice cream for an instant dessert upgrade. They make excellent gifts during the holidays or a comforting treat to share with loved ones any day of the week.
Storage Tips to Keep Your Cookies Fresh
To keep your Nutella Peanut Butter Cookies at their best, store them in an airtight container at room temperature for up to 3-5 days. If you want to extend their freshness, you can also freeze the baked cookies. Simply place them in a single layer on a baking sheet to freeze solid, then transfer them to a freezer-safe bag or container for up to 2-3 months. Thaw at room temperature before serving. You can also freeze the unbaked dough balls: scoop them onto a baking sheet, freeze, then transfer to a freezer bag. Bake from frozen, adding a minute or two to the baking time.
Nutella Peanut Butter Cookies
IMPORTANT – There are often Frequently Asked Questions within the blog post that you may find helpful. Simply scroll back up to read them!
Print It
Pin It
Rate It
Save ItSaved!
Ingredients
- ½ cup butter flavored shortening
- ¼ cup creamy peanut butter
- ½ cup Nutella
- 1 ¼ cups firmly packed light brown sugar
- 2 tbsp milk
- 1 tbsp vanilla
- 1 egg
- 2 cups all purpose flour
- ¾ tsp salt
- ¾ tsp baking soda
Instructions
-
Prepare your oven: Preheat your oven to 375 degrees F (190 degrees C). This ensures the oven is at the correct temperature when the cookies go in, promoting even baking.
-
Cream the wet ingredients: In a large mixing bowl, combine the butter flavored shortening, creamy peanut butter, Nutella, firmly packed light brown sugar, milk, and vanilla extract. Using an electric mixer, beat these ingredients together at medium speed until they are thoroughly blended and the mixture is light and fluffy. Scrape down the sides of the bowl as needed to ensure everything is incorporated. Add the egg and beat just until it’s blended into the mixture, being careful not to overmix.
-
Combine dry and wet ingredients: In a separate bowl, whisk together the all-purpose flour, salt, and baking soda. Gradually add this dry mixture to the creamed wet ingredients in the large bowl. Mix at a low speed just until the flour is incorporated and no dry streaks remain. Be careful not to overmix the dough, as this can lead to tough cookies.
-
Form and flatten cookies: Using a cookie scoop (a heaping teaspoonful works too, but a scoop ensures uniformity), drop spoonfuls of cookie dough onto an ungreased baking sheet, spacing them approximately 2 inches apart. Gently flatten each cookie dough ball slightly using the tines of a fork to create a criss-cross pattern. This classic step helps the cookies spread evenly and gives them their signature look.
-
Bake and cool: Bake the cookies for 7 to 8 minutes, or until the edges are just set and lightly golden brown. It’s crucial NOT TO OVERBAKE them if you want soft and chewy cookies. The centers may still look slightly soft, but they will continue to set as they cool. Allow the cookies to cool on the baking sheet for at least 2 minutes (or up to 10 minutes if they are very delicate) before carefully transferring them to cooling racks to cool completely. This crucial step prevents them from breaking apart and helps them achieve their perfect texture.
The recipes on this blog are tested with a conventional gas oven and gas stovetop. It’s important to note that some ovens, especially as they age, can cook and bake inconsistently. Using an inexpensive oven thermometer can assure you that your oven is truly heating to the proper temperature. If you use a toaster oven or countertop oven, please keep in mind that they may not distribute heat the same as a conventional full sized oven and you may need to adjust your cooking/baking times. In the case of recipes made with a pressure cooker, air fryer, slow cooker, or other appliance, a link to the appliances we use is listed within each respective recipe. For baking recipes where measurements are given by weight, please note that results may not be the same if cups are used instead, and we can’t guarantee success with that method.
This post was originally published on Nov 30, 2009, and has been updated and expanded to provide you with the most comprehensive and delightful baking experience for these irresistible cookies.

