Irresistible Oreo Cheesecake Recipe: Creamy, Dreamy & Decadent
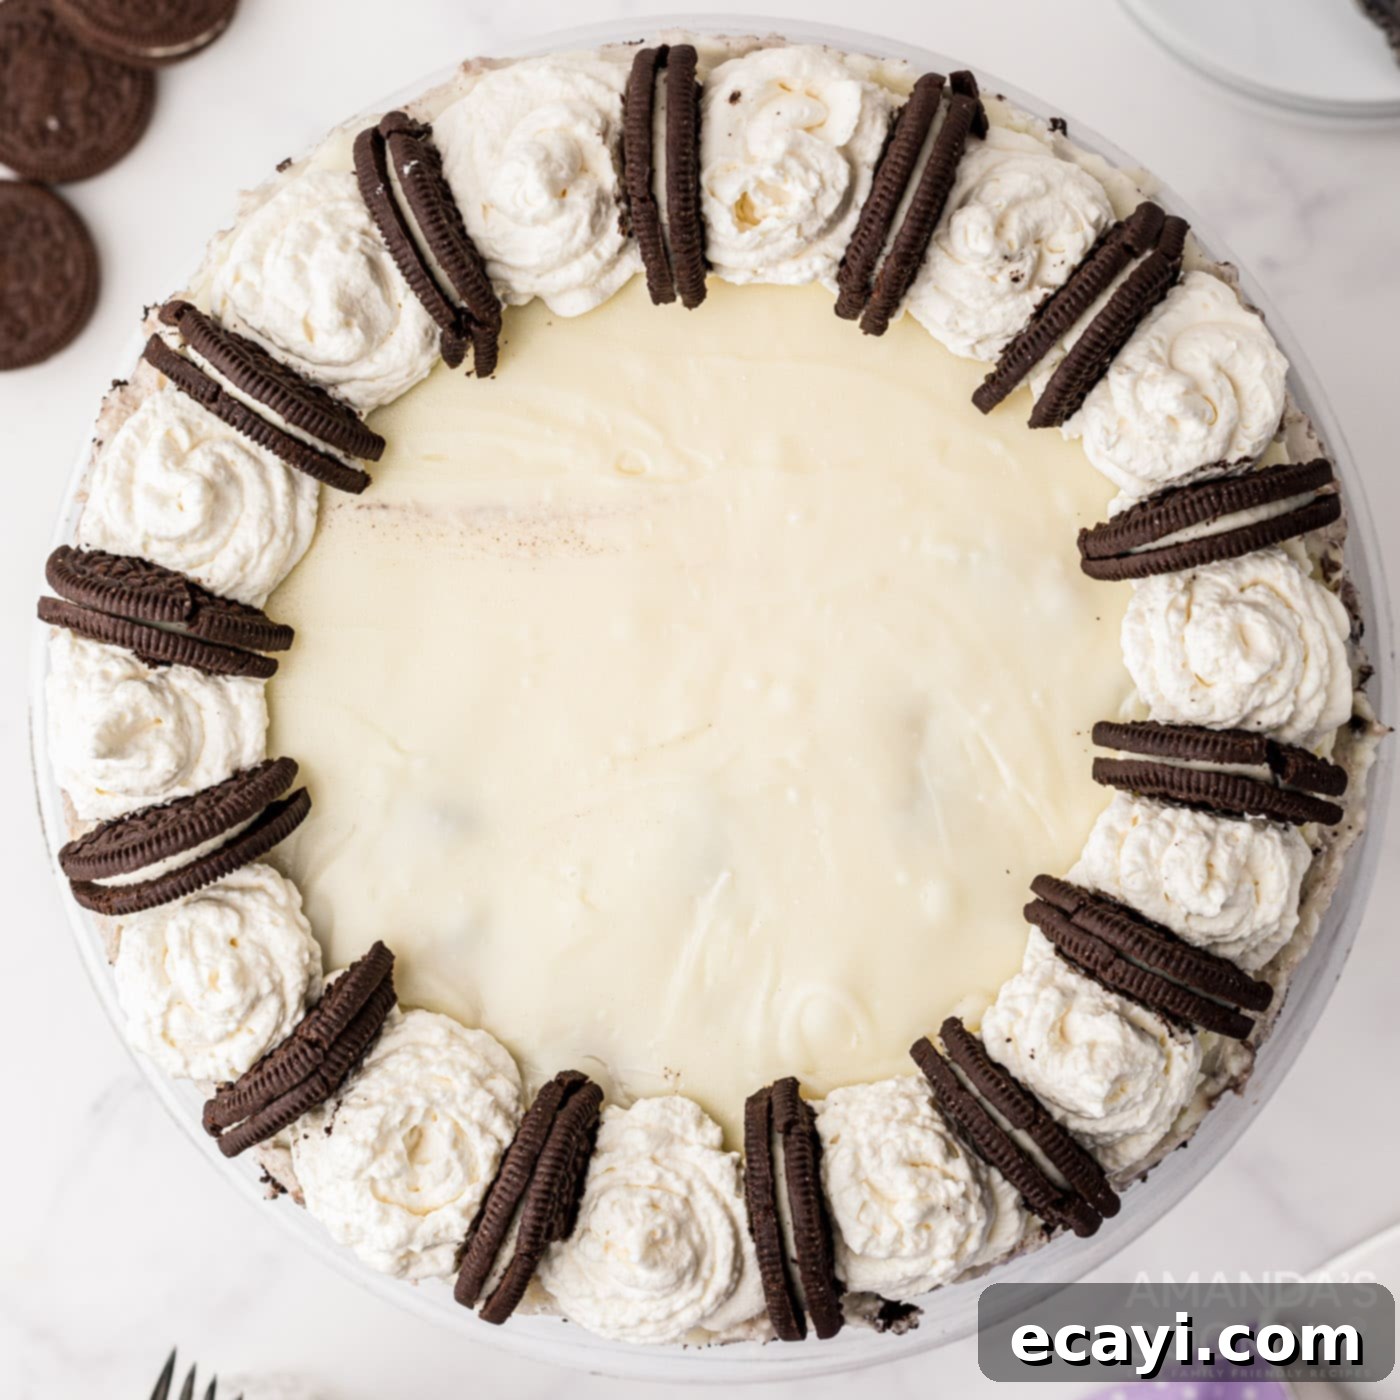
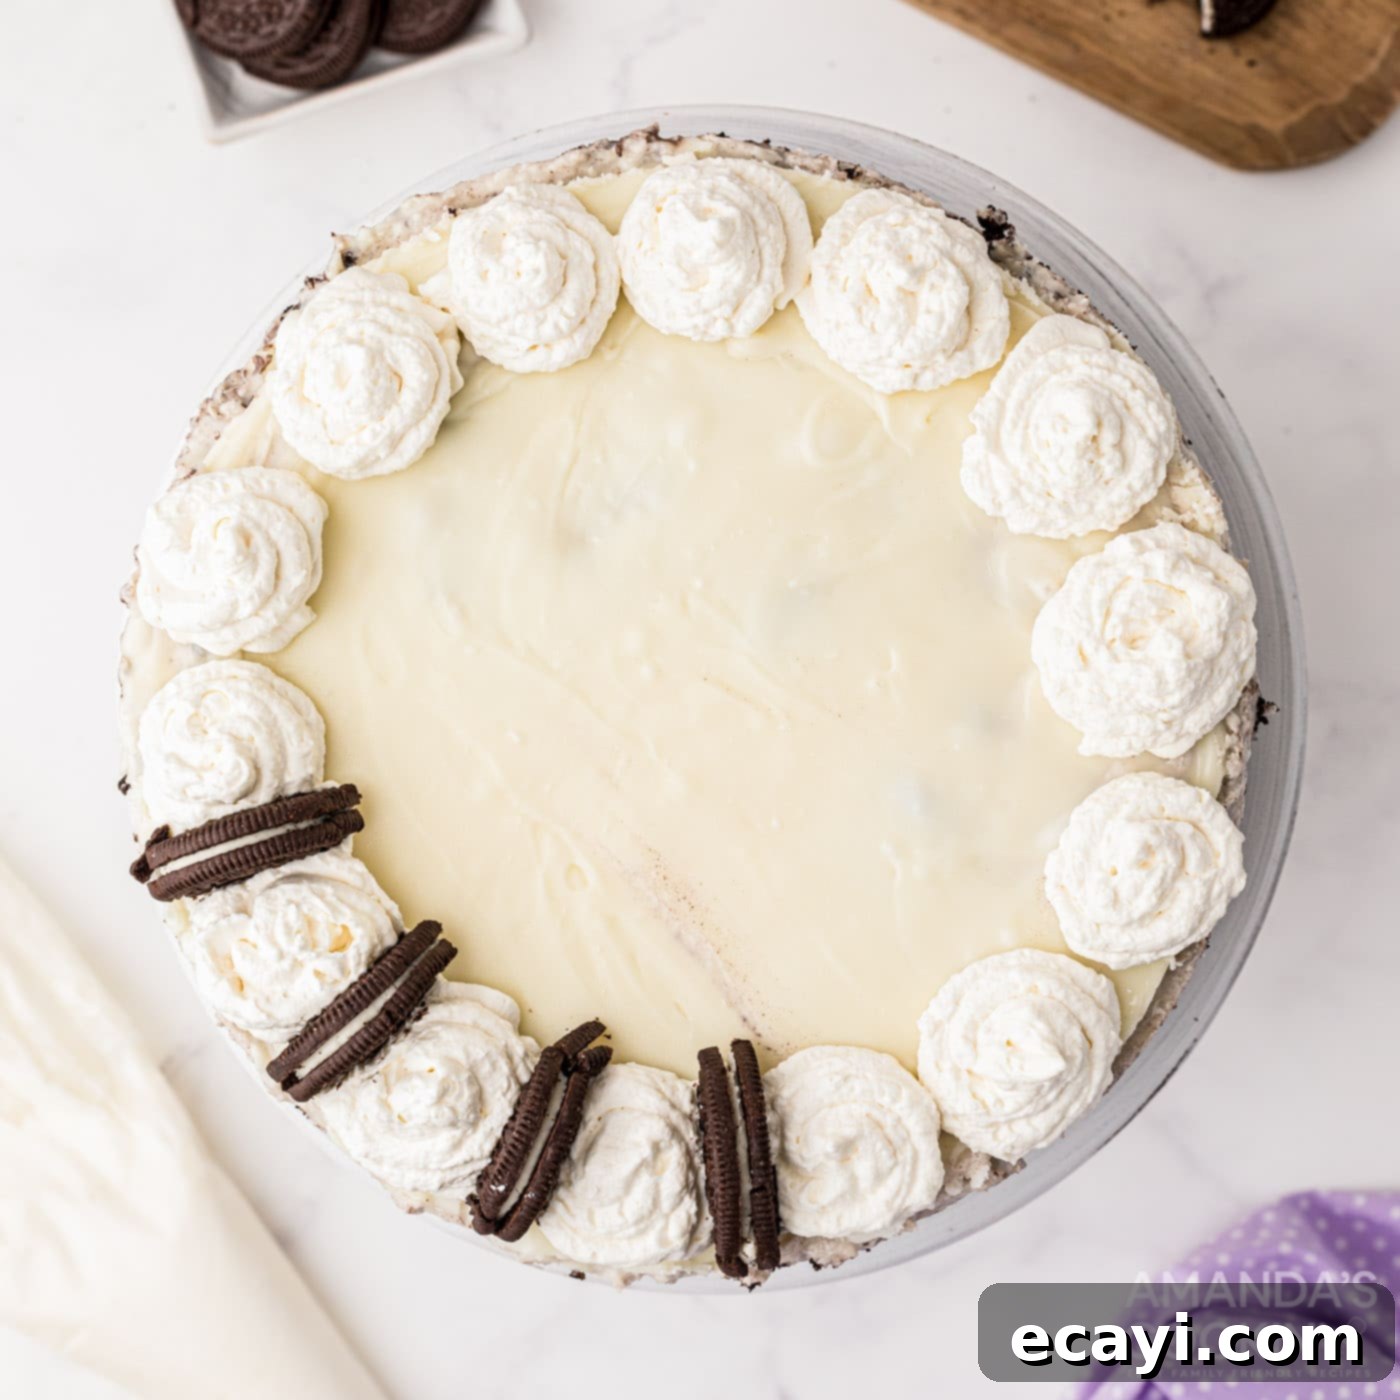
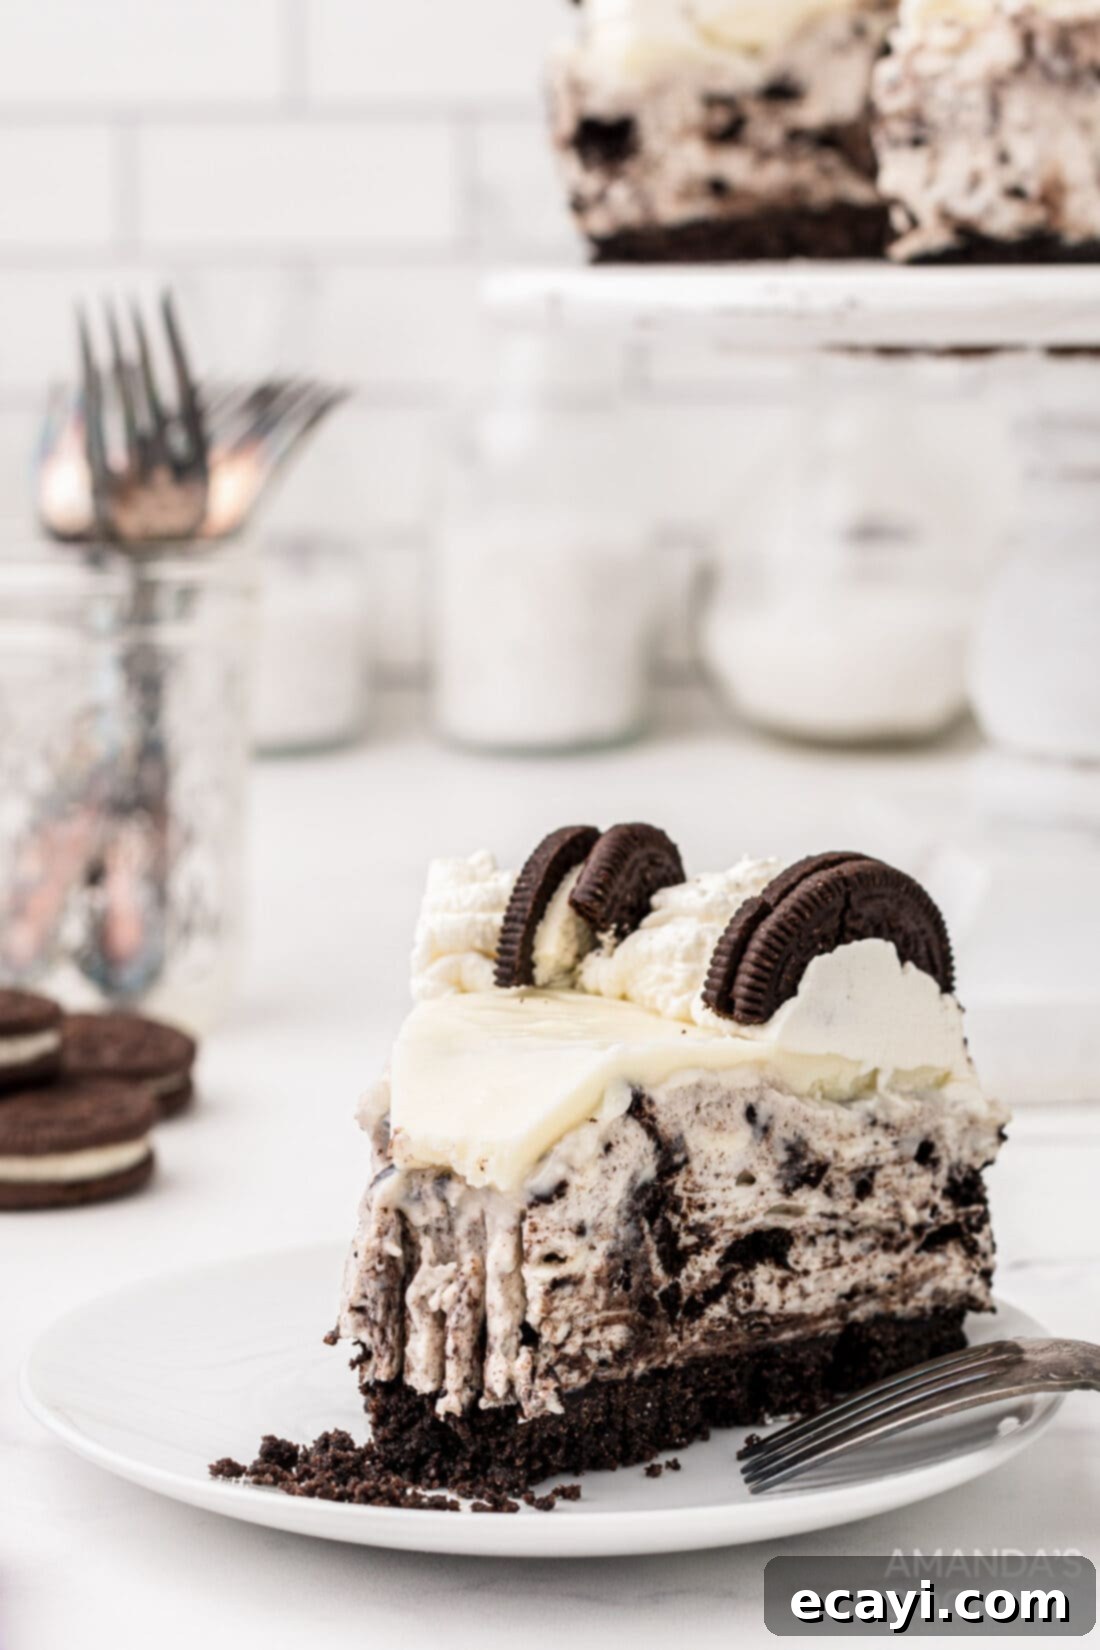
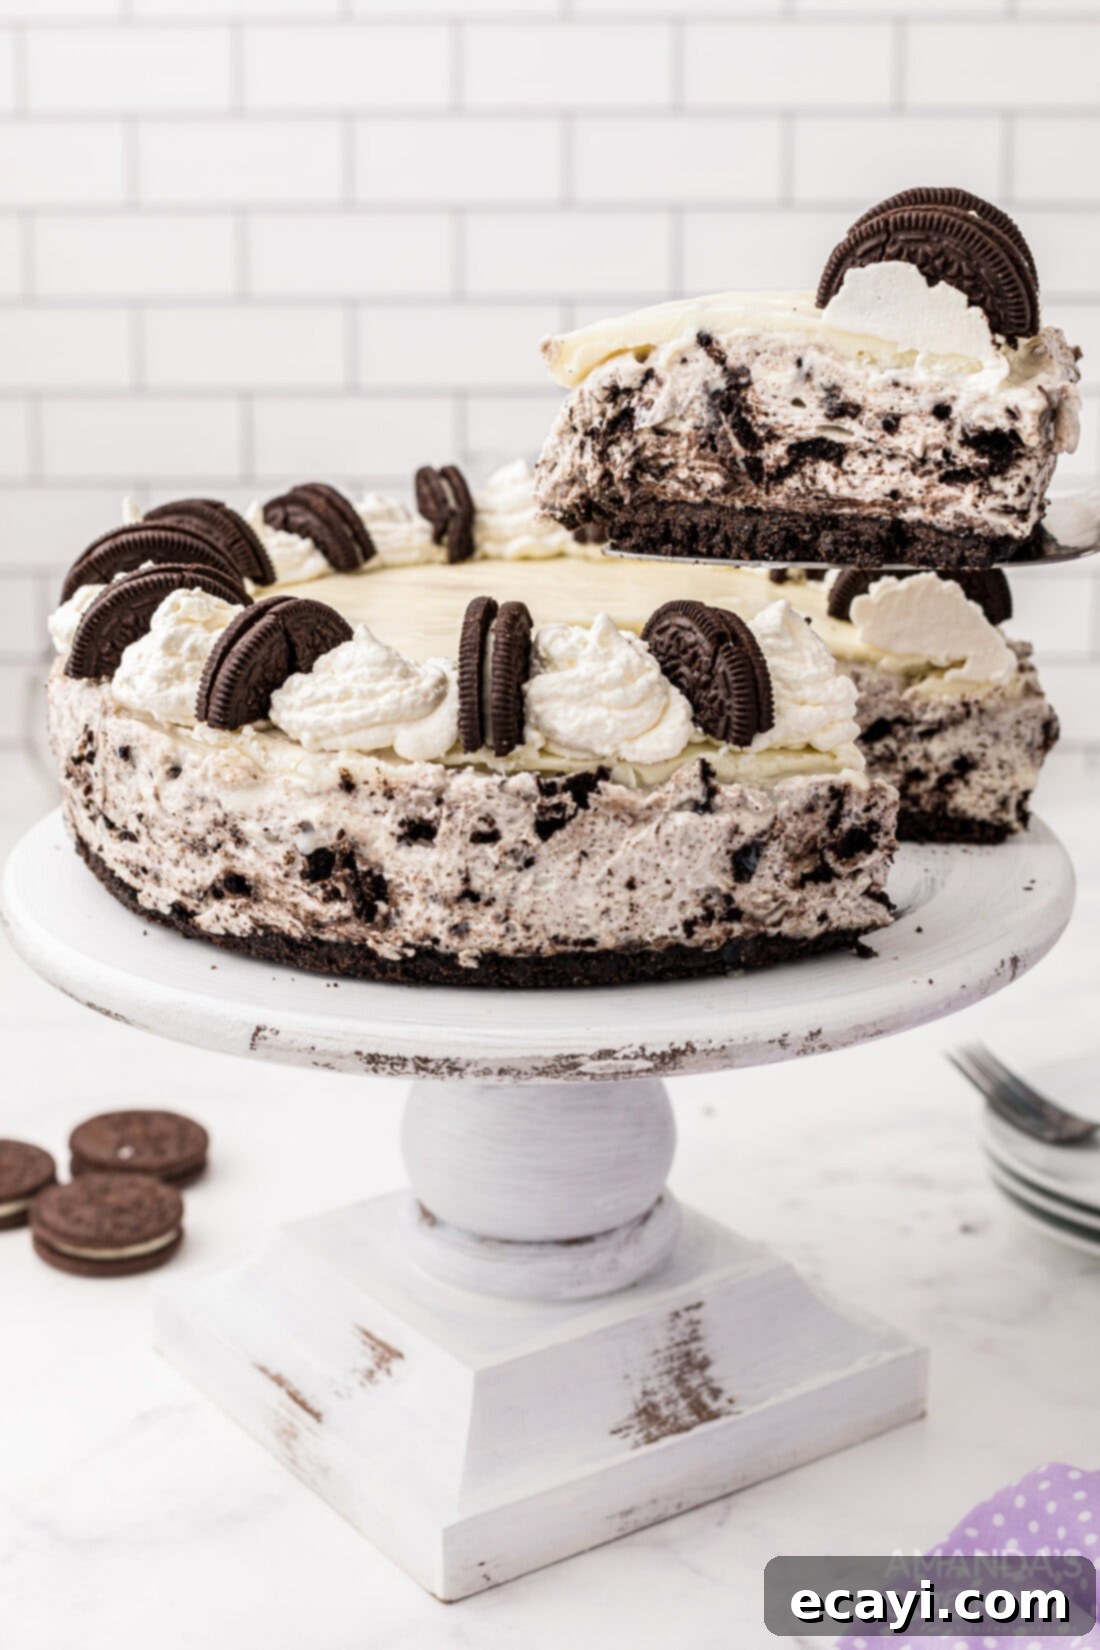
Prepare to be enchanted by this truly irresistible Oreo cheesecake! Every bite offers a heavenly blend of rich, creamy cheesecake studded generously with crunchy chocolate sandwich cookie bits. All this deliciousness rests upon a classic Oreo cookie crust and is elegantly crowned with a silky smooth white chocolate ganache, finished with beautifully piped whipped cream and more Oreo pieces. It’s a dessert that not only tastes divine but also looks stunning, making it perfect for any special occasion or simply to treat yourself to an extraordinary sweet experience.
Why This Oreo Cheesecake Recipe is a Must-Try
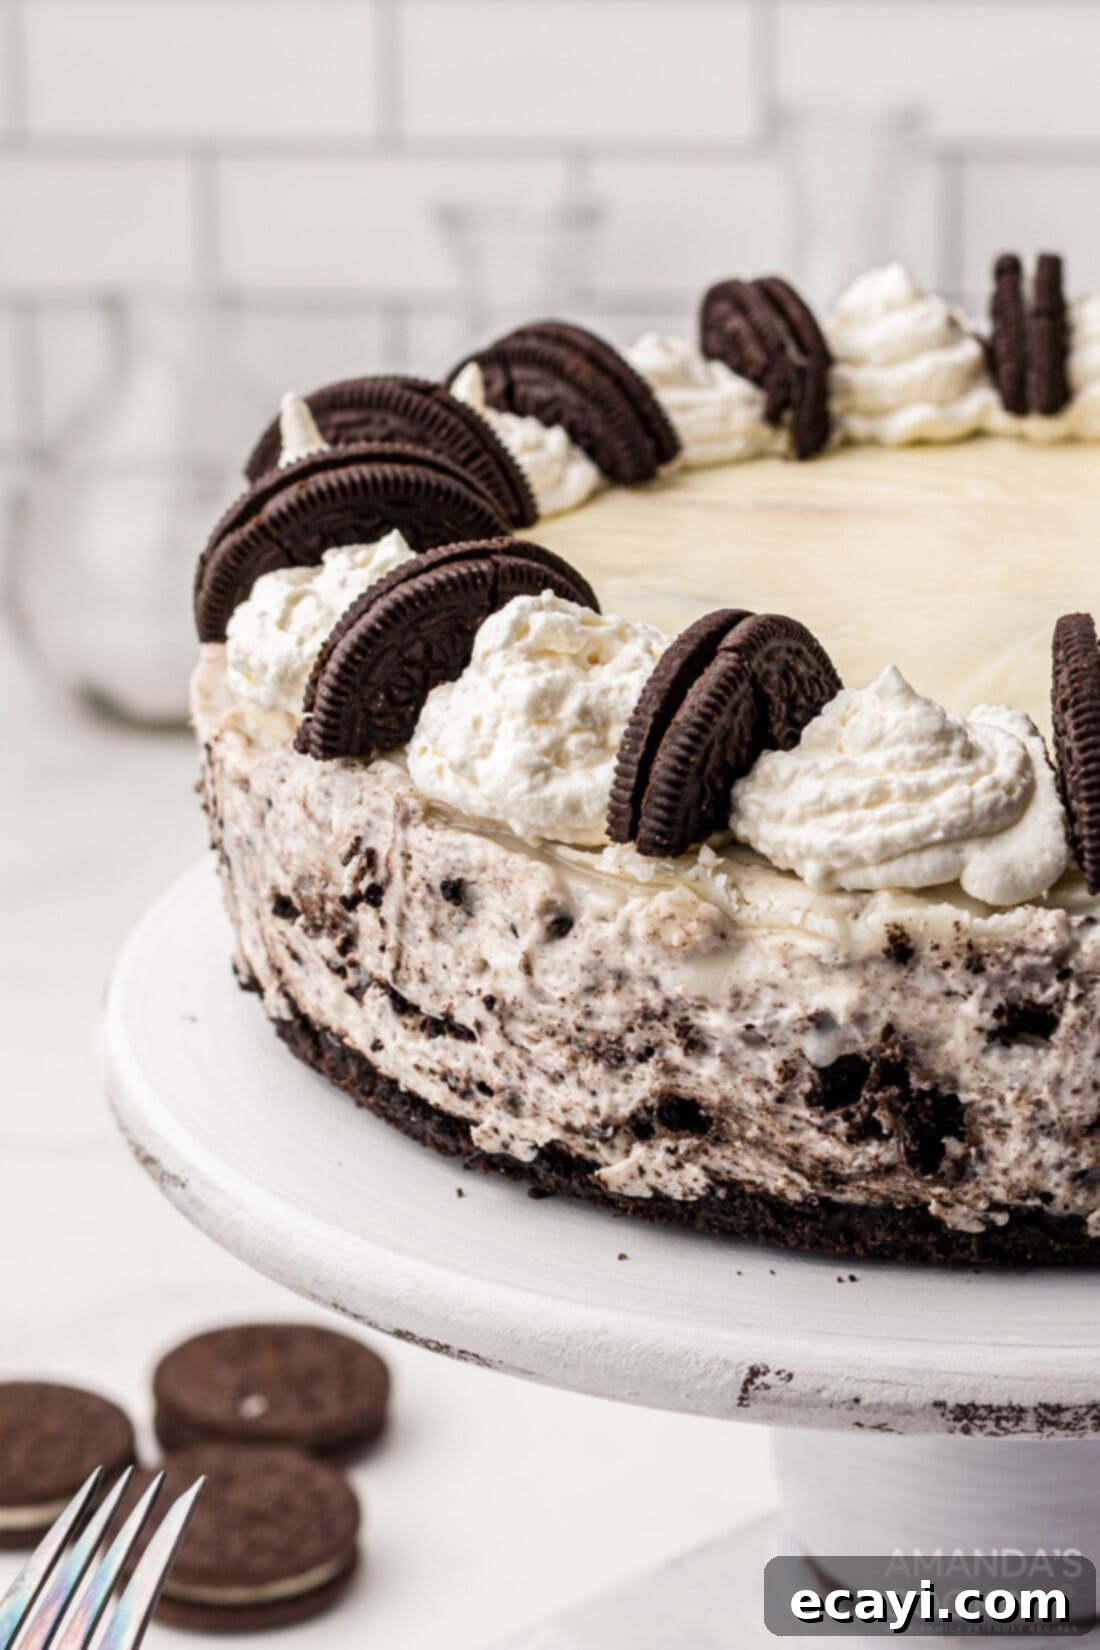
This Oreo cheesecake isn’t just another dessert; it’s a celebration of everyone’s favorite cookies and cream flavor, elevated to a luxurious new level. What makes this recipe truly stand out is its meticulous balance of textures and tastes. You get the satisfying crunch of a perfectly baked Oreo cookie crust, followed by a lusciously rich and velvety cheesecake filling. But it doesn’t stop there – the filling itself is generously studded with crushed Oreo pieces, ensuring that classic “cookies and cream” goodness shines through in every forkful.
The magic continues with the topping: a delicate and sweet white chocolate ganache adds an extra layer of elegance and flavor. This isn’t just for show; the ganache complements the chocolate and cream cheese beautifully, offering a slight sweetness that enhances the overall profile. Finally, the piped whipped cream and decorative Oreo halves make this cheesecake a visual masterpiece, truly a show-stopper for any gathering. We’ve been on an Oreo kick lately, which means we’ve perfected the art of incorporating these iconic cookies into various treats. From our recent mouth-watering Oreo cheesecake brownies to this magnificent cheesecake, there’s something undeniably captivating about the combination of Oreos and creamy desserts. You’ll quickly understand why everyone goes crazy for this delightful pairing!
Key Ingredients for Your Oreo Cheesecake
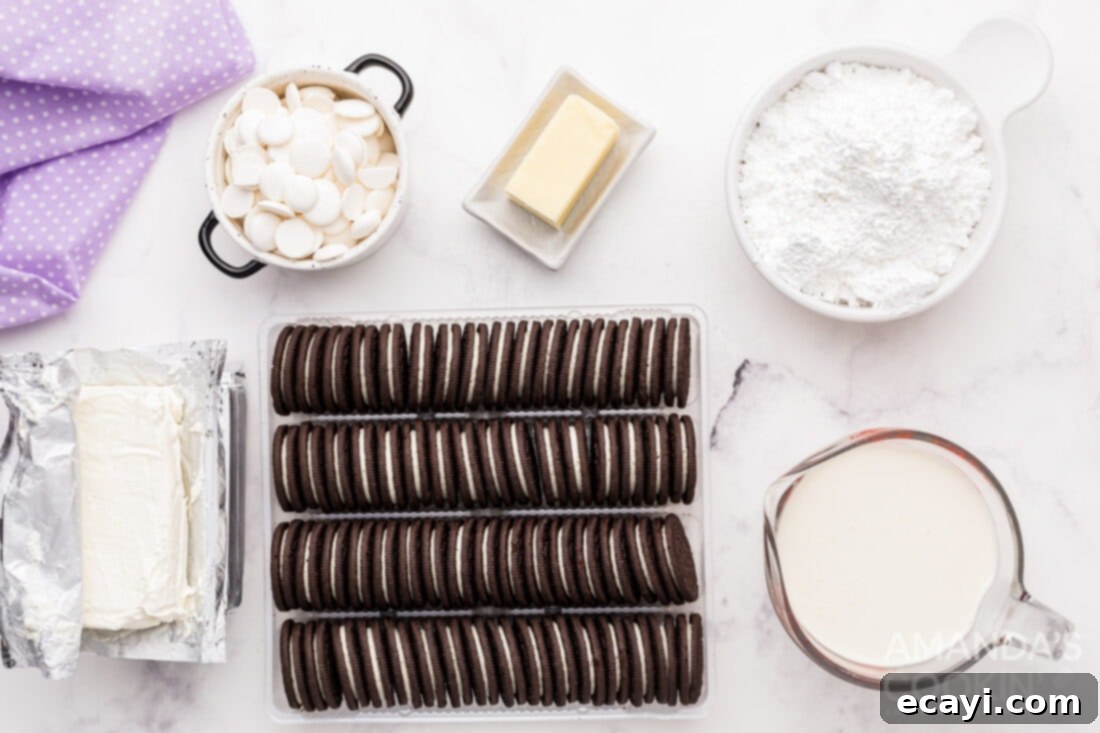
Crafting this incredible Oreo cheesecake requires a few simple yet essential ingredients, most of which you likely already have in your pantry or are easily accessible. For precise measurements, a detailed list of ingredients, and comprehensive instructions, please refer to the printable recipe card located at the end of this post. Here’s a quick overview of what you’ll need to create this decadent dessert, ensuring you’re well-prepared before you begin baking.
Ingredient Spotlight: Tips for Perfect Cheesecake
CRUST – The foundation of any great cheesecake is its crust, and for an Oreo cheesecake, it simply has to be an Oreo crust! You’ll need a party-size pack of regular Oreos, divided between the crust and the creamy filling. A crucial tip: do NOT remove the cream center of the Oreos. This white filling contributes to the sweetness and binding of the crust and adds extra “cookies and cream” flavor throughout the cheesecake. If you don’t have a food processor, don’t worry! You can easily make fine crumbs by placing the Oreos in a large zip-top bag and crushing them with a rolling pin until they reach a sandy consistency. This method works perfectly for achieving an even, compact crust.
FILLING – The heart of our cheesecake is its incredibly rich and smooth filling, made with 24 oz of cream cheese, powdered sugar, and heavy whipping cream. Just like the crust, the filling benefits from additional Oreo cookies mixed in – again, keep the cream centers intact for that authentic cookies and cream taste and texture. The most vital tip for a lump-free, silky smooth filling is to ensure your cream cheese is at room temperature before you start mixing. Cold cream cheese will result in a lumpy batter. To speed up the process, slice the cream cheese into 1-inch cubes, spread them out on a plate, and let them sit at room temperature for about 20-25 minutes. This ensures it creams smoothly with the sugar, creating that perfect cheesecake texture.
TOPPING – While Oreo cheesecake is undeniably divine on its own, the topping elevates it to an art form. We use white chocolate wafers melted with heavy cream to create a luscious, silky ganache. This ganache provides a beautiful sheen and a complementary sweet flavor that truly finishes the cheesecake. While the white chocolate ganache is highly recommended for its aesthetic and taste, it is technically optional. If you prefer, you can omit it entirely or substitute it with a classic dark or milk chocolate ganache for a different flavor profile. To truly enhance the visual appeal and add another layer of texture, a swirl of freshly whipped cream and a few extra Oreo cookies (halved for presentation) on top are absolute game-changers. These decorative elements not only look fantastic but also add to the overall sensory experience of this magnificent dessert.
Step-by-Step Guide: Crafting Your Oreo Cheesecake
These step-by-step photos and instructions are designed to help you visualize each stage of making this delightful Oreo cheesecake. For the complete printable recipe, including precise measurements and detailed instructions, simply Jump to Recipe at the bottom of this post.
- Preheat your oven to 325°F (160°C). This ensures your oven is at the correct temperature for baking the crust.
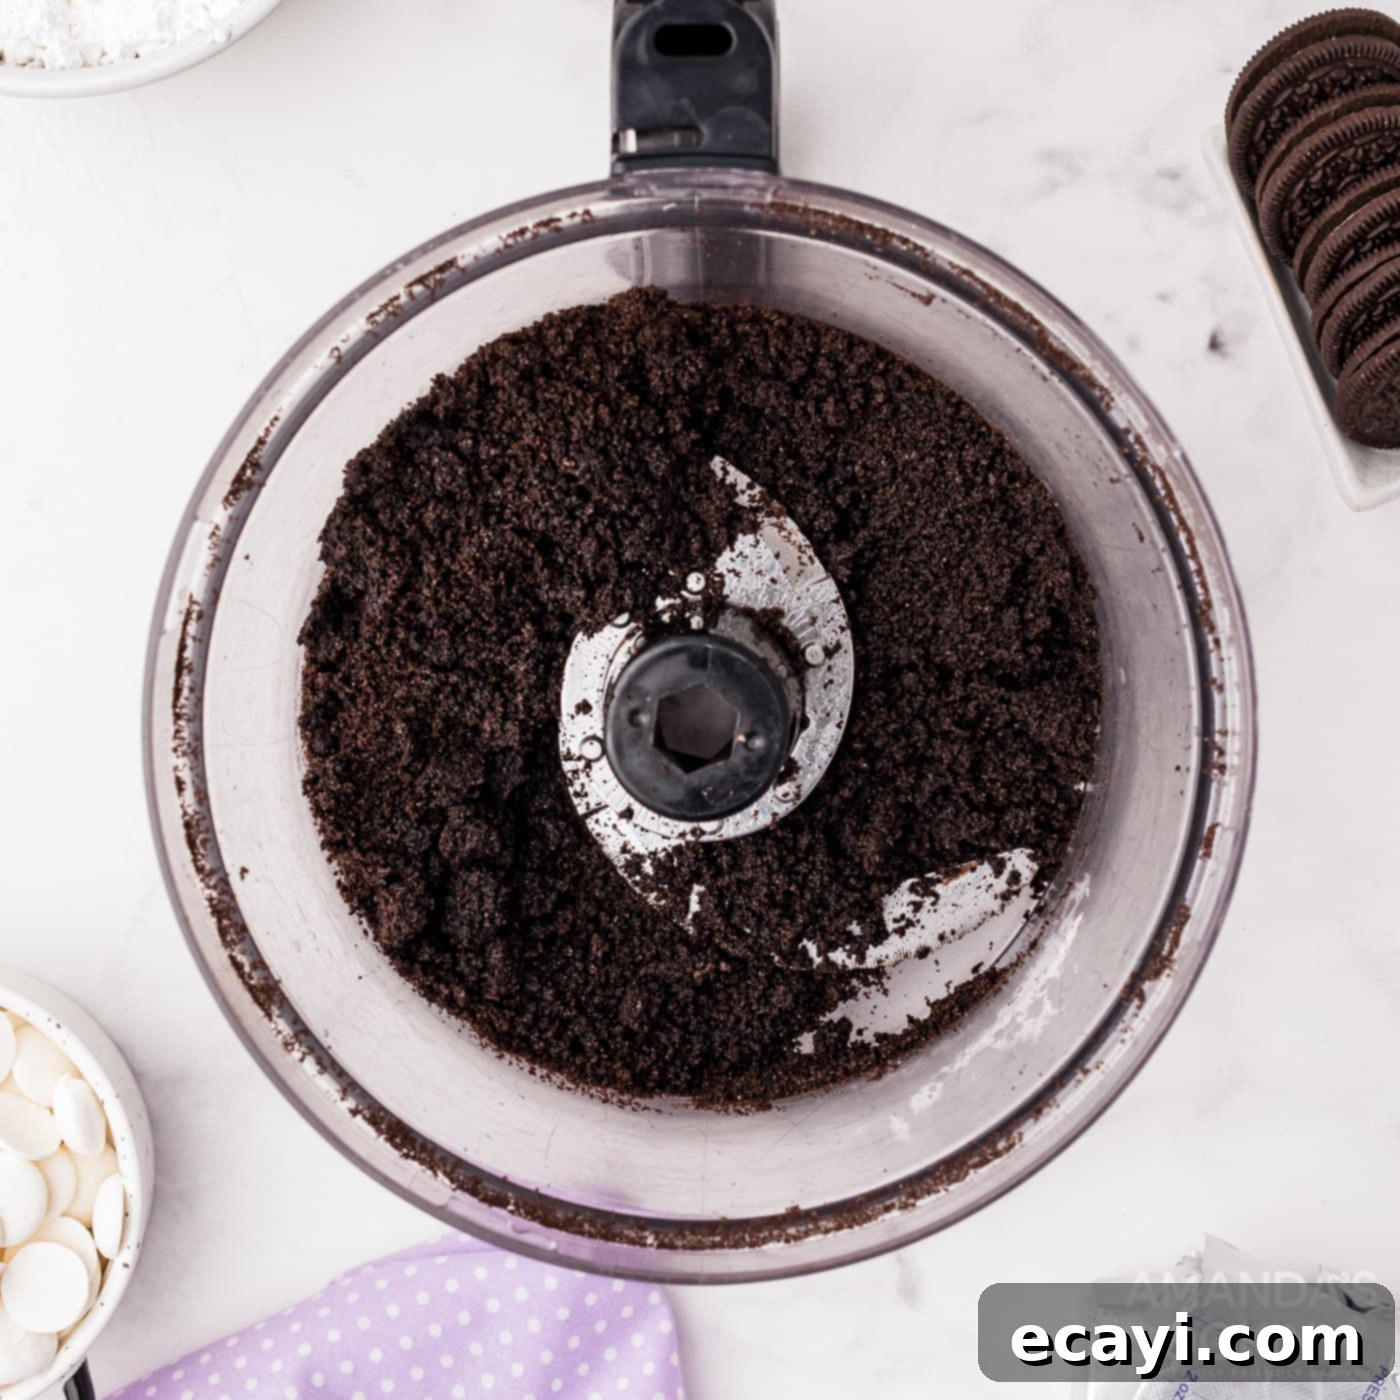
- Begin by preparing the crust. Add 25 whole Oreo cookies to your food processor and pulse until they form fine crumbs. These crumbs will be the base of your rich crust. Once crumbled, add the melted butter and continue to pulse until the mixture is well combined and resembles wet sand. This butter will bind the crust together.

- Prepare your baking pan. Line the bottom of a 9-inch springform pan with parchment paper. This will make it much easier to remove the cheesecake later. Lightly spray the sides of the pan with non-stick cooking spray to prevent sticking.
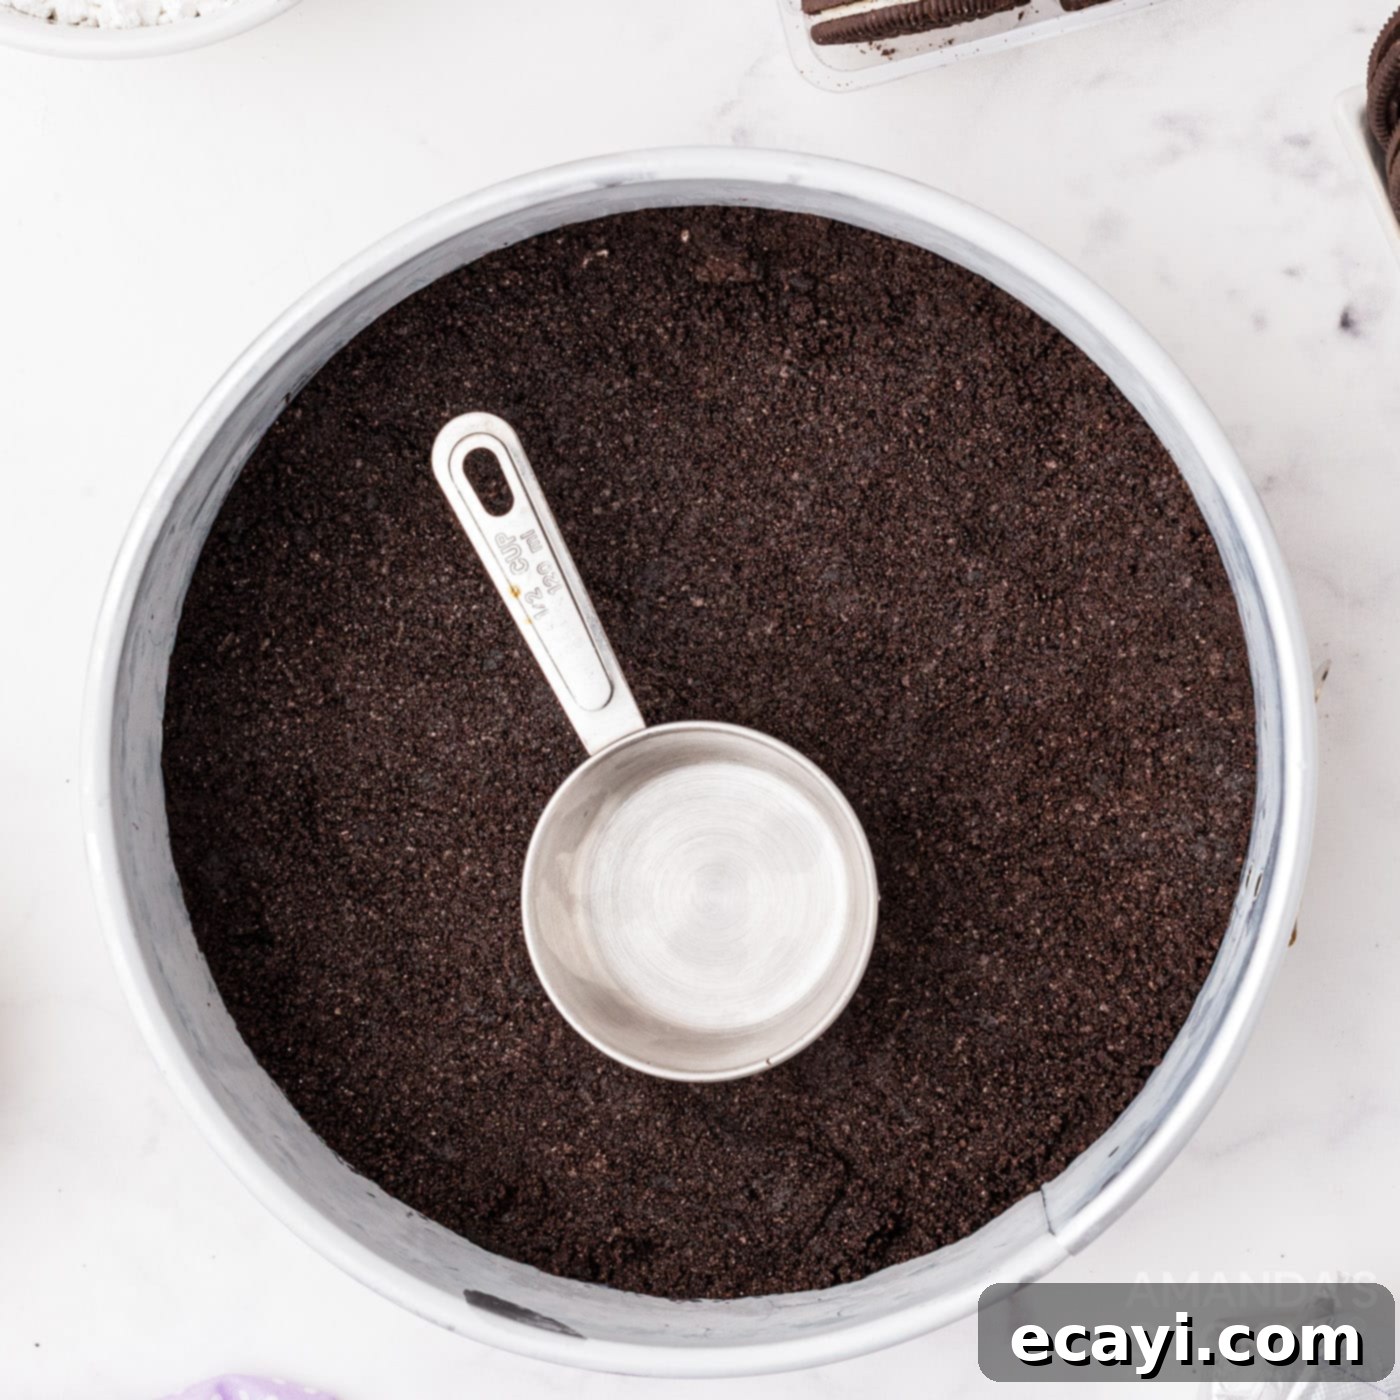
- Transfer the Oreo crumb mixture into the prepared springform pan. Use the bottom of a measuring cup or any flat tool to firmly press the crumbs evenly across the bottom of the pan. A compact crust is key to preventing it from falling apart when sliced.

- Bake the crust in the preheated oven for 8-10 minutes. This short bake time helps to set the crust, making it sturdy. Once baked, remove it from the oven and allow it to cool completely before adding the filling.
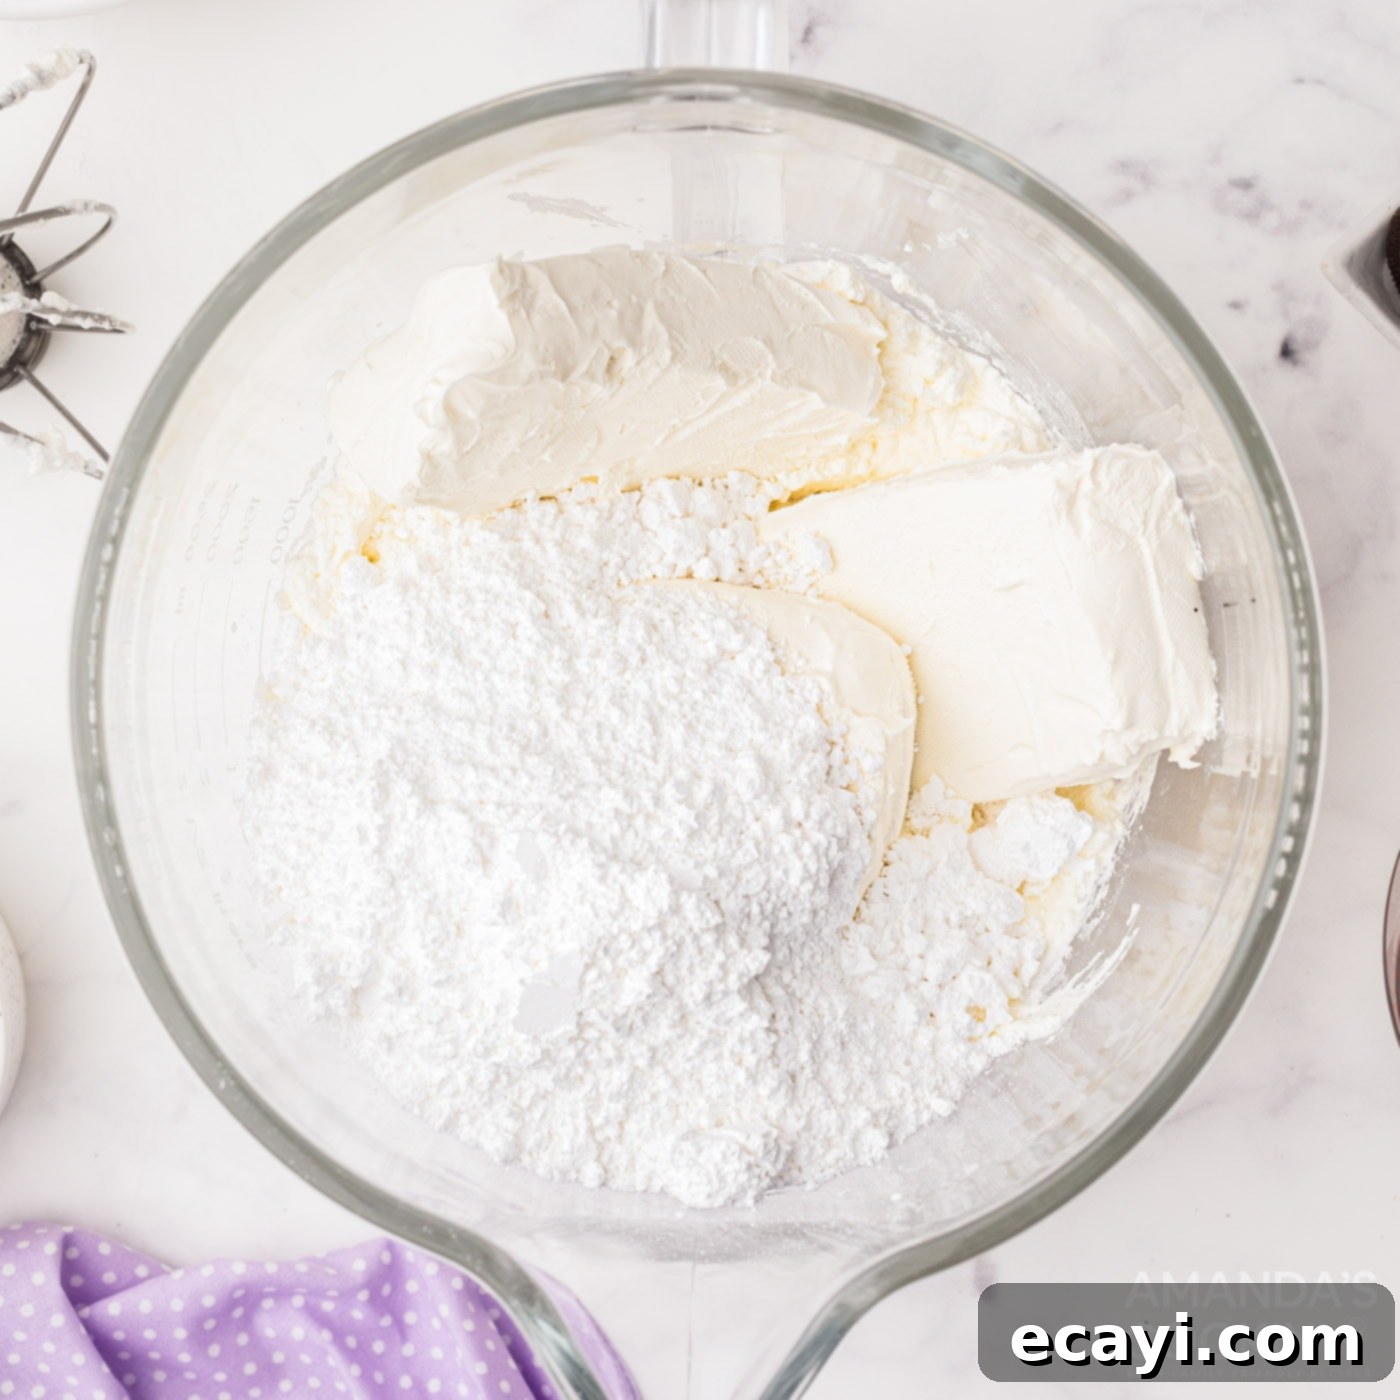
- Now, for the creamy filling. In a large mixing bowl, add the three 8 oz packages of room-temperature cream cheese. Beat with an electric mixer until smooth. Gradually add the powdered sugar and mix until well combined and fluffy. Next, pour in 1 cup of heavy cream and continue to beat on medium speed for approximately 5 minutes, or until the mixture becomes thick and stiff peaks begin to form. This aeration is crucial for a light and airy cheesecake.

- Before adding more Oreos, set aside 7 whole Oreo cookies. These will be used later for decorating the top of the cheesecake, adding that perfect finishing touch.
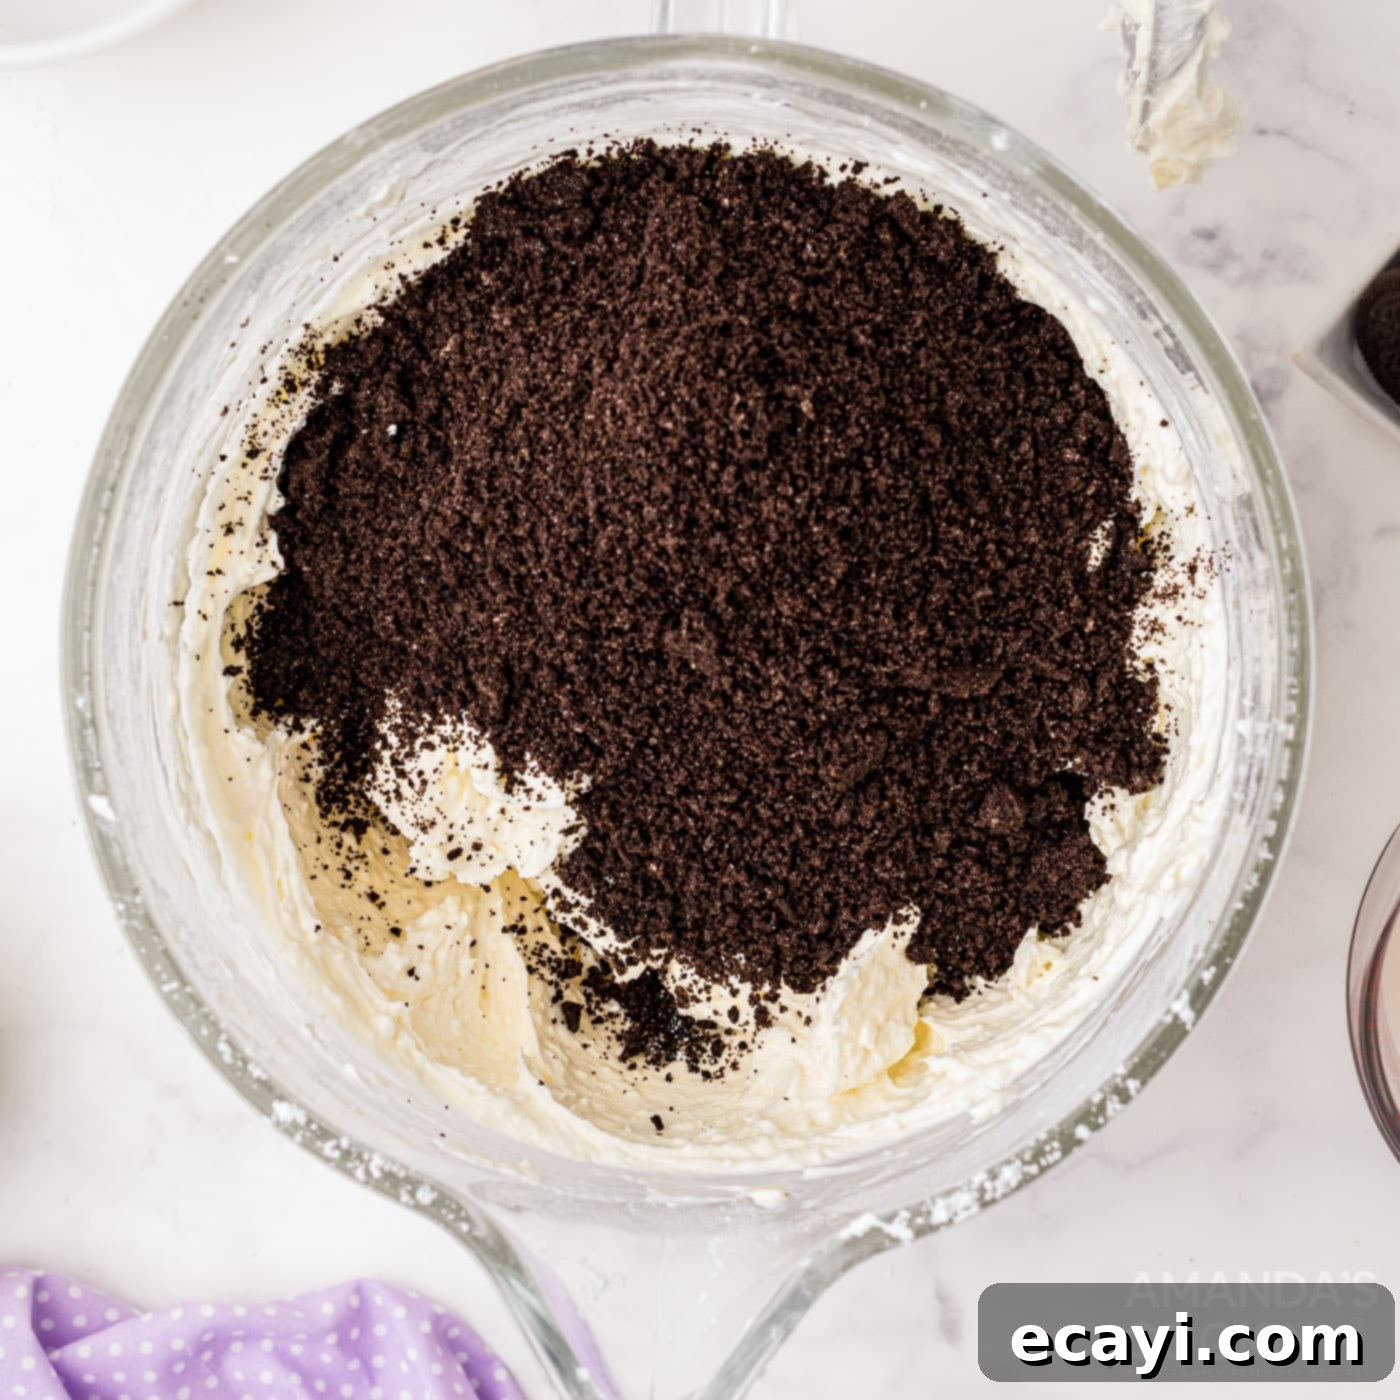
- Take the remaining Oreo cookies destined for the filling and place them into a re-sealable bag. Beat them with a rolling pin or pulse them lightly in the food processor again. The goal here is to create chunks, not fine crumbs like the crust, so you get distinct pieces of Oreo within the creamy filling. Gently fold these delightful cookie bits into the cream cheese mixture until evenly distributed.

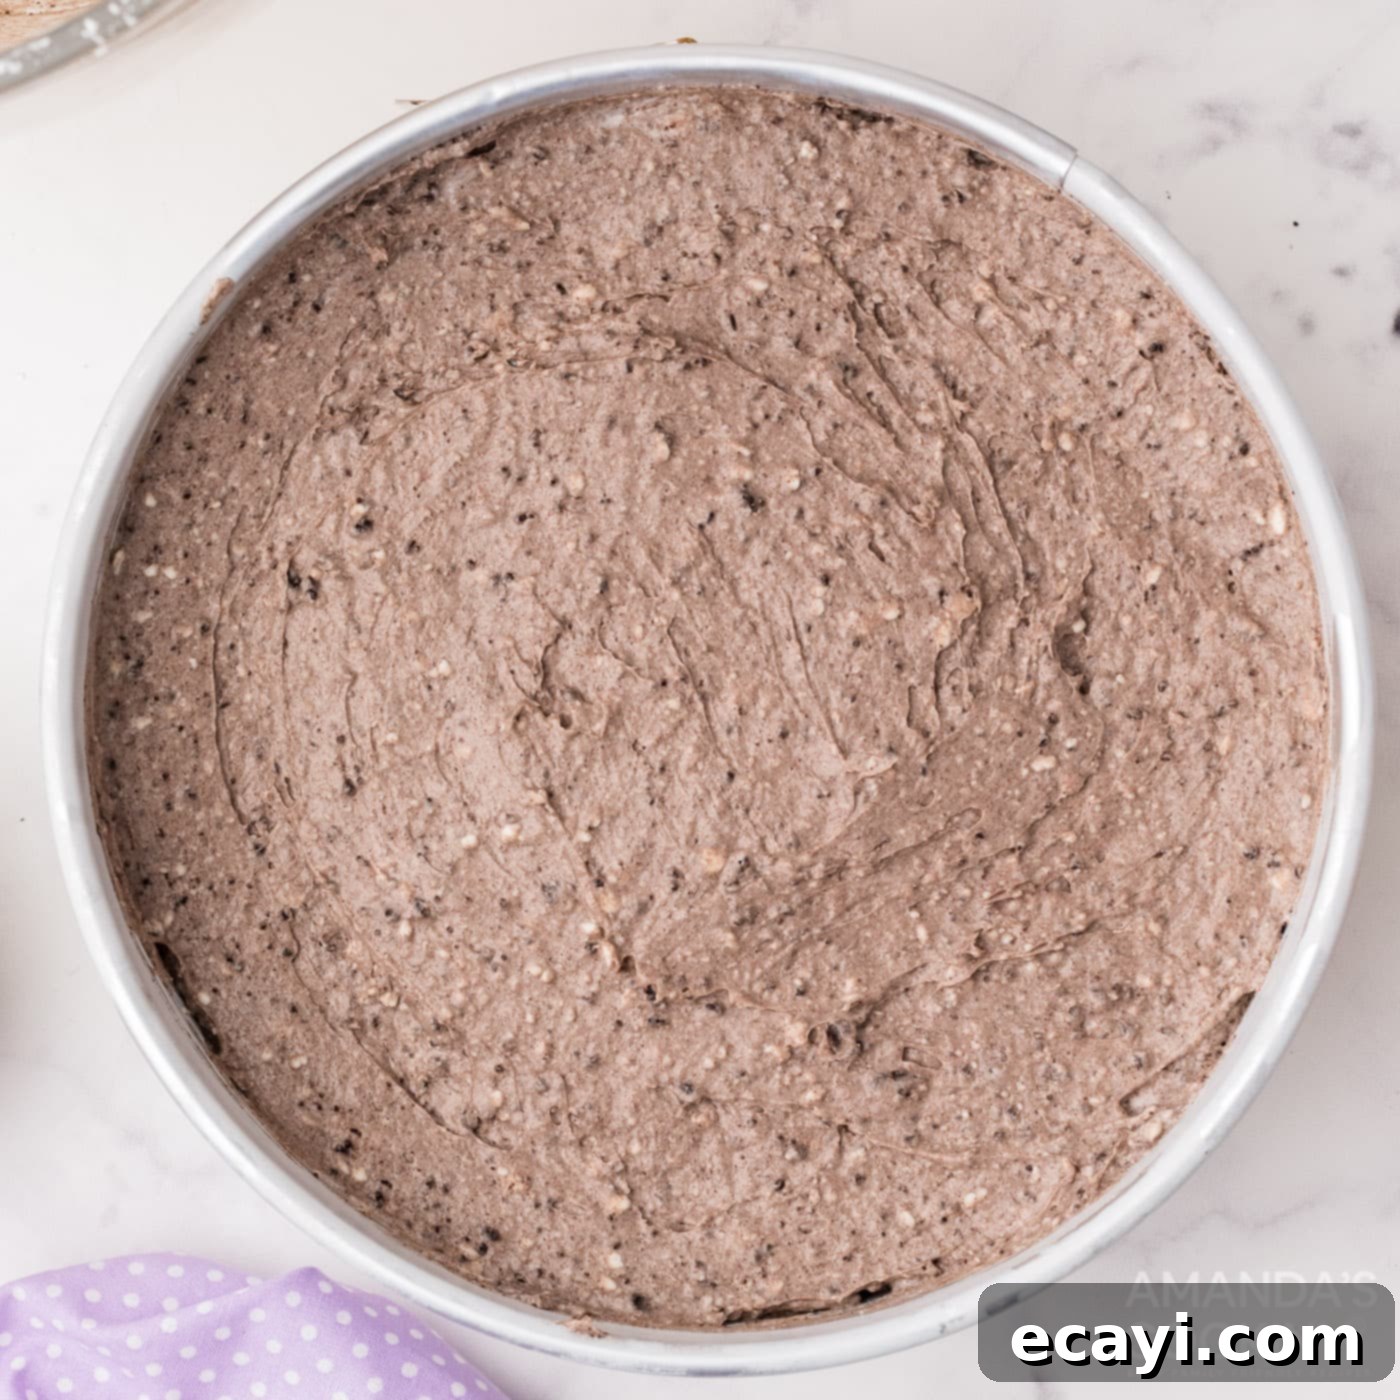
- Carefully pour the rich Oreo cheesecake mixture over the cooled crust in the springform pan. Use a spatula to gently spread it evenly across the pan, ensuring a smooth top surface.

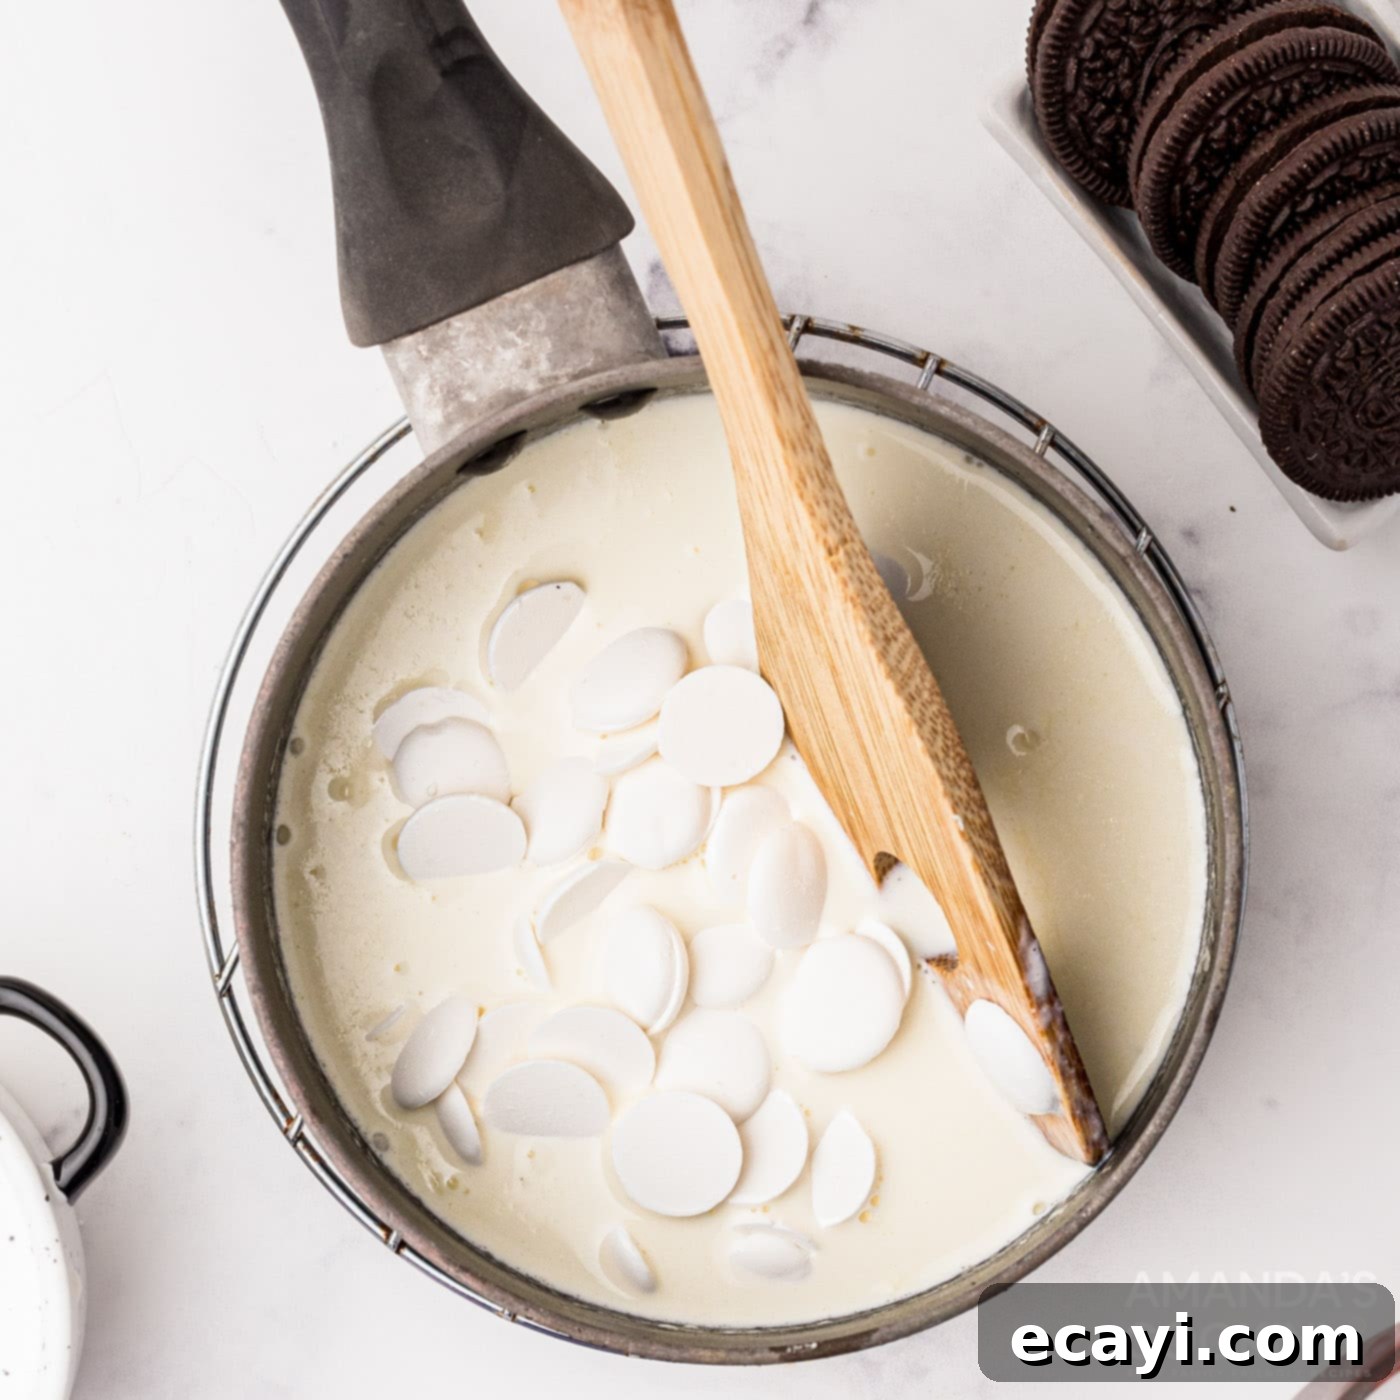
- Now for the elegant white chocolate ganache. In a small saucepan, gently heat up 1 cup of heavy cream until it just begins to simmer around the edges. Remove from heat, add the white chocolate wafers, and stir continuously until the chocolate is completely melted and the mixture is smooth and glossy.

- Allow the ganache to cool slightly, stirring occasionally. It should still be warm enough to be pourable but not so hot that it melts the cheesecake filling. This cooling period is important for a perfect pour.
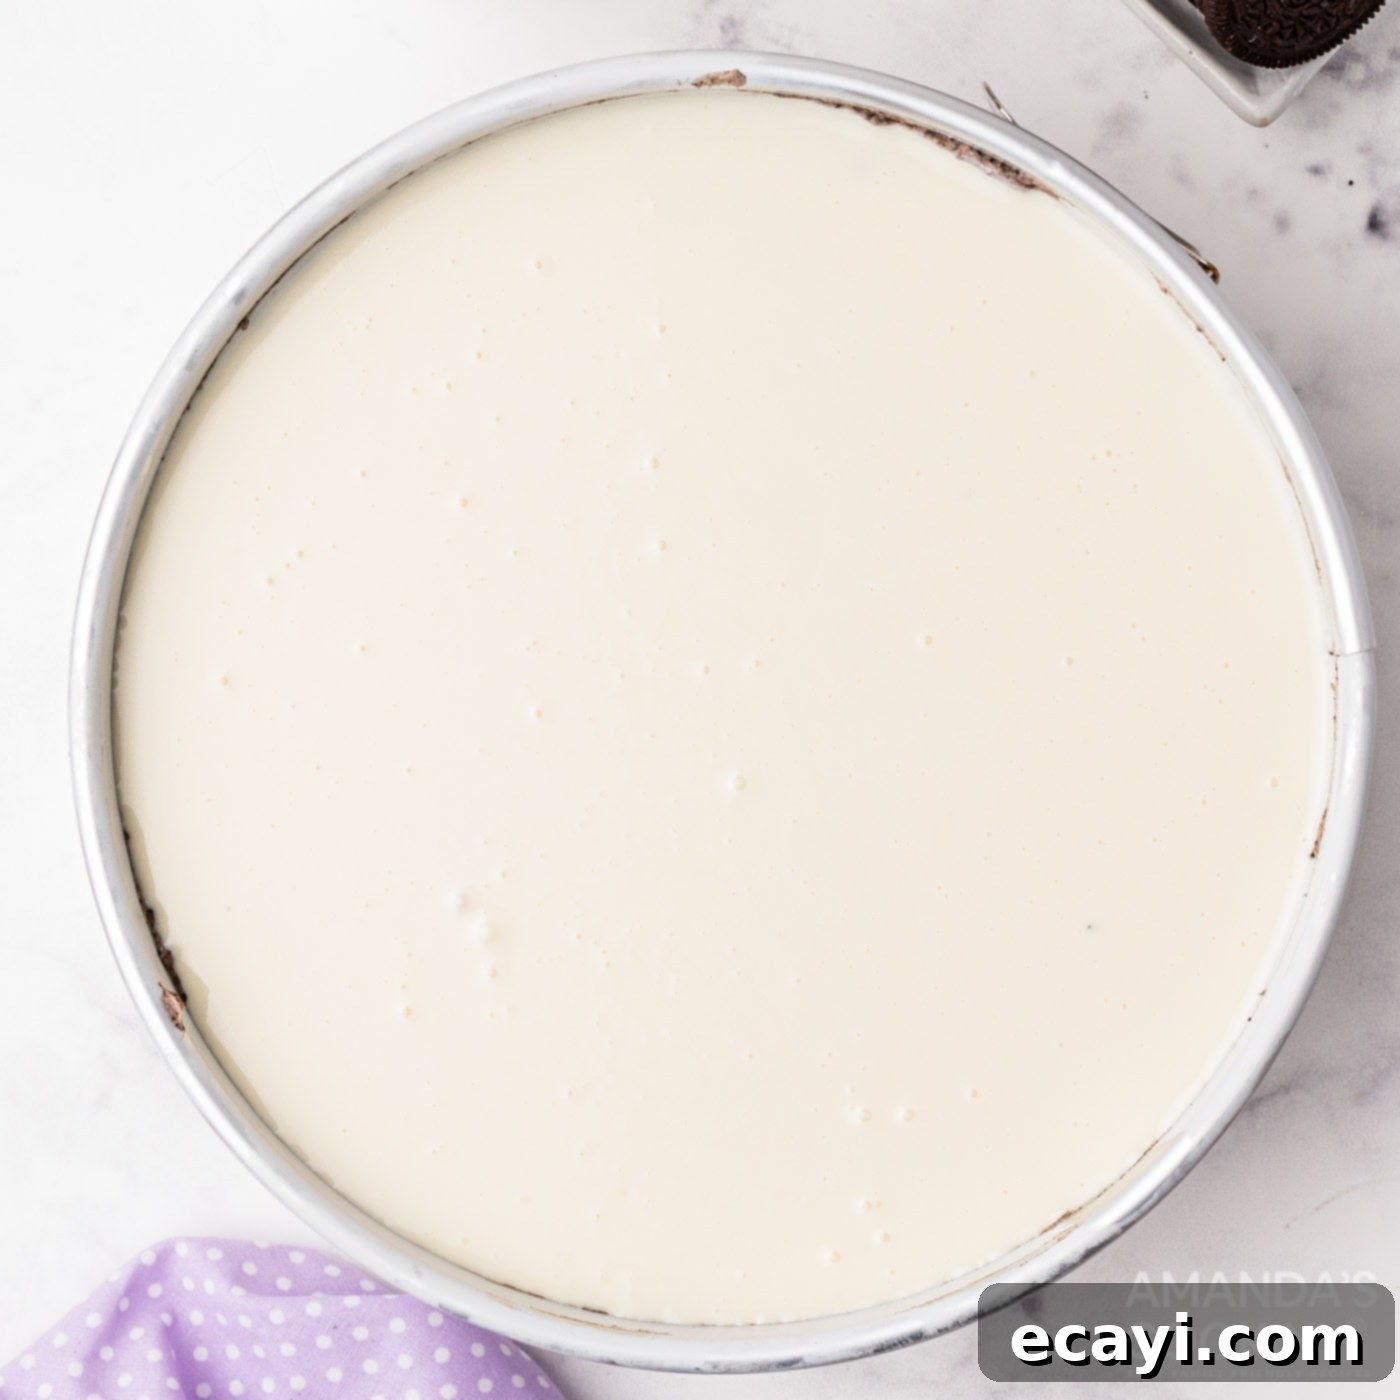
- Pour the slightly cooled white chocolate ganache evenly over the top of the cheesecake. Once poured, cover the pan with foil and immediately transfer it to the refrigerator. Be extremely careful that the foil does not touch the ganache, as this can ruin the smooth finish.

- Refrigerate the cheesecake for a minimum of 6 hours. For the best possible texture and flavor, chilling it overnight is highly recommended. This allows the cheesecake to set completely and the flavors to meld beautifully.
- Once fully chilled, prepare the final whipped cream topping. Beat the remaining 1 cup of heavy cream with the ¼ cup of powdered sugar until stiff peaks have formed. Transfer this whipped cream to a piping bag (or a re-sealable bag with the tip snipped off). A helpful tip: insert the piping bag inside a tall glass before filling to make the process much easier and less messy.
- Before serving, gently run a thin knife around the inside edge of the cheesecake pan to ensure the ganache or cheesecake isn’t stuck. Carefully remove the sides of the springform pan.
- Now for the grand finale! Pipe decorative swirls of whipped cream around the outside top edge of the cheesecake. Take the 7 reserved Oreo cookies, cut them in half, and artfully place the halves in between each whipped cream swirl. This creates a stunning visual presentation. Your magnificent Oreo cheesecake is now ready to be sliced and served!

Frequently Asked Questions & Expert Tips for Perfect Oreo Cheesecake
To maintain its freshness and delicious texture, store your Oreo cheesecake in an airtight container. Keep it in the refrigerator, and it will remain wonderfully fresh for up to 4 days. Always ensure it’s well-sealed to prevent it from absorbing other odors from the fridge.
Absolutely! This Oreo cheesecake freezes beautifully, allowing you to enjoy it later. To freeze the whole cheesecake, wrap it securely in its pan a few times with plastic wrap, followed by an outer layer of aluminum foil. This double-layer protection helps prevent freezer burn. Alternatively, if you prefer to freeze individual slices, place them into separate airtight containers or wrap them individually. Oreo cheesecake can be frozen for up to 3 months. When you’re ready to indulge, simply defrost it overnight in the refrigerator for the best results.
Using room temperature cream cheese is paramount for a perfectly smooth cheesecake filling. Cold cream cheese is stiff and will not blend evenly with sugar and other ingredients, leading to lumps and a grainy texture. Allowing it to soften naturally results in a creamy, velvety mixture that is the hallmark of a great cheesecake. Don’t rush this step!
While this recipe calls for regular Oreo cookies, feel free to experiment with different flavors! Golden Oreos could offer a vanilla-based twist, or you could try seasonal flavors for a unique touch. Just ensure the quantity remains the same. The cream filling inside the Oreos is essential for the crust’s binding and adds moisture and flavor to the cheesecake filling, so use whole cookies.
If your ganache seems too thick to pour, gently warm it over a double boiler or in short bursts in the microwave, stirring frequently, until it reaches a pourable consistency. If it’s too thin, let it cool a bit longer, stirring occasionally, until it thickens slightly. The ideal consistency is fluid but not watery.
Serving Suggestions for Your Oreo Cheesecake
This cookies and cream masterpiece is, of course, absolutely perfect for every occasion. Whether it’s a birthday, a holiday gathering, or just a sweet craving, this Oreo cheesecake is guaranteed to impress. For an extra touch of indulgence, consider serving it with an additional sprinkle of finely crushed Oreos over the whipped cream. After all, can you ever really have too much Oreo? A drizzle of chocolate syrup or a side of fresh berries could also add a delightful contrast of flavor and color. Always serve this cheesecake chilled for the best texture and taste experience.
More Delightful Oreo Recipes to Explore
If you’re as big a fan of Oreos as we are, you’ll love exploring these other fantastic recipes that celebrate the classic cookie. From cupcakes to no-bake delights, there’s an Oreo treat for every craving:
- Oreo Cupcakes
- Oreo Icebox Cake
- Oreo Cheesecake Bars
- Oreo Cheesecake Brownies
- Peanut Butter Oreo No Bake Cheesecake
- Instant Pot Oreo Cheesecake
- Fried Oreos
I love to bake and cook and share my kitchen experience with all of you! Remembering to come back each day can be tough, that’s why I offer a convenient newsletter every time a new recipe posts. Simply subscribe and start receiving your free daily recipes!
Oreo Cheesecake
IMPORTANT – There are often Frequently Asked Questions within the blog post that you may find helpful. Simply scroll back up to read them!
Print It
Pin It
Rate It
Save ItSaved!
Ingredients
- 25.5 oz Oreo cookies whole cookies, divided for crust and filling
- ¼ cup salted butter 1/2 stick, melted
- 24 oz cream cheese 3 8 oz packages, at room temperature for smooth blending
- 1 cup heavy whipping cream for the cheesecake filling
- 1 ½ cups powdered sugar for the filling
Ganache
- 1 cup heavy whipping cream for the ganache
- 24 oz white chocolate wafers or good quality white chocolate chips
Topping
- 1 cup heavy whipping cream for the whipped cream
- ¼ cup powdered sugar for the whipped cream topping
Things You’ll Need
-
Food processor
-
Electric mixer
-
9 inch springform pan
Before You Begin
- Store any leftover cheesecake in the refrigerator, tightly wrapped with plastic wrap or in an air-tight container, for up to 4 days.
- For a slightly less rich version, you can substitute half-and-half for some of the heavy cream in the filling or ganache, but be aware it might alter the texture slightly.
- Ensure your cream cheese is at room temperature for a perfectly smooth, lump-free filling.
Instructions
-
Preheat oven to 325°F (160°C).
-
Add 25 whole Oreo cookies to your food processor and pulse until mostly crumbs. Add the melted butter and continue to pulse until well combined.
-
Line the bottom of a 9-inch springform pan with parchment paper and spray the sides with non-stick spray.
-
Press the crumb mixture firmly into the bottom of the pan using a measuring cup or flat tool to create an even crust.
-
Bake the crust in the oven for 8-10 minutes. Remove and allow to cool completely.
-
In a large mixing bowl, combine the 3 packs of room-temperature cream cheese with the powdered sugar until well combined and smooth. Add 1 cup of heavy cream and beat on medium speed for about 5 minutes until stiff peaks form.
-
Set aside 7 whole Oreo cookies for decorating the top later.
-
Place the remaining Oreo cookies into a re-sealable bag and crush them into larger chunks (not fine crumbs). Gently stir these cookie bits into the cream cheese and cream mixture.
-
Pour this delicious mixture into the springform pan on top of the cooled Oreo crust and spread evenly.
-
For the ganache: In a small pan, heat 1 cup of heavy cream until it just simmers. Remove from heat, add the white chocolate wafers, and stir until completely melted and smooth.
-
Allow the ganache to cool slightly, ensuring it remains in a pourable state.
-
Carefully pour the ganache over the top of the cheesecake. Cover with foil, being careful not to touch the ganache, and refrigerate immediately.
-
Refrigerate the cheesecake for a minimum of 6 hours, or preferably overnight, to allow it to set completely.
-
For the topping: Beat the remaining 1 cup of cream with the powdered sugar until stiff peaks have formed. Transfer to a piping bag (or a re-sealable bag with the tip cut off), inserting it into a tall glass for easier filling.
-
Using a knife, gently score around the inside edge of the cheesecake pan to ensure the ganache isn’t stuck. Carefully remove the sides of the pan.
-
Pipe swirls of whipped cream around the outside top of the cheesecake. Cut the reserved 7 Oreos in half and place the halves in between each whipped cream swirl. Slice and serve your beautiful Oreo cheesecake!
Nutrition
The recipes on this blog are tested with a conventional gas oven and gas stovetop. It’s important to note that some ovens, especially as they age, can cook and bake inconsistently. Using an inexpensive oven thermometer can assure you that your oven is truly heating to the proper temperature. If you use a toaster oven or countertop oven, please keep in mind that they may not distribute heat the same as a conventional full sized oven and you may need to adjust your cooking/baking times. In the case of recipes made with a pressure cooker, air fryer, slow cooker, or other appliance, a link to the appliances we use is listed within each respective recipe. For baking recipes where measurements are given by weight, please note that results may not be the same if cups are used instead, and we can’t guarantee success with that method.
