Irresistible Oreo Cheesecake Brownies: The Ultimate Fudgy, Creamy, and Cookie-Filled Dessert Bar Recipe
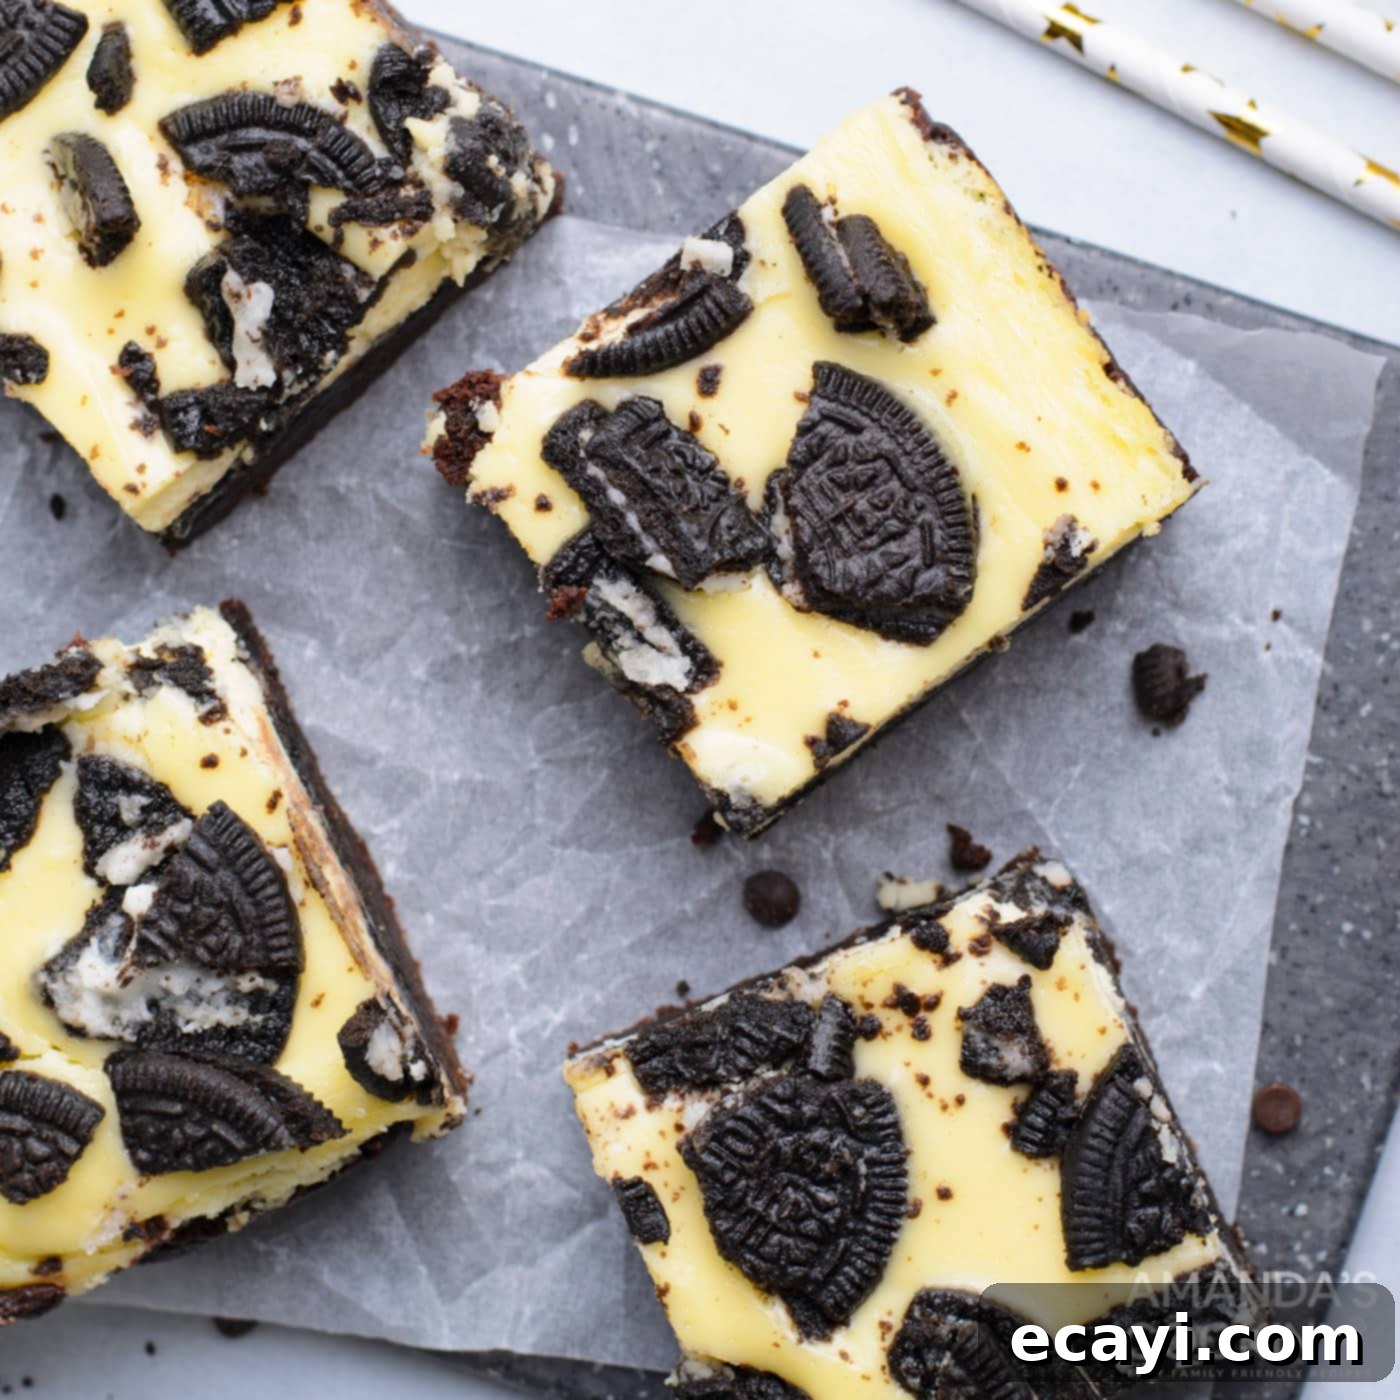
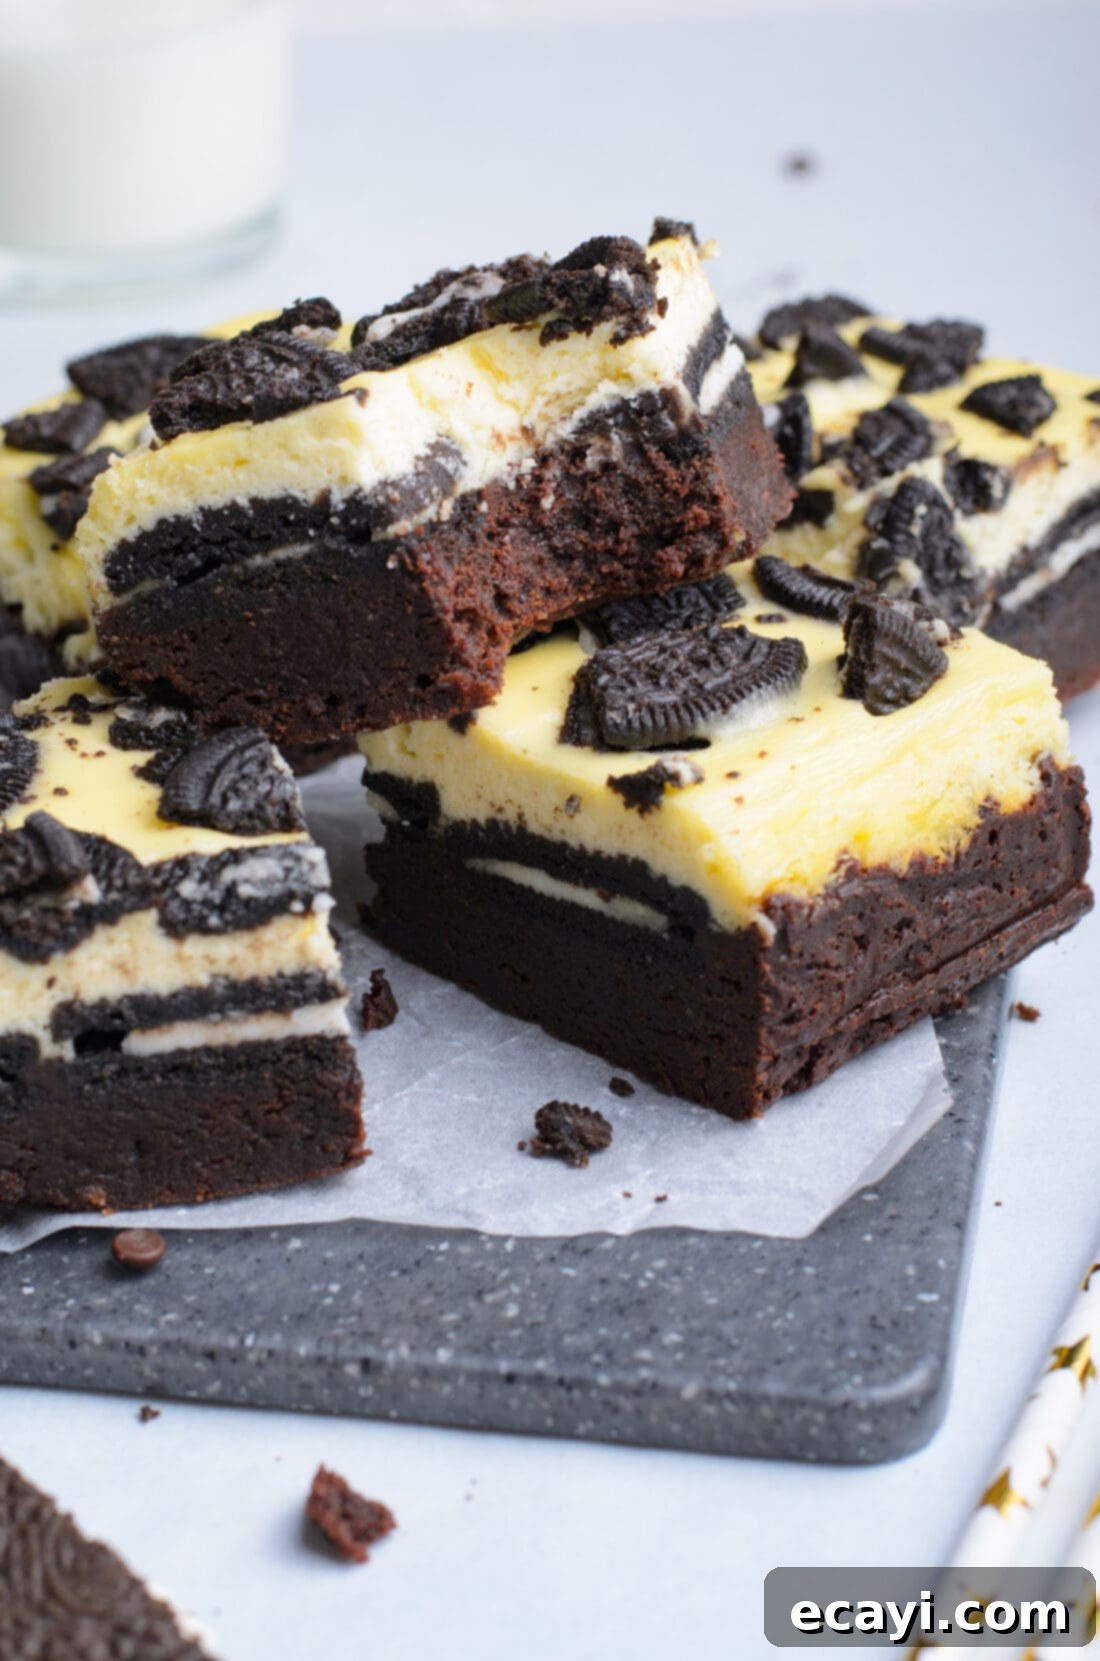
Prepare to elevate your dessert game with these incredible Oreo Cheesecake Brownies! This recipe masterfully combines a rich, fudgy brownie base with a smooth, tangy cheesecake layer, generously studded with whole Oreo cookies, and then crowned with even more crushed Oreos. It’s a triple-threat dessert that delivers the beloved cookies and cream flavor in every single bite. Perfect for parties, potlucks, or simply satisfying your sweet tooth, these bars are a guaranteed crowd-pleaser that offer a delightful contrast of textures and flavors. Get ready to bake a batch of pure bliss!
Why This Recipe Is an Absolute Must-Try
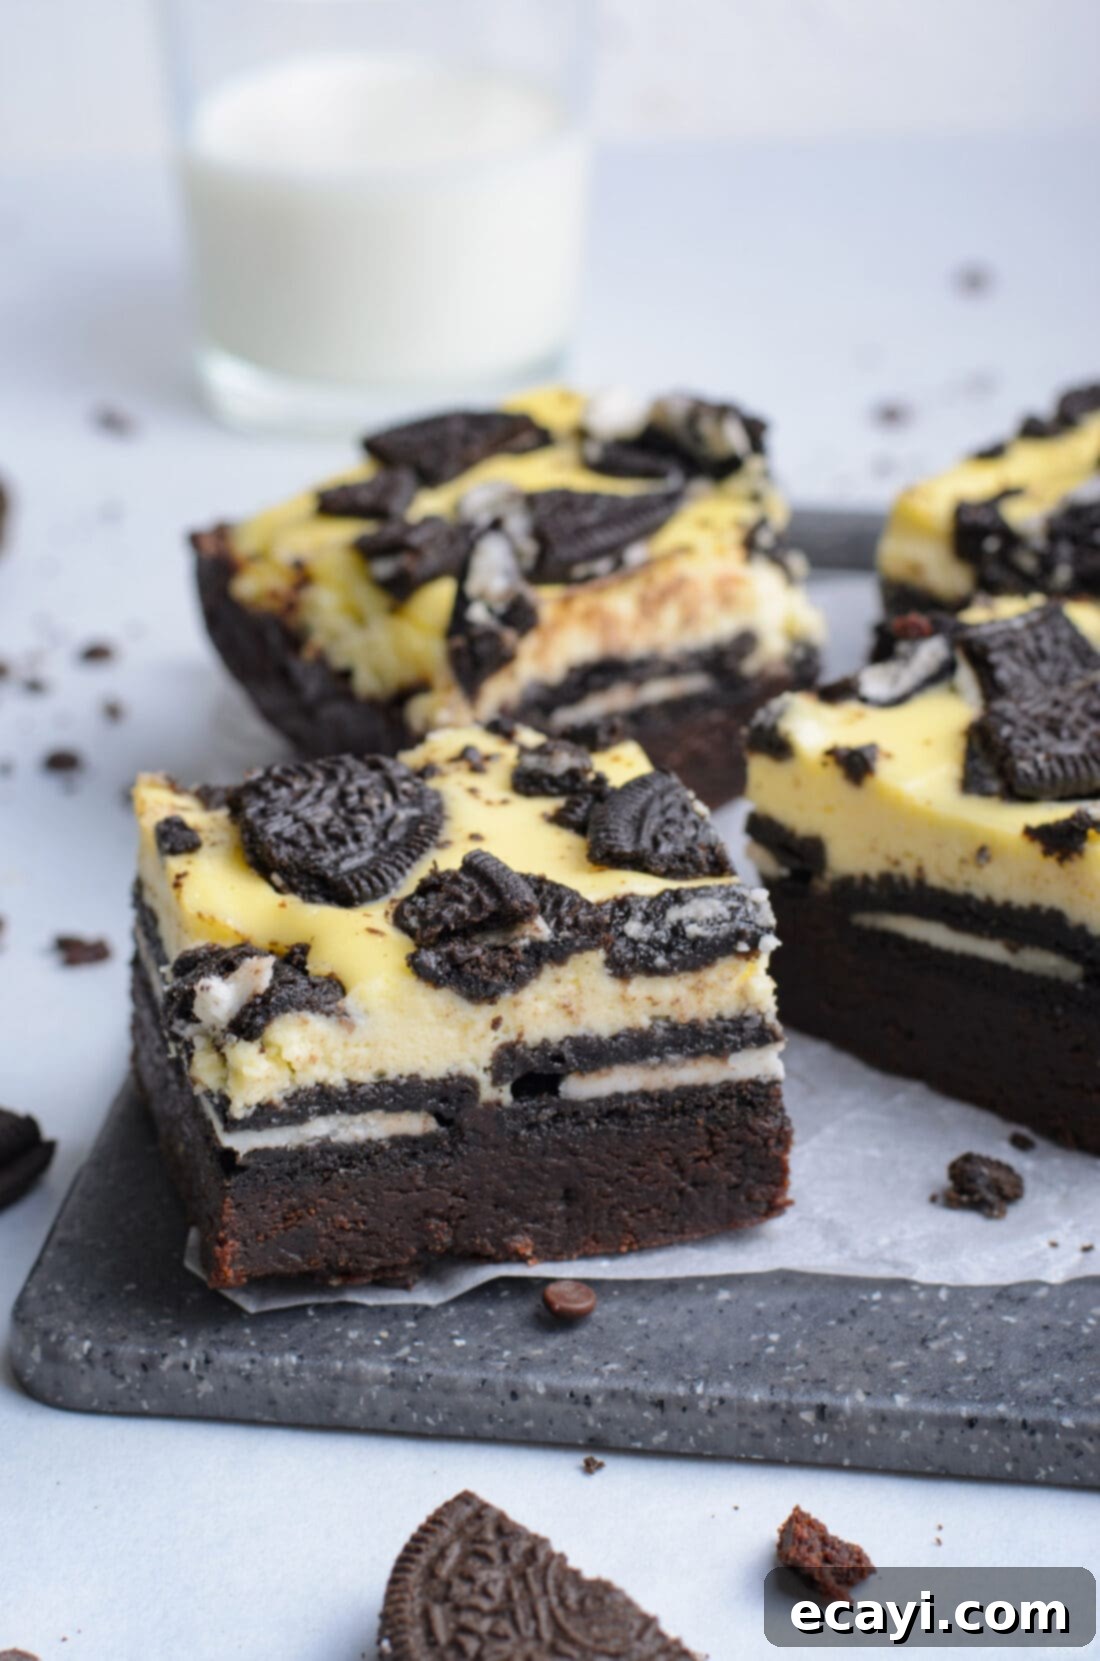
This recipe brings together two dessert titans – the classic fudgy brownie and the creamy, dreamy cheesecake – and then takes it up a notch with the irresistible crunch and chocolatey goodness of Oreo sandwich cookies. The result is a dessert bar that is truly extraordinary. Unlike a simple brownie or a plain cheesecake, these Oreo cheesecake brownies offer a symphony of textures and flavors that captivate your senses. The dense, moist chocolate brownie provides a satisfying foundation, while the smooth, slightly tart cheesecake cuts through the richness, creating a perfect balance. And, of course, the Oreos themselves aren’t just an afterthought; they’re integrated into every layer, ensuring that iconic cookies and cream taste is present throughout. This magical combination makes every bite an experience, transforming familiar favorites into something refreshingly new and deeply decadent. It’s the kind of dessert that gets rave reviews and disappears quickly at any gathering.
Essential Ingredients for Your Oreo Cheesecake Brownies
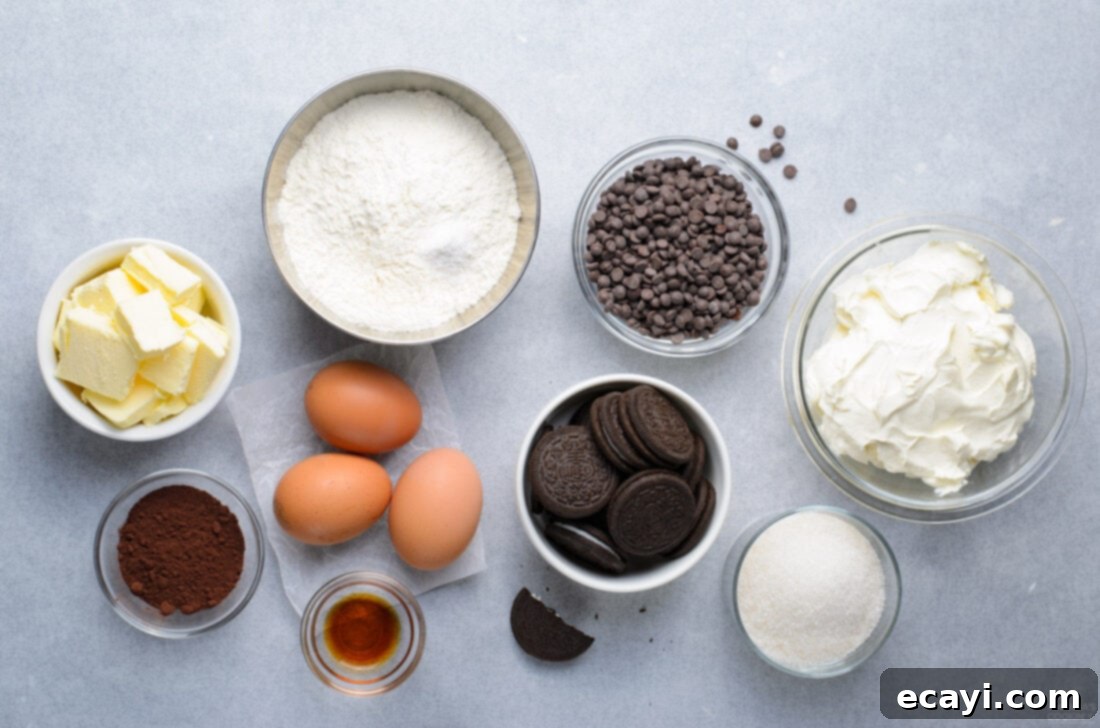
Crafting these delectable Oreo cheesecake brownies requires a thoughtful selection of both pantry staples and a few star ingredients. While the full, precise measurements and step-by-step instructions are available in the printable recipe card at the conclusion of this post, let’s delve into the key components you’ll need to gather. Most of these items are likely already in your kitchen, making this indulgent treat surprisingly accessible. From the rich chocolate for the brownie base to the creamy cheese for the top layer, each ingredient plays a crucial role in achieving that perfect balance of fudgy, creamy, and crunchy goodness.
Detailed Ingredient Insights and Smart Substitution Tips
Understanding each ingredient’s role is key to baking success. Here’s a closer look at what goes into these amazing Oreo Cheesecake Brownies and how you can adapt the recipe to your preferences or what you have on hand:
BROWNIE BASE – Our recipe features a luscious, homemade fudgy brownie layer, which truly elevates the entire dessert. Using high-quality semi-sweet chocolate chips and unsalted butter ensures a deep, rich chocolate flavor and an incredibly moist, dense texture. The addition of cocoa powder further intensifies the chocolate notes, while eggs contribute to the brownie’s structure and chewiness. Granulated sugar provides sweetness and helps create that coveted shiny top crust. If you’re short on time, a boxed brownie mix can certainly be used as a convenient alternative. Just prepare it according to package directions for an 8×8 or 9×9 pan, ensuring it’s slightly underbaked before adding the cheesecake layer to prevent dryness in the final product. For an extra dark chocolate flavor, consider using Dutch-processed cocoa powder.
CHEESECAKE LAYER – The creamy, dreamy cheesecake layer is a harmonious blend of full-fat cream cheese, egg, vanilla extract, and granulated sugar. For the smoothest, most luxurious cheesecake texture, it is absolutely crucial to allow your cream cheese and egg to come to room temperature before mixing. Cold cream cheese can result in a lumpy batter, making it difficult to achieve that signature silky consistency. The egg acts as a binder, while vanilla extract enhances the overall sweetness and provides a warm, inviting aroma. For a subtle tang and added complexity, you could even add a teaspoon of fresh lemon zest to the cheesecake mixture.
OREOS – The star of the show! We typically opt for classic Oreos for their iconic chocolate cookie and vanilla cream flavor. However, don’t hesitate to get creative with your choices. Regular-sized Oreos work best for the whole cookie layer, as they provide a substantial crunch. Consider using Double Stuf Oreos for an even creamier center, or explore seasonal flavors like pumpkin spice for fall, mint for a refreshing twist, or even the red cream-filled ones for Christmas to add a festive touch. Golden Oreo cookies are a fantastic alternative if you prefer a vanilla-based cookie, offering a delightful contrast. For the crushed cookie topping, a food processor makes quick work of grinding them into fine crumbs, but a sturdy zip-top bag and a rolling pin work just as well for a more rustic texture. Ensure you remove the cream filling if you prefer just the cookie crunch for the topping, though leaving it in adds to the richness.
Mastering the Art of Oreo Cheesecake Brownies: A Step-by-Step Guide
These detailed step-by-step photos and instructions are provided to guide you through each stage of making this decadent dessert. To access the complete printable version of this recipe, including precise measurements and comprehensive instructions, simply Jump to Recipe at the bottom of this post.
- Prepare Your Baking Pan: Begin by preheating your oven to 350°F (175°C). This ensures your oven is at the correct temperature when your batter is ready. Line a 9-inch square pan with aluminum foil or parchment paper, leaving an overhang on the sides. This overhang acts as “handles” making it incredibly easy to lift the entire batch of brownies out of the pan once cooled, allowing for cleaner cuts. Set the prepared pan aside.
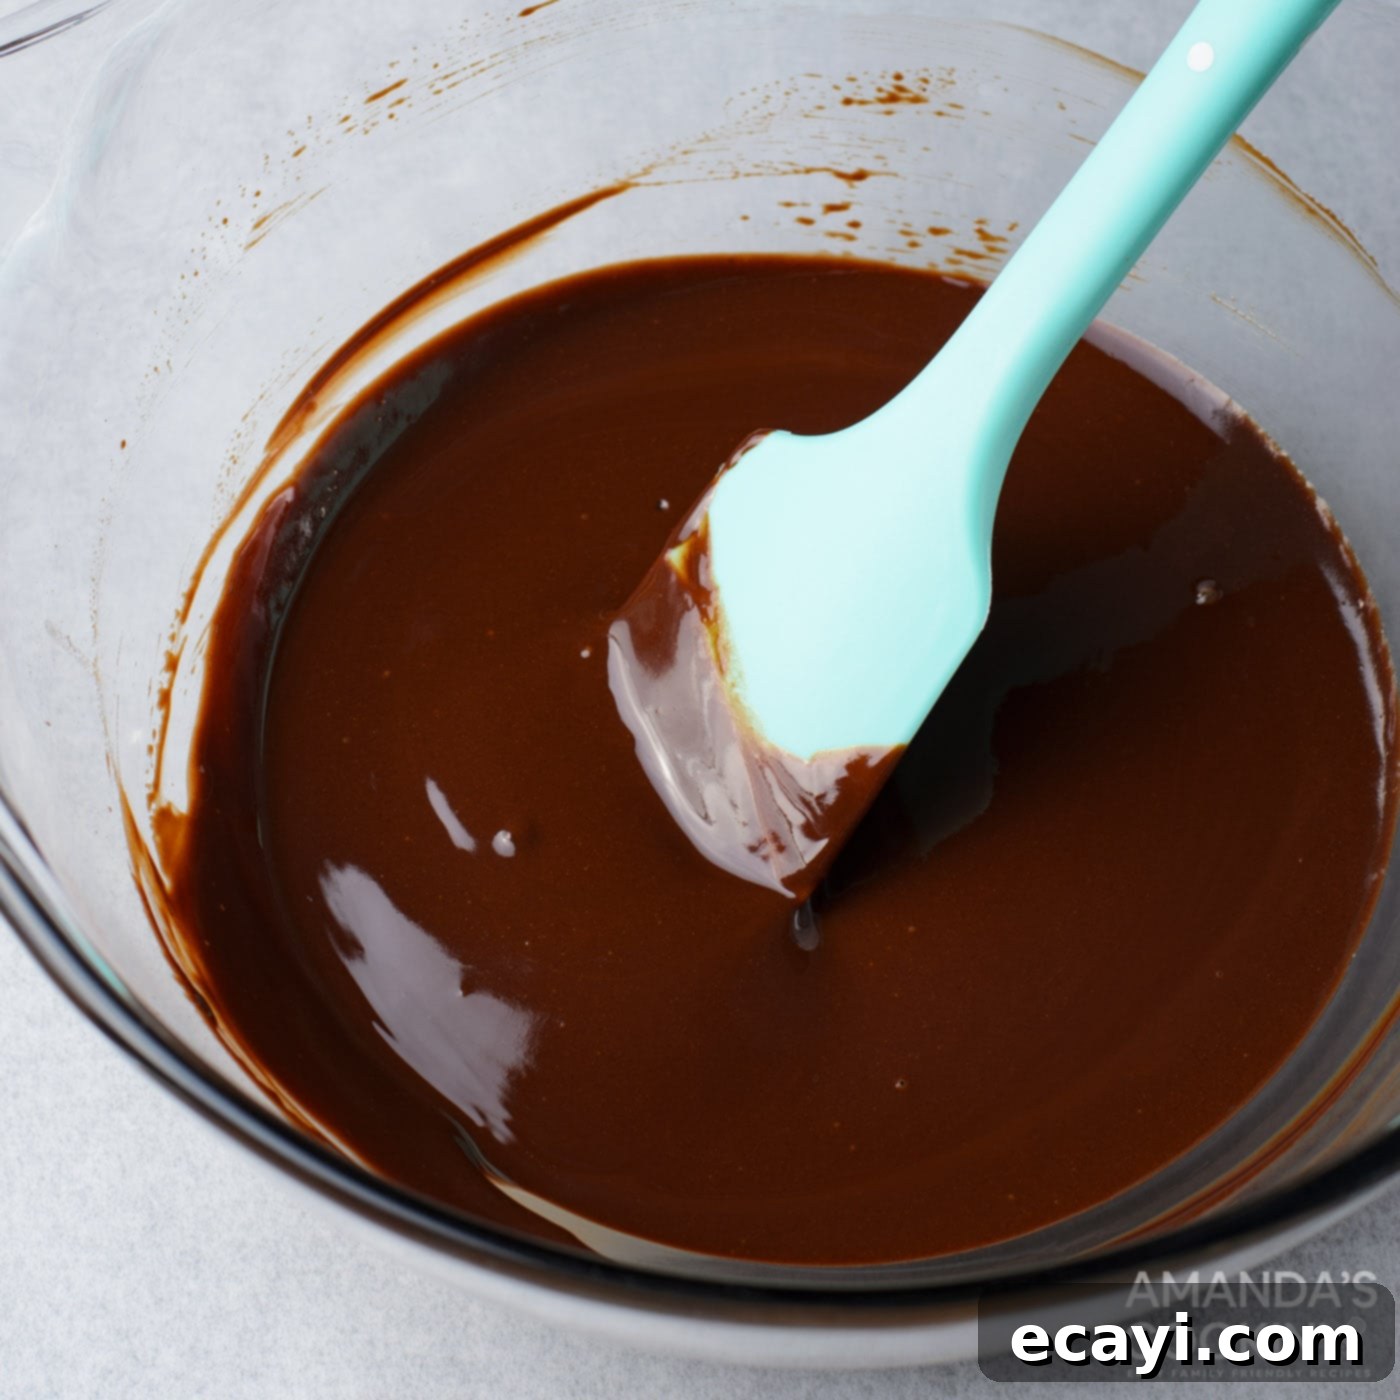
- Melt Chocolate and Butter: In a large, microwave-safe bowl, combine your semi-sweet chocolate chips and unsalted butter. Melt these ingredients together in 20-30 second intervals in the microwave, stirring thoroughly after each interval. This gradual melting process prevents the chocolate from seizing or burning, ensuring a smooth, glossy mixture. Continue until the mixture is completely smooth and uniform, then let it cool slightly to avoid cooking the eggs prematurely in the next step.

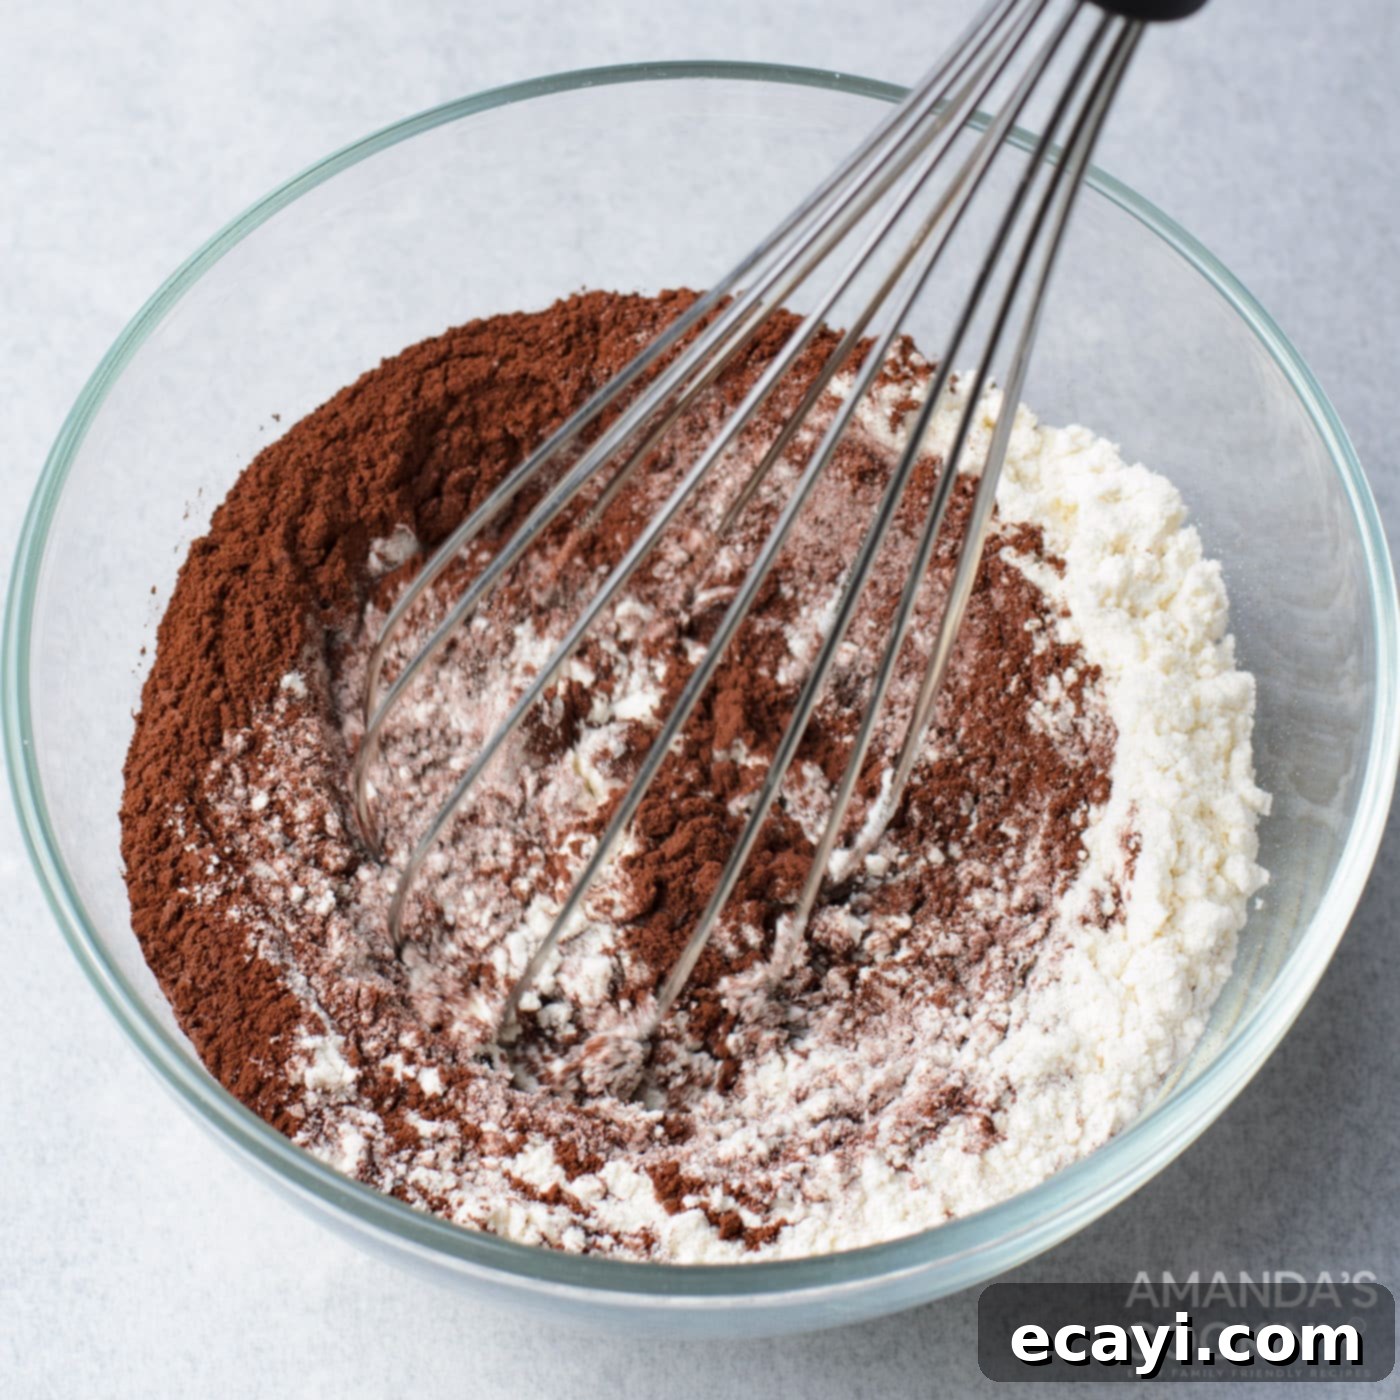
- Combine Dry Ingredients: In a separate medium bowl, whisk together the all-purpose flour, cocoa powder, and salt until they are well combined. Sifting these ingredients is recommended for an even smoother brownie batter, preventing any pockets of dry flour in the final product. Set this dry mixture aside.

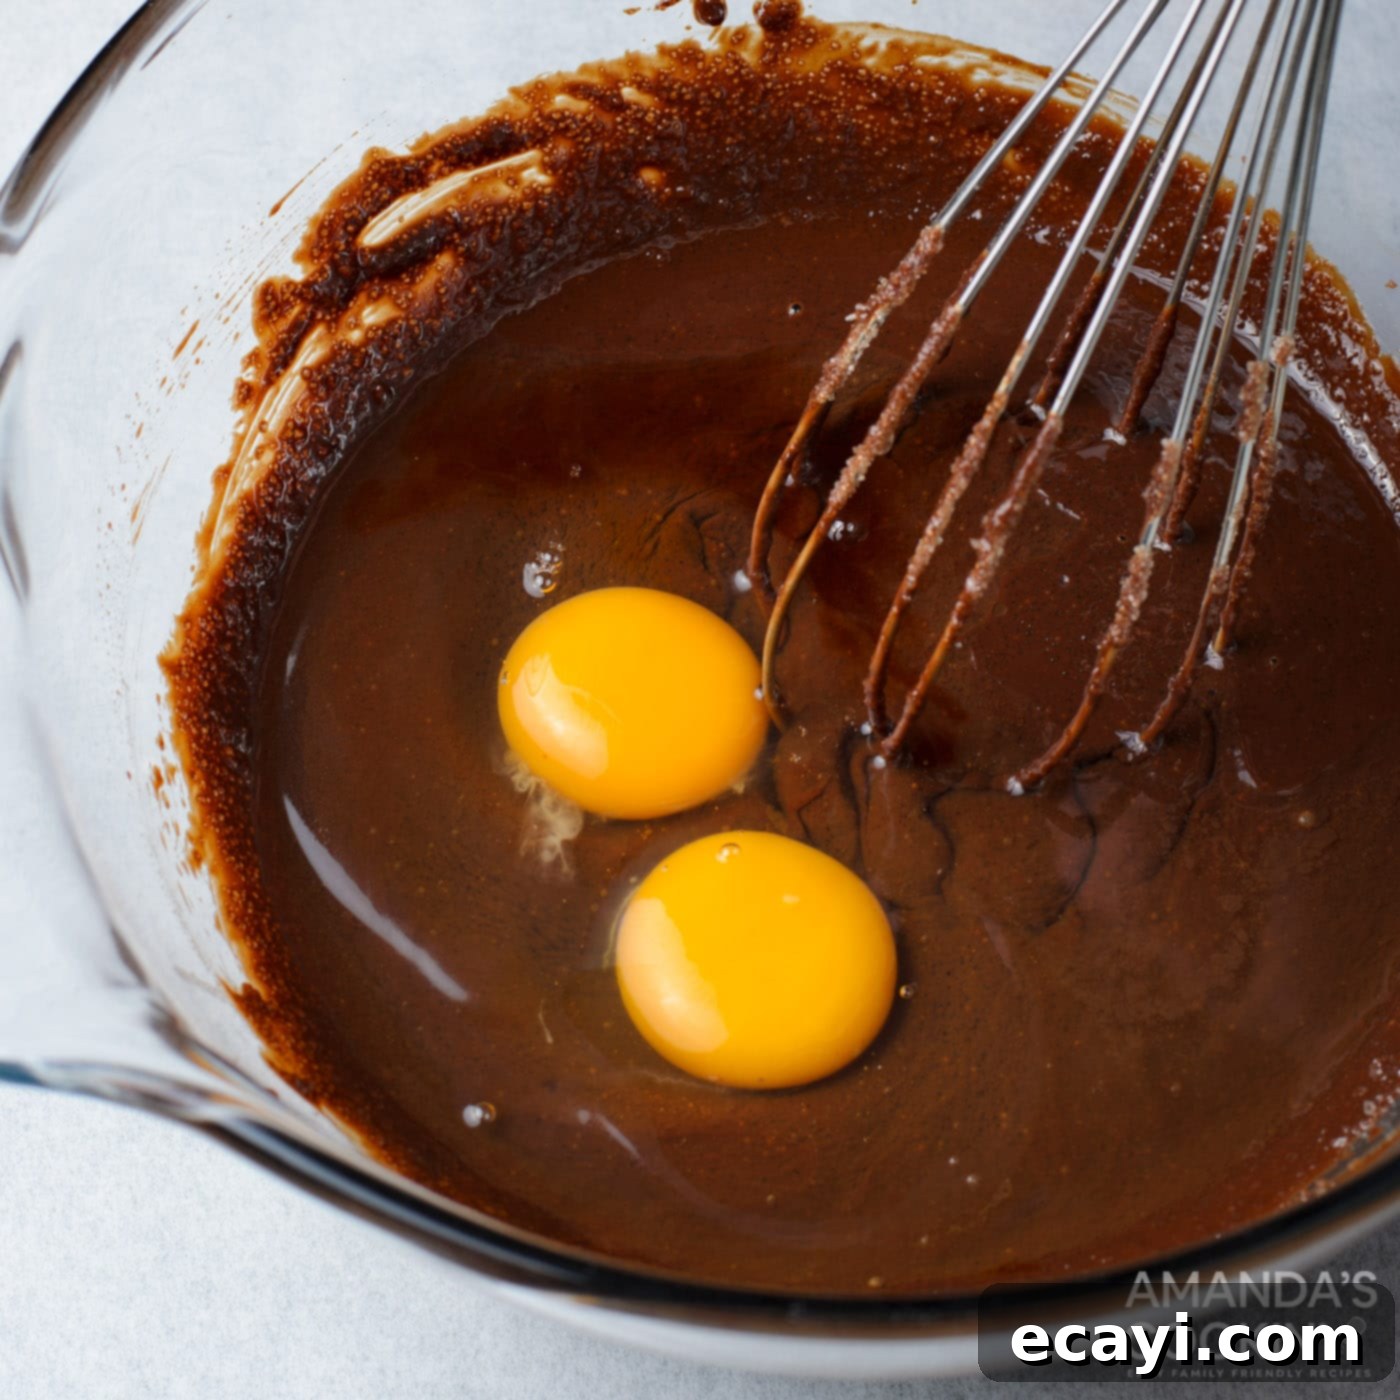
- Mix Wet Ingredients for Brownies: To the slightly cooled melted chocolate and butter mixture, add the granulated sugar. Whisk vigorously until the sugar is fully incorporated and the mixture is glossy. Next, crack in the eggs one at a time, whisking well after each addition until just combined. Finally, stir in the vanilla extract. Be careful not to overmix, as this can lead to a tougher brownie.

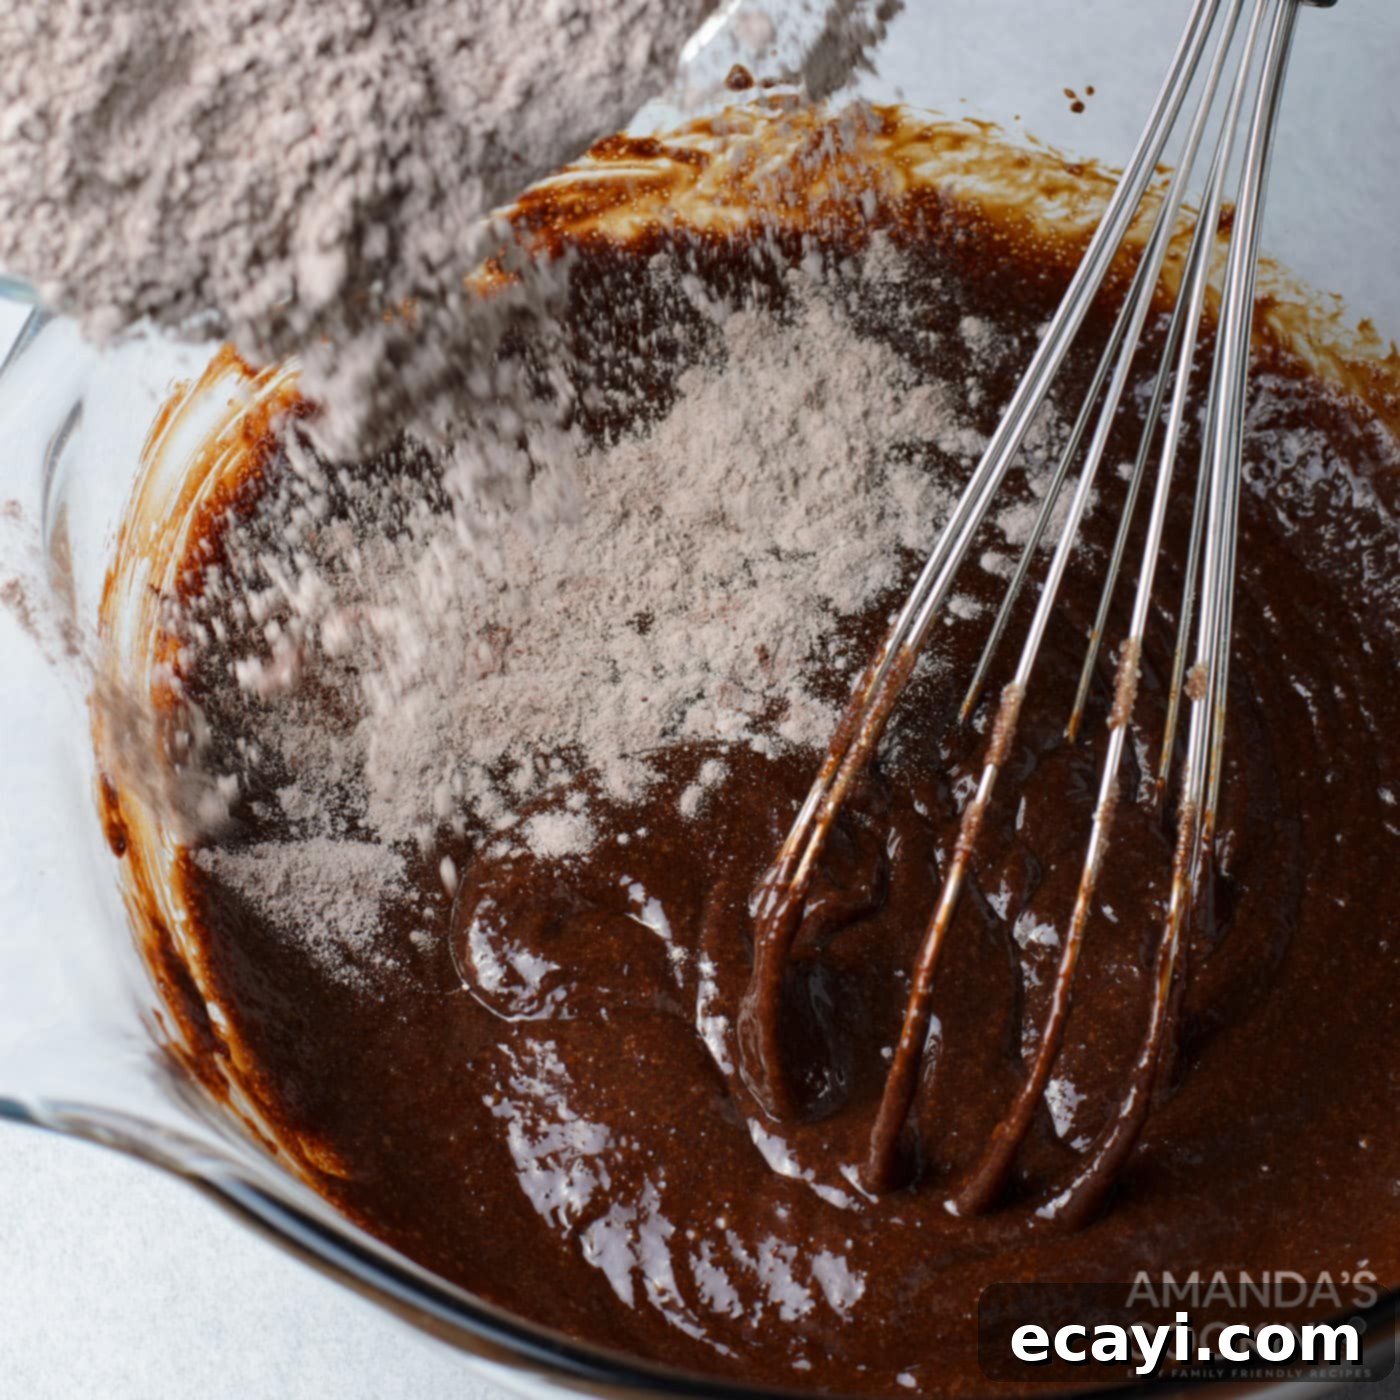
- Combine Wet and Dry Brownie Mix: Gently fold the dry ingredients (flour, cocoa, salt) into the chocolate mixture. Use a spatula and mix only until just smooth and no streaks of flour remain. Overmixing at this stage can develop too much gluten, resulting in a cakey rather than fudgy brownie.

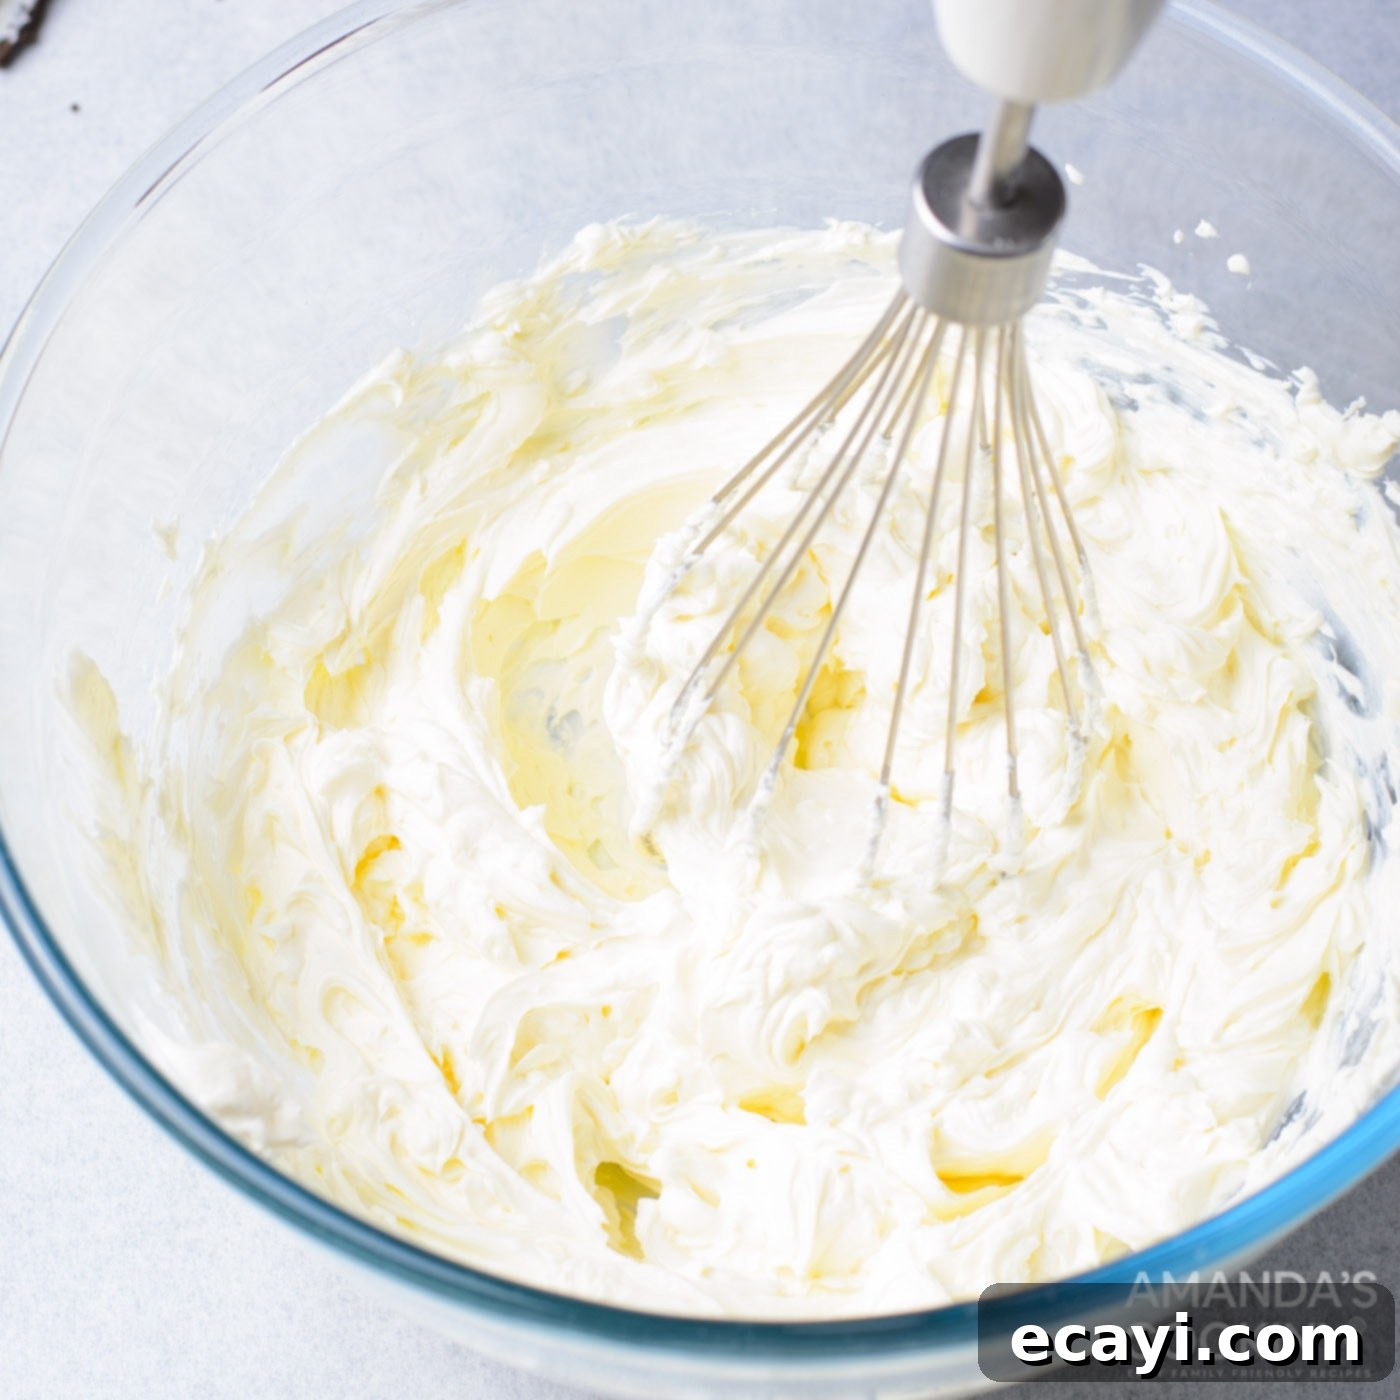
- Prepare the Cheesecake Layer: In a separate bowl, begin by beating the room-temperature cream cheese with a hand mixer or stand mixer until it is light, fluffy, and completely smooth. This step is crucial for a lump-free cheesecake. Then, add the granulated sugar, egg, and vanilla extract. Whisk again until the mixture is smooth and well combined, but again, avoid overmixing, which can incorporate too much air and lead to cracks during baking.

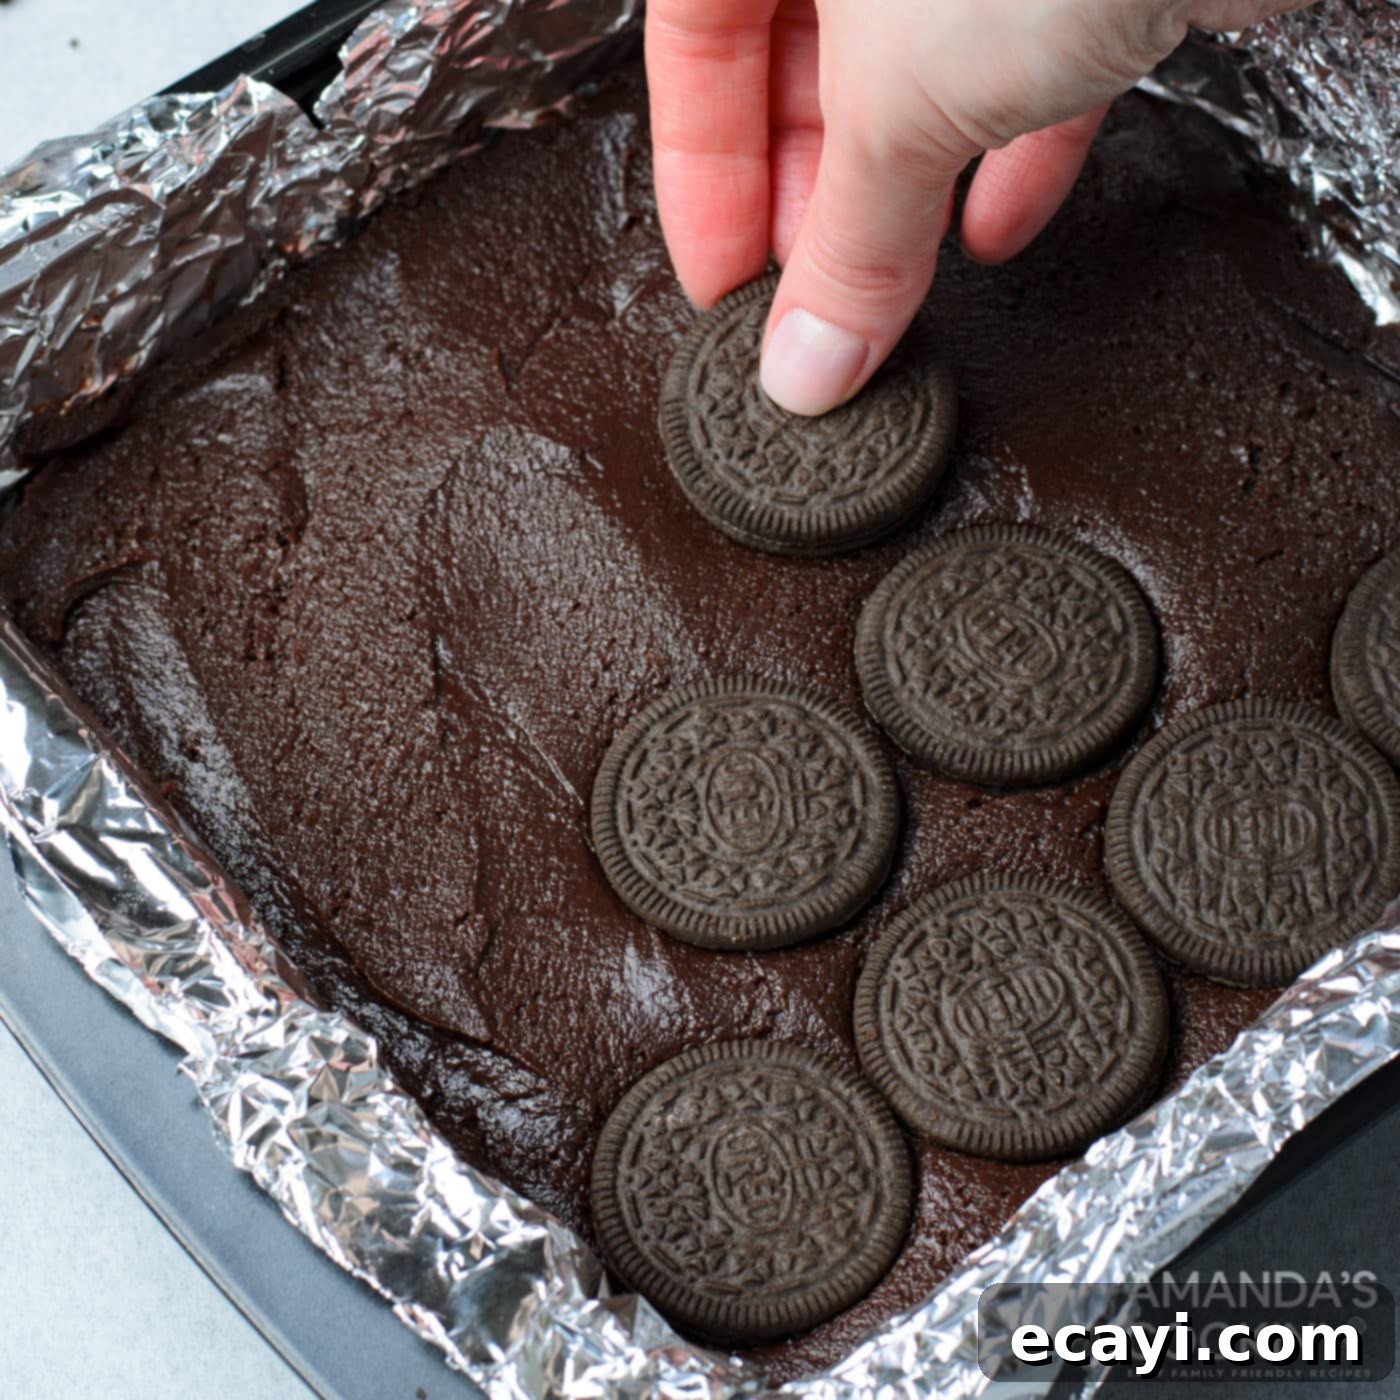
- Assemble the Layers: Pour the prepared brownie batter evenly into your lined 9-inch square pan and smooth the top with a spatula. Next, carefully arrange the whole Oreo cookies over the brownie layer. Gently press them down into the batter to ensure they are slightly embedded. This creates a delicious, crunchy surprise in the middle of each bar.

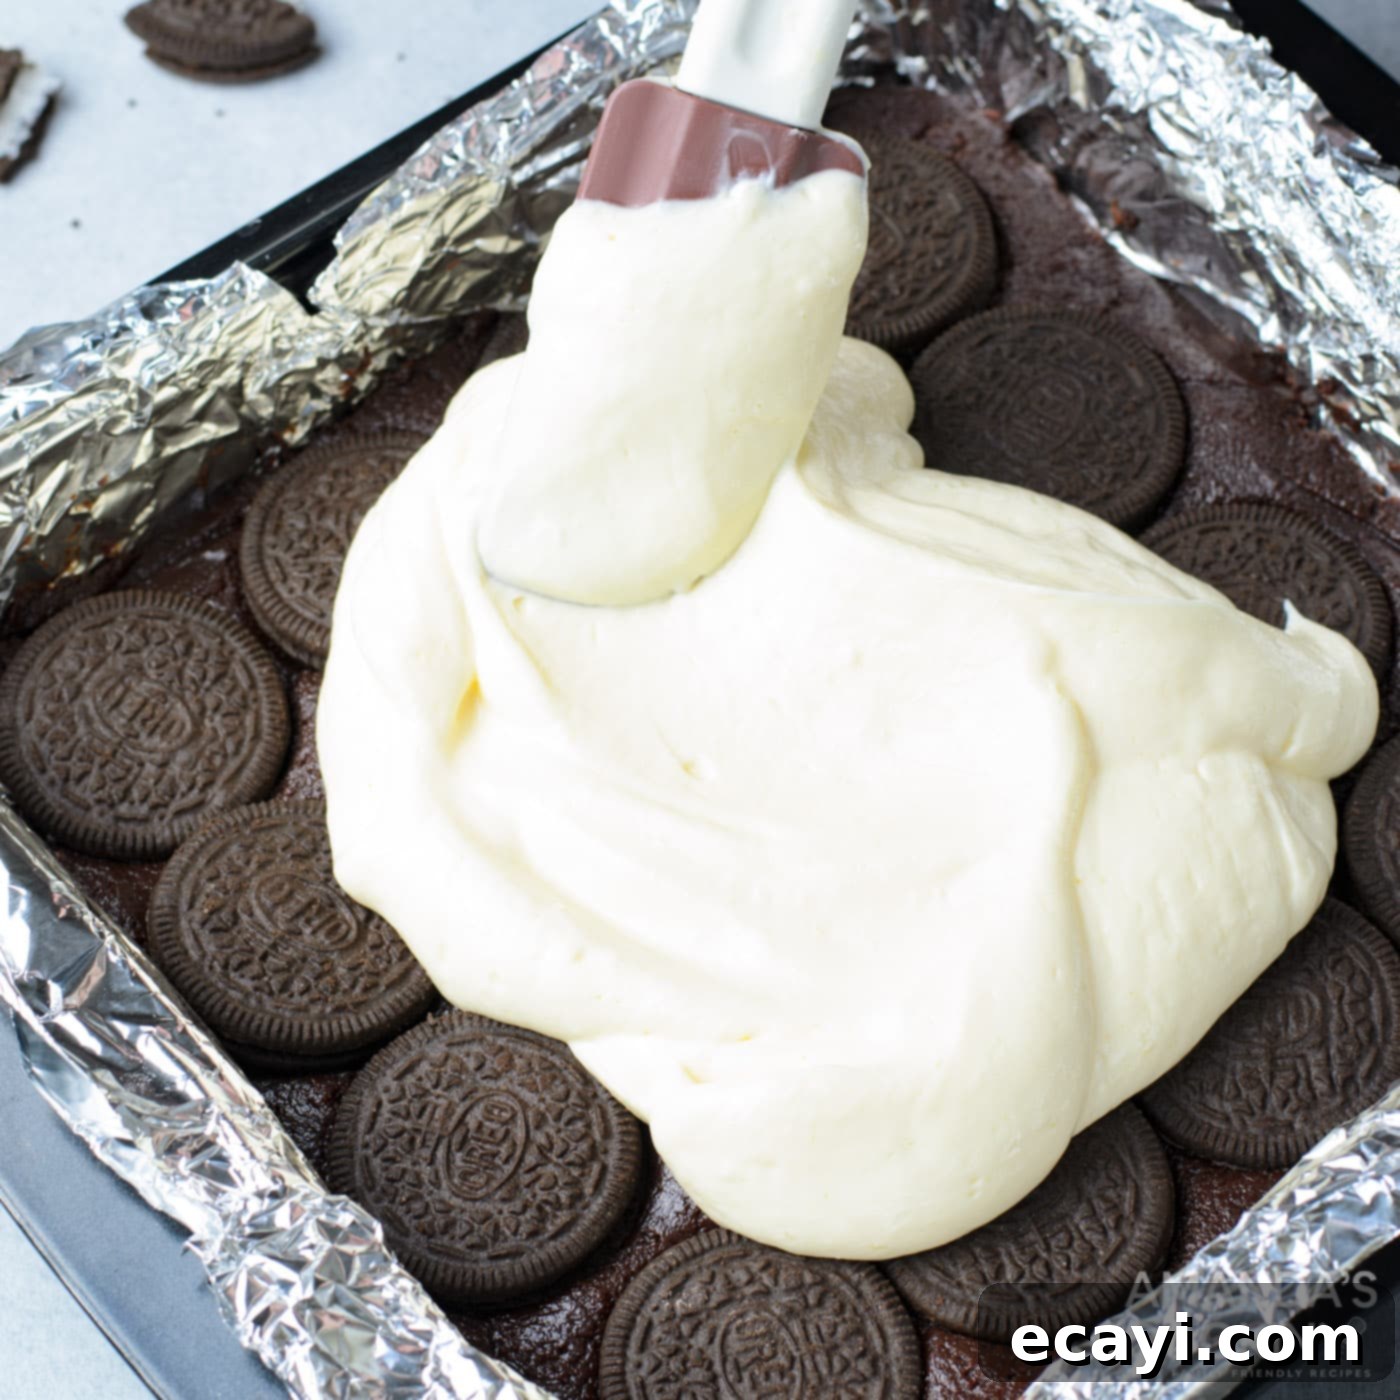
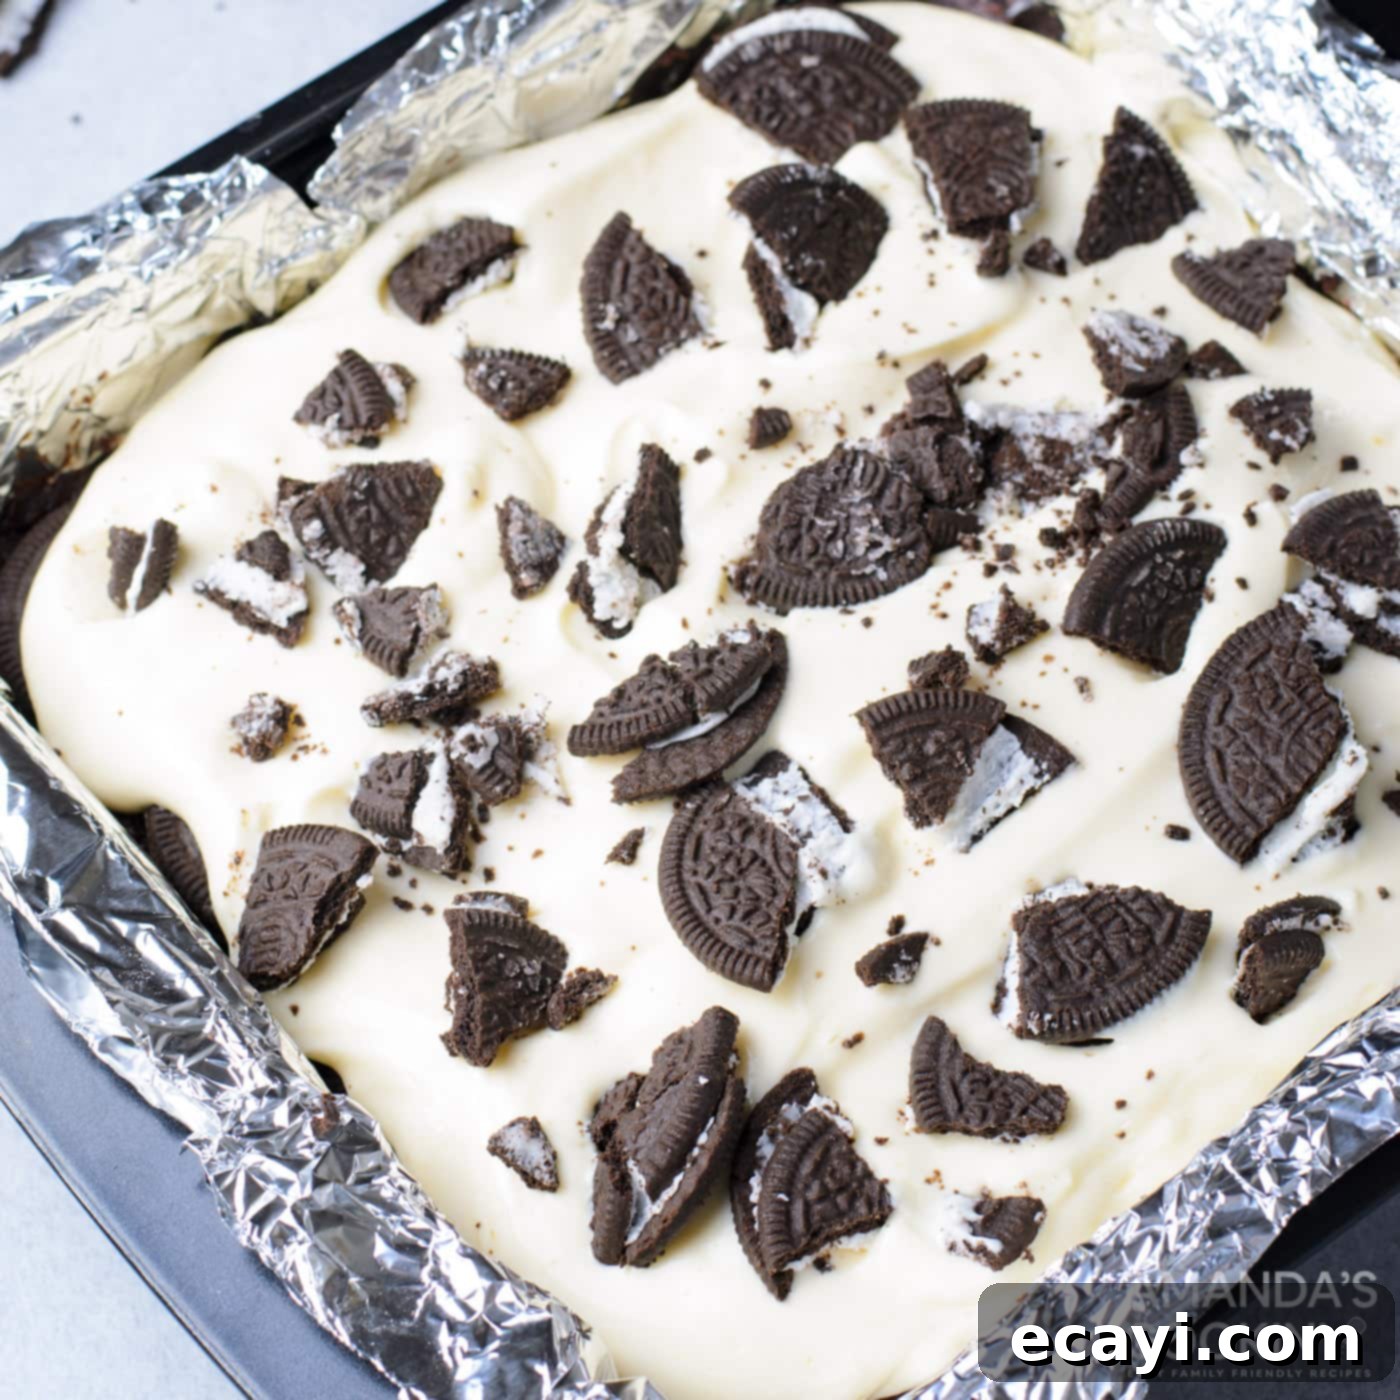
- Add Cheesecake and Topping: Carefully spread the creamy cheesecake mixture over the layer of Oreos and brownie batter, making sure to cover it evenly. Once the cheesecake layer is smooth, generously sprinkle the crushed Oreo cookies over the entire top surface. This final layer of crumbs adds both visual appeal and an extra burst of cookies and cream flavor and texture.


- Bake and Chill: Bake the brownies in the preheated oven for 35-40 minutes, or until the edges are slightly golden brown and the center of the cheesecake layer is mostly set with a slight jiggle. Avoid overbaking, as this can lead to dry brownies. Once baked, remove the pan from the oven and allow it to cool completely on a wire rack at room temperature. This gradual cooling helps prevent cracking in the cheesecake. For the best texture and clean slices, refrigerate the cooled brownies for at least 1 hour (preferably 2-3 hours or overnight) before serving. Chilling solidifies the cheesecake layer and makes cutting much easier.
Frequently Asked Questions & Expert Tips for Perfect Oreo Cheesecake Brownies
Yes, absolutely! You can double this recipe to fill a larger 9×13-inch pan. Keep in mind that doubling the recipe will result in taller, thicker Oreo cheesecake brownie bars, which means your baking time will need to be adjusted. Expect to bake for an additional 10-20 minutes, or until the edges are golden and the center is set. Always use the jiggle test for cheesecake – a slight wobble in the center indicates it’s done. Remember to line your larger pan with foil or parchment paper as well for easy removal.
Due to the cream cheese in the cheesecake layer, these brownies must be stored in the refrigerator. Place your cooled and cut cheesecake brownie bars in an airtight container. This will keep them fresh and delicious for 4-5 days. Ensure the container is truly airtight to prevent them from drying out or absorbing other odors from your fridge.
Absolutely! These Oreo cheesecake brownies are an excellent make-ahead dessert, often tasting even better the next day as the flavors meld and the layers set perfectly. I highly recommend preparing them the day before your event. Bake, cool completely, and then refrigerate them overnight in an airtight container. This will allow them to firm up beautifully, making them easier to slice and enhancing their rich texture and flavor. Just pull them out of the fridge about 15-20 minutes before serving for optimal enjoyment.
For picture-perfect, clean slices, ensure your brownies are thoroughly chilled in the refrigerator for at least 2-3 hours (or overnight). Before cutting, run a sharp, thin-bladed knife under hot water, wipe it clean, and then make a single cut. Repeat this process – rinse, wipe, cut – before each new slice. This method helps prevent the cheesecake from sticking to the knife and dragging crumbs, giving you neat edges.
Cracks in the cheesecake layer are usually caused by rapid changes in temperature, overmixing the cheesecake batter (which incorporates too much air), or overbaking. To prevent this, ensure your cream cheese and egg are at room temperature before mixing. Mix the cheesecake batter only until smooth, avoiding excessive whipping. When baking, don’t overbake; the center should have a slight jiggle. Finally, allow the brownies to cool gradually at room temperature on a wire rack before refrigerating.
Delightful Serving Suggestions
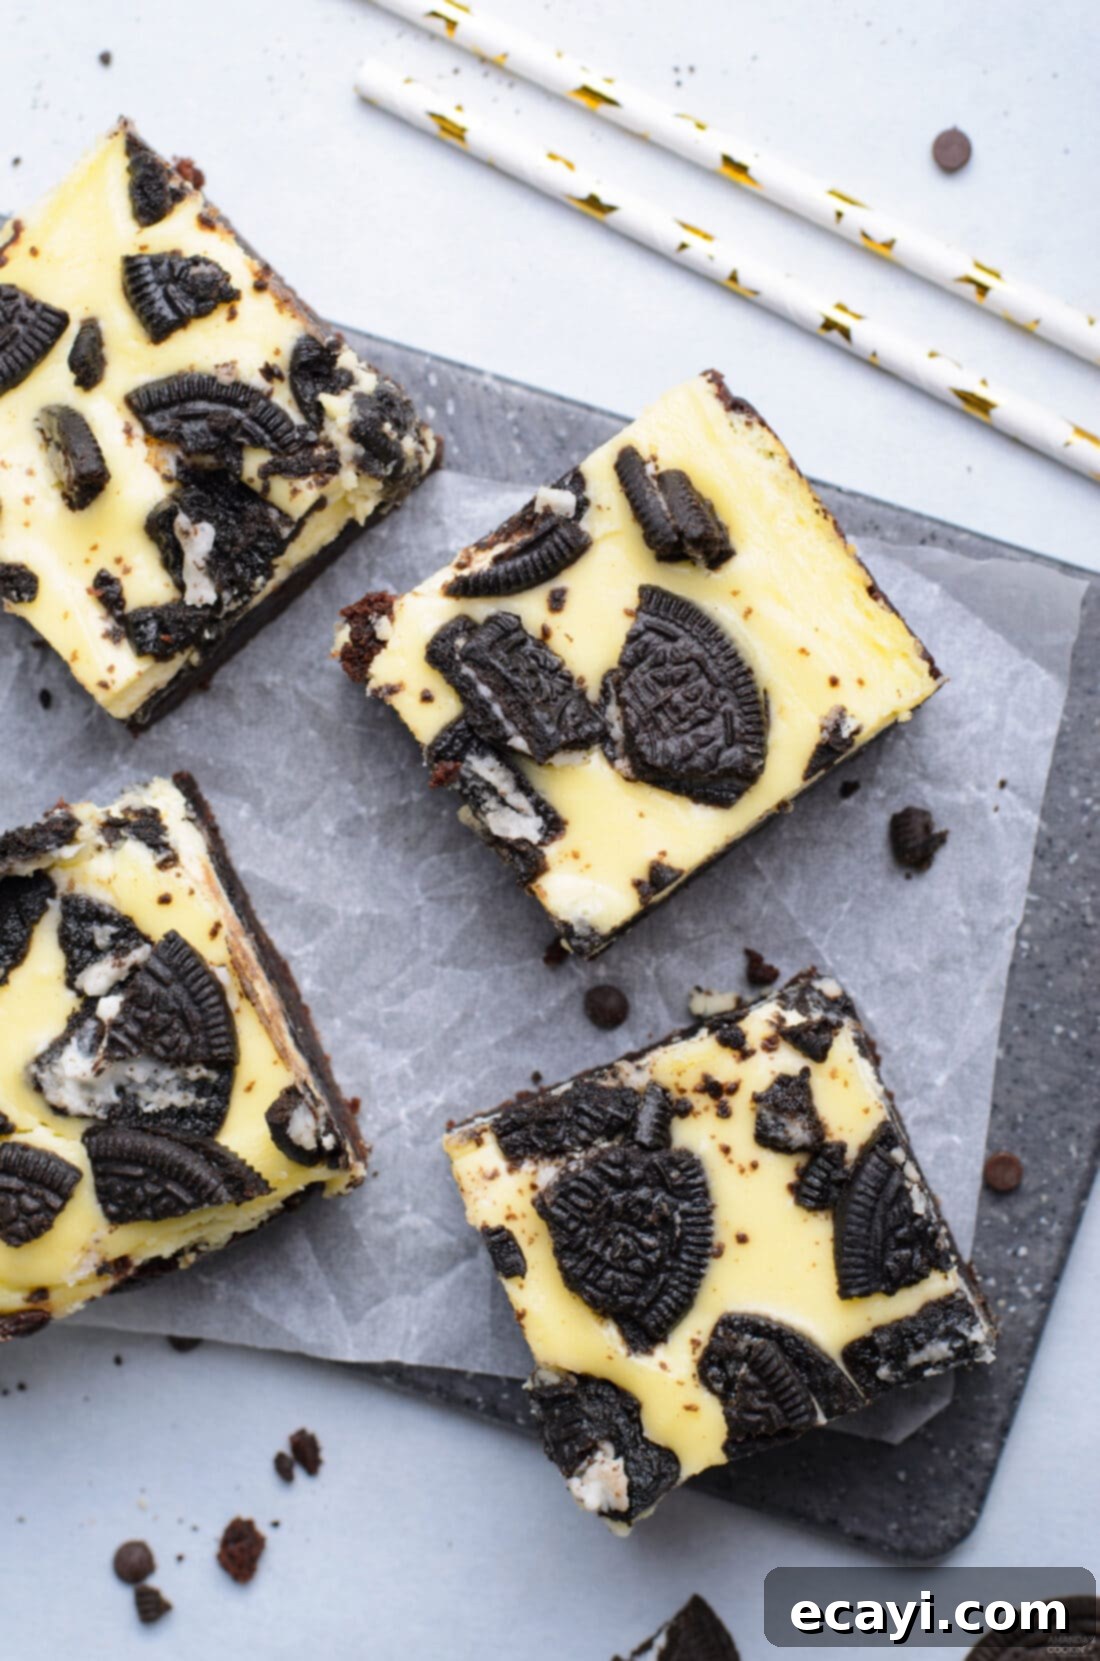
Oreo cheesecake brownies are incredibly versatile and always a hit! They are fantastic for taking to parties, family gatherings, or holiday celebrations and are welcomed with open arms year-round. Serve them chilled straight from the refrigerator for the best texture and flavor. For an extra touch of indulgence, consider pairing them with a scoop of vanilla bean ice cream, a drizzle of chocolate fudge sauce, or even a dollop of fresh whipped cream. A sprinkle of cocoa powder or a few extra mini Oreo pieces on top can also add an elegant finish. They also pair wonderfully with a hot cup of coffee or a cold glass of milk, making them perfect for any time of day.
More Irresistible Oreo Recipes to Explore
If you’re a true Oreo enthusiast, you’re in for a treat! The versatility of America’s favorite cookie extends far beyond these brownies. From cupcakes to no-bake delights, Oreos can transform ordinary desserts into extraordinary experiences. Explore some of our other cherished recipes that feature these iconic chocolate sandwich cookies:
- Oreo Cupcakes
- Slutty Brownies
- Oreo Icebox Cake
- Oreo Cheesecake Bars
- Chocolate Lasagna Trifle
- Peanut Butter Oreo No Bake Cheesecake
- Oreo Cheesecake
- Instant Pot Oreo Cheesecake
I love to bake and cook and share my kitchen experience with all of you! Remembering to come back each day can be tough, that’s why I offer a convenient newsletter every time a new recipe posts. Simply subscribe and start receiving your free daily recipes!
Oreo Cheesecake Brownies
IMPORTANT – There are often Frequently Asked Questions within the blog post that you may find helpful. Simply scroll back up to read them!
Print It
Pin It
Rate It
Save ItSaved!
Ingredients
Brownie Layer
- ½ cup all purpose flour
- 2 Tbsp cocoa powder
- 2 eggs at room temperature
- 1 tsp vanilla extract
- ¾ cup granulated sugar
- ½ cup unsalted butter
- 7 oz semi-sweet chocolate chips
- ½ tsp salt
- 16 Oreo cookies whole
Cheesecake Layer
- 12 oz cream cheese at room temperature
- 1 egg at room temperature
- ½ tsp vanilla extract
- ¼ cup granulated sugar
- 6 Oreo cookies crushed
Things You’ll Need
-
9×9 baking pan
-
Hand mixer
Before You Begin
- Store in an air-tight container kept in the refrigerator for 4-5 days.
- Ensure cream cheese and egg are at room temperature for a smooth cheesecake layer.
- For clean slices, chill thoroughly and use a hot, clean knife for each cut.
Instructions
-
Preheat oven to 350°F (175°C). Line a 9-inch square pan with aluminum foil or parchment paper, leaving an overhang to easily lift the brownies. Set aside.
-
In a large microwave-safe bowl, melt the semi-sweet chocolate chips and unsalted butter in 20-30 second intervals, stirring well after each, until completely smooth. Let cool slightly.
-
In a medium bowl, whisk together the all-purpose flour, cocoa powder, and salt.
-
Add granulated sugar into the melted chocolate mixture and whisk until combined. Then, add eggs and vanilla extract, whisking until just combined.
-
Gently fold the dry ingredients into the chocolate mixture using a spatula. Mix until just smooth and no streaks of flour remain, being careful not to overmix.
-
For the cheesecake layer, beat the room-temperature cream cheese until fluffy and smooth. Add in the granulated sugar, egg, and vanilla extract. Whisk until smooth and well combined.
-
Pour the brownie batter into the prepared pan, spreading evenly. Arrange 16 whole Oreo cookies over the brownie layer, gently pressing them into the batter.
-
Spread the cheesecake mixture evenly over the top of the Oreo layer. Sprinkle with the 6 crushed Oreo cookies.
-
Bake for 35-40 minutes, or until edges are slightly golden and the center of the cheesecake is mostly set with a slight jiggle. Cool completely on a wire rack, then refrigerate for at least 1 hour (preferably longer) before serving for best results and clean slicing.
Nutrition
The recipes on this blog are tested with a conventional gas oven and gas stovetop. It’s important to note that some ovens, especially as they age, can cook and bake inconsistently. Using an inexpensive oven thermometer can assure you that your oven is truly heating to the proper temperature. If you use a toaster oven or countertop oven, please keep in mind that they may not distribute heat the same as a conventional full sized oven and you may need to adjust your cooking/baking times. In the case of recipes made with a pressure cooker, air fryer, slow cooker, or other appliance, a link to the appliances we use is listed within each respective recipe. For baking recipes where measurements are given by weight, please note that results may not be the same if cups are used instead, and we can’t guarantee success with that method.
