Ultimate No-Bake Chocolate Peanut Butter Pie: A Decadent Homemade Delight
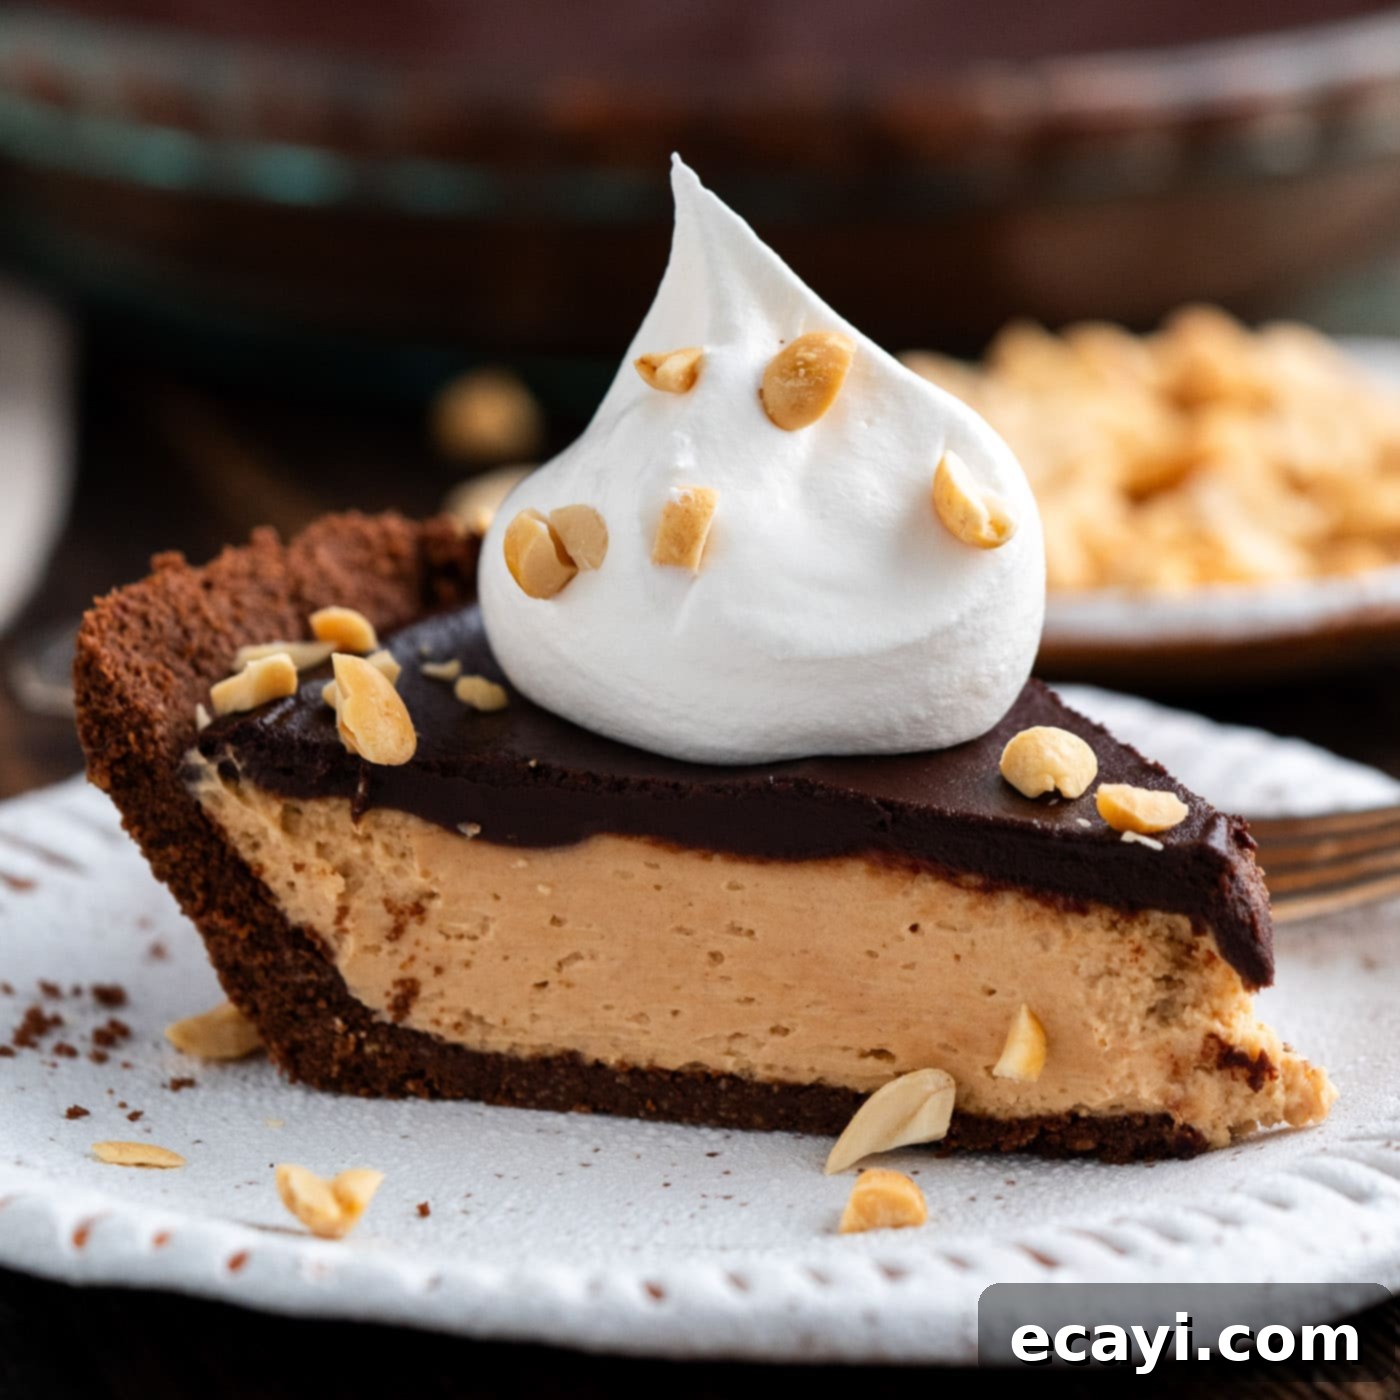
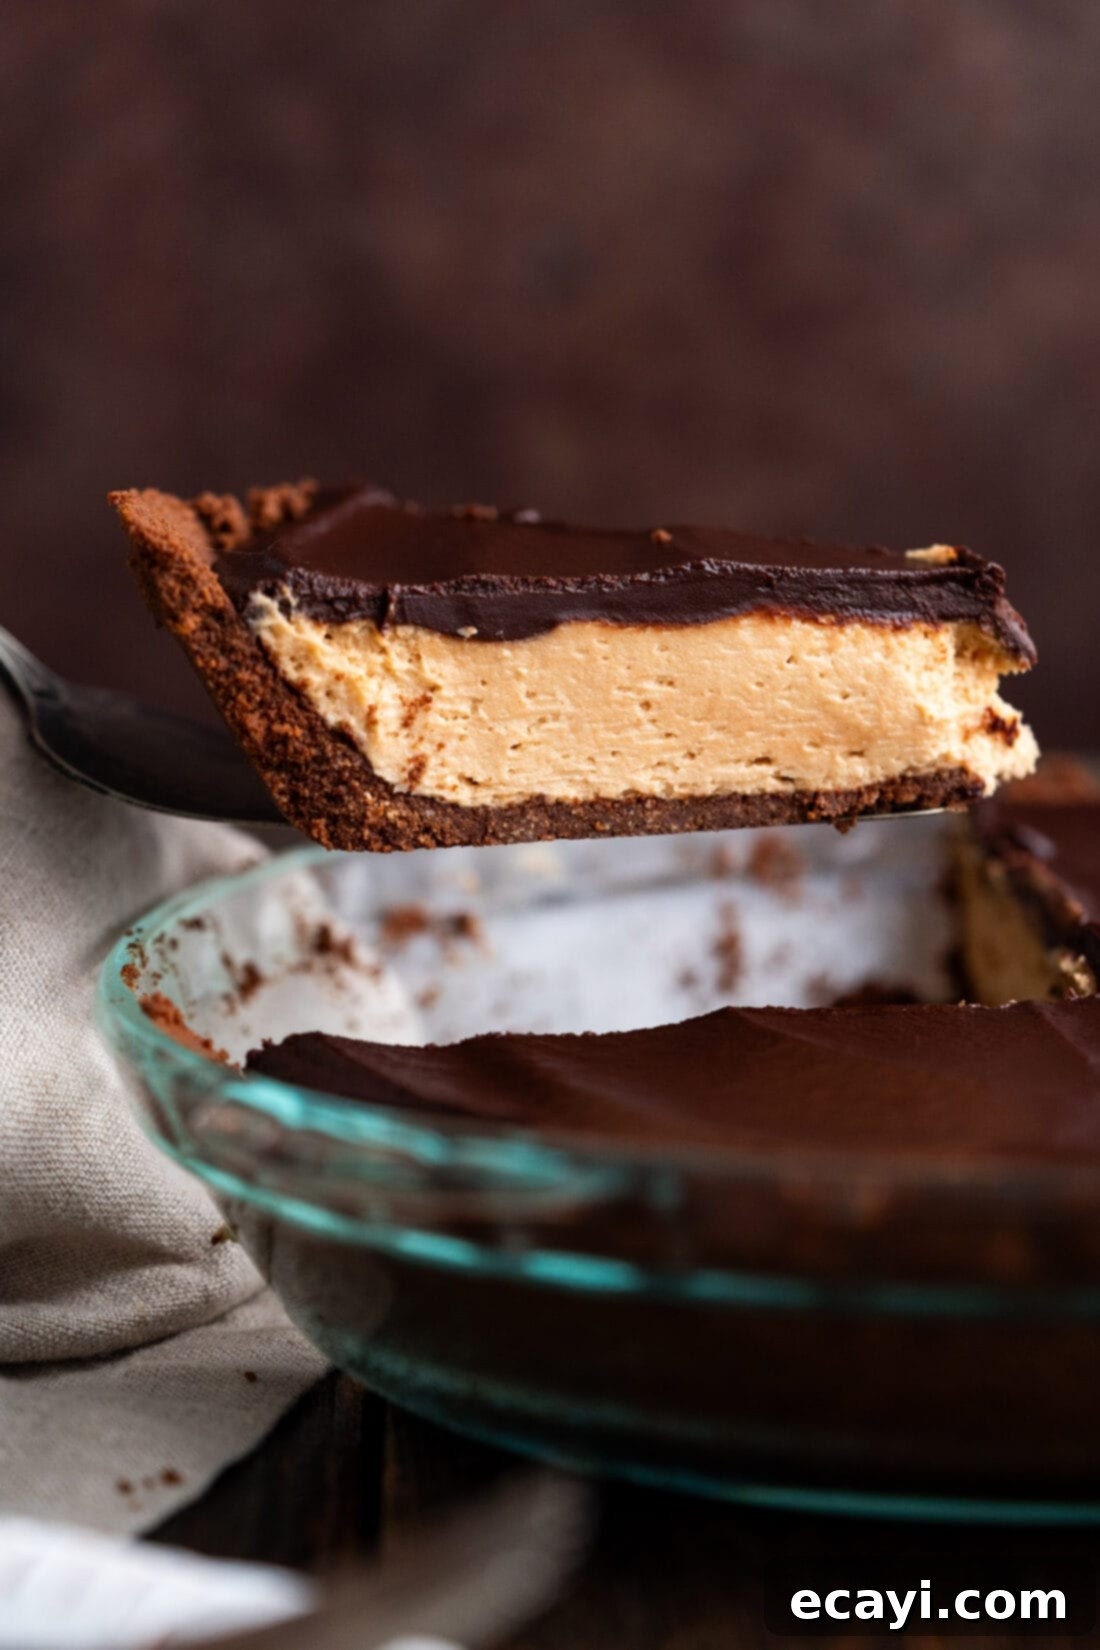
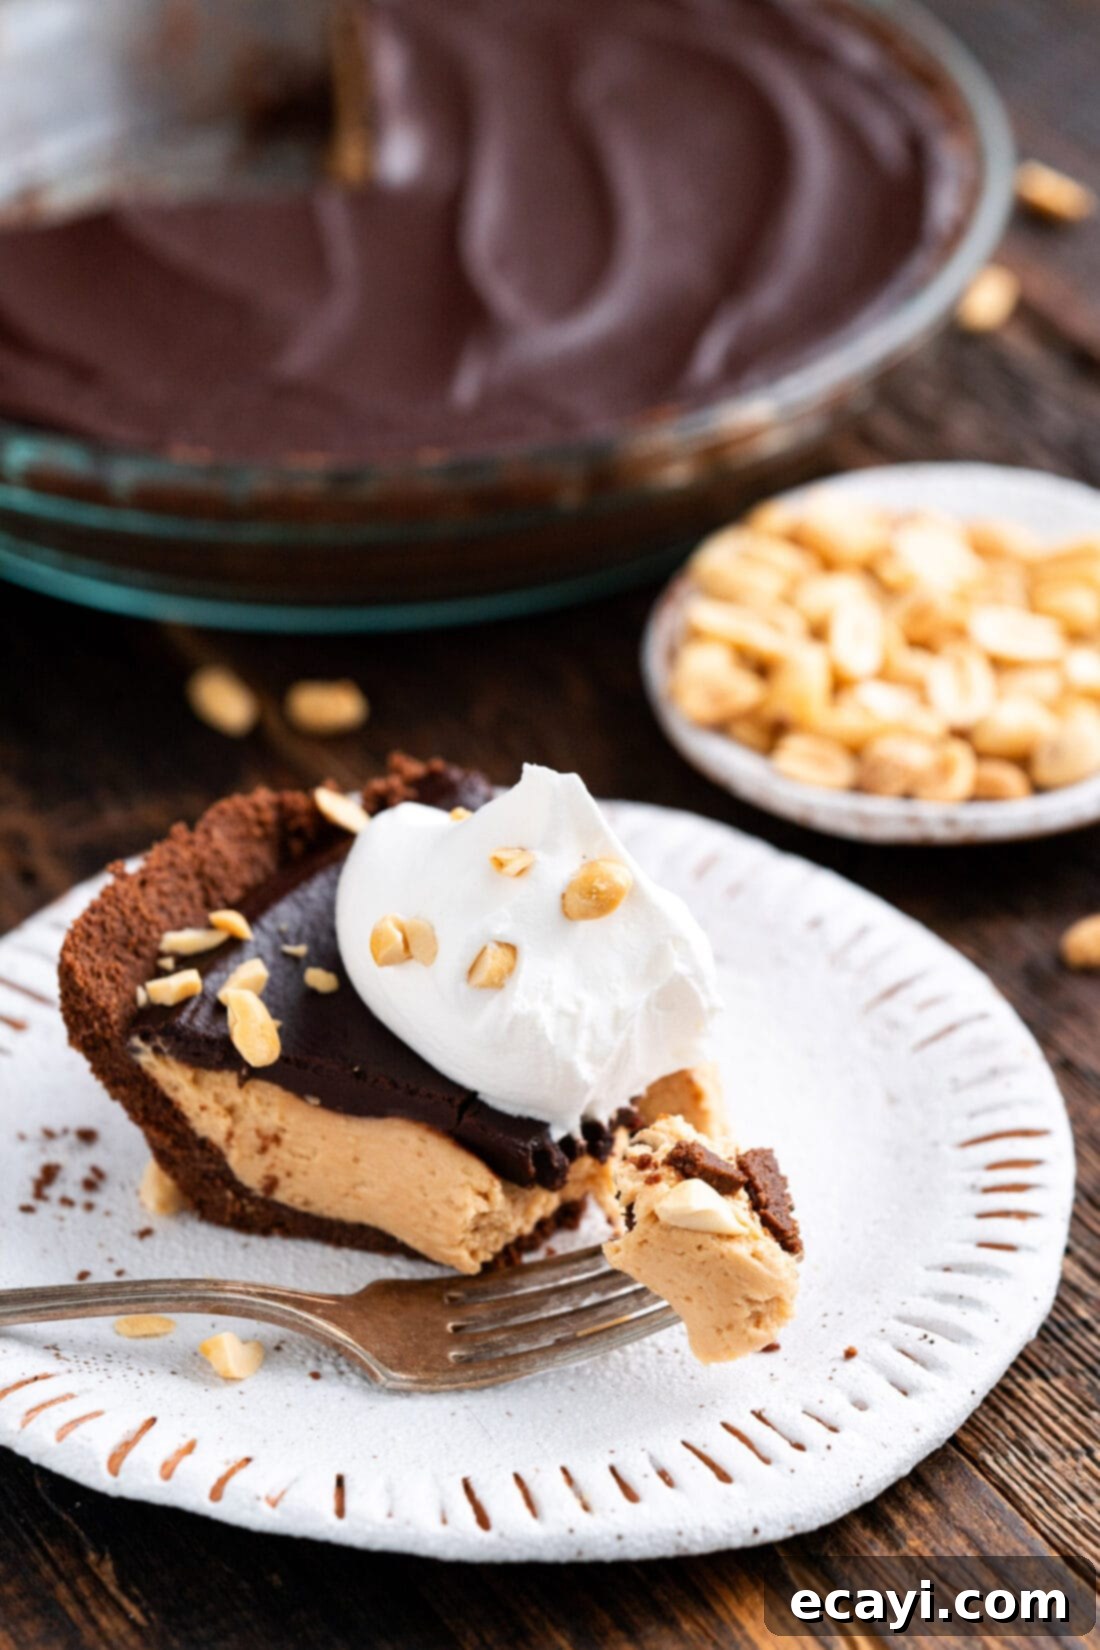
Prepare to be enchanted by this utterly blissful chocolate peanut butter pie. Each exquisite slice features a rich, creamy peanut butter filling nestled between a crisp chocolate graham cracker crust and topped with a luxurious, smooth chocolate ganache. It’s a symphony of flavors and textures, promising a taste of pure decadence in every bite.
Why This Chocolate Peanut Butter Pie Recipe Is a Must-Try
This isn’t just any chocolate peanut butter pie; it’s a meticulously crafted dessert designed to deliver maximum flavor and an irresistible texture. Unlike some recipes, this pie strikes the perfect balance between the nutty richness of peanut butter and the deep, sweet notes of chocolate. The combination of a sturdy, chocolate-infused graham cracker crust, a velvety no-bake peanut butter filling, and a glossy, rich ganache creates a multi-layered experience that will delight your tastebuds. It’s a sophisticated dessert that remains incredibly simple to prepare, making it ideal for both novice and experienced bakers.
There’s little need for persuasion when it comes to the classic pairing of chocolate and peanut butter. This recipe elevates that beloved combination into a show-stopping pie that’s perfect for any occasion. Whether you’re hosting a Thanksgiving feast, celebrating Christmas, planning a birthday party, or simply craving a sweet treat, this chocolate peanut butter pie is guaranteed to be a crowd-pleaser. Its make-ahead convenience also means less stress on event day, allowing you to enjoy your guests (and your pie!) even more.
Key Ingredients for Your Decadent Pie
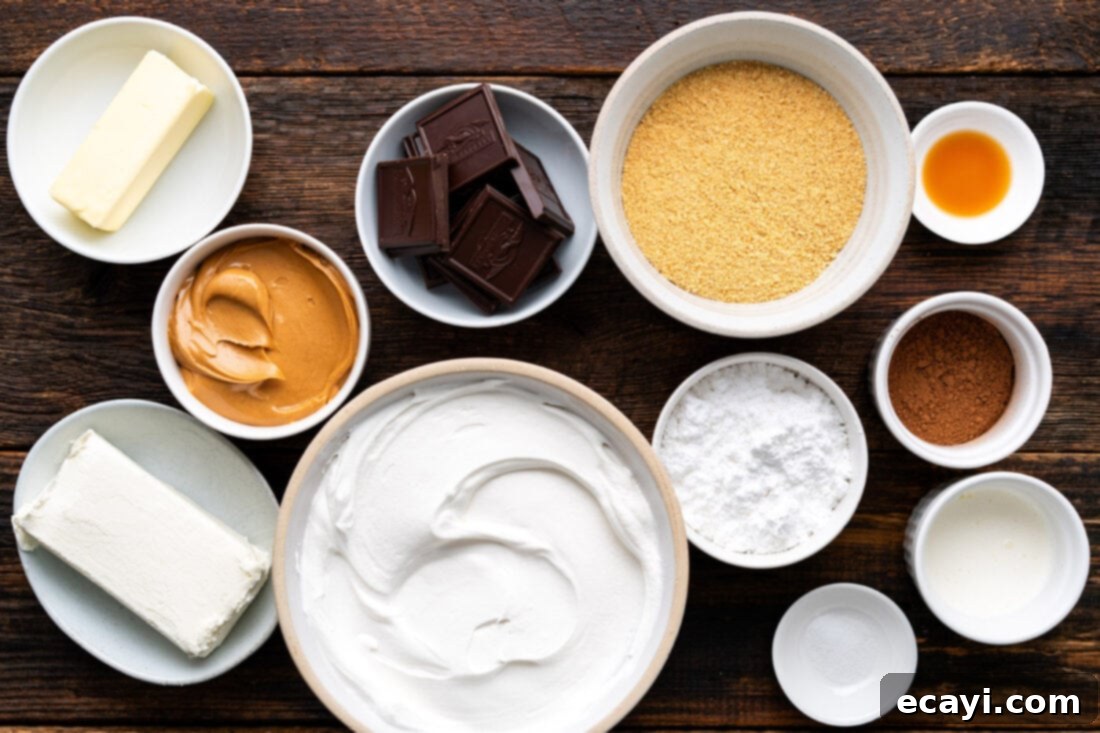
Crafting this incredible chocolate peanut butter pie requires a selection of common ingredients, easily found at any grocery store. For precise measurements, a detailed list, and step-by-step instructions, please refer to the printable recipe card located at the conclusion of this post. Using quality ingredients ensures the best possible outcome for this delightful dessert.
Ingredient Spotlight: Tips & Substitutions
Understanding each ingredient’s role is key to mastering this pie. Here’s a closer look at what you’ll need and how you can adapt the recipe if necessary:
CRUST – Our chocolate graham cracker crust requires about 12 full graham cracker sheets, which will yield approximately 1½ cups of fine crumbs. To save time, you can also opt for pre-crushed graham cracker crumbs, readily available in most grocery stores. For ultimate convenience, a store-bought 9-inch graham cracker crust can be used, although we highly recommend making your own for superior flavor and texture. The cocoa powder adds a rich chocolate depth, while the melted butter binds everything together beautifully, creating a firm yet crumbly base that perfectly complements the filling.
FILLING – The heart of this pie is its luscious, fluffy filling, made from a blend of cream cheese, creamy peanut butter, vanilla extract, powdered sugar, and Cool Whip. For the best, silkiest texture, it’s absolutely crucial to use softened full-fat cream cheese. To achieve this, cut the cream cheese into cubes and let it rest at room temperature for about 30 minutes. This ensures it creams smoothly without lumps. We recommend creamy peanut butter for a consistently smooth filling, such as Jif or Skippy. While we haven’t tested this recipe with chunky peanut butter, it would likely add an interesting textural element if you prefer it. However, we strongly advise against using natural peanut butter, as its tendency to separate can lead to an oily or inconsistent filling texture. The powdered sugar sweetens the mixture and contributes to its light, airy consistency, while Cool Whip provides the signature fluffiness.
GANACHE – The crowning glory of this pie is a rich, glossy chocolate ganache. For optimal flavor and a balanced sweetness, we recommend using dark chocolate with at least 60% cocoa content. Baking chocolate bars are preferred over chocolate chips because they melt more evenly and produce a smoother, more stable ganache. However, if baking chocolate isn’t available, dark chocolate chips can be used in a pinch. For an extra professional-looking, super shiny ganache, stir in 1 tablespoon of corn syrup once the chocolate has fully melted. This small addition makes a big difference in appearance and mouthfeel.
How to Make Homemade Chocolate Peanut Butter Pie
These step by step photos and instructions are here to help you visualize how to make this recipe. You can Jump to Recipe to get the printable version of this recipe, complete with measurements and instructions at the bottom.
- Preheat your oven to 350°F (175°C) to get started on the crust.
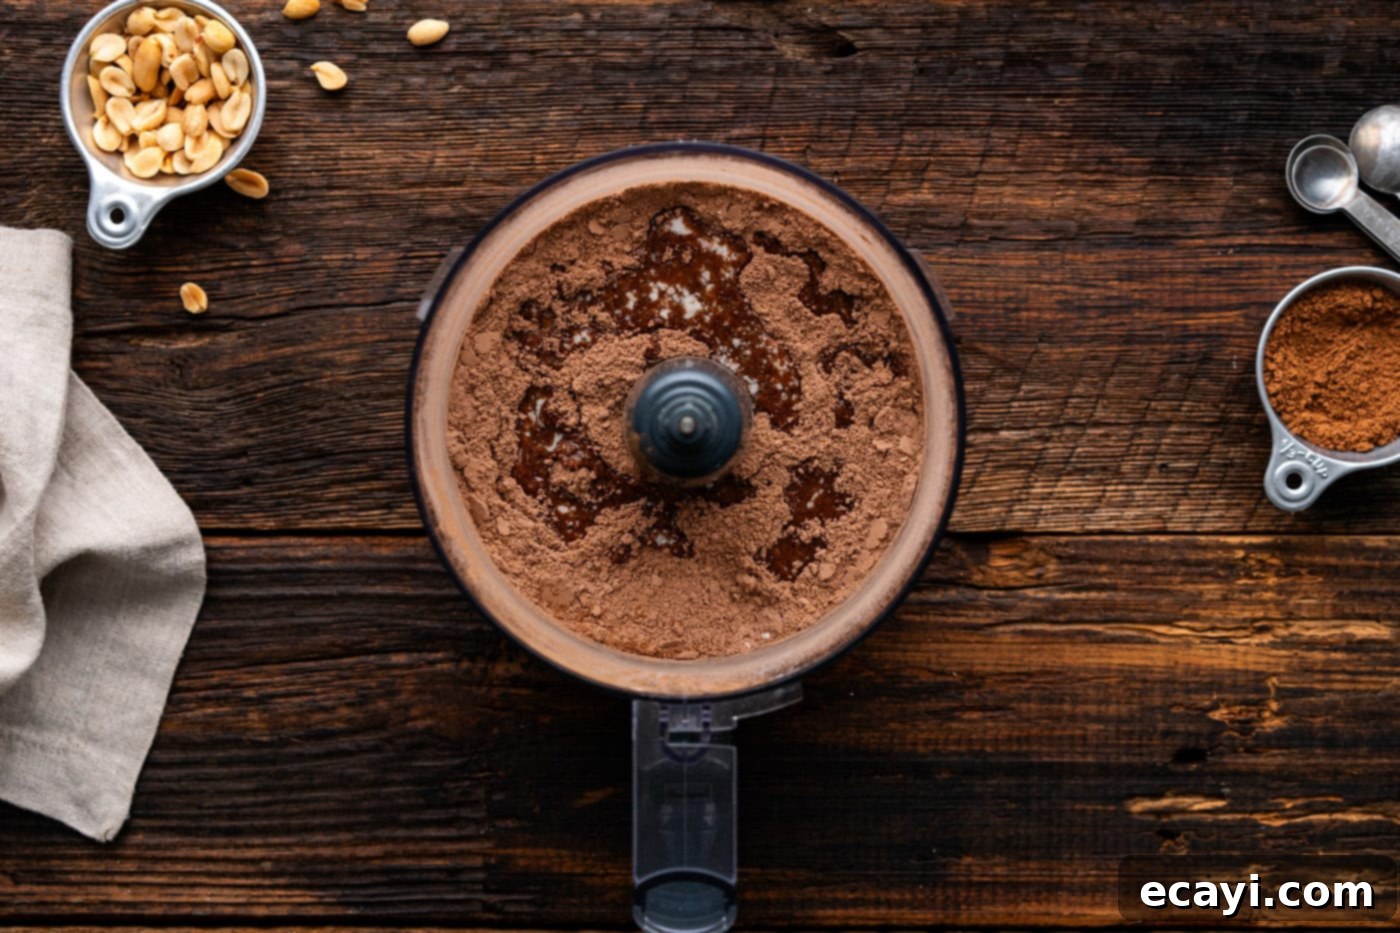
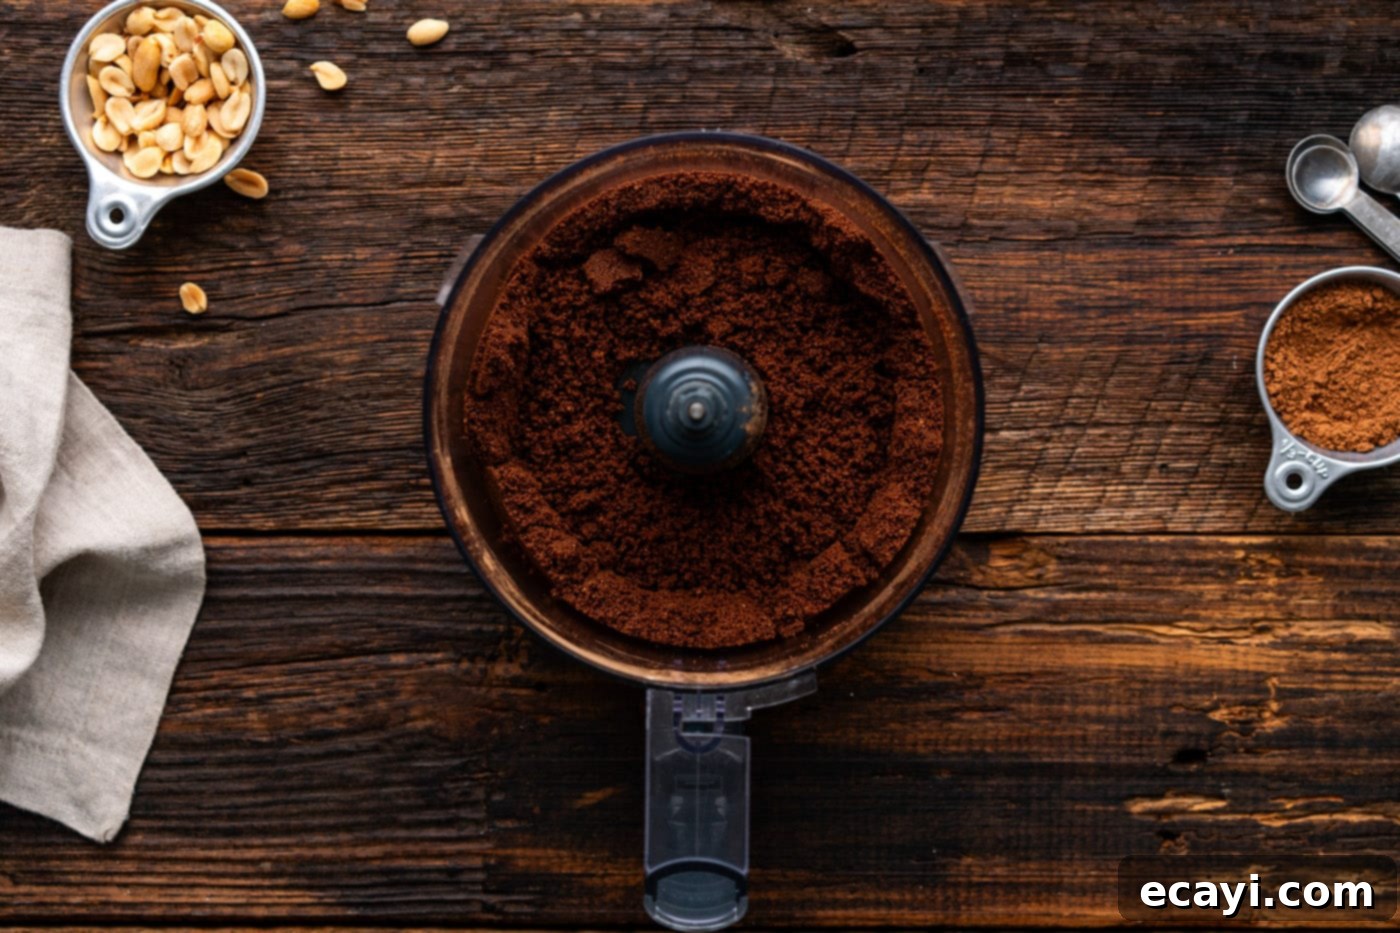
- To prepare the chocolate graham cracker crust, combine graham cracker crumbs, powdered sugar, unsweetened cocoa powder, and a pinch of salt in a food processor. Pulse a few times until all dry ingredients are well combined. Then, add the melted unsalted butter and process until the mixture is thoroughly moistened and resembles wet sand. Remember to stop and scrape down the sides of the bowl as needed to ensure everything is incorporated evenly.


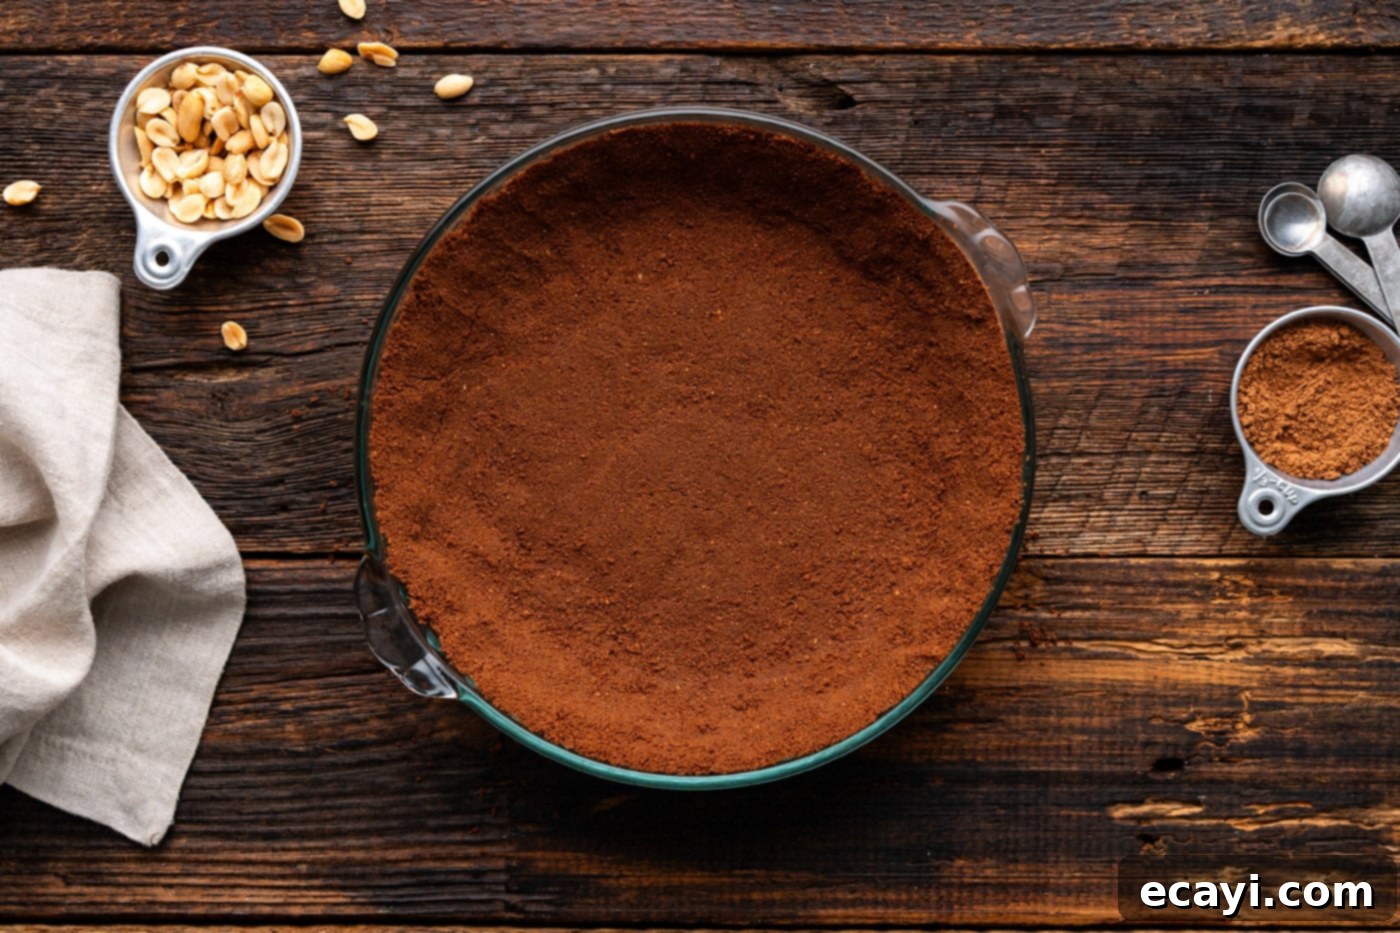
- Press this chocolate graham cracker mixture firmly into the bottom and up the sides of a standard 9-inch pie plate.
TIP – For a beautifully even and compact crust, use the flat bottom of a measuring cup or spoon to press the mixture down firmly. This helps create a stable base for your filling.

- Bake the crust in the preheated oven for approximately 8 to 10 minutes, or until it becomes fragrant. Once baked, remove it from the oven and allow it to cool completely to room temperature, which usually takes about 30 minutes. A fully cooled crust prevents the filling from melting.
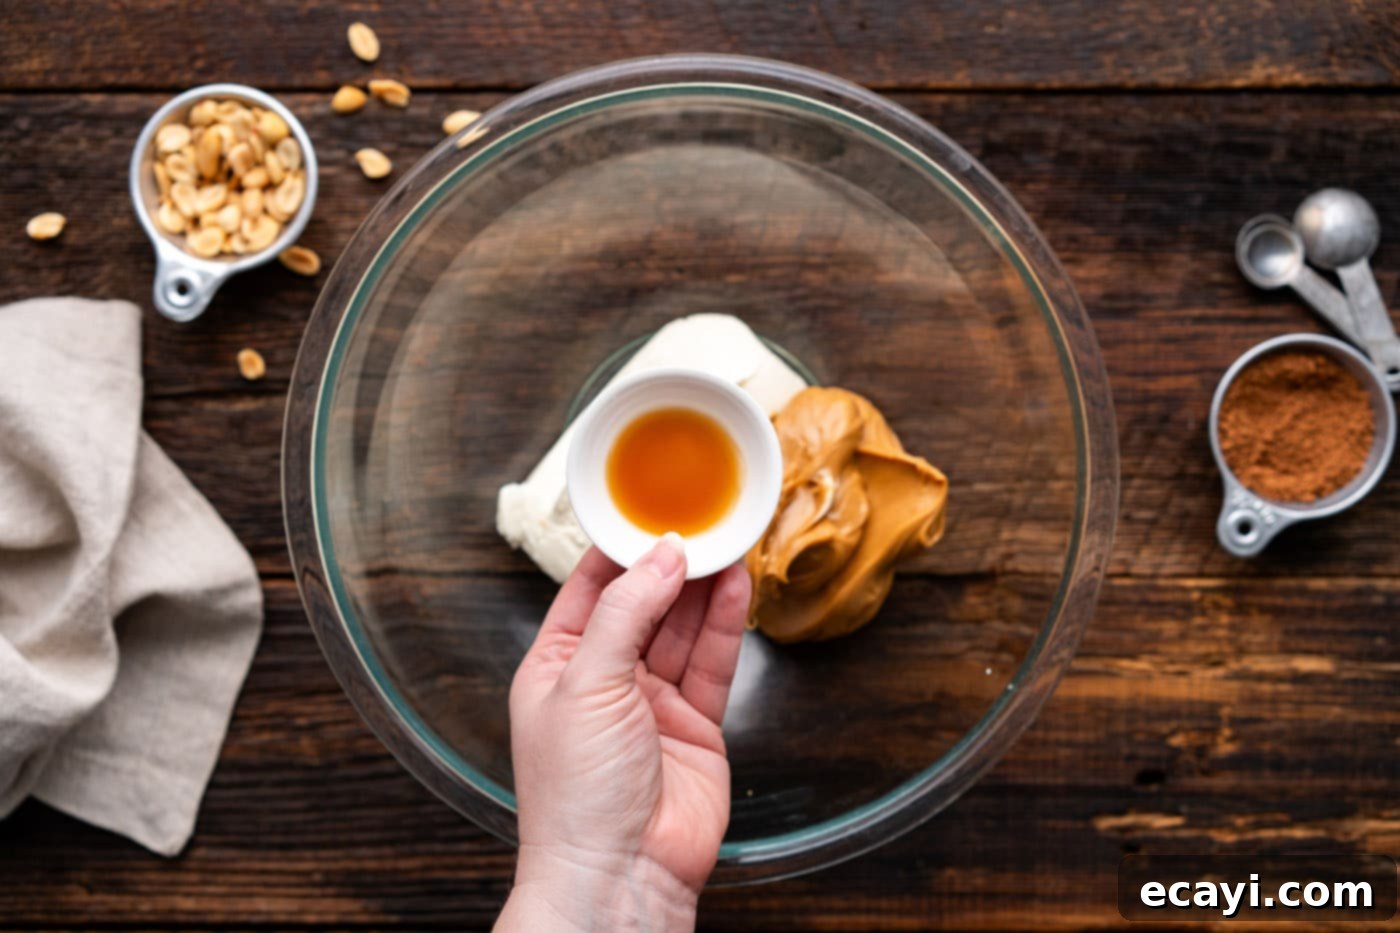
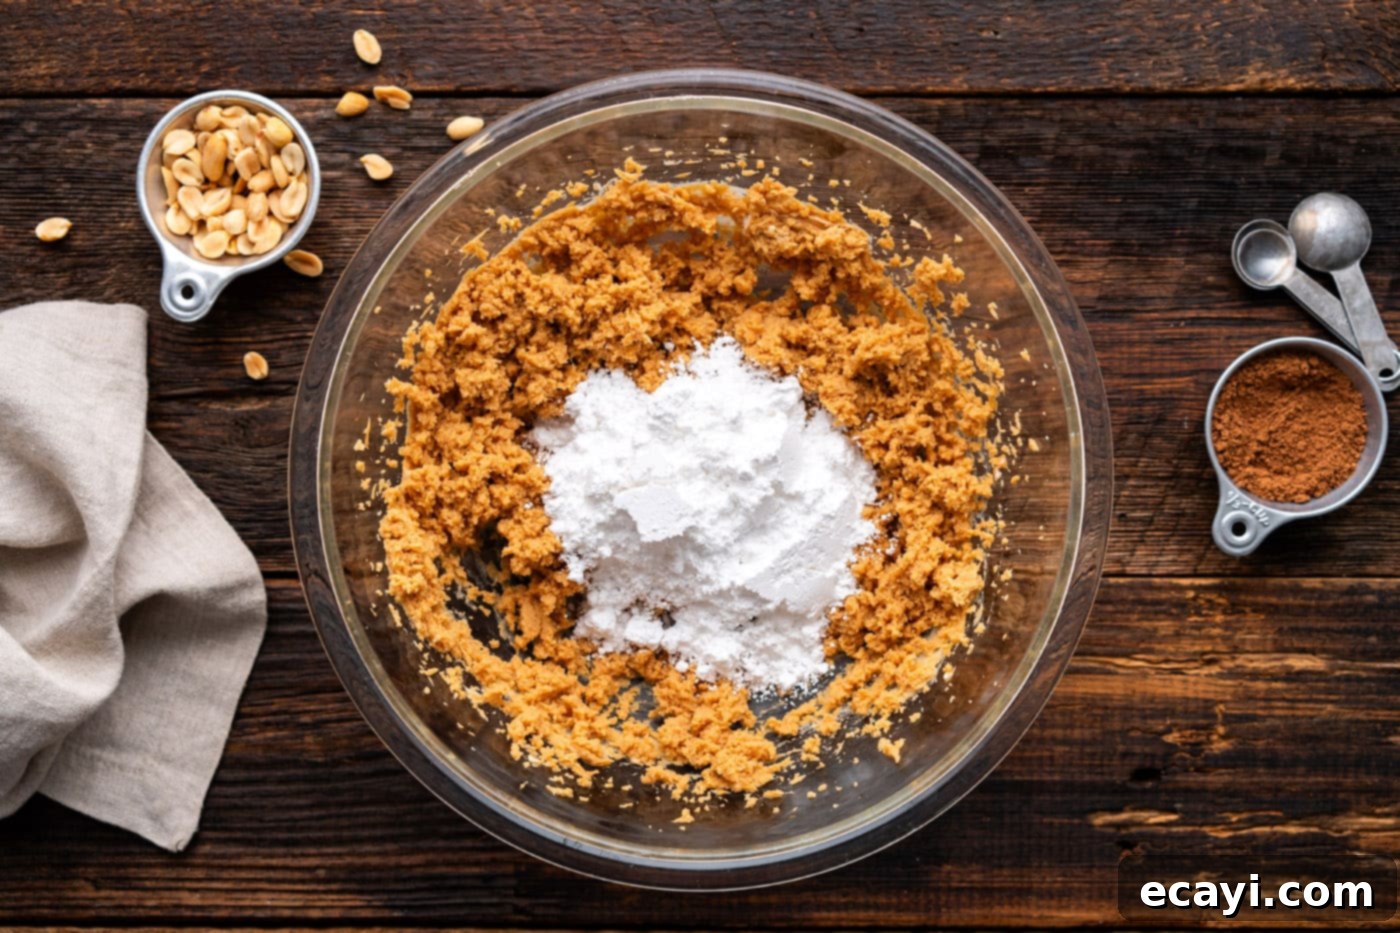
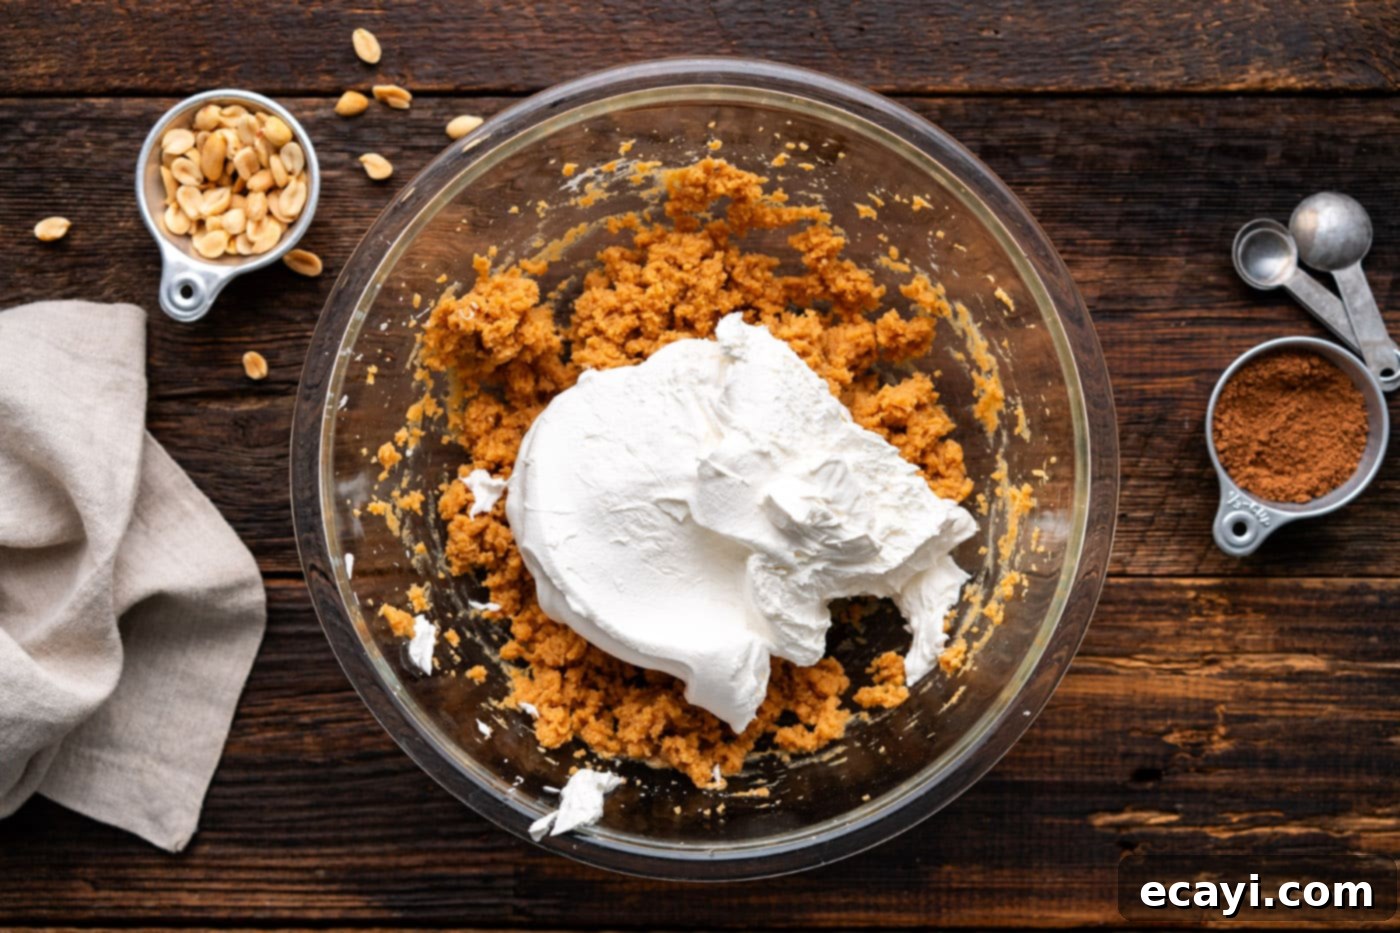
- Next, prepare the decadent peanut butter filling. In a large mixing bowl, combine the softened cream cheese, creamy peanut butter, and vanilla extract. Use a handheld electric mixer to beat these ingredients together until just combined. The mixture may appear a bit crumbly at first. Gradually beat in the powdered sugar until smooth, then gently fold in the Cool Whip until the filling is light, fluffy, and perfectly integrated.


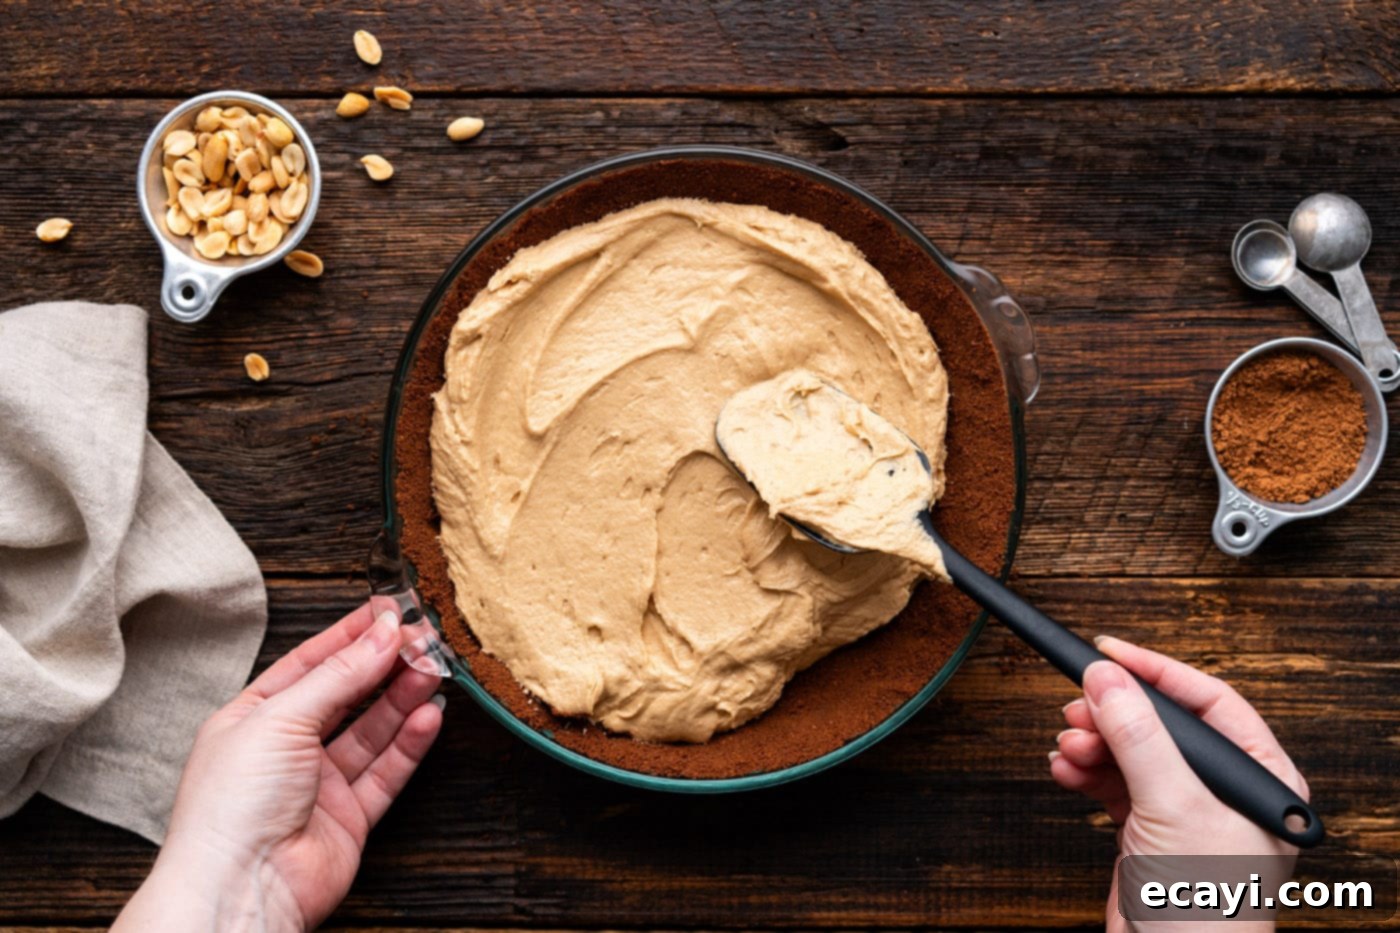
- Carefully transfer the prepared peanut butter filling into the cooled chocolate pie crust. Use an offset spatula or the back of a spoon to spread it out evenly, creating a smooth, enticing layer.

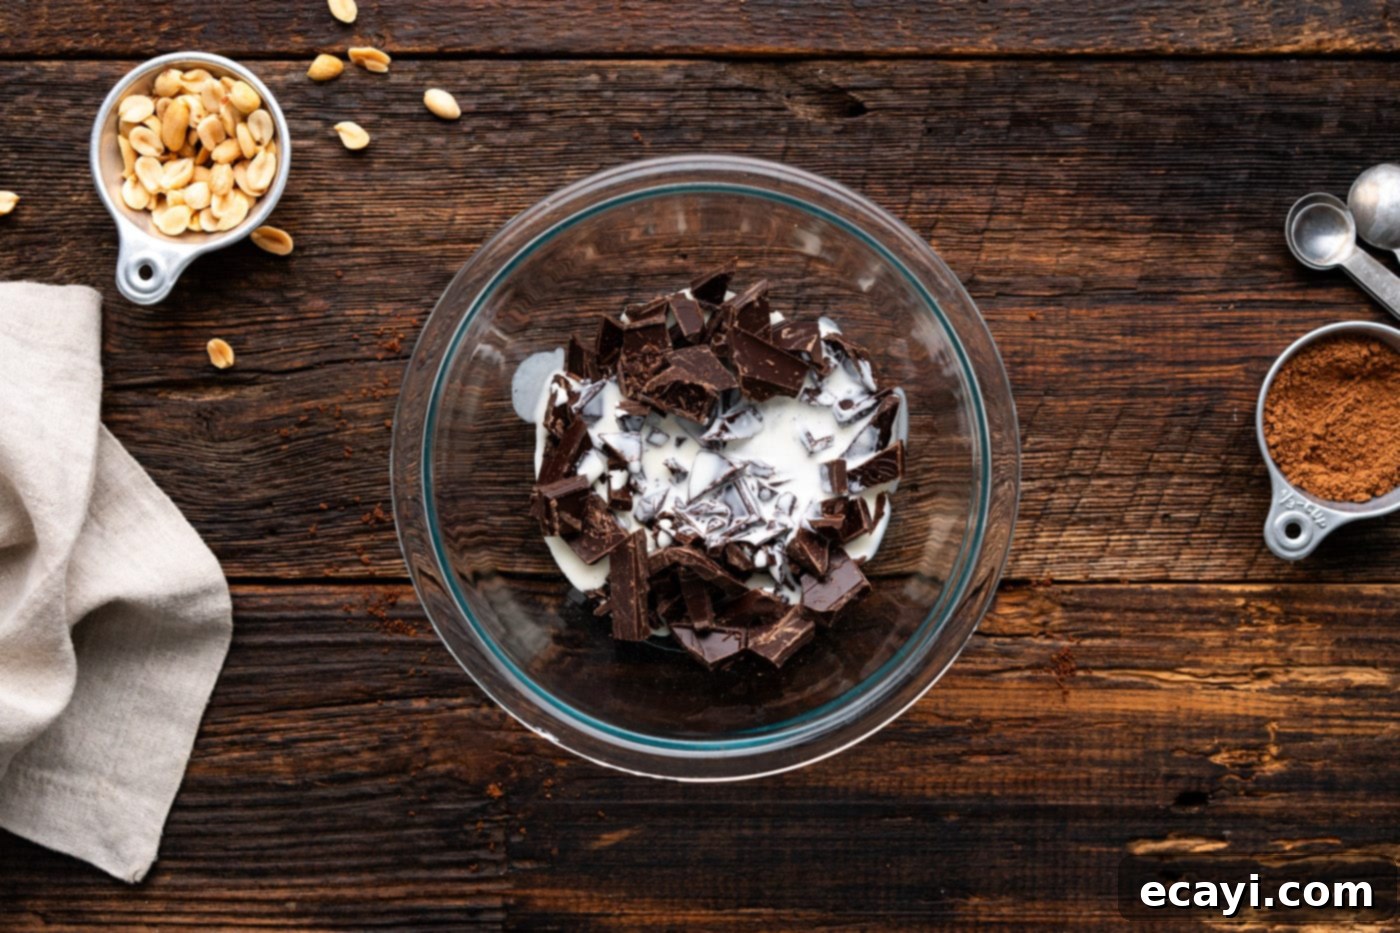
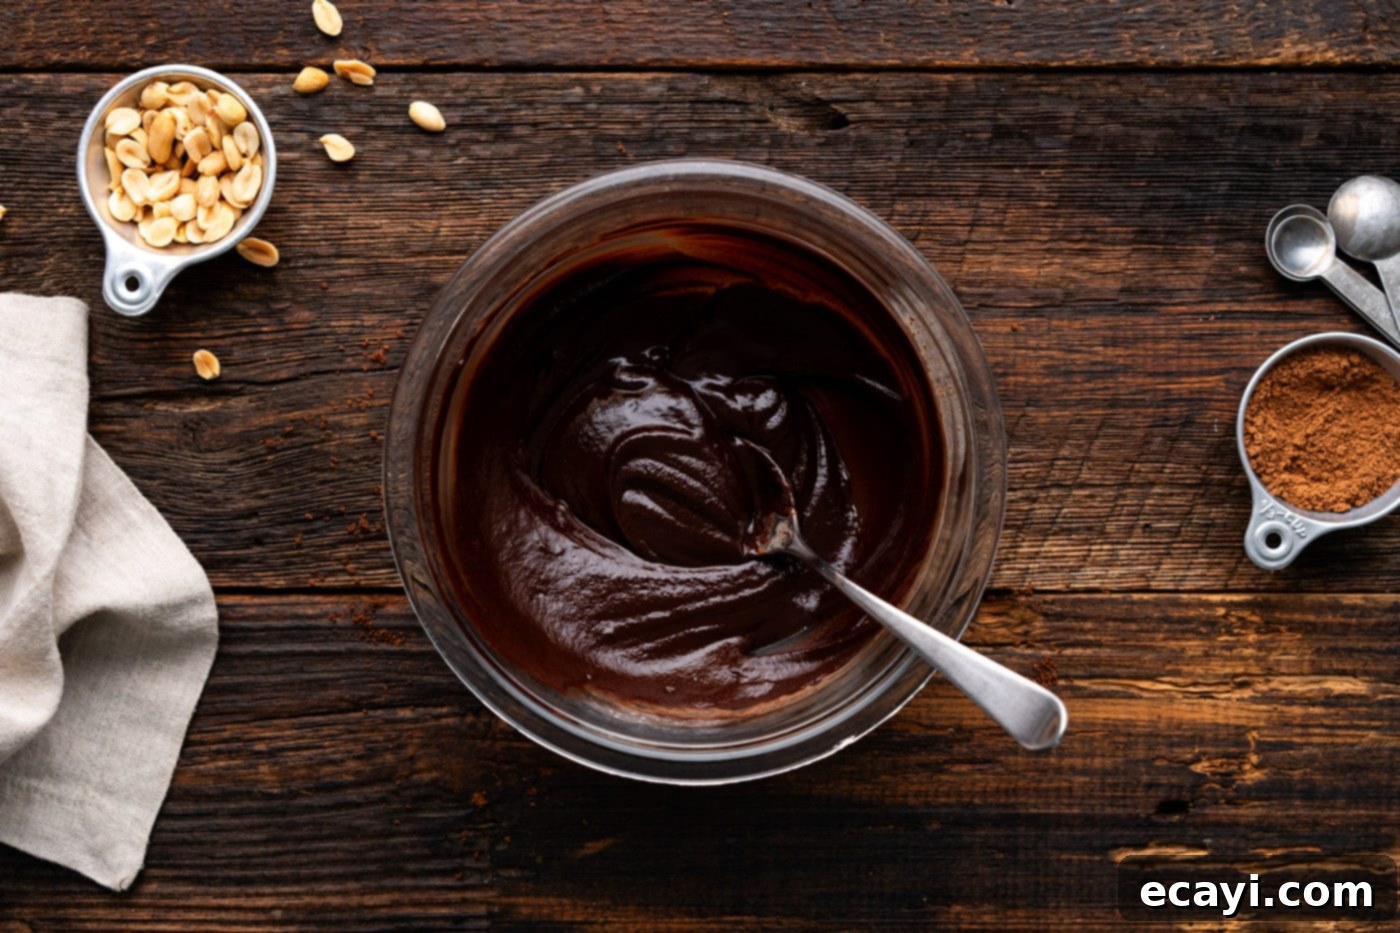
- Now, for the luxurious chocolate ganache. Place the finely chopped dark chocolate in a heatproof bowl. In a small saucepan, gently warm the heavy whipping cream until it just begins to simmer around the edges (do not boil). Pour the hot cream over the chopped chocolate and let it sit undisturbed for 3 minutes. This allows the heat from the cream to melt the chocolate. After 3 minutes, gently stir the mixture with a whisk or spatula until it becomes completely smooth, glossy, and uniform. (Remember, the finer you chop the chocolate, the more smoothly and quickly it will melt).
- Allow the ganache to cool slightly. It should be cool enough not to melt the peanut butter filling, but still warm and fluid enough to pour and spread easily. This typically takes about 10-15 minutes at room temperature.


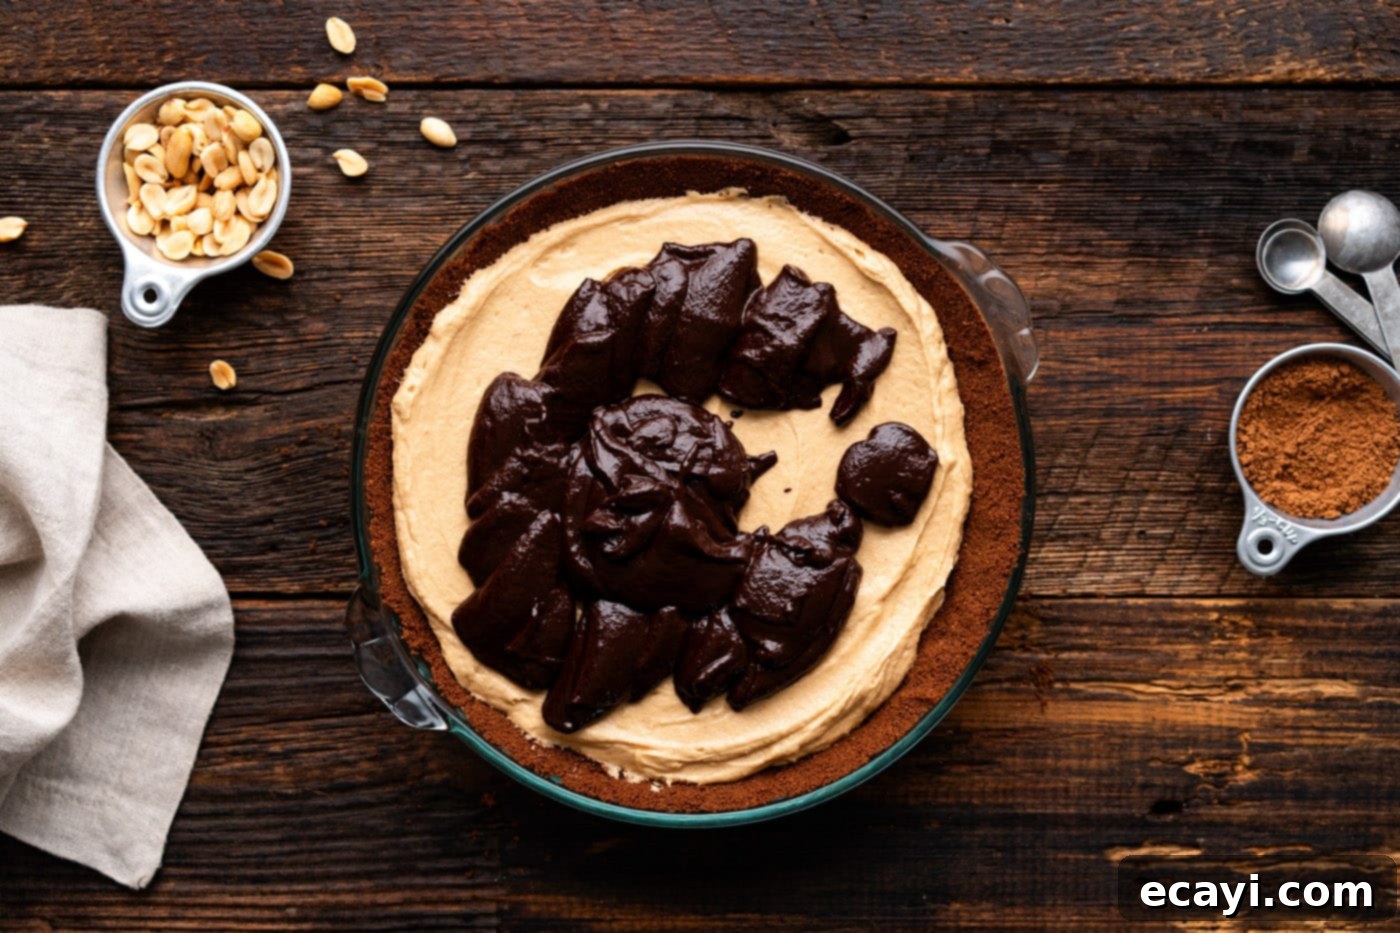
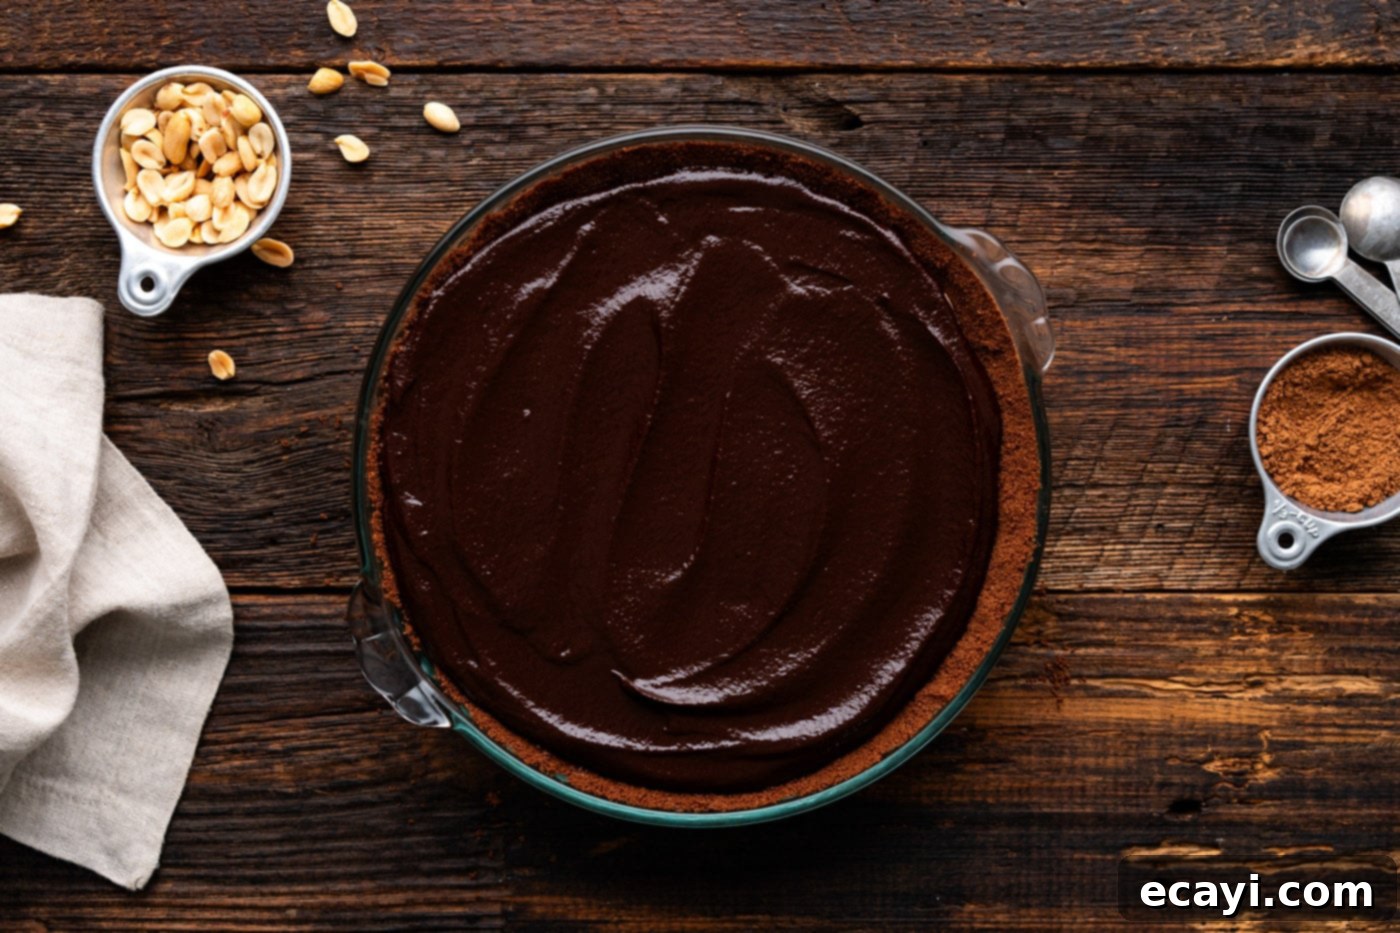
- Once the ganache has cooled to the desired temperature, pour it carefully over the peanut butter filling in the pie crust. Gently spread it out using an offset spatula to create an even, smooth layer that covers the entire top of the pie.


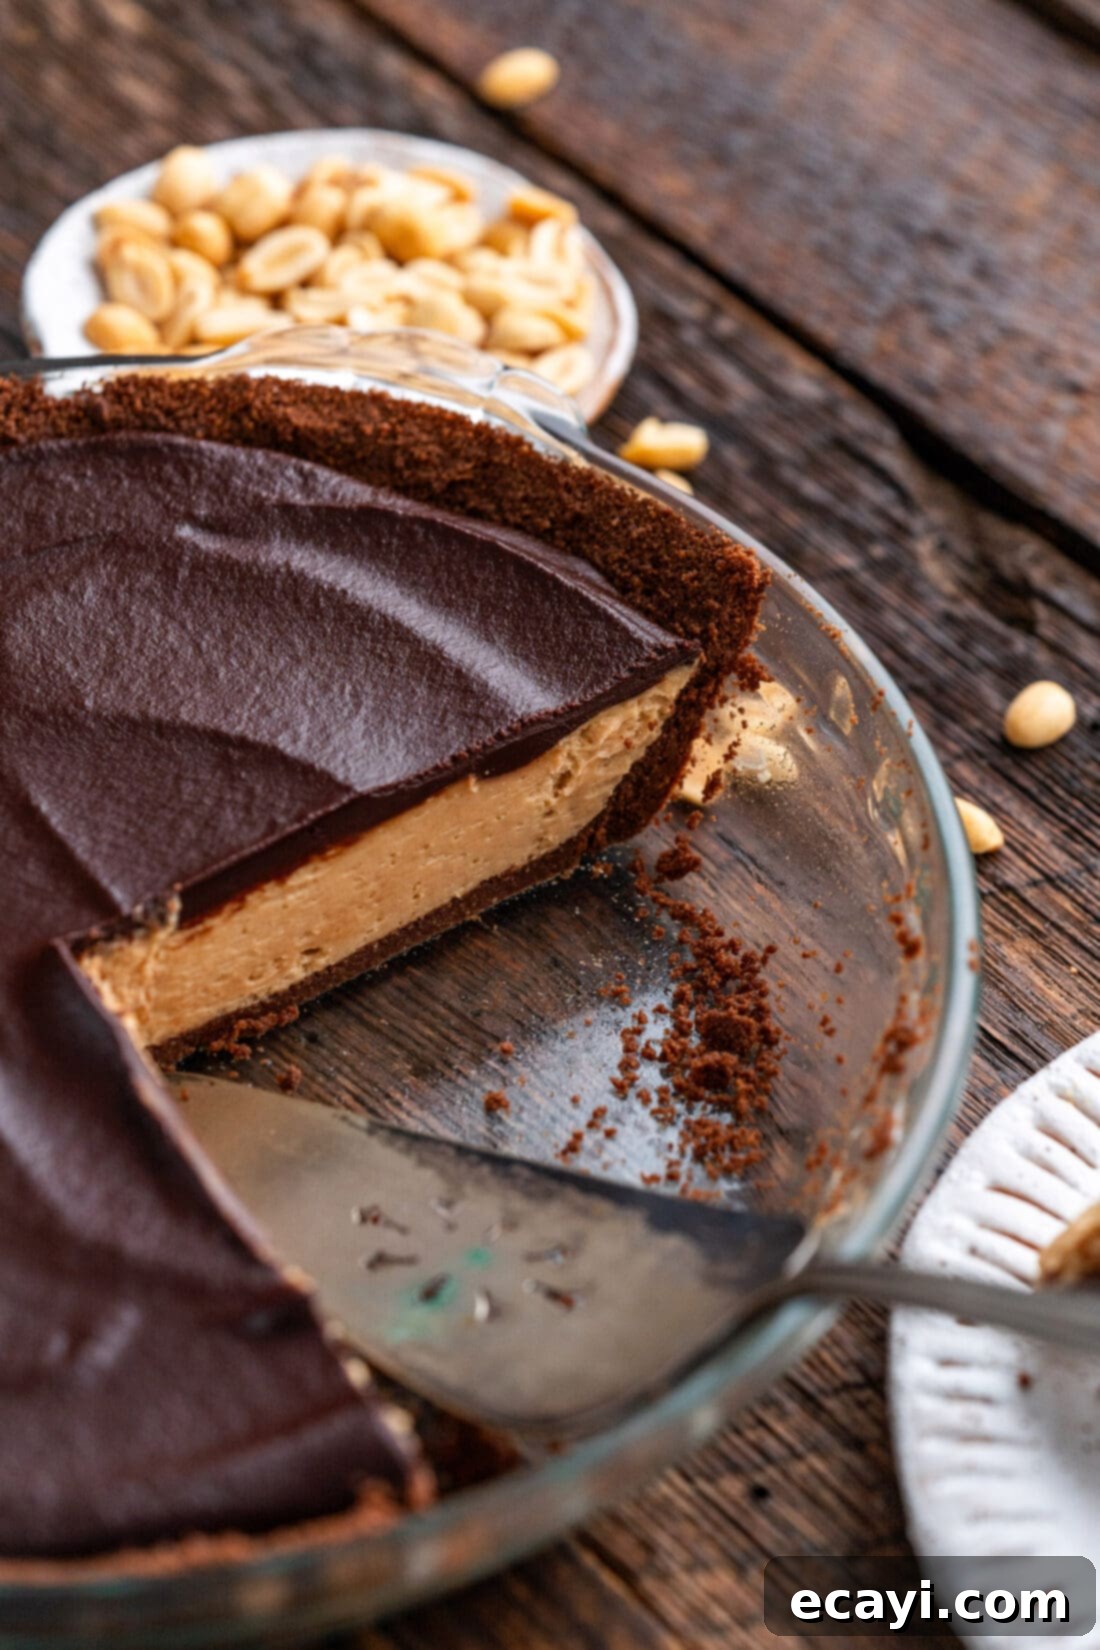
- Finally, place the pie in the refrigerator to chill for a minimum of 4 hours. This crucial step allows the filling to set completely and the ganache to firm up, making it easier to slice and ensuring a perfect texture. Before serving, a quick tip for clean slices:
TIP – Run your knife under hot water and wipe it clean between each slice. This will give you perfectly neat, impressive cuts every time.
Frequently Asked Questions & Expert Tips for Perfect Pie
To maintain its freshness and delicious texture, store your chocolate peanut butter pie covered in an airtight container or tightly wrapped with plastic wrap in the refrigerator. It will stay wonderfully fresh for up to 4 days. Proper storage prevents the crust from becoming soggy and the filling from absorbing unwanted odors from your fridge.
Absolutely! This pie is an excellent make-ahead dessert, perfect for entertaining or holiday gatherings. You can prepare your chocolate peanut butter pie a day or two in advance. Simply assemble it, chill it thoroughly, and then store it covered in the refrigerator until you’re ready to serve. This allows the flavors to meld beautifully and gives you more time to focus on other preparations.
While the ganache adds a layer of rich chocolate decadence, you can certainly omit it if you prefer a less intensely chocolatey flavor profile or are short on time. If you still want a hint of chocolate, consider drizzling a smaller amount of melted chocolate or a thinner ganache on top. Alternatively, you could finish the pie with whipped cream and a sprinkle of chocolate shavings or mini peanut butter cups for a different visual and taste experience.
Yes, this chocolate peanut butter pie freezes exceptionally well! In fact, many people love to enjoy their pie frozen for a firmer, almost ice cream-like texture. To freeze, ensure the pie is completely chilled and firm. Wrap the entire pie tightly first in several layers of plastic wrap, followed by a layer of heavy-duty aluminum foil. This double-layer protection helps prevent freezer burn. It can be frozen for up to 1 month. When ready to serve, you can allow it to thaw partially in the refrigerator for a softer consistency, or slice and enjoy it directly from the freezer.
Additional Expert Tips:
- Room Temperature for Flavor: For the best flavor and texture, allow the pie to sit at room temperature for about 15 minutes before serving. This softens the ganache slightly and enhances the creamy quality of the filling.
- Quality Matters: Using good quality ingredients, especially for the chocolate, will significantly impact the final taste of your pie. Opt for a chocolate you genuinely enjoy eating.
- Don’t Overmix: When preparing the peanut butter filling, avoid overmixing once the Cool Whip is added. Gentle folding helps maintain its light and airy texture.
- Chill Time is Key: Don’t rush the chilling process. A minimum of 4 hours, or even overnight, is essential for the pie to fully set, ensuring clean slices and a stable structure.
Serving Suggestions for Your Chocolate Peanut Butter Masterpiece
This chocolate peanut butter pie is undeniably gorgeous and delicious on its own, making it a perfect standalone dessert. However, if you wish to elevate its presentation and taste even further, there are several delightful additions you can consider. A simple drizzle of melted peanut butter adds an extra layer of nutty flavor and visual appeal. For a classic touch, garnish each slice with a generous dollop of freshly whipped cream. To introduce more texture and intensify the peanut butter experience, sprinkle finely chopped roasted peanuts or miniature peanut butter cups over the top. This pie is a celebrated addition to any holiday dessert table, from Thanksgiving to Christmas. Yet, its universal appeal means it can be enjoyed year-round, whenever and wherever your cravings strike.
Experiment with serving temperatures to find your favorite: enjoy the pie chilled straight from the refrigerator for a firm, refreshing bite, or try it frozen for a delightful, ice-cream-like treat that’s especially satisfying on a warm day.
More Irresistible Chocolate Peanut Butter Recipes
If you can’t get enough of this iconic flavor combination, explore some of our other favorite chocolate peanut butter creations:
- Reese’s Pie
- Peanut Butter Brownies
- Chocolate Peanut Butter Balls
- No Bake Peanut Butter Bars
- Chocolate Peanut Butter Cookies
- Nutter Butter Balls
I love to bake and cook and share my kitchen experience with all of you! Remembering to come back each day can be tough, that’s why I offer a convenient newsletter every time a new recipe posts. Simply subscribe and start receiving your free daily recipes!
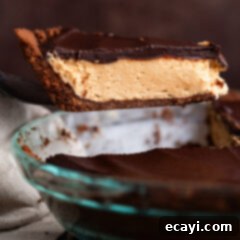
Chocolate Peanut Butter Pie
IMPORTANT – There are often Frequently Asked Questions within the blog post that you may find helpful. Simply scroll back up to read them!
Print It
Pin It
Rate It
Save ItSaved!
Ingredients
Chocolate Graham Cracker Crust
- 1 ½ cups graham cracker crumbs
- ½ cup powdered sugar
- ⅓ cup unsweetened cocoa powder
- ⅛ teaspoon salt
- 6 ½ Tablespoons unsalted butter melted
Peanut Butter Filling
- 8 ounces cream cheese full-fat, softened at room temperature
- 1 cup creamy peanut butter such as Jif or Skippy
- 1 teaspoon vanilla extract
- 1 cup powdered sugar
- 2 ½ cups Cool Whip
Chocolate Ganache
- 6 ounces 60% dark chocolate chopped
- ½ cup heavy whipping cream
Things You’ll Need
-
Food processor
-
9 inch pie pan
-
Mixing bowls
-
Hand mixer
Before You Begin
- You will need 12 full graham cracker sheets to yield 1 1/2 cups of crumbs, or you can purchase pre-crushed graham cracker crumbs at the grocery store to make things easier. If you don’t feel like making your own crust, you can use a store-bought 9-inch graham cracker crust.
- We have not tested this recipe using chunky peanut butter but I would imagine it would be fine.
- I would not recommend using natural peanut butter as it tends to separate and can affect the texture of the filling.
- Be sure to use softened cream cheese for the best texture. To properly soften, cut the cream cheese into cubes and allow it to rest at room temperature for around 30 minutes.
- Use at least 60% dark chocolate for the ganache for a richer flavor. We prefer to use baking chocolate because it melts much better than chocolate chips, but you can use dark chocolate chips in a pinch if needed.
Instructions
For the Crust
-
Preheat the oven to 350F.
-
Add the graham cracker crumbs, powdered sugar, cocoa powder, and salt to a food processor and pulse a few times to combine. Add the butter and process until it’s mixed well, stopping to scrape down the sides as necessary.
-
Press the mixture into the bottom and up the sides of a standard 9-inch pie plate. (It’s helpful to use a flat-bottomed measuring spoon to press it evenly into the bottom.)
-
Bake until it starts to smell fragrant, about 8 to 10 minutes, and then cool completely to room temperature (about 30 minutes) before adding the filling.
For the Filling
-
Add the softened cream cheese, creamy peanut butter, and vanilla to a large bowl. Use a handheld electric mixer to combine until smooth (the mixture will be crumbly at first). Beat in the powdered sugar until fully incorporated and then gently beat in the Cool Whip until the mixture is light and fluffy.
-
Transfer the peanut butter filling to the cooled pie crust and spread it out evenly across the bottom.
For the Ganache
-
Place the chopped chocolate in a bowl. Warm the heavy whipping cream until it’s just starting to simmer. Pour the warm cream over the chocolate and let it sit for 3 minutes before stirring. Gently stir well until completely smooth and combined. (The smaller you chop the chocolate, the better off you’ll be.)
TIP – For an extra shiny ganache, stir in 1 tablespoon of corn syrup once the chocolate is melted and smooth.
-
Let the ganache cool down to near room temperature; we want it as cool as possible yet still pour-able, so it doesn’t melt the filling.
-
Once slightly cooled, pour the chocolate ganache evenly onto the pie over the peanut butter filling and spread gently with a spatula.
-
Chill the pie for at least 4 hours in the refrigerator (or preferably overnight) before slicing and serving.
Expert Tips & FAQs
- Let the pie sit for about 15 minutes at room temperature before serving so the ganache can soften a bit and the flavors can fully develop. If desired, serve with a dollop of whipped cream and a sprinkle of chopped peanuts or mini peanut butter cups.
- To get clean, easy cuts, run your knife under hot water for a few seconds and wipe it dry before each slice.
- Store your chocolate peanut butter pie, covered in plastic wrap or an airtight container, in the refrigerator for up to 4 days.
- This pie can be prepared a day or two in advance. Store it, covered, in the refrigerator until ready to serve.
- Yes, you can freeze this chocolate peanut butter pie. To do so, wrap the pie very well in plastic wrap, followed by a layer of aluminum foil, and freeze for up to 1 month. Allow it to thaw in the refrigerator for a few hours, or enjoy it frozen for a different texture.
Nutrition
The recipes on this blog are tested with a conventional gas oven and gas stovetop. It’s important to note that some ovens, especially as they age, can cook and bake inconsistently. Using an inexpensive oven thermometer can assure you that your oven is truly heating to the proper temperature. If you use a toaster oven or countertop oven, please keep in mind that they may not distribute heat the same as a conventional full sized oven and you may need to adjust your cooking/baking times. In the case of recipes made with a pressure cooker, air fryer, slow cooker, or other appliance, a link to the appliances we use is listed within each respective recipe. For baking recipes where measurements are given by weight, please note that results may not be the same if cups are used instead, and we can’t guarantee success with that method.
