Irresistibly Smooth & Easy Red Velvet Fudge: Your Perfect Marshmallow Fudge Recipe
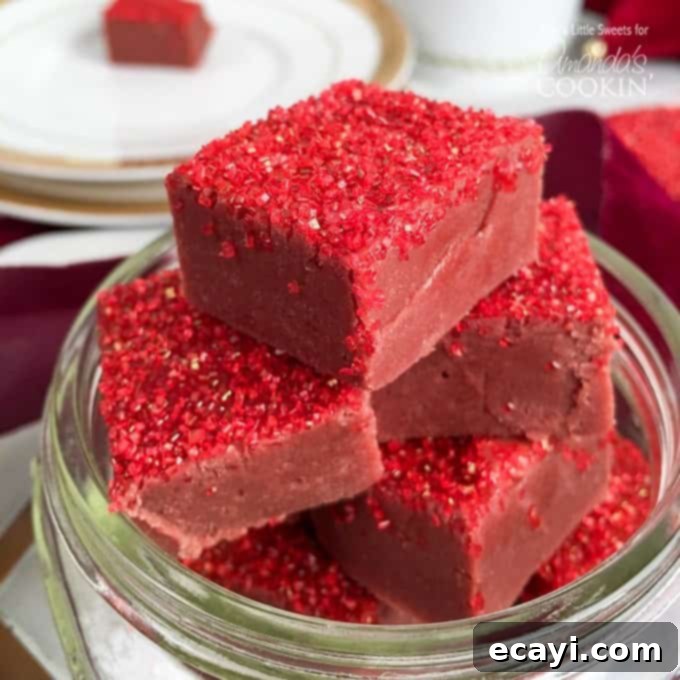
Prepare to be enchanted by this Red Velvet Fudge recipe! It’s an extraordinary treat, boasting a luxuriously smooth texture and a rich, deep chocolate flavor that will captivate your senses. Whether you’re indulging yourself after a long day or seeking a thoughtful, homemade gift for someone special, this fudge is the perfect choice. What makes it incredibly simple? This recipe cleverly uses mini marshmallows, transforming what might seem like a complex confectionery into an effortlessly quick and satisfying fudge creation. Get ready to experience the magic of homemade fudge like never before!
The Allure of Red Velvet Fudge: A Dream Come True
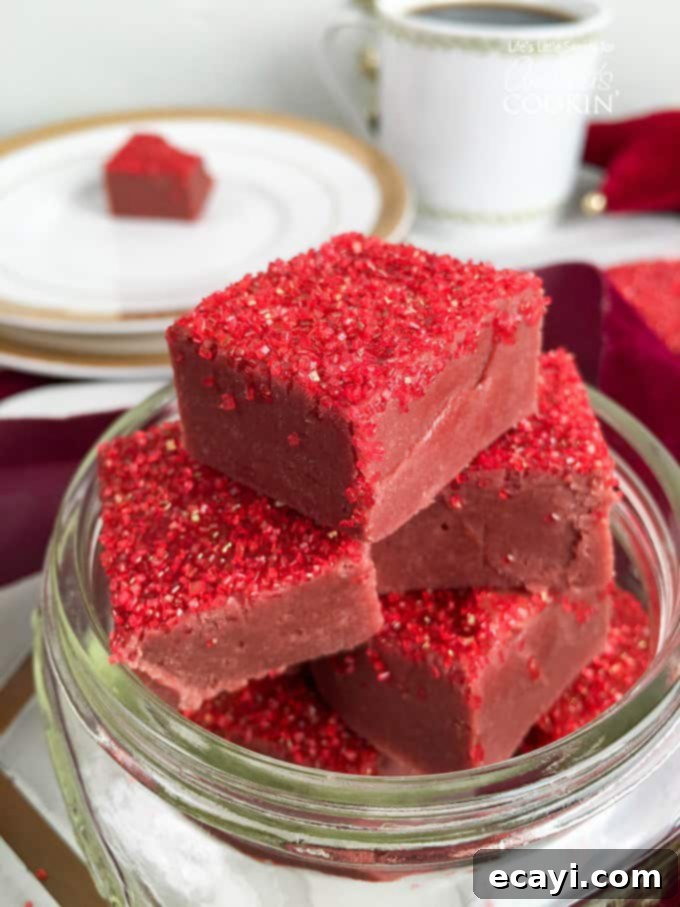
Red. Velvet. Fudge. For the longest time, this decadent dessert lived only in my imagination – a sweet dream waiting to be realized. That is, until I finally dedicated myself to crafting the perfect recipe to bring that dream into reality. The result is a fudge that’s not just visually stunning with its signature red hue, but also utterly irresistible in its taste and texture.
My Mother-in-Law has an unwavering passion for all things red velvet, and her enthusiasm was a significant catalyst for this creation. Her love for red velvet treats, combined with the successful foundation of my Chocolate Walnut Fudge recipe, provided the ideal inspiration to develop this unique and delightful confection. This recipe takes the classic red velvet experience – that subtle hint of cocoa, the velvety smooth texture, and the iconic color – and transforms it into a melt-in-your-mouth fudge that everyone will adore.
What Makes This Red Velvet Fudge Uniquely Delicious?
The secret to this Red Velvet Fudge’s incredible smoothness and rich flavor lies in a carefully selected blend of ingredients. We combine the creamy texture of mini marshmallows, the luxurious richness of butter, and the sweet elegance of white chocolate. This trifecta creates a fudge that truly melts on your tongue, offering an unparalleled indulgence with every bite.
The flavor profile is deep, full, and intensely satisfying. This is achieved through the generous use of butter, which provides a foundational richness, and the deliberate combination of white chocolate with unsweetened cocoa powder. While some might question adding cocoa powder to achieve a vibrant red, this is a conscious decision. Yes, you might get a slightly brighter red without the cocoa, but you would undoubtedly sacrifice that essential, complex, and rich chocolate flavor that defines true red velvet. It’s this thoughtful balance that gives our fudge its distinctive taste and ensures it stands out from other fudge recipes.
Please note: This post may contain affiliate links. If you purchase through these links, I may earn a small commission at no additional cost to you. These commissions help support this blog and allow me to continue sharing delicious recipes!
Essential Ingredients for Perfect Red Velvet Fudge
Crafting this exquisite Red Velvet Fudge requires a few key ingredients, each playing a crucial role in achieving its signature taste and texture. Opting for good quality ingredients will truly elevate your final product, making a noticeable difference in flavor and consistency.
- 4 tablespoons of unsalted butter: Plus extra for generously greasing your 8″ x 8″ inch pan and parchment paper. Butter provides richness and a smooth mouthfeel.
- 3 cups of mini marshmallows: These are the secret to our incredibly easy and smooth fudge base, melting down to create a perfectly creamy texture without the need for a candy thermometer.
- 1 cup sugar: I personally recommend organic pure cane sugar, as it dissolves beautifully and contributes to the fudge’s silky texture. Any granulated sugar will work well.
- 1/2 cup heavy cream: Also known as heavy whipping cream, this adds essential fat and liquid, contributing to the fudge’s luxurious creaminess.
- 1/4 cup unsweetened cocoa powder: This is vital for the classic red velvet flavor. Using the best quality unsweetened cocoa powder you can find will impart a deep, nuanced chocolate taste that truly sets this fudge apart.
- 1/2 teaspoon kosher salt: A touch of salt balances the sweetness and enhances all the other flavors, making them pop.
- 1/2 teaspoon pure vanilla extract: High-quality vanilla extract adds a warm, aromatic depth that complements the chocolate and cream perfectly.
- 12 ounces white chocolate chip morsels: Just like the cocoa, the quality of your white chocolate chips matters significantly. Premium white chocolate melts smoothly and contributes to both the texture and sweetness of the fudge.
- Desired amount of red gel food dye: To achieve that iconic vibrant red color. I typically use about 38-40 drops, but you can adjust this to your preferred intensity. Gel dyes provide a much more concentrated color without adding excess liquid.
- 1 tablespoon or more of red sugar sprinkles: For a beautiful, festive finish that adds a delightful crunch and visual appeal.
Helpful Kitchen Tools for Your Fudge Making Adventure
Having the right tools on hand will make the fudge-making process even smoother and more enjoyable. Here’s what you’ll need:
- 8″x 8″ baking pan: The perfect size for setting your batch of delicious fudge.
- Parchment paper: Essential for easy removal of the fudge from the pan and for clean cutting.
- Cookie sheet: Useful for transporting the pan to the refrigerator or for holding your cut fudge pieces.
- A sharp knife: For precise, clean cuts once the fudge is set.
- Cutting board: A stable surface for cutting your fudge into perfect squares.
- Baking spatula: Ideal for scraping down the sides of the pan and ensuring all ingredients are incorporated.
- Wooden spoon: Or a heat-resistant spatula, for stirring the fudge mixture as it melts.
- Mason jars or decorative boxes: If you plan on gifting this delightful fudge.
- Decorative and festive ribbon: A beautiful touch if you are presenting your fudge as a gift – a red velvet ribbon would be absolutely perfect!
The Perfect Gift for Any Occasion
Imagine the delight of receiving a beautifully packaged box of these exquisite red velvet fudge squares for Christmas, Valentine’s Day, or any special celebration! The vibrant color and decadent flavor make it an incredibly thoughtful and impressive homemade present. And remember, for that extra touch of elegance and charm, don’t forget to tie it up with a lovely red velvet ribbon! It truly elevates the gifting experience.
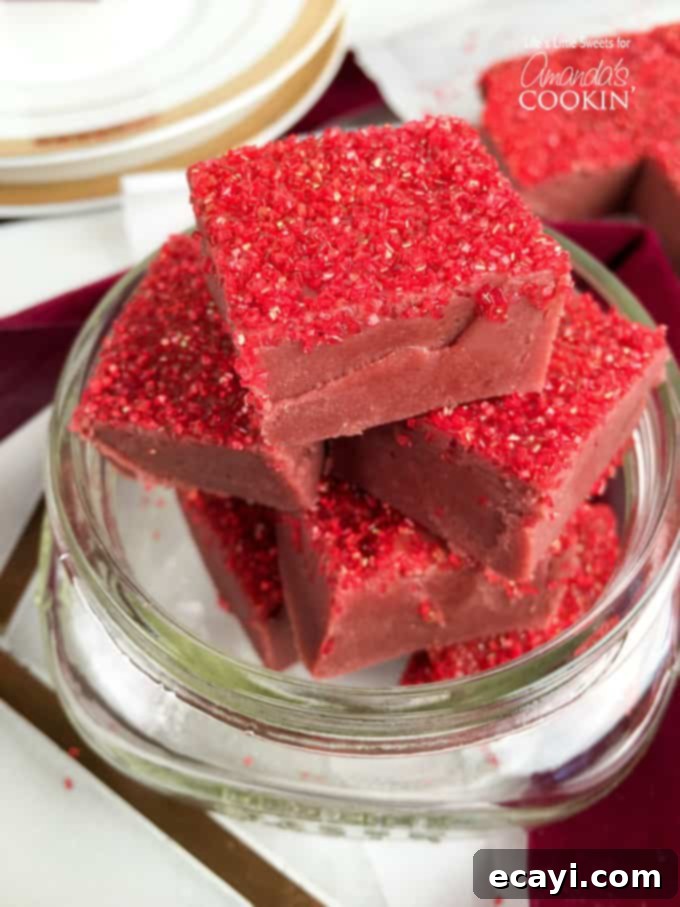
Speed and Simplicity: Your New Favorite Fudge Recipe
One of the most remarkable aspects of this Red Velvet Fudge recipe is how incredibly quick it is to prepare. Not including the cooling time, which allows the fudge to properly set, you can go from start to finish in an astonishing 20 minutes! This makes it an ideal dessert for last-minute gatherings, impromptu cravings, or when you simply want to whip up something special without spending hours in the kitchen. Its speed doesn’t compromise on quality or flavor – it truly is a quick and easy indulgence.
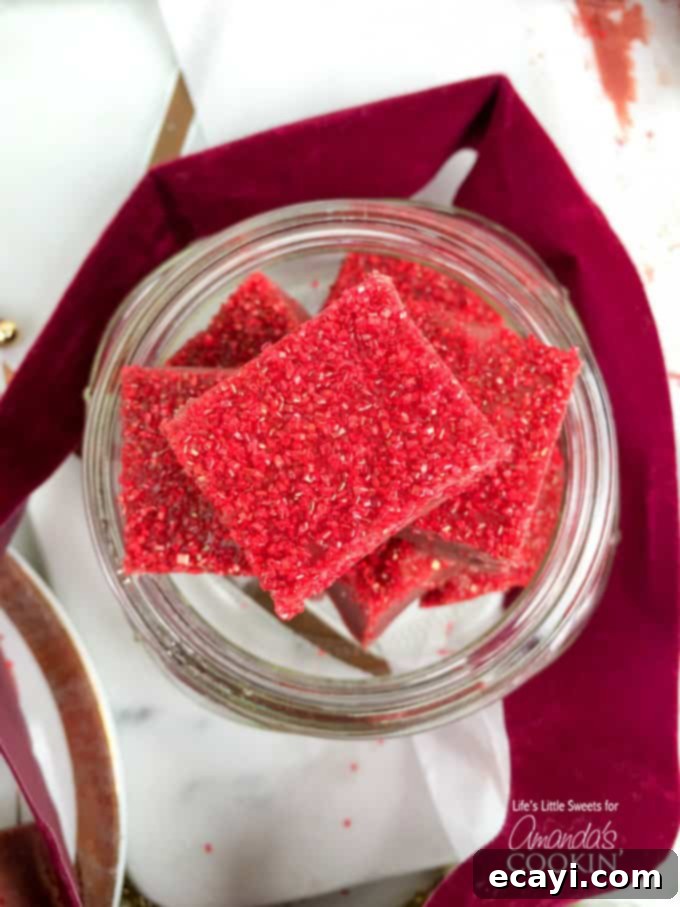
You are absolutely going to adore this Red Velvet Fudge recipe. It’s so good, with its delightful combination of smooth texture and rich chocolatey notes, you’ll find it hard to resist. Just take a bite, and you’ll understand why this will quickly become one of your go-to dessert recipes!
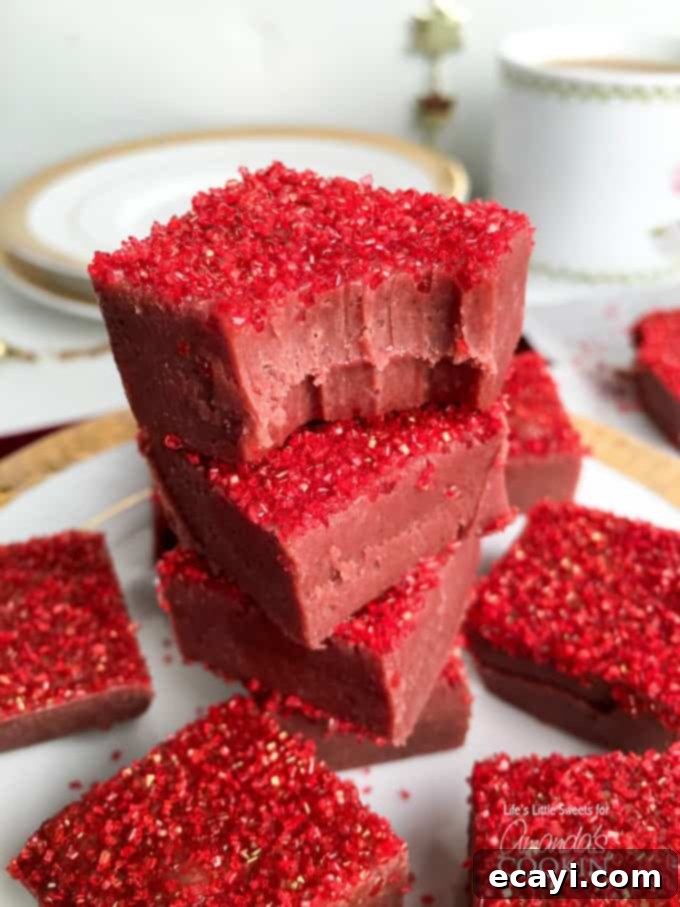
And for more festive and romantic treats, be sure to explore my heart shaped cupcakes, perfect for Valentine’s Day or any occasion that calls for a touch of love!
Tips for Achieving the Best Red Velvet Fudge
While this recipe is incredibly simple, a few tips can help ensure your Red Velvet Fudge turns out absolutely perfect every time:
- Quality Matters: As mentioned for ingredients, using high-quality unsweetened cocoa powder and white chocolate chips makes a significant difference in the final flavor and texture. Don’t skimp here if you want truly decadent fudge.
- Low and Slow Heat: When melting the ingredients in the saucepan, keep the heat on low to medium-low. This prevents the mixture from scorching and ensures the marshmallows melt smoothly without clumping or burning. Patience is key!
- Stir Continuously: Gently but consistently stir the mixture while it’s heating. This ensures even melting and prevents ingredients from sticking to the bottom of the pan.
- Accurate Dye Application: Add the red gel food dye incrementally until you reach your desired shade. Gel dye is concentrated, so a little goes a long way. You can always add more, but you can’t take it away.
- Sprinkle Timing: Adding the sprinkles about 15 minutes into the initial cooling period helps them adhere to the fudge surface without sinking completely or melting.
- Patience During Cooling: Do not rush the cooling and setting process. The refrigerator time is crucial for the fudge to firm up properly, allowing for clean cuts.
- Clean Cuts: For perfectly neat squares, use a sharp, warm knife. You can run your knife under hot water and wipe it dry between cuts to prevent sticking.
Frequently Asked Questions about Red Velvet Fudge
Q: Can I use regular marshmallows instead of mini marshmallows?
A: Yes, you can use regular-sized marshmallows. However, mini marshmallows tend to melt more quickly and evenly, contributing to the “easy” aspect of this recipe. If using regular marshmallows, you might need to extend the melting time slightly and stir more frequently to ensure a smooth consistency.
Q: My fudge isn’t setting. What went wrong?
A: Fudge not setting can happen for a few reasons. Ensure you’ve used the correct measurements, especially for the butter and heavy cream. It’s also crucial to allow the fudge sufficient time in the refrigerator (at least 1 hour, or longer if needed). Sometimes, humidity can affect setting, but this marshmallow fudge recipe is quite forgiving. If it’s still too soft, try returning it to the fridge for an additional hour or two.
Q: Can I omit the cocoa powder for a brighter red?
A: While omitting the cocoa powder would indeed result in a brighter, more vivid red color, it would significantly alter the traditional red velvet flavor profile. Red velvet typically has a subtle cocoa undertone. If you prefer a pure red color without any chocolate notes, you could try a vanilla fudge base with red food coloring, but it wouldn’t truly be “red velvet” fudge.
Q: How do I store Red Velvet Fudge?
A: This Red Velvet Fudge stores beautifully! Keep it in an airtight container in the refrigerator for up to 5 days to maintain its freshness and firm texture. For longer storage, you can also freeze fudge. Wrap individual pieces tightly in plastic wrap, then place them in an airtight freezer-safe container or bag for up to 2-3 months. Thaw in the refrigerator before serving.
More Decadent Dessert and Valentine’s Day Recipes
If you’ve fallen in love with this Red Velvet Fudge, you’ll be thrilled to discover more delightful treats perfect for any celebration or simply to satisfy your sweet tooth. Explore these other fantastic recipes from my kitchen:
- Pink Mudslide: A creamy, festive drink that’s perfect for a romantic evening.
- Red Velvet Fudge: (You’re already here, but it’s worth a second look!)
- Heart Oreo Truffles: Adorable and delicious, these truffles are easy to make and universally loved.
- Valentine Heart Cupcakes: Sweet and charming cupcakes, ideal for expressing affection.
- Chocolate Covered Fruit Truffles: A healthier, yet equally indulgent, chocolate treat.
- Valentine Play Dough Cookie Pops: Fun and interactive for kids (and adults!) to decorate.
- Valentine Cherry Hand Pies: Individual, flaky pies filled with sweet cherry goodness.
Red Velvet Fudge
IMPORTANT – We’ve included many helpful tips and frequently asked questions within the blog post above that you may find beneficial. Please scroll up to read them!
Print It
Pin It
Rate It
Save ItSaved!
Ingredients
- 4 tablespoons of unsalted butter plus more for greasing the 8 x 8 inch pan and parchment paper
- 3 cups of mini marshmallows
- 1 cup sugar I use organic pure cane sugar and it works very well
- ½ cup heavy whipping cream heavy whipping cream works as well
- ¼ cup unsweetened cocoa powder use the best quality you can find, it does make a difference
- ½ teaspoon kosher salt
- ½ teaspoon pure vanilla extract
- 12 ounces white chocolate chip morsels use the best quality you can find, it does make a difference
- desired amount of red gel food dye I use 38-40 drops
- 1 tablespoon or more of red sugar sprinkles
Before You Begin
Instructions
-
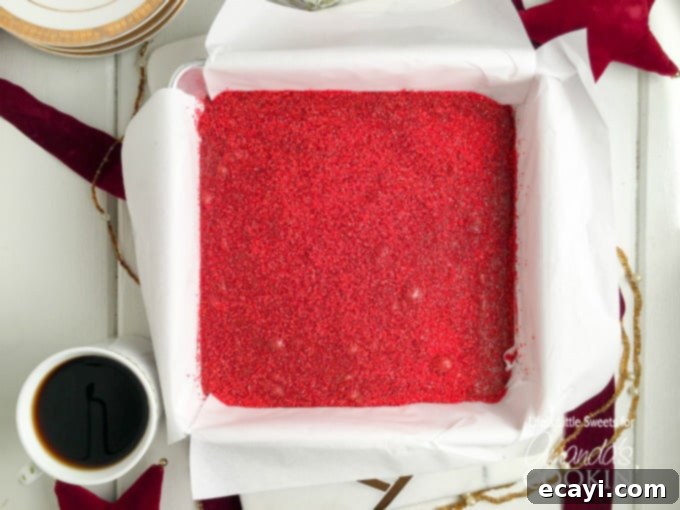
Grease an 8 x 8 inch pan with butter and then line with 2 pieces of parchment paper that are crisscrossed, ensuring a slight overhang on all sides. Generously butter the parchment paper as well. Set the prepared pan aside. This crucial step will make it incredibly easy to remove the finished fudge from the pan later on without sticking.
-
In a medium or large saucepan, combine the 4 tablespoons of butter, 3 cups of mini marshmallows, 1 cup of sugar, 1/2 cup of heavy cream, 1/4 cup of unsweetened cocoa powder, and 1/2 teaspoon of kosher salt. Place the saucepan over low-medium heat. Stir the mixture gently and continuously until all the mini marshmallows have completely melted and the mixture is smooth. This process typically takes about 8-10 minutes. Avoid increasing the heat too much to prevent scorching.
-
Once the marshmallow mixture is smooth and melted, remove the saucepan from the heat. Immediately add the 1/2 teaspoon of pure vanilla extract, 12 ounces of white chocolate chip morsels, and your desired amount of red gel food dye (starting with about 38-40 drops and adjusting if needed). Stir vigorously until the white chocolate chips are fully melted and all ingredients are thoroughly combined, creating a uniformly smooth and vibrant red mixture. Pour this hot fudge mixture into your prepared 8″ x 8″ pan and spread it evenly. Allow the fudge to cool at room temperature for 30 minutes. About 15 minutes into this cooling period, sprinkle 1 tablespoon or more of red sugar sprinkles evenly over the top for a beautiful finish. After the initial cooling, cover the pan and transfer it to the refrigerator to set for at least 1 hour, or until completely firm.
-
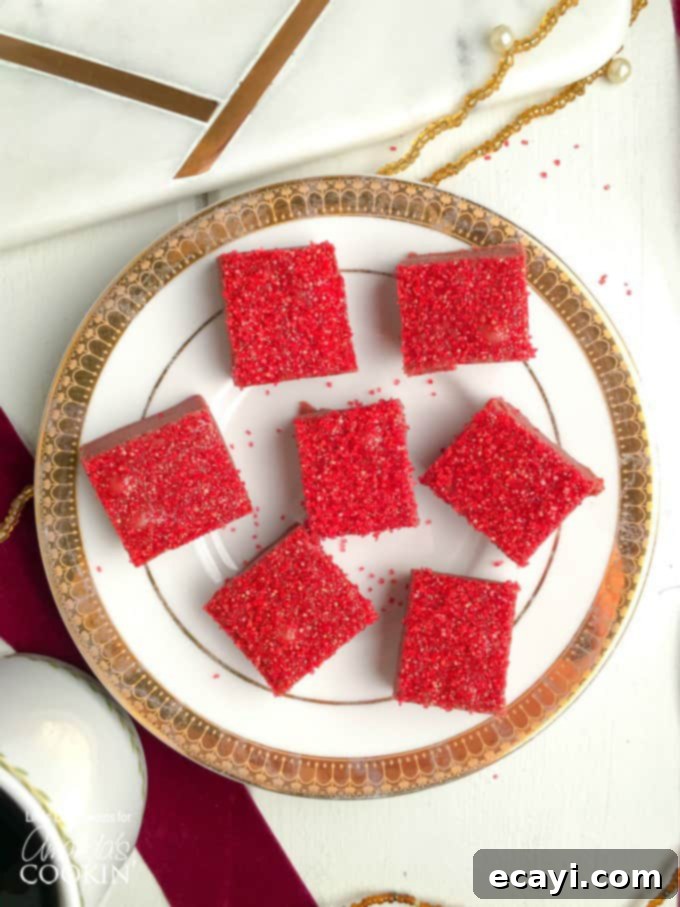
Once the fudge is completely set and firm, use the overhang of the parchment paper to gently lift the entire block of fudge out of the pan and onto a clean cutting board. Using a sharp knife (warmed slightly with hot water and wiped dry between cuts for the neatest edges), cut the fudge into desired serving-sized squares. If you are preparing this fudge for gift-giving, carefully package the squares in decorative mason jars or boxes, and remember to tie them with a festive red velvet ribbon for an extra special touch! Enjoy this delightful homemade treat!
The recipes on this blog are tested with a conventional gas oven and gas stovetop. It’s important to note that some ovens, especially as they age, can cook and bake inconsistently. Using an inexpensive oven thermometer can assure you that your oven is truly heating to the proper temperature. If you use a toaster oven or countertop oven, please keep in mind that they may not distribute heat the same as a conventional full sized oven and you may need to adjust your cooking/baking times. In the case of recipes made with a pressure cooker, air fryer, slow cooker, or other appliance, a link to the appliances we use is listed within each respective recipe. For baking recipes where measurements are given by weight, please note that results may not be the same if cups are used instead, and we can’t guarantee success with that method.
