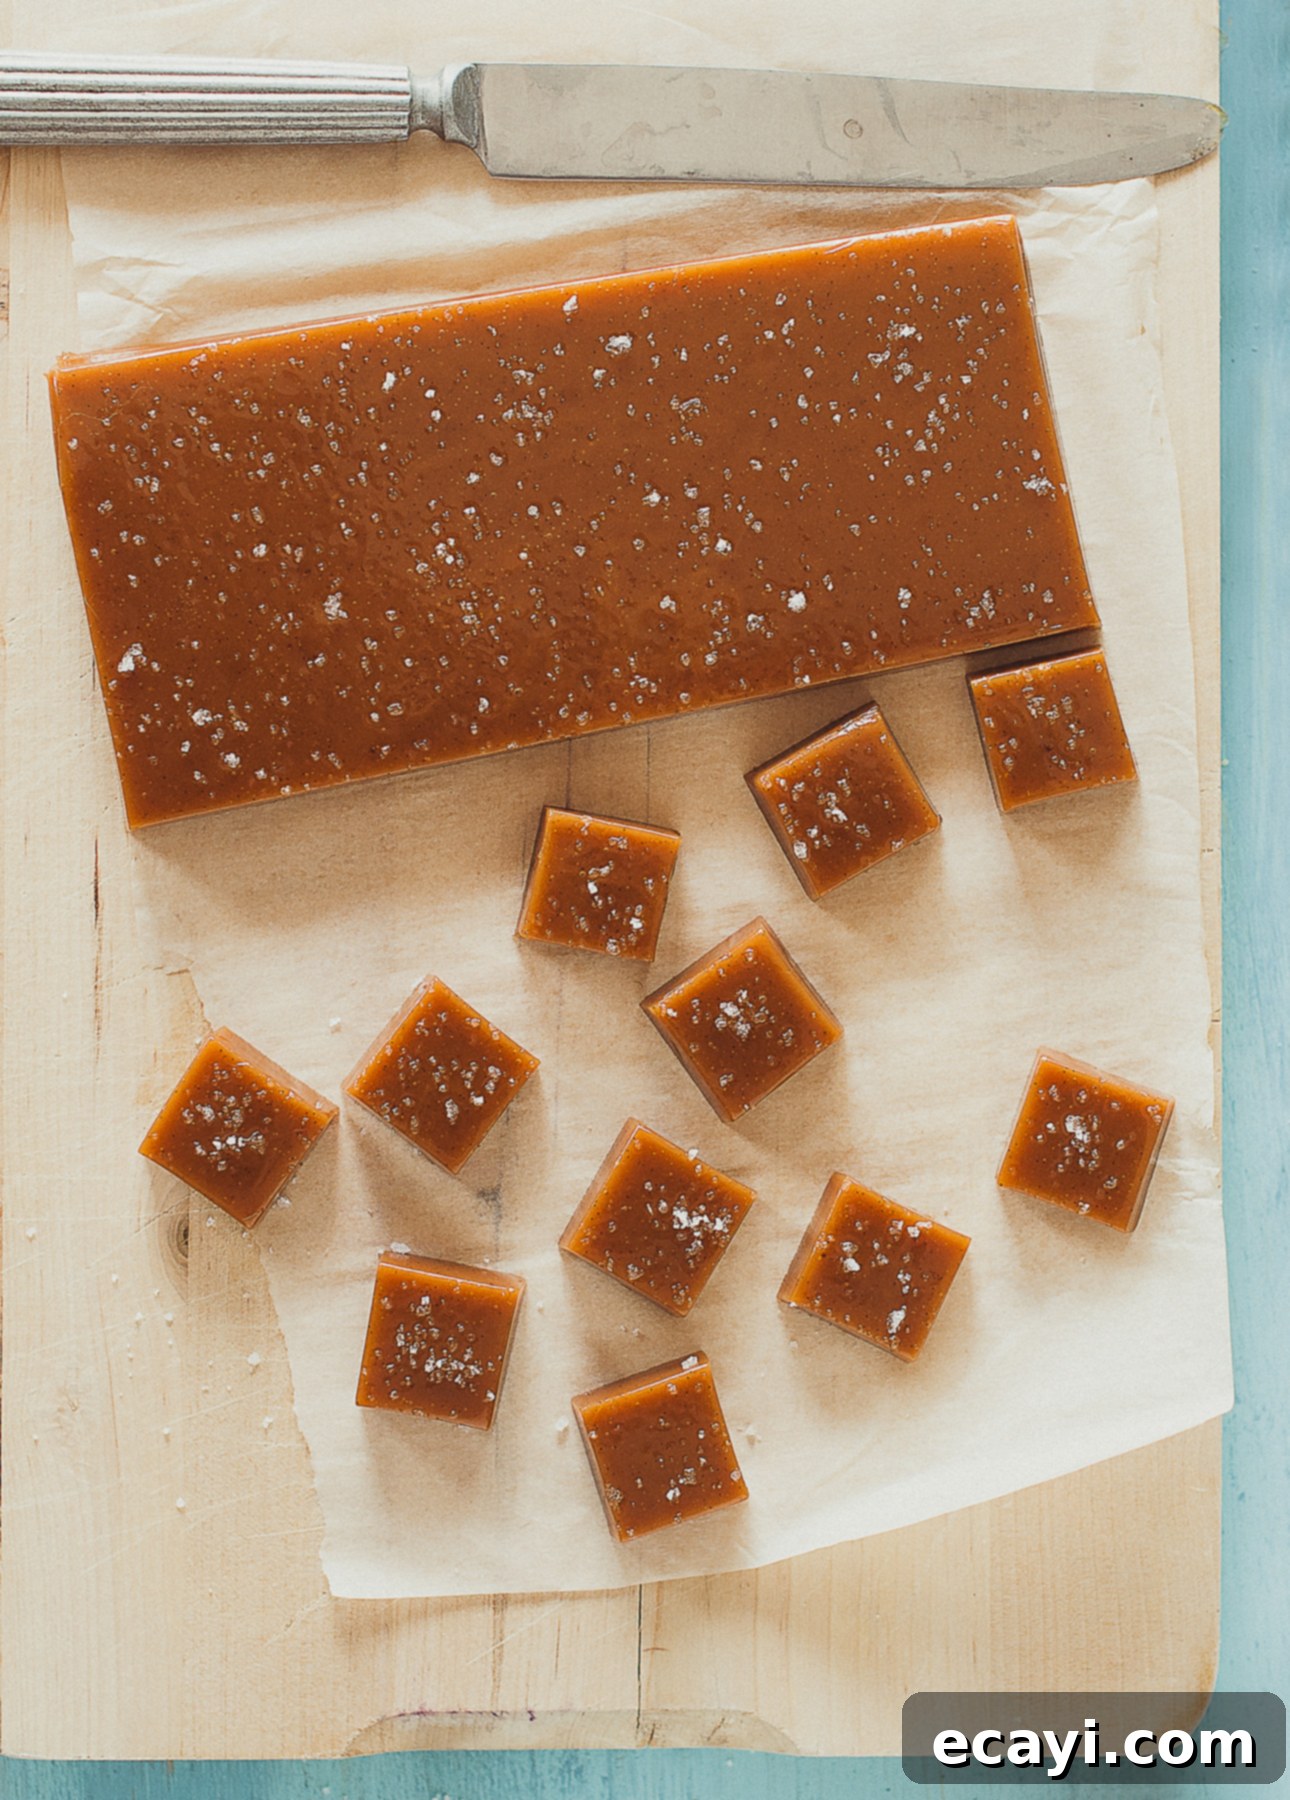
Mastering Homemade Salted Butter Caramels: Your Ultimate Guide & Recipe
Embark on a delightful culinary journey and discover the simple pleasure of crafting classic French salted butter caramels right in your own kitchen. This comprehensive guide, complete with invaluable tips and a detailed, step-by-step recipe, will empower you to create these irresistible chewy treats with confidence and ease, transforming what might seem like an intimidating task into a truly rewarding experience.
This post contains affiliate links. Full disclosure is at the bottom of the article.
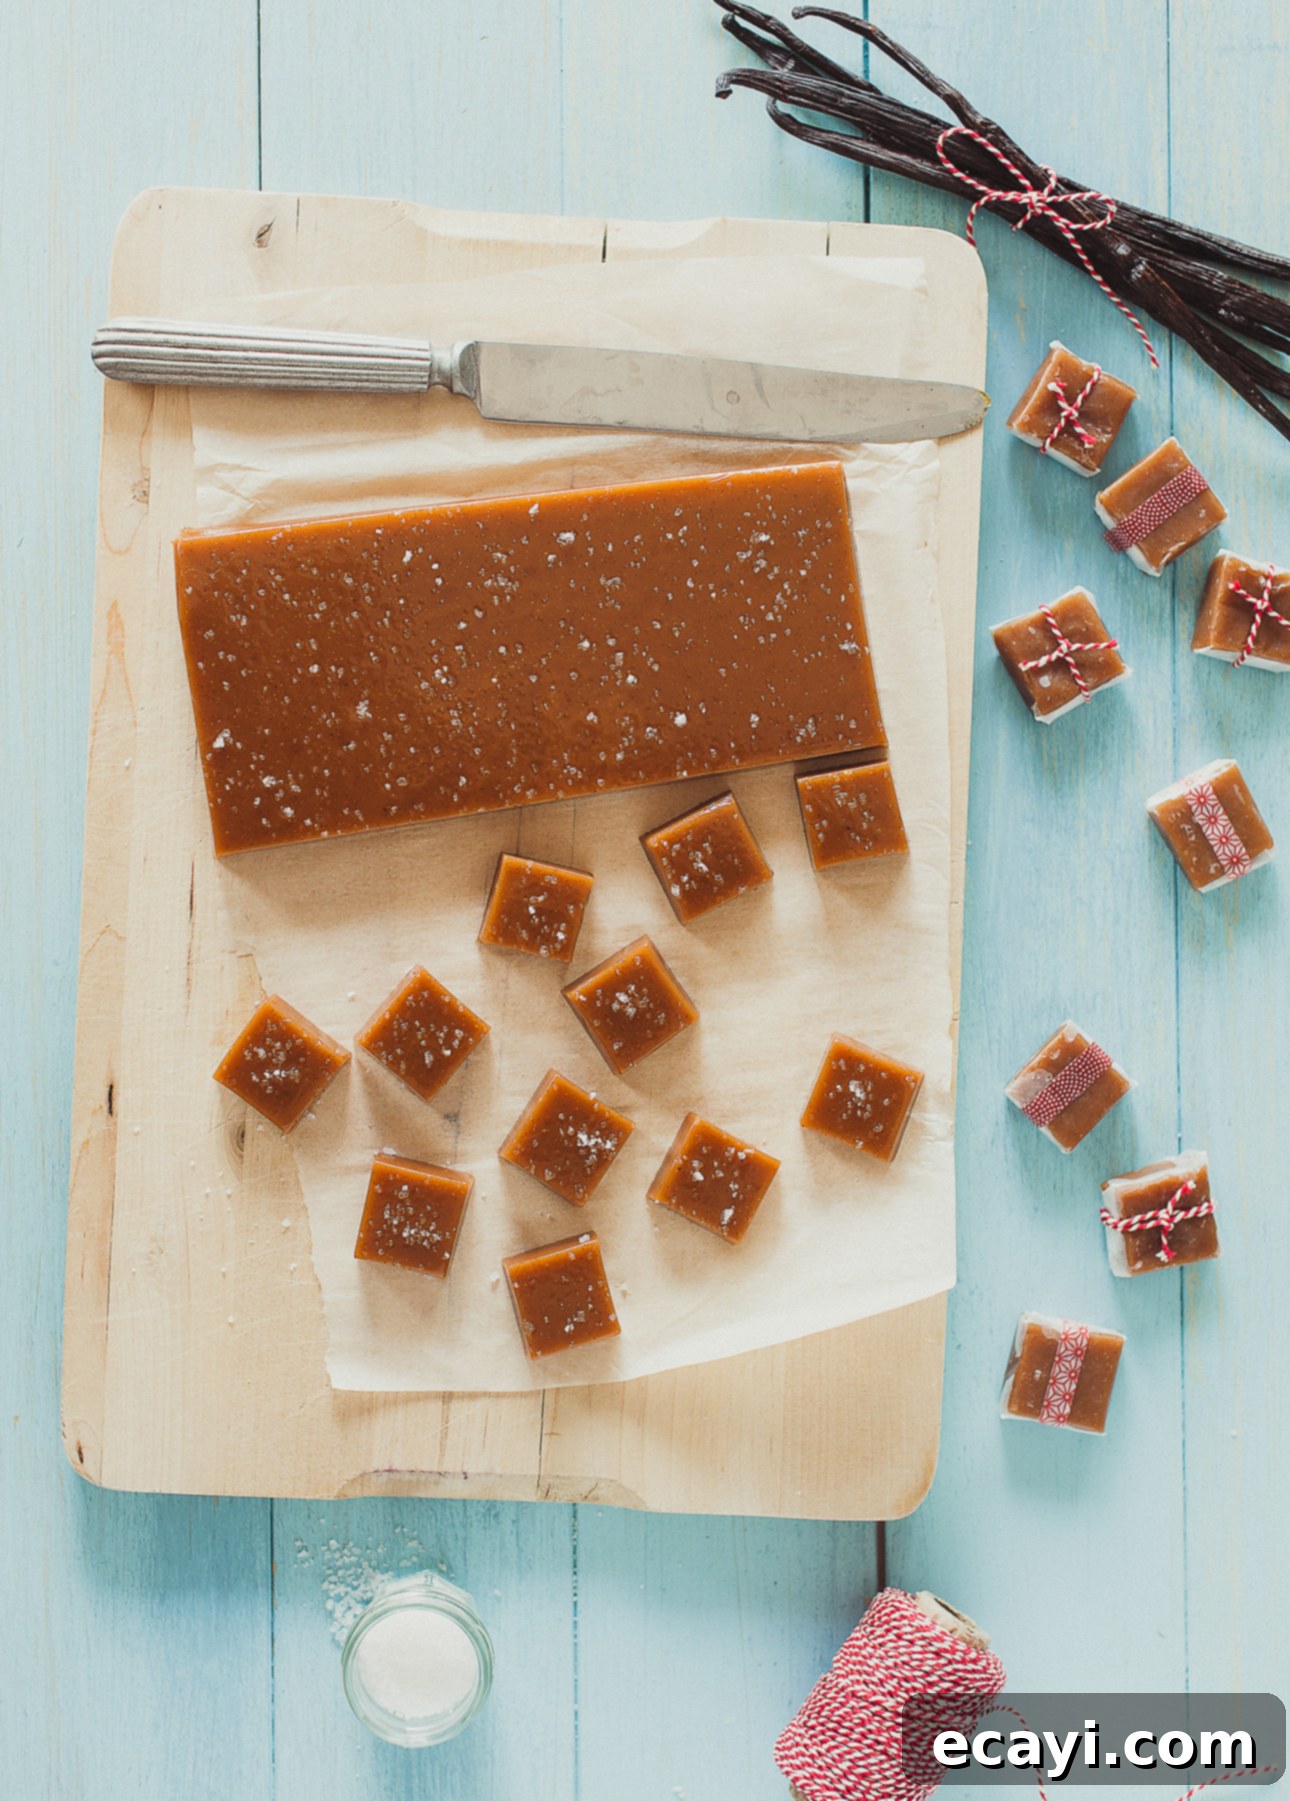
There’s a special kind of magic that comes with homemade candy, and few confections capture hearts quite like Salted Butter Caramels. Each year as December rolls around, I find immense joy in crafting a variety of small, exquisite treats to package beautifully and share with my cherished loved ones and the dedicated teachers in my life. These tiny delights are perfect because their modest portions encourage sampling a wider array of flavors, and they are effortlessly transformed into elegant, edible gifts that truly convey warmth and appreciation.
For many years now, these delectable Salted Butter Caramels have been a cornerstone of my holiday repertoire. They are so beloved that my friends and family now eagerly anticipate and even request them! While the prospect of making salted butter caramels from scratch might initially appear daunting, I assure you it’s a wonderfully achievable feat. The secret lies not in complex techniques, but in having the right tools and a willingness to dedicate a focused 20 minutes to the stove. With essential equipment – specifically, a reliable candy thermometer and a sturdy heat-resistant spatula – you are well on your way to creating an incredibly satisfying treat that will impress everyone fortunate enough to taste them.
Essential Tips for Crafting Perfect Salted Butter Caramels
Achieving caramel perfection is within your grasp! Follow these expert tips to ensure your homemade salted butter caramels turn out beautifully every time, whether you’re a seasoned candy maker or trying it for the first time.
- Choosing the Right Candy Thermometer for Caramel Making: Over the years, I’ve experimented with numerous candy thermometers, and I’ve learned a crucial lesson: fancy digital thermometers, despite their claims, often fall short in the demanding environment of candy making. I was initially drawn to their clear digital displays, hoping for precise temperature readings. However, after two expensive digital thermometers failed me, I strongly advise against them. Glass candy thermometers also proved problematic; one shattered on my ceramic floor (my fault!), and even when intact, reading them through steam was a constant challenge. So, what’s the best option? A good old stainless steel, analog model. These are robust, incredibly reliable, and surprisingly inexpensive. My Polder thermometer has been a trusty companion for years, proving that simplicity often reigns supreme when it comes to high-heat candy production. Look for one with a clip that securely attaches to your saucepan.
- Customize Your Caramel Texture: Gooey or Firm? You Decide! One of the most enjoyable aspects of making these salted butter caramels at home is the ability to tailor their texture precisely to your preference. Do you adore a delightfully gooey caramel that gently yields and sticks to your teeth, or do you prefer a firmer, more substantial caramel that slowly melts in your mouth? The difference between these two distinct textures is surprisingly minimal – a mere 20 degrees Fahrenheit! For a wonderfully soft, chewy caramel, aim for a temperature around 245°F (118°C), which corresponds to the “firm ball” stage. If you desire a harder caramel that can be cleanly cut with a knife and offers a satisfying chew, target approximately 265°F (130°C), known as the “hard ball” stage. This slight adjustment in cooking temperature gives you complete control over your caramel’s final consistency.
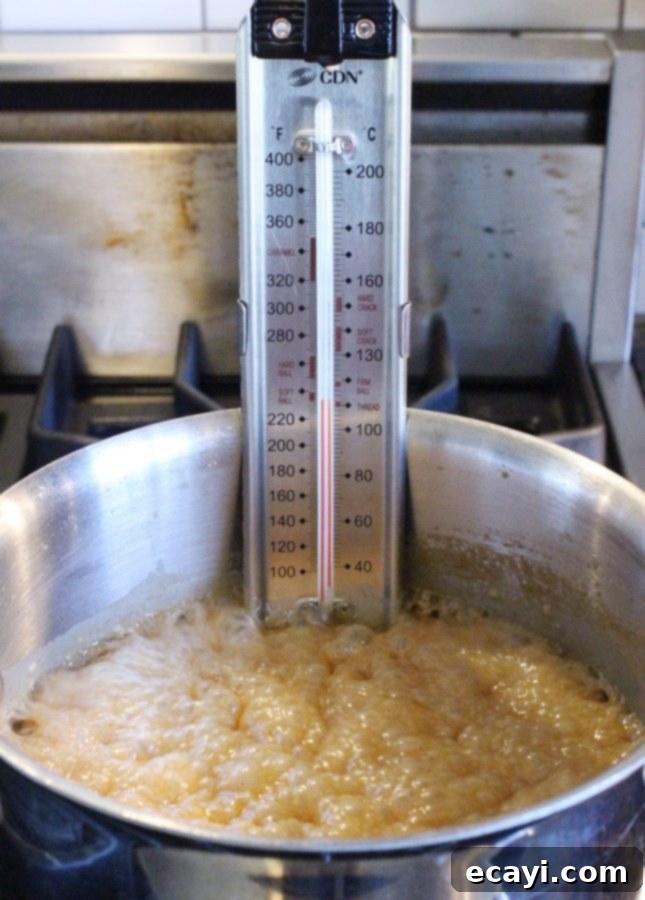
- Employ the Correct Equipment for Safety and Success: When working with extremely hot sugar, using the right tools isn’t just about efficiency; it’s paramount for safety. To make caramel, you’ll need a large, heavy-bottomed stainless steel saucepan. A heavy bottom ensures even heat distribution, preventing hot spots that can burn the sugar, while tall sides help contain the rapidly bubbling caramel. Secondly, a heat-resistant, silicone spatula is indispensable. Unlike plastic or wooden spoons, silicone can withstand the intense temperatures of boiling caramel without melting or warping, and its flexible nature allows you to scrape the sides of the pan effectively without introducing sugar crystals.
- Practice “Mise en Place”: Prepare Everything in Advance: Caramel making demands your undivided attention, and interruptions can lead to disastrous results. This is why “mise en place” – the French culinary term for “everything in its place” – is critical. Before you even turn on the stove, gather and accurately measure out all your ingredients. This means having your cream, vanilla, salt, maple syrup (or corn syrup), granulated sugar, and cubed butter ready and within arm’s reach. You absolutely do not want to be scrambling to measure an ingredient while your caramel is furiously boiling on the stovetop; such distractions can cause the caramel to burn or overcook, ruining the batch.
- Stay Focused: Dedicate Uninterrupted Time to the Stove: As mentioned, caramel waits for no one! It’s crucial to ensure you can remain by the stove for a solid 20 uninterrupted minutes. The caramel-making process involves rapid temperature changes and requires constant vigilance. You should *never* leave bubbling caramel unattended, even for a moment. A brief distraction can be the difference between perfectly golden, smooth caramel and a scorched, bitter mess. If you anticipate any interruptions, it’s best to postpone your caramel-making session.
- The Golden Rule: Look, But Don’t Touch (Avoid Stirring): While it might be tempting to stir the caramel as it cooks, resist the urge! This is one of the most important rules for preventing sugar crystallization. Stirring can cause tiny sugar crystals from the sides of the pan to fall back into the liquid, acting as “seeds” that encourage the entire batch to crystallize, resulting in grainy, undesirable candy. Instead, as the caramel boils, if you notice uneven cooking or browning, very gently swirl the pan once or twice to evenly distribute the heat. This subtle movement is usually sufficient to ensure even cooking without introducing problematic sugar crystals.
- Prioritize Safety: Protect Yourself from Hot Caramel: Caramel is not just hot; it’s *extremely* hot and can cause severe burns. When it comes time to slowly whisk the warm cream mixture into the cooked sugar – a step where the mixture will vigorously bubble up and release significant amounts of hot steam – it is absolutely imperative to wear an oven mitt. This provides a crucial barrier against direct contact with the intense steam and potential caramel splatters, protecting your hands and forearms from painful burns.
- Invest in Quality Ingredients for Superior Flavor: The beauty of simple recipes often lies in the quality of their components. For salted butter caramels, this couldn’t be truer. The butter, vanilla, and flaky sea salt you choose will profoundly impact the final flavor profile. Opt for a high-quality, unsalted butter (if using unsalted, ensure you adjust salt levels in the recipe) with a good fat content for a rich, creamy texture. Pure vanilla extract or, even better, vanilla bean paste will impart a deep, authentic vanilla aroma. And for the salt, splurge a little on genuine fleur de sel or another premium flaky sea salt. Its delicate crunch and intense brininess are what truly elevate these caramels into a gourmet experience.
Finally, relax and enjoy the process! It’s completely normal to feel a bit nervous the first time you venture into making homemade salted butter caramels. There’s a certain mystique around candy making. However, once you’ve successfully completed your first batch, you’ll likely be amazed at how straightforward and immensely satisfying the process truly is. You’ll quickly gain confidence, and before you know it, you’ll find yourself happily whipping up batch after delicious batch for every occasion!
Pin Recipe
Salted Butter Caramels
Ingredients
- ¾ cup heavy cream (35% m.f.)
- ½ tsp vanilla bean paste, or 1 tsp (5 ml) pure vanilla extract
- ½ tsp fleur de sel or flaky sea salt, plus more for sprinkling
- ½ cup maple syrup, or corn syrup
- 1 cup granulated sugar
- ¼ cup salted butter, cut into cubes, room temperature
Instructions
-
Begin by preparing your pan: lightly spray a 9 x 5-inch (23 x 13-cm) loaf pan with cooking oil, ensuring an even coating. Next, line the pan with parchment paper, leaving a generous overhang on two opposite sides. This thoughtful step will create convenient “handles” later on, making it significantly easier to lift and unmold the cooled caramels. Once prepared, set the pan aside on a cooling rack to be ready when your caramel is cooked.
-
In a small saucepan, combine the heavy cream, vanilla bean paste (or pure vanilla extract), and the initial ½ teaspoon of sea salt. Place this mixture over medium heat and gently bring it to a simmer, allowing the flavors to meld and the salt to dissolve. As soon as it reaches a simmer, remove the saucepan from the heat and cover it tightly. Keeping the cream mixture warm is essential, as you will be incorporating it into the hot sugar later, and a significant temperature difference can cause the sugar to seize.
-
Now, prepare the sugar base. In a large, heavy-bottomed stainless steel saucepan, whisk together the maple syrup (or corn syrup) and granulated sugar. Place this saucepan over medium-high heat. Continue to whisk gently until the sugar is completely melted and dissolved into the syrup, creating a clear liquid. Immediately clip your candy thermometer to the side of the pan, ensuring the tip is fully immersed in the caramel mixture but not touching the bottom. Bring the mixture to a rolling boil and cook, without stirring, until the temperature precisely reaches 310°F (155°C).
Crucially, avoid stirring the caramel while it boils. Stirring can introduce sugar crystals, leading to a grainy texture. Instead, if you observe any uneven cooking, you may very gently swirl the pan once or twice to encourage even caramelization.
-
Once the caramel reaches 310°F (155°C), carefully remove it from the heat. Don your oven mitt for safety! Slowly and cautiously whisk the warm cream mixture into the hot caramel. Exercise extreme caution at this stage, as the mixture will release a significant amount of hot steam and bubble up vigorously. Ensure the candy thermometer remains securely dipped into the caramel. Return the saucepan to medium heat. Bring the mixture back to a boil and continue to cook, stirring only gently if necessary, until it reaches the desired temperature: for a soft, delightfully chewy caramel, cook until the temperature is between 245 to 250°F (118 to 121°C); for a firmer, harder caramel, aim for 255 to 260°F (124 to 127°C).
-
Immediately remove the caramel from the heat once your desired temperature is reached. Whisk in the room-temperature salted butter, adding a few cubes at a time. Ensure each addition of butter is fully incorporated into the caramel before adding more. This gradual process helps maintain the caramel’s smooth emulsion. Once all the butter is thoroughly mixed in, carefully pour the luscious caramel into your prepared loaf pan. Allow the caramel to cool undisturbed for about 10 minutes. At this point, sprinkle with additional fleur de sel or flaky sea salt to enhance the flavor and add a beautiful visual touch. Let the caramel cool completely at room temperature, ideally for at least one hour or longer, until it is firm enough to handle.
-
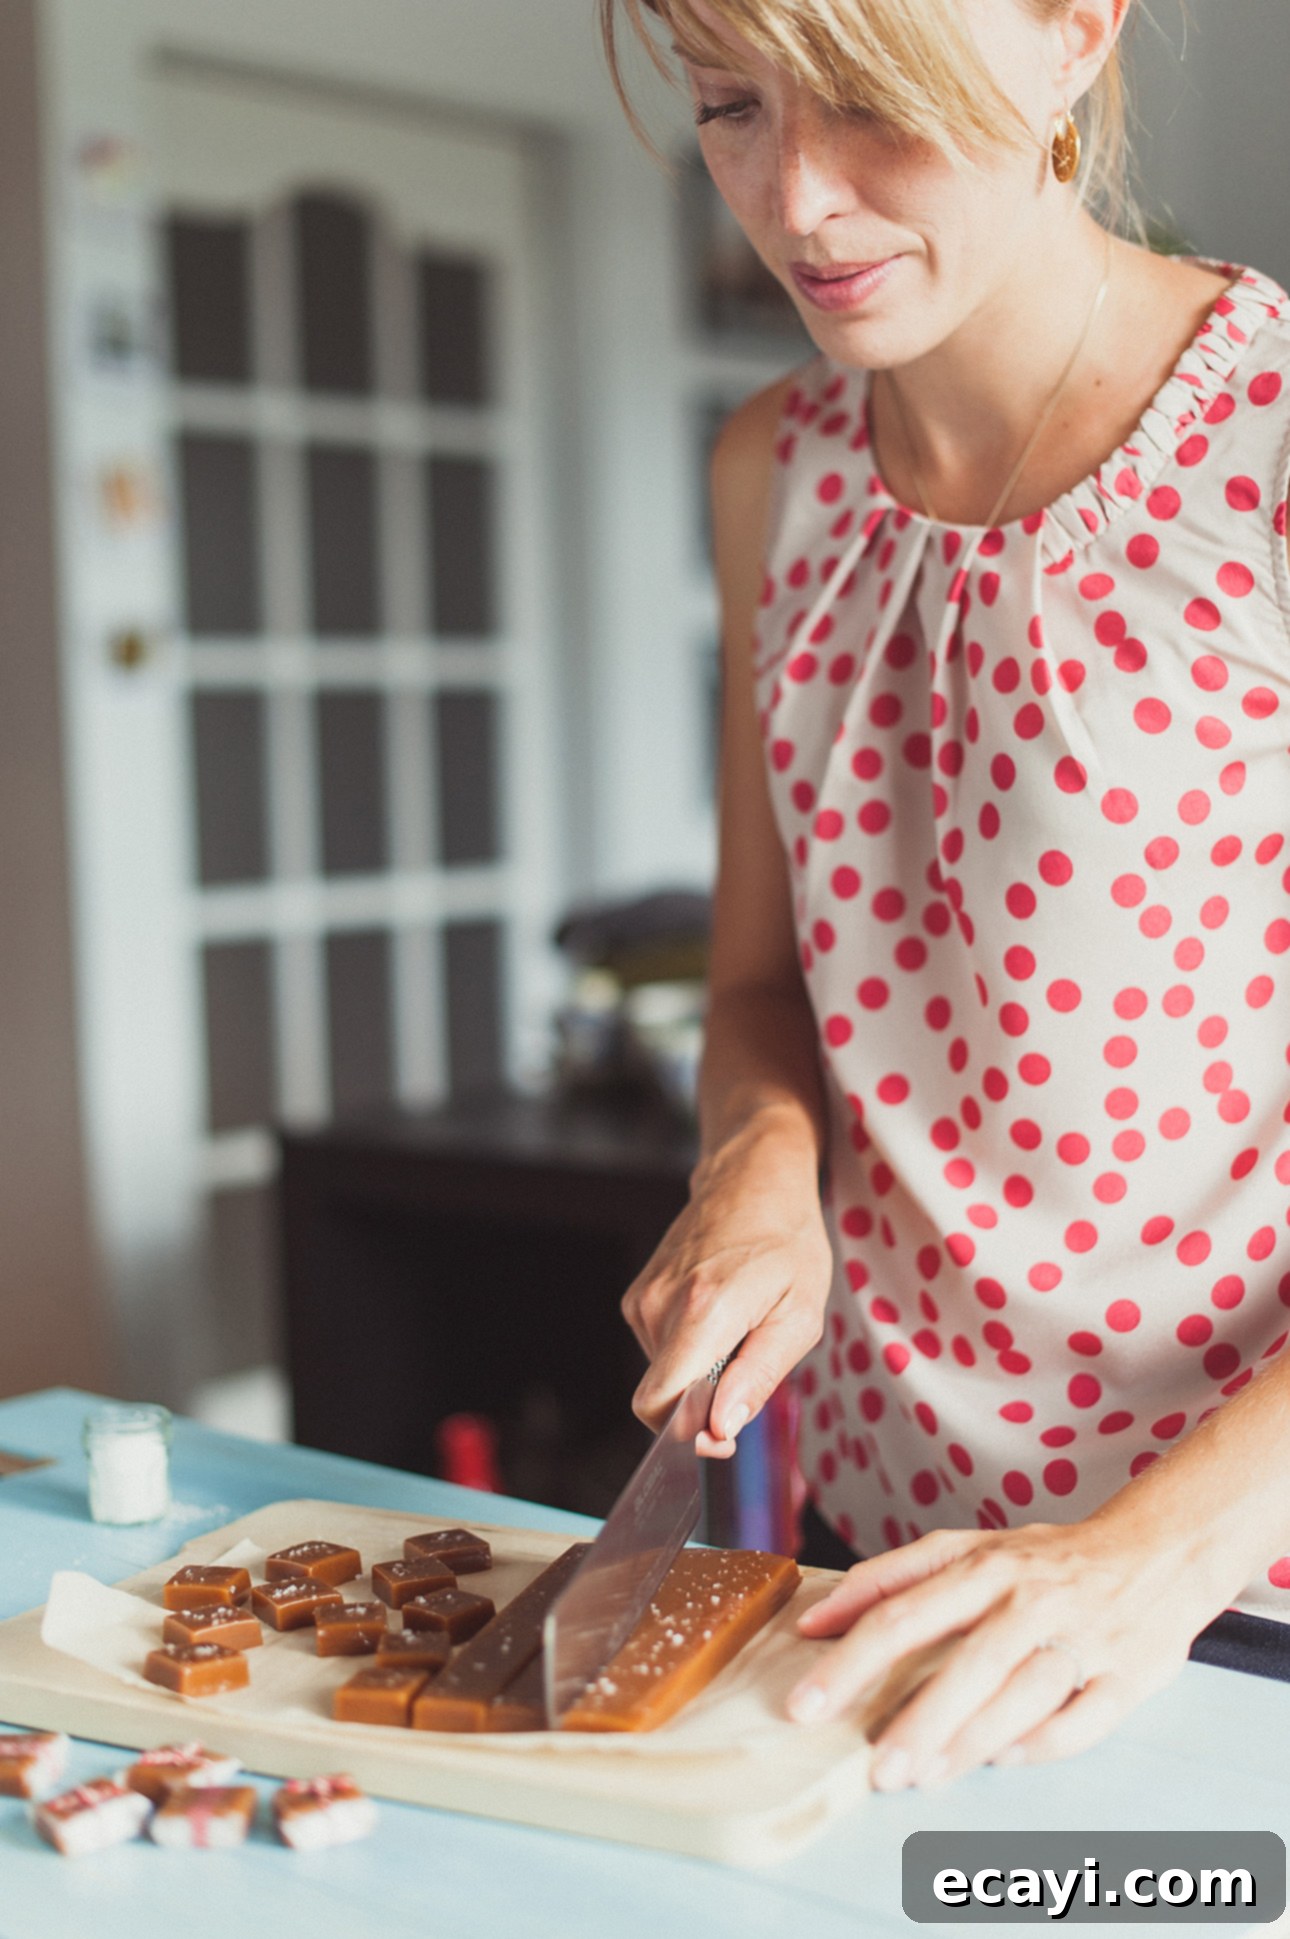
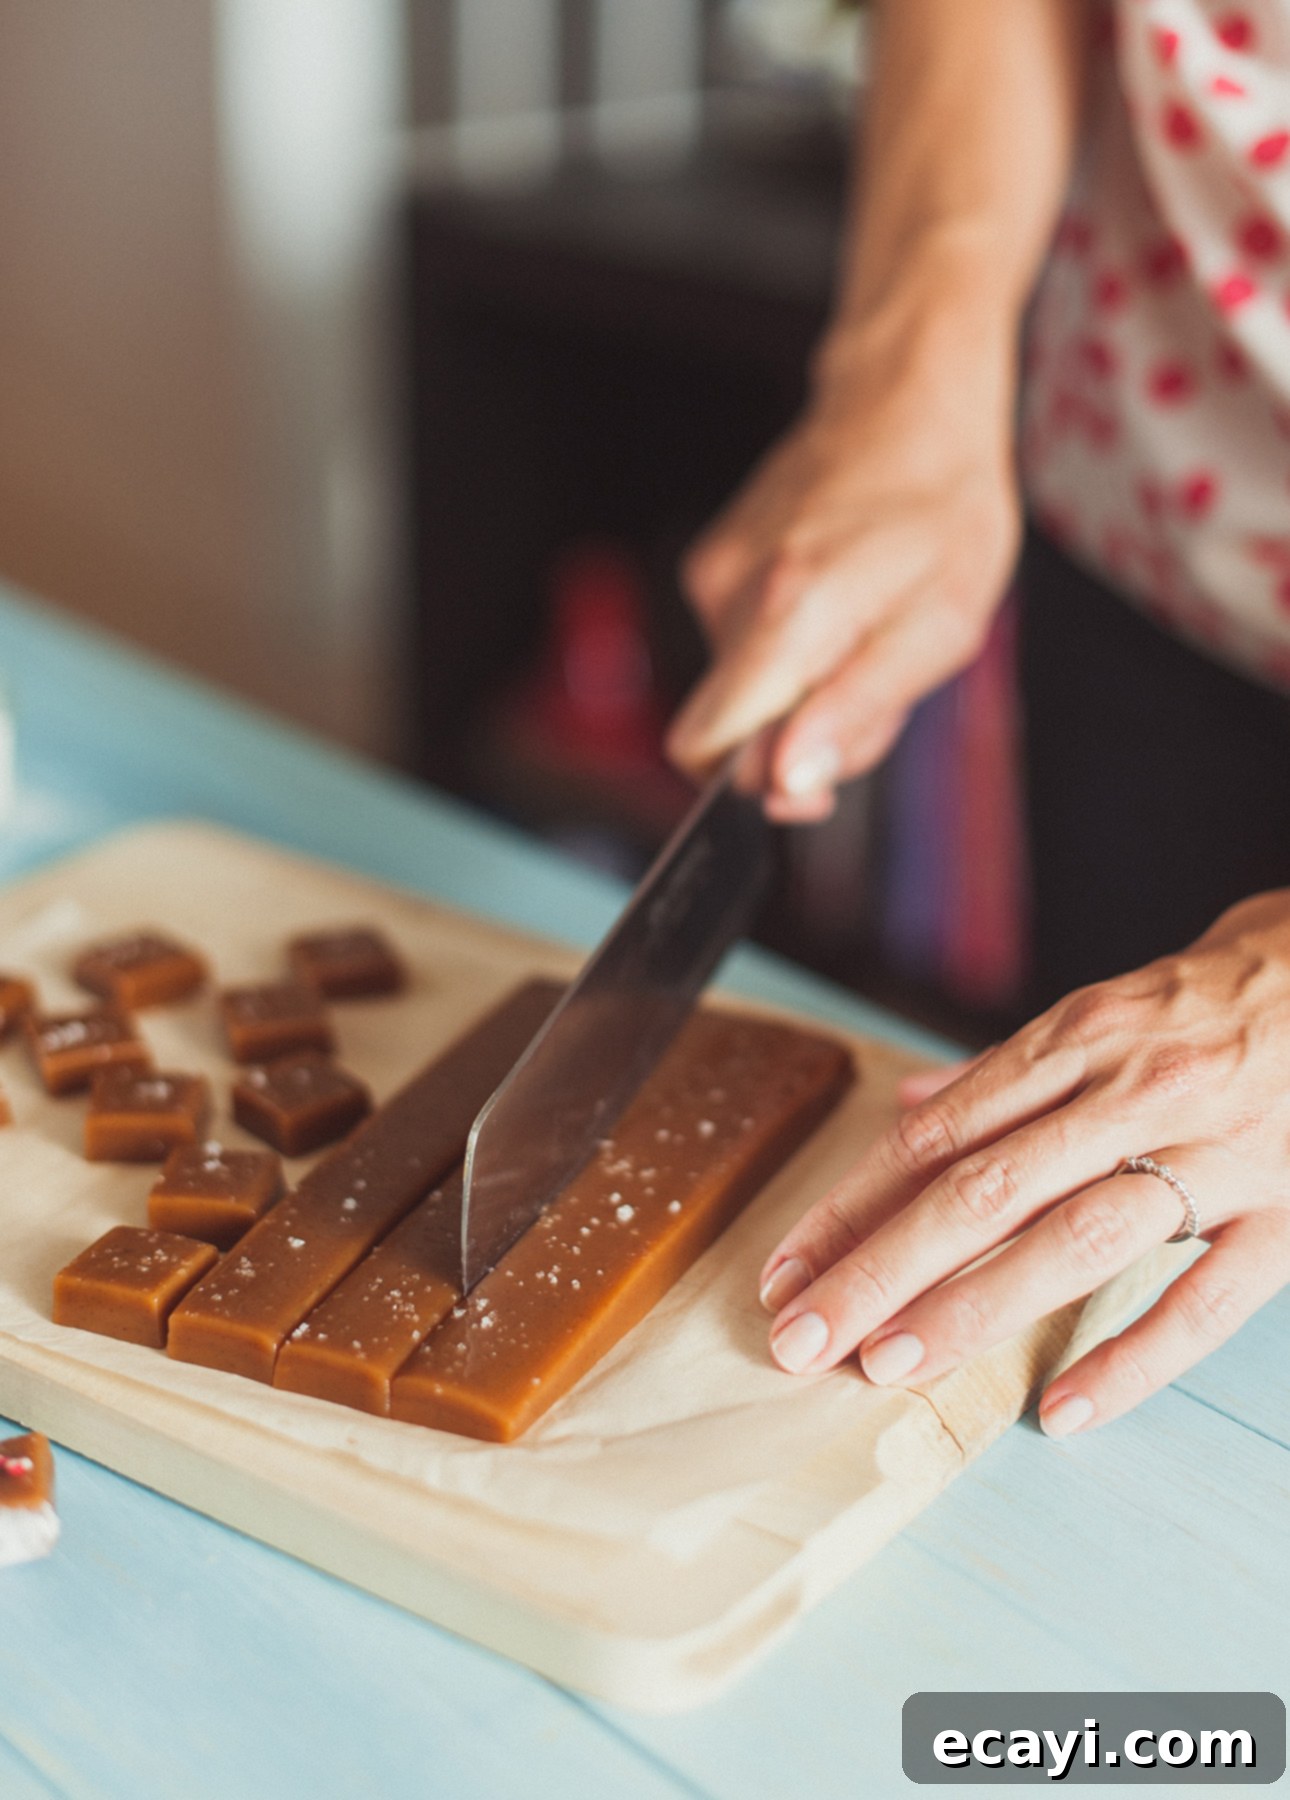
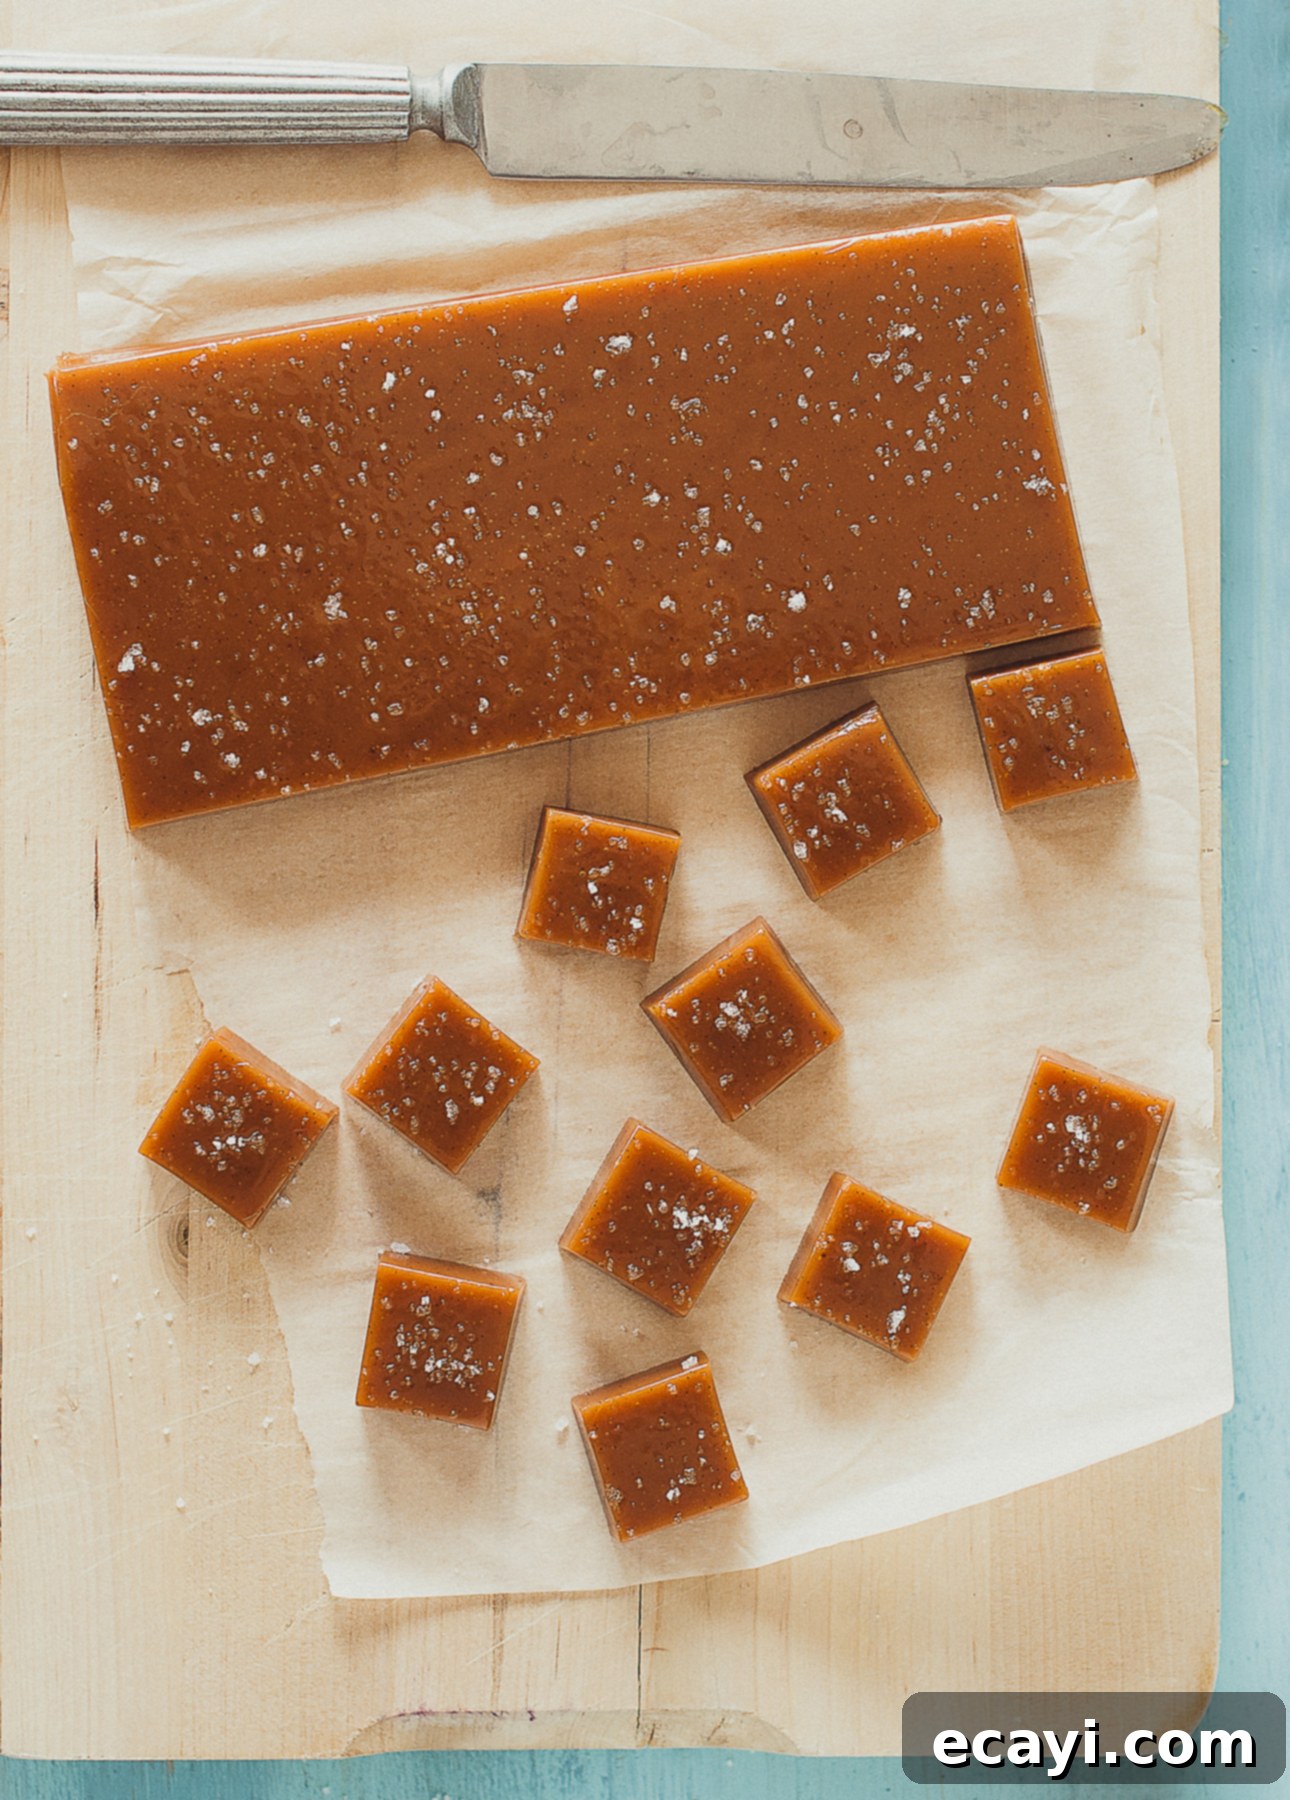
Once completely cool and firm, remove the caramel from the pan by gently pulling on the overhanging parchment paper. Place the caramel block on a clean cutting surface. For best results, use a very sharp knife to cut the caramel into neat, bite-sized squares. Lightly greasing the knife blade with a little cooking oil or warming it slightly under hot water (and then drying thoroughly) can help achieve cleaner cuts and prevent sticking. Serve these delightful caramels immediately, or prepare them for storage. To store, refrigerate the caramels in an airtight container for up to 1 week. To prevent the caramels from sticking to each other, make sure to separate each layer with fresh parchment paper or wax paper.
These homemade salted butter caramels make truly exquisite gifts! For an elegant presentation, you can individually wrap each caramel in small squares of wax paper or in specialized clear candy wrappers. Once wrapped, arrange them beautifully in small decorative bags or boxes, ready to be presented to friends, family, or colleagues. Enjoy the rich, buttery, and perfectly balanced sweet-and-salty flavor of your handmade confections!
Did you make this?
Tell me how you liked it! Leave a comment or take a picture and tag it with @foodnouveau on Instagram.
Disclosure Notice: This site is a participant in the Amazon Associates Program, an affiliate advertising program designed to provide a means for the site to earn fees by linking to Amazon and affiliated sites.
If you click on an affiliate link, I may earn advertising or referral fees if you make a purchase through such links, at no extra cost to you. This helps me creating new content for the blog–so thank you! Learn more about advertising on this site by reading my Disclosure Policy.
