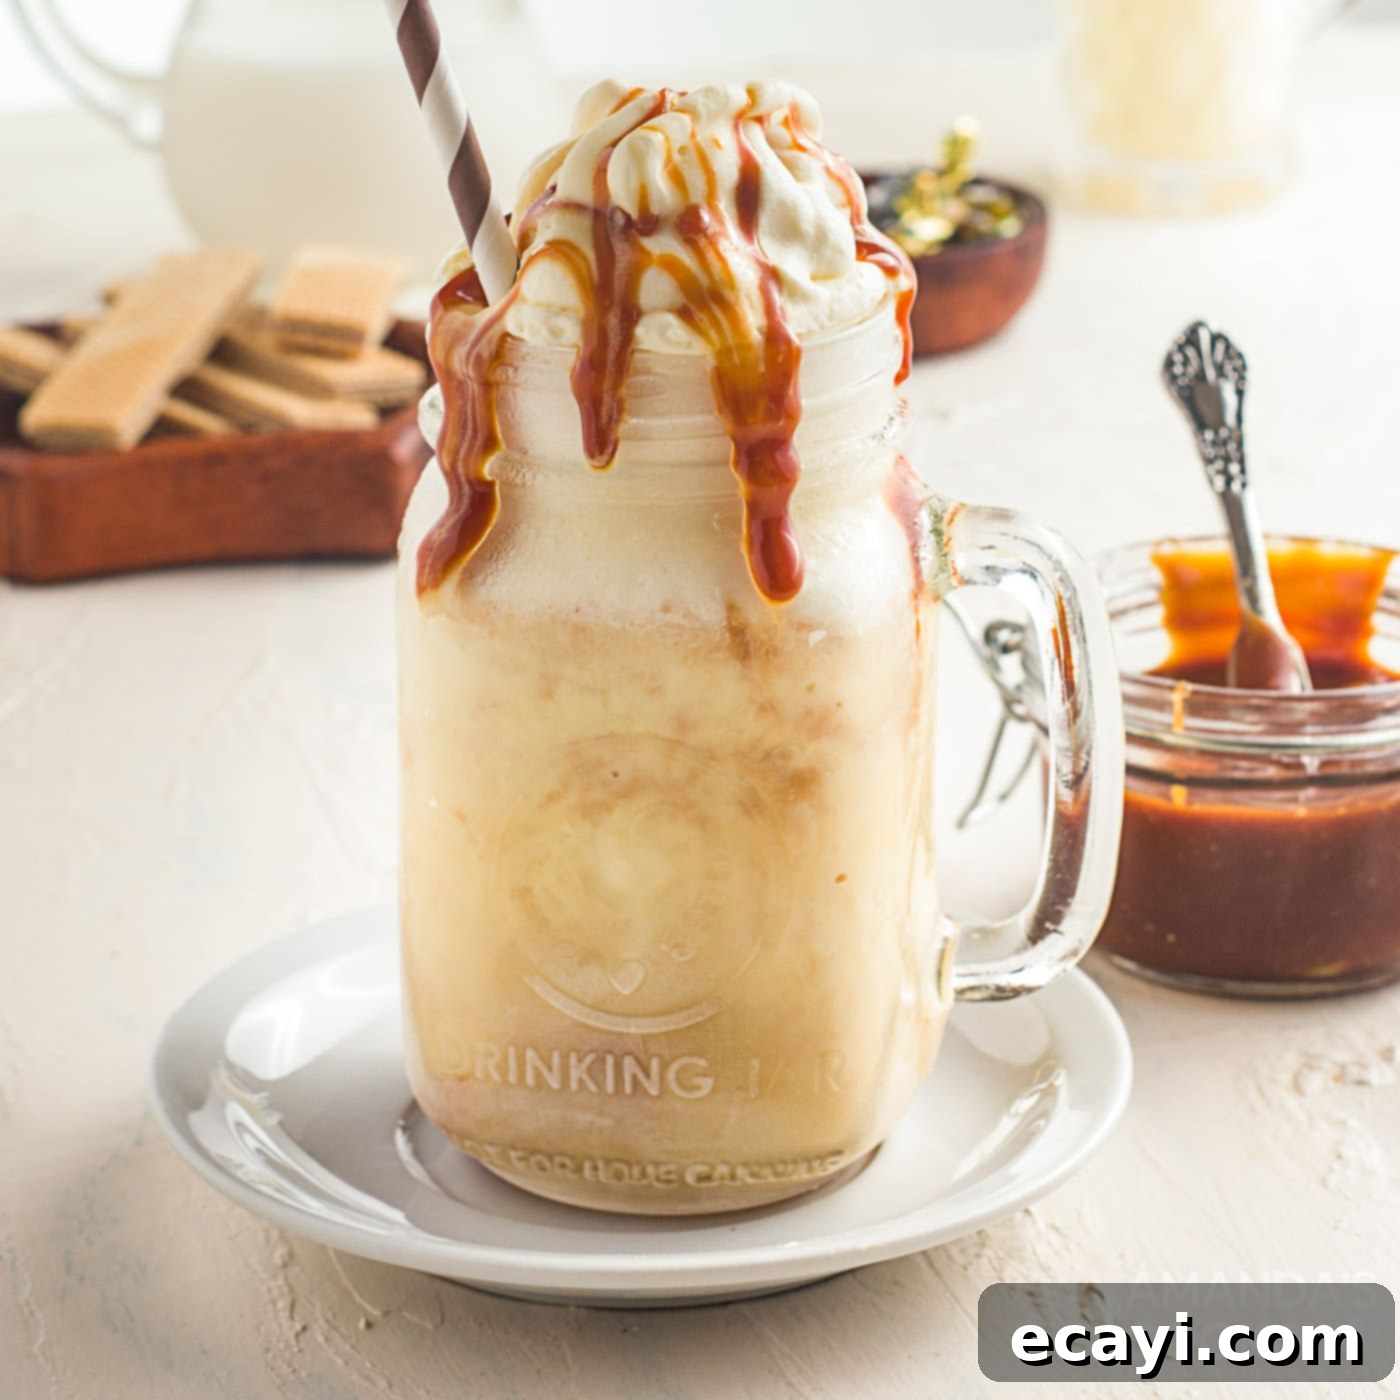
Decadent Homemade Salted Caramel Milkshake: Your Ultimate Sweet & Salty Treat
Prepare to elevate your dessert experience with this unbelievably creamy and utterly decadent **salted caramel milkshake**. Loaded with luscious vanilla ice cream, blended to smooth perfection, and crowned with a cloud of homemade whipped cream and a generous drizzle of rich salted caramel sauce, this recipe promises a symphony of sweet and salty flavors in every sip. Whether you’re seeking a refreshing treat on a sweltering summer day or simply craving a luxurious indulgence, this homemade milkshake is surprisingly easy to make and guaranteed to become a new favorite. Dive into the simple steps to create this irresistible beverage that rivals any gourmet cafe offering.
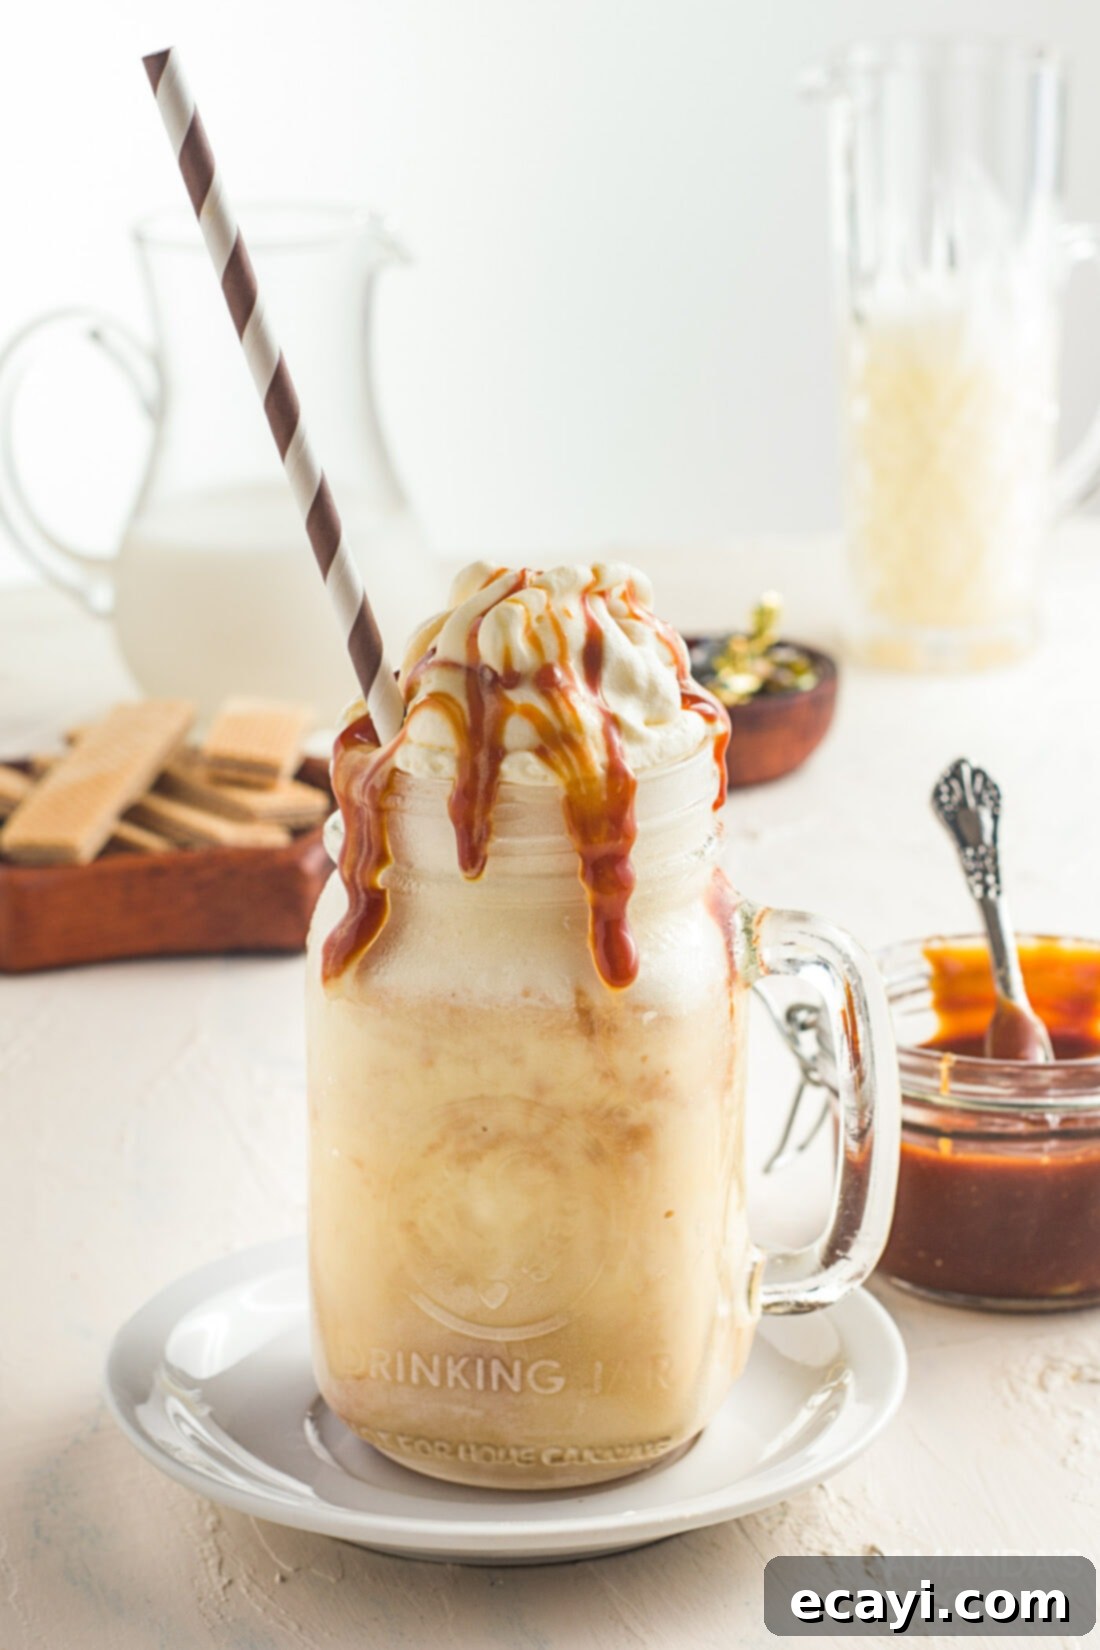
Why This Salted Caramel Milkshake Recipe is a Must-Try
There’s something uniquely satisfying about a perfectly crafted milkshake, and this **homemade salted caramel milkshake** takes that satisfaction to a whole new level. What makes this recipe an absolute winner? For starters, its incredible simplicity. You’re just five minutes away from blending up a luxurious, creamy treat that will tantalize your taste buds. On a scorching summer afternoon, few things hit the spot quite like a cool, thick shake, and the ability to whip one up at home with just a few pantry staples makes it even better.
The allure of salted caramel has captured hearts and palates worldwide over recent years. It’s that harmonious dance between the deep, buttery sweetness of caramel and the subtle, sharp contrast of sea salt that makes it so addictive. This flavor profile isn’t just for desserts anymore; it’s a superstar topping for cakes, cheesecakes, and brownies. But arguably, it finds its most refreshing expression when swirled into a beverage like this creamy milkshake or even a sophisticated salted caramel coffee cocktail. Creating this **decadent salted caramel milkshake** from scratch allows you to control the quality of ingredients and tailor the sweetness and saltiness to your personal preference, ensuring an unparalleled flavor experience. It’s a quick fix for a sweet craving that feels incredibly gourmet.
Related Recipe – Make your own delicious Homemade Caramel Sauce to take this milkshake to the next level!
Essential Ingredients for Your Salted Caramel Milkshake
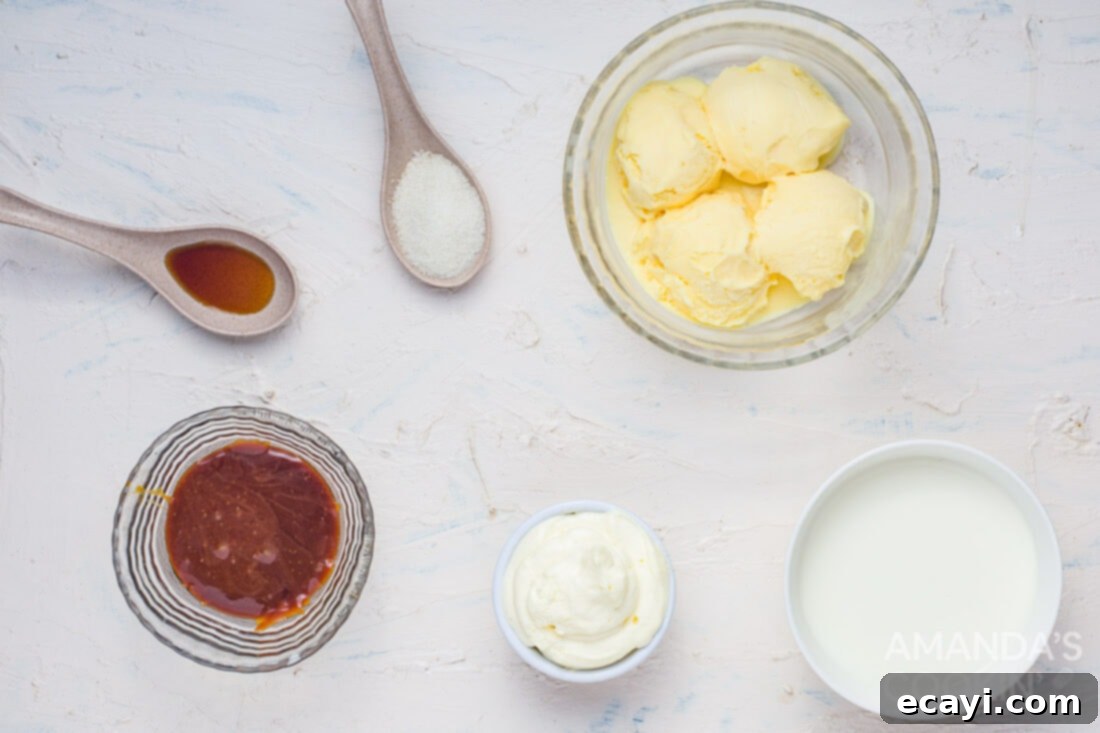
Crafting the perfect **salted caramel milkshake** begins with selecting quality ingredients. While this recipe is incredibly forgiving and allows for substitutions, using the best components will undoubtedly yield the most delicious results. All precise measurements, a comprehensive ingredient list, and detailed instructions can be found in the printable recipe card at the very end of this post.
Ingredient Spotlight & Smart Substitutions
- Vanilla Ice Cream: This is the creamy foundation of your milkshake. We recommend using a high-quality regular vanilla ice cream for its classic flavor and rich texture. However, feel free to experiment! For an extra layer of gourmet flavor, try vanilla bean ice cream. If you want to double down on the caramel goodness, a good salted caramel ice cream can be used – just be mindful of the overall sweetness and adjust your added caramel sauce accordingly. For a slightly lighter or dairy-free option, you could even consider a good quality vanilla non-dairy frozen dessert, though the consistency might vary slightly. Make sure your ice cream is slightly softened (about 5-10 minutes out of the freezer) for easier blending and a smoother texture.
- Whole Milk: Whole milk provides the ideal creaminess and helps achieve that perfectly smooth, drinkable consistency without making the milkshake too thin. If you prefer a lighter shake, 2% milk can work, but avoid skim milk as it will result in a much thinner and less satisfying texture. For a dairy-free **salted caramel milkshake**, unsweetened almond milk or oat milk are excellent choices that blend beautifully and contribute their own subtle flavor notes.
- Vanilla Extract: A small amount of pure vanilla extract enhances the overall flavor profile, complementing both the sweet vanilla of the ice cream and the rich notes of the caramel. It adds depth and warmth, making the milkshake taste more complex and inviting.
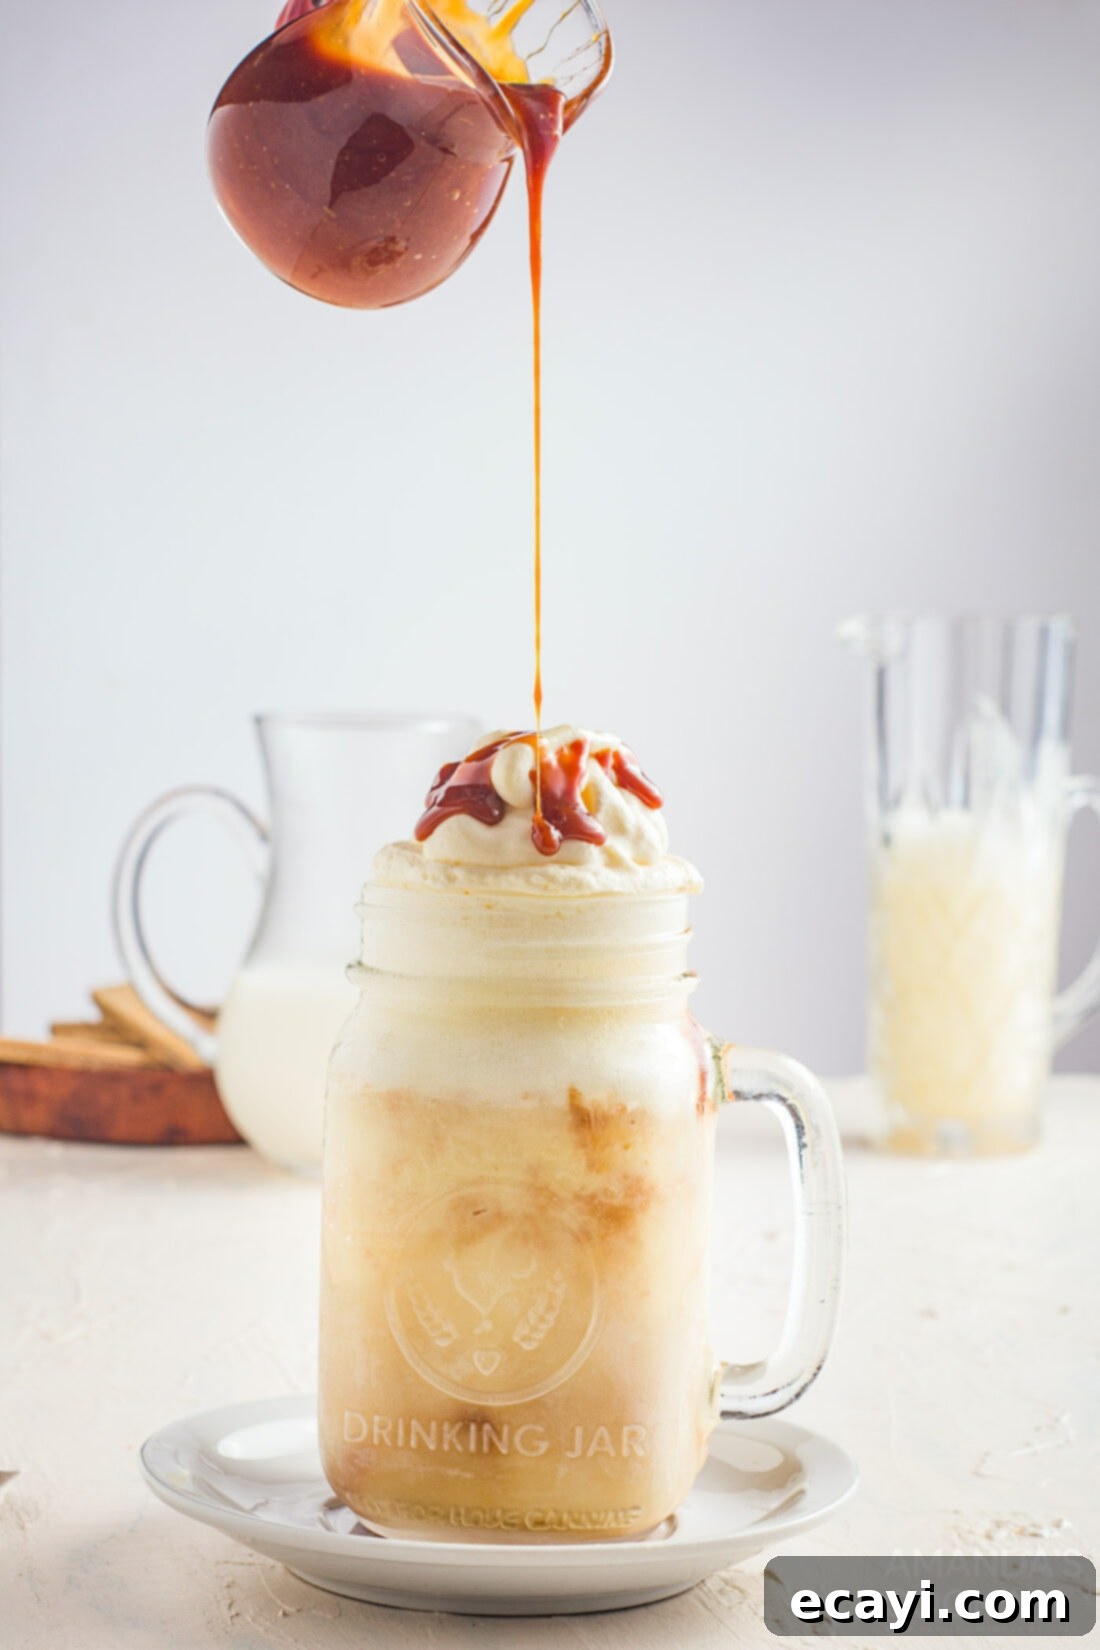
- Salted Caramel Sauce: This is where the magic happens! The quality of your salted caramel sauce will significantly impact the final taste of your milkshake. While a good store-bought caramel sauce is convenient, nothing beats the depth and richness of a homemade salted caramel sauce. If using store-bought, look for one that specifies “salted caramel” for that essential sweet-salty balance. You can drizzle some around the inside of your glass before pouring the shake for an appealing visual and an extra burst of flavor, or even add a tablespoon to the blender for a fully integrated caramel taste.
- Homemade Whipped Cream: A luxurious topping that truly elevates this **creamy salted caramel milkshake**. Whipping your own cream from heavy whipping cream and a touch of powdered sugar ensures a fresh, light, and perfectly sweetened accompaniment. While canned whipped cream can be used for convenience, homemade offers a superior texture, holds its shape better, and provides a much fresher taste.
- Optional Toppings: This is where you can unleash your creativity and customize your **salted caramel milkshake**! Beyond the essential whipped cream and caramel drizzle, consider adding:
- Crushed Pretzels: For an amazing salty crunch that perfectly complements the caramel’s sweetness.
- Crumbled Cookies: Think shortbread, chocolate chip, or even Oreos for added texture and flavor dimension.
- Chopped Nuts: Pecans, walnuts, or almonds add a nutty richness and a pleasant bite.
- Dusted Cocoa Powder: A hint of bitterness to elegantly balance the sweetness.
- Chocolate Shavings: For a touch of sophistication and extra chocolatey indulgence.
- A Sprinkle of Sea Salt Flakes: To emphasize the “salted” aspect right on top, adding a beautiful finish and a burst of flavor.
- Mini Chocolate Chips: A classic addition that always delights.
Crafting Your Creamy Salted Caramel Milkshake: Step-by-Step Guide
These step-by-step photos and detailed instructions are here to help you visualize how to make this delightful **salted caramel milkshake**. For a comprehensive, printable version of this recipe, complete with exact measurements and detailed instructions, simply Jump to the Recipe Card at the bottom of this post.
- Prepare Your Serving Glass: For an extra touch of presentation and an even more indulgent flavor experience, consider drizzling some salted caramel sauce around the inside walls of your serving glass. Use a spoon or a squeeze bottle to create beautiful streaks from top to bottom. If time allows, place the glass in the freezer for 5-10 minutes to help the caramel set and stick better.
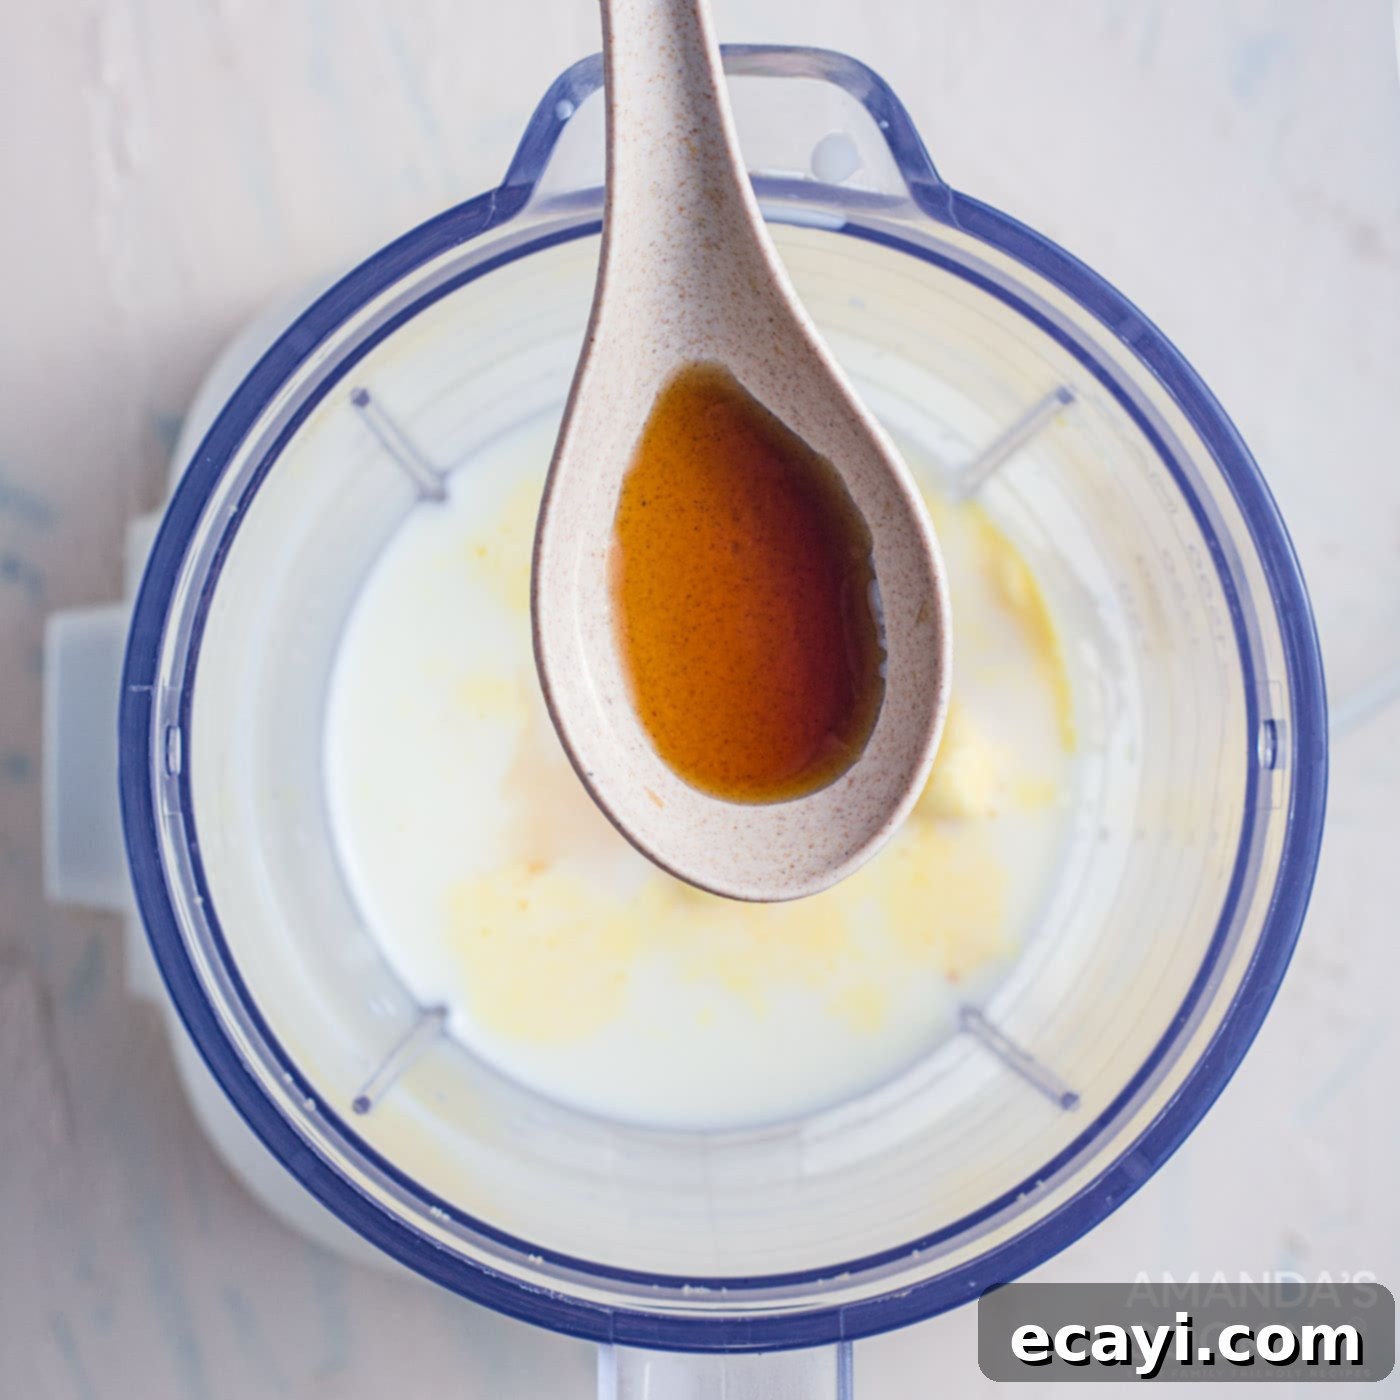
- Combine Main Milkshake Ingredients: Into a sturdy blender, add the slightly softened vanilla ice cream, whole milk, and vanilla extract. The ice cream should be firm enough to hold its shape but soft enough to scoop easily – this is key for achieving the perfect consistency without over-blending. If you wish for a deeper caramel flavor throughout the shake, you can also add a tablespoon or two of salted caramel sauce directly into the blender at this stage.
- Blend to Creamy Perfection: Secure the lid on your blender. Start blending on a low speed, then gradually increase to medium-high. Blend until all the ingredients are thoroughly combined, and the mixture achieves a smooth, thick, and creamy consistency. Use a spatula to scrape down the sides of the blender if needed to ensure everything is fully incorporated. Be mindful not to overblend, as this can introduce too much air or melt the ice cream, resulting in a thinner, less satisfying shake.
- Prepare Homemade Whipped Cream: While your milkshake chills briefly, prepare the homemade whipped cream if you’re using it. In a separate clean, cold mixing bowl, combine the cold heavy whipping cream and powdered sugar. Using an electric mixer (either a handheld mixer or a stand mixer with a whisk attachment), beat on medium-high speed until medium peaks form. This means the cream will hold its shape when you lift the beaters, but it will still appear soft and fluffy. Be careful not to overbeat, as it can quickly become grainy or turn into butter.
- Pour the Milkshake: Carefully pour the freshly blended **salted caramel milkshake** mixture into your prepared serving glass or glasses. The thick consistency should fill the glass beautifully, showcasing the caramel drizzles if you added them.
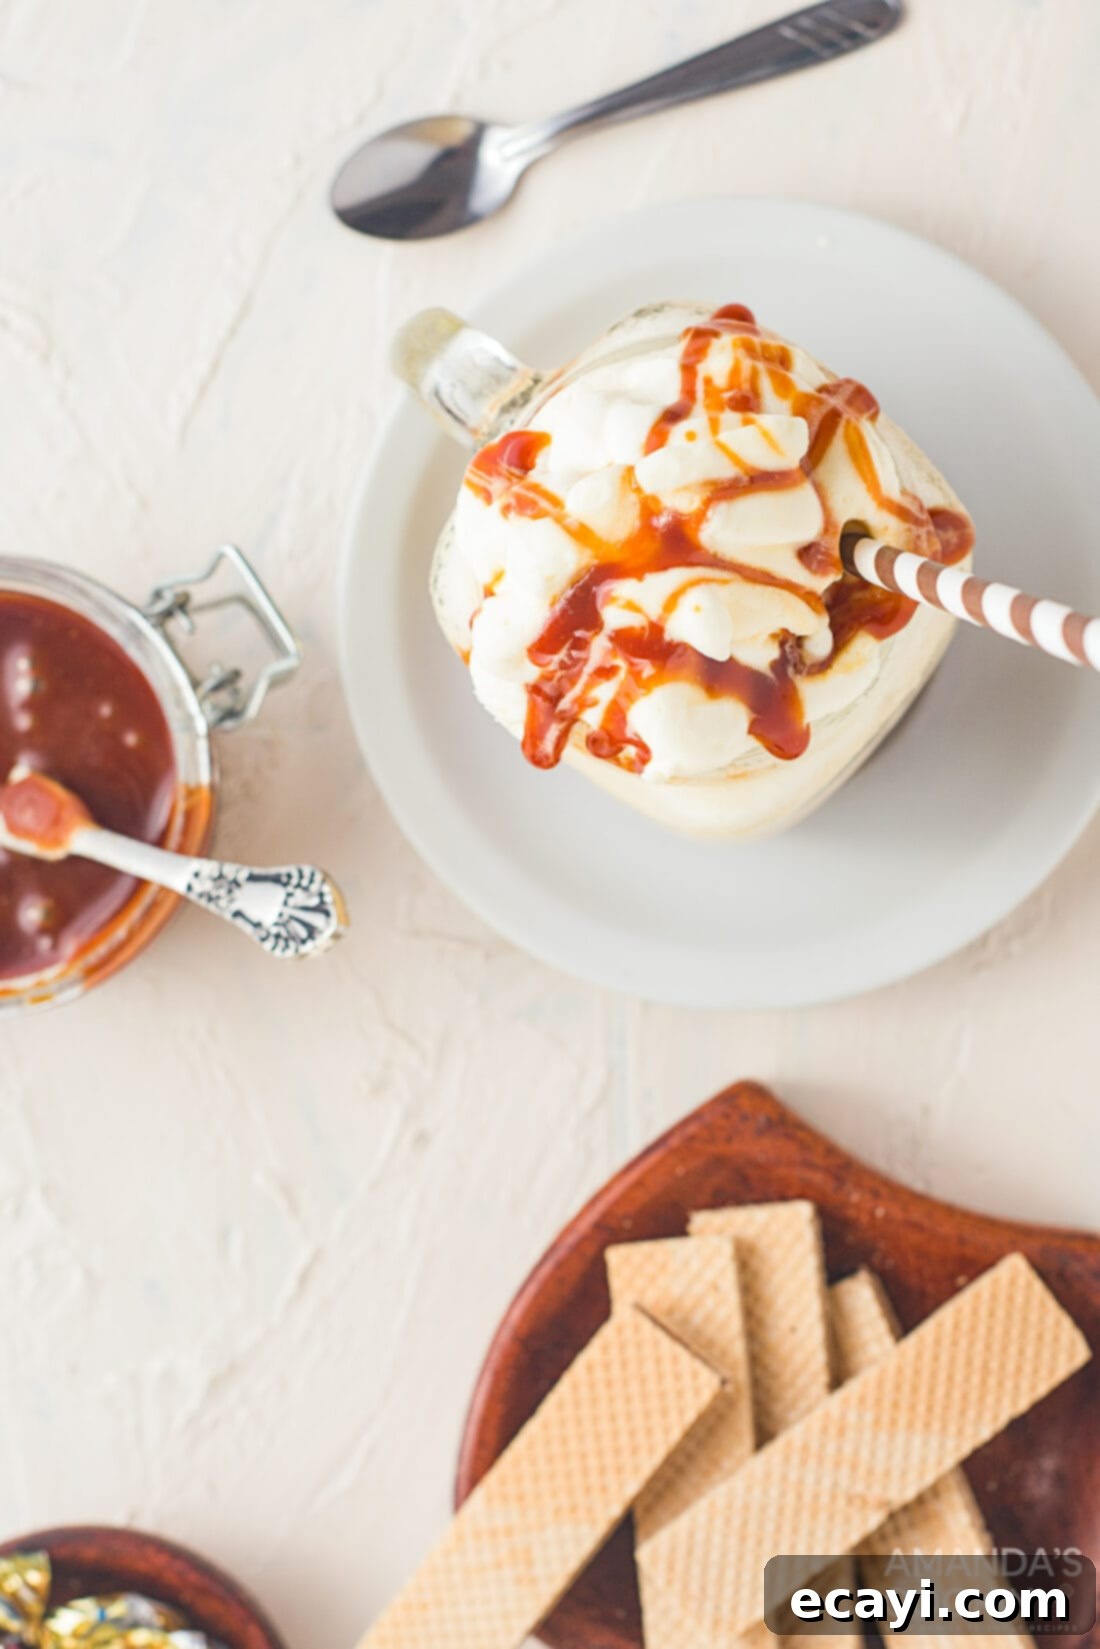
- Garnish and Serve: Crown each glorious milkshake with a generous dollop or an elegant swirl of your freshly made homemade whipped cream. Finish by drizzling an additional amount of salted caramel sauce artistically over the whipped cream. This is also the perfect moment to add any other desired toppings, such as a sprinkling of crunchy crushed pretzels, finely chopped nuts, or crumbled cookies, to create a truly personalized and irresistible treat. Serve your **creamy salted caramel milkshake** immediately and savor every delicious sip!
Frequently Asked Questions & Expert Tips for Your Salted Caramel Milkshake
Absolutely! Transforming this delightful treat into an adult indulgence is a fantastic idea, perfect for casual gatherings or a relaxed evening. Spirits that complement the rich notes of caramel work best. Smooth options like bourbon, a specially flavored salted caramel whiskey, or even a good quality vanilla vodka would pair wonderfully. Start by adding approximately 1 to 1.5 ounces (30-45 ml) of your chosen liquor per serving directly into the blender with the other ingredients. Taste and adjust the amount to your personal preference. Always remember to enjoy responsibly!
While ice cream is indeed the cornerstone for achieving that classic creamy and thick milkshake texture, you certainly don’t have to use it. If you’re looking for an alternative for various reasons, you can substitute the ice cream with a similar amount of ice cubes for a frosty, albeit less creamy, shake. However, for a genuinely delicious ice cream-free alternative that retains a great texture, consider making a “nice cream” milkshake! These often use frozen bananas as a base, providing natural sweetness and impressive creaminess without any dairy or added sugar. You can find a detailed guide on how to make delightful nice cream milkshakes on our blog for more inspiration.
The consistency of your **salted caramel milkshake** is easily customizable to your liking. For a thicker, spoonable shake, simply use less milk or add a bit more ice cream. Ensuring your ice cream is well-frozen but still scoopable will also contribute to a thicker result. If you find your milkshake is too thick, gradually add a small splash more milk, one tablespoon at a time, blending briefly after each addition until you reach your desired pourable yet creamy consistency. Blending for shorter periods can also help maintain a thicker texture.
Milkshakes, especially ones made with ice cream, are truly at their best when enjoyed immediately after blending. This is when they boast their optimal creamy, thick, and frosty consistency. If left to sit for too long, they tend to separate and can become watery or lose their desired texture. However, you can certainly prepare the homemade whipped cream a few hours in advance and store it in the refrigerator in an airtight container. This small step can save you valuable minutes when you’re ready to quickly assemble and serve your **homemade salted caramel milkshake**.
For that appealing, professional-looking caramel swirl that cascades down the sides of your glass, use a spoon or, ideally, a squeeze bottle filled with your salted caramel sauce. Drizzle the sauce along the inside walls of your serving glass, starting from the rim and working your way down in a circular motion. For an even better effect, slightly chill your glasses in the freezer for about 5-10 minutes before drizzling the caramel. This helps the sauce adhere to the glass and creates a more defined, beautiful streak when you pour in your creamy milkshake.
Serving Your Perfect Salted Caramel Milkshake
The beauty of this **creamy salted caramel milkshake** lies in its versatility. It’s the quintessential dessert to enjoy after a meal, a delightful mid-day pick-me-up on a warm day, or even a special treat to share with friends and family. While undeniably popular during the warmer months, the rich, comforting flavors of salted caramel make this shake a year-round favorite that transcends seasonal boundaries, perfect for any occasion that calls for a sweet indulgence.
For the ultimate indulgent experience, serve your milkshake immediately after blending. Begin by pouring the thick, luscious shake into tall glasses – mason jars work wonderfully for a rustic charm, or elegant parfait glasses for a more sophisticated presentation! Then, adorn each glass with a generous swirl of fluffy homemade whipped cream. Complete the masterpiece with an artful drizzle of extra salted caramel sauce cascading over the whipped cream, creating visually stunning ribbons of flavor. To truly elevate the experience and add layers of texture, don’t hesitate to experiment with additional toppings. Consider a sprinkle of crunchy crushed pretzels for that delightful salty-sweet contrast, a scattering of chopped pecans or walnuts for a nutty element, a dusting of rich cocoa powder for a hint of sophisticated bitterness, or even some crumbled shortbread cookies for added decadence. Each topping offers a unique dimension, transforming a simple milkshake into an unforgettable gourmet dessert.
Explore More Delicious Milkshake Recipes
If you’ve fallen in love with the creamy goodness of this **homemade salted caramel milkshake**, you’ll be thrilled to discover our other fantastic milkshake creations. There’s a perfect blend for every craving and occasion, from over-the-top extreme shakes to healthier alternatives and adult-friendly concoctions. Expand your milkshake repertoire with these delightful recipes:
- Freakshakes: Extreme Milkshakes for Epic Indulgence
- Refreshing Apple Cider Milkshakes
- Decadent Butterscotch Milkshake Cocktail
- Naturally Green Shamrock Shakes
- How to Make Delicious Nice Cream Milkshakes (Ice Cream Free!)
I love to bake and cook and share my kitchen experience with all of you! Remembering to come back each day can be tough, that’s why I offer a convenient newsletter every time a new recipe posts. Simply subscribe and start receiving your free daily recipes!
Salted Caramel Milkshake
IMPORTANT – There are often Frequently Asked Questions within the blog post that you may find helpful. Simply scroll back up to read them!
Print It
Pin It
Rate It
Save ItSaved!
Ingredients
- 4 scoops vanilla ice cream slightly softened
- 1 cup whole milk
- ½ tsp vanilla extract
Homemade Whipped Cream
- ½ cup heavy whipping cream
- 1 Tbsp powdered sugar
Topping Ideas
- salted caramel sauce
- crushed pretzels
- crumbled cookies
- dusted cocoa powder
- chopped nuts
- mini chocolate chips
Things You’ll Need
-
Blender
-
Electric Mixer (optional, for whipped cream)
Before You Begin
- Optionally drizzle salted caramel sauce around the inside of your milkshake glass before blending your milkshake for a beautiful presentation.
- The recipe nutrition facts listed here only include the milkshake ingredients as well as the homemade whipped cream, and do not account for additional toppings.
Instructions
-
(Optional) For visual appeal, drizzle salted caramel sauce around the inside walls of your serving glass. Place the glass in the freezer for a few minutes while you prepare the milkshake.
-
In a high-powered blender, combine the slightly softened vanilla ice cream, whole milk, and vanilla extract. Ensure ice cream is firm but scoopable, not melted.
-
Blend on low speed, gradually increasing to medium, until the mixture is smooth, thick, and well combined. Scrape down the sides of the blender if needed. Avoid over-blending to maintain optimal thickness.
-
For homemade whipped cream: In a separate clean, cold bowl, combine heavy whipping cream and powdered sugar. Beat with an electric mixer on medium-high speed until medium peaks form (the cream holds its shape).
-
Pour the freshly blended milkshake into your prepared serving glass(es).
-
Top generously with the homemade whipped cream and finish with an additional drizzle of salted caramel sauce and any other desired toppings (crushed pretzels, nuts, etc.). Serve immediately and enjoy!
Nutrition
The recipes on this blog are tested with a conventional gas oven and gas stovetop. It’s important to note that some ovens, especially as they age, can cook and bake inconsistently. Using an inexpensive oven thermometer can assure you that your oven is truly heating to the proper temperature. If you use a toaster oven or countertop oven, please keep in mind that they may not distribute heat the same as a conventional full sized oven and you may need to adjust your cooking/baking times. In the case of recipes made with a pressure cooker, air fryer, slow cooker, or other appliance, a link to the appliances we use is listed within each respective recipe. For baking recipes where measurements are given by weight, please note that results may not be the same if cups are used instead, and we can’t guarantee success with that method.
