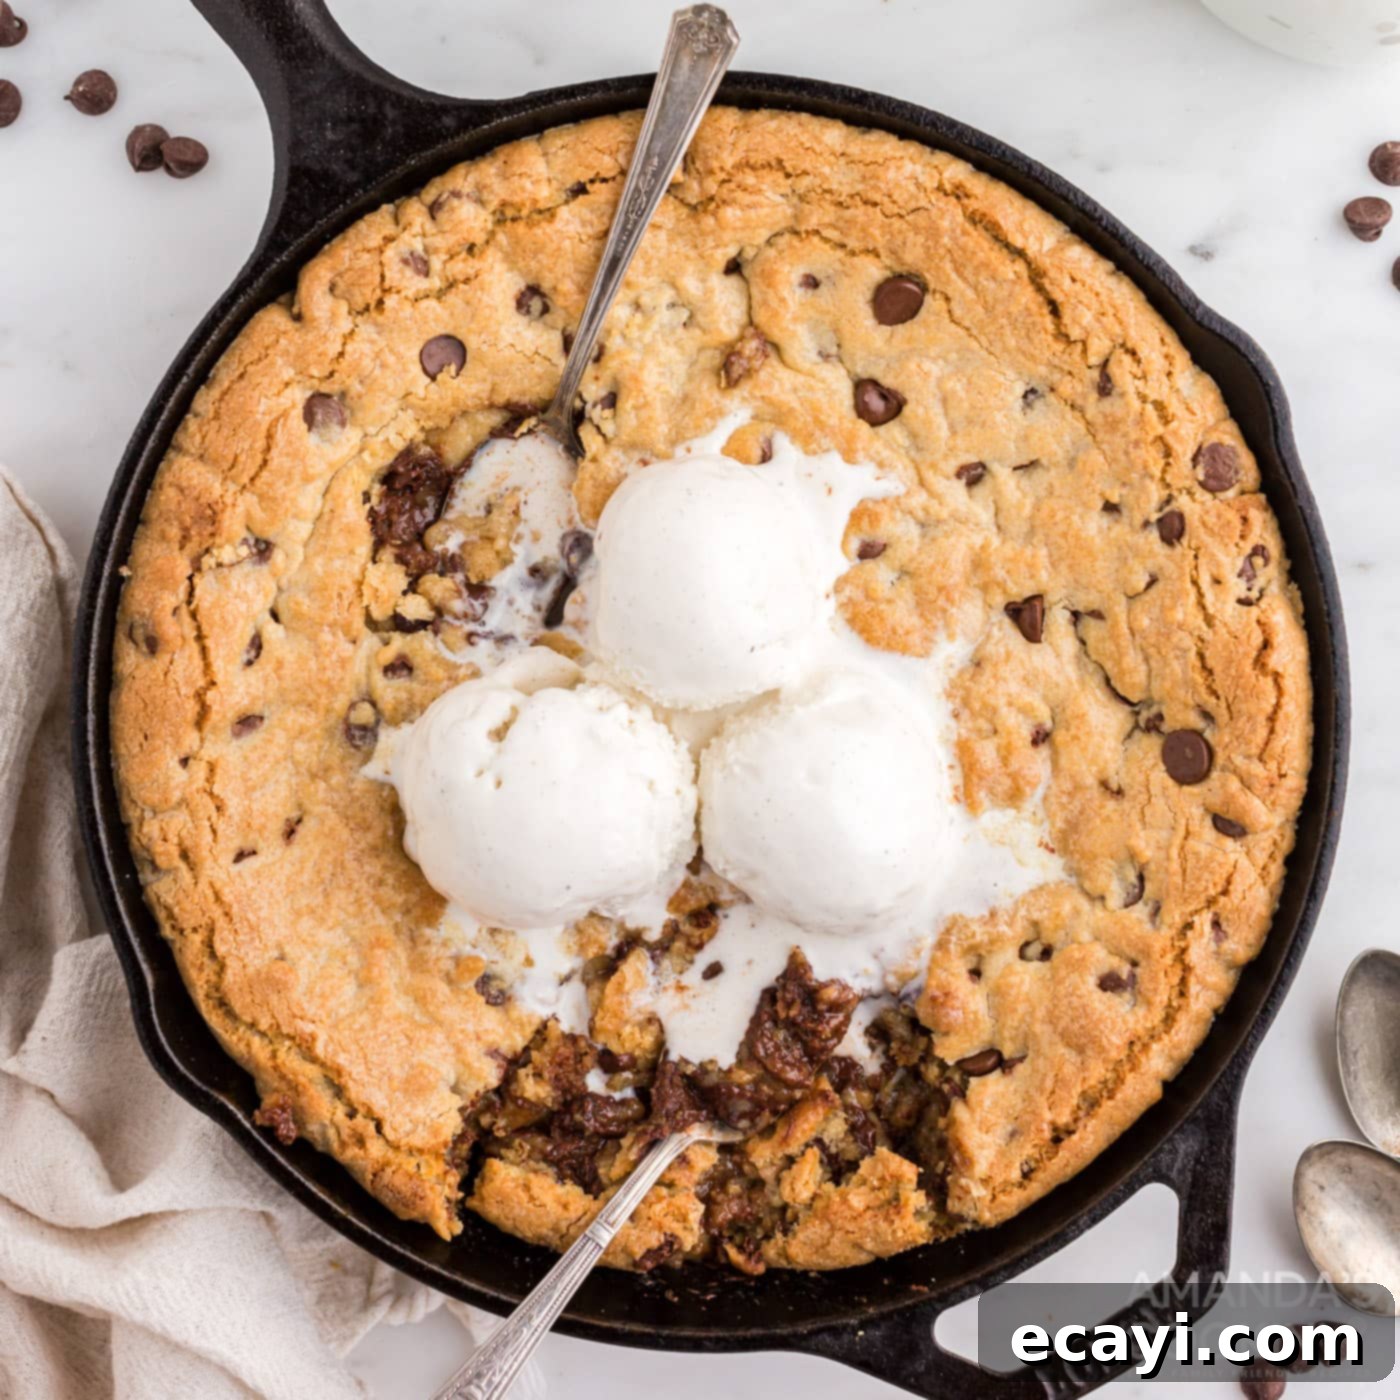
Irresistible Skillet Chocolate Chip Cookie: The Ultimate Homemade Pizookie Recipe with Vanilla Ice Cream
Prepare to fall in love with the ultimate warm and melty dessert: an incredible Skillet Chocolate Chip Cookie, generously topped with creamy vanilla ice cream. This glorious cookie skillet promises golden, crispy edges and a wonderfully gooey, soft center that will have everyone reaching for another spoon. It’s the kind of dessert that disappears almost as quickly as it’s served – perfect for sharing, celebrating, or simply indulging in a moment of pure bliss.
Why This Deep-Dish Cookie Skillet Recipe is a Must-Try
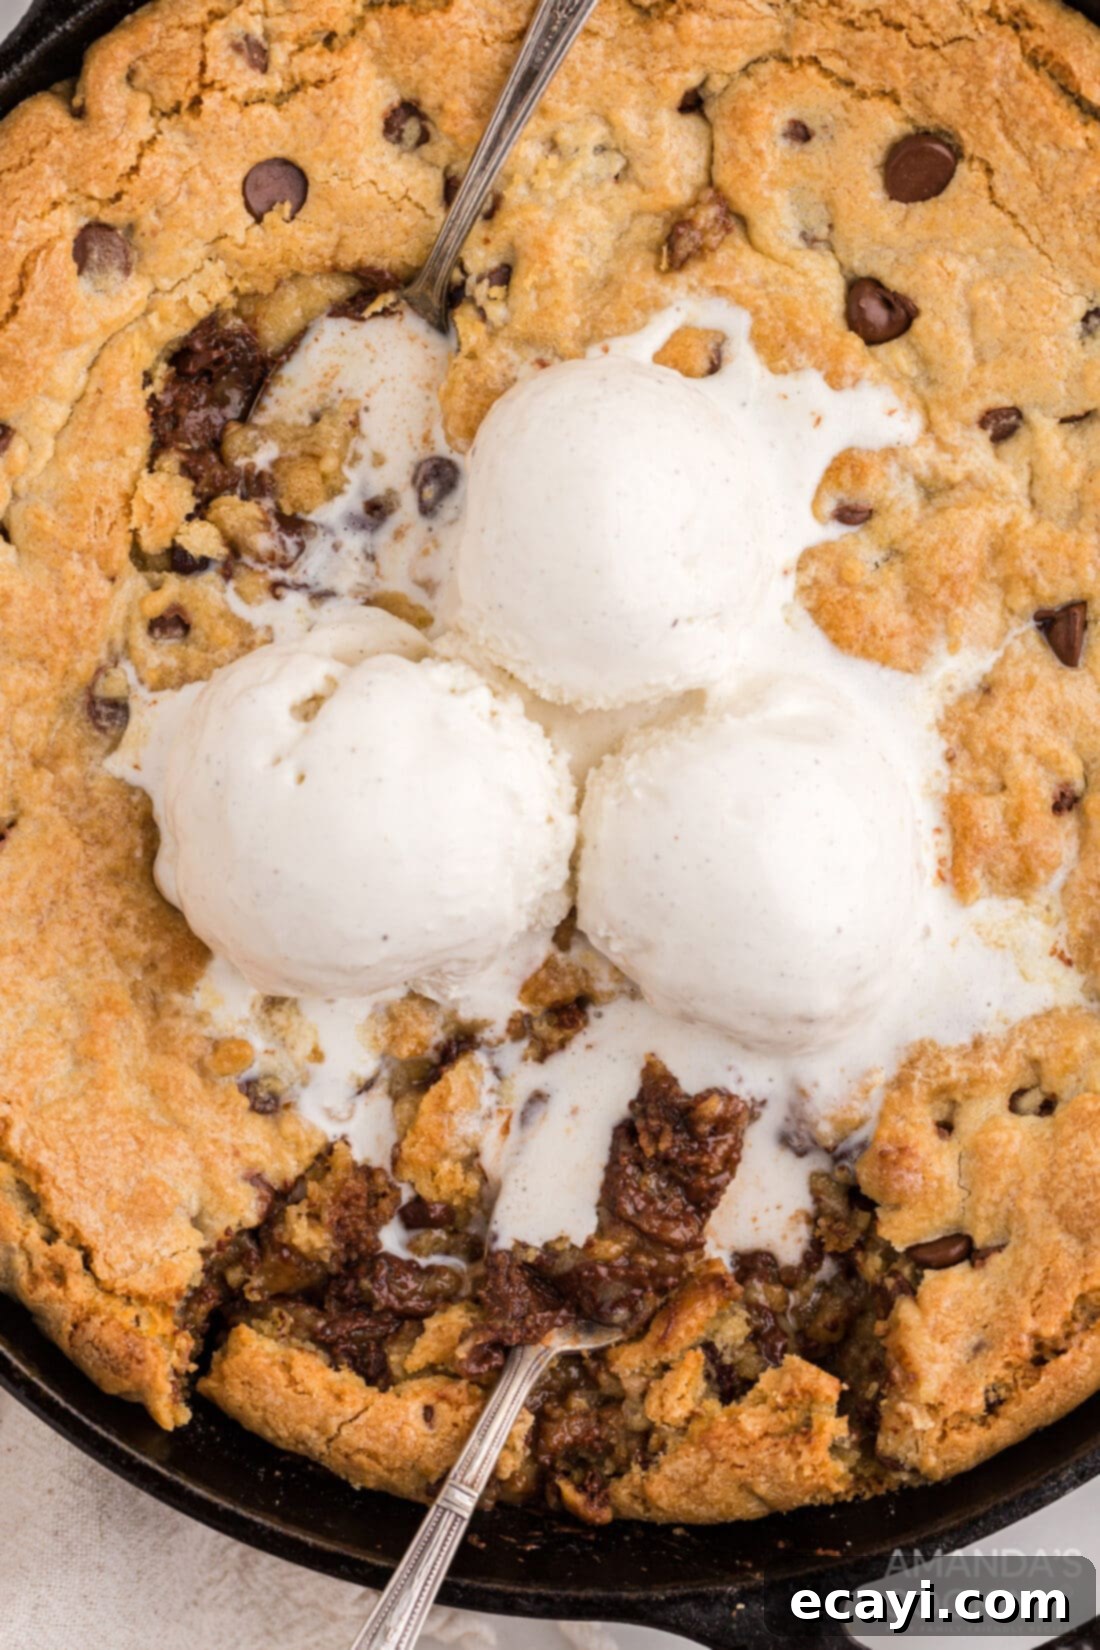
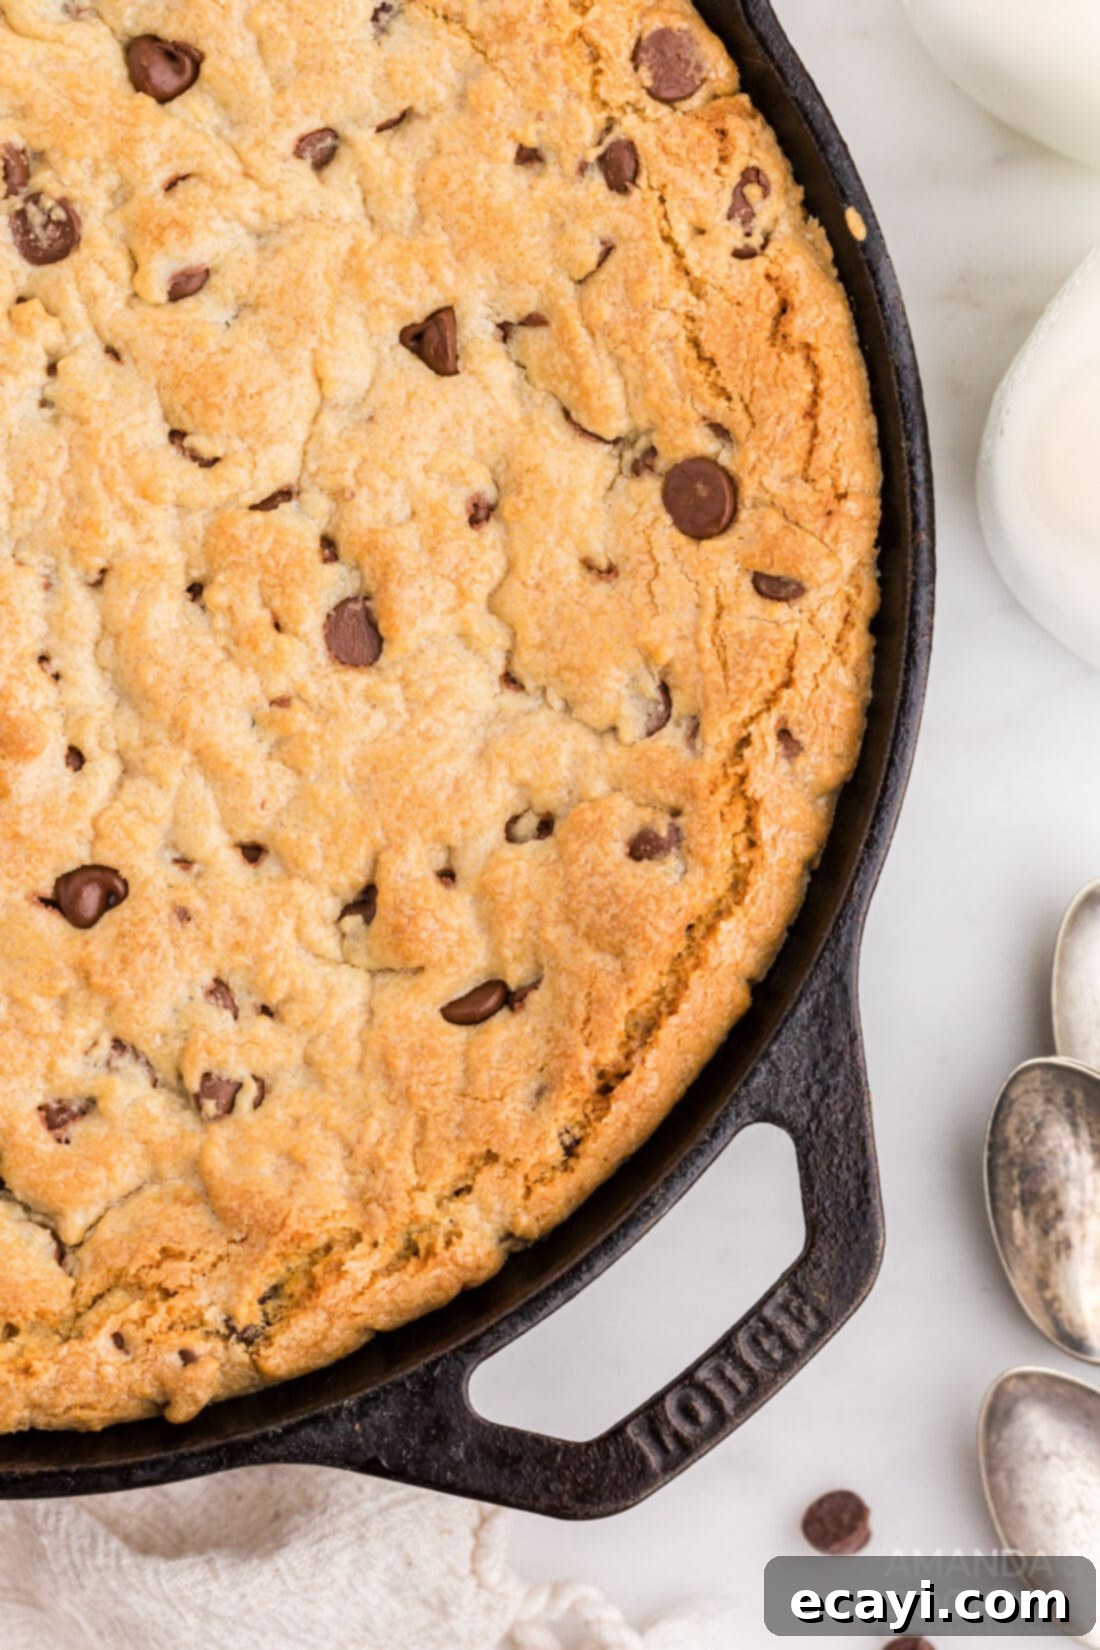
A warm, fluffy, and tender skillet chocolate chip cookie is more than just a dessert; it’s an experience. What sets making a chocolate chip cookie in a cast-iron skillet apart from a traditional cookie pan is its unique ability to create a deep-dish cookie with an unparalleled tender, fluffy inside and perfectly crisp edges. The heavy cast iron heats evenly and retains heat beautifully, ensuring that every bite delivers that coveted contrast of textures.
You know those spectacular deep-dish cookie skillets served at restaurants? Often called a cookie sundae, a pizookie, or even a skillet cookie, this homemade version brings that decadent experience right into your kitchen. This recipe is designed to be effortlessly repeatable, making it your go-to dessert for any occasion, be it lively parties, festive birthdays, or simply a spontaneous craving for something sweet and comforting. Forget complicated desserts; this Skillet Chocolate Chip Cookie combines ease with undeniable deliciousness.
Essential Ingredients for Your Perfect Skillet Cookie
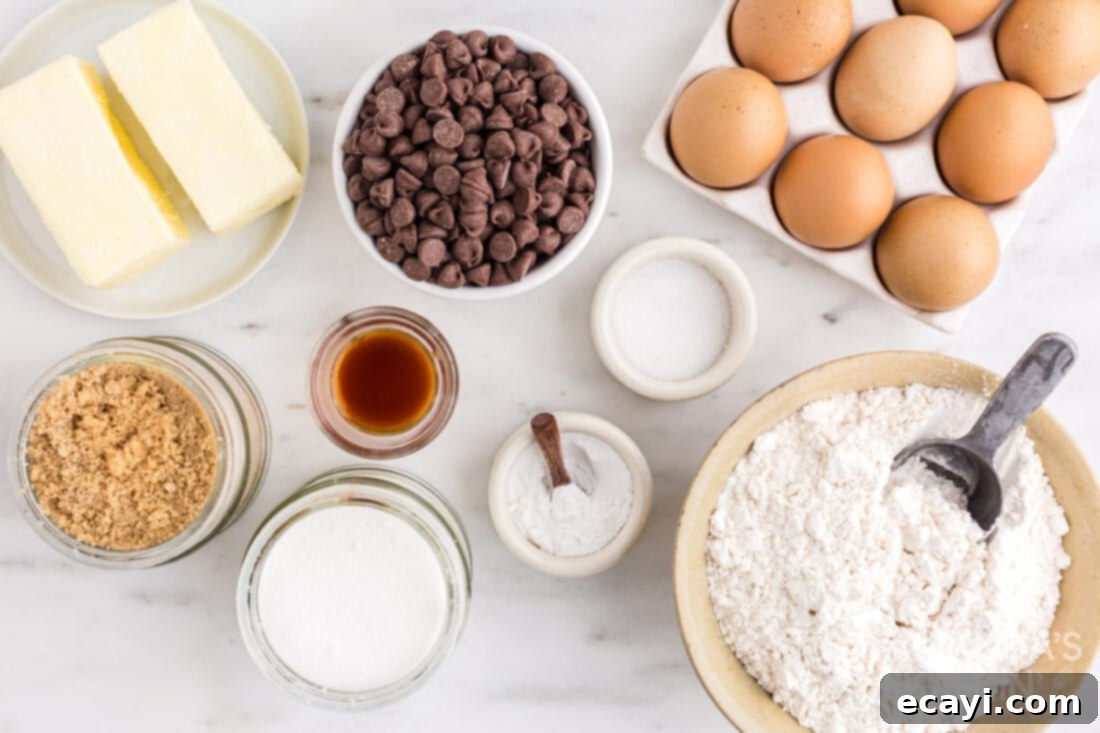
Crafting this phenomenal deep-dish cookie requires a few simple, high-quality ingredients that you likely already have in your pantry. Using fresh, good-quality ingredients makes all the difference in achieving that rich, authentic chocolate chip cookie flavor. While you can find all exact measurements and detailed instructions in the printable recipe card at the very end of this post, here’s a quick overview of what you’ll need to gather:
Ingredient Spotlight & Expert Substitution Tips
Let’s dive deeper into the key components of our Skillet Chocolate Chip Cookie:
- Unsalted Butter: Butter is the foundation of flavor and texture in cookies. Using unsalted butter allows you to control the salt content precisely. Ensure your butter is at room temperature – this is crucial for creaming with the sugars, creating a light and airy base for your dough. If you only have salted butter, reduce the added sea salt by ¼ teaspoon.
- Granulated Sugar & Light Brown Sugar: This combination is key to the perfect cookie. Granulated sugar provides crispness and helps with spreading, while light brown sugar adds moisture, chewiness, and a delightful caramel-like flavor. Packed brown sugar is essential for accurate measurement. The molasses in brown sugar also contributes to the rich, golden-brown color of the baked cookie.
- Large Eggs: Eggs act as a binder, adding structure and moisture to the cookie. Using large eggs at room temperature helps them incorporate more smoothly into the batter, preventing curdling and ensuring a uniform dough. They also contribute to the cookie’s rise and rich flavor.
- Vanilla Extract: A good quality vanilla extract elevates the flavor profile of chocolate chip cookies significantly. It complements the chocolate and sugars beautifully. For an extra special touch, consider using vanilla bean paste.
- All-Purpose Flour: This provides the main structure for our cookie. When measuring flour, spoon it into the measuring cup and level it off with a straight edge rather than scooping directly from the bag. This prevents over-packing, which can lead to a dry, dense cookie.
- Sea Salt: Don’t skip the salt! It balances the sweetness of the sugars and chocolate, enhancing all the other flavors. Fine sea salt or kosher salt works best.
- Baking Soda: This leavening agent reacts with the acidic brown sugar to create carbon dioxide bubbles, giving the cookie a soft, tender texture and helping it spread slightly for those desirable crispy edges.
- Semi-Sweet Chocolate Chips: The star of the show! Semi-sweet chocolate chips offer a classic flavor that most people love. You can easily substitute these with milk chocolate chips for a sweeter cookie, dark chocolate chips for a richer, more intense flavor, or even a combination of different chocolate types. For a gourmet touch, chopped chocolate bars melt beautifully and create pockets of molten chocolate throughout the cookie. Feel free to mix in other ingredients like chopped nuts (walnuts, pecans), toffee bits, or even white chocolate chips for variety.
Step-by-Step: Crafting Your Perfect Skillet Chocolate Chip Cookie
These step-by-step photos and detailed instructions are here to help you visualize how to make this delightful recipe. For the complete printable version of this recipe, including exact measurements and instructions, please Jump to Recipe at the bottom of this post.
- Preheat your oven to 350°F (175°C). This ensures the oven is at the correct temperature when the cookie goes in, promoting even baking. Lightly butter a 12-inch cast iron skillet, making sure to coat the bottom and sides thoroughly to prevent sticking and encourage those lovely crispy edges. Set it aside.
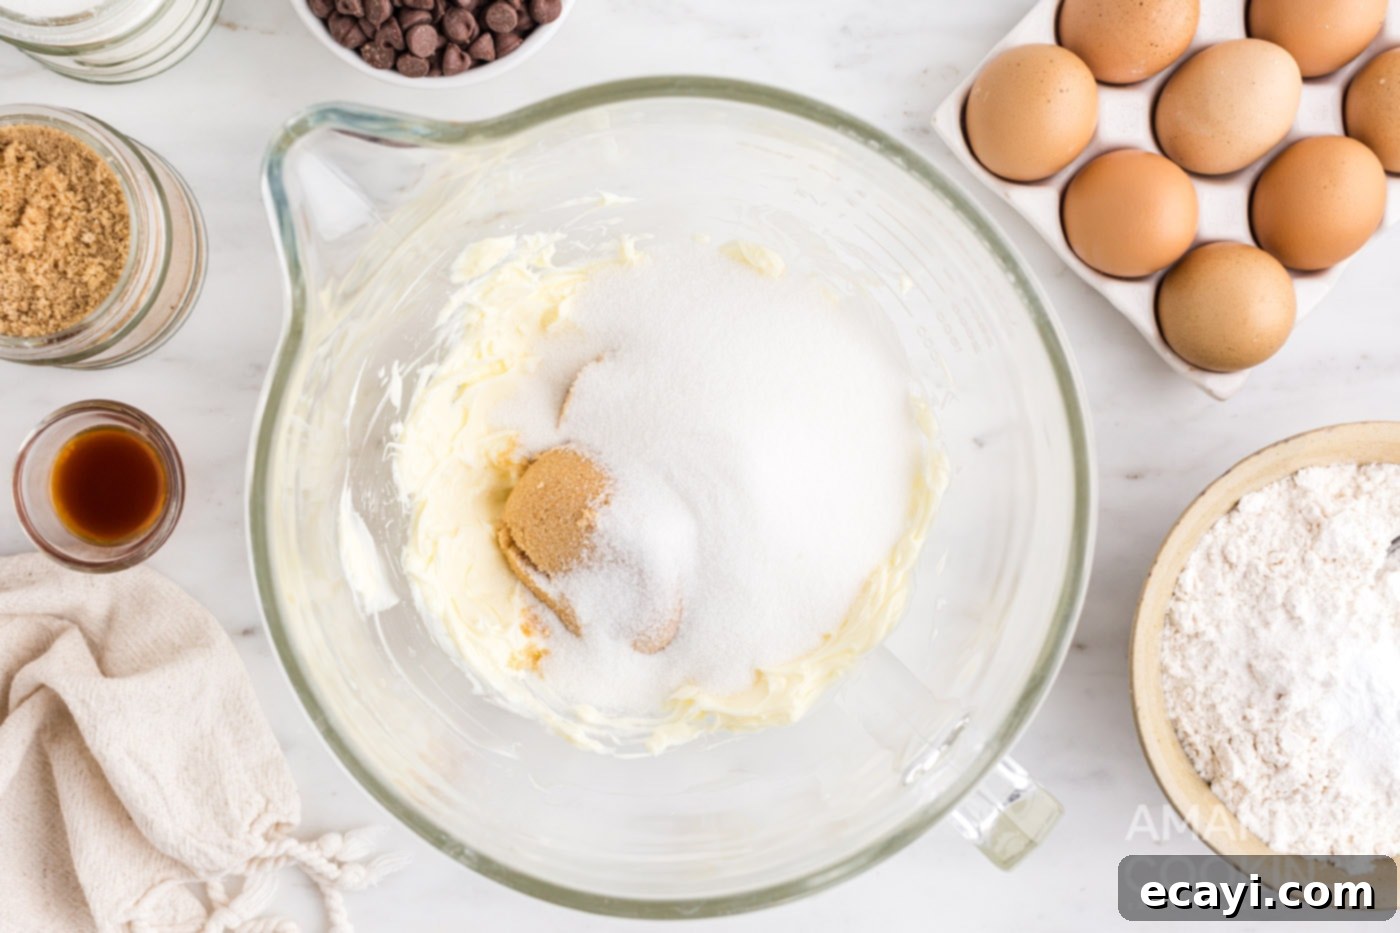
- In the bowl of a standing mixer fitted with the paddle attachment, or using a hand mixer, beat the room temperature unsalted butter on high speed for 1-2 minutes. You want the butter to become visibly lighter in color and smooth in texture. This process, called creaming, incorporates air into the butter, which contributes to the cookie’s light and fluffy texture. Don’t forget to scrape down the sides of the bowl with a spatula to ensure everything is evenly mixed. Add the granulated sugar and packed brown sugar to the creamed butter and continue beating for another 1-2 minutes until the mixture is light, fluffy, and well combined.
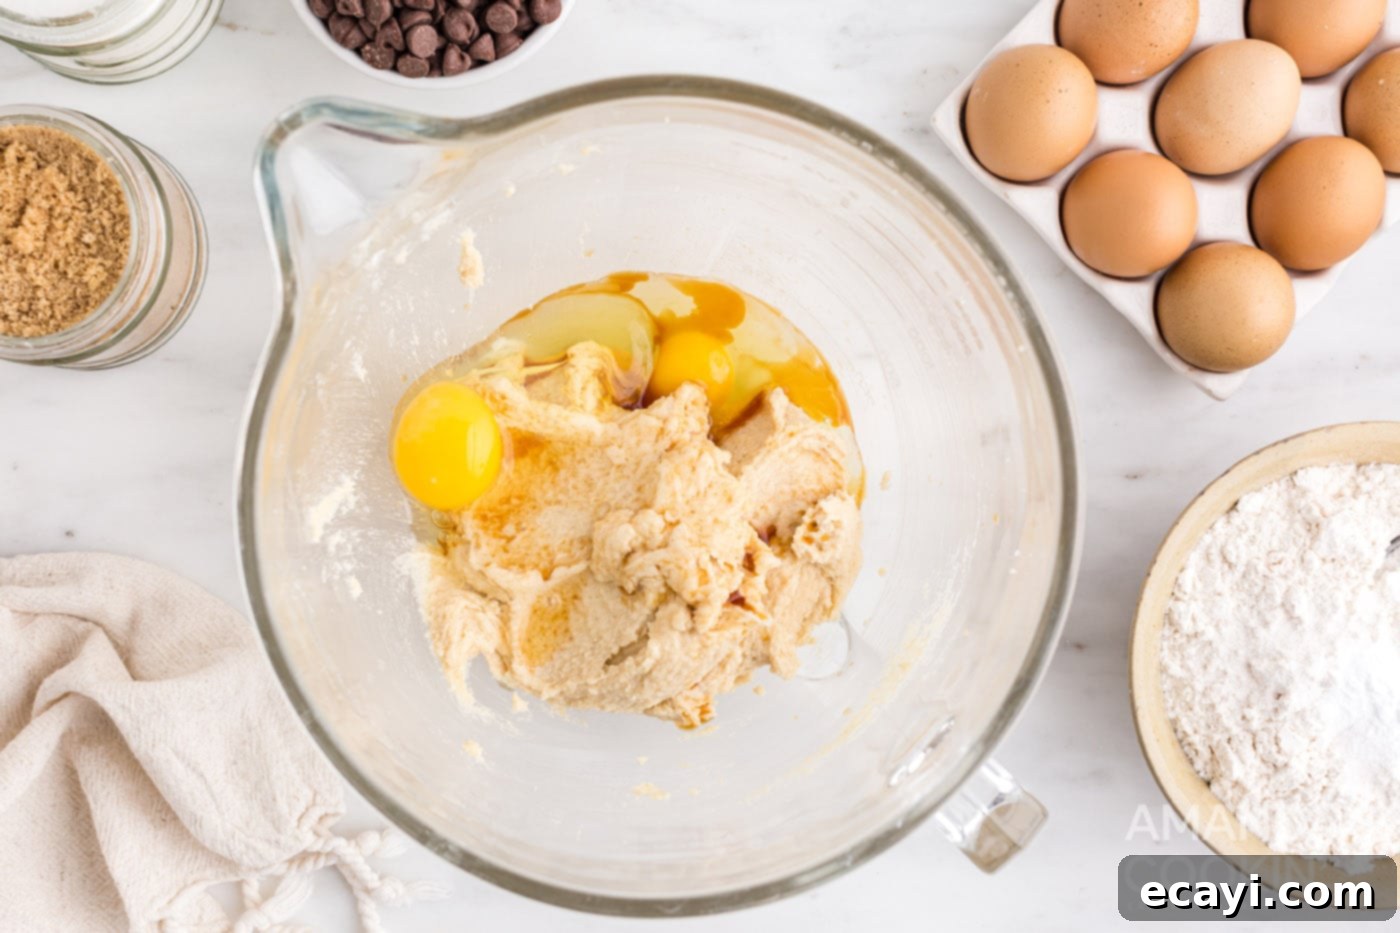
- Now, add the large eggs one at a time, beating well after each addition. Then, stir in the vanilla extract. Continue to beat the mixture on high speed for several more minutes, allowing it to become very light and fluffy. This step is crucial for incorporating air and creating a tender crumb. Regularly scrape down the sides and bottom of the bowl to ensure all ingredients are fully integrated.
- In a separate medium bowl, combine the all-purpose flour, sea salt, and baking soda. Whisk them together thoroughly. This ensures that the leavening agent and salt are evenly distributed throughout the dry ingredients, preventing pockets of unmixed components in your final cookie.
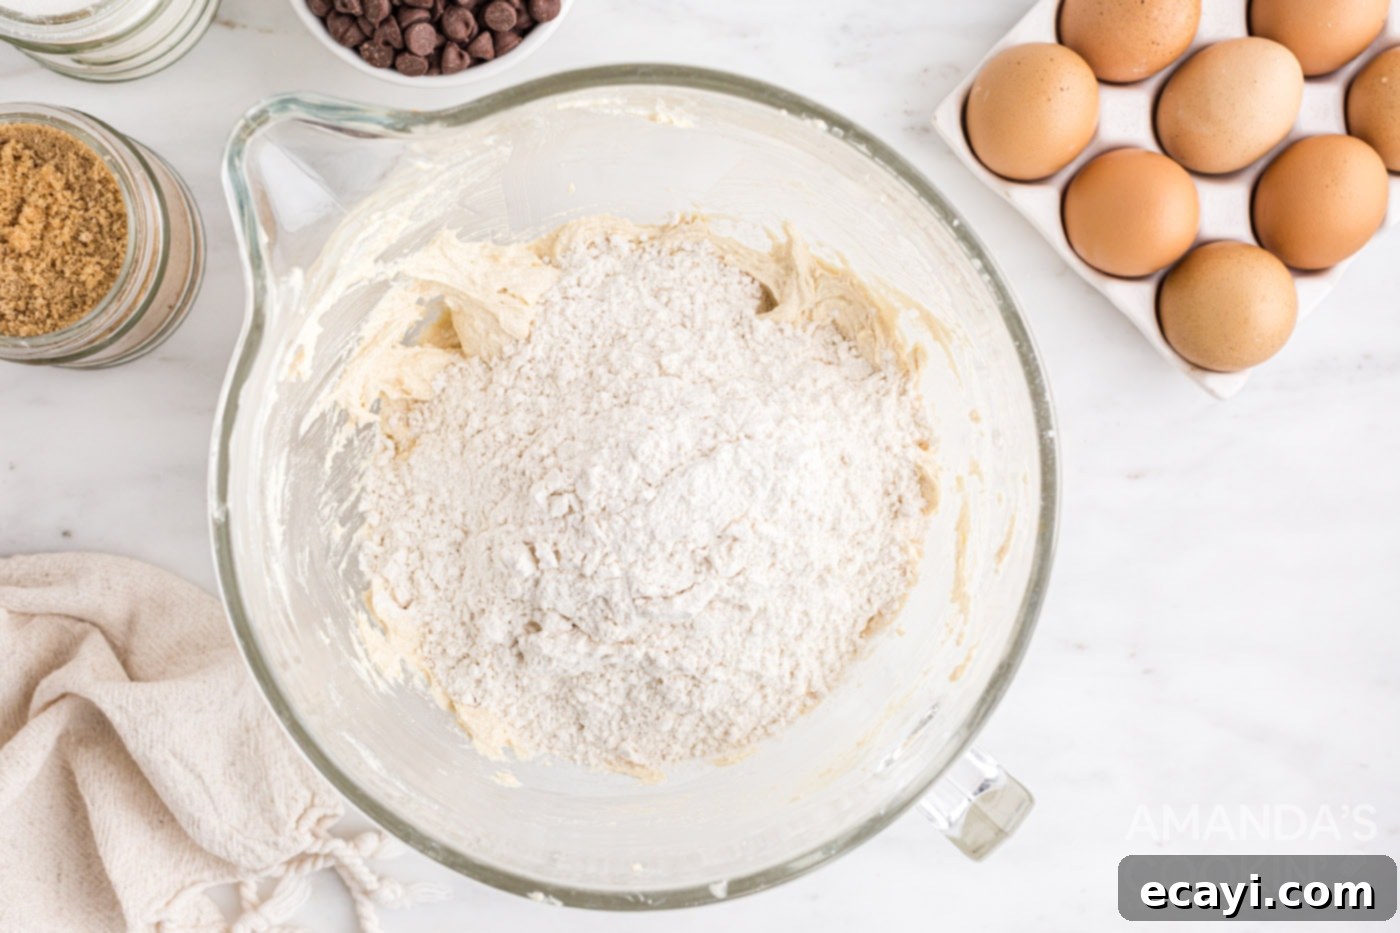
- Gradually add the dry flour mixture to the creamed wet ingredients. Mix on low speed just until combined. Be careful not to overmix at this stage; overmixing the flour can develop the gluten too much, leading to a tough cookie. Stop mixing as soon as no streaks of flour are visible.
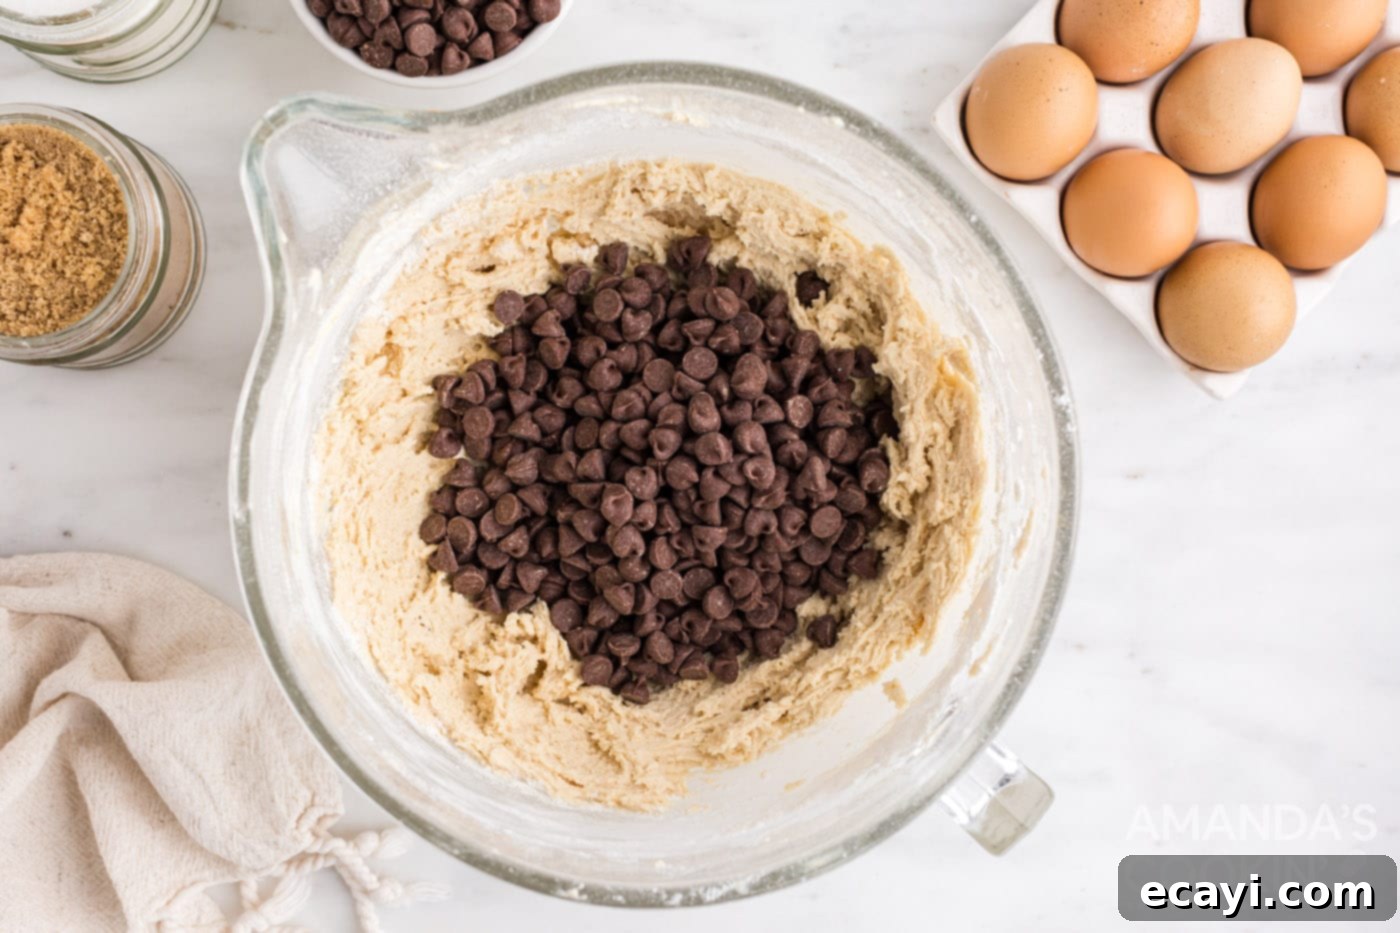
- Finally, gently fold in the semi-sweet chocolate chips. If using a mixer, mix for just a few seconds on the lowest speed until the chocolate chips are evenly distributed throughout the dough. You want to avoid breaking them up too much.
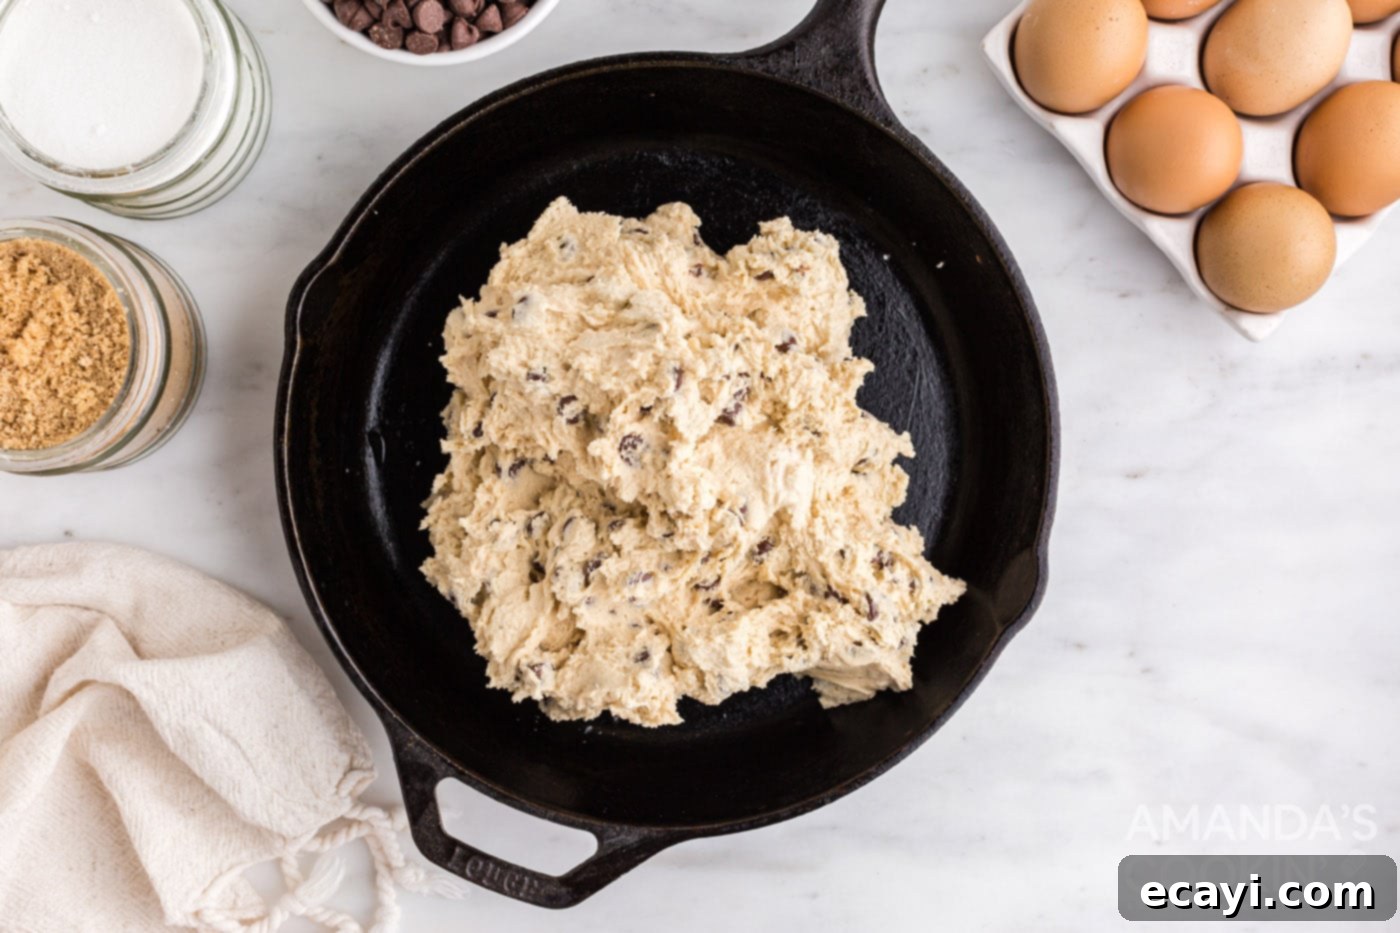
- Carefully press the cookie dough evenly into the prepared 12-inch cast iron skillet. You can use your hands or a spatula to spread it out. Make sure it reaches all edges of the pan.
- Bake for 30 minutes, or until the edges are golden brown and the center of the cookie is set. The center may still appear slightly soft or gooey, which is exactly what you want for that perfect deep-dish texture.
- Remove the skillet from the oven and allow it to cool slightly before serving. The cookie will continue to cook and set in the hot cast iron pan for several minutes after it’s removed. Serve it warm for the best experience!
Frequently Asked Questions & Expert Tips for Your Skillet Cookie Success
If you’re lucky enough to have leftovers, or if you plan to enjoy only a portion of the skillet in one sitting, it’s best to remove the cookie from the cast iron skillet once it has completely cooled. This prevents it from drying out or becoming too soft due to trapped moisture. Place the cooled cookie in an airtight container or a large Ziploc bag. Store it at room temperature for up to one week. For longer storage, you can wrap individual portions tightly in plastic wrap and then foil, and freeze for up to 2-3 months. Thaw at room temperature or gently reheat in the oven or microwave.
It’s a common misconception that the center of a skillet cookie should be firm when it comes out of the oven. Especially when using a cast iron pan, the cookie will continue cooking (this is known as “carry-over cooking”) in the hot skillet for quite a while even after being removed from the oven. This residual heat is key to achieving that perfectly gooey center without overbaking the edges. If, after 10-15 minutes of resting, you still think your cookie skillet is too under-baked for your preference, you can place it back in the oven for an additional 5 minutes until the center sets a bit more. For a firmer, more well-done cookie from the start, simply add 5 minutes to the initial baking time.
Absolutely! Preparing the cookie dough in advance is a fantastic time-saver. You can make the dough, press it into your buttered skillet, cover it tightly with plastic wrap, and refrigerate it for up to 2-3 days. When you’re ready to bake, simply remove it from the fridge and let it sit at room temperature for about 15-20 minutes while your oven preheats. You might need to add an extra 5-10 minutes to the baking time since the dough will be chilled.
This recipe is designed for a 12-inch cast iron skillet, which yields a generous deep-dish cookie perfect for sharing. If you use a smaller skillet, like a 10-inch, you’ll have a thicker cookie and may need to increase the baking time by 5-10 minutes. Conversely, if you use a larger skillet, the cookie will be thinner, and the baking time might be slightly reduced. Always keep an eye on the cookie’s edges and center to gauge doneness.
Yes, definitely! While semi-sweet chocolate chips are a classic choice, feel free to get creative. A mix of milk chocolate and dark chocolate chips offers a wonderful complexity. You could also use chopped chocolate bars (milk, dark, or white) for pockets of truly melted chocolate. Experiment with different ratios to find your favorite combination!
Serving Your Skillet Chocolate Chip Cookie for Maximum Delight
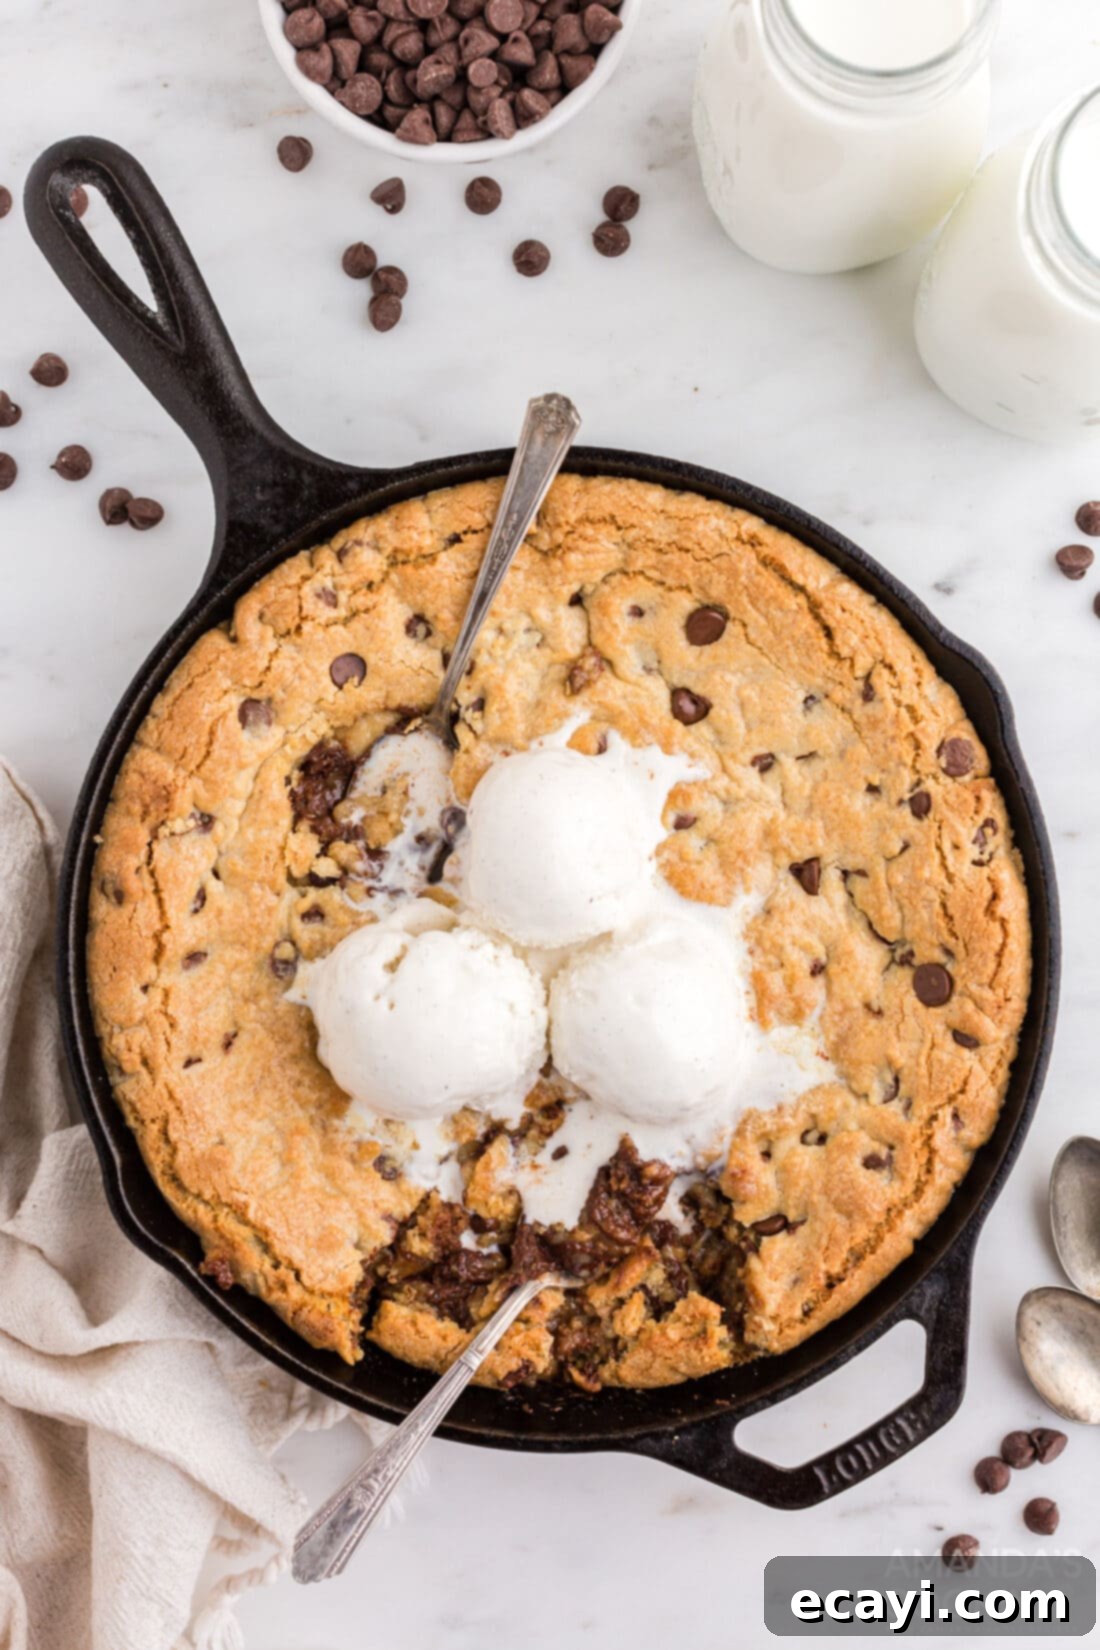
Serving this warm Skillet Chocolate Chip Cookie is wonderfully simple and incredibly satisfying. The best way to enjoy it is piping hot from the oven, allowing the vanilla ice cream to slowly melt into its rich, gooey center. Gather your loved ones, grab a bunch of spoons, and dig right in for a true communal dessert experience! Alternatively, you can cut it into generous wedges for individual servings, though part of the fun is scooping it directly from the pan. Don’t forget the absolute essential topping: a heaping scoop (or two!) of high-quality vanilla ice cream. The cold, creamy ice cream against the warm, soft cookie is a match made in heaven that defines the classic pizookie experience.
Unleash Your Creativity: Amazing Topping Ideas
While vanilla ice cream is the classic choice, don’t stop there! The beauty of a skillet cookie is how easily it can be customized with a variety of toppings to suit any preference. Here are some fantastic ideas to elevate your homemade deep-dish cookie:
- A Pinch of Sea Salt: A sprinkle of flaky sea salt on top provides a beautiful contrast to the sweetness, enhancing the chocolate flavor.
- Caramel Drizzle: A luscious swirl of warm caramel sauce adds an extra layer of sweetness and sticky goodness.
- Chocolate Drizzle: For the ultimate chocolate lover, more chocolate is always a good idea! A drizzle of melted chocolate or chocolate syrup takes it over the top.
- Whipped Cream: Light and airy whipped cream offers a delightful creaminess, especially when paired with other toppings.
- Sprinkles: Add a festive touch with colorful sprinkles, perfect for birthdays or celebrations.
- Crushed Pretzels: For a sweet and salty crunch, crushed pretzels are an unexpected but delicious addition.
- Chopped Peanut Butter Cups: If you’re a fan of the peanut butter and chocolate combination, this is a must-try!
- Extra Chocolate Chips: Sprinkle a few more chocolate chips on top right after baking for an extra melty, appealing look.
- Chopped Nuts: Toasted walnuts, pecans, or almonds can add a delightful crunch and nutty flavor.
- Fresh Berries: A handful of fresh raspberries or sliced strawberries can add a burst of freshness and a slight tartness that cuts through the richness.
- Marshmallows: For a s’mores-inspired twist, add marshmallows during the last few minutes of baking, or toast them lightly with a kitchen torch before serving.
A fun and creative way to serve this dessert, especially for kids or individual portions, is to separate the cookie dough into smaller cast iron skillets or oven-safe ramekins before baking. Just be sure to monitor them closely in the oven, as smaller portions will bake much quicker. This fluffy, deep-dish chocolate chip cookie skillet, baked to a beautiful golden brown and crowned with a generous scoop of chilly ice cream, truly holds a special place in my heart as the perfect indulgent treat. Enjoy every blissful bite!
Explore More Delicious Skillet Dessert Recipes
If you love the convenience and charm of baking desserts in a cast iron skillet, you’re in for a treat! Skillets are incredibly versatile and perfect for creating single-serving delights or family-sized indulgences. Here are some more of my favorite skillet dessert recipes that you’ll surely enjoy:
- S’mores Dip
- Single Serve Bananas Foster
- Brownies in a Cast Iron Skillet
- Peanut Butter Marbled Brownie Skillet
- Pineapple Upside Down Cake in a Cast Iron Skillet
- Chocolate Chip Caramel Skillet Cookie

Skillet Chocolate Chip Cookie (Pizookie)
IMPORTANT – There are often Frequently Asked Questions within the blog post that you may find helpful. Simply scroll back up to read them!
Print It
Pin It
Rate It
Save ItSaved!
Ingredients
- 1 cup unsalted butter
- 1 cup granulated sugar
- ¾ cup light brown sugar packed
- 2 large eggs
- 2 tsp vanilla extract
- 2 ½ cups all-purpose flour
- ½ tsp sea salt
- 1 tsp baking soda
- 2 cups semi-sweet chocolate chips
Things You’ll Need
-
12 inch cast iron skillet
-
Stand mixer
Before You Begin
- Increase the cook time by 5 minutes for a more well-done cookie skillet. The cookie will continue cooking in the skillet after being removed from the oven particularly if you cook it in a cast iron pan, which will hold the heat for quite a while even after coming out of the oven.
- Ensure all your cold ingredients, like butter and eggs, are at room temperature. This is essential for proper creaming and a smooth, well-incorporated dough.
- Do not overmix the dough once the flour is added. Mix just until combined to avoid developing too much gluten, which can result in a tough cookie.
Instructions
-
Preheat the oven to 350°F (175°C). Butter a 12-inch cast iron skillet generously and set it aside.
-
In the bowl of a standing mixer, beat the room temperature butter on high speed for 1-2 minutes until it lightens in color and is smooth. Scrape down the sides of the bowl.
-
Add the granulated white sugar and light brown sugar to the butter and beat for another 1-2 minutes until thoroughly combined and fluffy.
-
Add the eggs one at a time, beating well after each, then add the vanilla extract. Continue to beat on high speed for several more minutes until the mixture is very light and fluffy, scraping down the sides of the bowl frequently.
-
In a separate medium bowl, combine the all-purpose flour, sea salt, and baking soda. Stir well to combine.
-
Gradually add the flour mixture to the creamed ingredients, mixing on low speed just until combined. Avoid overmixing.
-
Fold in the semi-sweet chocolate chips or mix for just a few seconds on low speed until they are evenly distributed throughout the dough.
-
Press the cookie dough evenly into the prepared skillet, spreading it to the edges.
-
Bake for 30 minutes, or until the edges are golden brown and the center of the cookie is set but still looks slightly gooey. Remove from the oven and serve warm, ideally topped with vanilla ice cream.
Nutrition
The recipes on this blog are tested with a conventional gas oven and gas stovetop. It’s important to note that some ovens, especially as they age, can cook and bake inconsistently. Using an inexpensive oven thermometer can assure you that your oven is truly heating to the proper temperature. If you use a toaster oven or countertop oven, please keep in mind that they may not distribute heat the same as a conventional full sized oven and you may need to adjust your cooking/baking times. In the case of recipes made with a pressure cooker, air fryer, slow cooker, or other appliance, a link to the appliances we use is listed within each respective recipe. For baking recipes where measurements are given by weight, please note that results may not be the same if cups are used instead, and we can’t guarantee success with that method.
I love to bake and cook and share my kitchen experience with all of you! Remembering to come back each day can be tough, that’s why I offer a convenient newsletter every time a new recipe posts. Simply subscribe and start receiving your free daily recipes!
