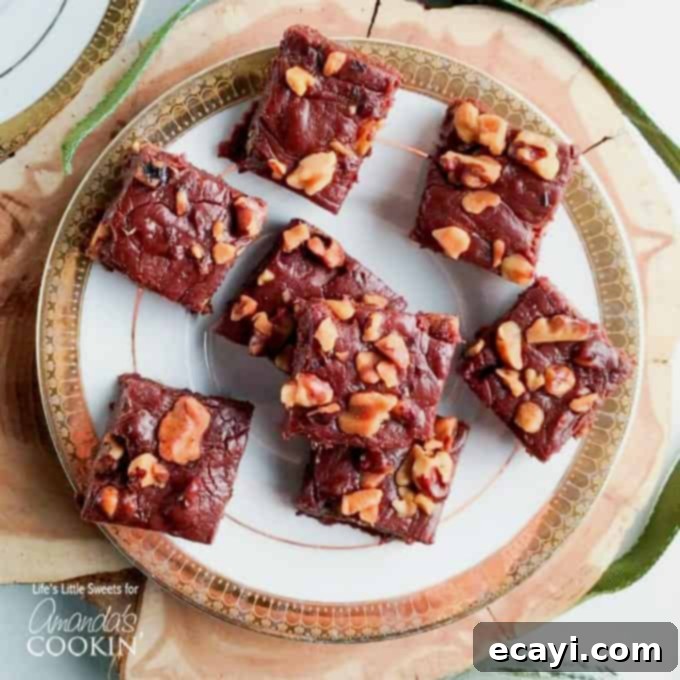
Decadent Chocolate Walnut Fudge: An Easy, Melt-in-Your-Mouth Homemade Treat
Prepare to fall in love with this incredibly rich and creamy Chocolate Walnut Fudge. Each bite offers a harmonious blend of smooth, buttery chocolate and the delightful crunch of perfectly toasted walnuts. This simple, melt-in-your-mouth fudge recipe isn’t just a dessert; it’s an experience. It’s remarkably easy to make, yielding a generous batch that’s perfect for satisfying your deepest chocolate candy cravings or for sharing as thoughtful, homemade gifts. Forget store-bought varieties – once you taste this homemade gem, you’ll understand why it’s destined to become your new favorite go-to treat.
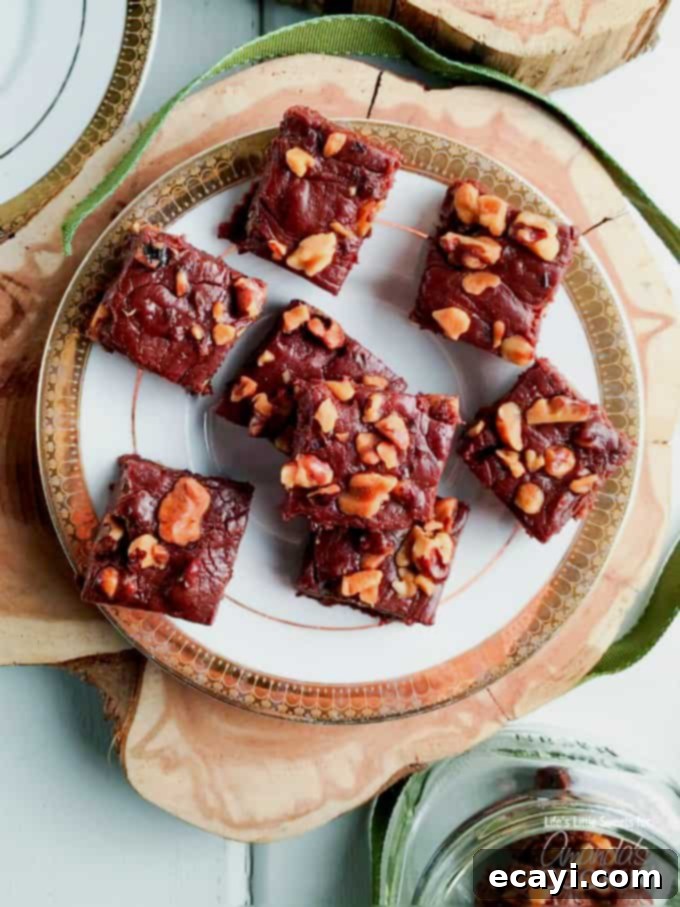
Why This Chocolate Walnut Fudge Recipe is a Must-Try
There’s something uniquely special about homemade fudge, and this Chocolate Walnut Fudge elevates that experience. Unlike many traditional fudge recipes that demand a candy thermometer and precise temperature monitoring, this recipe simplifies the process dramatically. That’s right – no candy thermometer needed! This makes it an ideal project for beginners and seasoned home bakers alike, removing any intimidation often associated with making confectionery.
The secret to its incredibly smooth and buttery texture lies in the ingenious inclusion of mini marshmallows and high-quality butter. These ingredients work together to create a fudge that’s consistently soft, never grainy, and truly melts in your mouth with every bite. The entire cooking process takes place on the stovetop, in just one large saucepan, and can be completed in a mere 15 minutes. After a quick 30-minute cool-down at room temperature, it’s transferred to the refrigerator for just an hour to set perfectly. The minimal hands-on time and straightforward steps mean you can whip up a batch of this luxurious fudge whenever a craving strikes or you need a last-minute gift.
The Secret to Irresistible Flavor: Toasted Walnuts
One of the standout features of this recipe is the use of toasted walnuts. While you could certainly opt for raw chopped walnuts, the simple step of toasting them truly transforms the fudge. Toasting brings out a profound depth of nutty flavor and a wonderful aroma that raw walnuts simply can’t offer. The heat intensifies their natural oils, making them richer and more complex, perfectly complementing the sweet, robust chocolate and the delicate hint of vanilla. This process also adds a lovely crispness, providing a delightful textural contrast to the smooth, yielding fudge.
Toasting walnuts is a simple process: just spread them evenly on a cookie sheet and bake for 8-10 minutes in a preheated oven. Keep a close eye on them to prevent burning, as nuts can go from perfectly toasted to overdone very quickly. The enhanced flavor and texture of toasted walnuts are well worth the extra few minutes of effort, making your Chocolate Walnut Fudge truly exceptional.
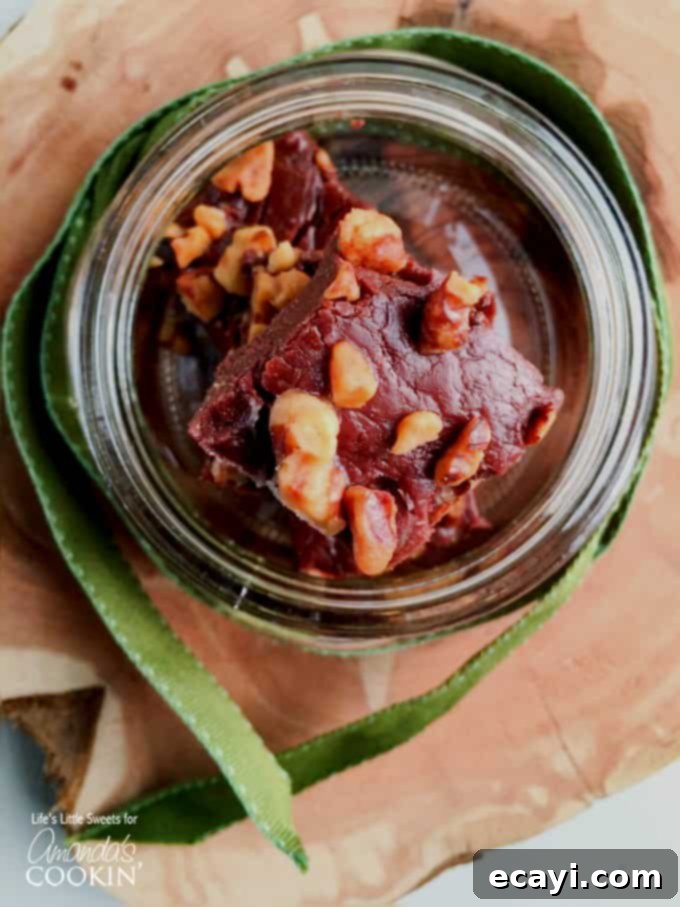
Perfect for Any Occasion: Gift-Giving & Family Fun
This Chocolate Walnut Fudge recipe isn’t just for personal indulgence; it’s a fantastic choice for holiday gift-giving and a wonderful activity to enjoy with children. The simple, straightforward steps make it an ideal recipe for young aspiring bakers to get involved in the kitchen, fostering a love for cooking and baking from an early age. Imagine the joy of creating delicious treats together, especially during festive seasons.
When it comes to gifts, homemade fudge speaks volumes. It’s a thoughtful, personal, and universally loved edible present. Think about all the people who would appreciate a box of these delectable squares: teachers, neighbors, co-workers, friends, or as a charming hostess gift. During the holidays, a beautifully packaged batch of this fudge can serve as a delightful stocking stuffer or an addition to a festive dessert platter. For special occasions like birthdays, anniversaries, or even as a simple ‘thank you,’ handmade fudge shows you care. You can easily customize the packaging with decorative ribbons, small boxes, or charming mason jars to match the occasion, making each gift truly unique and memorable.
Storing Your Homemade Fudge for Lasting Freshness
Proper storage is key to maintaining the delightful texture and flavor of your homemade Chocolate Walnut Fudge. To keep it at its best, always store it in an airtight container in the refrigerator. This helps to prevent it from drying out and maintains its creamy consistency. When stored correctly, your fudge will remain fresh and delicious for up to 5 days. However, based on its irresistible taste, we highly doubt it will last that long! You might find yourself reaching for “just one more piece” until the entire batch mysteriously disappears. For longer storage, fudge can also be wrapped tightly and frozen for up to 2-3 months. Thaw it in the refrigerator overnight or at room temperature for a few hours before serving.
There are affiliate links in this post. That means if you buy something from that link, I will earn a small commission, but it won’t cost you anything additional.
Beyond the Recipe: Tips for Perfect Fudge Every Time
While this recipe is incredibly forgiving, a few additional tips can help ensure your Chocolate Walnut Fudge turns out perfectly every time. First, always use high-quality chocolate. The better the chocolate, the richer and more decadent your fudge will taste. Semi-sweet chocolate chips or chopped baking bars work wonderfully, but feel free to experiment with dark chocolate for a more intense flavor profile.
Secondly, when melting the ingredients on the stovetop, gentle heat and constant stirring are your allies. Avoid rushing the process by turning up the heat too high, as this can scorch the mixture or cause it to seize. Stir until the marshmallows are just melted and smooth. When you remove it from the heat to add the vanilla and chocolate, continue stirring until the chocolate is completely melted and the mixture is uniform and glossy. This ensures a consistent texture throughout your fudge.
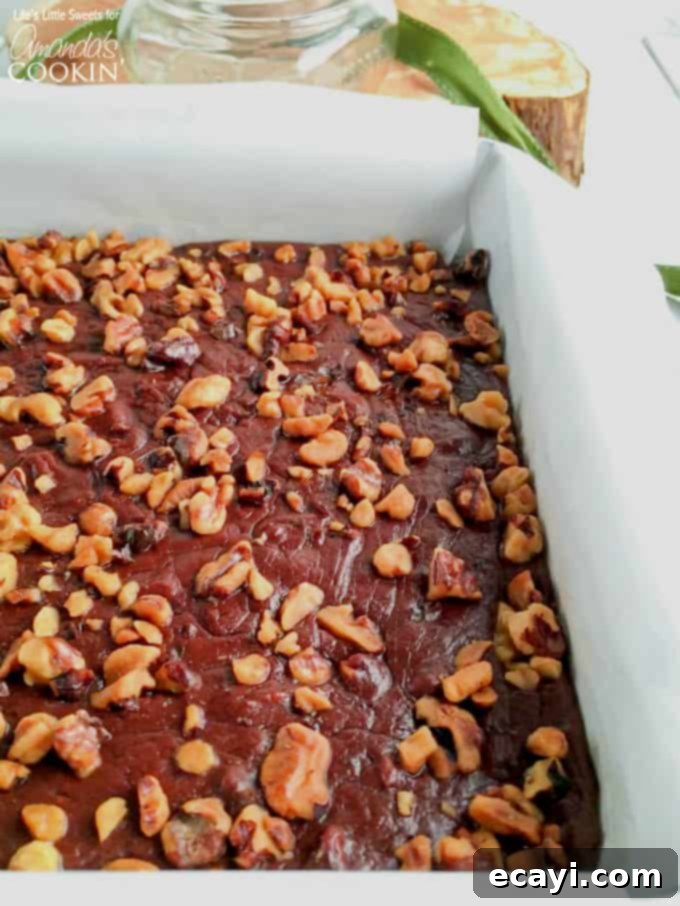
Properly preparing your baking pan is also crucial for easy removal. The crisscrossed parchment paper with an overhang is a brilliant trick that allows you to lift the entire slab of fudge out of the pan once it’s set, making cutting effortless and mess-free. Buttering the parchment paper provides an extra layer of non-stick assurance.
Finally, patience during the setting process pays off. While it’s tempting to dive in, allowing the fudge to cool at room temperature first, then chilling it in the refrigerator, ensures it firms up properly. This dual-stage cooling process results in perfectly sliceable squares that hold their shape beautifully. If your fudge seems a bit too soft after chilling, simply pop it back in the fridge for a bit longer. Conversely, if it seems too hard, it might have been cooked slightly too long; next time, reduce the stovetop cooking time by a minute or two.
Ingredients for Your Decadent Chocolate Walnut Fudge
Gathering your ingredients ahead of time, a practice known as mise en place, will make the fudge-making process even smoother. Here’s a detailed look at what you’ll need to create this amazing treat:
- 4 tablespoons of unsalted butter, plus more for greasing the 8″ x 8″ pan
- 3 cups of mini marshmallows
- 1 cup sugar (I used organic pure cane sugar and it works very well)
- 1/2 cup heavy cream (heavy whipping cream works as well)
- 1/2 teaspoon kosher salt
- 1/2 teaspoon pure vanilla extract
- 12 ounces semi sweet chocolate (use the best quality you can find, it does make a difference)
- 1 cup walnuts, chopped
Kitchen Tools You May Find Helpful for Chocolate Walnut Fudge
Having the right tools on hand can make all the difference in the kitchen. For this straightforward fudge recipe, you’ll likely already have most of these items:
- 8″x 8″ baking pan
- parchment paper
- cookie sheet
- a sharp knife
- cutting board
- baking spatula
- wooden spoon
- mason jars or boxes, if you are gift giving
- decorative and festive ribbon, if you are gift giving
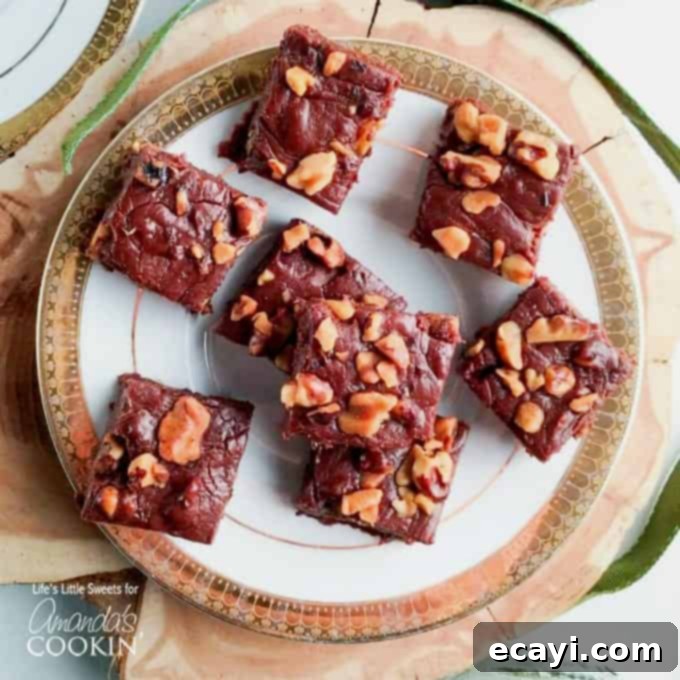
You are truly going to adore this Chocolate Walnut Fudge. Its rich flavor, buttery texture, and delightful crunch make it an unforgettable treat. Let it be your new “go-to” fudge recipe, ready to satisfy any sweet craving or impress as an exquisite homemade gift. Enjoy the simple pleasure of making and savoring this magnificent creation!
Chocolate Walnut Fudge
IMPORTANT – There are often Frequently Asked Questions within the blog post that you may find helpful. Simply scroll back up to read them!
Print It
Pin It
Rate It
Save ItSaved!
Ingredients
- 4 tablespoons of unsalted butter plus more for greasing the 8″ x 8″ pan
- 3 cups of mini marshmallows
- 1 cup sugar I used organic pure cane sugar and it works very well
- ½ cup heavy whipping cream heavy whipping cream works as well
- ½ teaspoon kosher salt
- ½ teaspoon pure vanilla extract
- 12 ounces semi sweet chocolate use the best quality you can find, it does make a difference
- 1 cup walnuts chopped
Before You Begin
Instructions
-
Preheat oven to 350 degrees F. Spread chopped walnuts evenly onto a cookie sheet and bake for 8-10 minutes. Stay close to the oven to keep an eye on them to prevent burning. Remove walnuts when they are toasted to your desired taste (I toast mine for 10 minutes but that might be “too toasted” for other people).
-
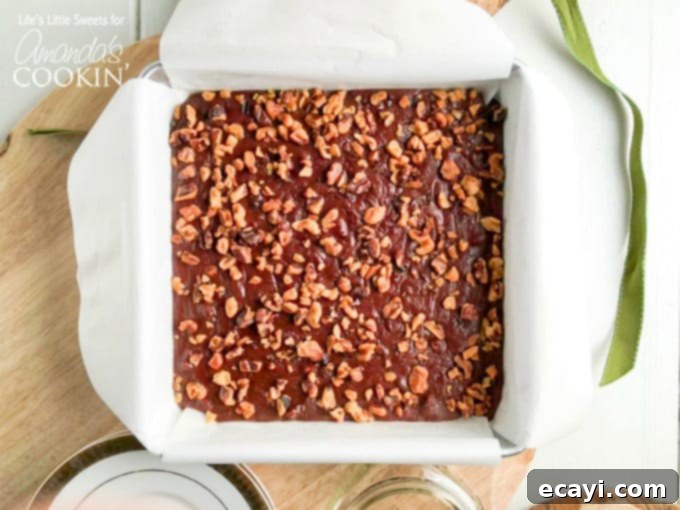
Grease and 8″ x 8″ pan with butter and then line with 2 pieces parchment paper that are crisscrossed, leaving an overhang. Butter the paper and set aside pan. This step helps enable you to remove the formed fudge with ease from the pan later on!
-
Using a large saucepan over medium heat, add 4 tablespoons of butter, 3 cups mini marshmallows, 1 cup sugar, 1/2 cup heavy cream and 1/2 teaspoon kosher salt. Stir gently until the mini marshmallows are melted, this may take 8-10 minutes.
-
Remove from heat, add 1/2 teaspoon vanilla, 12 ounces of chocolate chips and 1/2 cup walnuts, stir until the chocolate is fully melted and everything is combined. Pour into prepared 8″ x 8″ pan, sprinkle the remaining 1/2 cup toasted walnuts over the top and allow to cool at room temperature for 30 minutes. Cover and transfer to refrigerator and set for 1 hour.
-
When the fudge is completely set, use the overhang to gently lift the fudge onto a cutting board to cut for serving. Enjoy!
The recipes on this blog are tested with a conventional gas oven and gas stovetop. It’s important to note that some ovens, especially as they age, can cook and bake inconsistently. Using an inexpensive oven thermometer can assure you that your oven is truly heating to the proper temperature. If you use a toaster oven or countertop oven, please keep in mind that they may not distribute heat the same as a conventional full sized oven and you may need to adjust your cooking/baking times. In the case of recipes made with a pressure cooker, air fryer, slow cooker, or other appliance, a link to the appliances we use is listed within each respective recipe. For baking recipes where measurements are given by weight, please note that results may not be the same if cups are used instead, and we can’t guarantee success with that method.
Recipe Attribution
This recipe is inspired by Simple Chocolate Fudge from marthastewart.com
