Easy Homemade Fried Oreos Recipe: Recreate Fairground Magic in Your Kitchen
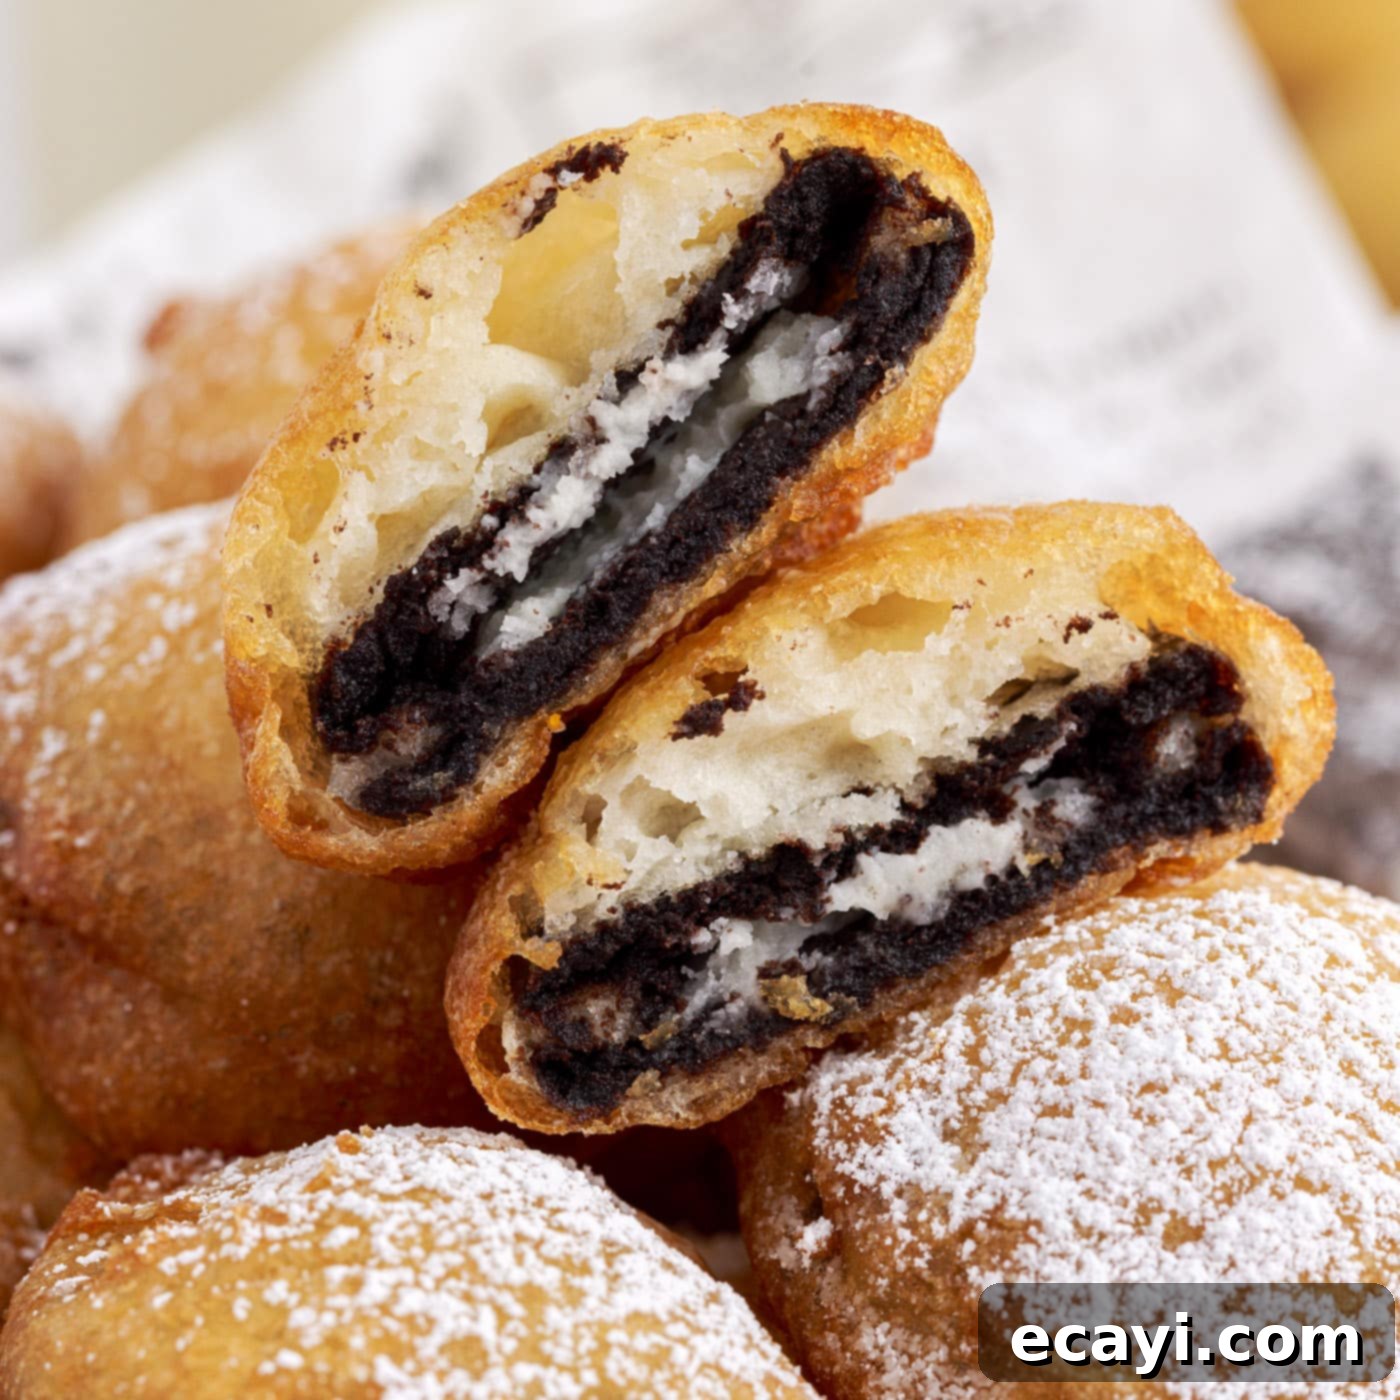
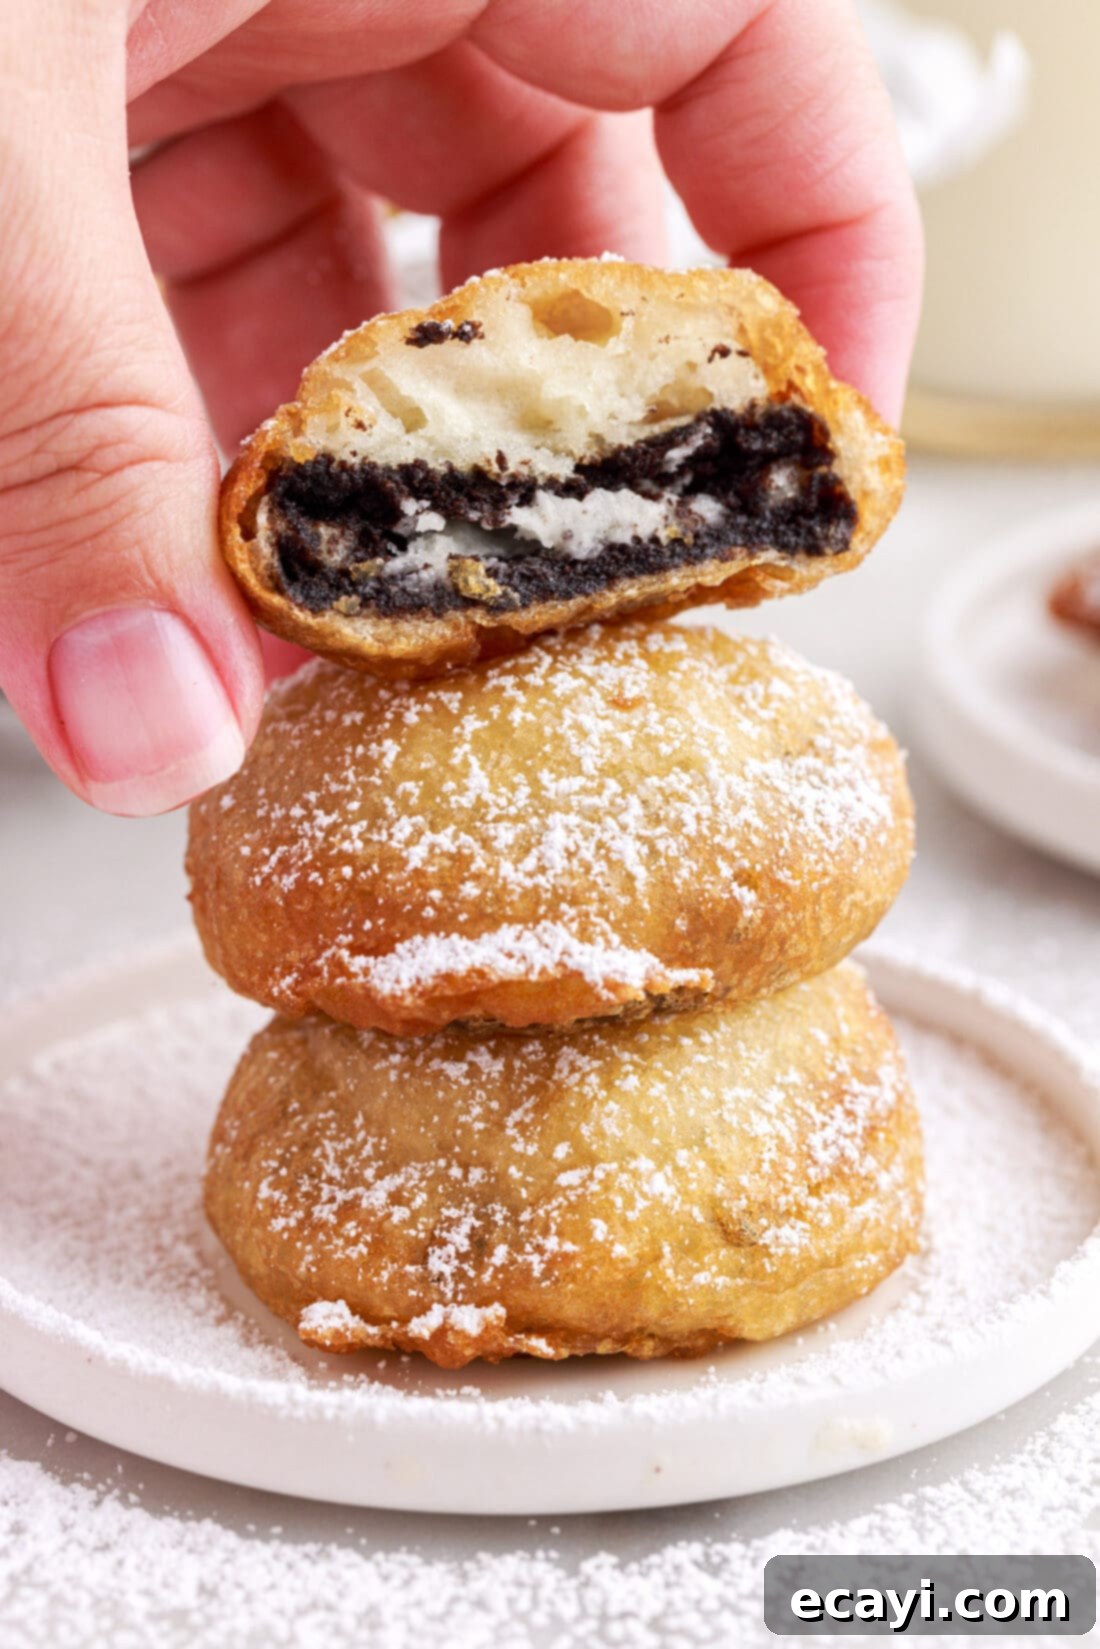
Craving that iconic taste of the state fair, but can’t make it to the grounds? Look no further! This incredible recipe brings the indulgent delight of deep-fried Oreos right into your home with minimal effort and just a handful of common ingredients. Imagine golden-brown, fluffy pancake batter embracing a warm, melted Oreo cookie center, all dusted generously with sweet powdered sugar. It’s a treat that promises pure bliss with every bite, and it’s surprisingly simple to master in your own kitchen.
Why You’ll Love This Deep-Fried Oreo Recipe
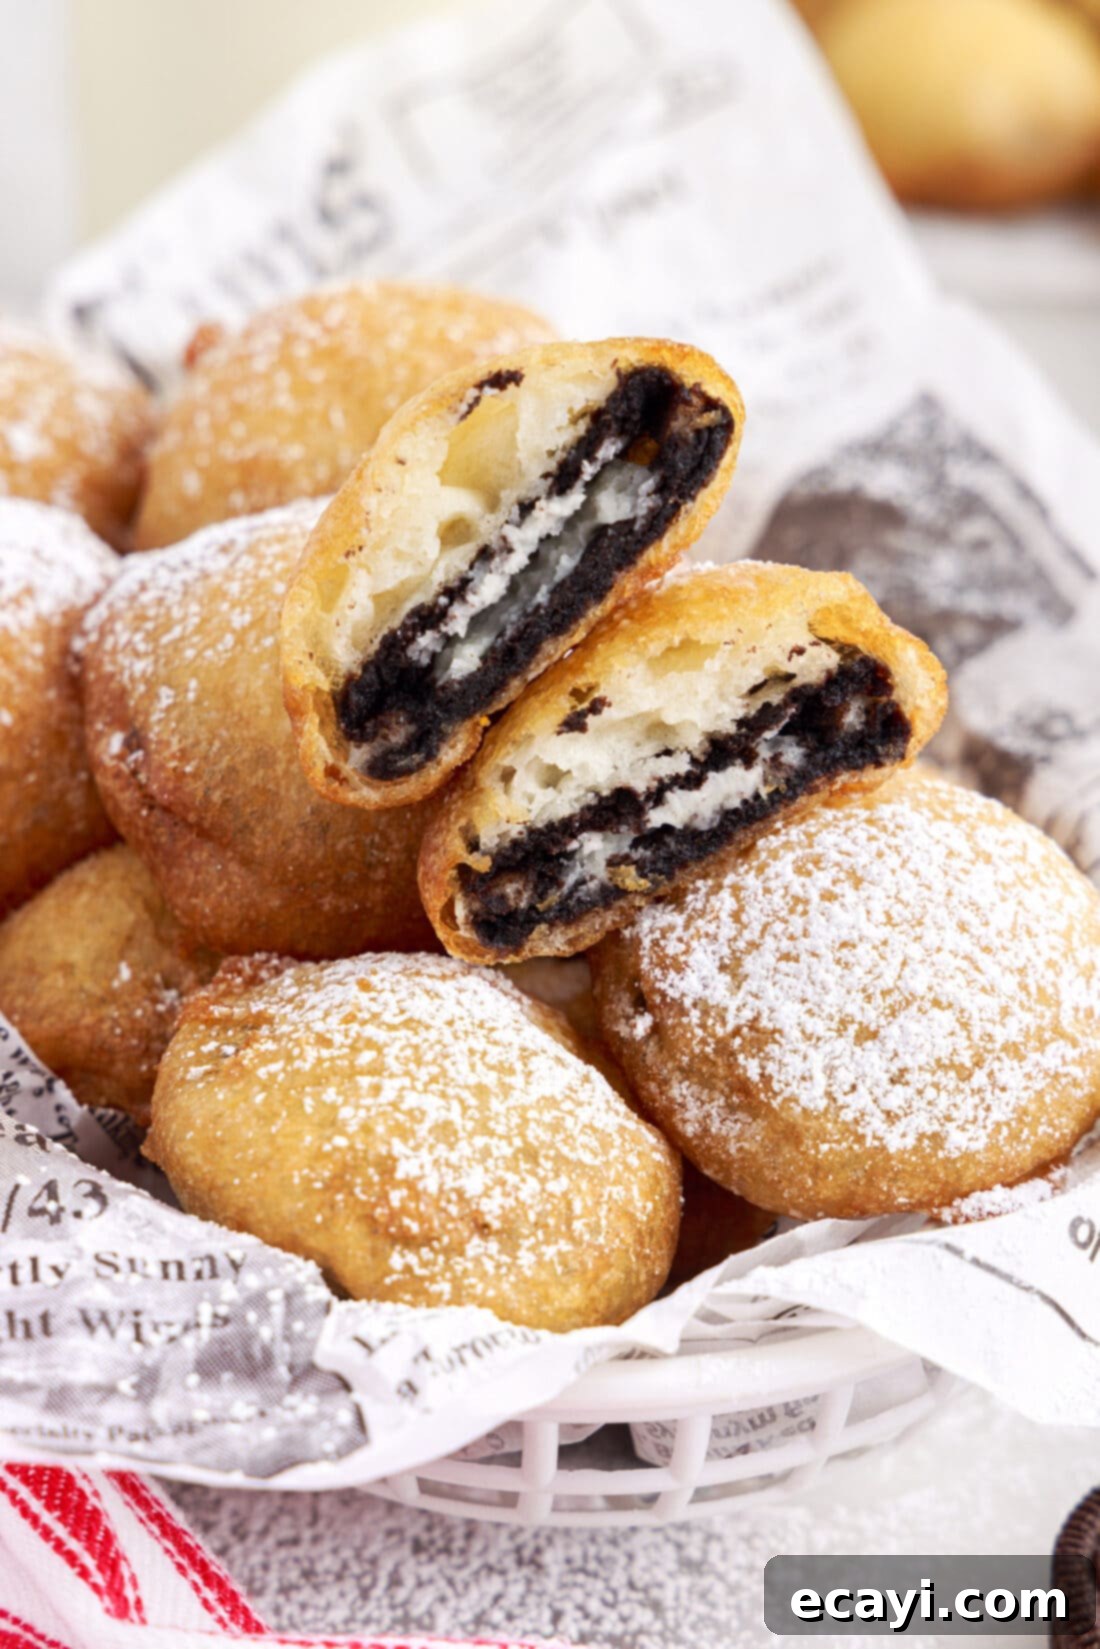
If you’ve ever experienced the joy of a deep-fried Oreo at a carnival or state fair, you know the magic we’re talking about. For those new to this culinary marvel, prepare for an extraordinary dessert revelation. These aren’t just cookies; they’re a symphony of textures and flavors. Each Oreo is enveloped in a light, soft, and slightly chewy pancake-like shell that fries to a beautiful golden perfection. Inside, the classic Oreo cream and chocolate cookie melt into a warm, gooey, intensely flavorful core. The contrast between the crispy exterior and the soft, molten interior is truly what makes this dessert so addictive.
What makes *this specific recipe* stand out is its incredible simplicity. You might expect a complex process for such an impressive treat, but it’s remarkably straightforward. Unlike many other decadent Oreo desserts such as Oreo cheesecake or rich slutty brownies, our fried Oreo recipe requires minimal ingredients and a very basic cooking technique. With just a standard pancake mix, water, your favorite Oreos, and frying oil, you’re just minutes away from an unforgettable dessert experience. Plus, the finishing touch of powdered sugar adds a delicate sweetness that perfectly balances the rich fried flavors, making it taste like pure dessert heaven. It’s an accessible recipe that promises maximum reward for minimal effort!
Essential Ingredients for Deep-Fried Oreos
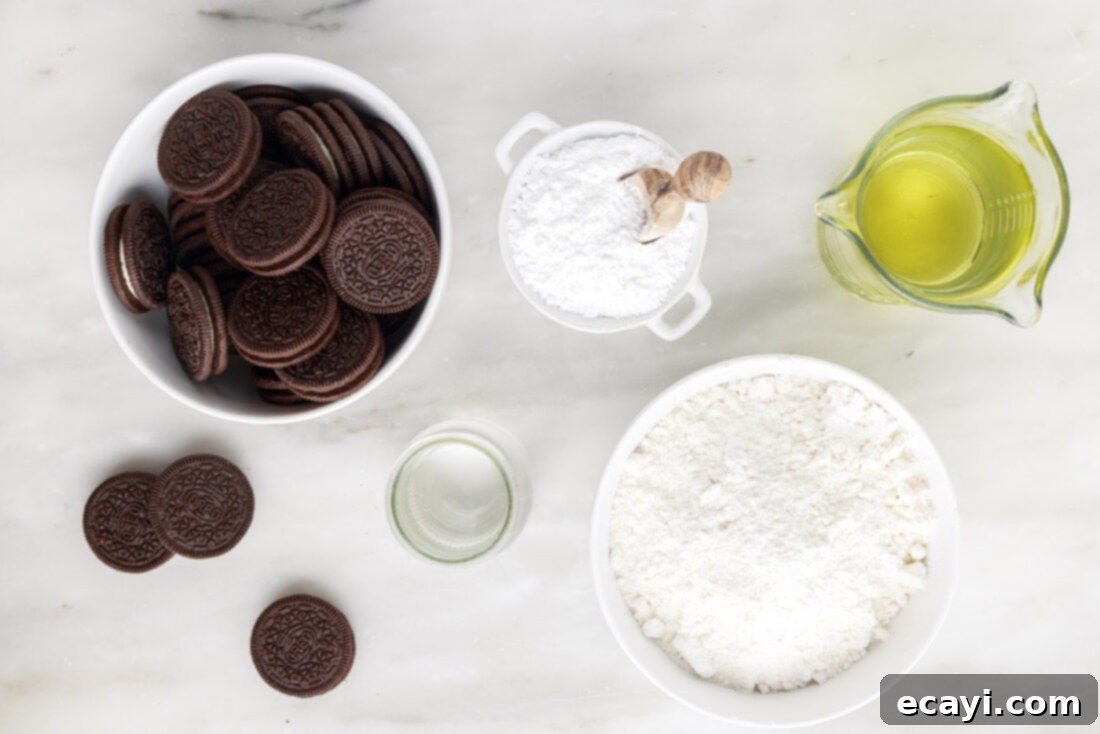
Gathering your ingredients for this fried Oreo recipe is incredibly easy, as you likely have most of them already in your pantry! The beauty of this dessert lies in its short and sweet ingredient list. You’ll only need five core items to bring this fairground favorite to life. For precise measurements and step-by-step instructions, make sure to check out the printable recipe card located at the conclusion of this post.
Ingredient Spotlight & Expert Substitution Tips
Let’s dive a little deeper into the ingredients to ensure your fried Oreos are nothing short of perfect:
- OREOS: A standard-sized package of Oreo cookies (typically around 36 cookies) will be perfectly coated by the batter quantities in this recipe. While the classic Original Oreo is a timeless choice, feel free to unleash your creativity! Experiment with different Oreo flavors like Peanut Butter, Mint, Birthday Cake, or even seasonal varieties. Double-Stuffed Oreos work exceptionally well, providing an even more luscious, melted cream center. You can even try this recipe with other types of sturdy sandwich cookies if you’re feeling adventurous!
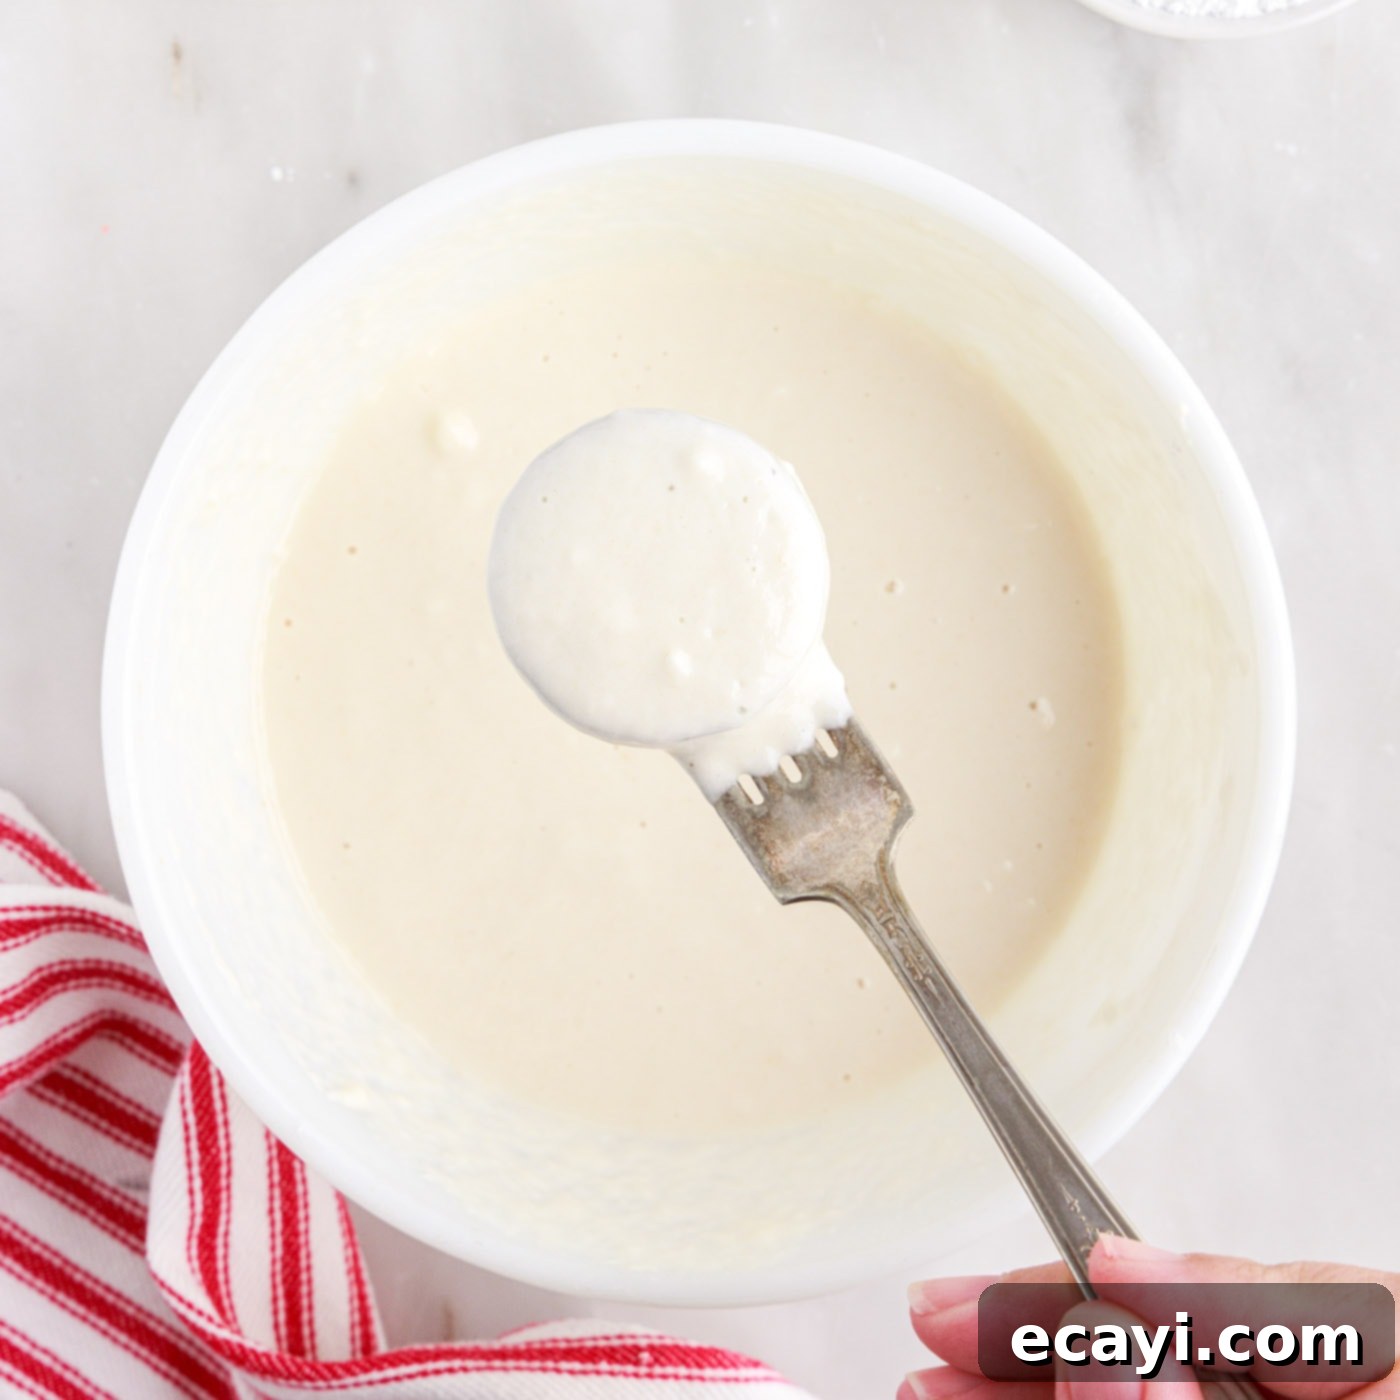
- PANCAKE BATTER: The magic of this recipe comes from using a convenient store-bought pancake mix. Any brand will do! We recommend a “just add water” type, like Krusteaz, for ultimate ease. The key is achieving the right consistency for your batter. Follow the package instructions, but then adjust by adding small amounts of water or mix until the batter is thick enough to generously coat an Oreo cookie, but still thin enough that any excess will drip off easily. A too-thick batter will be heavy and gummy; a too-thin batter won’t adhere properly. Aim for a consistency similar to a thick milkshake or a slightly thinner pancake batter than you’d typically use for breakfast pancakes. If you prefer, you can also use a homemade pancake batter; just ensure it’s on the thicker side to effectively cling to the cookies.
- VEGETABLE OIL or SHORTENING: For deep frying, a neutral-flavored oil with a high smoke point is crucial. Vegetable oil is a fantastic, readily available choice. Shortening also works wonderfully and can sometimes give a slightly crispier result. You’ll need enough oil to fill your pot 3-4 inches deep, typically 4-5 cups depending on the size of your pot. Maintaining the correct oil temperature is paramount for perfect fried Oreos, so don’t skip the thermometer!
- POWDERED SUGAR: This is the signature finish! A generous dusting of powdered sugar adds a delicate sweetness and a beautiful visual appeal. You can also get creative with additional toppings like chocolate syrup, caramel sauce, whipped cream, or even a scoop of ice cream for an ultimate indulgence.
Step-by-Step Guide: How to Make Deep-Fried Oreos
These step-by-step photos and instructions are here to help you visualize how to make this recipe. You can Jump to Recipe to get the printable version of this recipe, complete with measurements and instructions at the bottom.
- Prepare Your Frying Station: Begin by filling a heavy-bottomed pot (like a Dutch oven, which is excellent for maintaining even heat) 3-4 inches deep with your chosen shortening or vegetable oil. Place it over medium-high heat. Attach a candy thermometer to the side of the pot, ensuring the tip is submerged in the oil but not touching the bottom. Heat the oil until it reaches precisely 375°F (190°C). It’s crucial to monitor and adjust your burner temperature regularly throughout the frying process to keep the oil consistently at 375°F. This precise temperature prevents the Oreos from becoming greasy or overcooked.
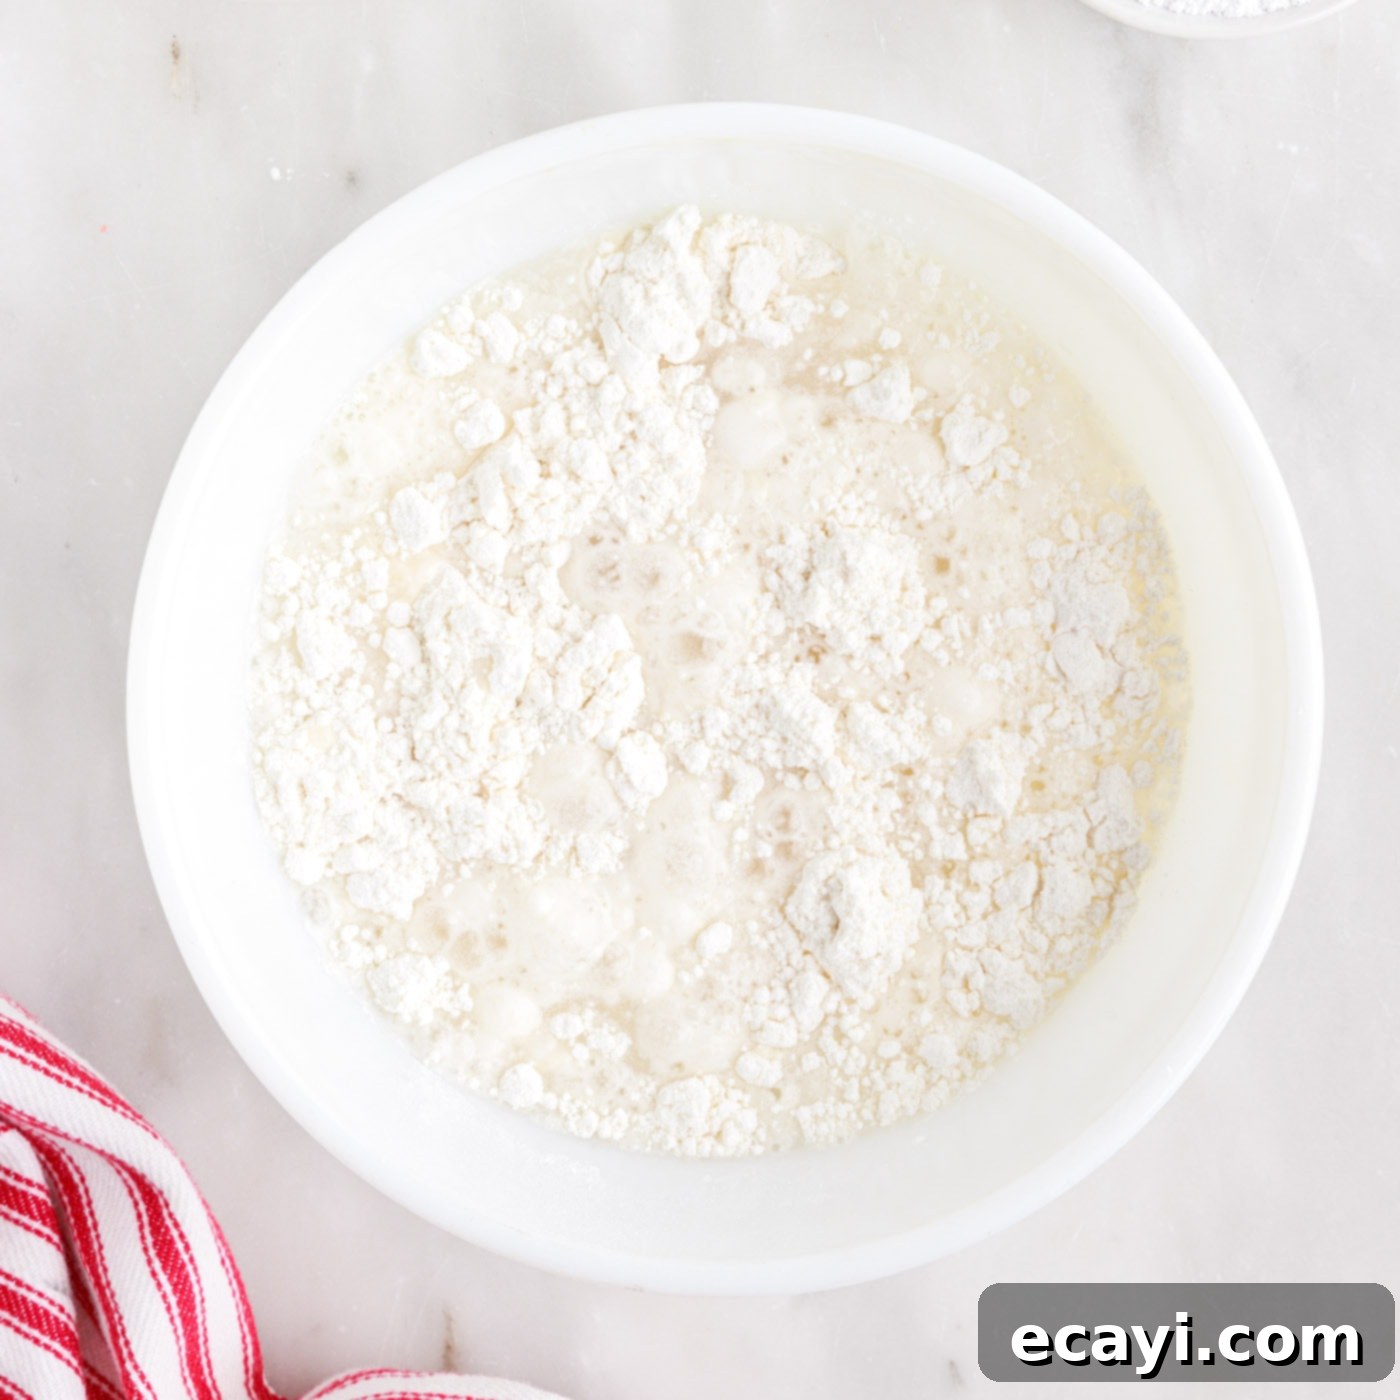
- Mix the Perfect Batter: In a medium bowl, whisk together your pancake mix and water. Continue whisking until most lumps are gone, but a few small ones are acceptable. The batter’s consistency is key: it should be thick enough to fully coat an Oreo cookie but thin enough that any excess batter drips off smoothly within a couple of seconds. This ensures a light, even coating.

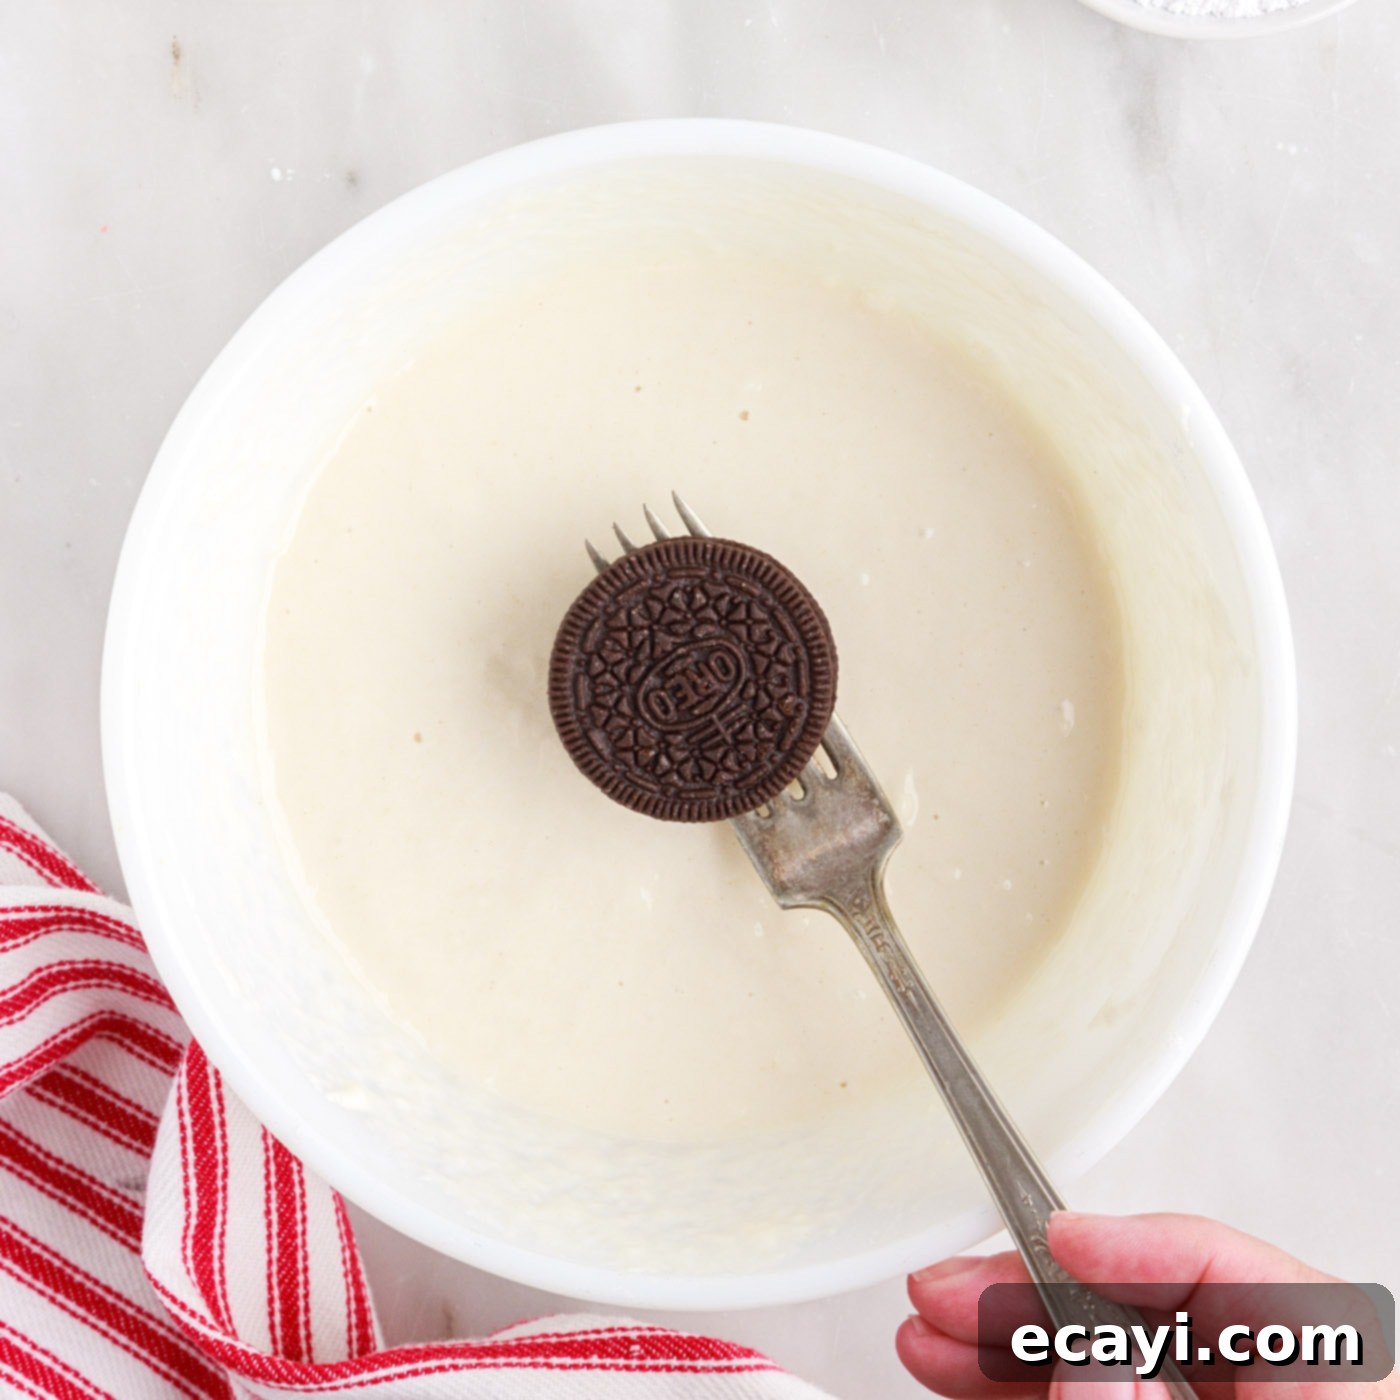
- Coat the Oreos: Using a fork, carefully dip an Oreo cookie into the prepared pancake batter. Gently turn and toss it to ensure both sides are completely and evenly coated. Lift the Oreo from the batter with the fork, then quickly and lightly tap the fork against the edge of the bowl to allow any significant excess batter to drip off. This step is important for a smooth, not clumpy, fried exterior.


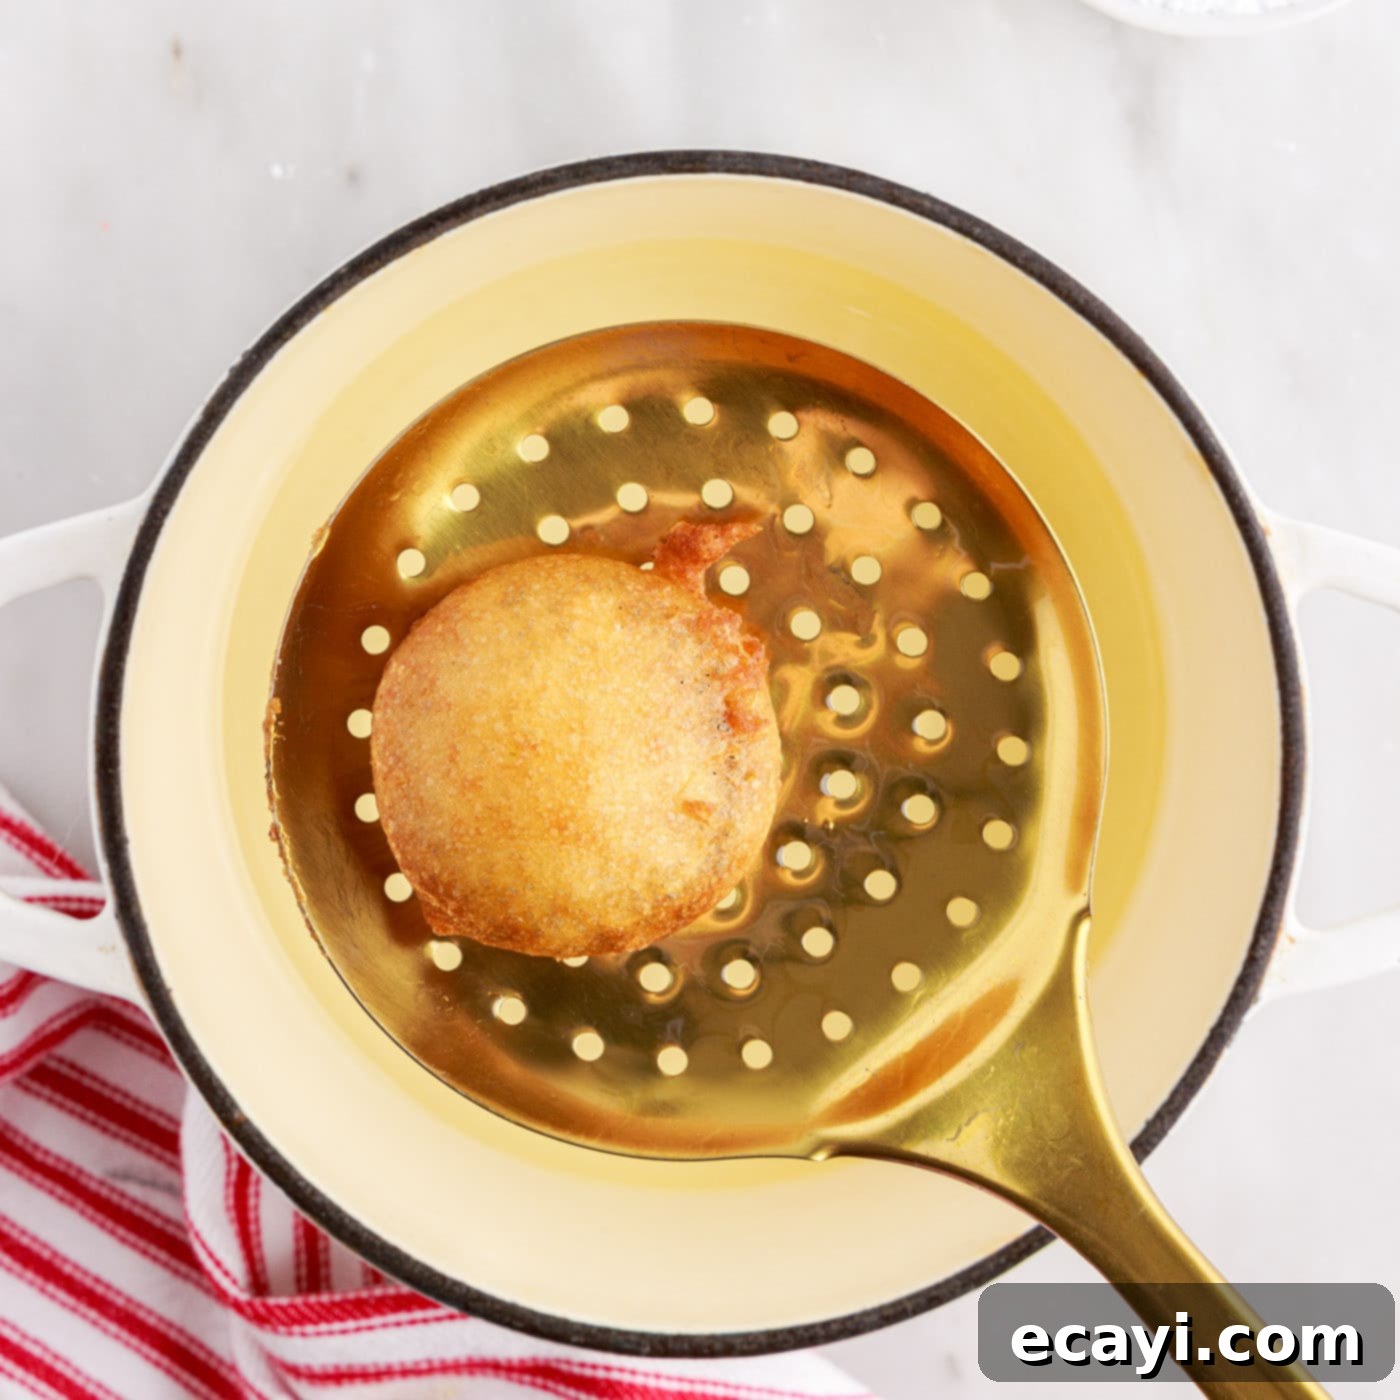
- Fry to Golden Perfection: Gently lower the coated Oreo cookie into the preheated oil. Be careful not to overcrowd the pot; fry a few Oreos at a time to maintain the oil temperature. Fry for approximately 2-3 minutes. After about 1-1.5 minutes, once the first side turns a beautiful golden brown, carefully flip the Oreo using your fork or a slotted spoon to ensure even cooking on the other side.
- Drain Excess Oil: Once both sides are golden brown and puffed, carefully lift the fried Oreo from the oil using a slotted spoon. Transfer it to a plate lined with several layers of paper towels. The paper towels will absorb any excess oil, ensuring your fried Oreos are perfectly crispy and not greasy. Continue the process of coating, frying in batches, and draining, always keeping a close eye on your oil temperature to maintain that ideal 375°F.

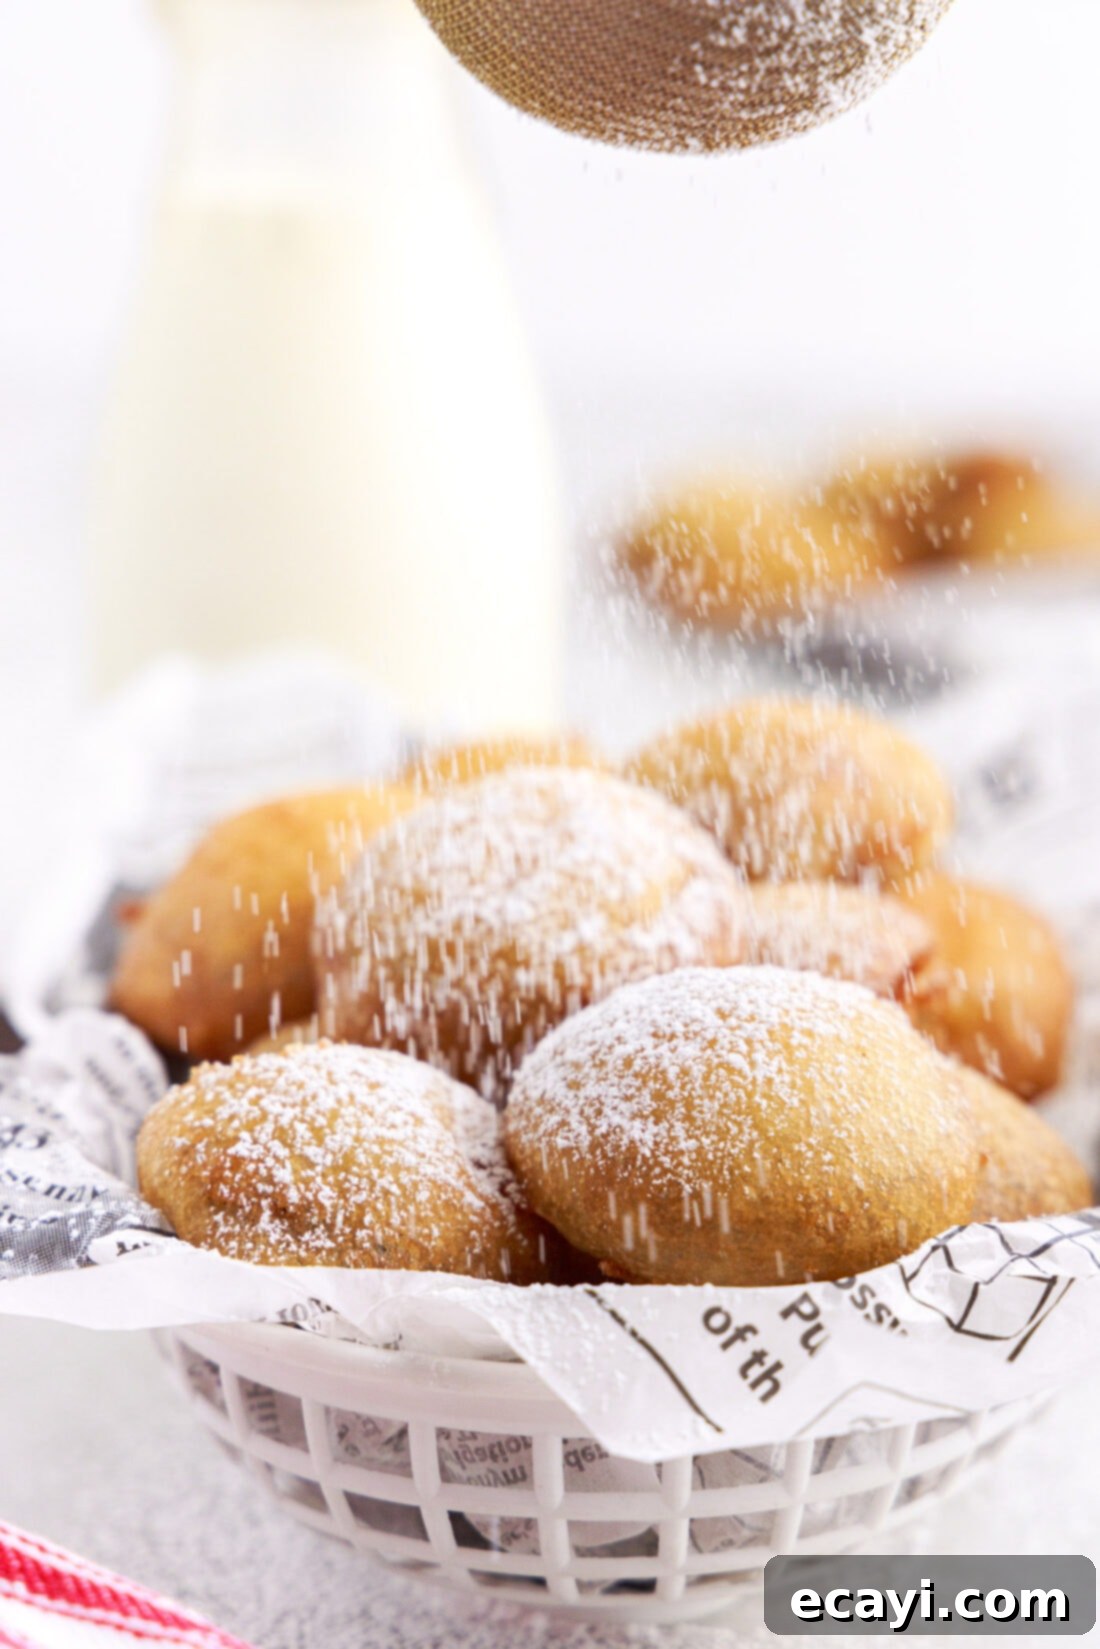
- Finish with Powdered Sugar: While the fried Oreos are still warm, lightly dust them with powdered sugar using a sifter or a fine-mesh sieve. This adds a delicate sweetness and a classic finish.
- Cool Slightly and Serve: Allow the fried Oreos to cool for just a few minutes before serving. They’re best enjoyed warm, when the Oreo filling is perfectly melted and gooey, but not piping hot from the fryer.
Frequently Asked Questions & Expert Tips for Success
Achieving the perfect fried Oreo every time is easy with a few key insights. Here are some frequently asked questions and expert tips to ensure your dessert is a triumph:
Fried Oreos are absolutely best enjoyed immediately after frying, while they’re warm and the Oreo center is wonderfully melted. However, if you do have leftovers, you can store them in an airtight container in the refrigerator for 2-3 days. To reheat, an air fryer works wonders! Reheat at 350°F (175°C) for 3-5 minutes until warmed through and slightly crisped. You can also use an oven at the same temperature for 5-7 minutes. Microwaving is generally not recommended as it can make them soggy.
Maintaining a consistent oil temperature is paramount. If the oil is too cold, the Oreos will absorb too much oil, resulting in a greasy, heavy product. If the oil is too hot, the batter will brown too quickly on the outside, leaving the inside uncooked and the Oreo unmelted. Always use a candy thermometer and make small adjustments to your burner throughout the frying process to keep the temperature steady at 375°F (190°C). Fry in small batches to prevent the oil temperature from dropping too drastically.
Absolutely! If you prefer to make your own batter from scratch, ensure it has a slightly thicker consistency than typical pancake batter. You want it to cling well to the Oreo cookies without dripping off too quickly. A simple buttermilk pancake batter adjusted to a thicker consistency would work perfectly.
Yes, safety first! Always use a heavy-bottomed pot to prevent tipping and ensure even heat distribution. Never fill the pot more than halfway with oil to avoid boil-overs. Keep a lid nearby to smother any potential oil fires (never use water!). Use long tongs or a slotted spoon to carefully place and remove items from the hot oil. Always have a clear workspace and keep children and pets away from the hot oil. And of course, never leave hot oil unattended.
Creative Serving Suggestions for Your Fried Oreos
While deep-fried Oreos are undeniably delicious on their own, especially when fresh and warm with a simple dusting of powdered sugar, there are many ways to elevate this indulgent treat! Once they’ve rested on paper towels for a few minutes and are no longer scorching hot but still beautifully gooey, it’s time to serve. Consider drizzling them with warm chocolate fudge, rich caramel sauce, or a vibrant berry coulis (raspberry or strawberry work wonderfully). For an extra layer of decadence, top them with a generous dollop of whipped cream, a scoop of vanilla ice cream, or even a sprinkle of colorful sprinkles. A little cinnamon mixed with the powdered sugar can also add a delightful warmth. No matter how you serve them, these fried Oreos are guaranteed to be a crowd-pleaser and a truly memorable dessert!
More Irresistible Oreo-Inspired Recipes
If you’re an Oreo enthusiast and simply can’t get enough of these iconic cookies, we’ve got you covered! Here are some more fantastic recipes that feature Oreos in creative and delicious ways:
- Decadent Oreo Cupcakes
- No-Bake Oreo Icebox Cake
- Rich Chocolate Lasagna (featuring Oreos!)
- Creamy Oreo Cheesecake Bars
- Indulgent Oreo Cheesecake Brownies
I love to bake and cook and share my kitchen experience with all of you! Remembering to come back each day can be tough, that’s why I offer a convenient newsletter every time a new recipe posts. Simply subscribe and start receiving your free daily recipes!
Fried Oreos
IMPORTANT – There are often Frequently Asked Questions within the blog post that you may find helpful. Simply scroll back up to read them!
Print It
Pin It
Rate It
Save ItSaved!
Ingredients
- 2 cups Krusteaz pancake mix
- 1 ½ cups water
- 36 Oreos 1 standard package
- powdered sugar for dusting
- 4 cups vegetable oil or shortening, for frying – about 4-5 cups
Things You’ll Need
-
Dutch oven
-
Candy thermometer
-
Slotted spoon
Before You Begin
- Fried Oreos are best eaten immediately after frying for optimal taste and texture, especially when the center is warm and gooey.
- The specified batter quantity is designed to perfectly coat one full standard-sized package of Oreo cookies.
- A Dutch oven is highly recommended for stovetop deep frying as its heavy construction helps maintain a more consistent and even oil temperature, which is critical for successful frying.
- Be prepared for the oil temperature to fluctuate when you add cold Oreos to it. Regularly monitor your candy thermometer and adjust the burner temperature as needed to keep the oil as close to 375°F (190°C) as possible.
- Important Temperature Control: Frying at too high a temperature will cause the batter to cook too quickly, resulting in an overcooked exterior and a cold, unmelted interior. Conversely, oil that is too cool will cause the cookies to soak up excessive oil, leading to a greasy product while still struggling to achieve that desired golden-brown color.
- You can use any brand of pancake batter for this recipe. Simply follow the instructions on the pancake mix box, then thin it slightly with water (if necessary) until it reaches a consistency that evenly coats the Oreos without being too thick or too runny. We used Krusteax mix for its convenience, as it simply requires adding water.
Instructions
-
Fill a heavy bottom pot 3-4 inches deep with shortening or vegetable oil. Heat over medium high until the oil reaches 375°F (190°C). You will need to adjust the burner temp regularly during frying to maintain oil at precisely 375°F. Clip a candy thermometer on the pot to be able to regularly monitor the temperature.
-
Whisk together pancake mix and water until a few lumps remain – the mixture should be thick enough to coat an Oreo, but thin enough that excess batter will drip off the Oreo.
-
Dip an Oreo cookie into the pancake batter, tossing it to coat evenly on both sides. Lift the Oreo from the batter using a fork and quickly tap off any excess batter.
-
Transfer the cookie gently into the heated oil and fry for 2-3 minutes, flipping the Oreo once the first side is golden brown. Fry in small batches to maintain oil temperature.
-
Lift the golden brown Oreo from the oil with a slotted spoon and place on paper towels to soak up excess oil. Continue coating, frying, and straining the Oreos, always maintaining the ideal fry temperature of 375°F.
-
Dust fried Oreos generously with powdered sugar while still warm.
-
Allow to cool for several minutes (to a safe eating temperature) before serving. Enjoy warm!
Nutrition
The recipes on this blog are tested with a conventional gas oven and gas stovetop. It’s important to note that some ovens, especially as they age, can cook and bake inconsistently. Using an inexpensive oven thermometer can assure you that your oven is truly heating to the proper temperature. If you use a toaster oven or countertop oven, please keep in mind that they may not distribute heat the same as a conventional full sized oven and you may need to adjust your cooking/baking times. In the case of recipes made with a pressure cooker, air fryer, slow cooker, or other appliance, a link to the appliances we use is listed within each respective recipe. For baking recipes where measurements are given by weight, please note that results may not be the same if cups are used instead, and we can’t guarantee success with that method.
