Homemade Maple Leaf Cookies: A Taste of Authentic Canadian Tradition
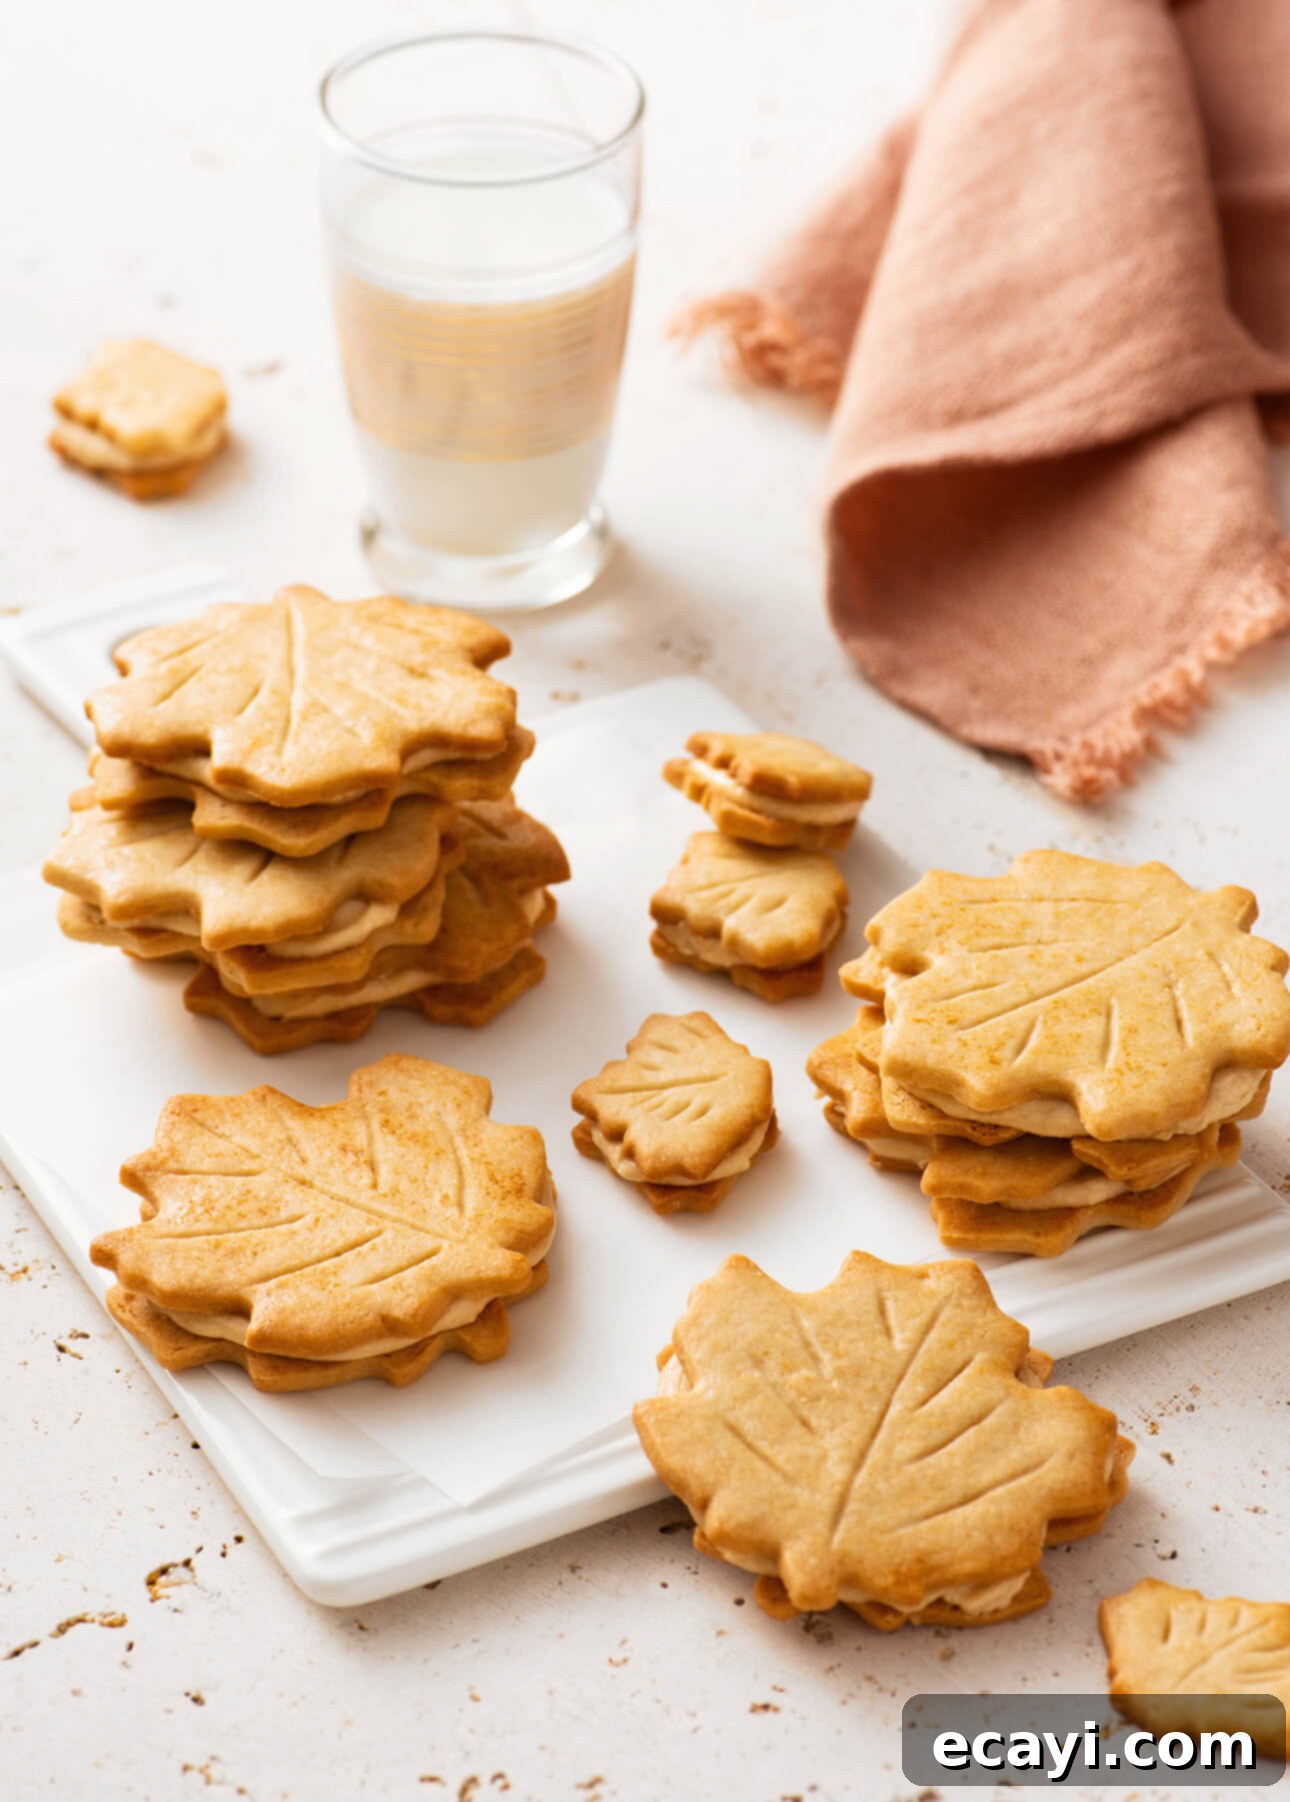
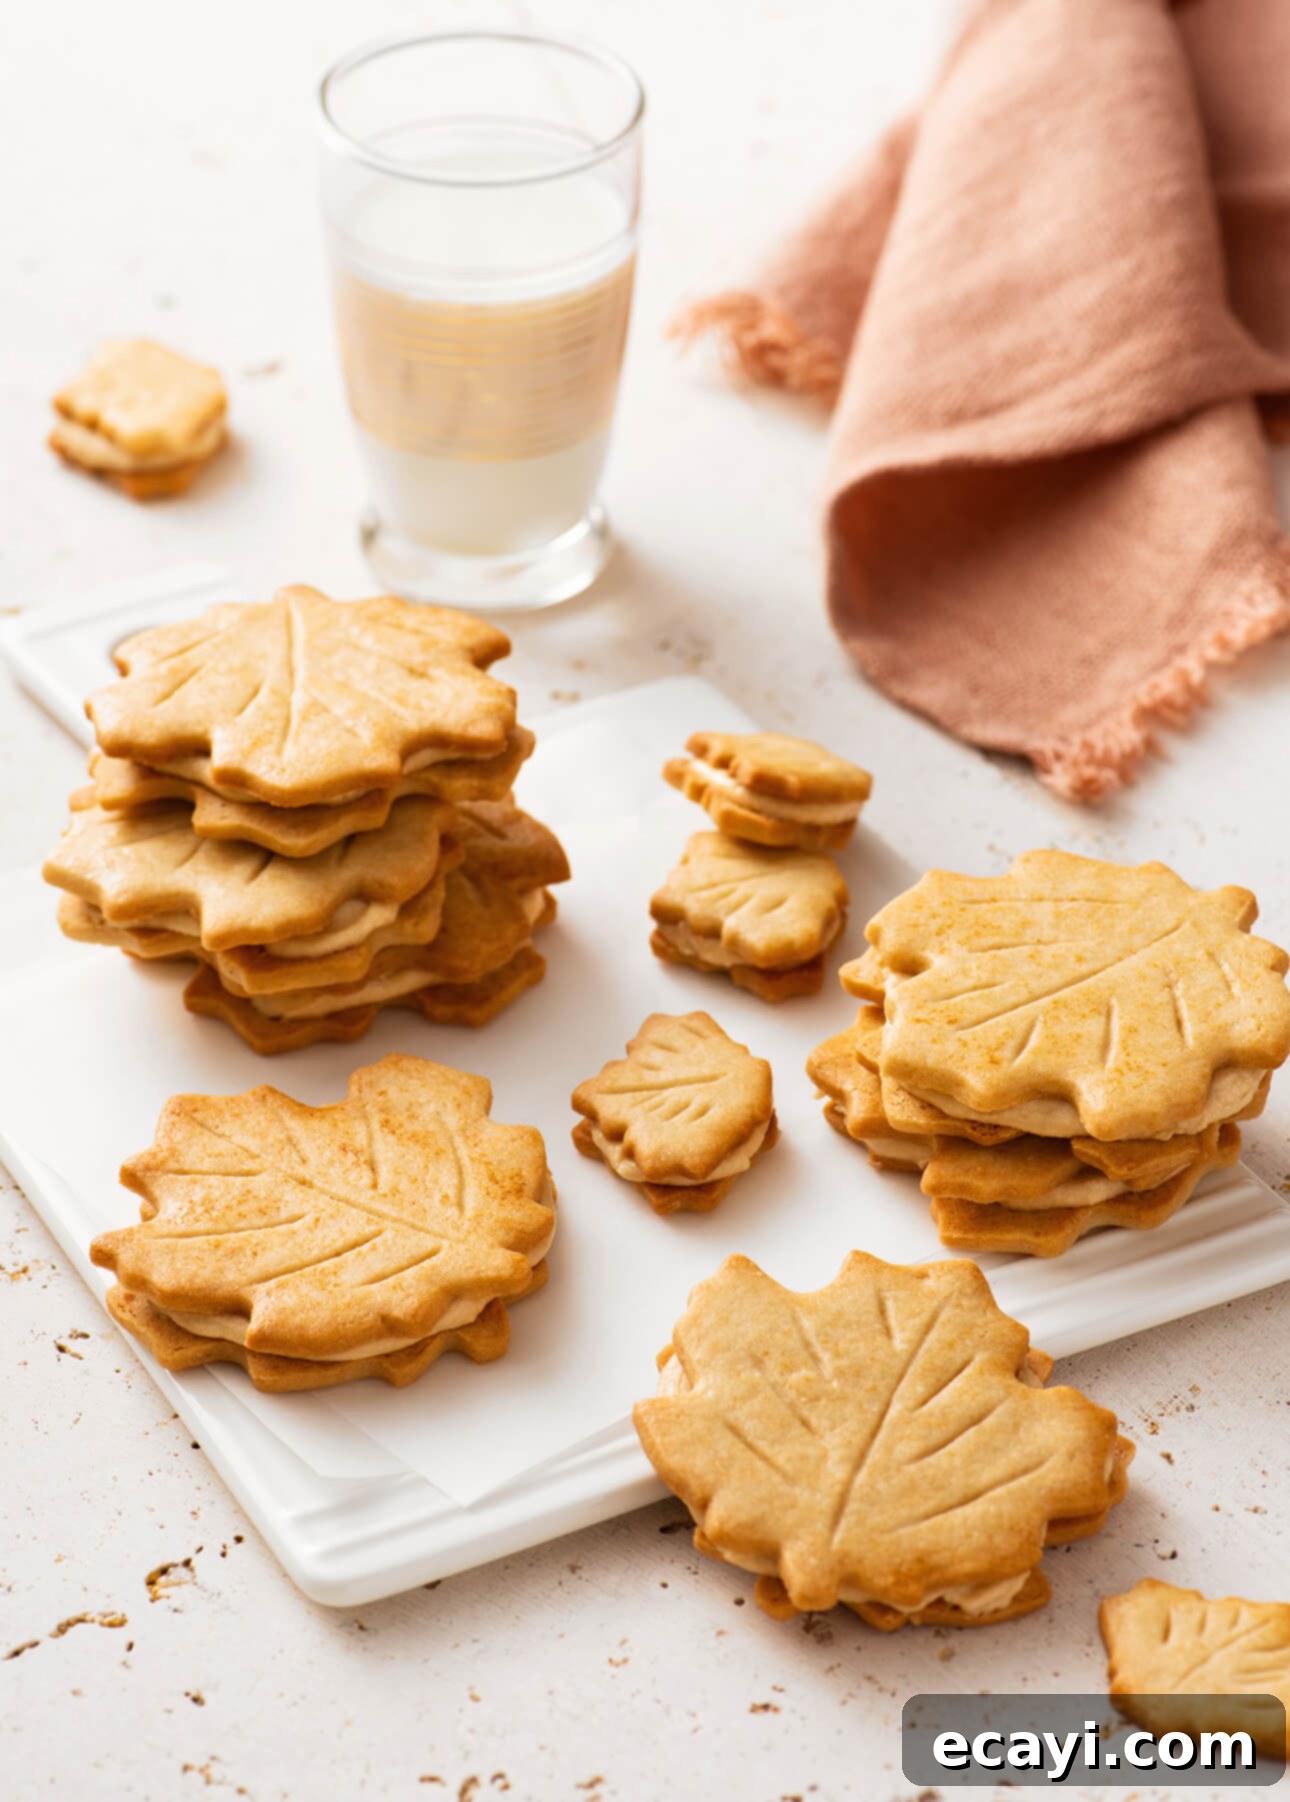
These Homemade Maple Leaf Cookies are more than just a treat; they are a delightful journey into the heart of Canadian culinary tradition. Each bite offers an exquisite burst of authentic maple flavor, meticulously crafted from the melt-in-your-mouth sablé cookies to the irresistibly creamy maple butter filling. The combination creates a truly dreamy dessert that captivates your senses and leaves a lasting impression.
This post contains affiliate links. Full disclosure is at the bottom of the article.
For many, the iconic maple leaf cookies represent a charming symbol of Canada, often spotted in airport duty-free shops and bustling souvenir stores. Their distinctive maple leaf shape and promise of rich maple flavor make them a popular takeaway for tourists. However, the often-steep price tag and their ubiquity in tourist traps might lead some to believe they’re merely a novelty gimmick. What might surprise you, and indeed what brings a nostalgic smile to many Canadians, is that these delightful cookies are a genuine part of our everyday culinary landscape, enjoyed long before they became a souvenir staple.
Growing up in Canada, boxes of maple leaf cookies, proudly made with real maple syrup, were a common sight on grocery store shelves. They were available at a fraction of the price found in souvenir shops, making them an accessible and cherished indulgence, much like a box of classic Oreo cookies. In our household, these “biscuits feuilles d’érable” (maple leaf cookies in French) were in heavy rotation, always occupying a prime spot on our pantry shelf. For me, they were invariably the first choice among a lineup of beloved cookies, offering a comforting taste of home with every bite.
Commercial maple leaf cookies:
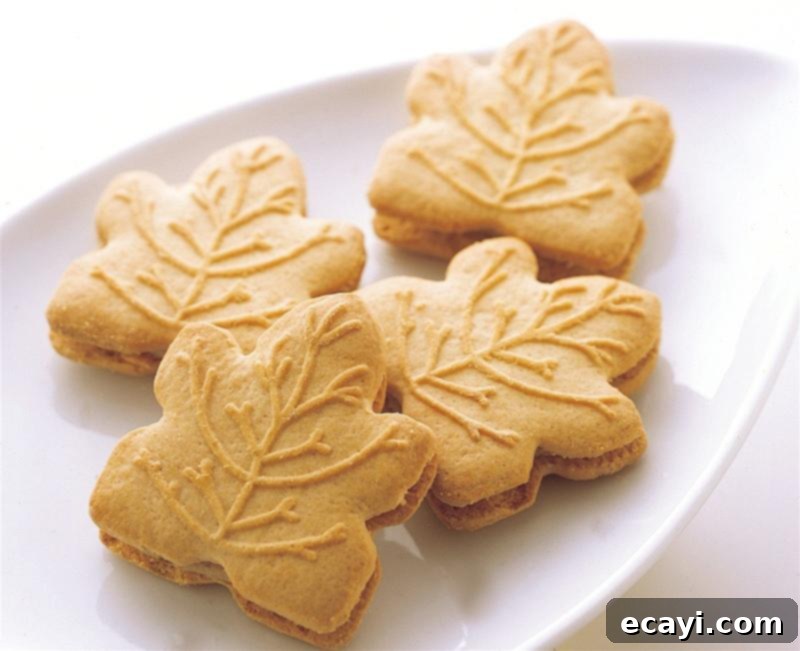
Photo Source
While my parents still occasionally pick up a box from the store, I’ve long since transitioned to making them myself. And without a doubt, homemade maple leaf cookies are a culinary revelation, far surpassing their store-bought counterparts. The difference lies not only in the fresh, vibrant flavors but also in the superior texture and richness you can only achieve when baking from scratch. The creamy maple butter frosting, a luscious blend bursting with pure maple essence, is so utterly irresistible that I confess to sampling it by the spoonful before the cookies are even assembled! But the true star is arguably the cookie itself. Unlike typical cookies made with granulated sugar, these sablé cookies are crafted with genuine maple sugar, imparting a wonderfully delicate, crumbly texture that truly melts in your mouth, leaving behind a subtle, yet profound, maple sweetness.
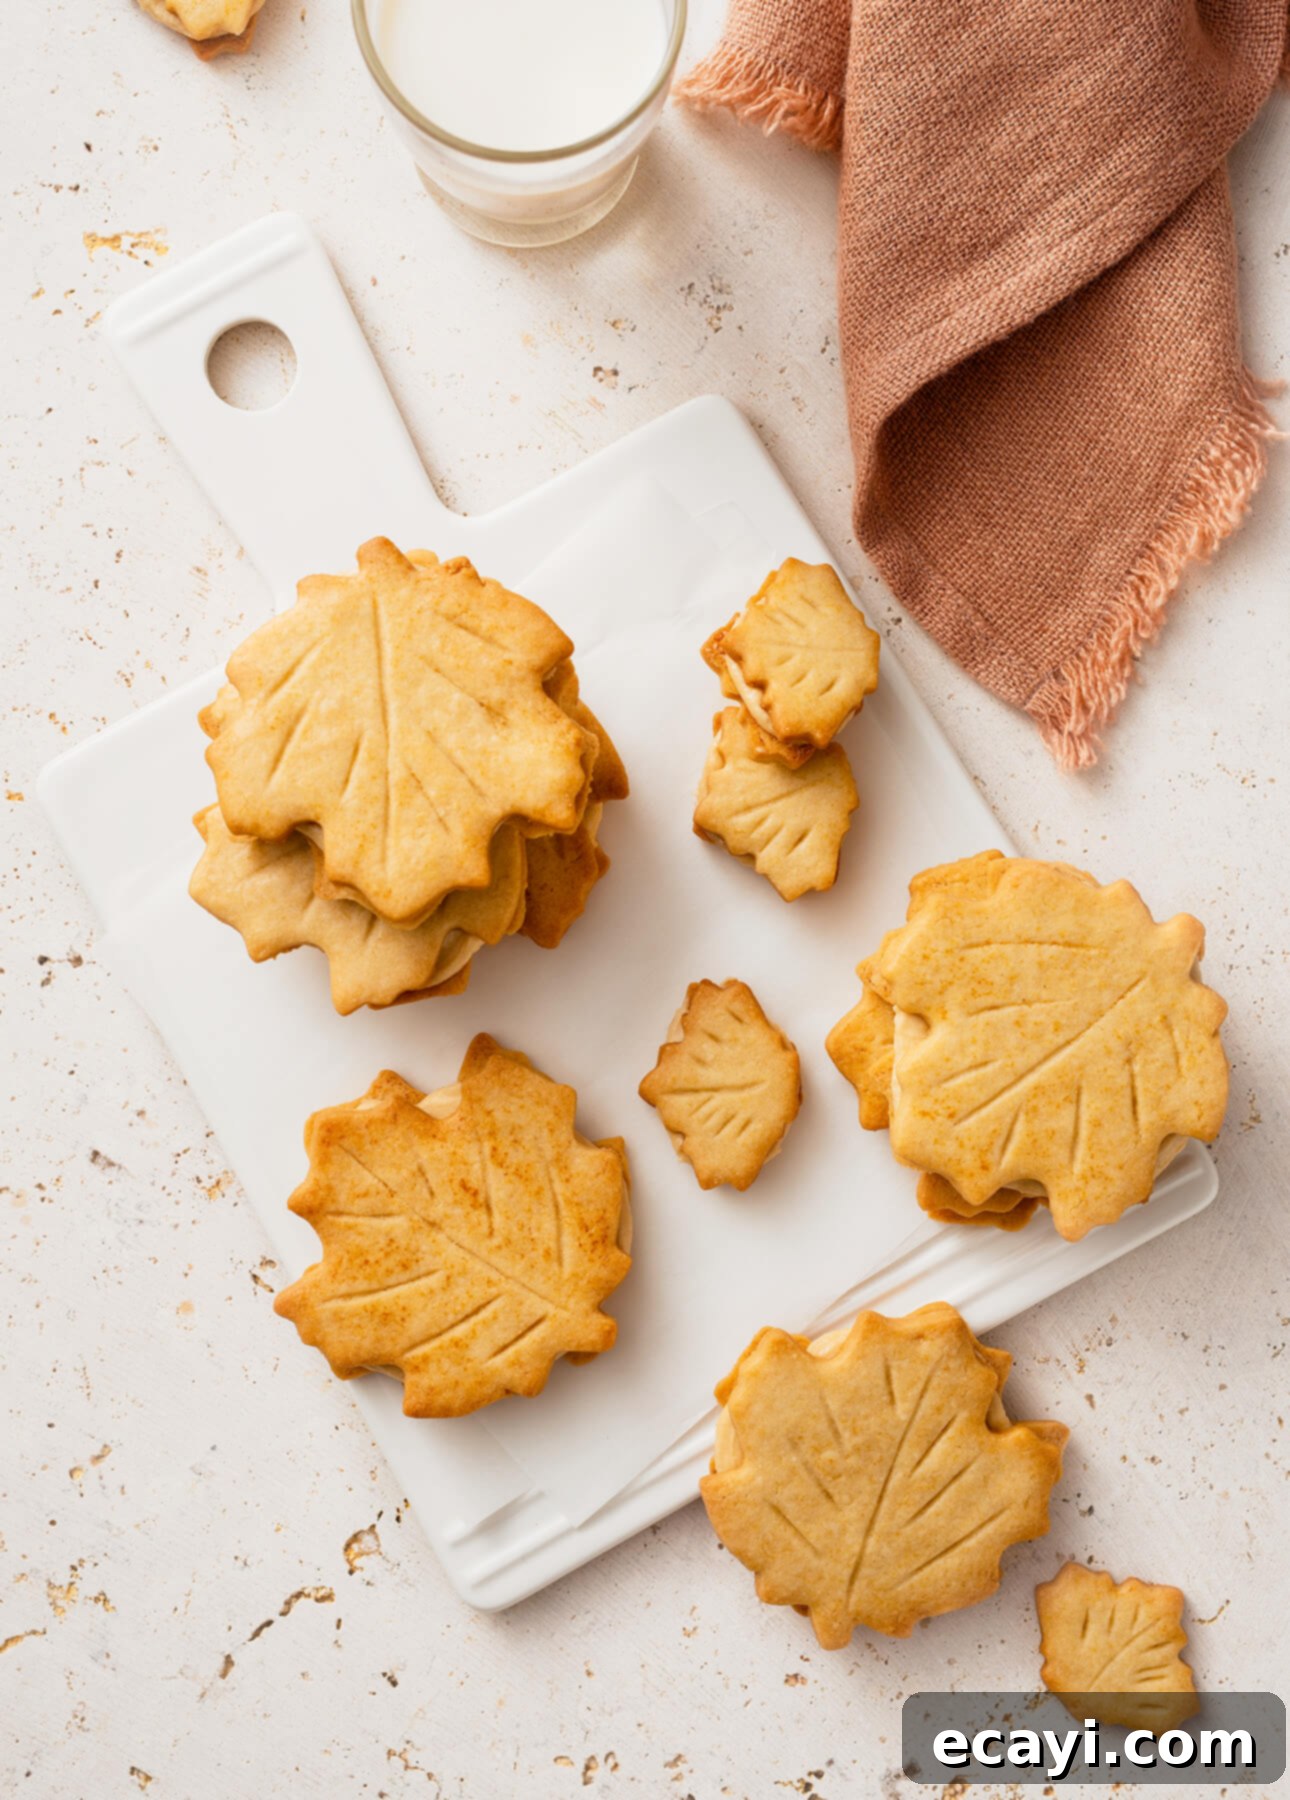
Admittedly, maple leaf cookies aren’t the cheapest treat to bake, requiring a generous quantity of premium maple products—namely maple sugar, pure maple syrup, and decadent maple butter. However, consider it an investment in unparalleled flavor and quality. The yield from this recipe is impressively high, especially if you opt for a slightly smaller cookie cutter, meaning a single batch provides plenty to share, gift, or simply savor over several days. The resulting taste and texture are so far superior to any maple-flavored cookie you’ll ever find in a store that every penny spent on quality maple ingredients feels entirely justified. These cookies aren’t just food; they’re an experience, a celebration of Canada’s most beloved natural sweetener.
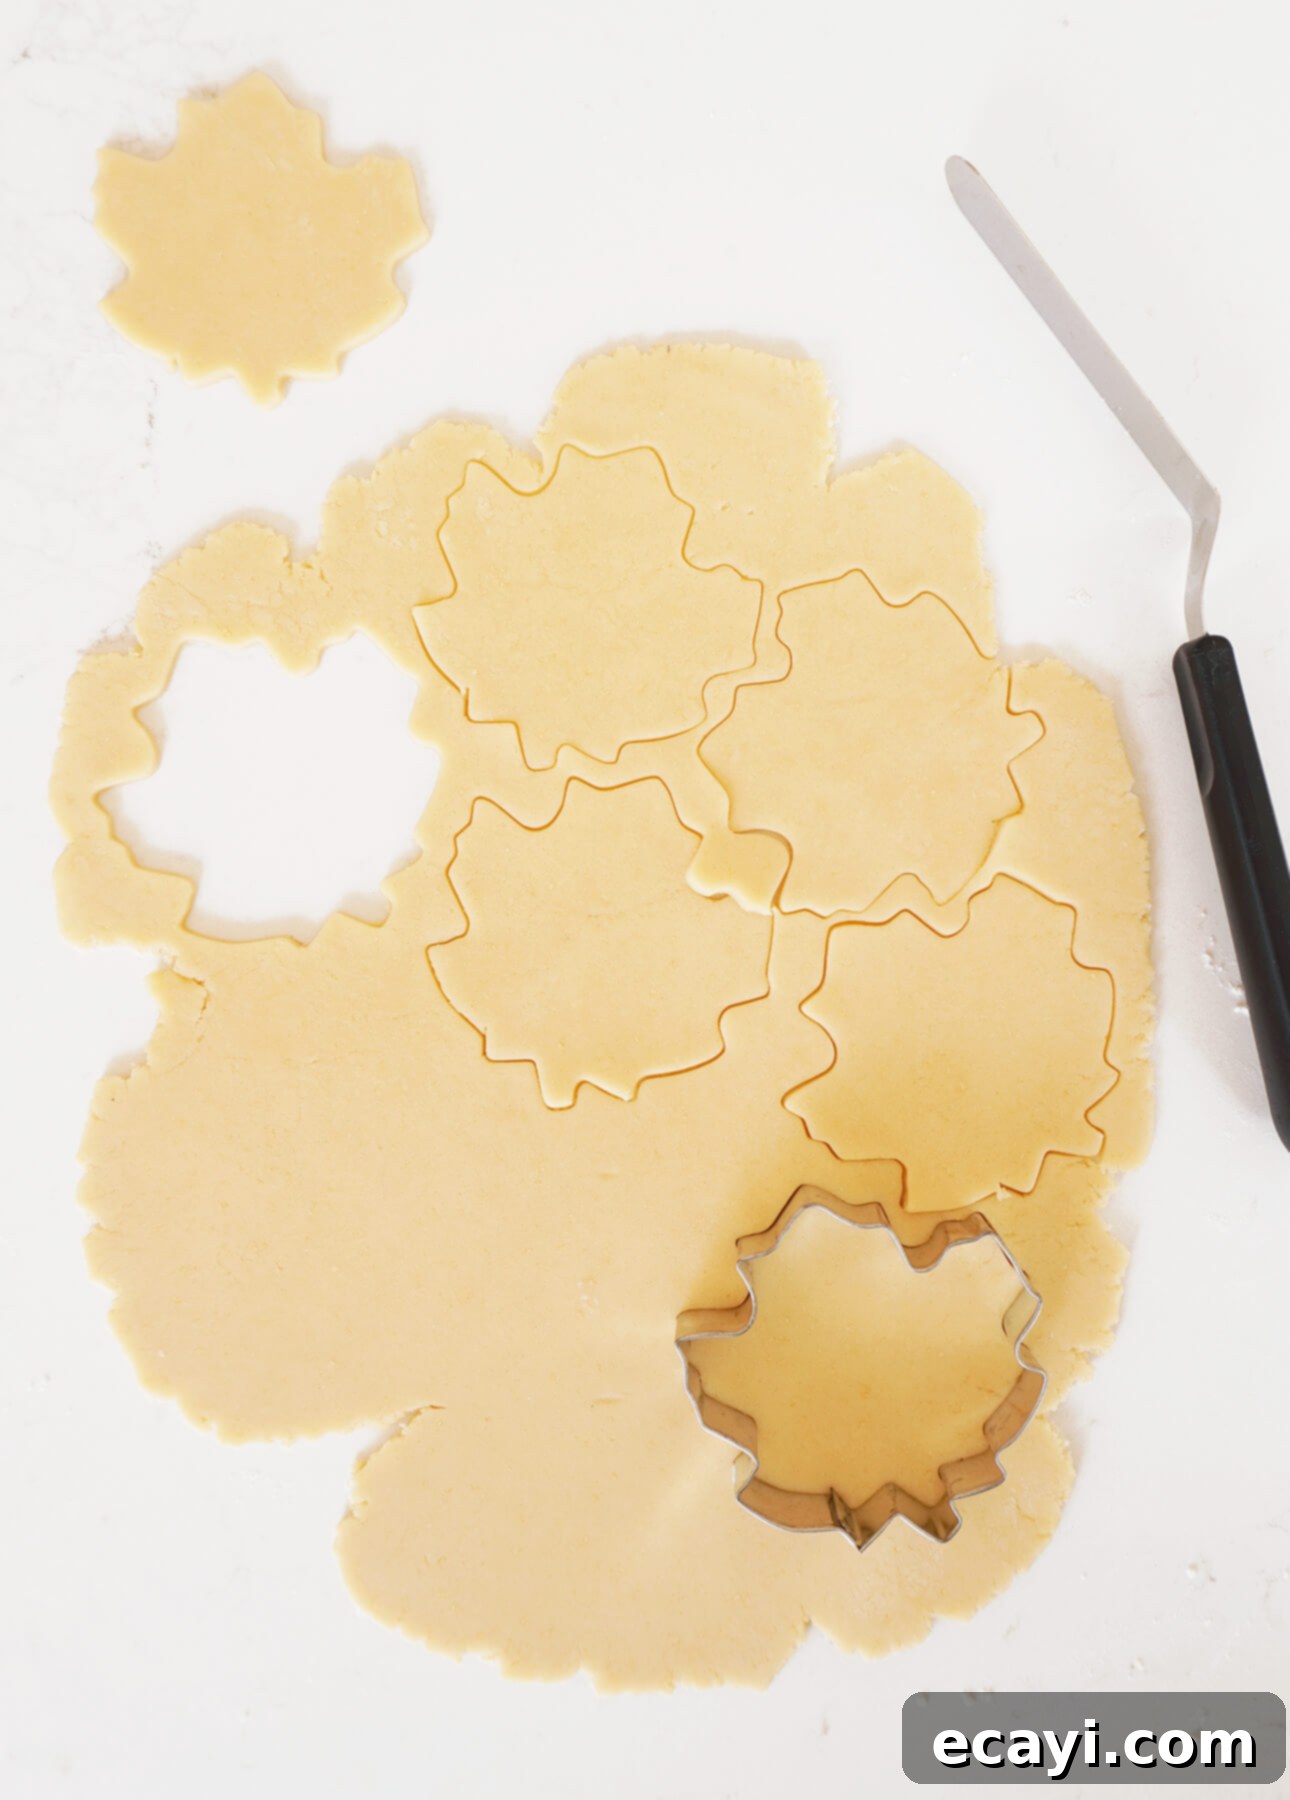
While the traditional maple leaf shape undoubtedly enhances the charm and authenticity of these cookies, making them visually as appealing as they are delicious, you certainly don’t need a specific maple leaf-shaped cookie cutter to enjoy them. Feel free to use any cookie cutter you have readily available—circles, squares, stars, or even simple cut-out shapes will work beautifully. The heart of this recipe lies in the sublime maple flavor and the exquisite sablé texture, not exclusively in its presentation. However, for those who appreciate tradition and visual flair, the maple leaf cutter adds that extra touch of Canadian spirit, making each cookie a mini edible emblem of the Great White North.
BONUS QUÉBEC TRAVEL TIP! If you ever find yourself planning a trip to Québec and wish to purchase authentic, high-quality maple products, bypass the overpriced souvenir shops. Instead, make your way to a local grocery store or a specialty food market. Most of these establishments stock an impressive variety of pure maple syrup and delicious maple butter year-round. You’ll also likely find commercially produced maple leaf cookies in the regular cookie aisle, offering a taste of the local favorites. While they might not come in elaborately decorative containers or gift boxes, you’ll undoubtedly get significantly more value for your money. For those seeking to explore further, you can also search online for Québec maple producers that ship worldwide, ensuring you can enjoy genuine Canadian maple goodness no matter where you are.
Maple Desserts & Treats Cookbook
Do you adore maple as much as we do? Then you absolutely need to explore my Maple Desserts & Treats Cookbook! This essential culinary guide is brimming with 25 incredible maple-centric recipes, ranging from timeless Canadian classics to innovative modern treats. “Maple Desserts & Treats” is a convenient downloadable eBook that compiles a collection of truly irresistible recipes, all crafted with nature’s most aromatic and cherished sugar. Get all these amazing recipes in a handy, “save it everywhere” PDF format, perfect for any device! LEARN MORE

Pin Recipe
Homemade Maple Leaf Cookies
Ingredients
For the maple leaf cookies
- 1 cup unsalted butter, room temperature
- 1 cup granulated maple sugar
- ½ cup pure maple syrup
- 3 ½ cups all-purpose flour, plus more for dusting
- ½ tsp baking powder
- Milk, for baking
For the maple butter frosting
- 1 cup maple butter (sometimes called maple cream)
- ⅓ cup unsalted butter, room temperature
- 1 cup powdered sugar
- ¼ tsp kosher salt, or fine sea salt
Instructions
-
Preheat your oven to 350°F (180°C). Line a baking sheet with parchment paper to prevent sticking and ensure even baking.
To make the cookies:
-
In the spacious bowl of a stand mixer fitted with a paddle attachment, or in a large mixing bowl if you’re using a hand mixer, beat the softened unsalted butter together with the granulated maple sugar. Cream them until the mixture transforms into a light, airy, and fluffy consistency, typically taking about 2 minutes. Afterward, incorporate the pure maple syrup and continue to beat until the mixture achieves a smooth and creamy texture.
-
In a separate, medium-sized bowl, thoroughly whisk together the all-purpose flour and baking powder. Gradually add these dry ingredients to the wet maple mixture in the mixer bowl, setting the mixer to low speed. Stir just until the dough comes together and no streaks of flour remain. Avoid overmixing. Using your clean hands, gently gather the dough into a flattened ball—note that the dough will be slightly soft and sticky, which is perfectly normal. Divide the dough into 4 equal portions. Keep one portion out for immediate use and wrap the remaining dough tightly in plastic wrap to prevent it from drying out.
-
Prepare your working surface by laying down a large rectangular sheet of parchment paper. Lightly dust this parchment paper with a bit of flour. Place one portion of the dough onto the floured parchment paper, then cover it with a second sheet of parchment paper. Using a rolling pin, carefully roll out the maple cookie dough to an even thickness of approximately 1/8-inch (0.3-cm). This technique of rolling the soft dough between two sheets of parchment paper is crucial; it effectively prevents the dough from sticking to your rolling pin and eliminates the need to add excessive extra flour, which can make the cookies tough.
-
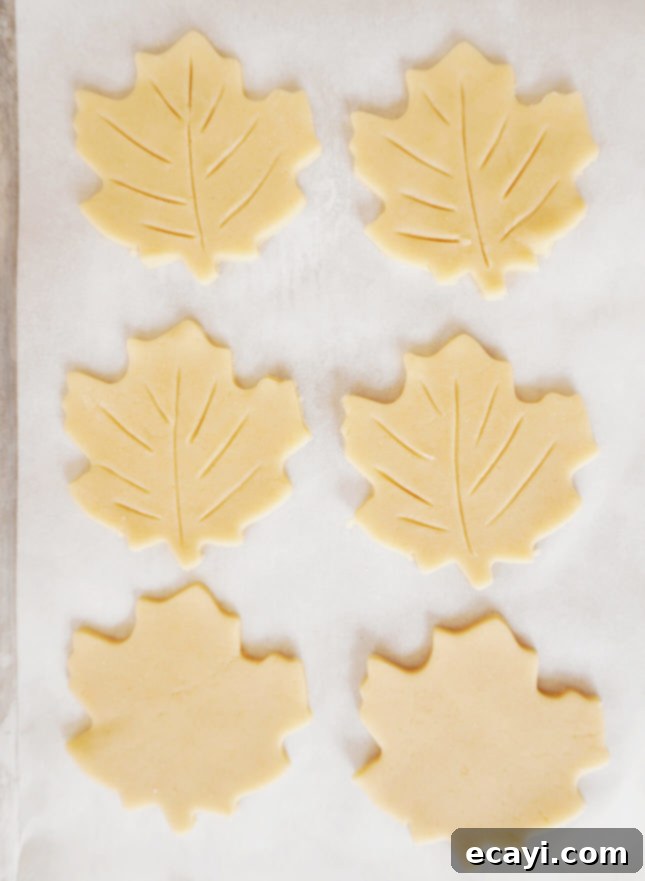
Using a maple leaf cookie cutter (or any other shape of your choosing), cut out as many cookies as possible from the rolled dough. Carefully transfer these cut-out cookies to the prepared parchment paper-lined baking sheet. An offset spatula can be incredibly helpful for gently lifting and transferring the delicate cookies without distorting their shape. You can place the cookies relatively close to one another on the baking sheet, as these cookies are known for holding their shape well and won’t spread significantly during baking.
-
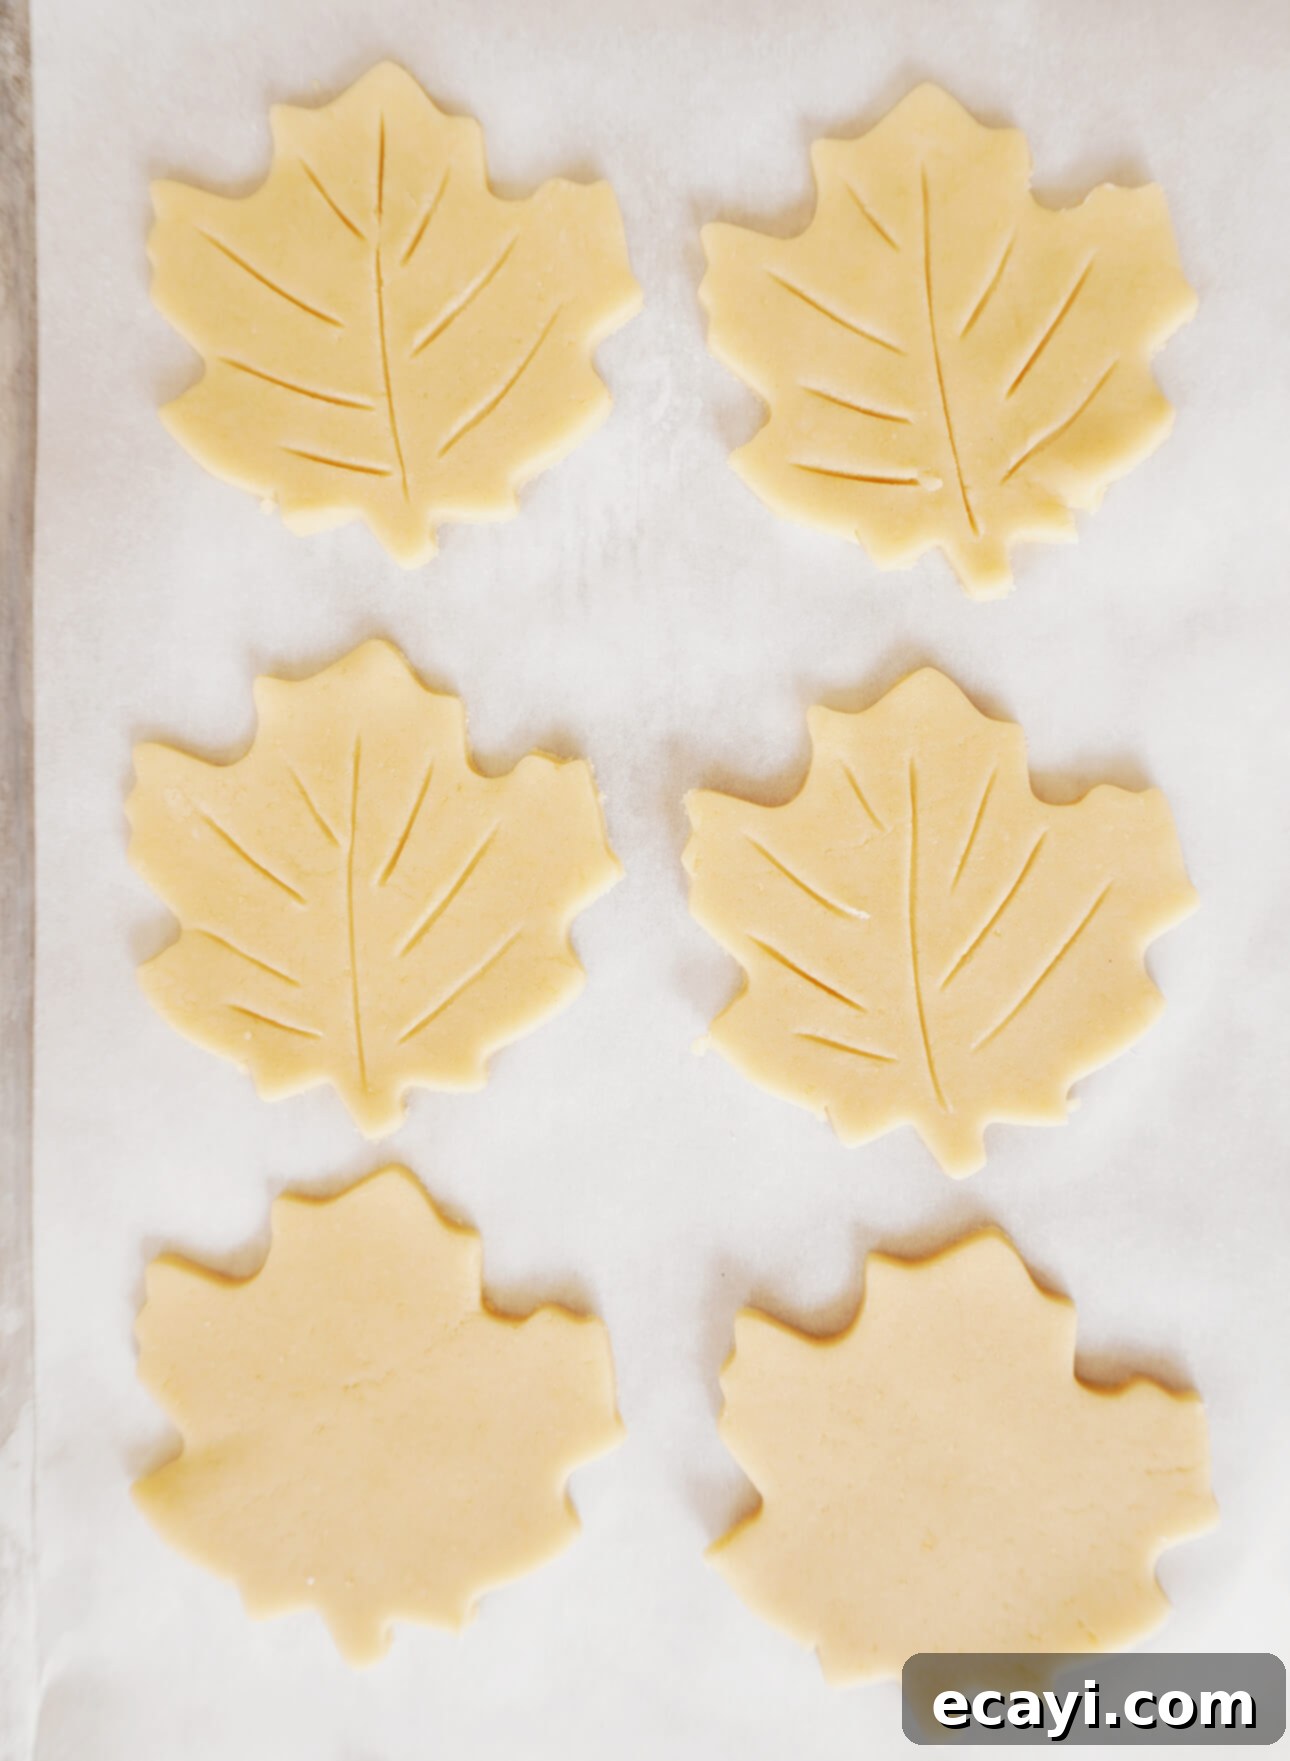
If you are using a maple leaf cookie cutter, consider using the dull side of a knife to gently trace shallow lines over each cookie. This simple step helps to create the iconic veined pattern of a maple leaf, adding an extra touch of authenticity and visual appeal to your homemade treats.
Lightly brush the surface of each cookie with a small amount of milk before baking. Bake the cookies in the preheated oven until their edges are lightly golden and the centers are set. The exact baking time can vary depending on the size and thickness of your cookies, usually between 6 and 10 minutes. Once baked, remove the cookies from the oven and allow them to cool completely on wire racks. Repeat the rolling, cutting, and baking process with the remaining portions of dough until all cookies are baked and cooled.

To make the maple butter frosting:
-
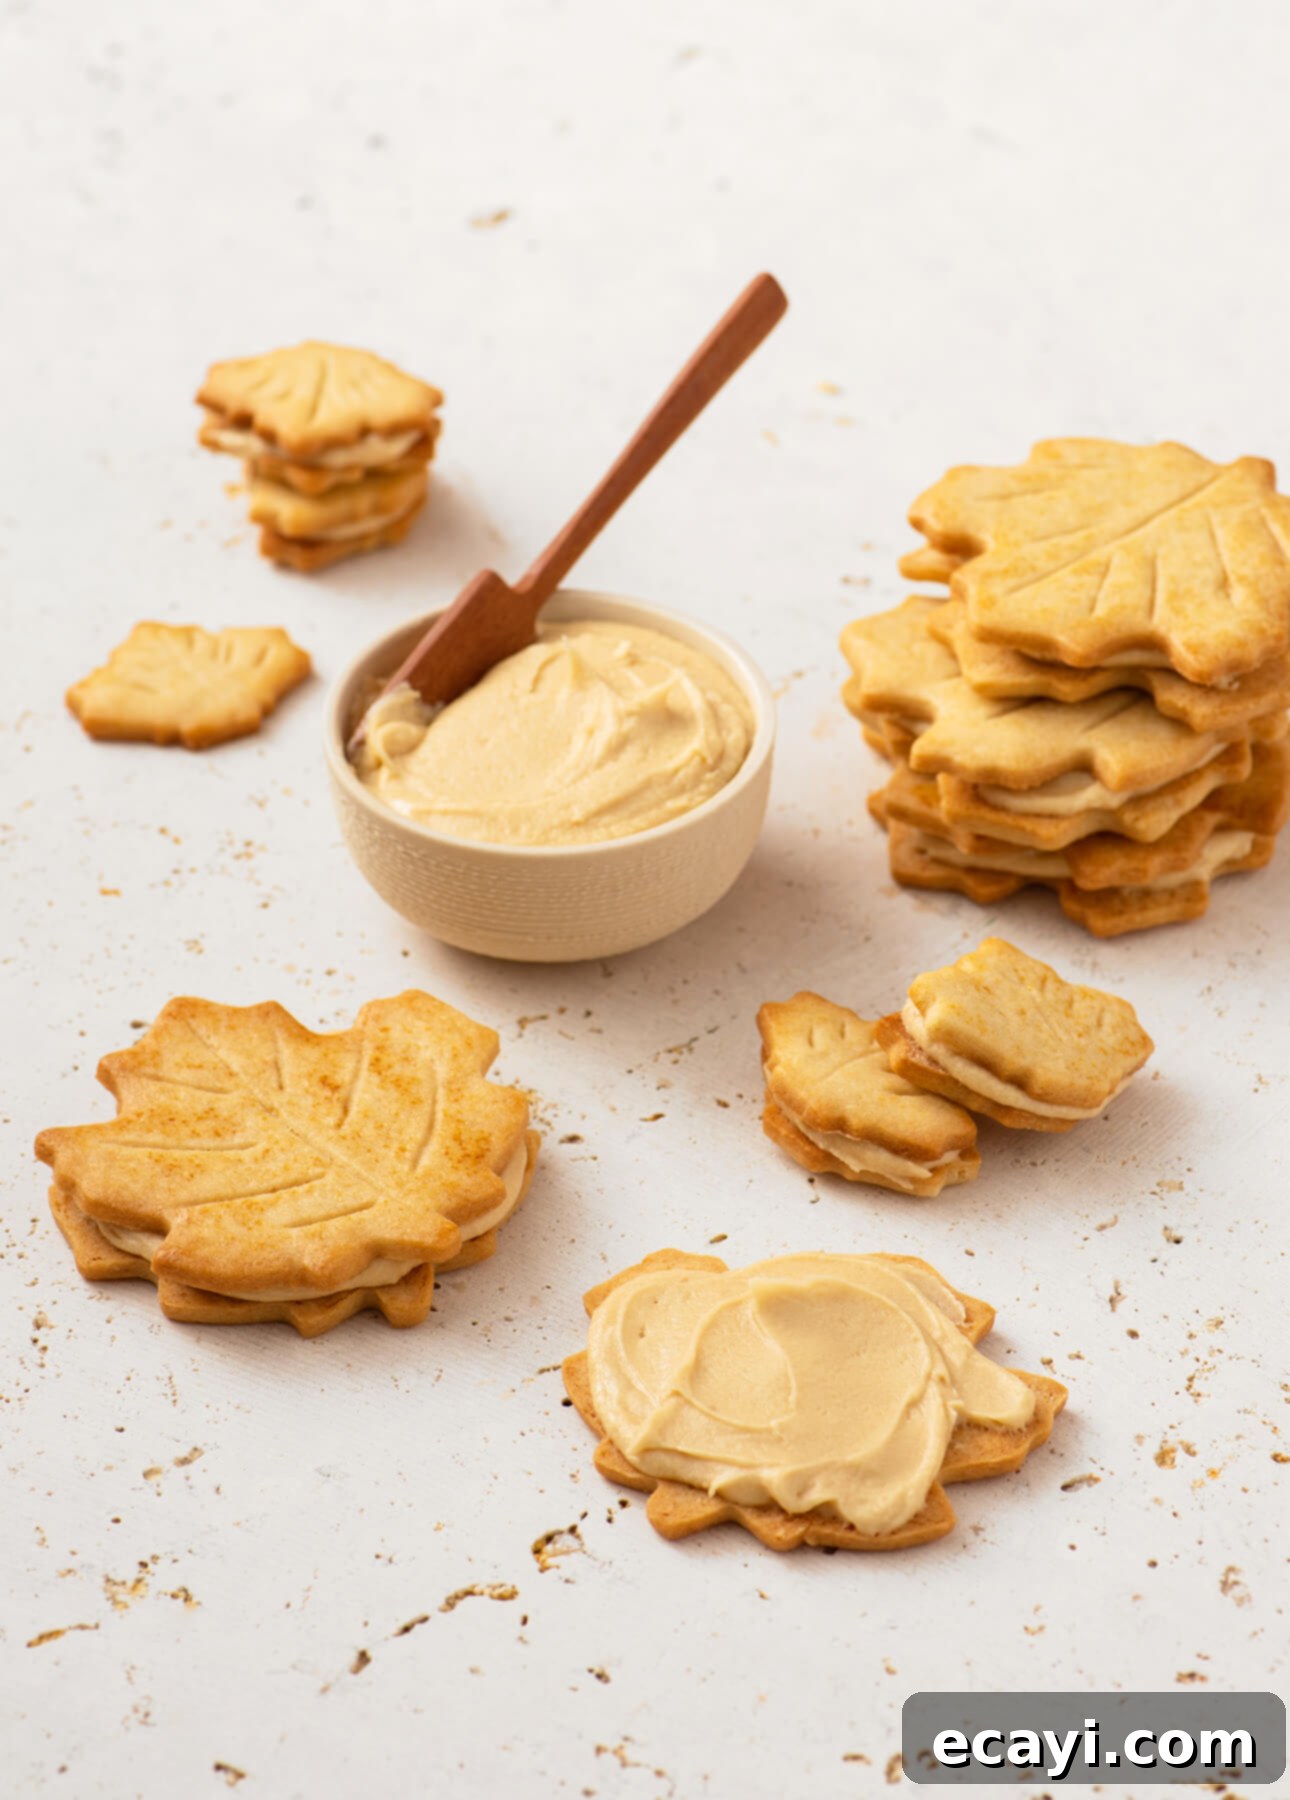
In the bowl of a stand mixer (or a large mixing bowl with a hand mixer), combine the maple butter (also known as maple cream) with the room temperature unsalted butter. Beat these two ingredients together until they are fully incorporated and the mixture is completely smooth. Next, add the powdered sugar and the kosher or fine sea salt. Begin whisking on low speed until the sugar is just mixed in, preventing a cloud of powdered sugar. Then, increase the speed to medium-high and continue to beat vigorously until the maple butter frosting becomes wonderfully light, fluffy, and perfectly spreadable, which should take approximately 3 minutes. Once prepared, transfer the luscious frosting to an airtight container and store it at room temperature until you are ready to assemble your cookies.
To assemble the maple leaf cookies:
-
Once both the cookies and the frosting are ready and cooled, it’s time for assembly! Take one cooled maple cookie and spread a generous, even layer of the creamy maple butter frosting onto its flat side. Then, gently place a second cookie on top, sandwiching the delicious filling between them. Repeat this delightful process with the remaining cookies and frosting until all your maple leaf cookie sandwiches are assembled. Don’t let any leftover maple butter filling go to waste—it’s utterly delicious eaten by the spoonful!
-
STORAGE: The fully assembled maple leaf cookies can be stored in an airtight container at room temperature. They will remain fresh and delicious for up to 4 days. On their first day, these cookies will have a delightful crispness, which gradually softens a bit upon resting. Both textures are absolutely wonderful, but many connoisseurs find that the cookies reach their absolute peak flavor and texture after resting for about 24 hours, allowing the flavors to meld beautifully.
-
CLEVER TIP: HOW TO PREPARE MAPLE LEAF COOKIES AHEAD OF TIME
To make your baking process more manageable, you can prepare the raw cookie dough in advance. Simply wrap it carefully in plastic wrap and freeze it for up to 1 month. When you’re ready to bake, thaw the dough overnight in the refrigerator, then bring it back to room temperature for about 1 hour before you begin rolling and cutting.
The maple butter frosting can also be made ahead of time. Refrigerate it for up to 3 days, or freeze it for up to 1 month. Prior to use, thaw the frosting overnight in the refrigerator and then let it come to room temperature for approximately 1 hour. Give the frosting an energetic stir before using it to fill the cookies to ensure it’s smooth and perfectly spreadable.
Did you make this?
Tell me how you liked it! Leave a comment or take a picture and tag it with @foodnouveau on Instagram.
This site is a participant in the Amazon Associates Program, an affiliate advertising program designed to provide a means for the site to earn fees by linking to Amazon and affiliated sites.
If you click on an affiliate link, I may earn advertising or referral fees if you make a purchase through such links, at no extra cost to you. This helps me create new content for the blog–so thank you! Learn more about advertising on this site by reading my Disclosure Policy.
