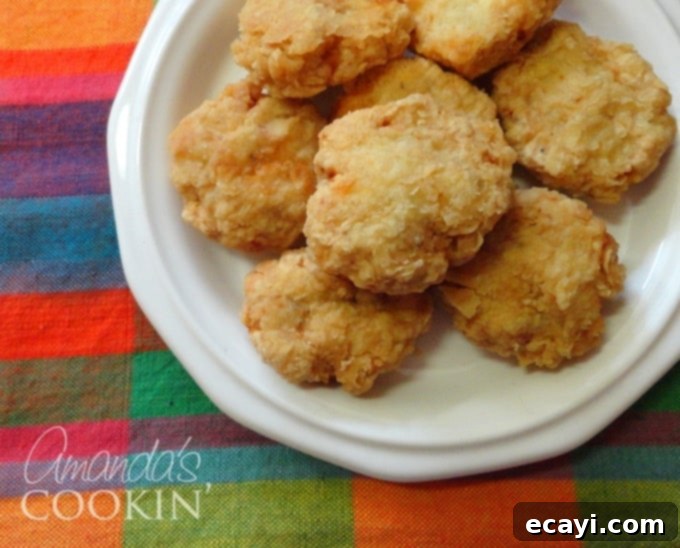
Homemade Chicken Nuggets: A Copycat Recipe That Tastes Just Like Your Favorite Fast Food!
If you’ve ever dreamt of recreating that iconic fast-food chicken nugget experience in your own kitchen, your search ends here! This incredible recipe delivers homemade chicken nuggets that are remarkably similar in taste and texture to McDonald’s, but with the added benefit of knowing exactly what goes into every bite. Forget processed ingredients and questionable additives; with this recipe, you’re in control, using fresh, wholesome chicken and simple seasonings. It’s also a fantastic activity to get the kids involved with – they’ll love helping to shape these delicious bites!
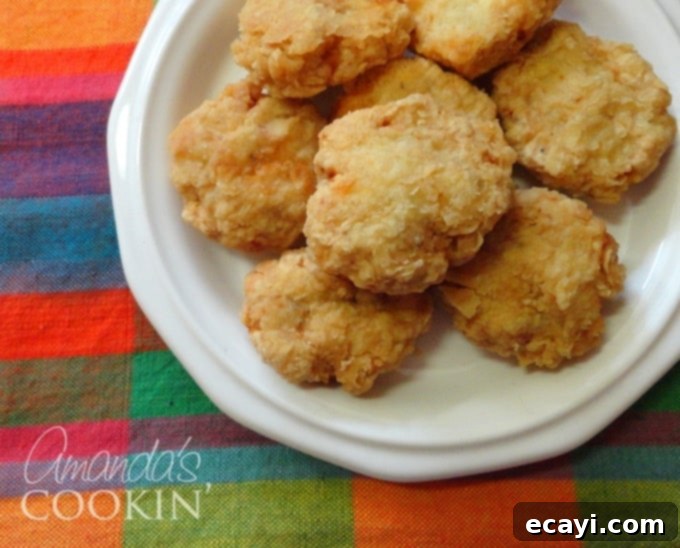
I’ve personally made these homemade chicken nuggets countless times, and they are consistently met with enthusiastic approval from my family and friends. The feedback is always overwhelmingly positive, with many remarking on how authentic they taste compared to popular chain versions. I’ve even shared this cherished recipe with others, and they too have reported great success in their own kitchens. I genuinely encourage you to give it a try and discover the magic for yourself. You might just find your new go-to family meal!
CHICKEN DINNERS COOKBOOK!
I don’t know about you, but chicken is one of my favorites! It’s versatile, easy to make, and absolutely delicious! Get my favorite ways to make chicken for dinner. See ALL my cookbooks here!
20 delicious chicken dinners that your family will rave about! ONLY $9.97!!
Why Make Your Own Chicken Nuggets?
Beyond the undeniable deliciousness, there are several compelling reasons to embark on this homemade chicken nugget adventure. Firstly, you gain complete control over the ingredients. No mysterious fillers, no artificial flavors, just pure, wholesome chicken and spices. This is especially important for families with dietary restrictions or those simply seeking a healthier alternative to fast food. Secondly, it’s incredibly fun! Involving children in the cooking process not only teaches them valuable skills but also encourages them to try new foods. The hands-on nature of shaping and breading the nuggets makes it an engaging kitchen activity for all ages. Lastly, the taste difference is truly remarkable. Freshly prepared, seasoned, and fried, these nuggets offer a superior flavor and texture that mass-produced versions simply cannot match. You’ll be amazed at how easily you can replicate and even improve upon a classic.
Essential Kitchen Equipment for Perfect Nuggets
While the process is straightforward, having the right tools can make all the difference in achieving that perfect nugget consistency. The most crucial piece of equipment for this recipe is a food processor. It’s essential for grinding the raw chicken into a fine paste, which is key to replicating the texture of commercially made nuggets. A good quality food processor will make this step quick and effortless.
The most popular question about this recipe is “is the chicken raw or cooked when you run it through the food processor?” The answer is simple: the chicken is **raw**, not cooked.
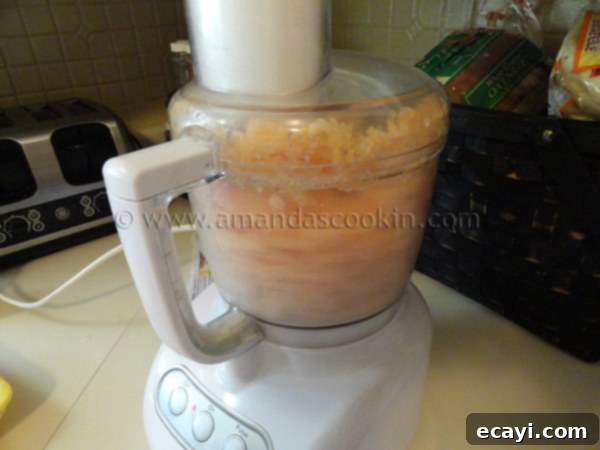
First, you’re going to cut some boneless chicken breasts into uniform cubes, which helps the food processor work more efficiently. Then, you’ll run them through your food processor until a fine paste is formed.
A note on food processors: The food processor pictured above in the original context was a budget-friendly model that unfortunately didn’t last. The bowl, in particular, proved fragile, requiring multiple replacements. Investing in a more robust machine can save you frustration and money in the long run. Based on personal experience, I highly recommend a reliable model like a Cuisinart 12-cup food processor for its durability and performance.
Step-by-Step Guide to Crafting Your Perfect Chicken Nuggets
1. Processing the Chicken
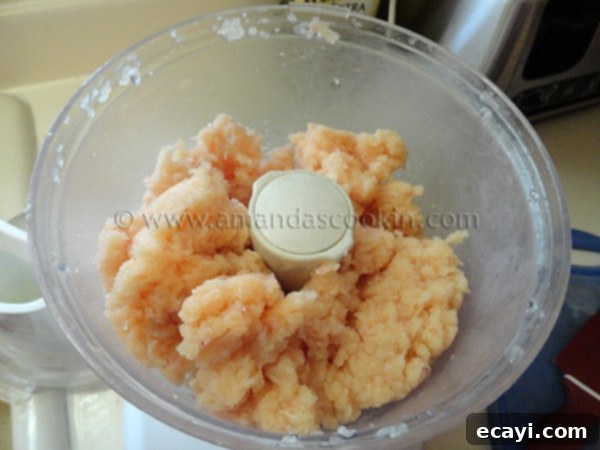 Once your chicken breasts are cubed, place them into your food processor. Pulse the chicken until it forms a very fine, almost paste-like consistency. This is crucial for achieving the tender, uniform texture of a classic chicken nugget. Be careful not to overprocess, as you still want a bit of texture, not a complete puree. Here’s what the perfectly processed chicken looks like when it’s done.
2. Seasoning the Chicken Base
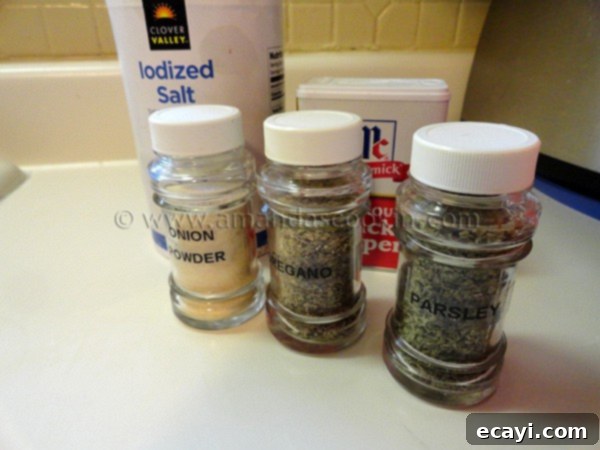 In a small bowl, measure out your seasonings: salt, pepper, onion powder, oregano, and parsley. These spices contribute significantly to the familiar flavor profile we’re aiming for. Each ingredient plays a role in enhancing the chicken’s natural taste and adding that signature savory note.
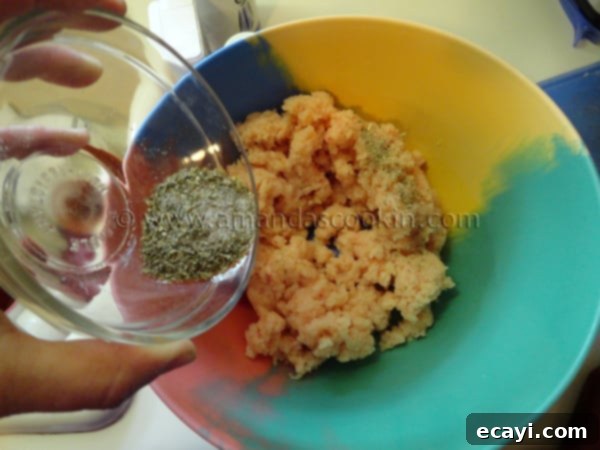 Once mixed, generously sprinkle this aromatic blend over the ground chicken in a bowl. Use your hands or a spatula to thoroughly combine the chicken and spices, ensuring every part of the mixture is evenly flavored. This even distribution is key to consistent taste in every nugget.
3. Preparing Your Breading Stations
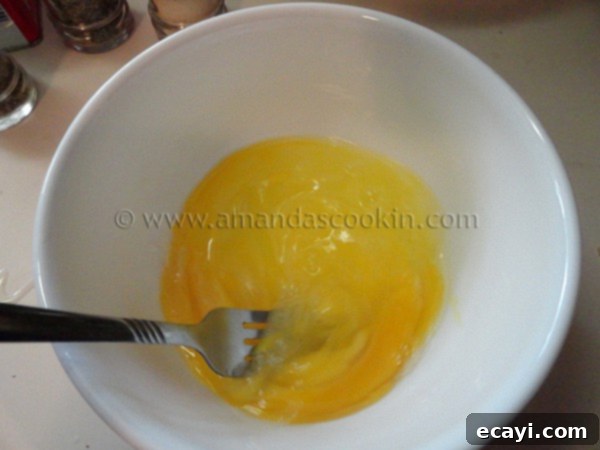 In one shallow bowl, whisk your large eggs until they are well beaten. This will be your wet station for the breading process, helping the flour adhere to the chicken.
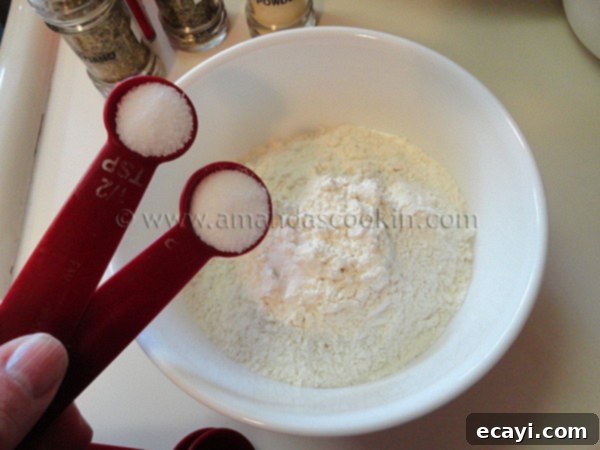 In another separate, wider bowl or a plate, mix the flour with additional salt. This mixture will create the crispy outer shell of your nuggets. Ensure the flour and salt are thoroughly combined to distribute the seasoning evenly.
4. Shaping and Breading the Nuggets
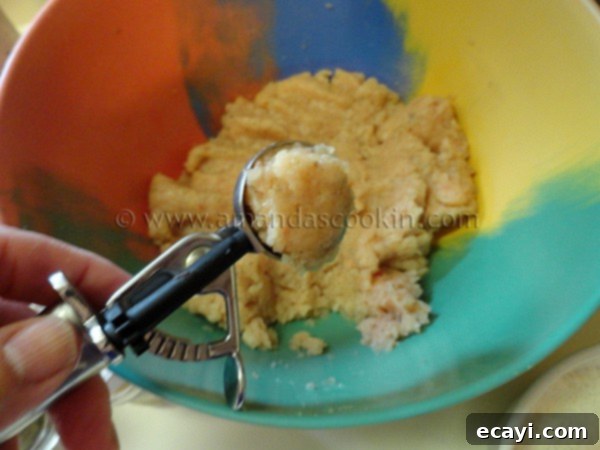 Use a cookie scoop to portion out consistent amounts of the chicken mixture. This helps create uniformly sized nuggets, ensuring even cooking. Gently roll each scooped portion into a smooth ball. Ha ha, chicken balls!
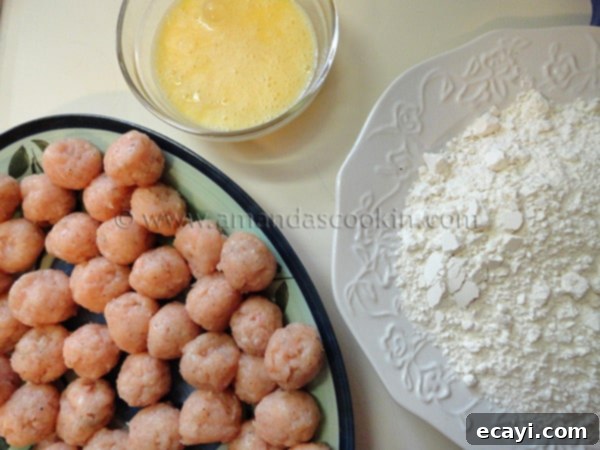 Before you begin breading, arrange your workspace efficiently. You’ll need the plate of raw chicken balls, your bowl of whisked eggs, your bowl of flour mixture, and an empty plate to place the breaded nuggets. This assembly-line approach makes the process smoother and cleaner.
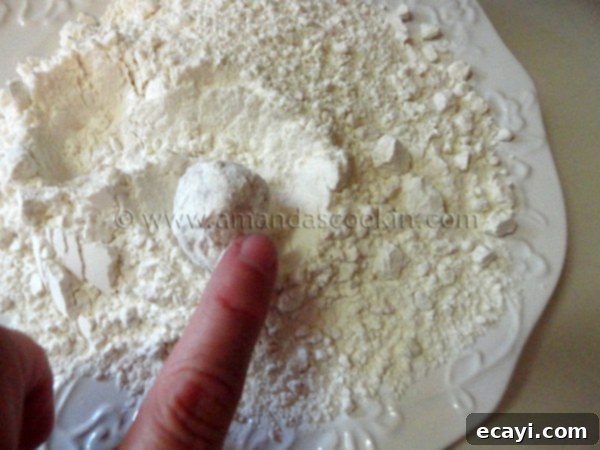 First, take a chicken ball and roll it thoroughly in the flour, ensuring it’s completely coated. Shake off any excess flour.
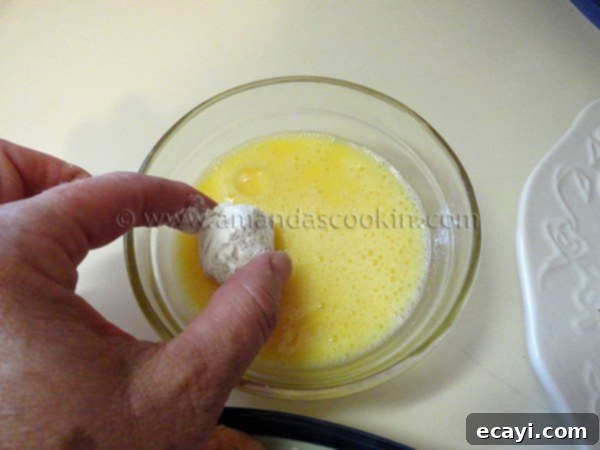 Next, coat the floured ball with the whisked egg, allowing any extra egg to drip off. This egg layer acts as a binder for the final flour coating.
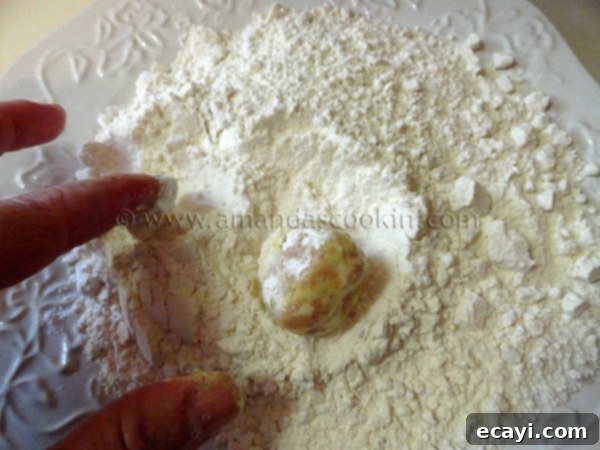
Finally, roll the chicken ball in the flour again. This double-coating method helps create a wonderfully crispy exterior. I’ve found that the best way to manage this step without making a mess is to use one hand exclusively for the wet ingredients (the egg) and the other hand for the dry ingredients (the flour). This technique prevents the flour from clumping onto your egg-y fingers and keeps your breading station clean and efficient.
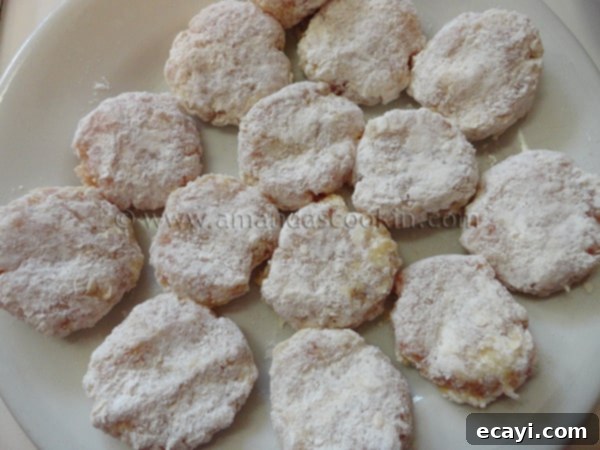
Once breaded, place each chicken ball on a clean plate and gently flatten it with your fingers into the classic nugget shape. This ensures they cook thoroughly and develop that familiar form.
5. Frying to Golden Perfection
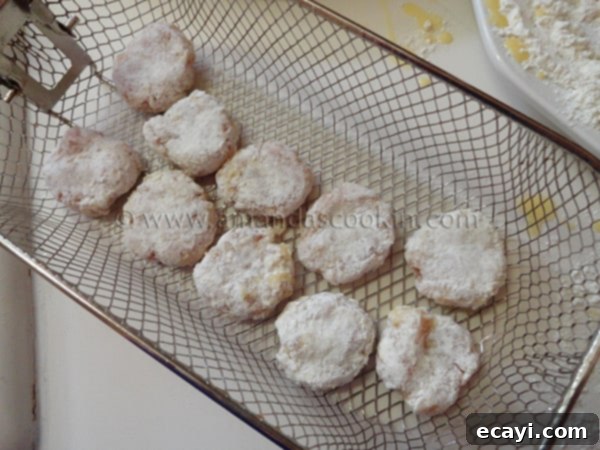
For frying, I used my deep fryer set to 365°F (185°C), which yields excellent results. However, you don’t need a specialized fryer. A sturdy cast iron Dutch oven or even a heavy-bottomed saucepan can work just as well. The key is to maintain a consistent oil temperature for even cooking and a golden-brown crust. Use a candy thermometer to accurately monitor the oil temperature.
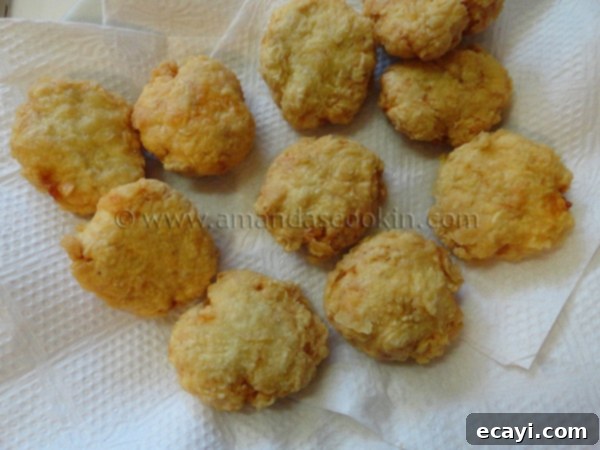
In my fryer, the nuggets took approximately 7.5 minutes to cook through and become perfectly golden brown. Remember to flip them over halfway through to ensure both sides cook evenly. Once cooked, remove the nuggets and place them on a plate lined with paper towels to drain any excess oil. This step is important for maintaining their crispy texture.
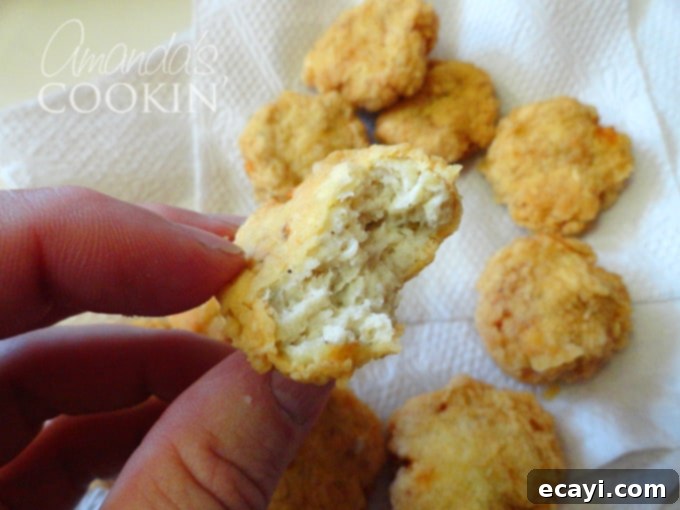
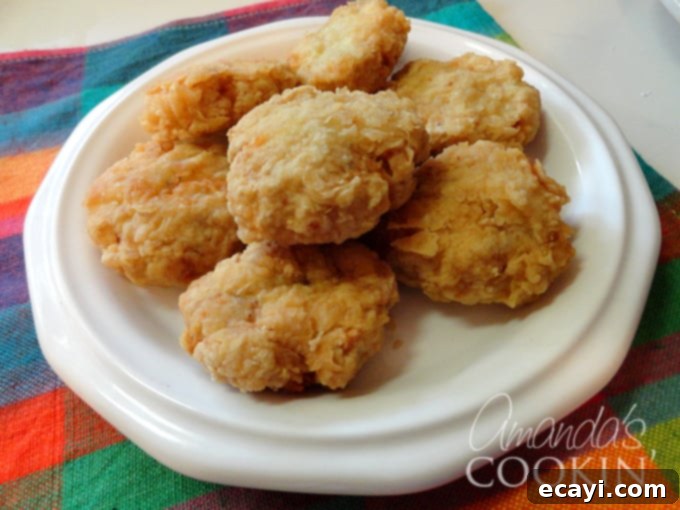
Now for the best part: Take a bite! Experience the satisfying crunch and juicy chicken within.
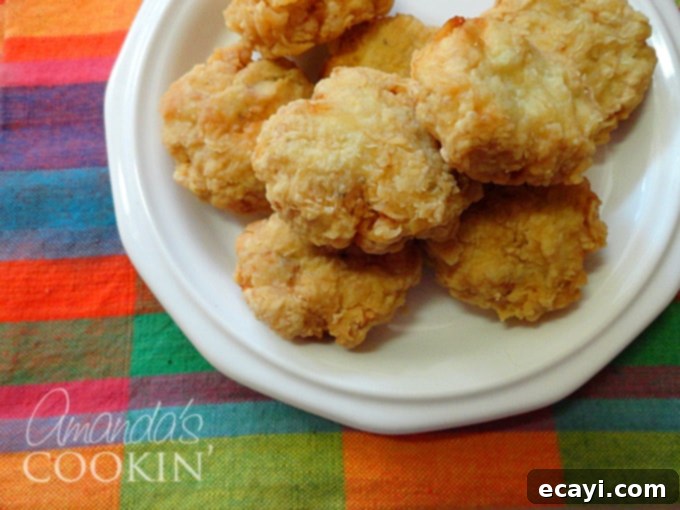
Tips for Perfect Homemade Chicken Nuggets
- **Don’t Overprocess the Chicken:** While a paste-like consistency is desired, avoid turning it into a complete puree. A few small pieces of chicken will add to the texture.
- **Maintain Oil Temperature:** Using a thermometer is crucial. If the oil is too cool, the nuggets will absorb too much oil and become greasy. If it’s too hot, the exterior will burn before the interior is cooked.
- **Work in Batches:** Don’t overcrowd your frying vessel. Frying too many nuggets at once will drop the oil temperature and lead to uneven cooking.
- **Two-Hand Breading Method:** As mentioned, use one hand for wet ingredients and one for dry to keep your hands clean and the breading consistent.
- **Season Generously:** Don’t skimp on the salt and pepper in the flour mixture. This is where a lot of the flavor in the crispy coating comes from.
Frequently Asked Questions (FAQs)
- Is the chicken raw or cooked when it goes into the food processor?
- The chicken must be **raw**, not cooked. Processing raw chicken creates the smooth, uniform texture characteristic of classic nuggets. Cooked chicken would become stringy and difficult to form into nuggets.
- Can I bake these chicken nuggets instead of frying them?
- While frying yields the crispiest, most authentic fast-food texture, you can bake them for a healthier alternative. Preheat your oven to 400°F (200°C). Place the breaded nuggets on a parchment-lined baking sheet and bake for 15-20 minutes, flipping halfway through, until golden brown and cooked through. They might not be as crispy as fried, but still delicious!
- Can I freeze homemade chicken nuggets?
- Absolutely! Freezing them is a great way to prep meals in advance. After breading but before frying, arrange the raw nuggets in a single layer on a baking sheet and freeze until solid. Once frozen, transfer them to an airtight freezer-safe bag or container. When ready to cook, you can fry them directly from frozen, adding a few extra minutes to the cooking time, or thaw them slightly before baking.
- What kind of oil is best for frying?
- For deep frying, choose oils with a high smoke point, such as canola oil, vegetable oil, peanut oil, or sunflower oil. These oils can withstand the high temperatures required for frying without breaking down or imparting undesirable flavors.
- What are the best dipping sauces for these nuggets?
- These homemade nuggets pair wonderfully with a variety of sauces! Classic options include ketchup, barbecue sauce, honey mustard, or sweet and sour sauce. For a unique twist, try a spicy mayo or a homemade garlic aioli.
Homemade Chicken Nuggets
IMPORTANT – There are often Frequently Asked Questions within the blog post that you may find helpful. Simply scroll back up to read them!
Print It
Pin It
Rate It
Save ItSaved!
Ingredients
- 18 ounces boneless skinless chicken breasts about 3 breasts
- 1 ½ teaspoon salt
- ¾ teaspoon parsley flakes
- ¾ teaspoon oregano
- ¼ teaspoon onion powder heaping
- ¼ teaspoon pepper heaping
- 3 large eggs beaten
- 1 ½ cups flour
- 1 ½ teaspoons salt
- 2 cups canola oil
Instructions
-
Heat oil in a heavy-duty skillet or saucepan on medium-high heat. Set a candy thermometer in place.
-
While oil is heating, cut chicken breasts into cubes, then place in a food processor. Process chicken into a fine paste. Transfer processed chicken to a bowl. Combine salt, parsley, oregano, onion powder, and pepper, and sprinkle over chicken. Combine well.
-
Whisk eggs together in a small bowl. Combine the flour and salt and put it on a plate.
-
Measure chicken paste out with a cookie scoop and roll into 42 balls.
-
Roll ball in flour, then coat with egg, and then coat in flour again. Use your fingers to press the ball down to make a nugget.
-
Once oil reaches 350-365 F place as many nuggets as possible in the oil, and fry until the bottoms are golden, turn and fry until the other side is golden, about 4-5 minutes per side. Remove to a towel-lined plate (to catch any excess oil).
Nutrition
The recipes on this blog are tested with a conventional gas oven and gas stovetop. It’s important to note that some ovens, especially as they age, can cook and bake inconsistently. Using an inexpensive oven thermometer can assure you that your oven is truly heating to the proper temperature. If you use a toaster oven or countertop oven, please keep in mind that they may not distribute heat the same as a conventional full sized oven and you may need to adjust your cooking/baking times. In the case of recipes made with a pressure cooker, air fryer, slow cooker, or other appliance, a link to the appliances we use is listed within each respective recipe. For baking recipes where measurements are given by weight, please note that results may not be the same if cups are used instead, and we can’t guarantee success with that method.
Making homemade chicken nuggets is a rewarding experience that offers a fresh, flavorful alternative to fast-food versions. With simple ingredients and a straightforward process, you can create crispy, delicious nuggets that your entire family will love. Enjoy the process of cooking from scratch and savor the incredible taste of these perfectly crafted bites. Don’t forget to download the printable recipe below for easy reference!
