Homemade Rock Candy: A Fun & Easy DIY Science Experiment for All Ages
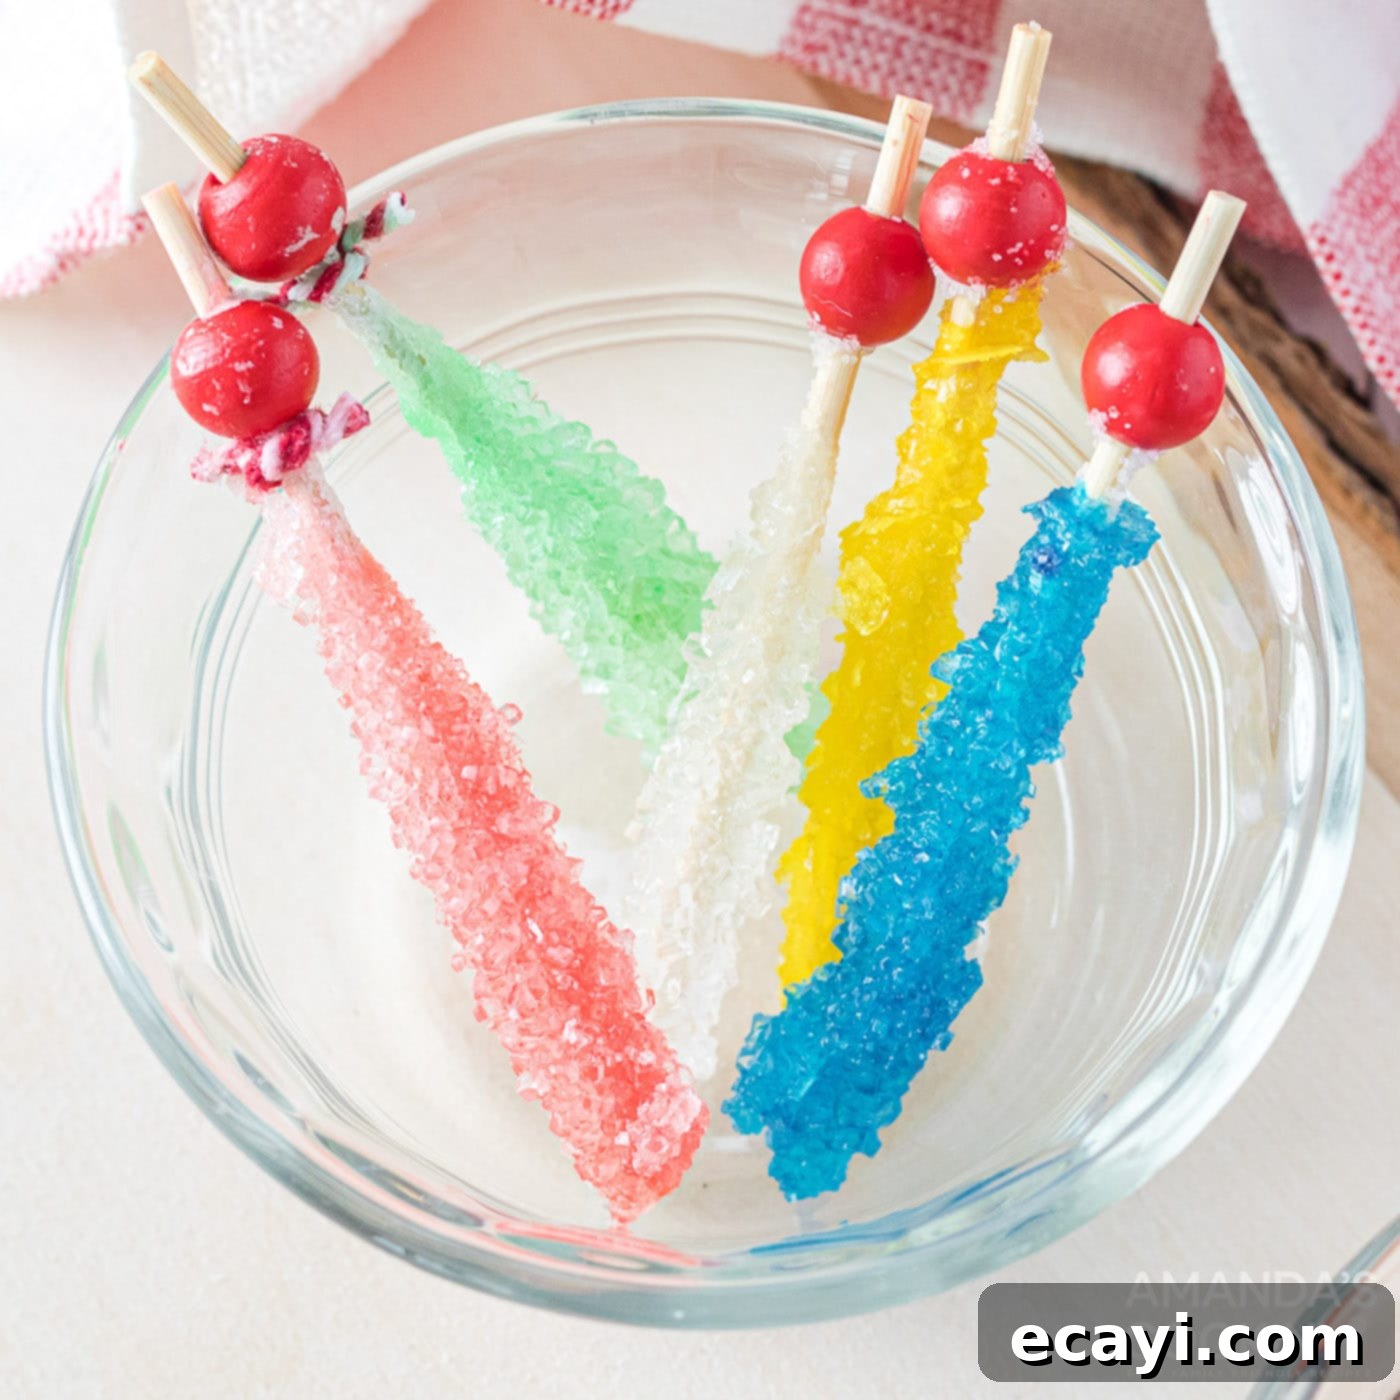
Dive into the delightful world of crystal growth with our easy-to-follow homemade rock candy recipe! This isn’t just a sweet treat; it’s a captivating science experiment perfect for engaging kids and adults alike. Imagine sparkling sugar crystals forming right before your eyes in a simple mason jar. Once perfected, these beautiful rock candy sticks make charming party favors, thoughtful gifts, or a unique addition to your dessert table. Get ready to embark on a fun, educational, and delicious adventure!
Making rock candy from scratch is a rewarding experience that combines basic kitchen skills with fascinating scientific principles. You’ll witness the magic of supersaturation and crystallization firsthand, making it an excellent hands-on learning opportunity. Plus, the vibrant colors and customizable flavors mean endless possibilities for creating your very own sparkling confectionary masterpieces.
The Sweet Science: Why This Rock Candy Recipe Works So Well
Homemade rock candy is more than just a sweet indulgence; it’s a fantastic educational experiment that brings scientific concepts to life for both children and adults. This recipe guides you through creating a perfectly supersaturated sugar solution, the essential foundation for magnificent crystal growth.
The magic happens as the hot sugar solution slowly cools and water gradually evaporates. As this occurs, the dissolved sugar molecules no longer have enough space to remain evenly dispersed in the water. This causes them to precipitate out of the solution and begin to crystallize. The initial sugar coating on your wooden skewer acts as a “seed” or nucleation site, providing a perfect surface for these sugar molecules to attach to and build upon. Over several days, these tiny sugar particles bond together, gradually forming larger, beautifully structured rock candy crystals. It’s a captivating process that teaches about solubility, solutions, and crystallization in a delicious and memorable way!
The crystal formation can take anywhere from a few days to up to ten days, offering a wonderful opportunity for observation. We highly recommend using your phone or camera to take a daily picture at the same time. This visual diary will allow you to track the progress of your sugar crystals as they grow, thicken, and transform into delicious homemade rock candy.
ANOTHER DELICIOUS TREAT YOU MIGHT LIKE: Saltine Toffee – A perfect blend of sweet caramel and salty crunch!
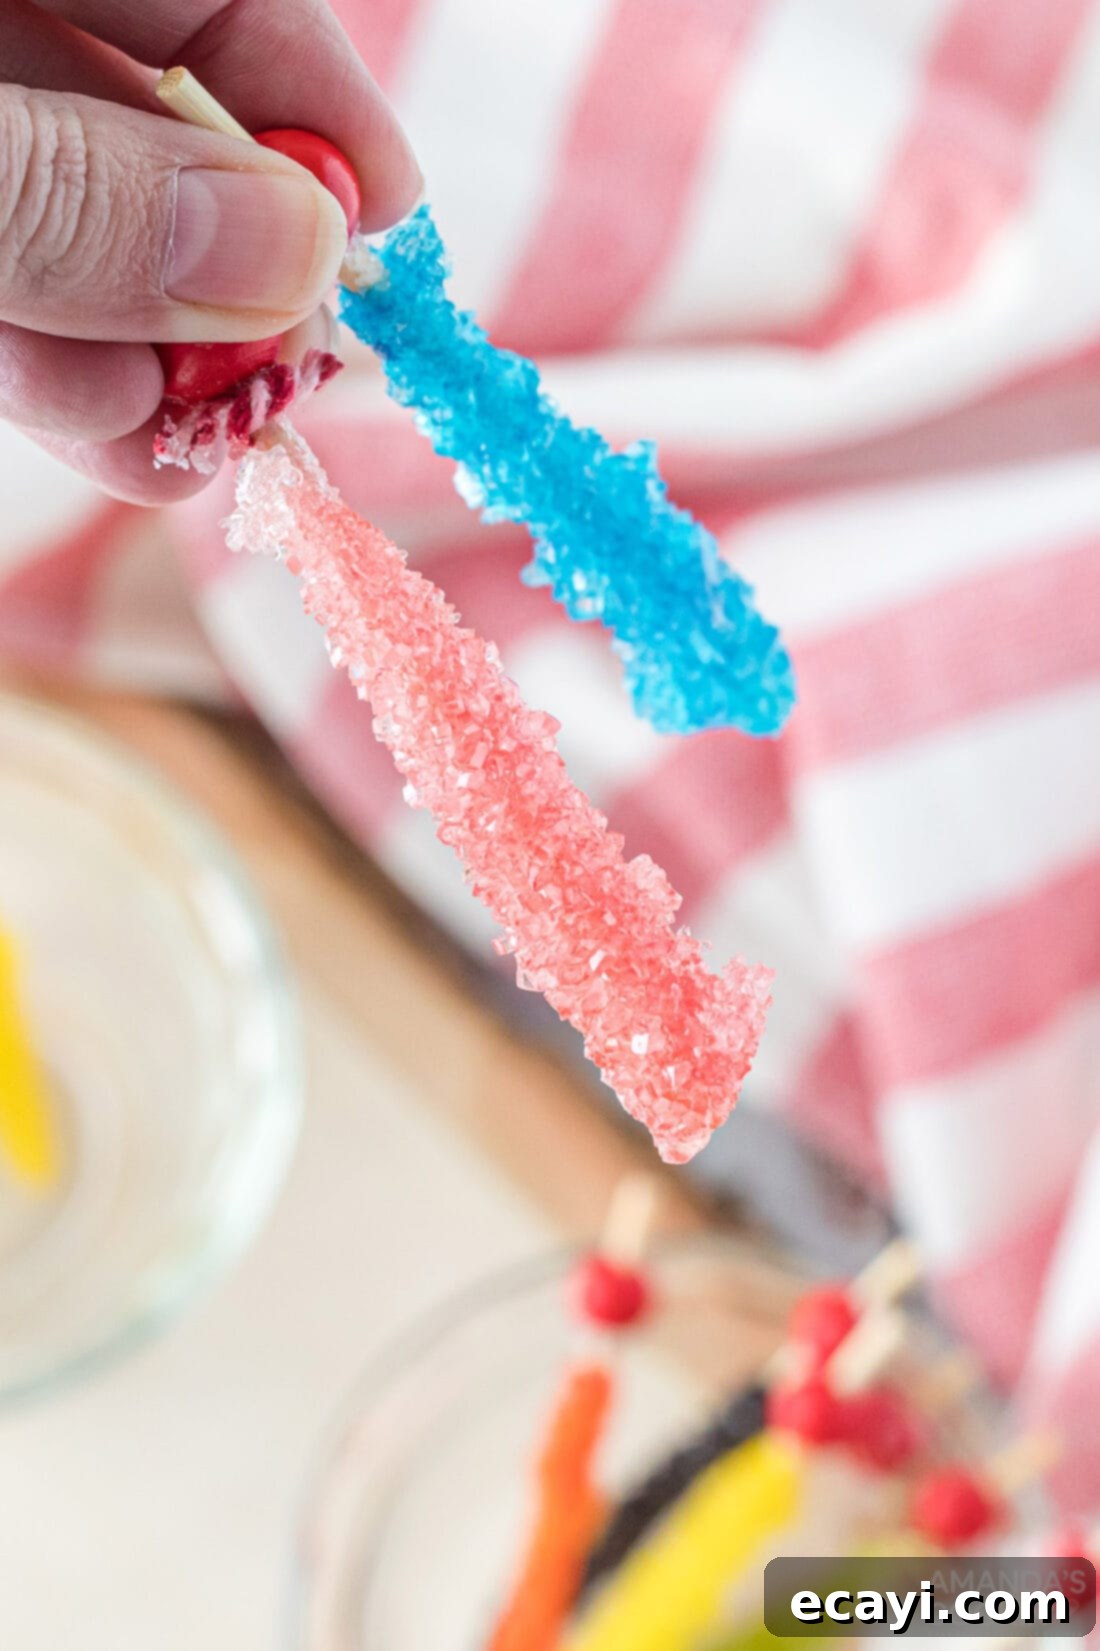
Essential Ingredients and Equipment for Perfect Homemade Rock Candy
Gathering the right ingredients and tools is the first step to successful rock candy making. You’ll find a complete list of measurements, ingredients, and detailed instructions in the printable version of this recipe at the very end of this post.
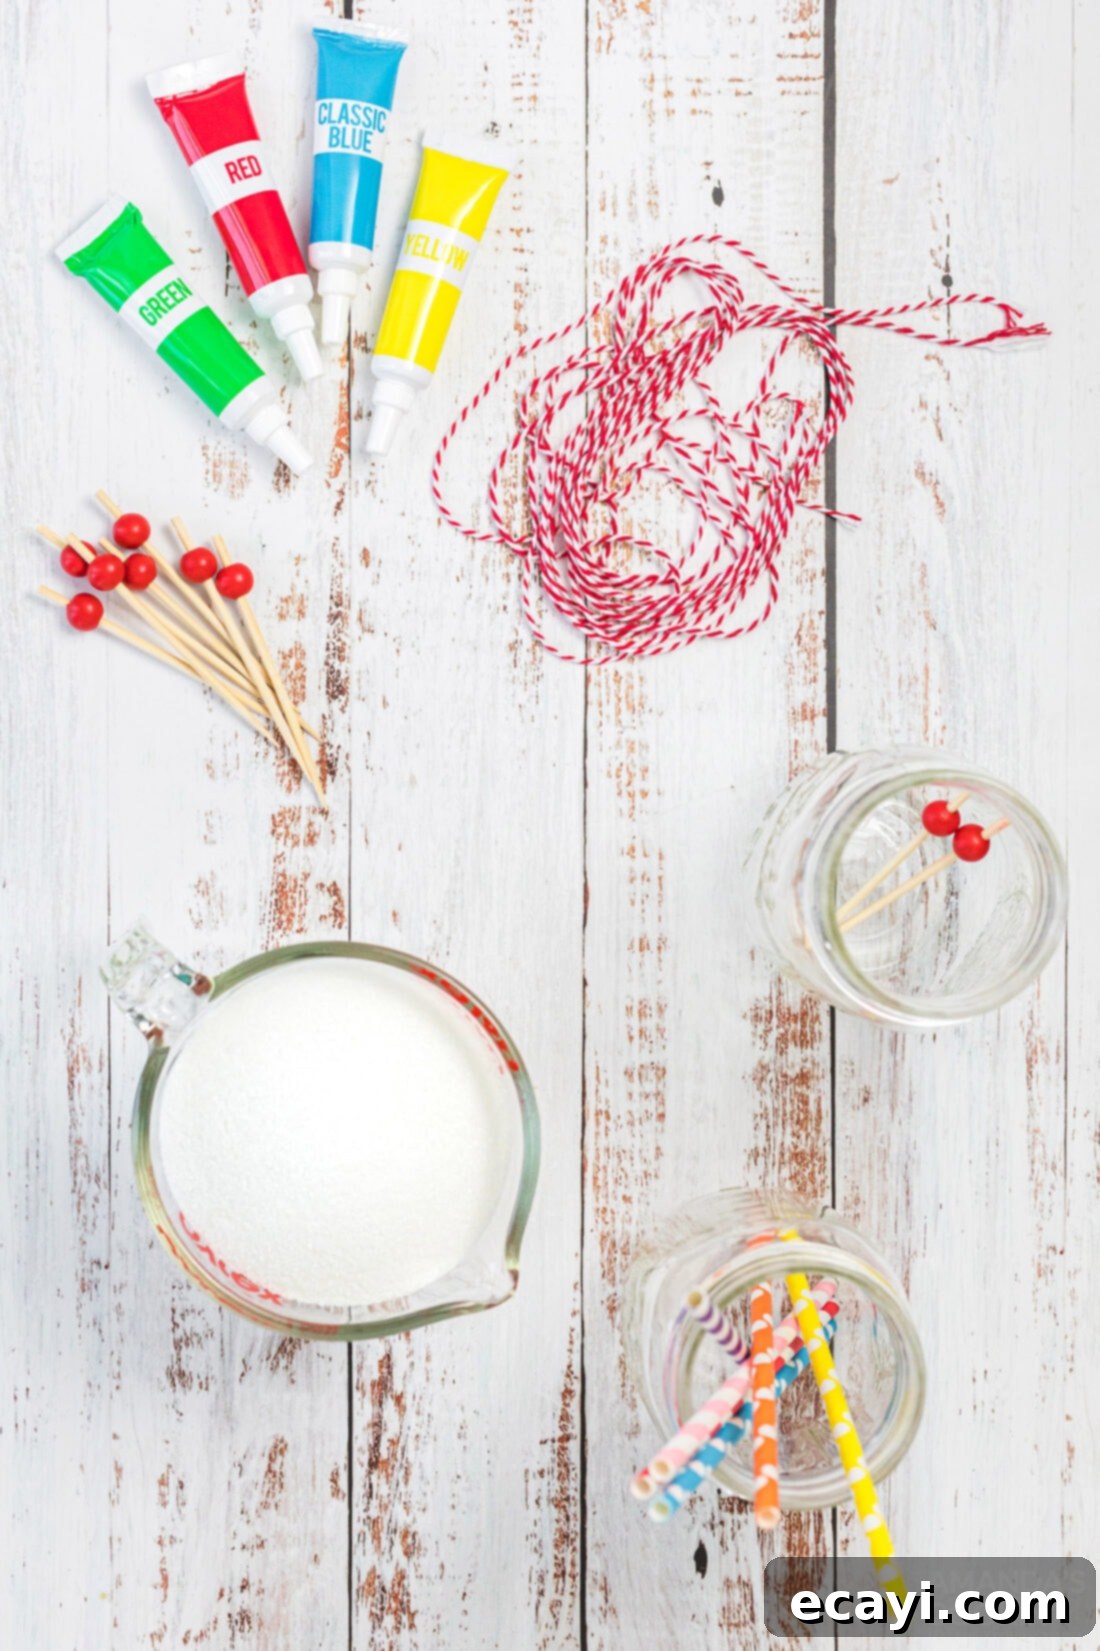
Choosing Your Sugar: The Foundation of Your Crystals
TYPE OF SUGAR: For the most impressive and largest rock candy crystals, plain white granulated sugar is your best bet. Its uniform crystal structure and purity allow for consistent and significant growth. It’s also a common pantry staple for most households, making this DIY candy recipe incredibly accessible!
- White Granulated Sugar: This is highly recommended for its ability to produce the largest and clearest crystals. The fine grains dissolve efficiently, creating the perfect supersaturated solution necessary for optimal crystallization.
- Brown Sugar or Organic Sugar: While you *can* use these alternative sugars, be aware that they may result in smaller, less uniform, or cloudy crystals due to impurities or larger grain sizes. The natural molasses in brown sugar will also give your rock candy a brownish hue and a slightly different flavor profile.
Adding Color and Flavor: Personalizing Your Rock Candy Creations
COLORING & FLAVORING: Rock candy is naturally sweet, but adding flavor extracts and food coloring allows you to customize your creations and make them truly special. Think about holiday themes, party colors, or your favorite fruit flavors for an extra touch!
- Food Coloring: If you prefer classic white rock candy, you can certainly skip the food coloring. However, for vibrant and eye-catching results, food dye is a must! Gel food colorings tend to produce more intense colors with less liquid, which is beneficial as it prevents unnecessary dilution of your sugar solution. Experiment with different colors to create a beautiful rainbow of homemade rock candy.
- Flavored Extracts or Oils: For an extra dimension of taste, incorporate your favorite flavored extracts or candy oils. Popular choices include vanilla, peppermint, cherry, strawberry, lemon, and even root beer. Remember that candy oils are generally more potent than liquid extracts, so adjust quantities accordingly. Always add these after the sugar solution has cooled slightly to prevent the delicate flavors from evaporating.
Essential Equipment for Rock Candy Success
- Saucepan: A medium to large saucepan is needed to prepare your sugar solution. Choose one with a heavy bottom to ensure even heating and prevent scorching.
- Mason Jars (or other clean glass jars with lids): Clear glass jars are ideal as they allow you to observe the mesmerizing crystal growth daily. Mason jars work perfectly, and their lids are crucial for securing the skewers in place.
- Wooden Skewers: These provide the perfect rough surface for sugar crystals to form. Ensure they are long enough to be suspended in your jars without touching the bottom.
- Baker’s Twine: Used to suspend the skewers in the sugar solution. It’s strong and food-safe.
- Straws: Essential for creating a simple yet effective drying rack for your finished rock candy.
- Measuring Cups and Spoons: For accurate ingredient measurements, which are crucial for the right sugar-to-water ratio.
- Stirring Spoon or Whisk: A sturdy utensil for dissolving the sugar thoroughly.
Step-by-Step Guide: How to Make Sparkling Rock Candy at Home
These step-by-step photos and detailed instructions are provided to help you visualize each stage of making this rock candy recipe. For the printable version, complete with precise measurements and concise instructions, please Jump to Recipe at the bottom of this post.
- Prepare the Supersaturated Sugar Solution:
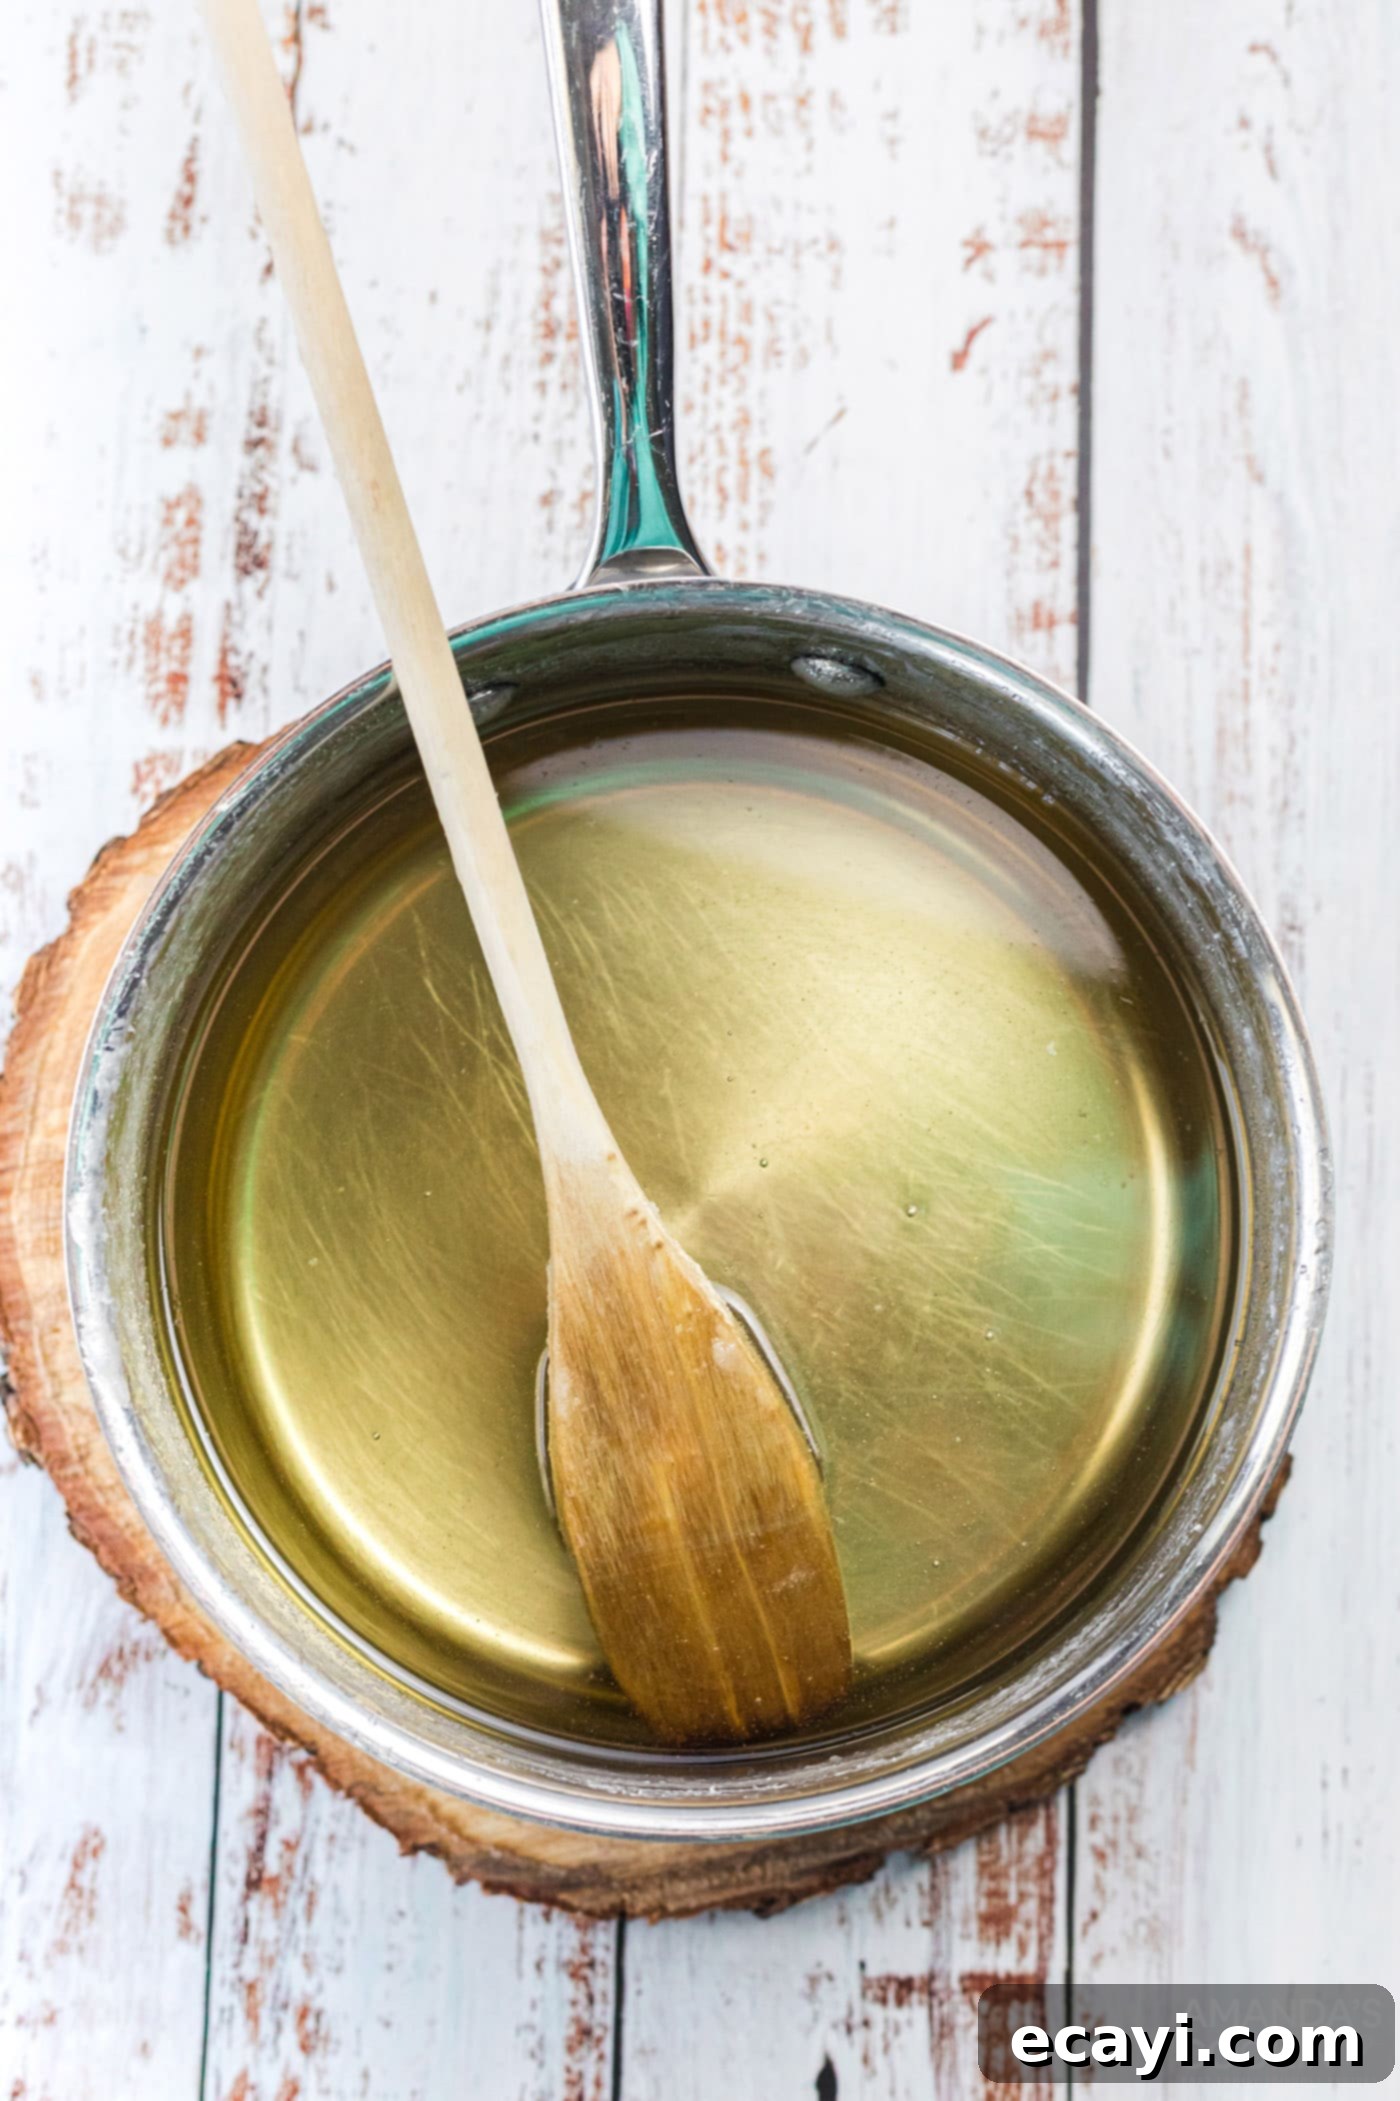
In a medium saucepan, combine your granulated sugar and water. Place the saucepan over high heat and stir continuously. It’s crucial to keep stirring until the mixture reaches a rolling boil and all the sugar granules are completely dissolved. Be vigilant and avoid boiling the mixture for too long (e.g., more than a minute or two), as this can cause the sugar to caramelize or harden prematurely. The solution will become noticeably clearer and more transparent once all the sugar has dissolved, indicating a successful supersaturated solution.

- Cool the Solution and Prepare Jars:
Once all sugar is dissolved and the solution is clear, remove the saucepan from the heat. Continue stirring for another minute or two to ensure uniform dissolution and to slightly reduce the temperature. While the sugar solution is still hot, gently warm your clean glass jars by holding their exteriors under hot tap water for a few seconds. This important step prevents the glass from cracking due to thermal shock when the hot sugar solution is poured in. Carefully pour the hot sugar mixture into the warmed jars, filling them almost to the top. Place the jars in the refrigerator to cool for approximately 30 minutes to an hour, depending on their size. The goal is for the mixture to reach near room temperature, not to become cold, as excessively cold temperatures can hinder initial crystal growth.
- Prepare the Crystal-Seeding Skewers:
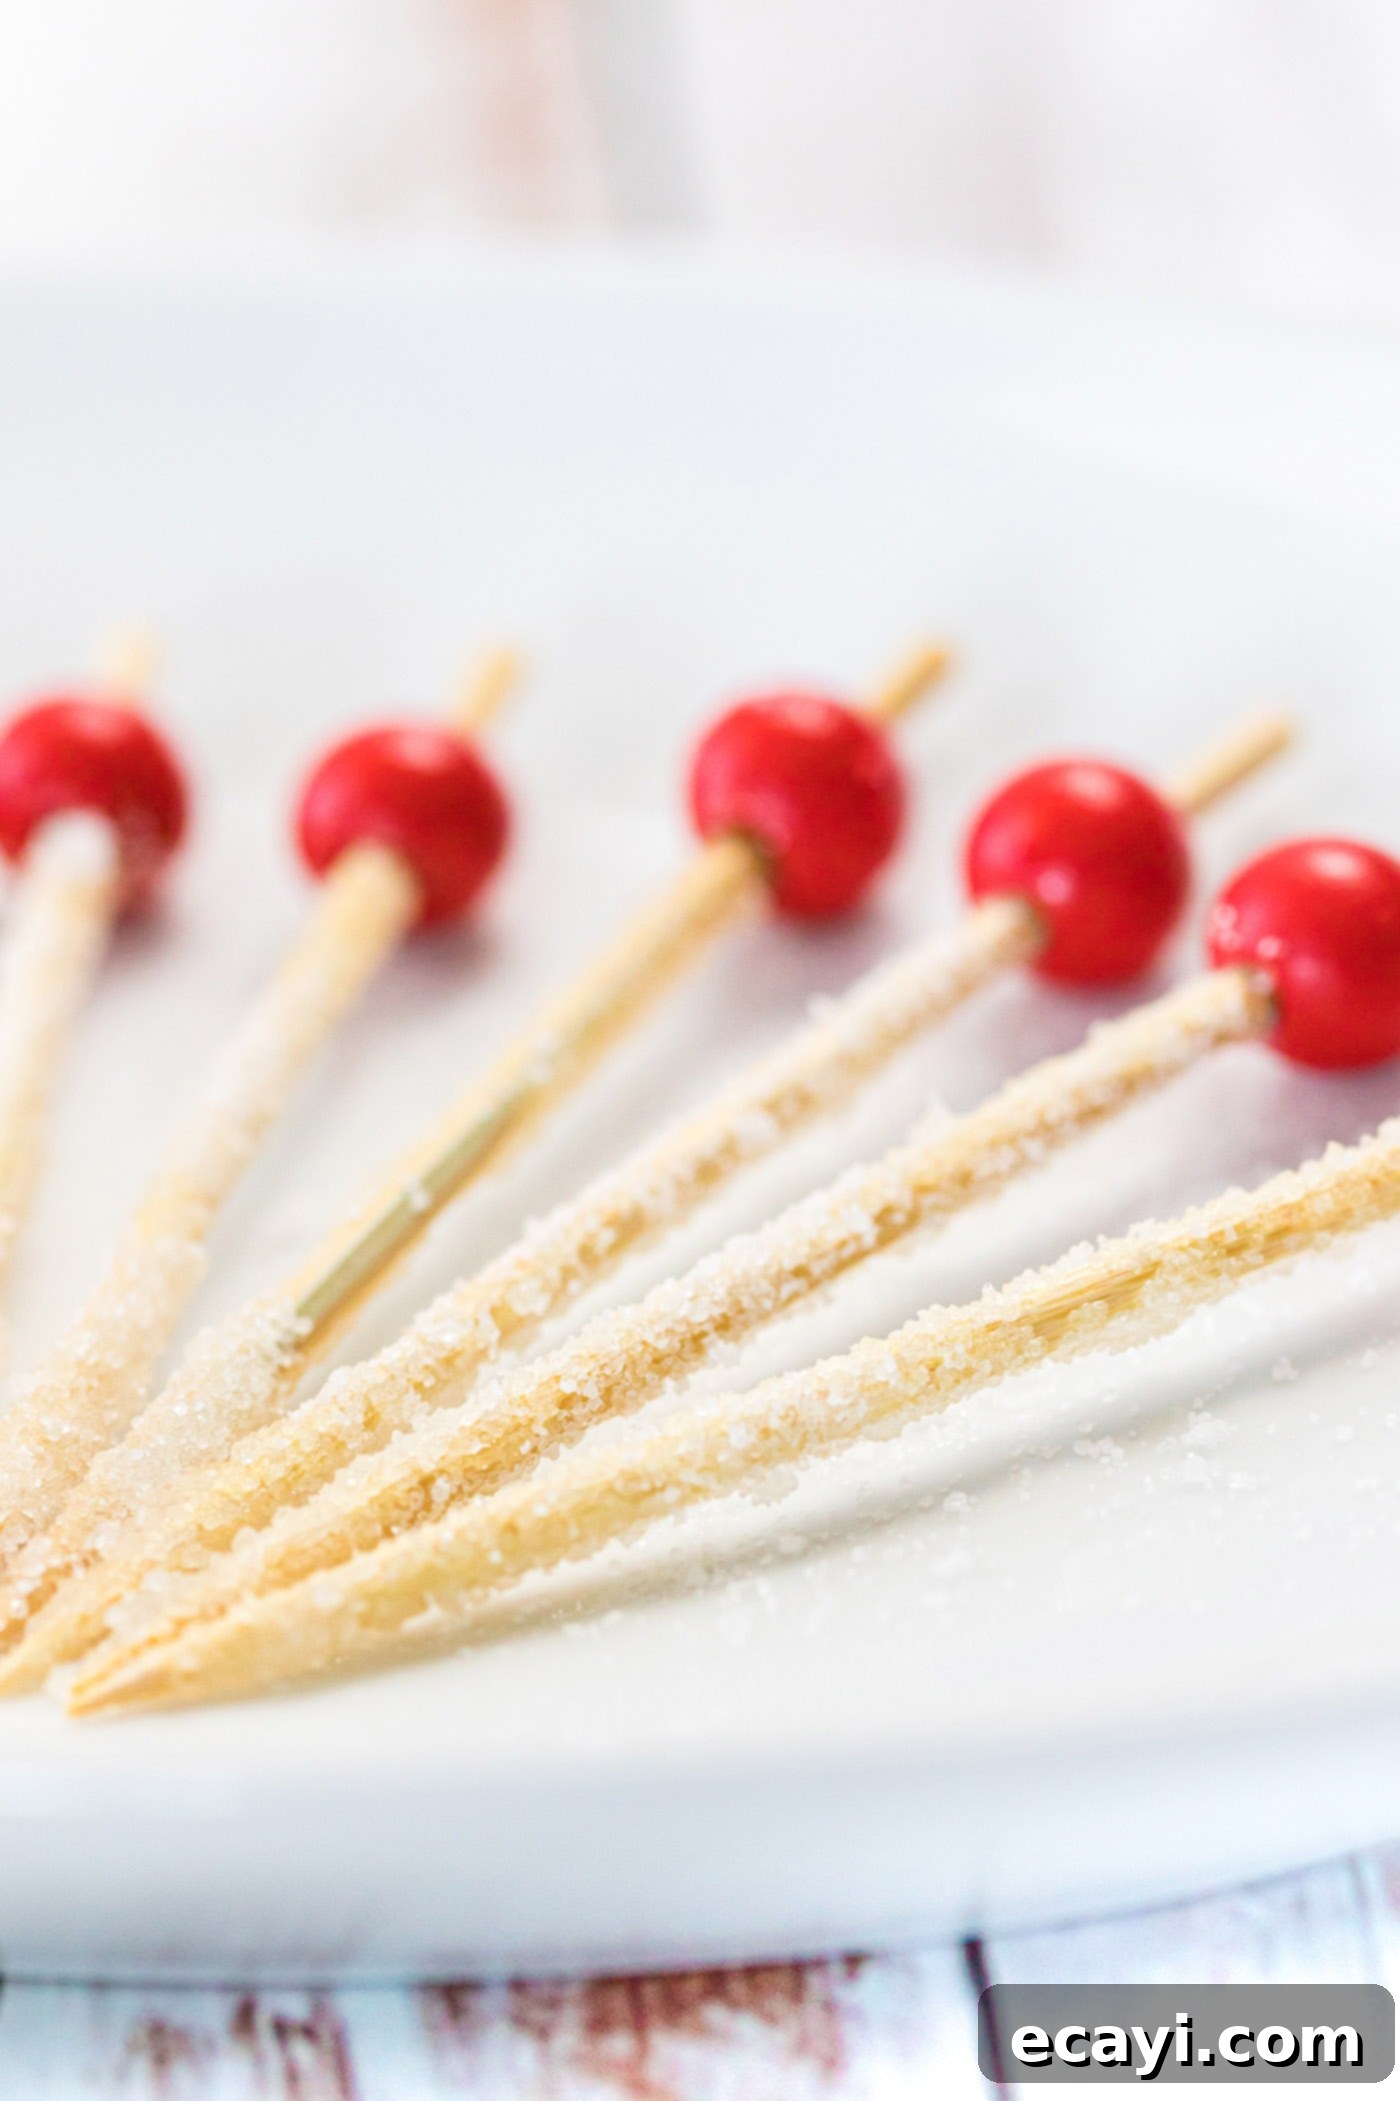
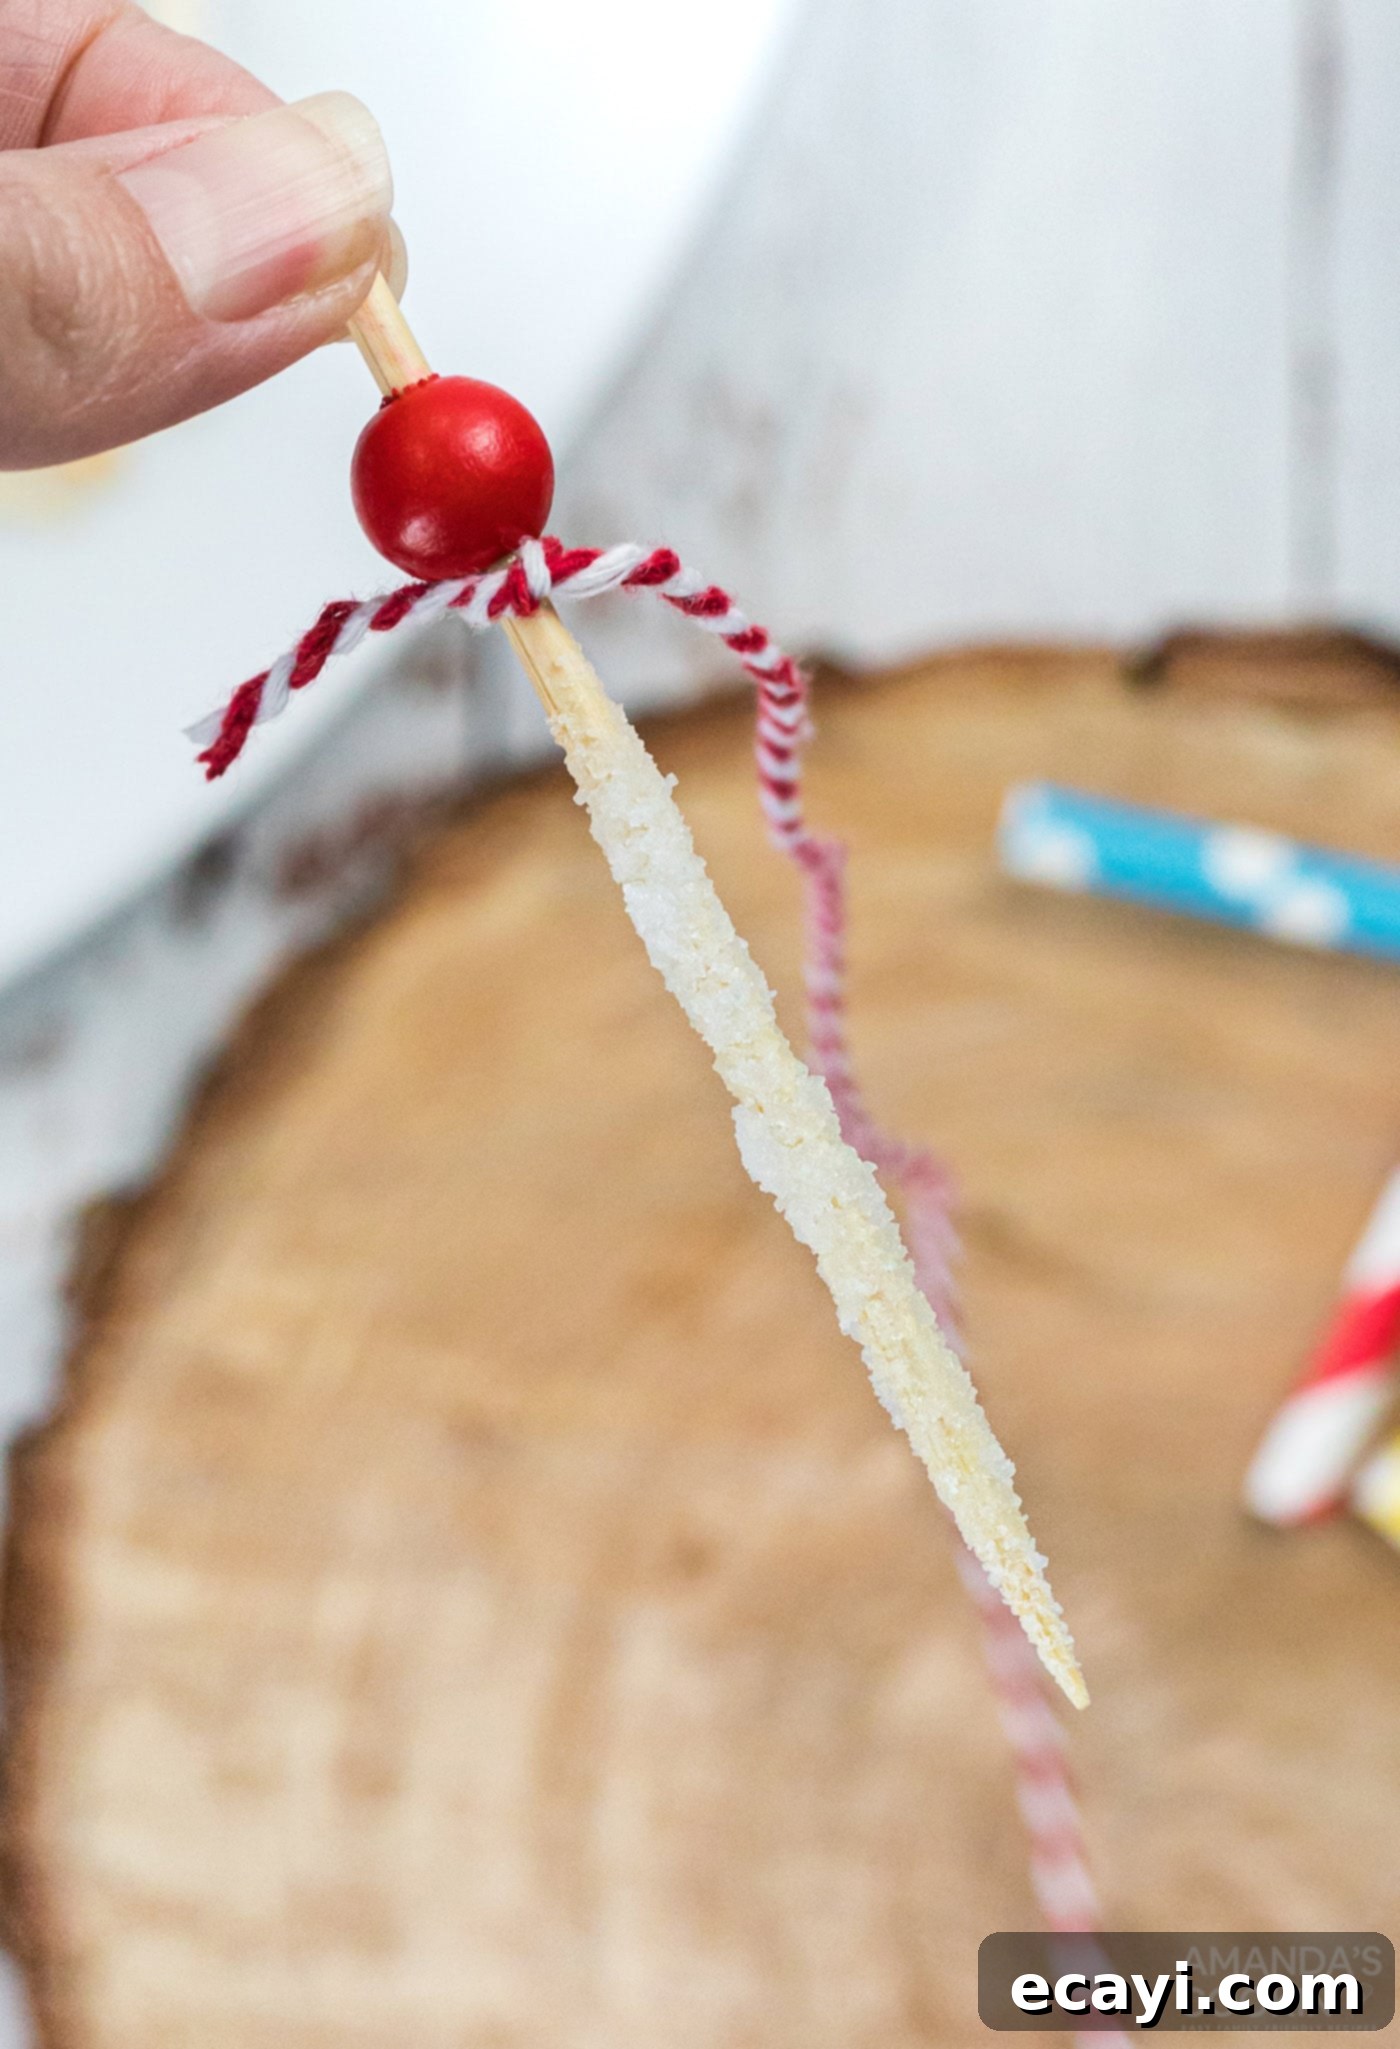
While your sugar mixture is cooling, it’s time to prepare your wooden skewers, which will become the core of your rock candy. Get each skewer slightly damp with water (just a quick dip or rub with a damp cloth), then roll it thoroughly in dry granulated sugar. This process “seeds” the skewers with sugar crystals, providing a rough surface for the new crystals to attach to and grow. This step is vital for encouraging larger, more prominent rock candy formations by giving the sugar molecules a starting point. Set the coated skewers aside on a clean surface to dry completely before proceeding.

- Add Flavoring and Coloring (Optional Step):
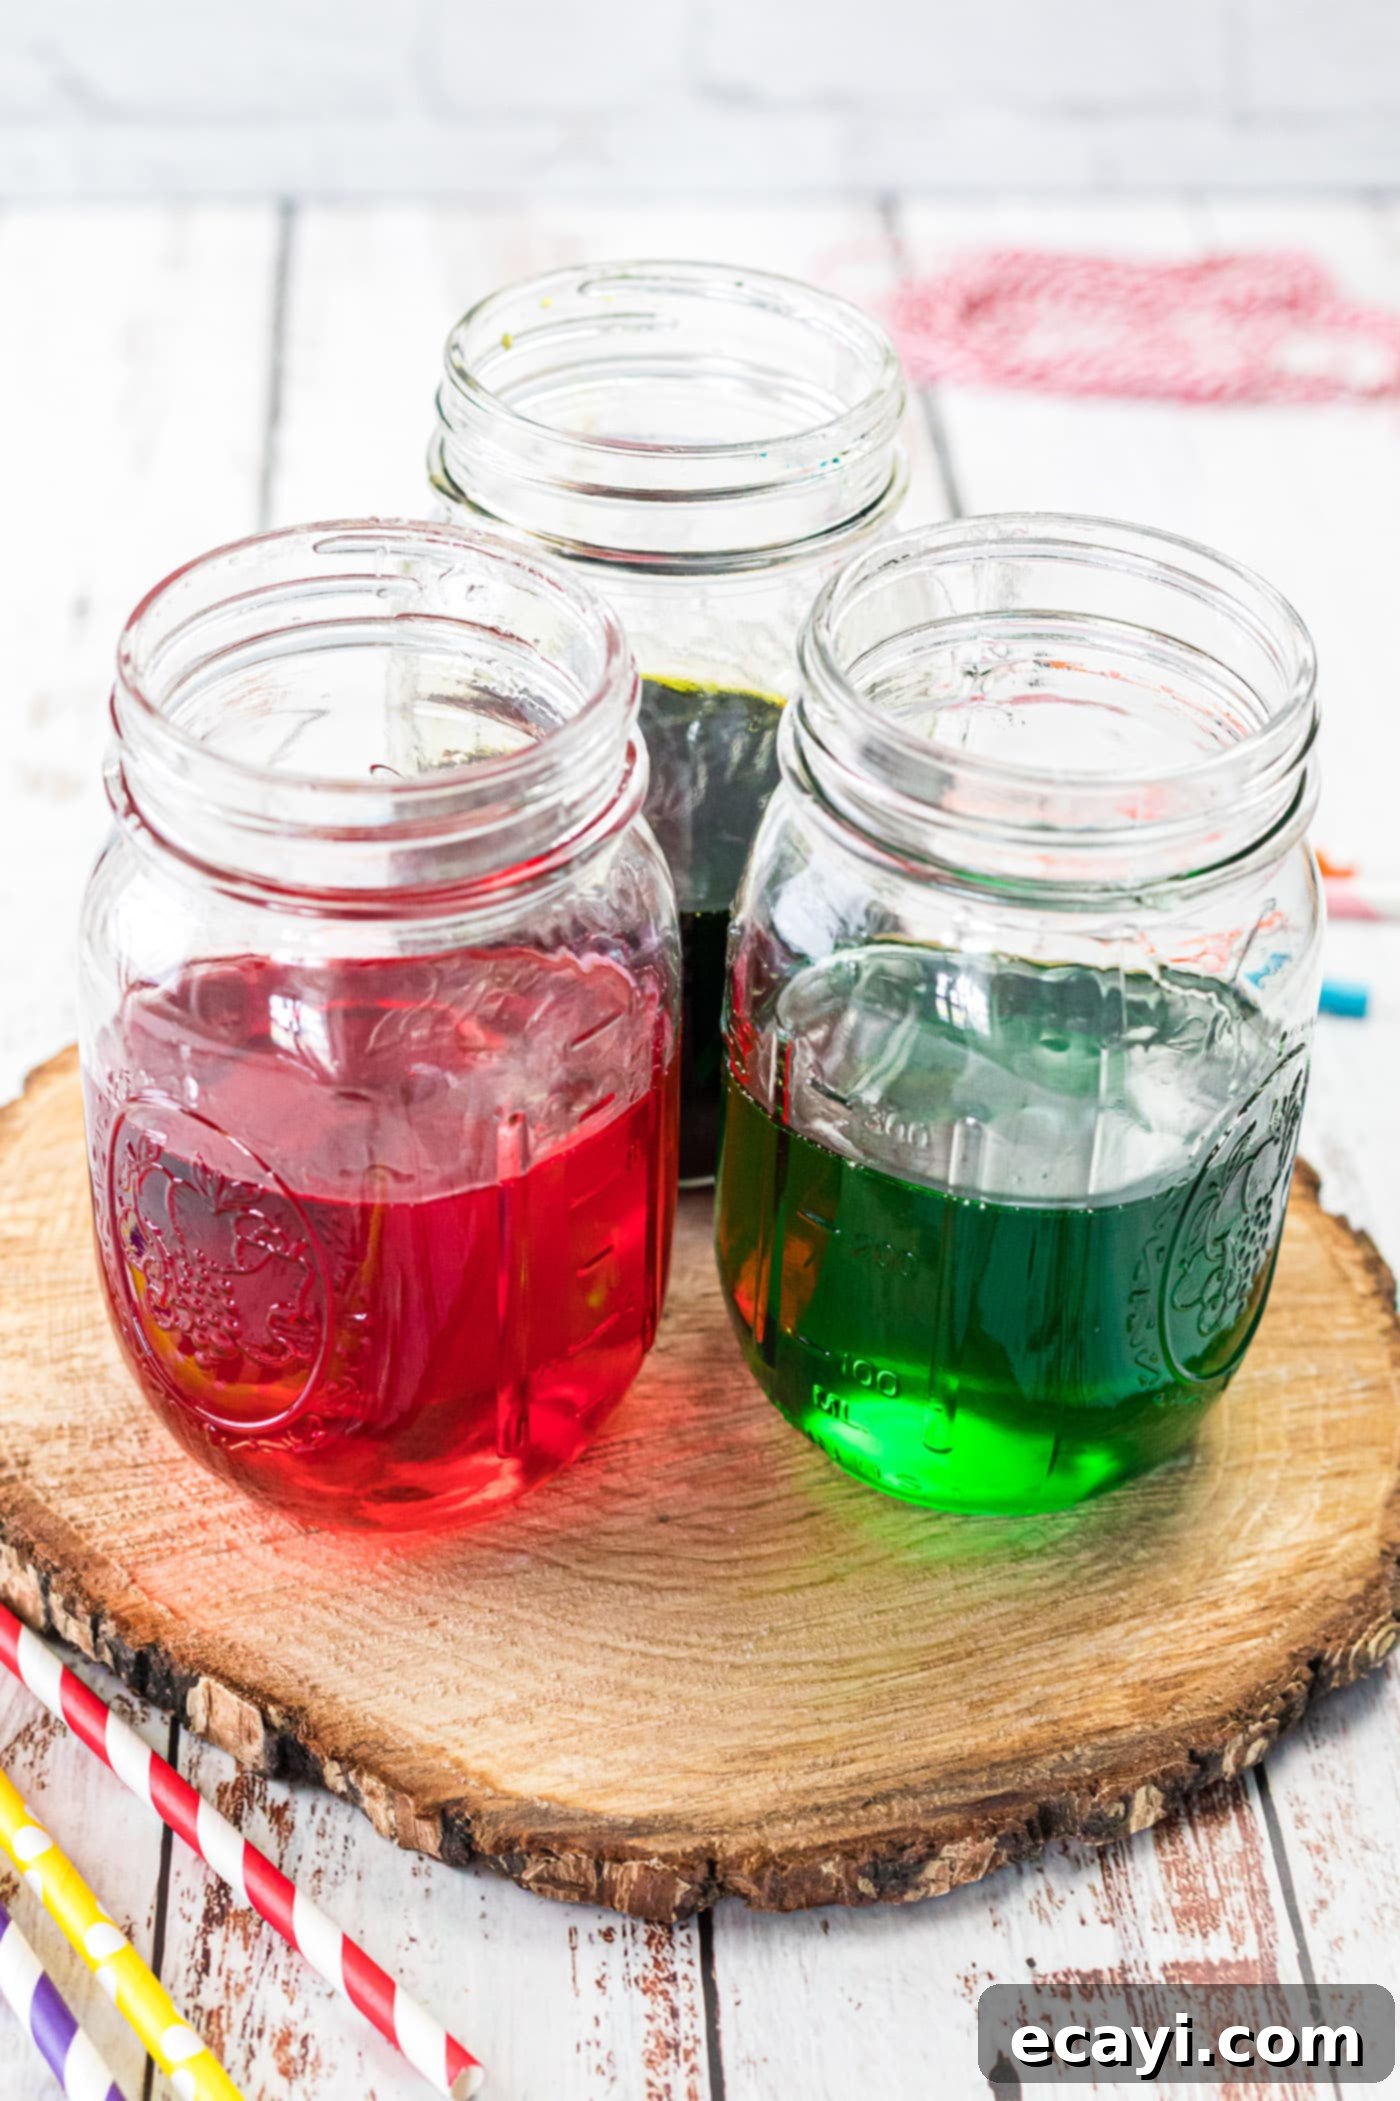
Once your sugar solution in the jars has cooled to near room temperature, remove them from the refrigerator. Now is the perfect time to add any desired flavoring oils or food coloring. Stir gently but thoroughly to distribute the color and flavor evenly throughout the solution. If you are aiming to make multiple colors or flavors, divide the clear sugar solution into different jars before adding individual dyes or extracts to each.

- Suspend the Skewers for Optimal Crystal Growth:
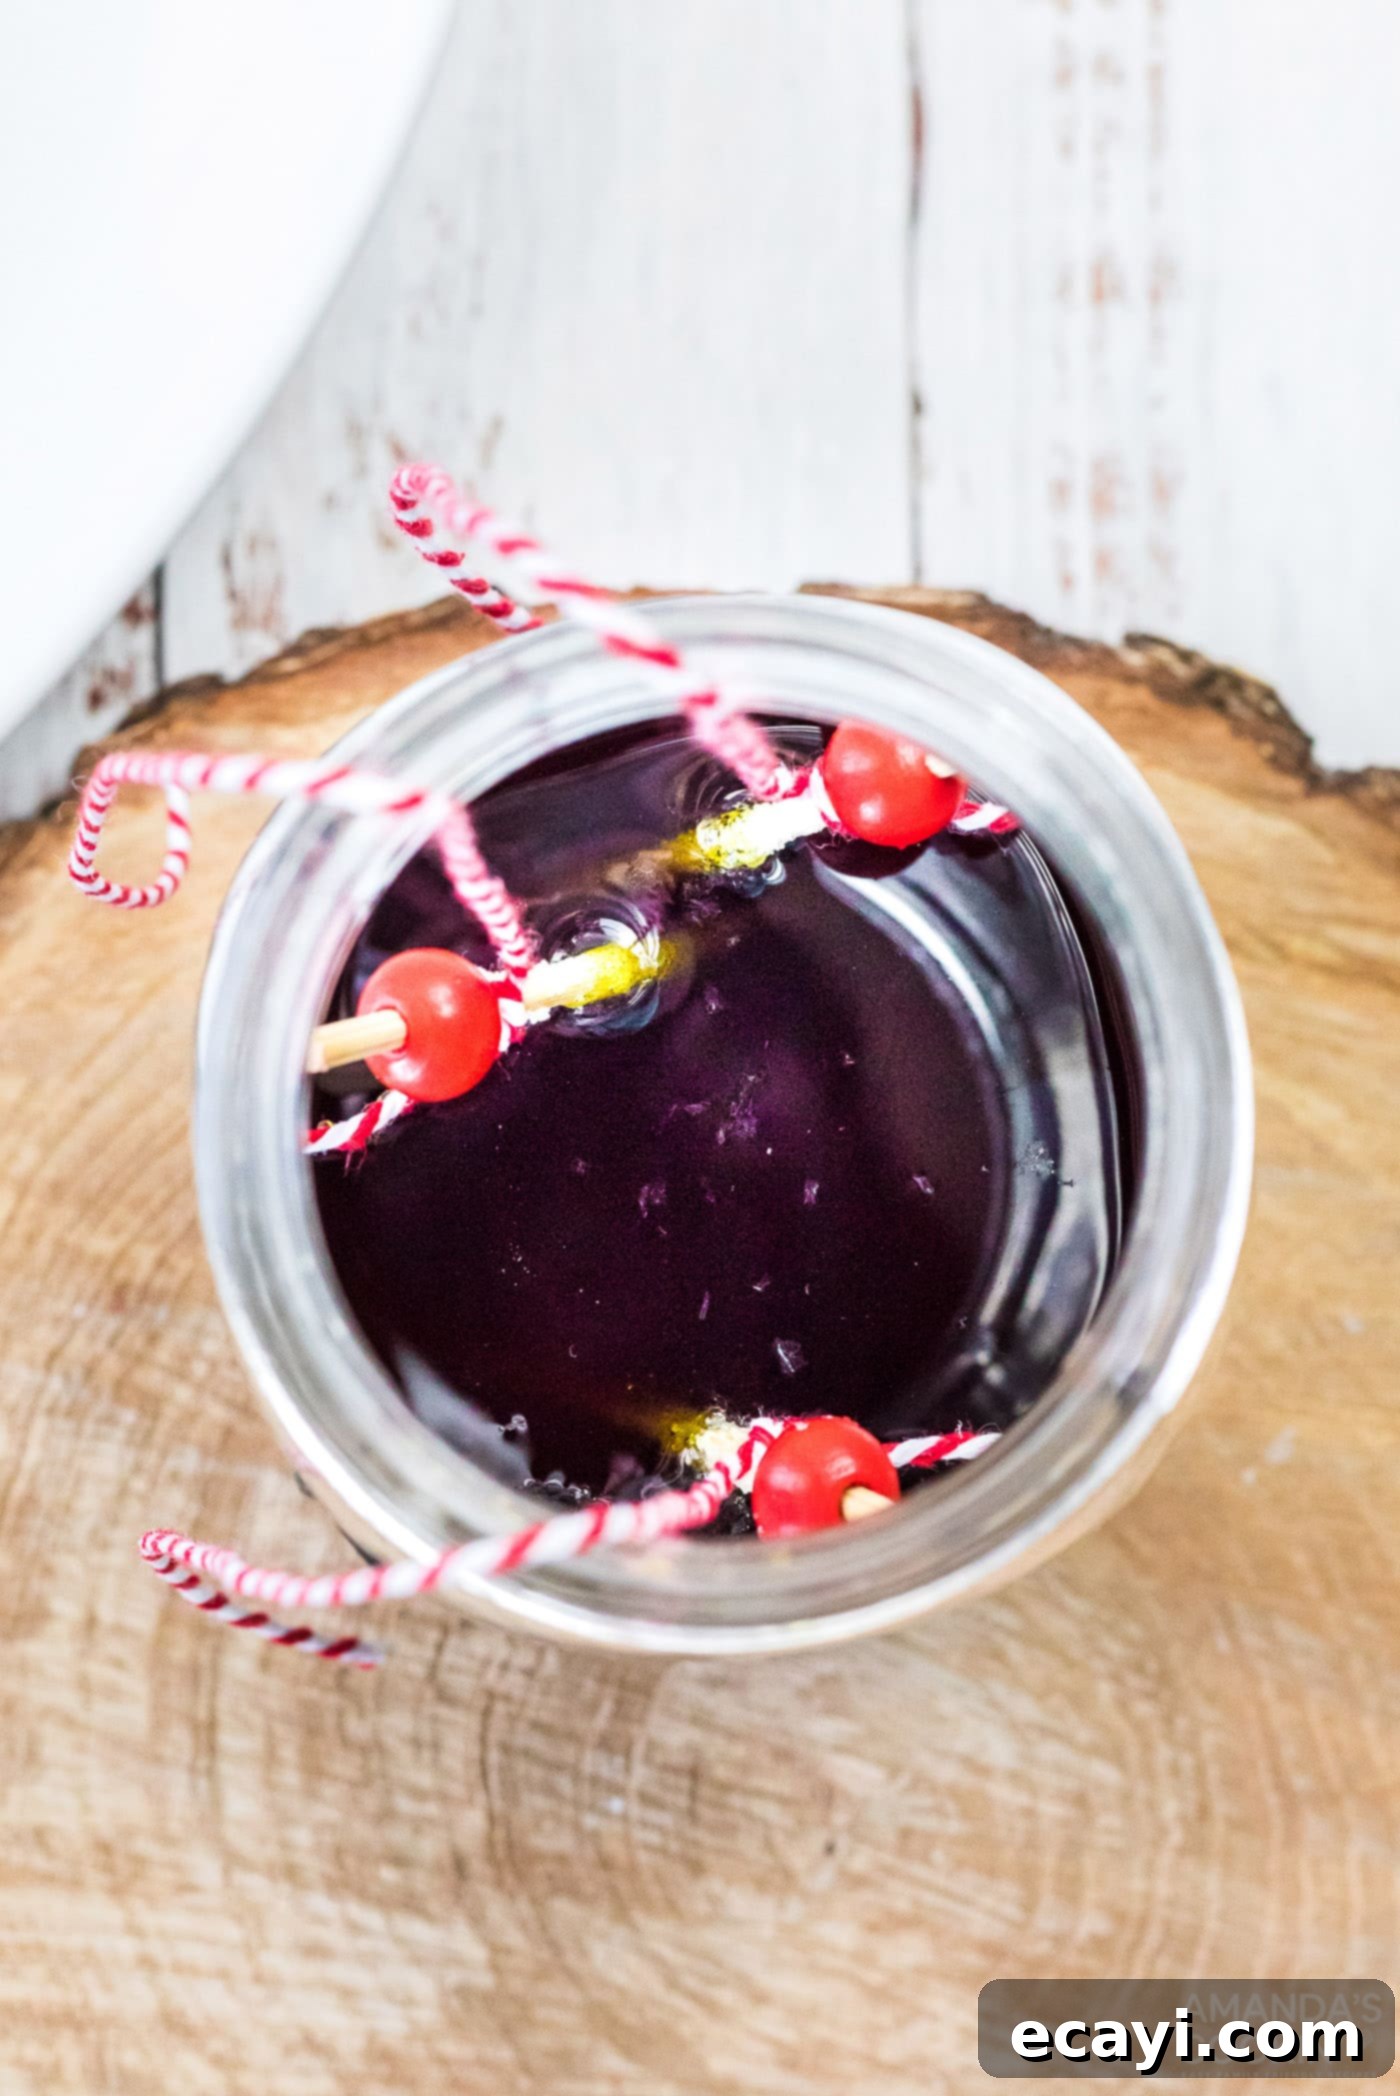
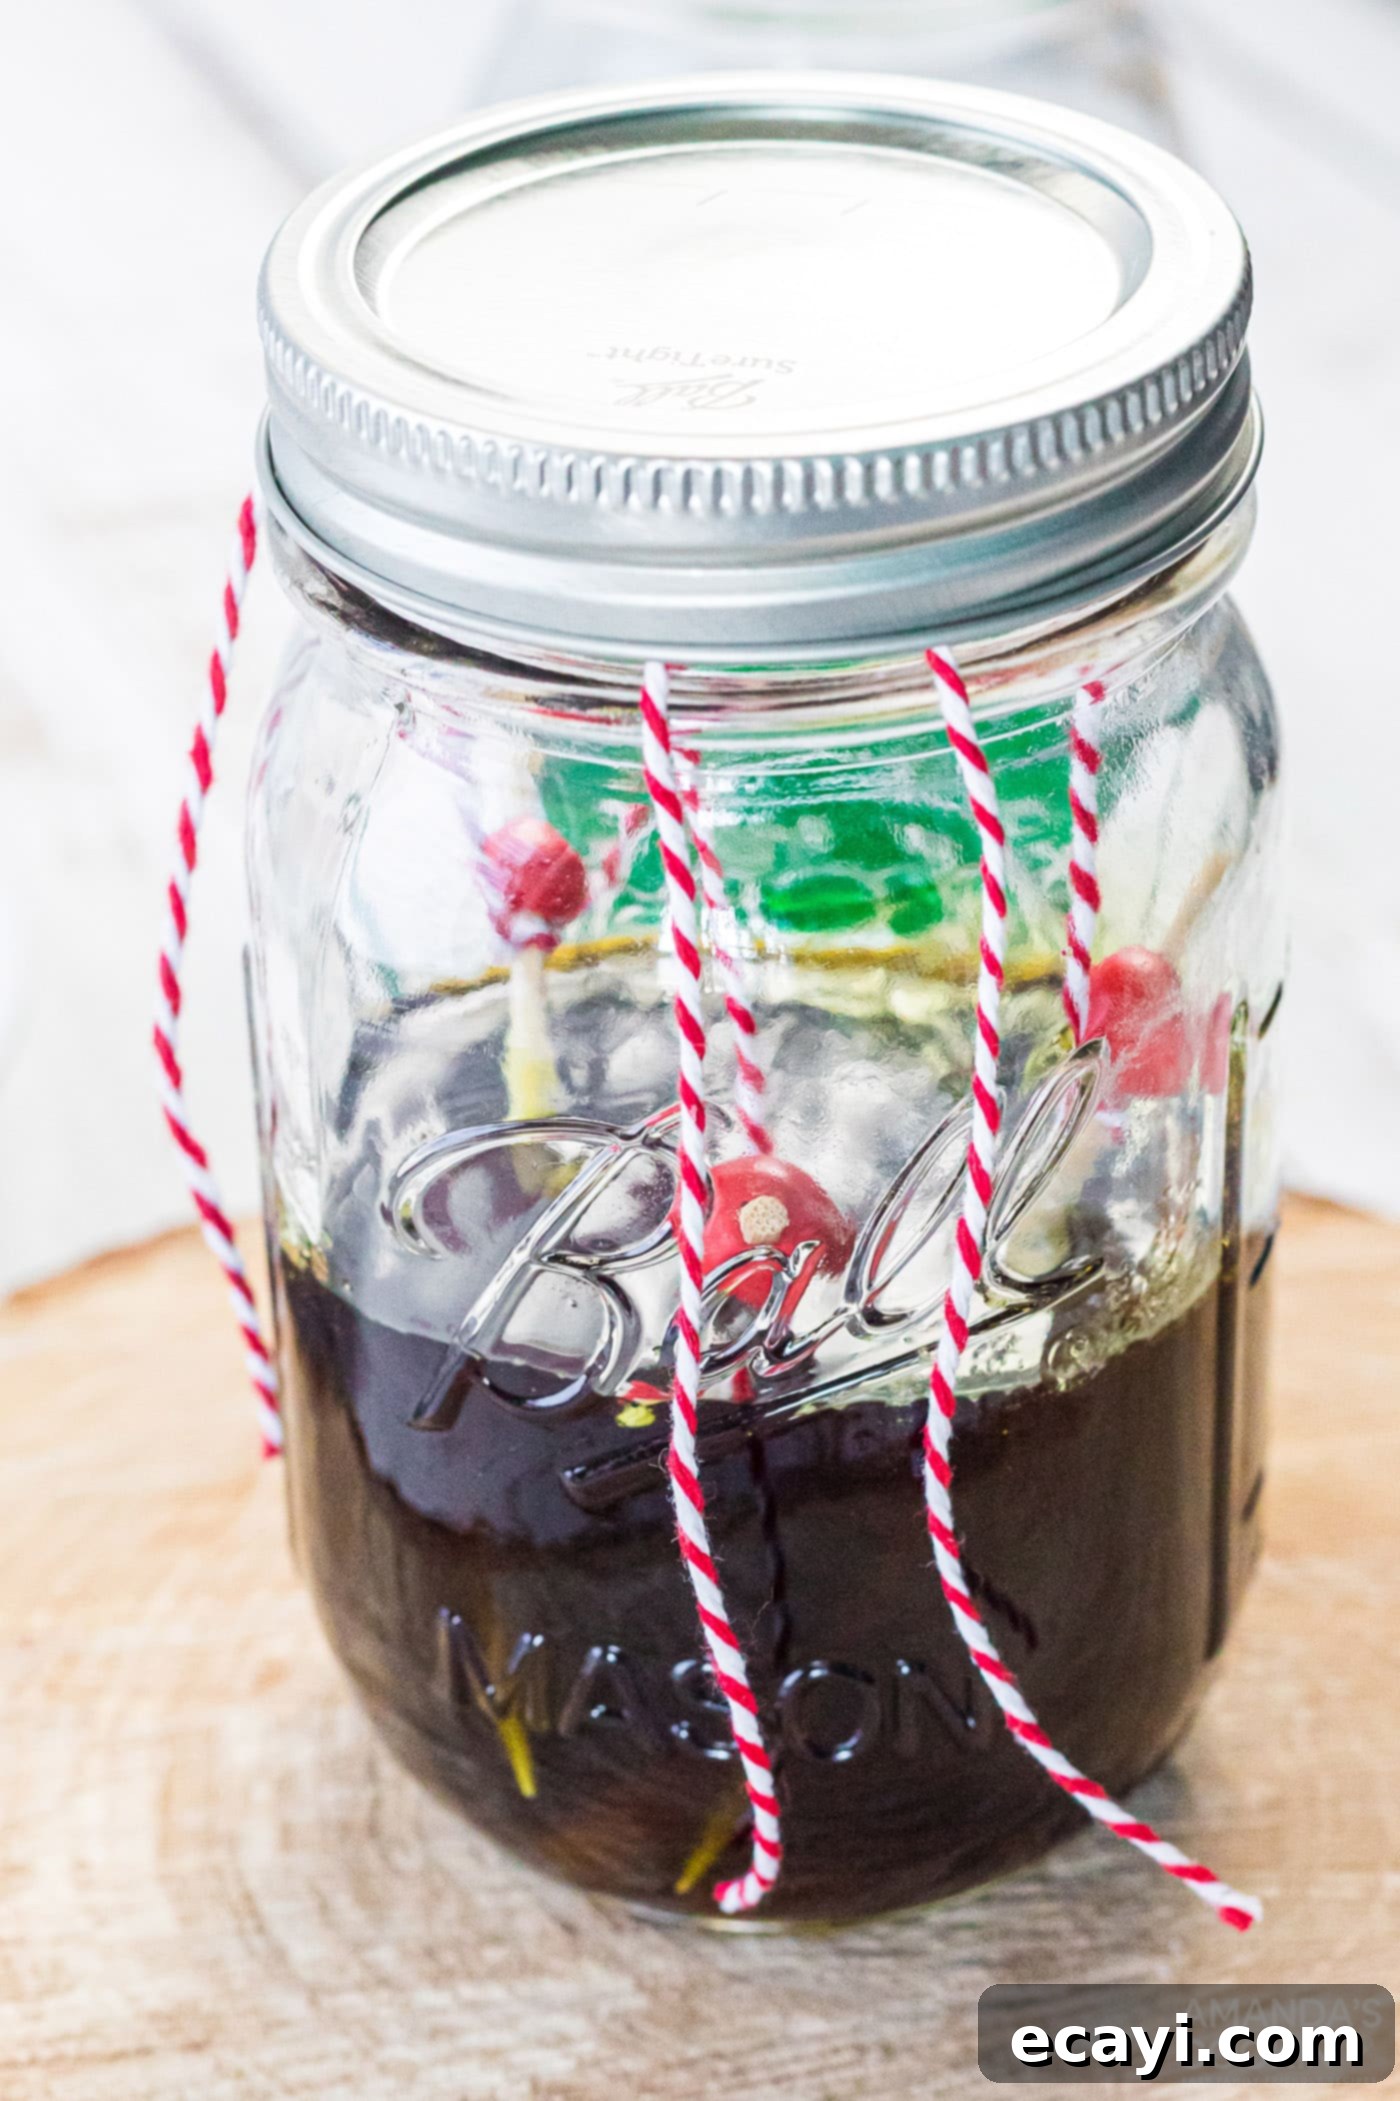
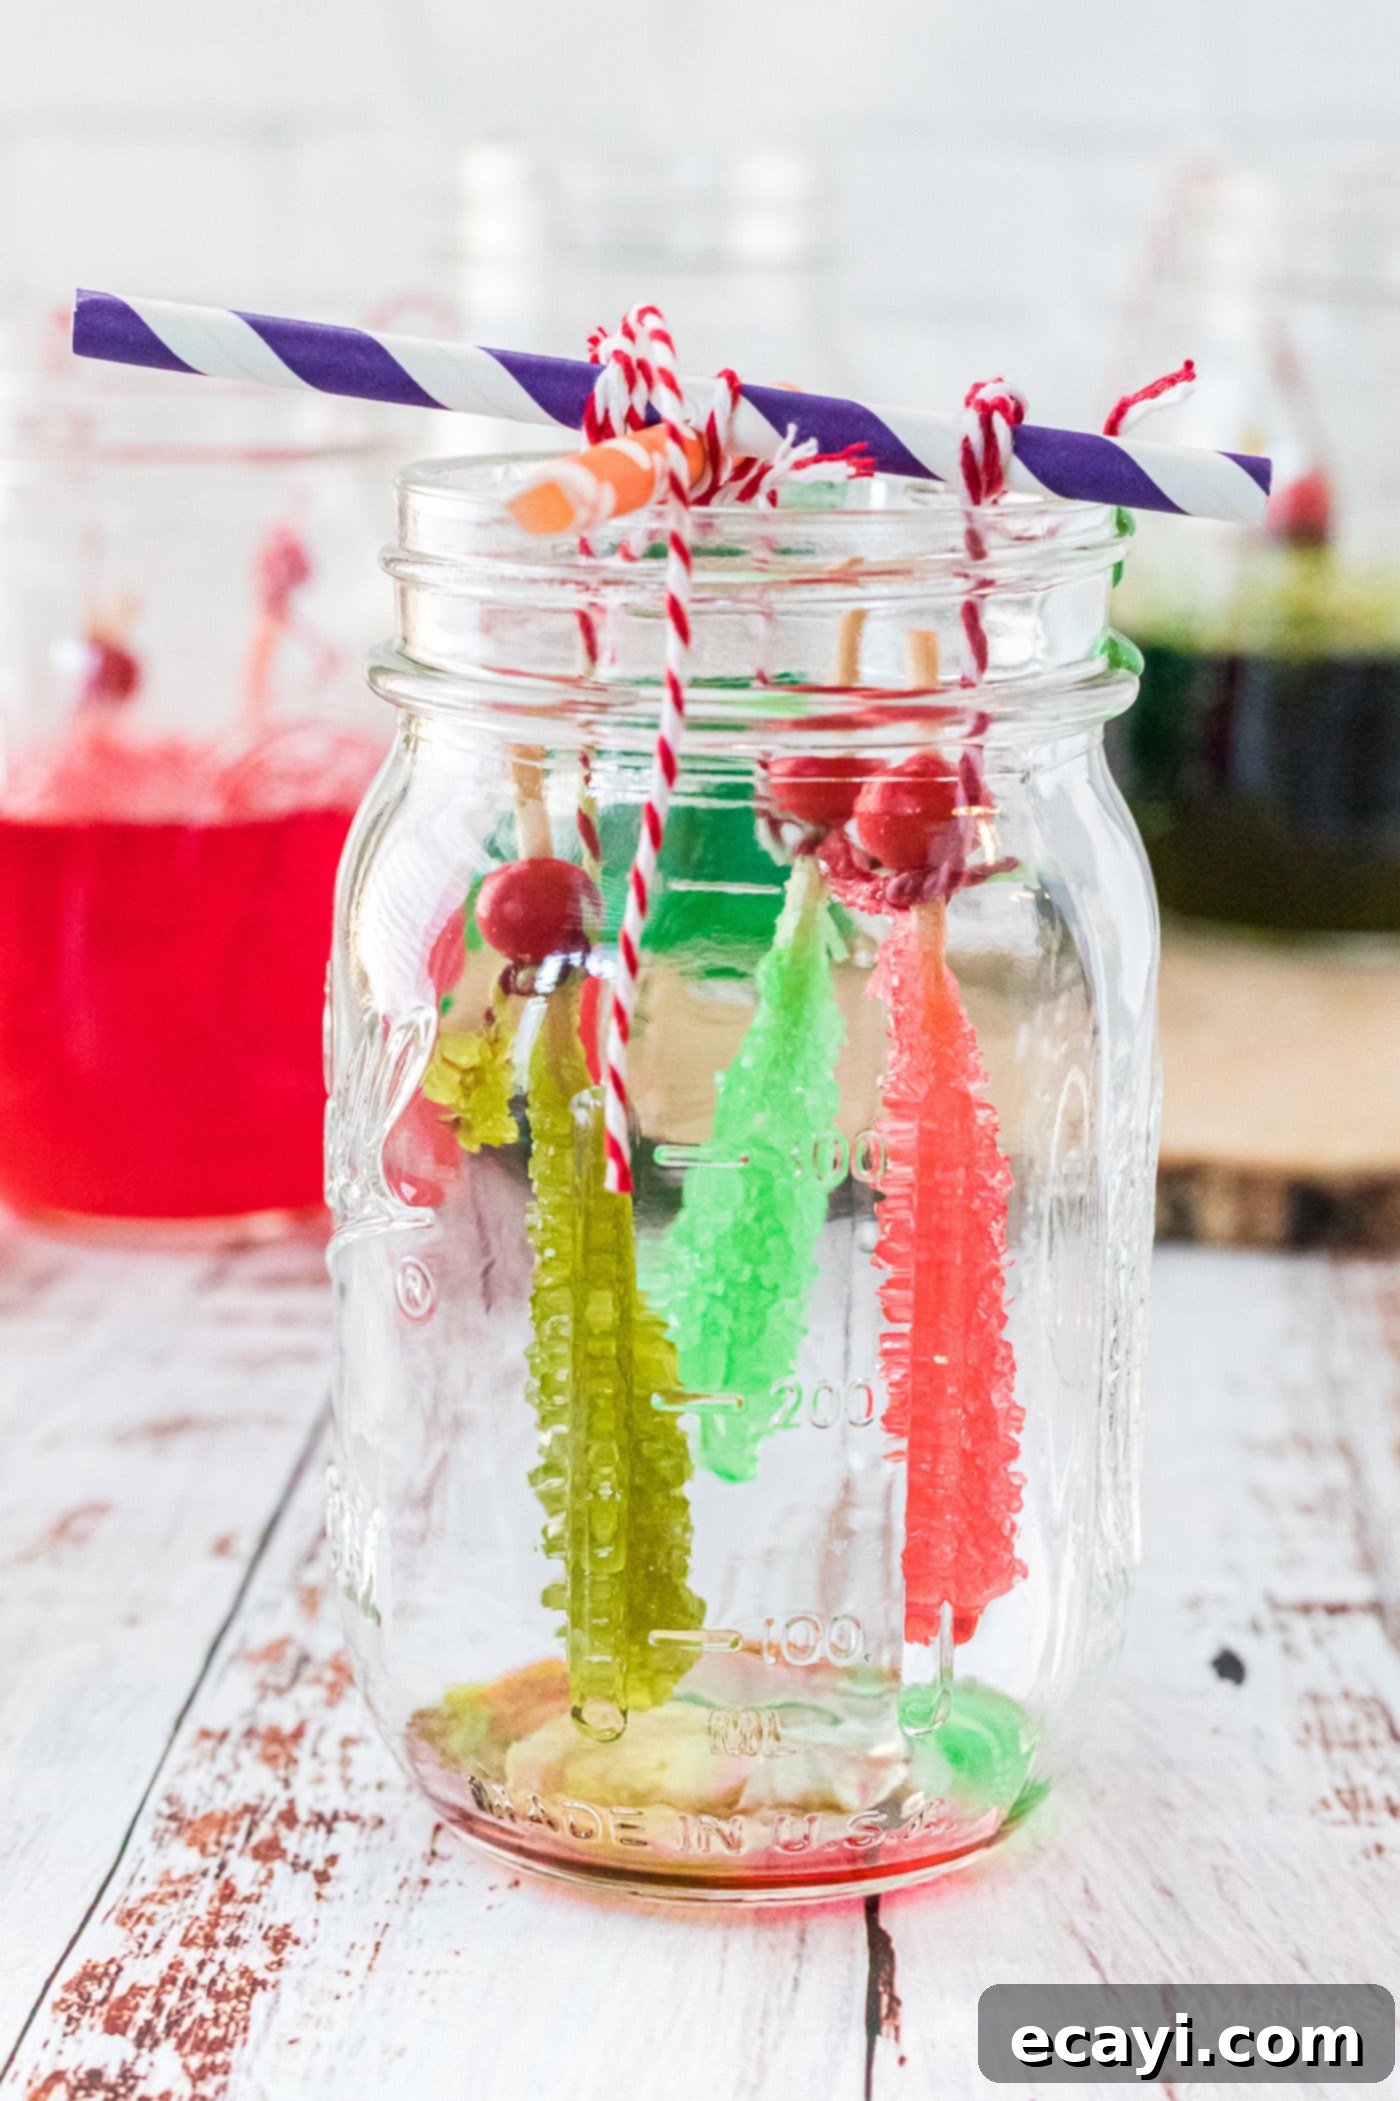
Take your dry, sugar-coated wooden skewers. Tie a piece of baker’s twine to one end of each skewer. Gently dangle the skewers into the sugar mixture in the jars. It’s absolutely crucial to ensure that the skewers do not touch the bottom or the sides of the jar, nor should they touch each other. This allows for optimal, unobstructed crystal growth around the entire surface of the skewer. Once the picks are positioned correctly and freely suspended, secure their strings by placing them along the sides of the jar and screwing the lid on tightly. This holds the skewers firmly in place and prevents any movement that could disrupt the delicate crystallization process.


- The Waiting Game: Witnessing Crystal Formation:
Place the jars in a quiet location where they won’t be disturbed or exposed to vibrations. Optimal crystal growth occurs in a stable, consistent environment, ideally at room temperature, away from direct sunlight or drafts. Now comes the exciting part: waiting! The sugar crystals will begin to form and grow over 3 to 10 days. The longer you allow them to sit undisturbed, the larger and more magnificent your crystals will become. Be patient and enjoy observing the daily changes. Resist the urge to move or shake the jars, as this can interrupt the delicate crystallization process and result in smaller or uneven crystals.
- Harvesting and Drying Your Beautiful Rock Candy:
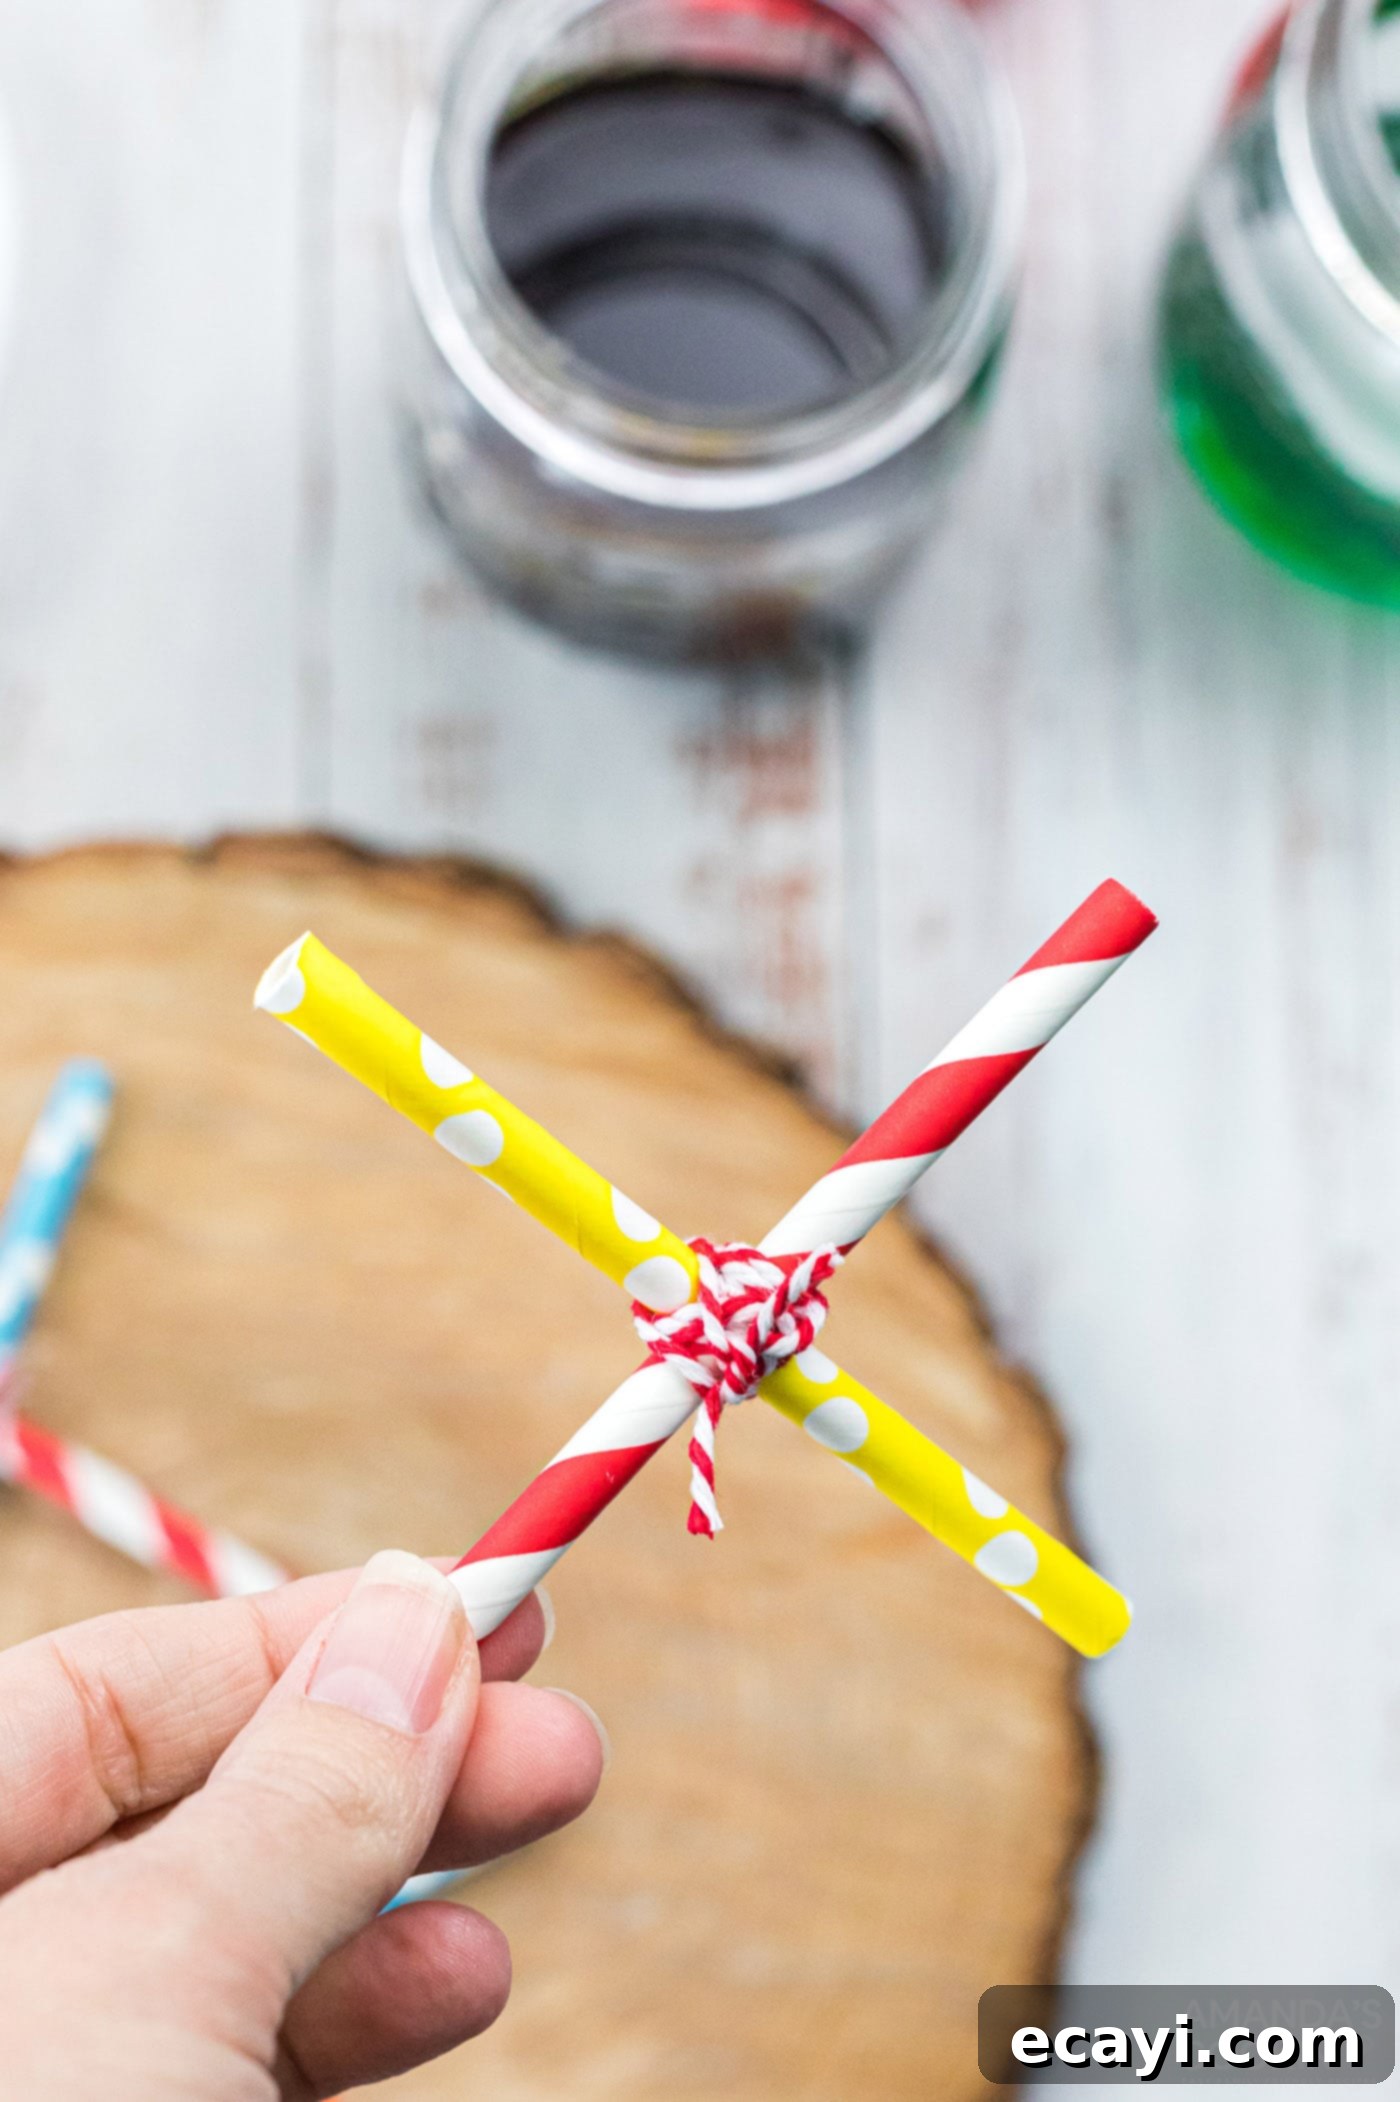
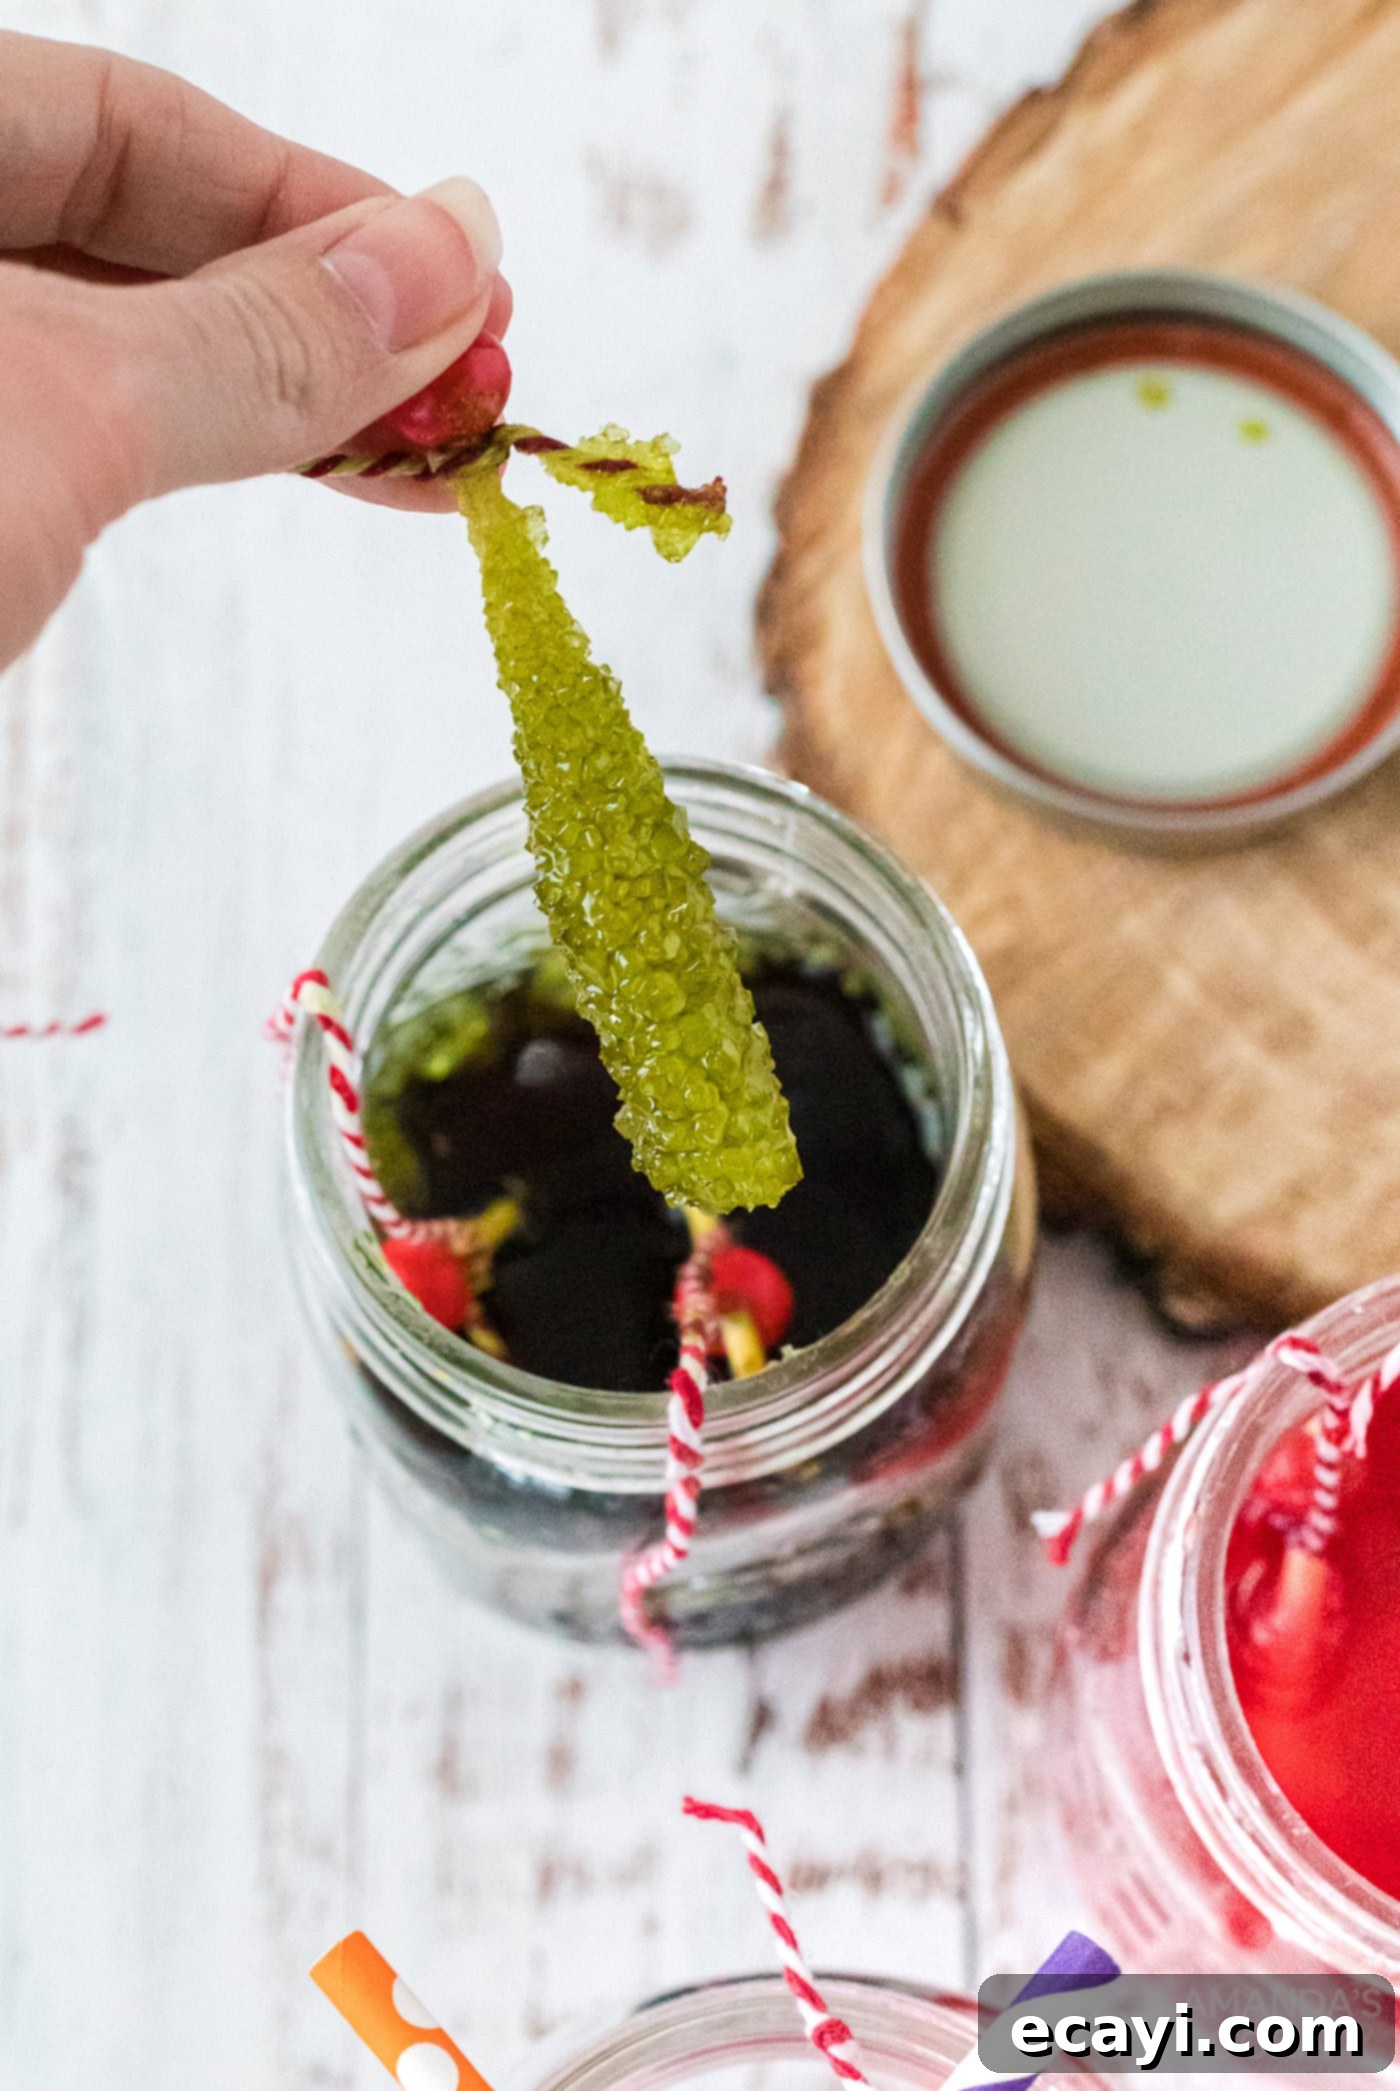
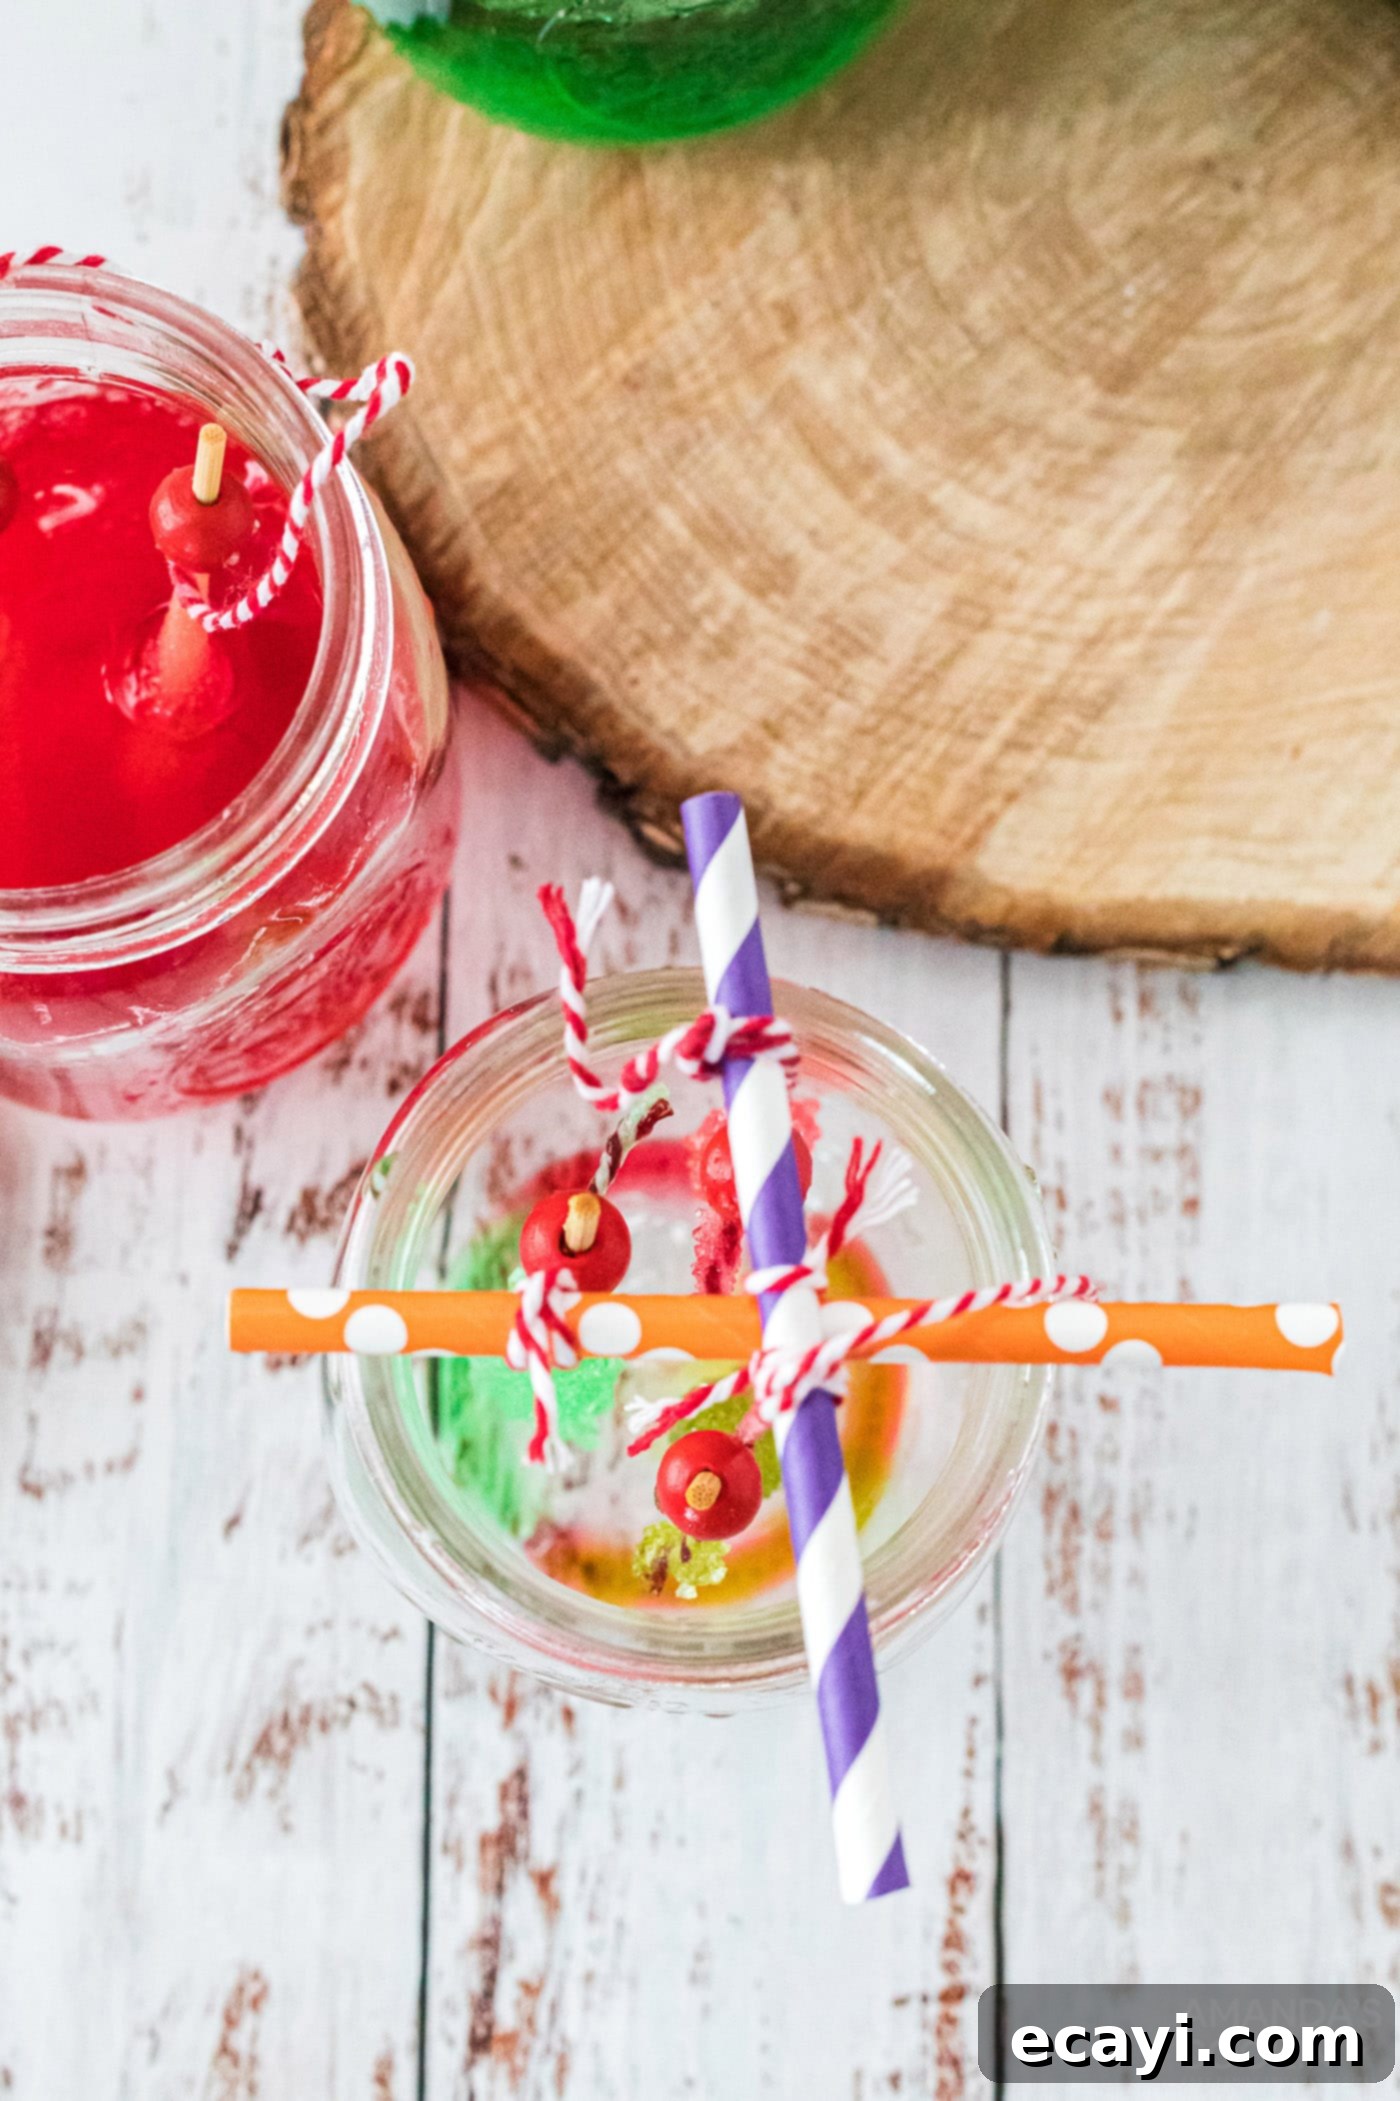
Once your rock candy crystals have reached your desired size and appearance, they are ready to be harvested and dried. To create a simple yet effective drying rack, tie two straws together in an “X” shape and balance this structure securely on top of a clean, empty jar. Carefully remove the rock candy sticks from their original jars, gently breaking any sugar crust that may have formed on the surface or sides of the solution. Gently tie the strings of your rock candy sticks onto the straw “X”s so they hang suspended within the empty jar. Ensure the sticks do not touch each other or the sides of the jar, allowing for even air circulation. Allow them to hang and air dry for several hours or overnight until they are completely hardened and no longer sticky to the touch. This drying step removes any excess sugar solution, leaving you with perfectly dry and stable rock candy.


Tips for Success and Troubleshooting Common Rock Candy Issues
Achieving perfectly crystallized rock candy is a blend of science and patience. Here are some additional tips to ensure your project is a sweet success and troubleshoot any common challenges you might encounter:
- Patience is Key: Crystal growth takes time. Don’t be discouraged if you don’t see immediate results within the first day. Moving the jars, disturbing the solution, or allowing temperature fluctuations can significantly hinder crystal formation. Find a stable, quiet spot where they can be left untouched for the recommended duration.
- Temperature Stability: A consistent, cool room temperature (around 70°F or 21°C) is ideal for crystal growth. Avoid placing jars in direct sunlight, near heat sources, or in fluctuating temperatures, as this can cause uneven crystallization, lead to melting, or prevent growth altogether.
- The “Seed” Matters Greatly: Ensure your skewers are thoroughly coated in dry sugar and are completely dry before submerging them. These initial sugar crystals act as crucial “seeds” or nucleation points for larger crystals to form upon. Without them, crystals might grow erratically elsewhere in the jar or fail to form on your desired surface.
- Preventing Bottom/Side Growth: If crystals start forming excessively on the bottom or sides of your jar instead of on the skewer, it usually means your skewers are too close to those surfaces. Try adjusting their position to ensure they are freely suspended. Small amounts of crystal growth on the jar is perfectly normal and can be broken away gently when removing your rock candy.
- Cleaning Sugar-Encusted Jars: After harvesting your rock candy, you might find a stubborn layer of sugar crystals on the inside of your jars. The easiest and most effective way to clean them is to let them soak in hot water for a while. Sugar is water-soluble, so the crystals will naturally dissolve, making cleanup much simpler. Avoid trying to scrape them off when dry, as this can scratch your jars.
- Reusing Sugar Solution: While it’s technically possible to re-boil and reuse the leftover sugar solution, its concentration will have changed, and it might contain impurities. For the best and most consistent results with crystal growth, we highly recommend starting with fresh ingredients for each batch of homemade rock candy.
Frequently Asked Questions About Making Rock Candy
Absolutely! While wooden skewers are very effective for creating traditional rock candy sticks, you can certainly use baker’s twine in their place. To do this, simply tie a small, food-safe weight, such as a life saver candy, a button, or a paperclip, to the end of the string. This weight will help the twine sink and stay suspended in the sugar mixture. Position it similarly to how you would a skewer, ensuring it doesn’t touch the bottom or sides of the jar. Please note, in our experience, the larger surface area and slightly rougher texture of wooden skewers tend to yield larger and more consistent crystal growth compared to plain string.
Our experiments consistently show that regular granulated white sugar creates the largest, clearest, and most beautifully formed crystals. Its fine, uniform grain structure and purity are ideal for efficient and impressive crystallization. However, if you prefer, you can use brown sugar or even organic sugar. Keep in mind that these alternatives may result in smaller, less clear crystals, and the final color and flavor will be influenced by the type of sugar used (e.g., brown sugar will yield browner candy with a slight molasses flavor).
When stored correctly, homemade rock candy has an incredibly long shelf life! To preserve its quality and prevent stickiness or melting, keep your rock candy in an airtight container in a cool, dry place, away from direct sunlight and excessive heat. Stored this way, it can last for up to a year or even longer. Moisture and warmth are its main enemies, as they can cause the beautiful crystals to soften, become sticky, or dissolve.
The crystal growth process for rock candy typically takes anywhere from 3 to 10 days. You’ll usually start to see small crystals forming on your skewers within the first 2-3 days, depending on environmental factors like room temperature and humidity. The longer you leave the jars undisturbed, the larger and more pronounced your rock candy crystals will become. Patience is truly key for achieving impressive, sizable results!
Several factors can prevent rock candy from growing properly. The most common issues include: 1) The sugar solution wasn’t truly supersaturated (not enough sugar dissolved, or it was boiled too long, causing crystallization in the pot). 2) The skewers weren’t properly “seeded” with dry sugar, or they weren’t completely dry before being submerged. 3) The solution cooled too quickly, causing initial crystallization to be too rapid or uneven. 4) The jars were disturbed or moved too often during the crucial growth period. 5) The skewers were touching the bottom or sides of the jar, directing crystal growth elsewhere. Review the steps carefully and ensure optimal conditions for crystal formation.
A supersaturated solution is a special type of chemical solution that contains more dissolved solute (in this case, sugar) than would normally be possible at a given temperature. We create this by dissolving an exceptionally large amount of sugar in hot water. As the solution cools, the sugar remains dissolved even though the water can theoretically hold less at lower temperatures. This unstable, concentrated state is what allows the excess sugar to readily crystallize onto a nucleation site (like your sugar-coated skewer) when given the opportunity, forming beautiful rock candy crystals.
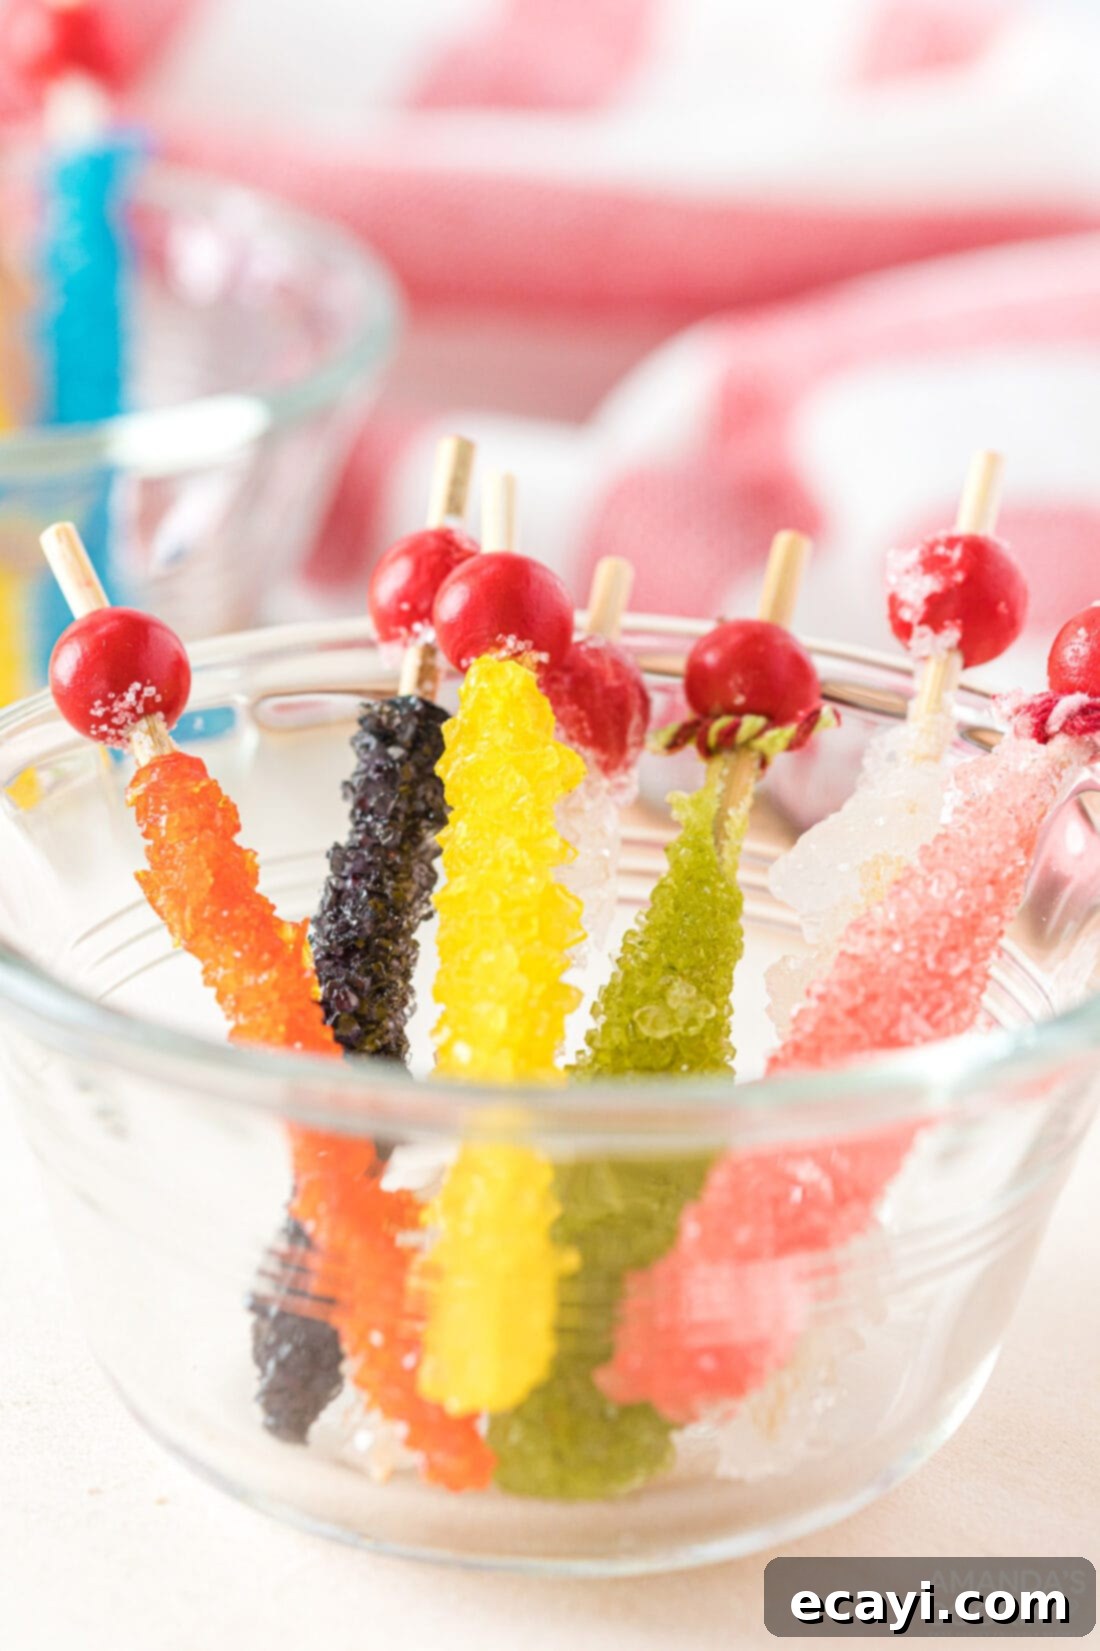
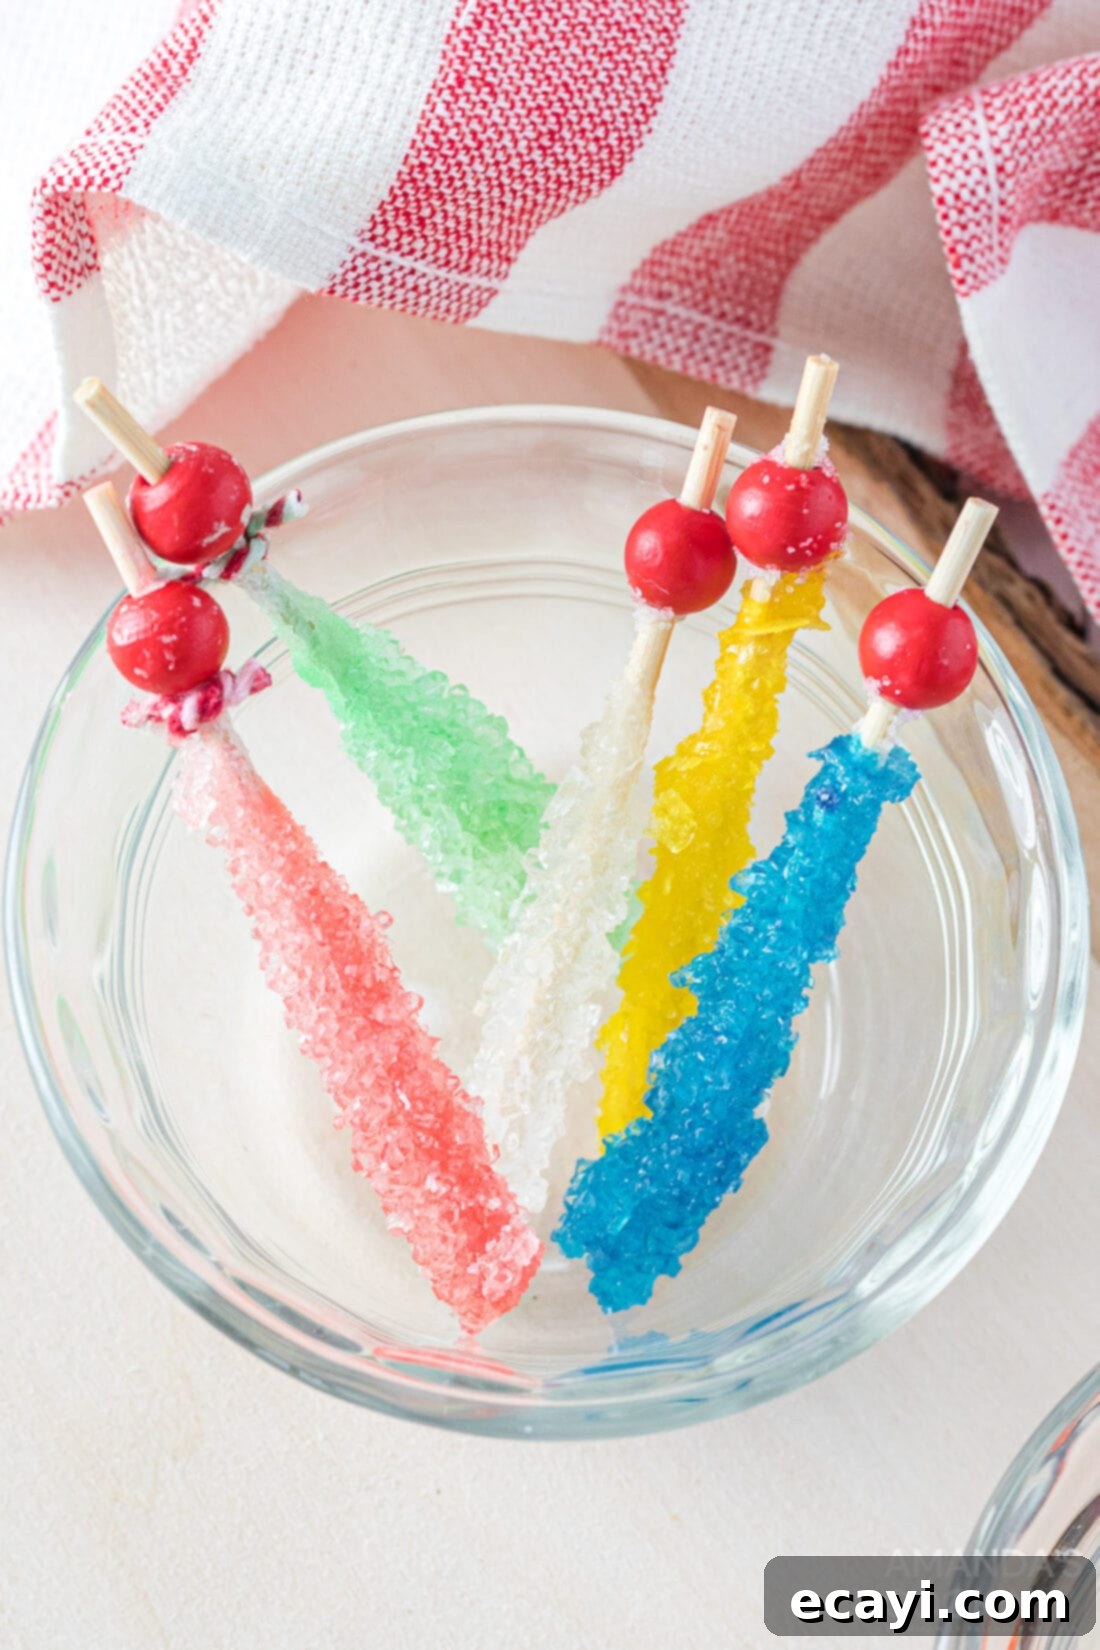
You and your family will absolutely love this engaging rock candy experiment! The satisfaction of watching crystals grow day by day, coupled with the delicious, sweet outcome, makes it a truly memorable activity for all ages. Beyond just enjoying them yourself, these homemade rock candy sticks are incredibly versatile. Keep your sparkling spoils for a delightful treat, or package them up for charming goody bags at birthday parties. They also make a sweet addition alongside a thoughtful Valentine’s Day card, or can be used as a unique, edible decoration atop a Christmas present. No matter how you choose to share or enjoy them, these beautiful sugar crystals are sure to bring a smile to anyone’s face!
More Delightful Candy Recipes to Try in Your Kitchen
If you enjoyed the fun and satisfaction of making homemade rock candy, you’re in for a treat with these other delicious candy creations. Explore more sweet adventures and expand your confectionery skills in your kitchen!
- Mocha Truffles – Rich, decadent, and perfect for coffee and chocolate lovers.
- Chocolate Turtles – A classic, irresistible combination of toasted pecans, gooey caramel, and smooth chocolate.
- Orange Creamsicle Gummies – A nostalgic flavor in a fun, chewy, and vibrant homemade treat.
- Easy Homemade Candy Bars – Customize your favorite candy bar flavors and textures right at home.
- Crunchy Popcorn Chocolate Bark – A delightful mix of sweet, salty, and wonderfully crunchy textures.
- White Chocolate Candy Cane Pretzel Sticks – Festive, easy-to-make holiday treats that combine salty and sweet.
- Candied Citrus Peel – A sophisticated, sweet-tart confection perfect for garnishes or snacking.
- Homemade Lollipops – Another fun project for creating colorful, custom hard candies in various shapes and flavors.
I love to bake and cook and share my kitchen experience with all of you! Remembering to come back each day can be tough, that’s why I offer a convenient newsletter every time a new recipe posts. Simply subscribe and start receiving your free daily recipes!
Classic Homemade Rock Candy Recipe
IMPORTANT – There are often Frequently Asked Questions within the blog post that you may find helpful. Simply scroll back up to read them!
Print It
Pin It
Rate It
Save ItSaved!
Ingredients
- 3 cups granulated sugar
- 1 cup water
- Food coloring optional
- ½ teaspoon flavoring oil or extract optional
Things You’ll Need
-
Wooden skewers
-
Clean glass jars with a lid (canning jars work well for this)
-
Straws
-
Baker’s twine
Before You Begin
- Jars will have sugar crystals growing on their sides and maybe even across the top. You can gently break this crust to get your rock candy out. Just be careful not to knock the crystals off your skewer sticks.
- To clean the sugar-encrusted jars after harvesting your rock candy, it’s easiest to let them soak in hot water for a bit to loosen and dissolve the crystals. Sugar naturally dissolves in water!
- Baker’s twine can be used in place of the wooden skewers if desired. To do this, tie a life saver candy (or another small, food-safe weight) to the end of the string to act as a weight and place it into the sugar mixture instead of the skewers. Please note that although this method does work, we have found that wooden skewers generally provide a better surface for larger, more consistent crystal growth.
Instructions
-
Add 3 cups of granulated sugar and 1 cup of water to a saucepan and heat over high heat. Stir constantly until the mixture reaches a rolling boil and all sugar granules are completely dissolved. Be careful not to boil it too long, or the candy may start to harden prematurely. Keep stirring!
-
Remove the saucepan from heat and continue stirring until the solution becomes perfectly clear and all sugar has dissolved.
-
Warm your clean glass jars by holding their outsides under hot tap water for a few seconds. Carefully pour the hot sugar mixture into your warmed jars, filling them almost to the top. Place the jars in the refrigerator to cool for approximately 30 minutes to one hour, aiming for near room temperature rather than cold.
-
While the mixture cools, prepare your wooden skewers. Dampen them slightly with water, then roll them in dry granulated sugar until fully coated. Set them aside to dry completely. This sugar coating acts as a “seed” for larger rock candy crystals to form.
-
Once the jars of sugar solution have cooled to near room temperature, remove them from the refrigerator. If using, stir in your desired flavoring oil/extract (½ teaspoon) and/or food coloring now.
-
Tie baker’s twine to your prepared skewers and gently dangle them into the sugar mixture. Ensure the skewers do not touch the bottom or sides of the jar, or each other. Secure the strings along the sides of the jar by screwing the lid on tightly.
-
Set the jars aside in a quiet, undisturbed location with a stable temperature. Allow 3-10 days for the sugar crystals to grow. The longer they sit, the larger and more impressive your rock candy crystals will become.
-
Once the crystals have grown to a satisfactory size, they are ready to dry. Tie two straws into an “X” shape and balance this on top of a clean, empty jar. Carefully remove the rock candy sticks from their original jars and tie their strings onto the straw “X”s. Hang them within the empty jar, ensuring they don’t touch each other, and allow them to air dry completely for several hours or overnight.
The recipes on this blog are tested with a conventional gas oven and gas stovetop. It’s important to note that some ovens, especially as they age, can cook and bake inconsistently. Using an inexpensive oven thermometer can assure you that your oven is truly heating to the proper temperature. If you use a toaster oven or countertop oven, please keep in mind that they may not distribute heat the same as a conventional full sized oven and you may need to adjust your cooking/baking times. In the case of recipes made with a pressure cooker, air fryer, slow cooker, or other appliance, a link to the appliances we use is listed within each respective recipe. For baking recipes where measurements are given by weight, please note that results may not be the same if cups are used instead, and we can’t guarantee success with that method.
