Deliciously Easy Baked Cake Mix Donuts: Your Go-To Recipe for Homemade Treats
Whip up a batch of quick and incredibly easy baked cake mix donuts in under 30 minutes! Forget about messy oil and deep-frying; all you need is a simple cake mix, a reliable donut pan, and a few everyday pantry staples to create these delightful treats. Perfect for breakfast, dessert, or a sweet snack, these homemade donuts are a game-changer for busy bakers and donut enthusiasts alike.
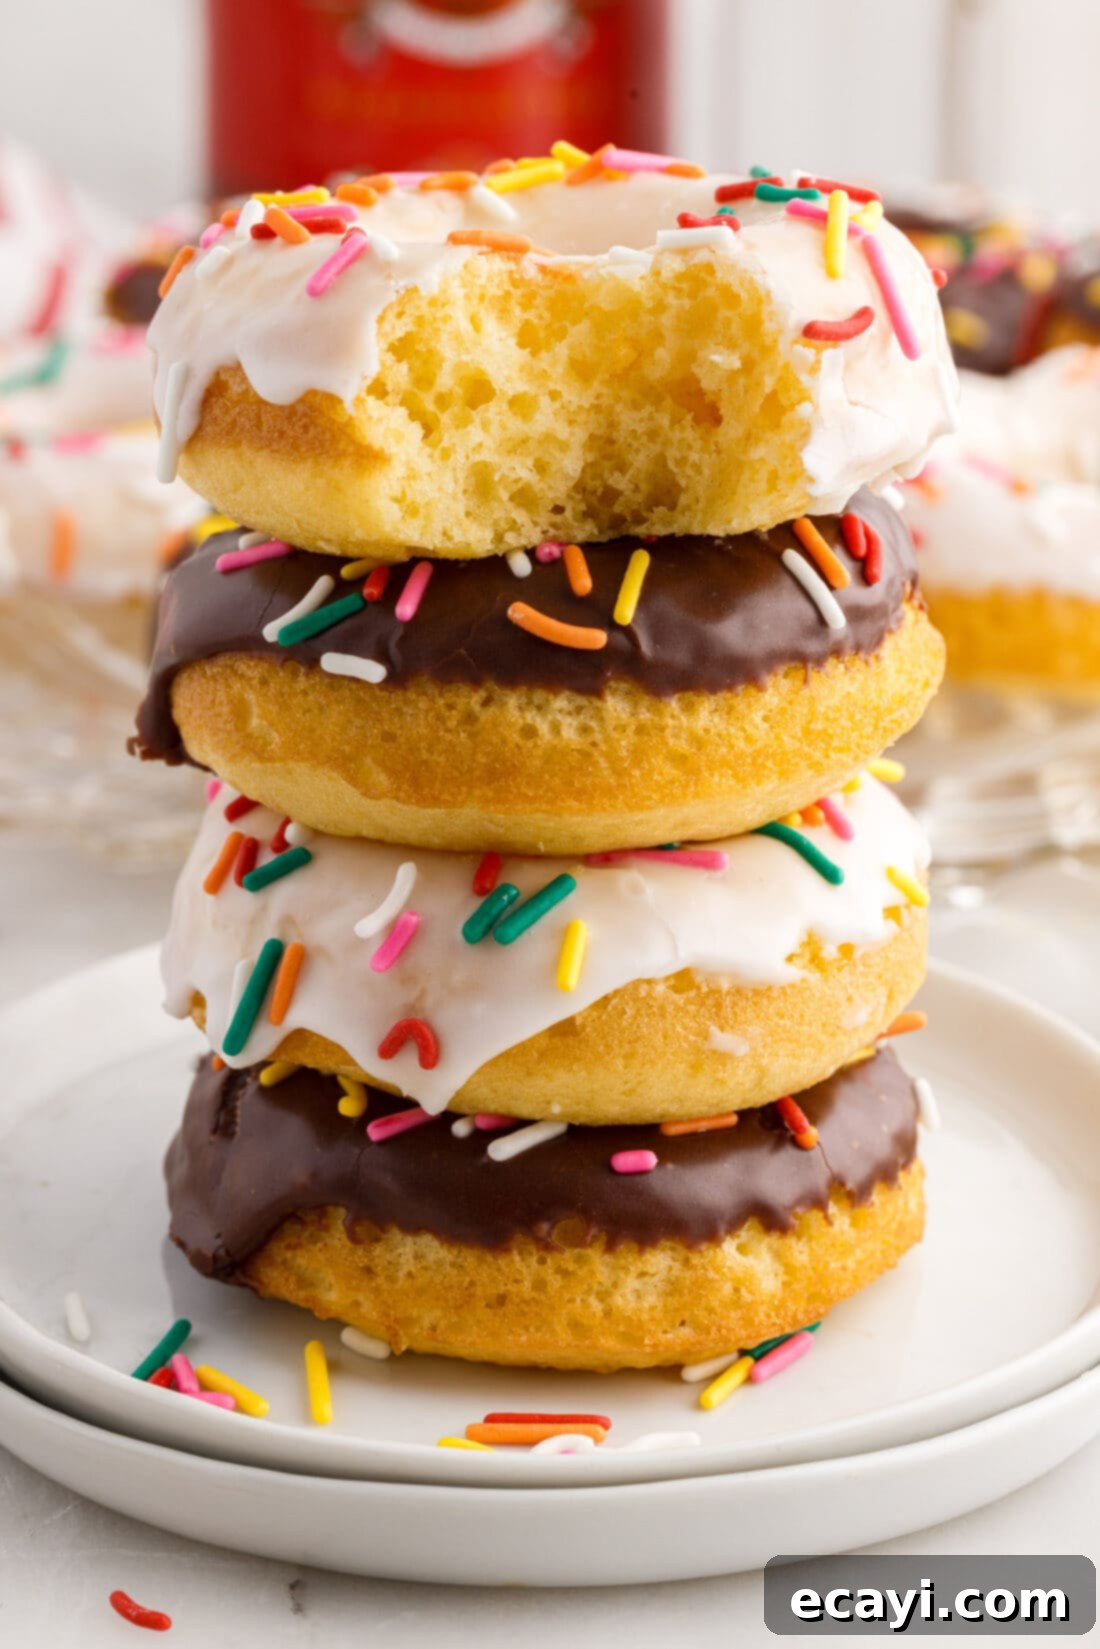
Why You’ll Love This Easy Baked Donut Recipe
This baked cake mix donut recipe is a true winner for several reasons. First and foremost, it’s incredibly simple and doesn’t involve any deep-frying, which means less mess, less oil, and a lighter treat. These donuts boast a tender, moist, and delightfully cake-like texture, reminiscent of your favorite cupcakes but with a fun, donut shape. The secret to their incredible moisture and slightly denser, more satisfying crumb lies in the addition of sour cream, transforming a basic cake mix into something truly special.
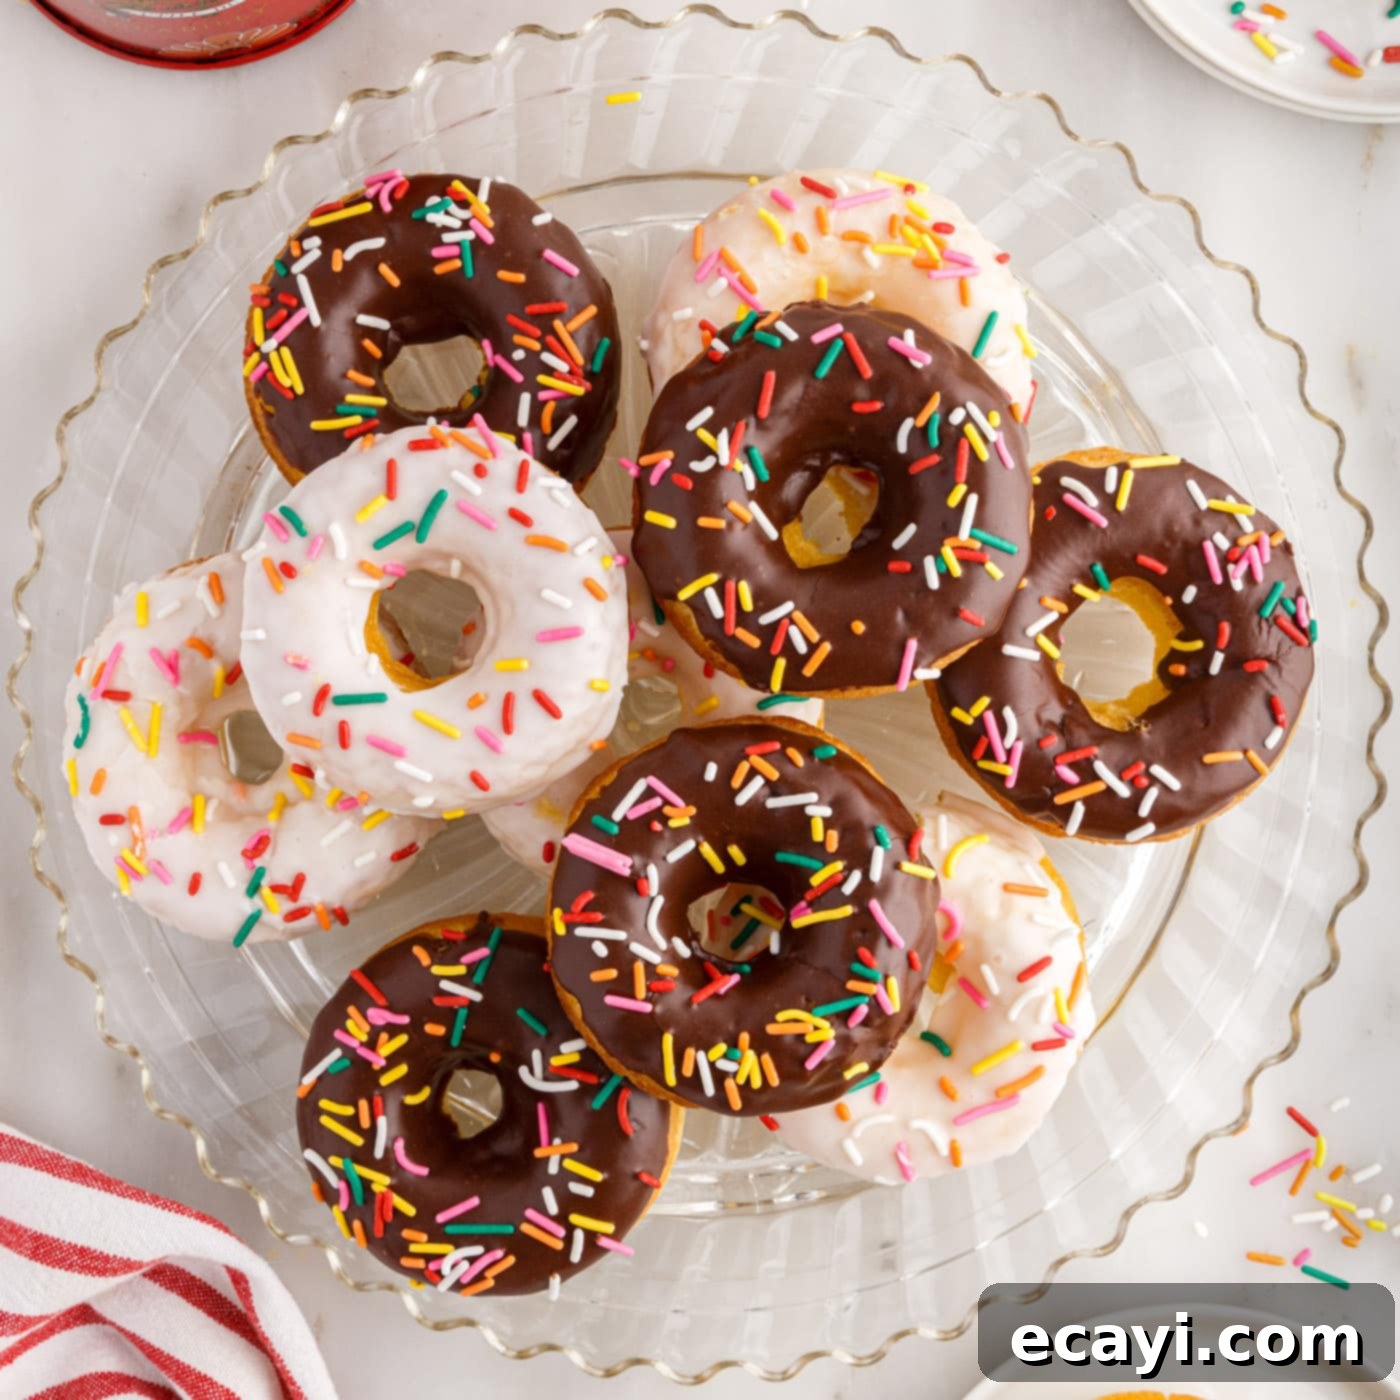
The convenience of using a store-bought cake mix cannot be overstated. It significantly cuts down on prep time, as you bypass individual ingredient measurements, making this recipe perfect for spontaneous baking sessions or when you’re short on time. Beyond saving time, it can also be a budget-friendly option if you don’t keep a pantry stocked with every baking ingredient. While these aren’t your traditional yeast-risen, fried donuts, their unique cake-like yet soft and fluffy texture offers a delightful alternative that’s easy to customize. Imagine a cross between a classic baked cake donut and a fluffy cupcake, offering the best of both worlds. To finish them off, simply add a quick homemade chocolate or vanilla glaze and a scattering of colorful sprinkles for a festive touch!
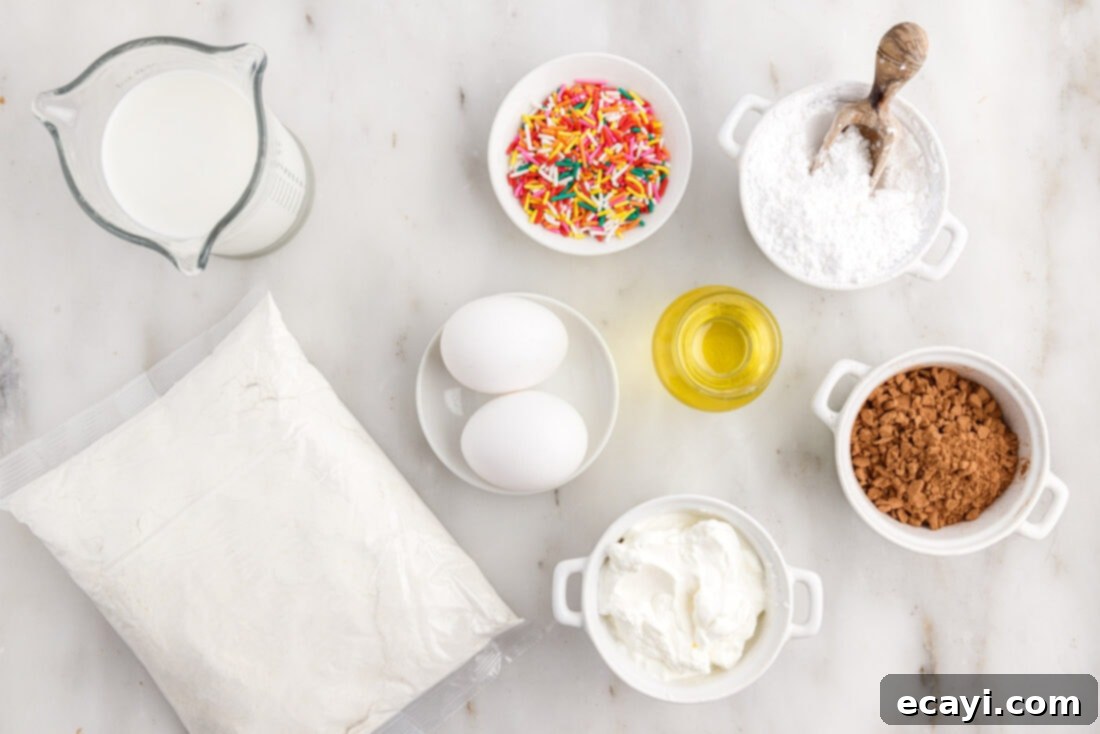
Essential Ingredients for Cake Mix Donuts
Gathering your ingredients for these delicious baked donuts is a breeze. You’ll find all the precise measurements, a comprehensive list of ingredients, and detailed instructions in the printable recipe card available at the very end of this post. For the main donut batter, you’ll need a standard box of cake mix and a few common dairy and liquid ingredients. For the glazes, simple confectioners’ sugar and milk form the base, with cocoa powder for the chocolate version.
Ingredient Spotlight & Smart Substitutions
Understanding each ingredient helps in achieving the perfect baked cake mix donut every time, and offers flexibility for substitutions:
- CAKE MIX: This recipe calls for a standard 15.25 oz yellow cake mix. While most cake mixes list instructions for water, eggs, and oil on the box, you should IGNORE those instructions entirely. We are only using the dry cake mix as a base. Our recipe card below provides the precise measurements for the additional wet ingredients you’ll need to create the perfect donut batter. This is where the magic happens, transforming a simple box mix into something uniquely donut-like.
- Vegetable Oil: Provides moisture and helps create that tender crumb. You can substitute with other neutral-flavored oils like canola oil or melted coconut oil (ensure it’s cooled slightly).
- Whole Milk: Adds richness and helps thin the batter to the right consistency. Any milk (2%, skim, or even non-dairy alternatives like almond or soy milk) can be used, but whole milk will yield the richest flavor and texture.
- Eggs: Act as a binder and add structure and richness to the donuts. Large eggs are standard for baking.
- Sour Cream: This is a key ingredient for achieving the moist, dense, and slightly tangy flavor profile that elevates these cake mix donuts beyond a simple cupcake. It adds richness and helps keep the donuts incredibly moist. Full-fat sour cream is recommended for the best results, but Greek yogurt can be a suitable substitute if you’re looking for a slightly lighter option.
- Powdered Sugar: The foundation of both glazes. Ensure it’s sifted to avoid lumps.
- Unsweetened Cocoa Powder: For a classic chocolate glaze. Use good quality cocoa powder for the best flavor.
Step-by-Step Guide: Crafting Your Own Cake Mix Donuts
These step-by-step photos and instructions are designed to help you visualize each stage of making this delightful recipe. For a convenient printable version, complete with all measurements and instructions, simply Jump to Recipe at the bottom of this page.
- Preheat your oven to 350°F (175°C). This ensures your oven is at the correct temperature for even baking from the moment your donuts go in.
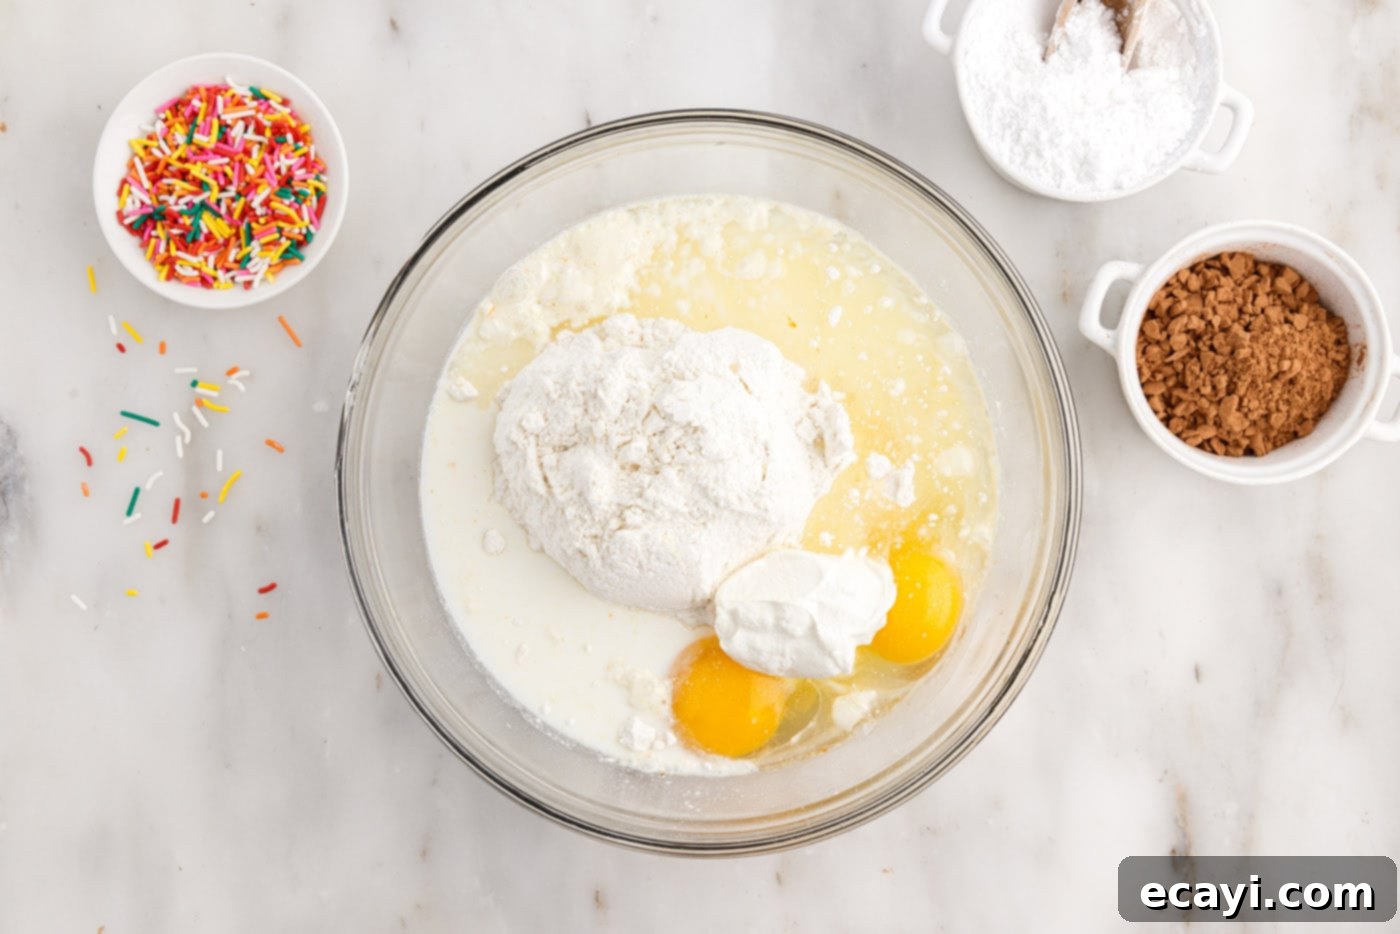
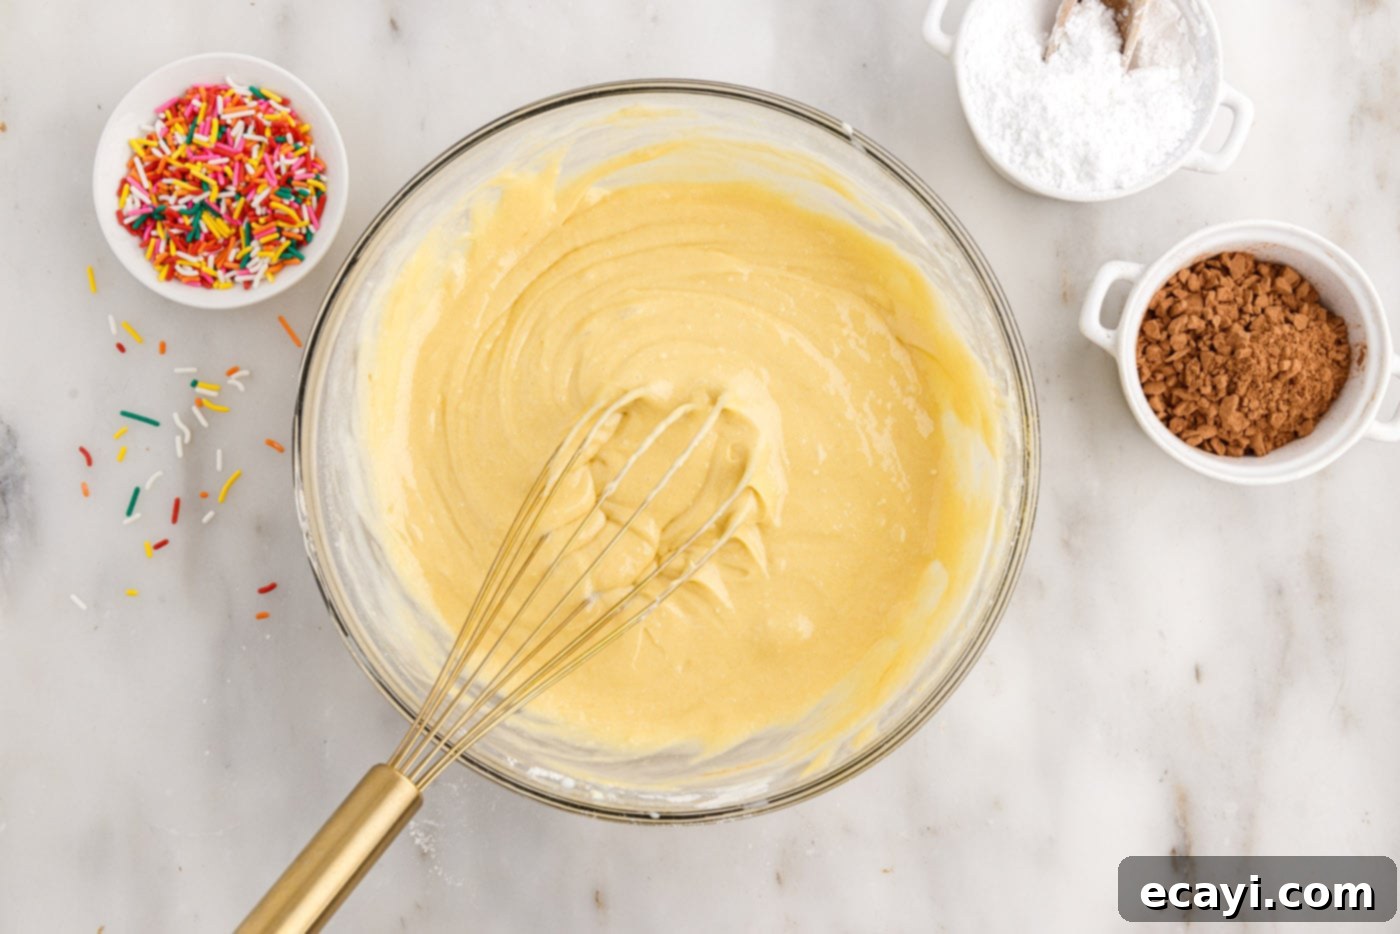
- In a large mixing bowl, combine the dry cake mix, vegetable oil, milk, eggs, and sour cream. Whisk these ingredients together until they are thoroughly combined and the batter is smooth. Avoid overmixing, as this can lead to tough donuts.


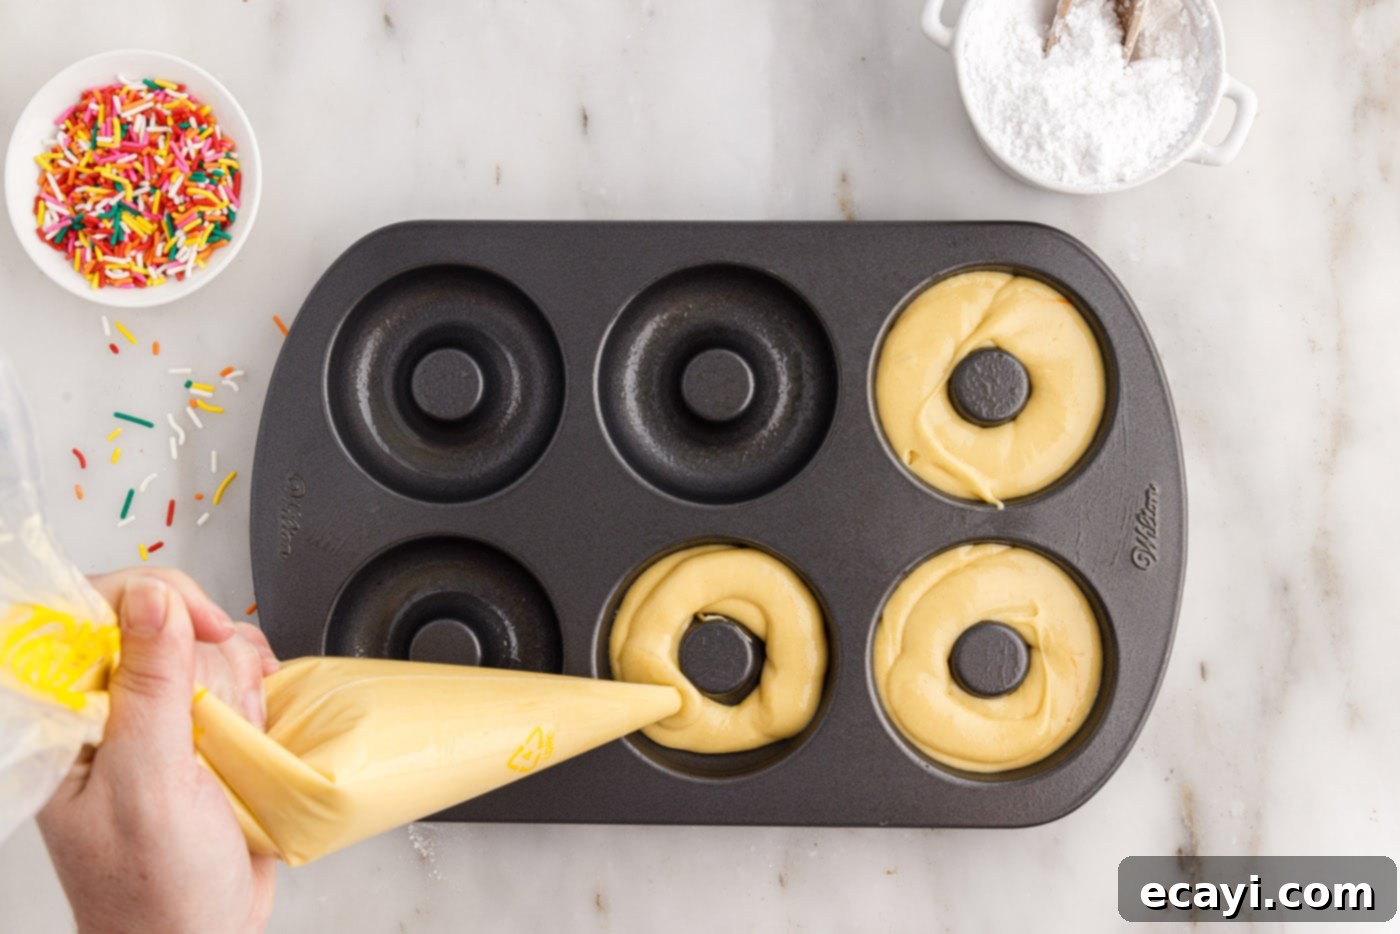
- Carefully transfer the donut batter into a piping bag. This makes filling the donut cavities much easier and less messy, ensuring perfectly shaped donuts.
EXPERT TIP: No piping bag on hand? No problem! Simply spoon the batter into a large resealable plastic bag (like a Ziploc), snip off one corner with scissors, and use it just like a piping bag.
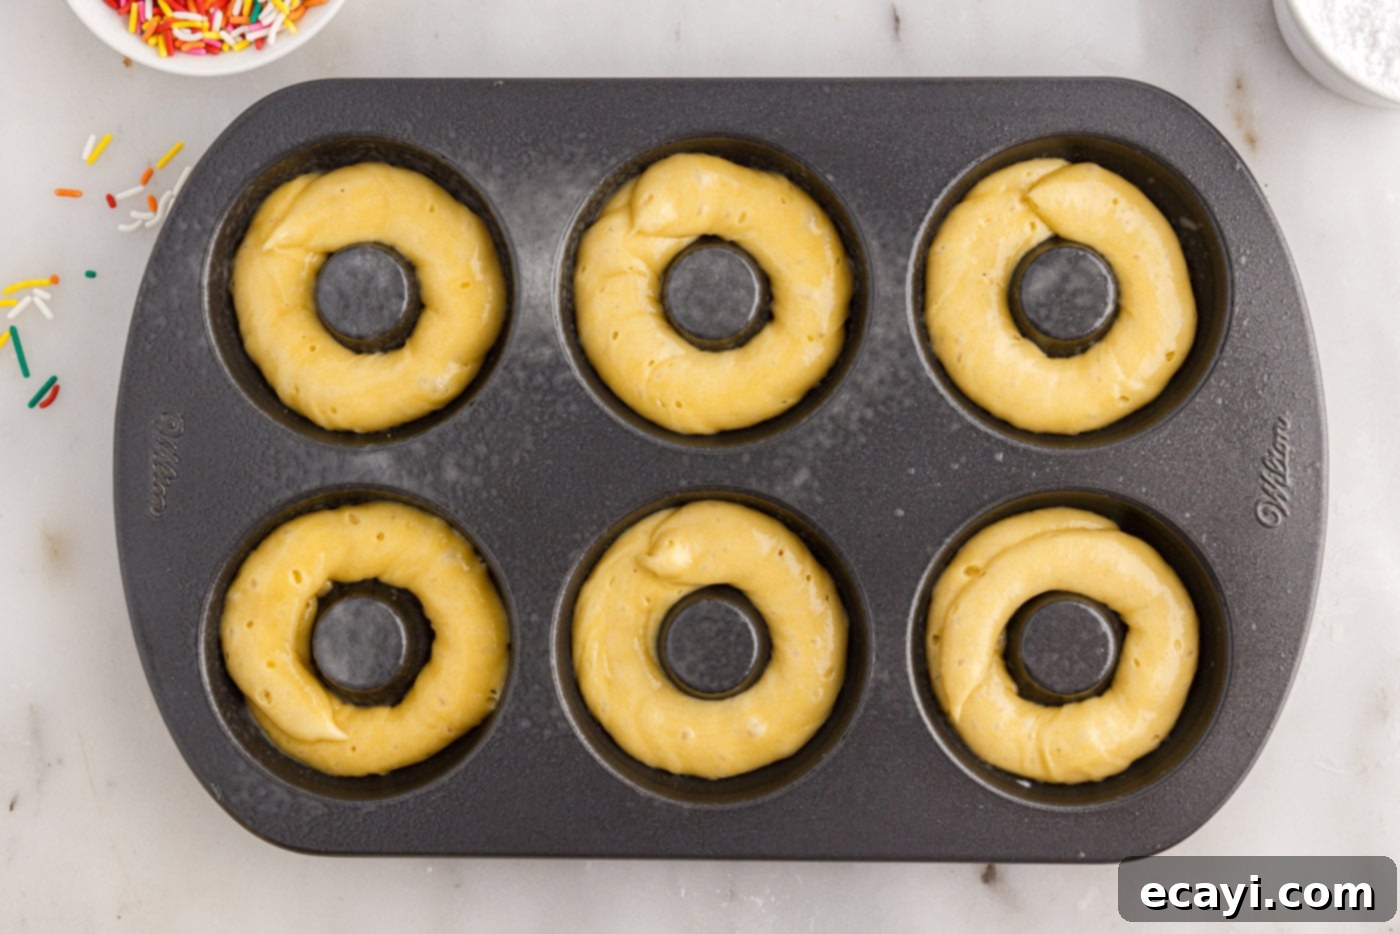
- Prepare your donut pan by spraying each cavity generously with non-stick baking spray, preferably one that contains flour for extra non-stick insurance. Then, pipe a uniform ring of batter into each donut cavity. It’s crucial not to fill each cavity more than 1/2 full, as the donuts will rise significantly during baking. Overfilling can lead to uneven, misshapen donuts.


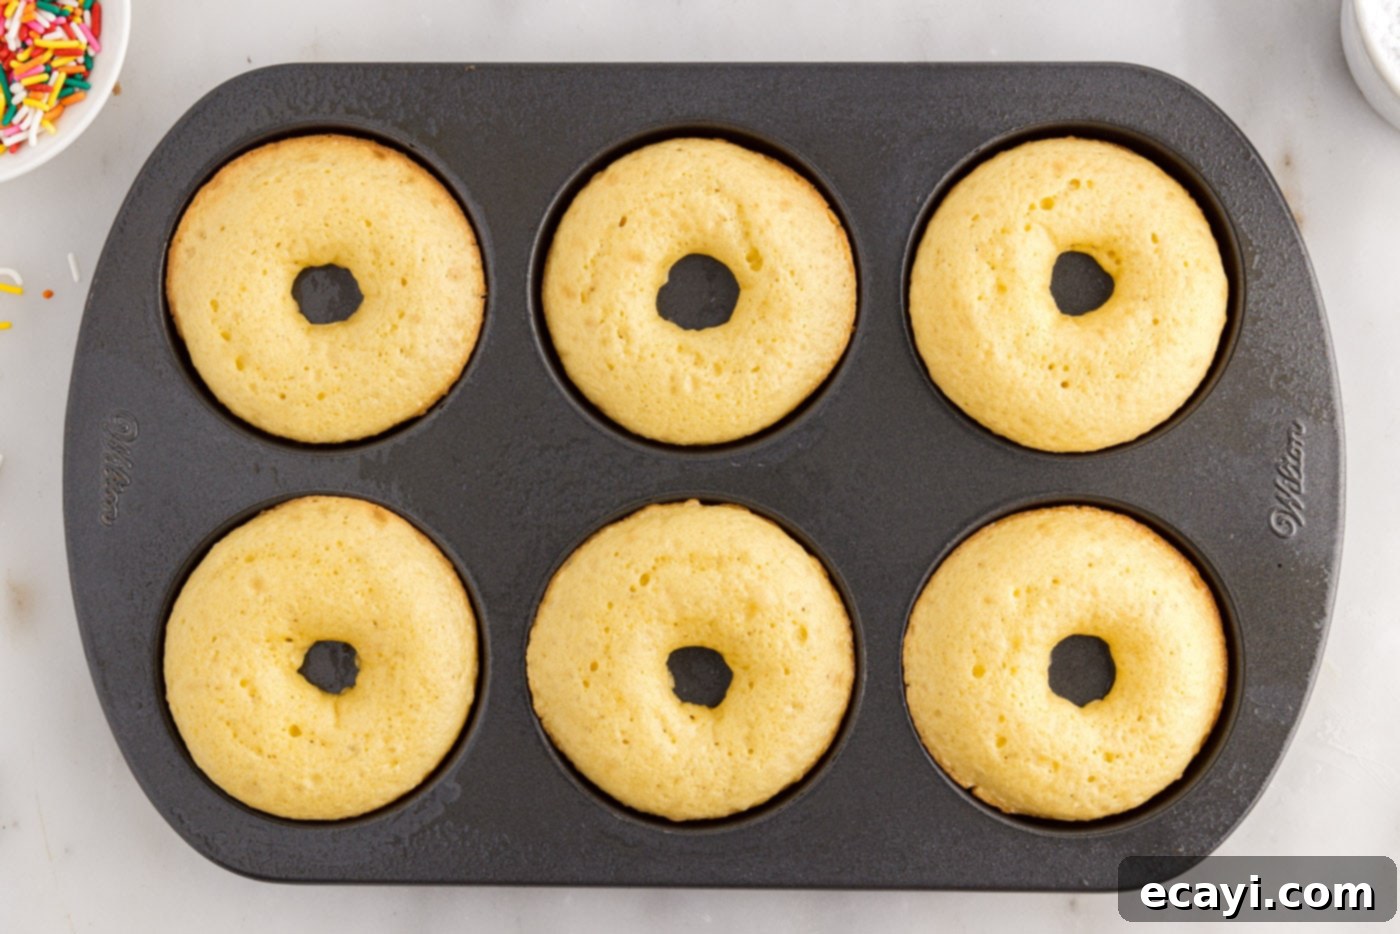
- Bake the donuts for approximately 10 minutes. Keep an eye on them; they should become nicely puffed and just begin to show a golden hue around the edges. A toothpick inserted into a donut should come out clean when they are ready.

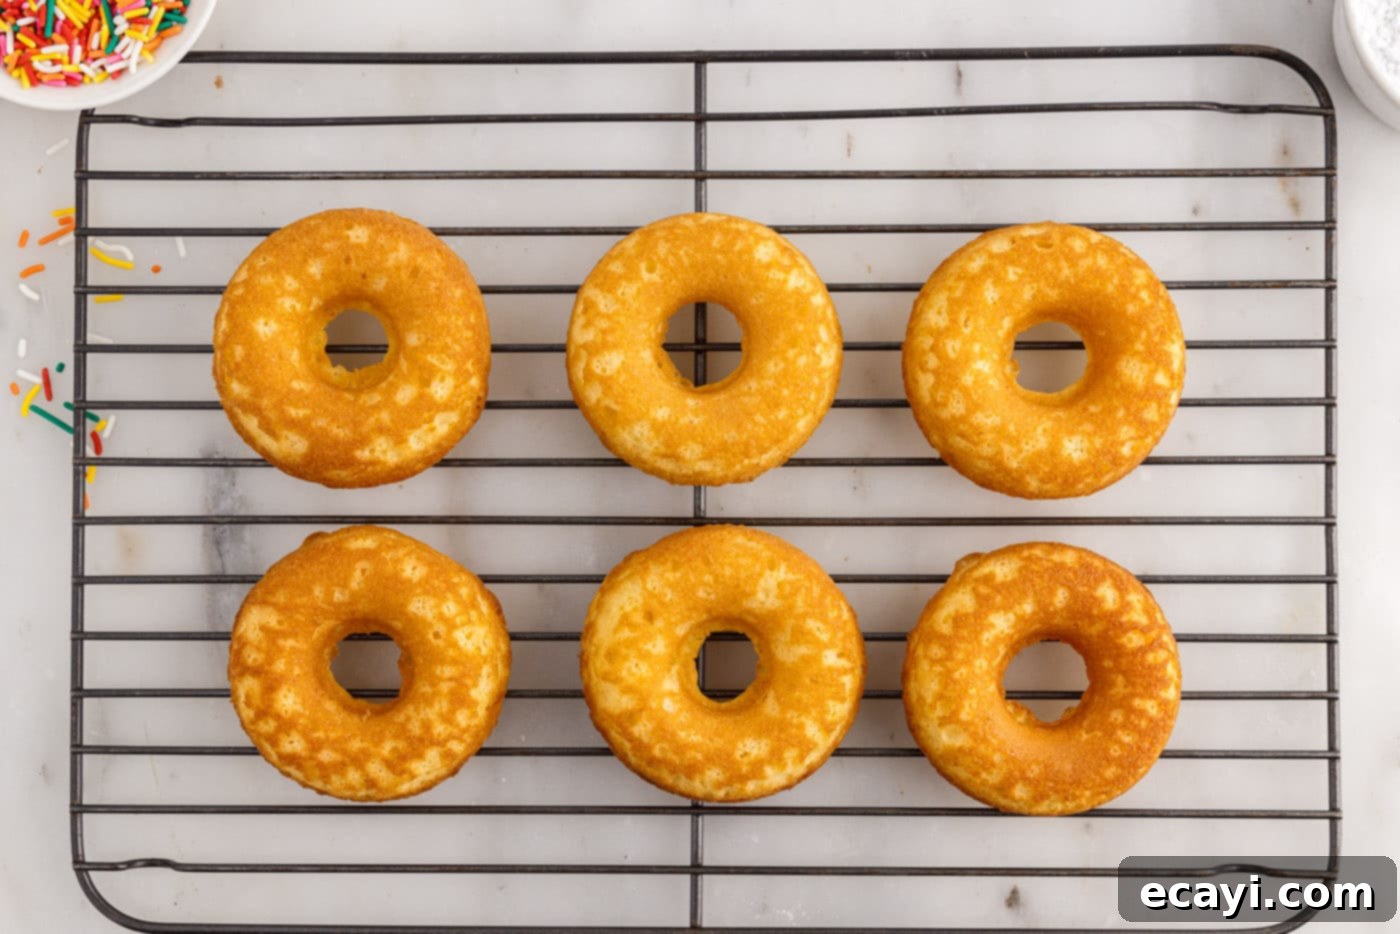
- Once baked, carefully remove the donuts from the oven. Allow them to cool in the pan for a few minutes before gently turning them out onto a wire cooling rack. This prevents them from becoming soggy. Continue baking any remaining batches of donuts until all the batter is used.

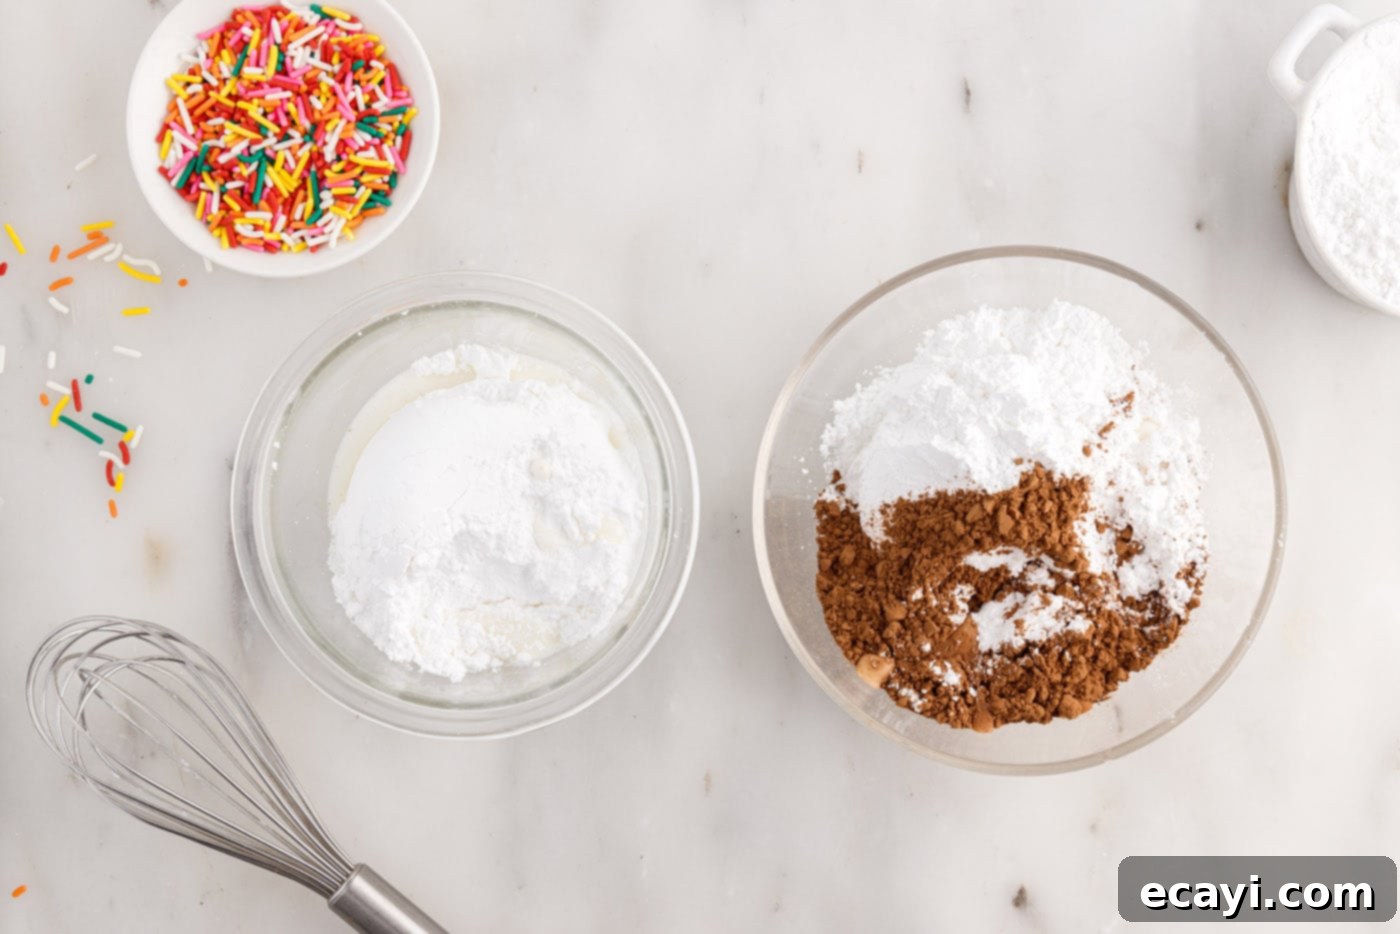
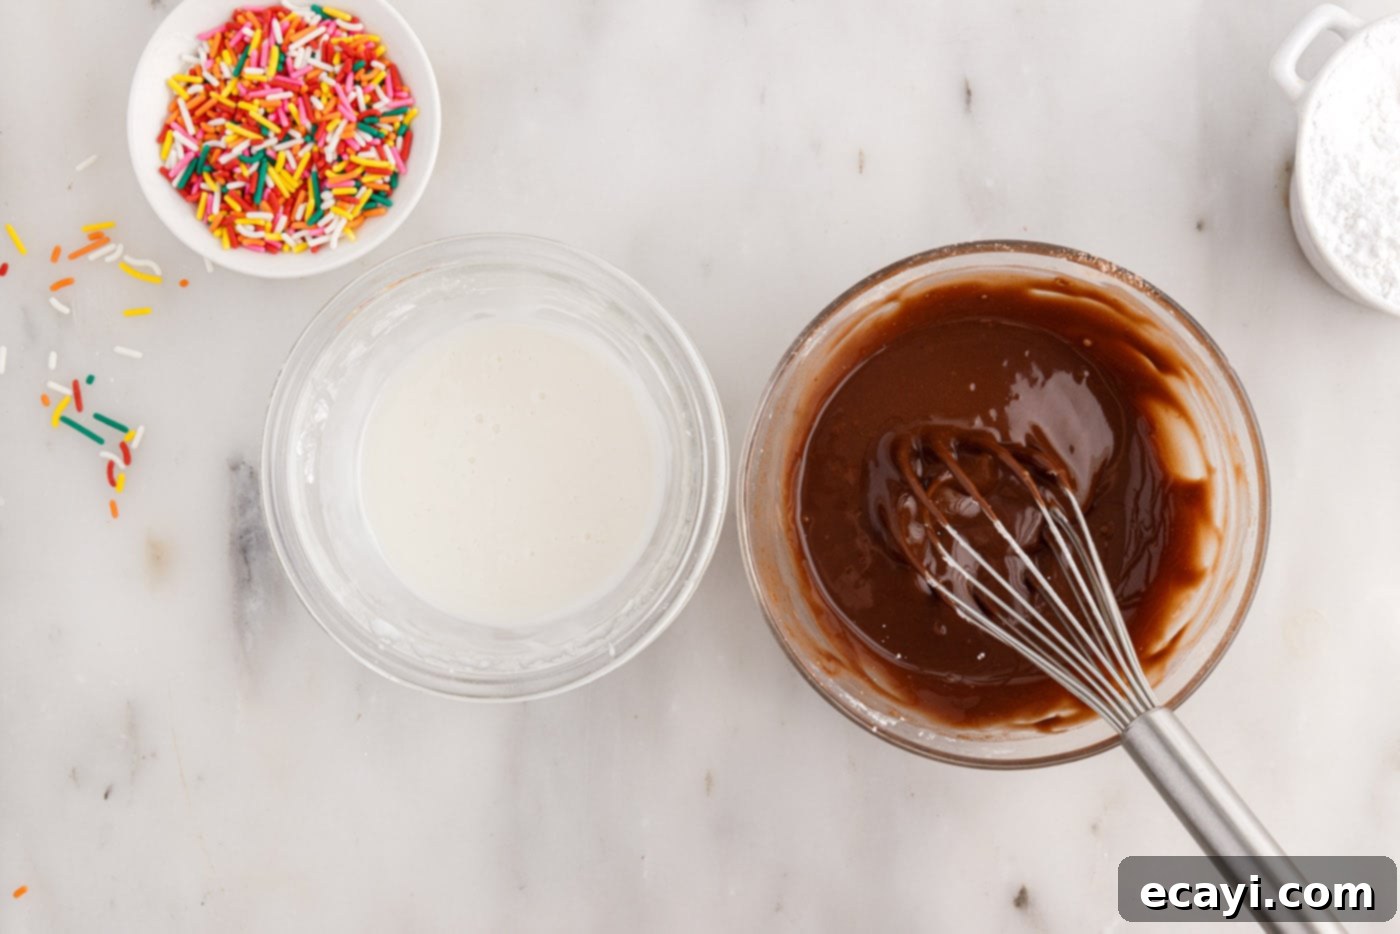
- While your donuts are cooling, prepare your desired glaze. For a chocolate glaze, whisk together powdered sugar, milk, and cocoa powder until smooth. For a vanilla glaze, simply whisk powdered sugar and milk. Adjust the milk gradually to achieve your preferred consistency – a thicker glaze for a more opaque coating, or thinner for a delicate drip.


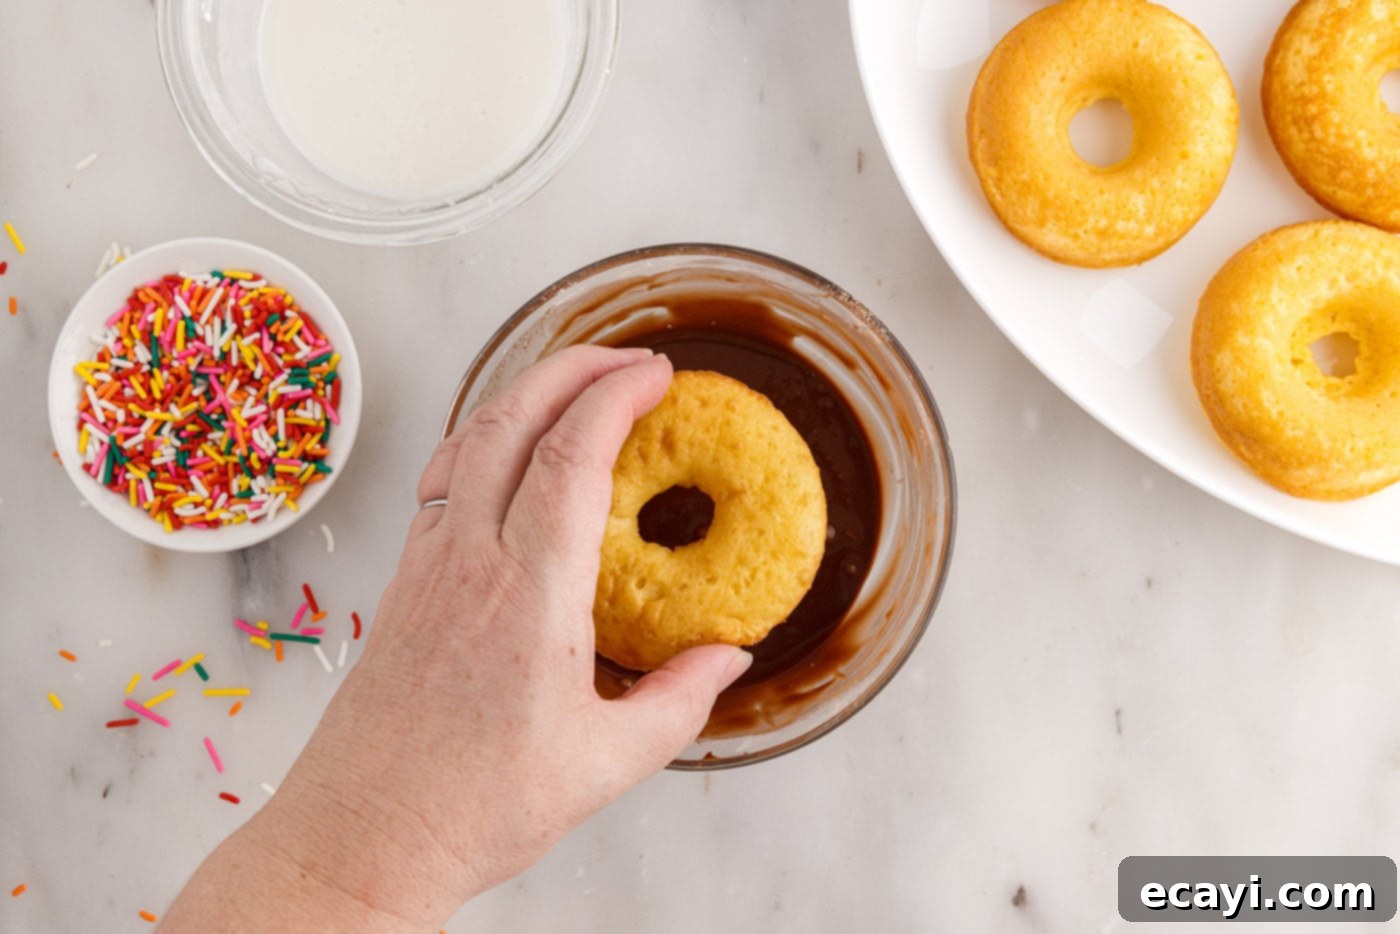
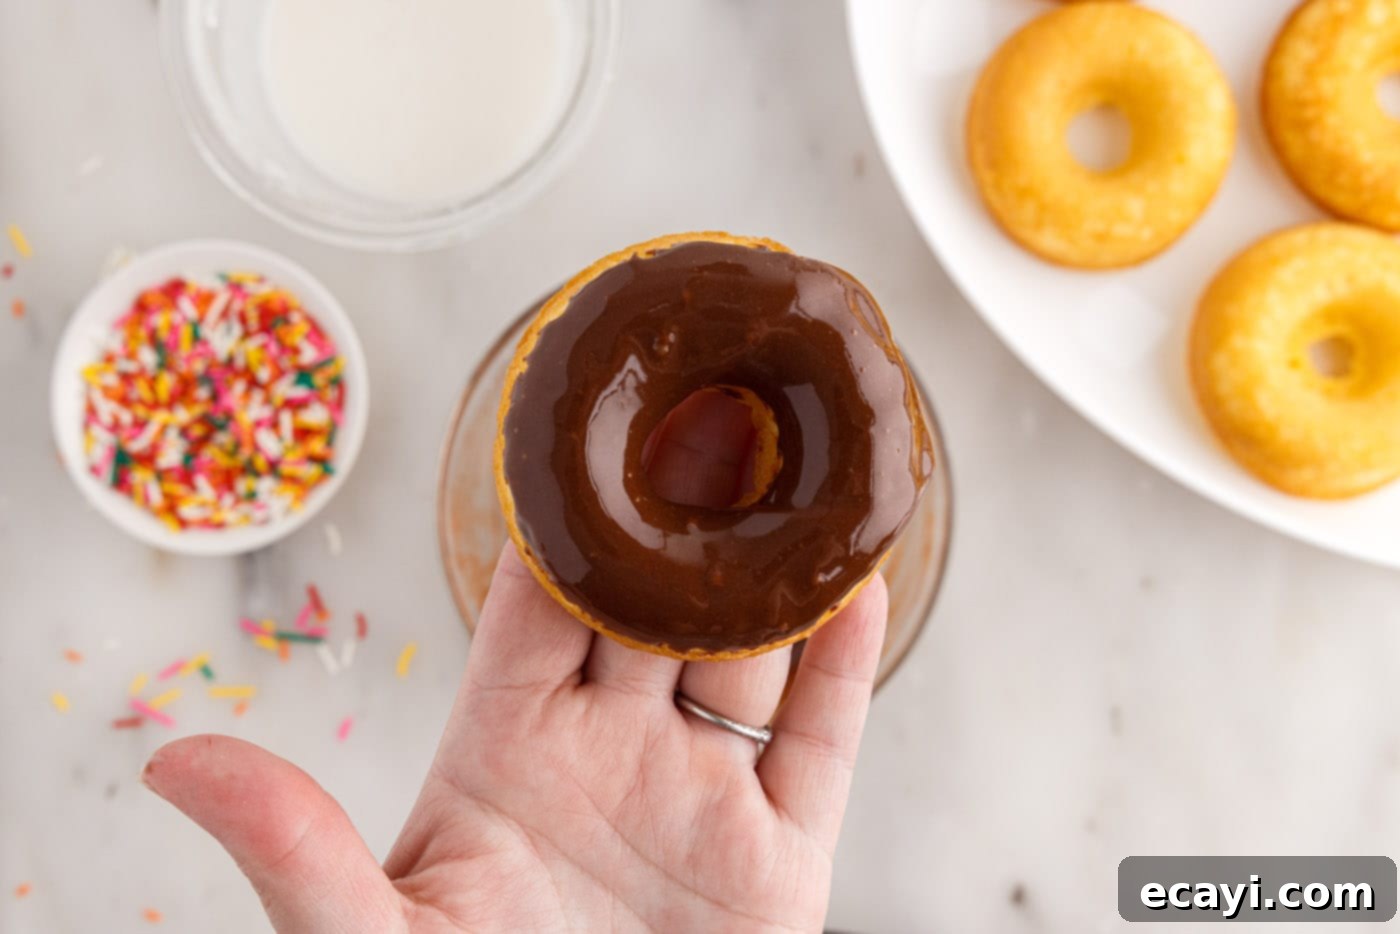
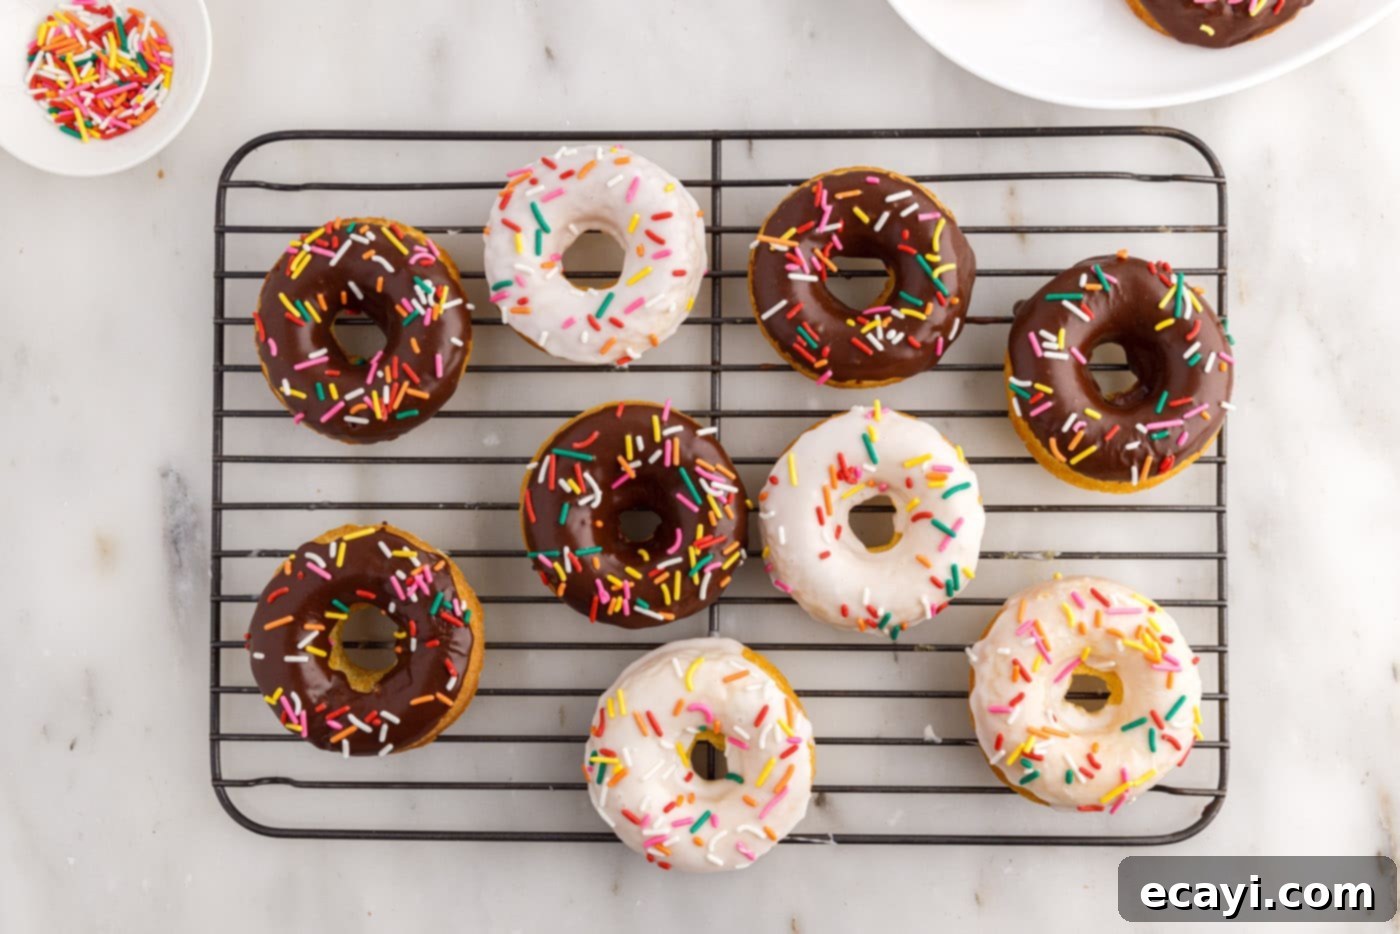
- Once the donuts are cool enough to handle, dip the smoothest side (usually the top) into the prepared glaze. Allow any excess glaze to drip off for a neat finish, then place them back onto the wire cooling rack or a serving platter. If you’re using sprinkles, decorate the donuts immediately after dipping, before the glaze has a chance to set. This ensures the sprinkles adhere perfectly.


Frequently Asked Questions & Expert Tips for Perfect Donuts
To maintain their freshness and soft texture, store your baked cake mix donuts in a single layer within an airtight container. Keep them at room temperature, and they will remain delicious for 2-3 days. If stacking, place a piece of parchment paper between layers to prevent the glaze from sticking. For longer storage, see our freezing tips below.
Absolutely! This recipe is incredibly versatile. You can easily substitute the yellow cake mix with other flavors like strawberry for a fruity twist, funfetti for a celebratory batch, lemon for a zesty kick, rich chocolate for double chocolate donuts, or a classic white cake mix. Each substitution will yield a unique and delicious donut, so feel free to experiment with your favorites!
Yes, you can! For best results, freeze the plain, unglazed donuts. Once completely cooled, place them in a single layer on a baking sheet and freeze until solid. Then, transfer them to a freezer-safe bag or airtight container for up to 1-2 months. Thaw at room temperature and then glaze as desired before serving. Glazed donuts can also be frozen, but the glaze might become slightly sticky or crack upon thawing.
The most common reason for misshapen or overflowing donuts is overfilling the donut pan cavities. The batter rises quite a bit in the oven, so it’s crucial to only fill each cavity about halfway. This allows the donuts to puff up beautifully and maintain that classic round shape with a perfect hole in the middle. Using a piping bag or a ziptop bag with the corner snipped off helps control the amount of batter for precise filling.
If your glaze is too thick, add more milk (a half teaspoon at a time) until you reach your desired drizzling or dipping consistency. If it’s too thin, gradually add more powdered sugar (a tablespoon at a time) until it thickens. The perfect glaze should be thick enough to coat the donut without being overly gloopy, but thin enough to drip slightly.
Creative Serving Suggestions for Your Homemade Donuts
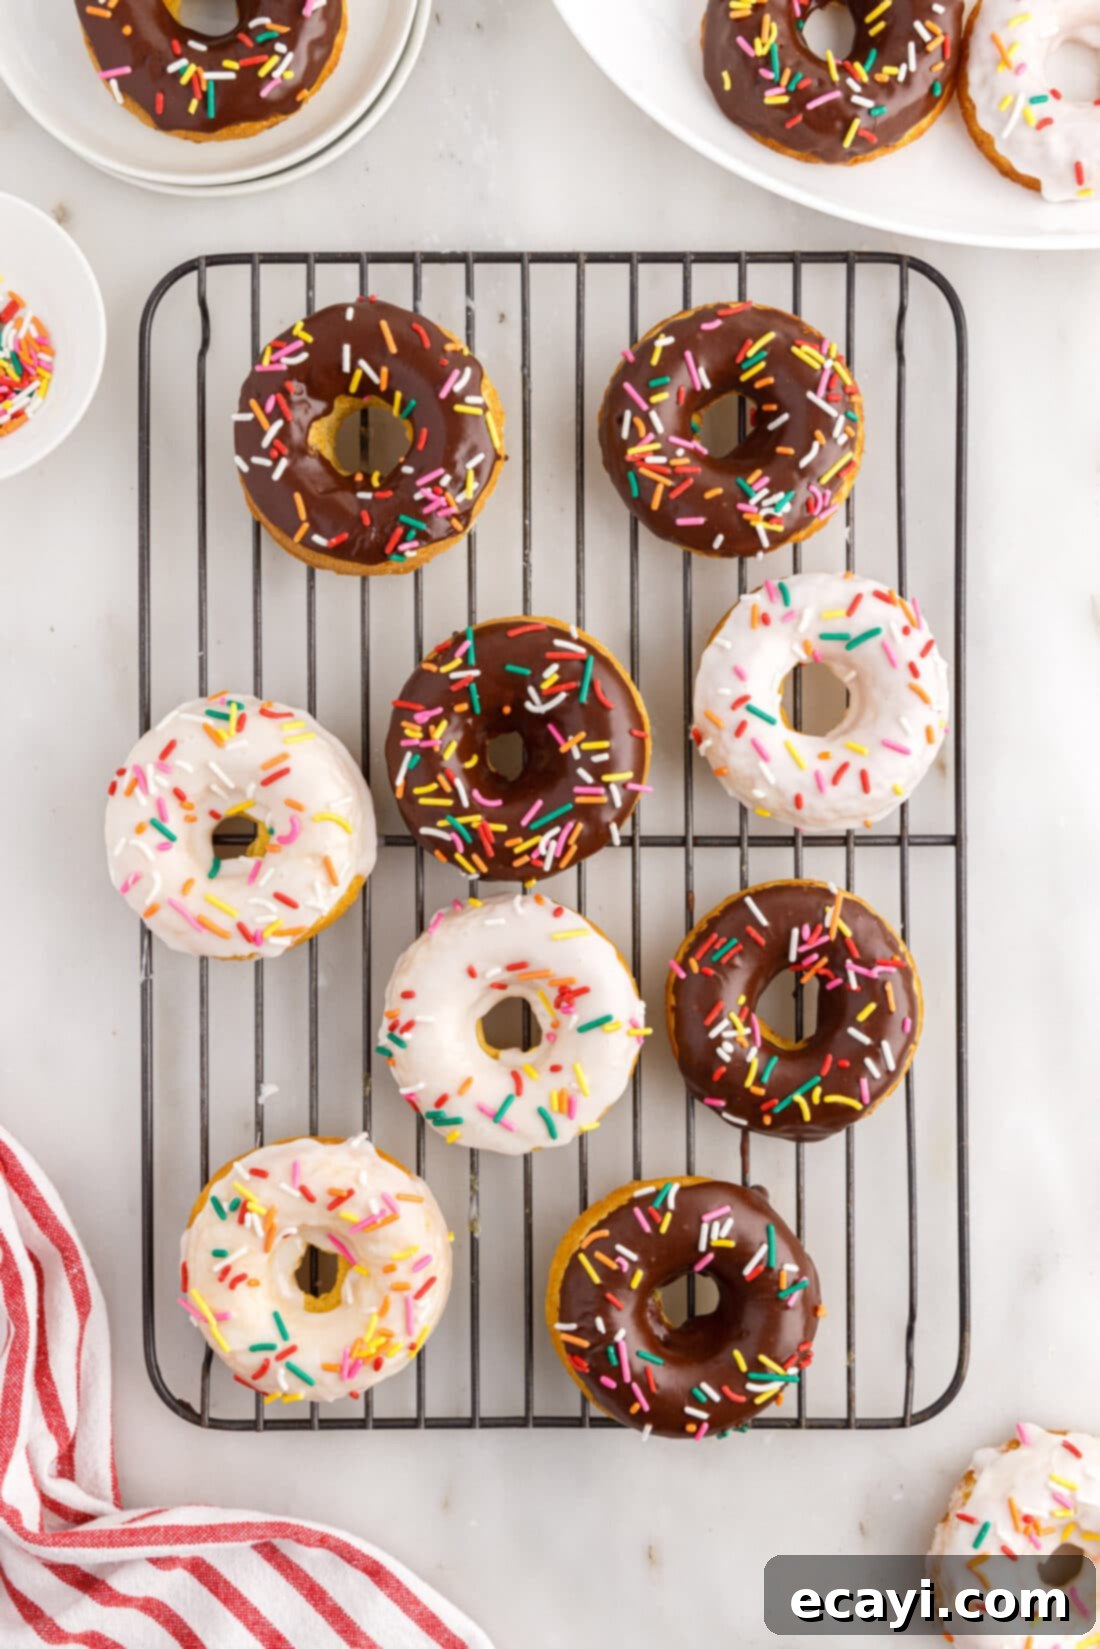
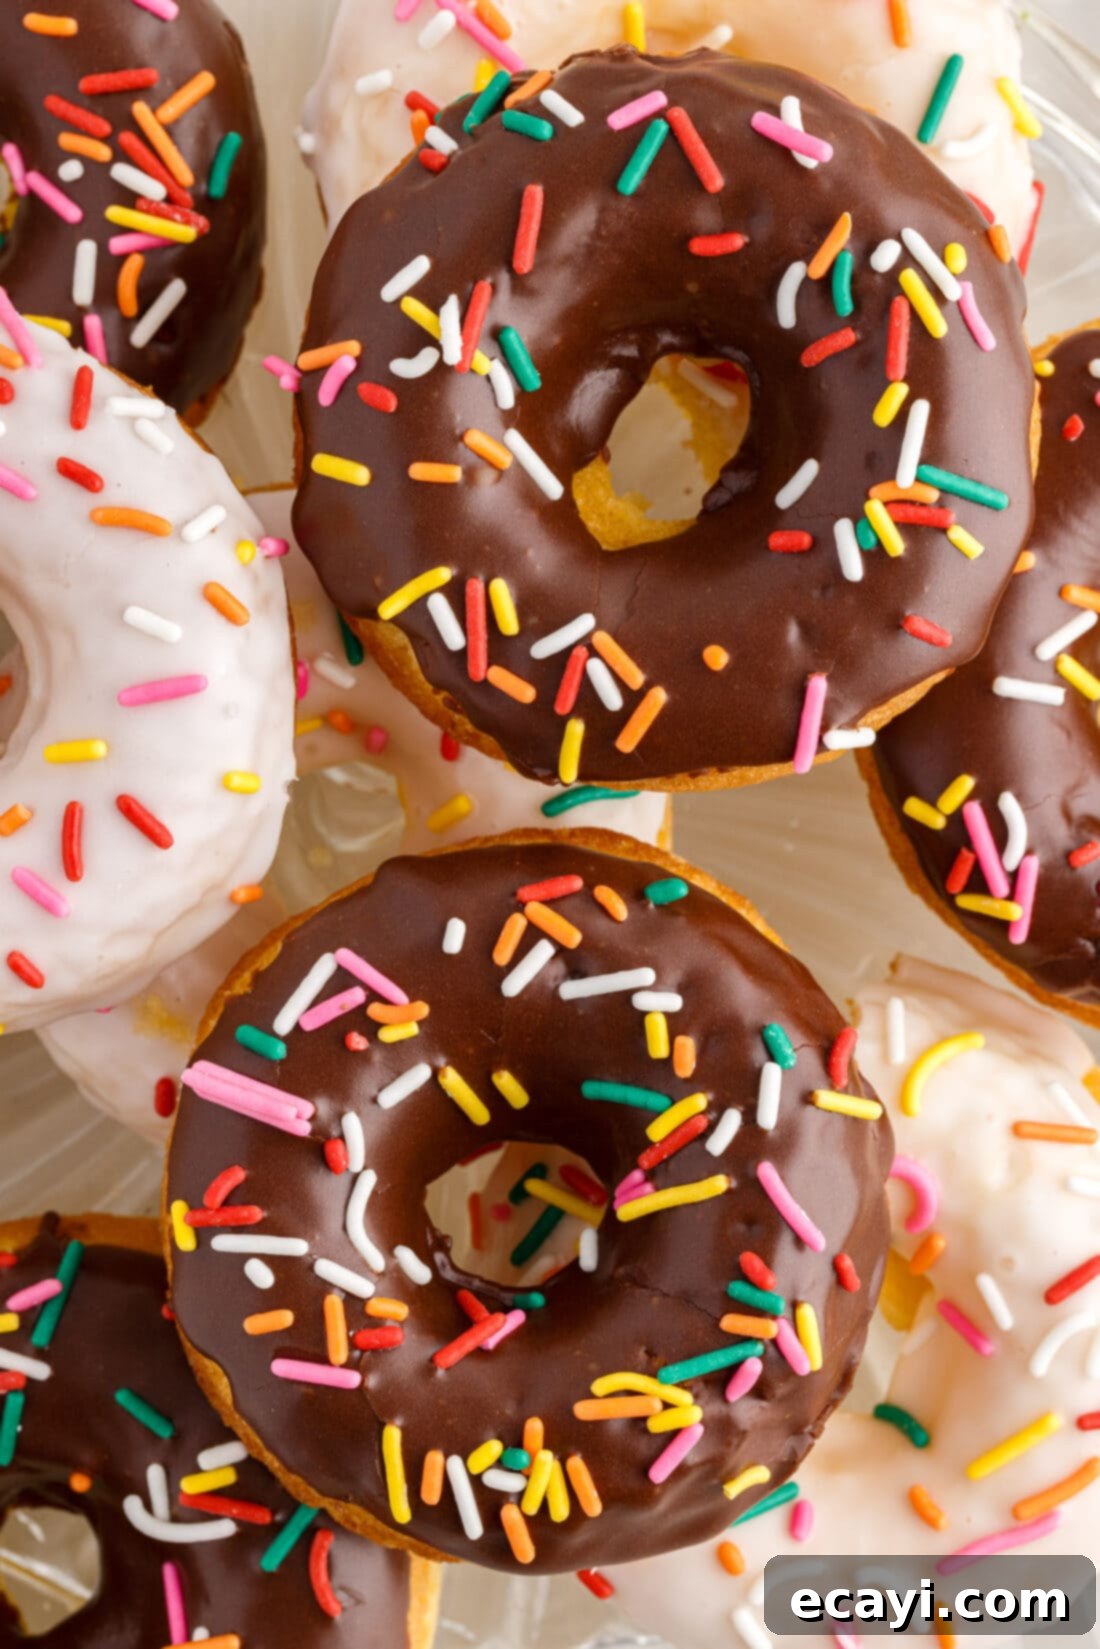
These baked cake mix donuts are wonderfully versatile and can be enjoyed in many ways. We’ve included recipes for both a classic chocolate glaze and a simple vanilla glaze, allowing you to customize your treats. If you prefer a simpler approach, enjoy them plain, or roll them in cinnamon sugar for a warm, comforting flavor. For an extra touch of fun and festivity, garnish with a vibrant rainbow of sprinkles, or choose sprinkles that color-coordinate with holidays or themed parties.
These donuts are best enjoyed at room temperature, perhaps with a cup of coffee or a glass of milk. For a truly indulgent experience, serve them warm with a scoop of vanilla ice cream. Beyond the glazes, consider dusting them with confectioners’ sugar, adding a touch of citrus zest to the vanilla glaze, or even making a maple bacon glaze for a savory-sweet combination. They’re also fantastic as part of a brunch spread or a delightful homemade gift!
If these quick and easy donuts have ignited your love for homemade treats, be sure to check out our other exciting donut recipes, including our popular air fryer donuts (another no-fry option!), refreshing lemon baked donuts, and the playful peanut butter and jelly donuts for more inspiration and delicious ideas.
More Fantastic Cake Mix Recipes to Try
Cake mix is a secret weapon in the kitchen for effortlessly creating a variety of delicious desserts. If you loved the simplicity and versatility of using a cake mix for these donuts, you’re in for a treat! Explore these other fantastic recipes that leverage the convenience of a cake mix:
- Cake Balls: Little bites of heaven, perfect for parties.
- Cinnamon Roll Cookies: All the flavor of cinnamon rolls in a chewy cookie form.
- Pineapple Sunshine Cake: A bright and airy dessert, perfect for any occasion.
- Lemon Cake Mix Cookies: Zesty, soft, and incredibly easy to make.
- Cake Mix Brownies: Chewy, fudgy brownies with minimal effort.
I absolutely adore sharing my culinary adventures and kitchen wisdom with all of you! To make sure you never miss out on a new recipe, I offer a convenient newsletter delivered straight to your inbox every time a fresh post goes live. Simply subscribe today and start receiving your free daily recipes – a hassle-free way to discover new favorites!

Cake Mix Donuts
IMPORTANT – There are often Frequently Asked Questions within the blog post that you may find helpful. Simply scroll back up to read them!
Print It
Pin It
Rate It
Save It
Saved!
Prevent your screen from going dark
Course:
Breakfast, Dessert
Cuisine:
American
24
donuts
25
minutes
168
Amanda Davis
Ingredients
-
15.25
ounce
yellow cake mix
unprepared. dry mix only -
¼
cup
vegetable oil -
¾
cup
whole milk -
2
large
eggs -
½
cup
sour cream
Chocolate Glaze
-
1 ½
cups
powdered sugar -
2
Tablespoons
milk
2-3 tablespoons -
3
Tablespoons
unsweetened cocoa powder
Vanilla Glaze
-
1 ½
cups
powdered sugar -
2
Tablespoons
milk
2-3 tablespoons
Things You’ll Need
-
Mixing bowls -
Piping bag -
Donut pan -
Wire cooling racks -
Non stick baking spray
Before You Begin
- If you don’t have a piping bag, simply add the batter to a large ziptop bag and snip off the corner for an easy homemade alternative.
- The donuts will rise quite a bit in the oven, so it’s essential not to overfill the cavities. If they are filled too full, they will spill over and create an irregular shape. Keep the batter under the halfway point of each cavity to ensure they rise beautifully and form a cute, even donut shape.
- Allow the donuts to cool slightly on a wire rack before attempting to dip them in the glaze. If the donuts are too hot, the glaze will melt and slide off. If your glaze seems too thick, add a tiny bit more milk (1/4 teaspoon at a time) until it reaches your desired consistency. If necessary, you can also drizzle the glaze over the tops of the donuts instead of dipping.
- The glaze will typically set dry to the touch within 5-10 minutes. Therefore, be sure to add any sprinkles or other decorations immediately after dipping or drizzling the glaze, so they adhere properly before the glaze hardens.
- Store your finished donuts in a single layer in an airtight container at room temperature for 2-3 days to maintain their freshness and flavor.
Instructions
-
Preheat the oven to 350°F (175°C).
-
In a large mixing bowl, whisk together the dry cake mix, oil, milk, eggs, and sour cream until fully combined.
-
Transfer batter to a piping bag (or a large ziptop bag with a corner snipped off).
-
Spray a donut pan with non-stick baking spray (the kind with flour works best). Pipe a ring of batter into each donut cavity, filling no more than 1⁄2 full.
-
Bake donuts for 10 minutes, or until puffed and just beginning to turn golden.
-
Remove from oven and turn out onto a cooling rack. Continue baking batches of donuts until all batter is used.
-
Prepare the glaze(s) by whisking together powdered sugar, milk, and cocoa powder (if making chocolate).
-
Dip the smoothest side of the cooled donut into the glaze, allowing excess to drip off, then place on a cooling rack or platter. Decorate immediately with sprinkles before the glaze sets.
Nutrition
Serving:
1
donut
|
Calories:
168
cal
|
Carbohydrates:
31
g
|
Protein:
2
g
|
Fat:
5
g
|
Saturated Fat:
1
g
|
Polyunsaturated Fat:
1
g
|
Monounsaturated Fat:
1
g
|
Trans Fat:
0.1
g
|
Cholesterol:
20
mg
|
Sodium:
143
mg
|
Potassium:
45
mg
|
Fiber:
0.4
g
|
Sugar:
23
g
|
Vitamin A:
69
IU
|
Vitamin C:
0.04
mg
|
Calcium:
59
mg
|
Iron:
1
mg
Tried this Recipe? Pin it for Later!
Follow on Pinterest @AmandasCookin or tag #AmandasCookin!
The recipes on this blog are tested with a conventional gas oven and gas stovetop. It’s important to note that some ovens, especially as they age, can cook and bake inconsistently. Using an inexpensive oven thermometer can assure you that your oven is truly heating to the proper temperature. If you use a toaster oven or countertop oven, please keep in mind that they may not distribute heat the same as a conventional full sized oven and you may need to adjust your cooking/baking times. In the case of recipes made with a pressure cooker, air fryer, slow cooker, or other appliance, a link to the appliances we use is listed within each respective recipe. For baking recipes where measurements are given by weight, please note that results may not be the same if cups are used instead, and we can’t guarantee success with that method.
