Ultimate Instant Pot Chicken Thighs: Crispy Skin, Juicy Perfection in Under 30 Minutes
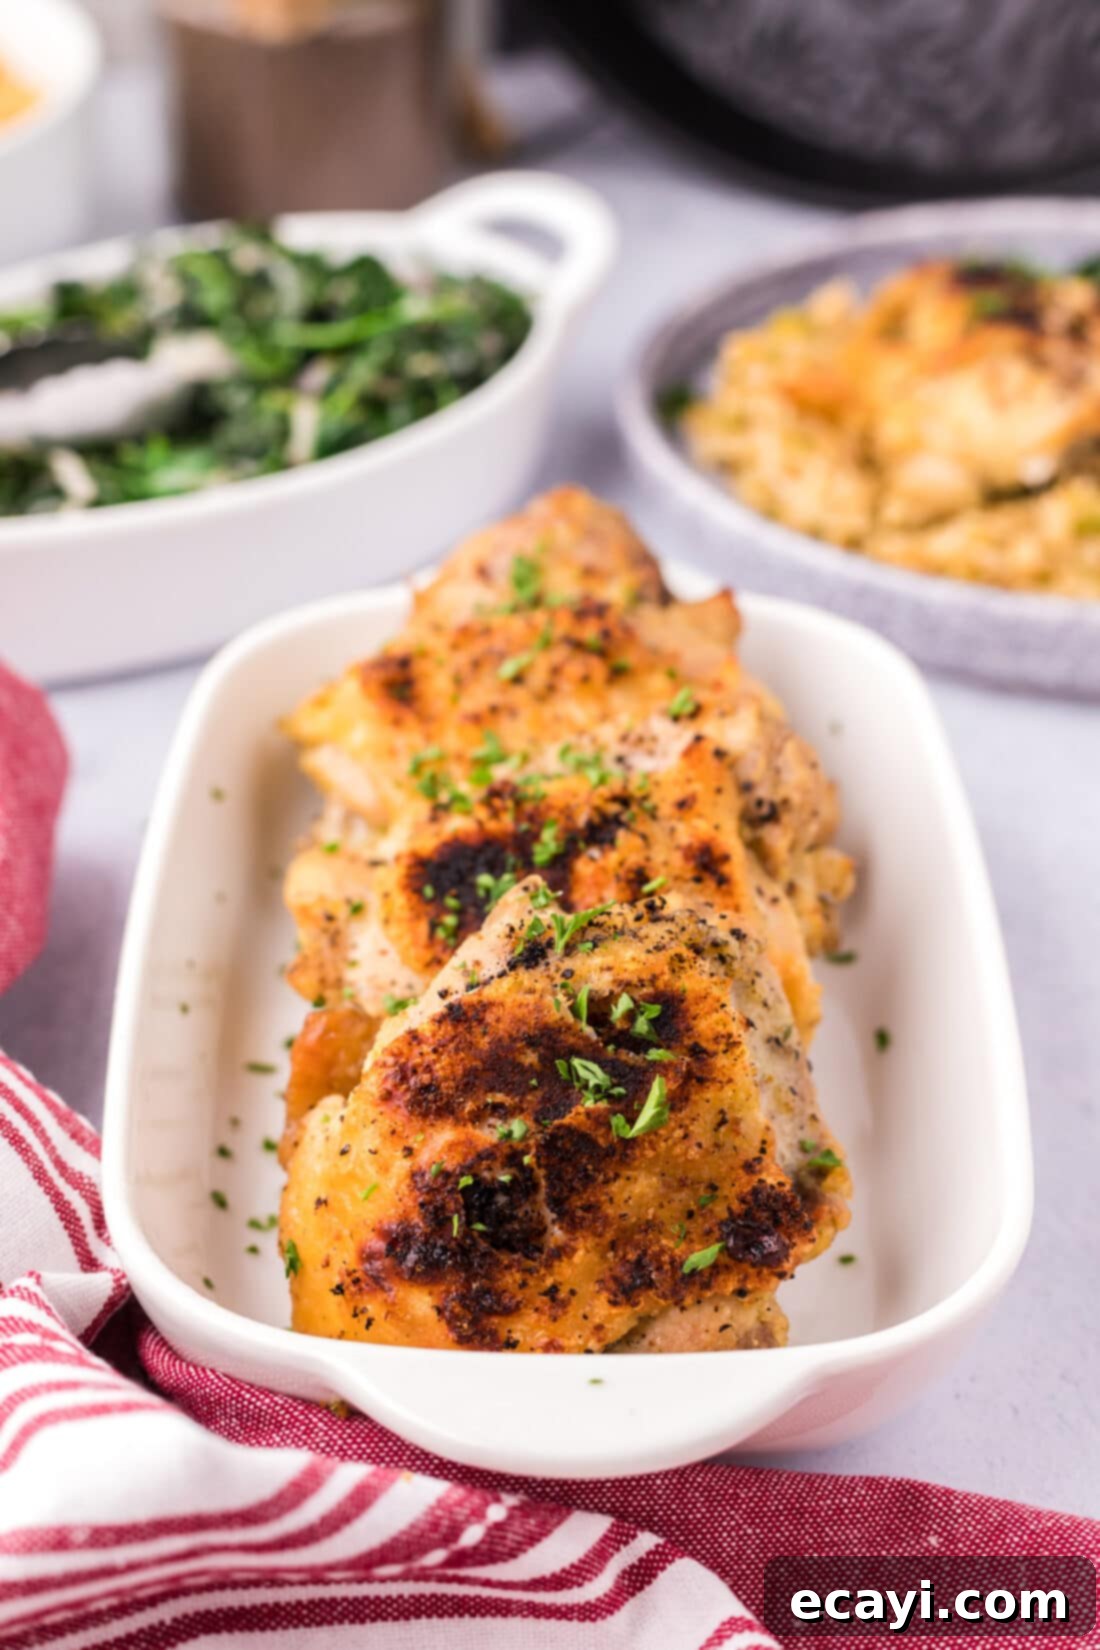
Discover the secret to perfectly cooked chicken thighs every time with this incredibly quick and easy Instant Pot recipe. In just about half an hour, you’ll achieve succulent, tender chicken with deliciously browned and crisp skin, making it an ideal choice for busy weeknights or when you crave a satisfying meal without the fuss. This recipe streamlines the cooking process, leveraging the Instant Pot’s efficiency to lock in flavors and moisture, ensuring a consistently juicy result.
Why This Instant Pot Chicken Thighs Recipe is a Game-Changer
There’s nothing quite like the rich flavor and tender texture of dark meat chicken, and chicken thighs are a perennial favorite for good reason. We’ve explored various methods for cooking chicken thighs, from the crispy results of air fryer chicken thighs to the comforting simplicity of baked chicken thighs. However, when convenience meets exceptional taste, the Instant Pot truly shines. This pressure cooker chicken thighs recipe stands out because it delivers consistent, delicious results with minimal effort, making it the perfect choice for a hassle-free meal.
What makes this Instant Pot chicken thighs recipe so effective? It expertly balances two key elements: searing for flavor and pressure cooking for tenderness. By starting with a quick sear, we achieve that desirable crispy chicken skin and a rich, golden-brown crust that adds incredible depth of flavor. This initial step also renders some of the fat, contributing to the overall succulence of the meat. After searing, the Instant Pot takes over, transforming the thighs into incredibly juicy and tender pieces in just 12 minutes under high pressure, followed by a brief 5-minute natural release. The pressure cooking environment ensures even cooking and keeps the dark meat moist, preventing it from drying out.
Furthermore, this recipe keeps the seasoning simple yet impactful, allowing the natural deliciousness of the chicken to be the star. A blend of olive oil, garlic salt, black pepper, and onion powder is all you need to elevate bone-in, skin-on chicken thighs to perfection. The minimal ingredient list means less prep time and a straightforward cooking process, proving that you don’t need a lot of fancy ingredients to create a mouth-watering meal. It’s truly an easy chicken recipe that fits seamlessly into any busy schedule, proving that gourmet flavors can be achieved with everyday kitchen appliances.
Essential Ingredients for Perfect Instant Pot Chicken Thighs
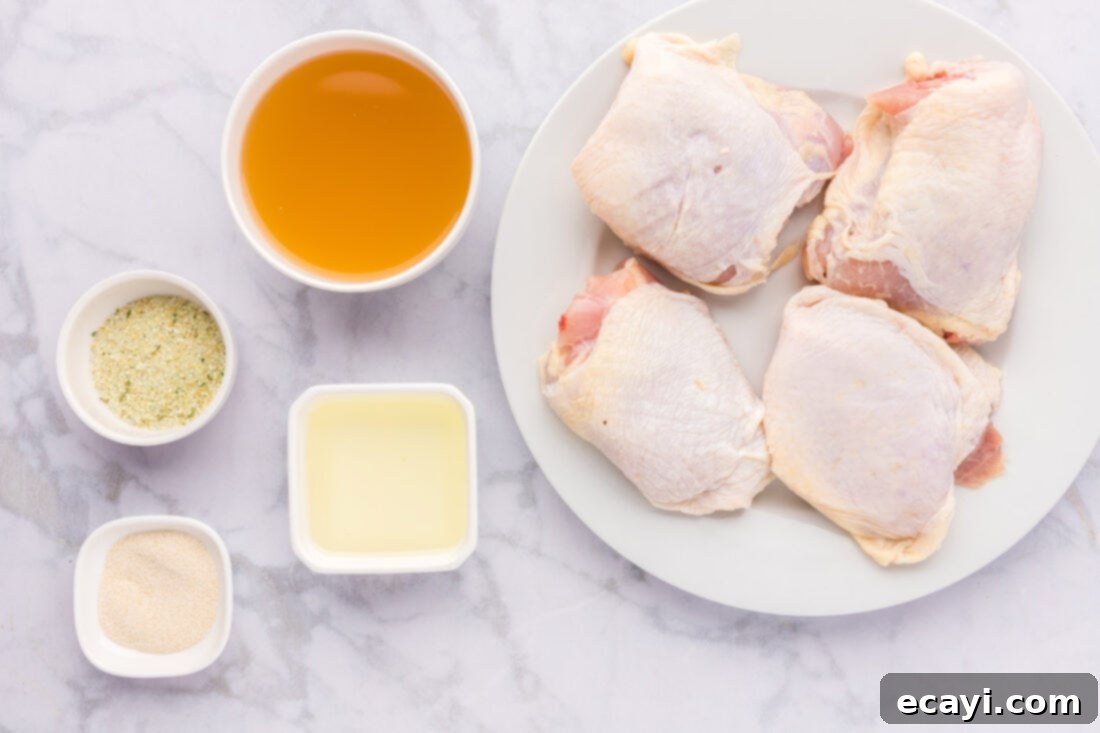
Creating these delicious Instant Pot chicken thighs requires just a handful of staple ingredients, proving that simple flavors can yield extraordinary results. For precise measurements and a printable recipe card, please refer to the end of this post.
Ingredient Spotlight & Expert Substitutions
Chicken Thighs: This recipe is specifically designed for bone-in, skin-on chicken thighs. The bone adds an extra layer of flavor and helps the meat retain moisture, while the skin crisps up beautifully when seared, contributing to a rich texture and taste. Using the sauté function on your Instant Pot is crucial here for achieving that initial golden-brown sear. If you prefer an even crispier skin after pressure cooking, a quick 2-minute finish under the broiler in your oven will do the trick. Just keep a close eye on it to prevent burning!
- Substitution for Boneless, Skinless Thighs: If you opt for boneless, skinless chicken thighs, the cooking time will need to be adjusted. Reduce the high-pressure cook time to 8 minutes, followed by a 5-minute natural release. Keep in mind that you won’t get the crispy skin, but the meat will still be incredibly tender and flavorful.
Seasoning Blend: Our simple yet effective seasoning consists of olive oil, garlic salt, onion powder, and black pepper. This combination enhances the chicken’s natural flavors without overwhelming them. Dark meat chicken is inherently flavorful, so a straightforward seasoning often works best.
- Variations: Feel free to customize your seasoning. Popular additions include paprika (smoked or sweet), dried oregano, thyme, a pinch of cayenne pepper for a subtle kick, or your favorite all-purpose chicken seasoning blend. Ensure any dry rub is applied generously for maximum flavor.
Liquid (Chicken Stock or Vegetable Stock): The Instant Pot requires a minimum amount of liquid to create the steam necessary for pressure cooking. This recipe calls for 1 1/2 cups of chicken stock, which not only provides the essential liquid but also infuses the chicken with savory notes. Using stock instead of water significantly boosts the overall flavor profile of your final dish.
- Substitution: Vegetable stock is an excellent alternative if you prefer, or even plain water if no stock is available, though the flavor may be slightly less robust. The liquid also becomes a flavorful base for deglazing the pot, picking up all those delicious browned bits from the searing step, which prevents a “burn” notice and adds more depth to the meal.
Step-by-Step Guide: How to Make Instant Pot Chicken Thighs
These step-by-step photos and instructions are here to help you visualize how to make this recipe. You can Jump to Recipe to get the printable version of this recipe, complete with measurements and instructions at the bottom.
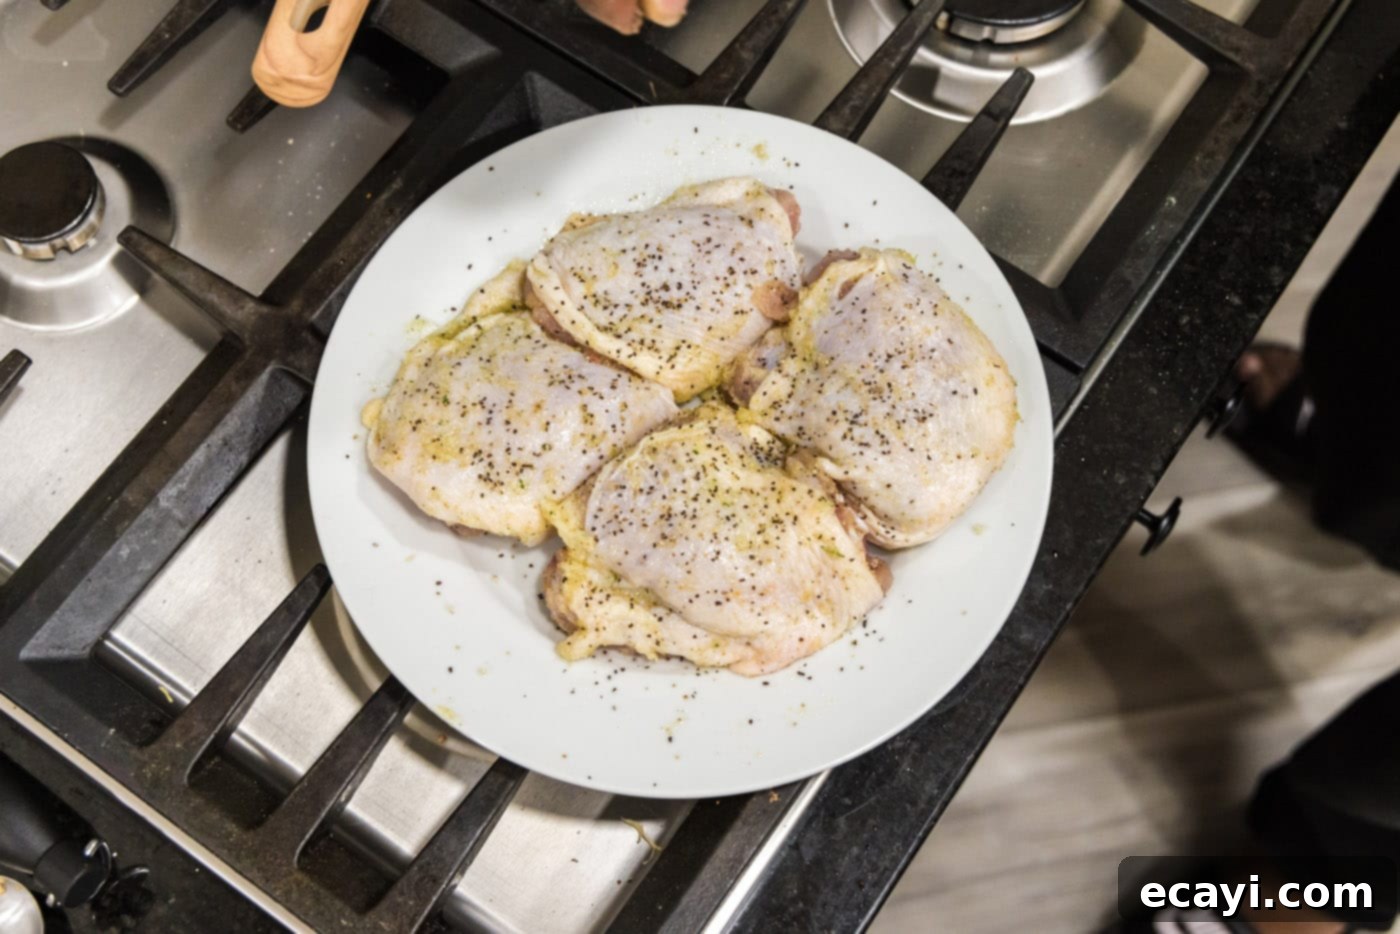
- In a small bowl, combine 1 tablespoon of olive oil with the garlic salt, onion powder, and black pepper. Stir well to create a uniform seasoning paste. Pat the chicken thighs dry with paper towels to help the seasoning adhere and promote crispier skin. Rub this seasoning mixture generously all over each bone-in, skin-on chicken thigh, ensuring an even coating on all sides.

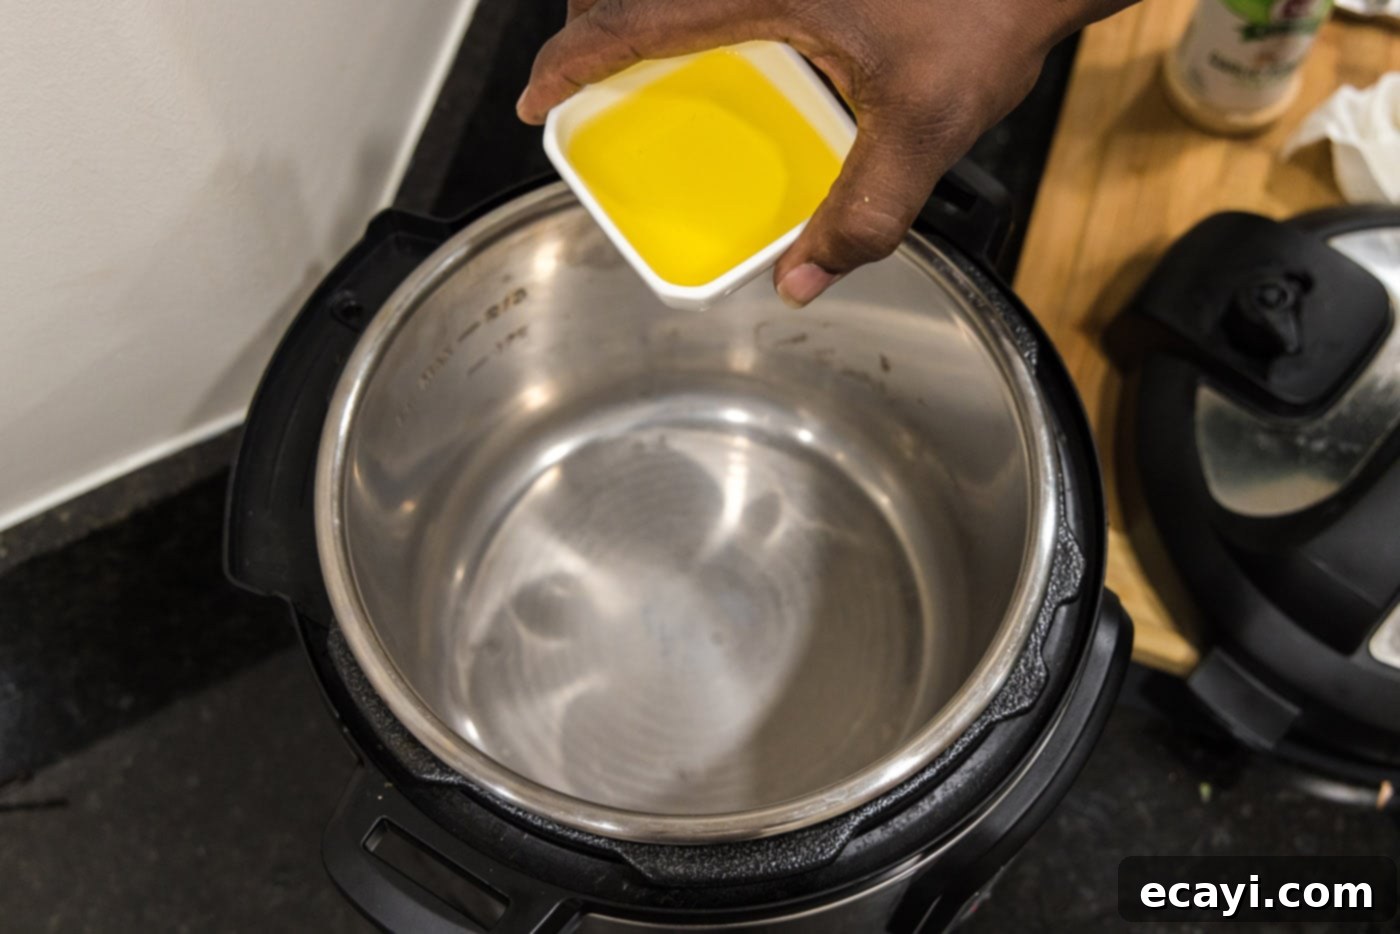
- Turn your Instant Pot to the “Saute” function on normal or high setting. Allow it to heat for a few minutes until it indicates “Hot.” Add the remaining olive oil (usually 3 tablespoons) to the inner pot.

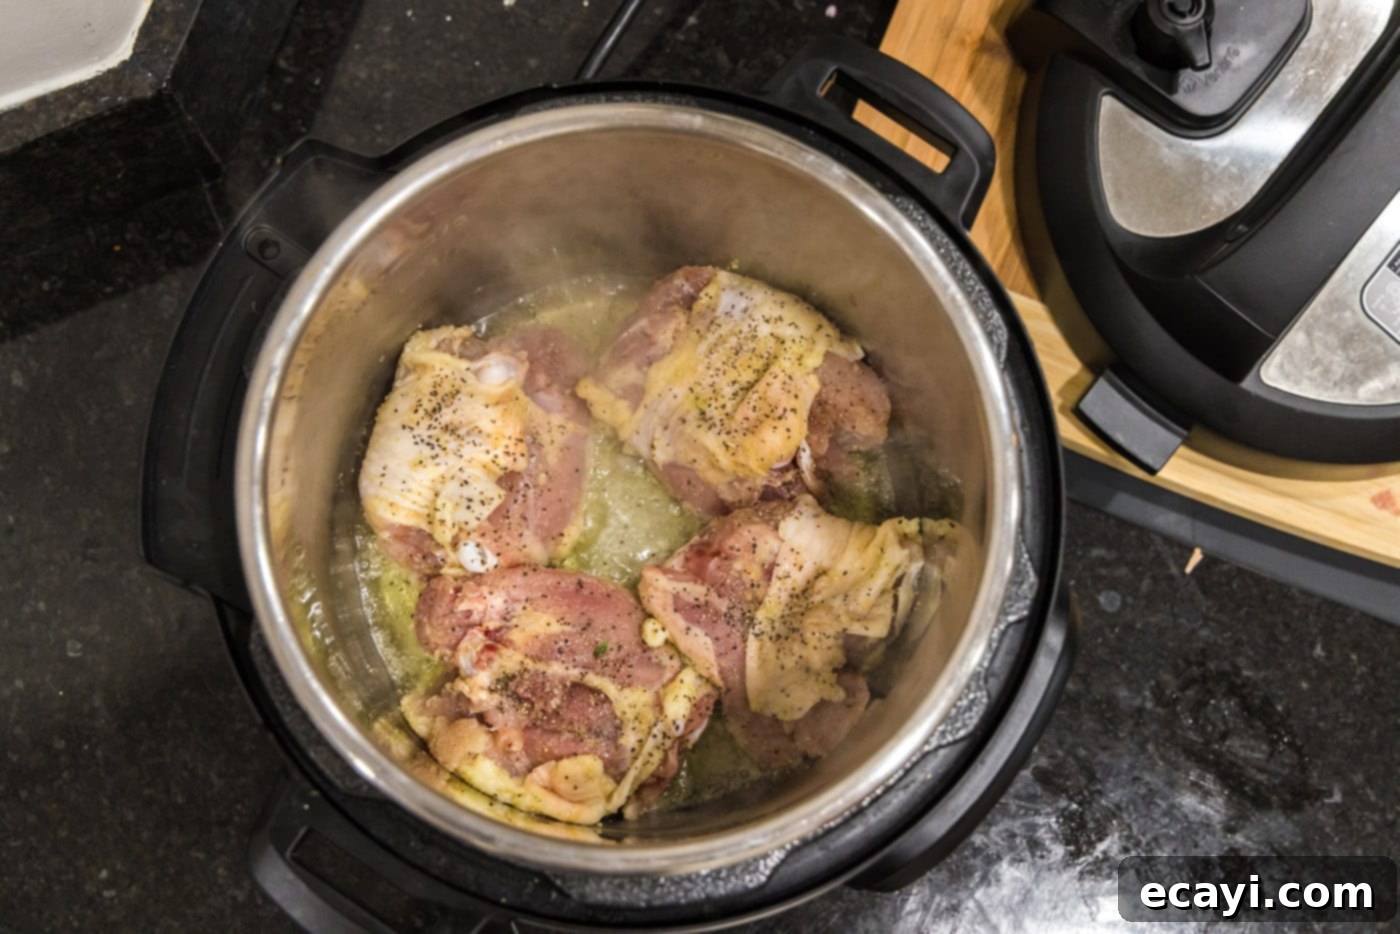
- Carefully place the seasoned chicken thighs into the hot Instant Pot, skin-side down. Brown the thighs for approximately 2-3 minutes per side until the skin is golden brown and crispy. This step is crucial for developing flavor and texture. Work in batches if necessary to avoid overcrowding the pot, which can steam the chicken instead of searing it.

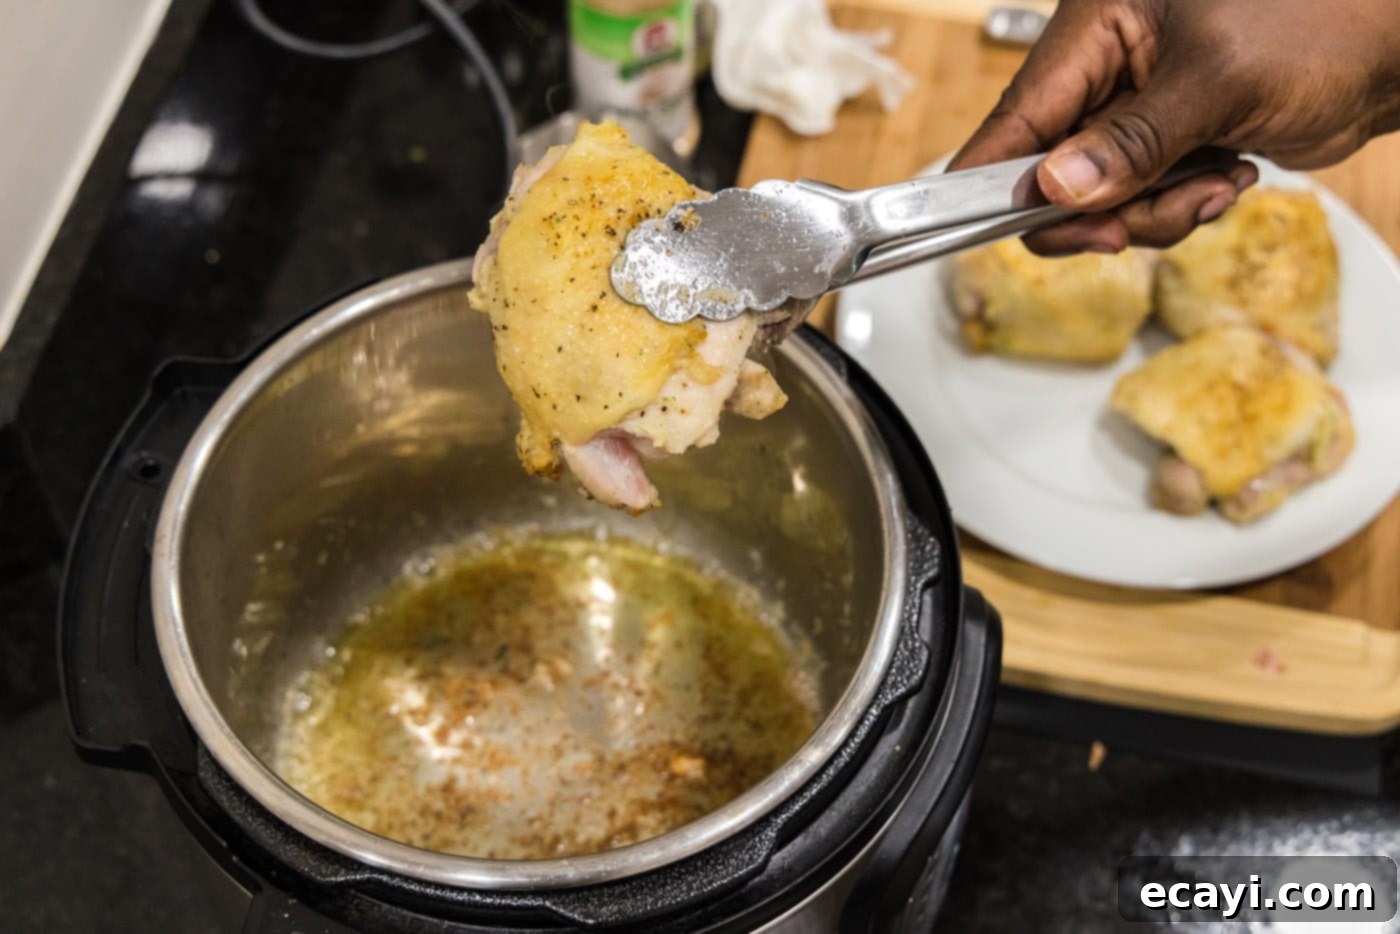
- Once all sides are beautifully seared, remove the chicken thighs from the Instant Pot using tongs and transfer them to a plate. Set them aside while you prepare the pot for pressure cooking.

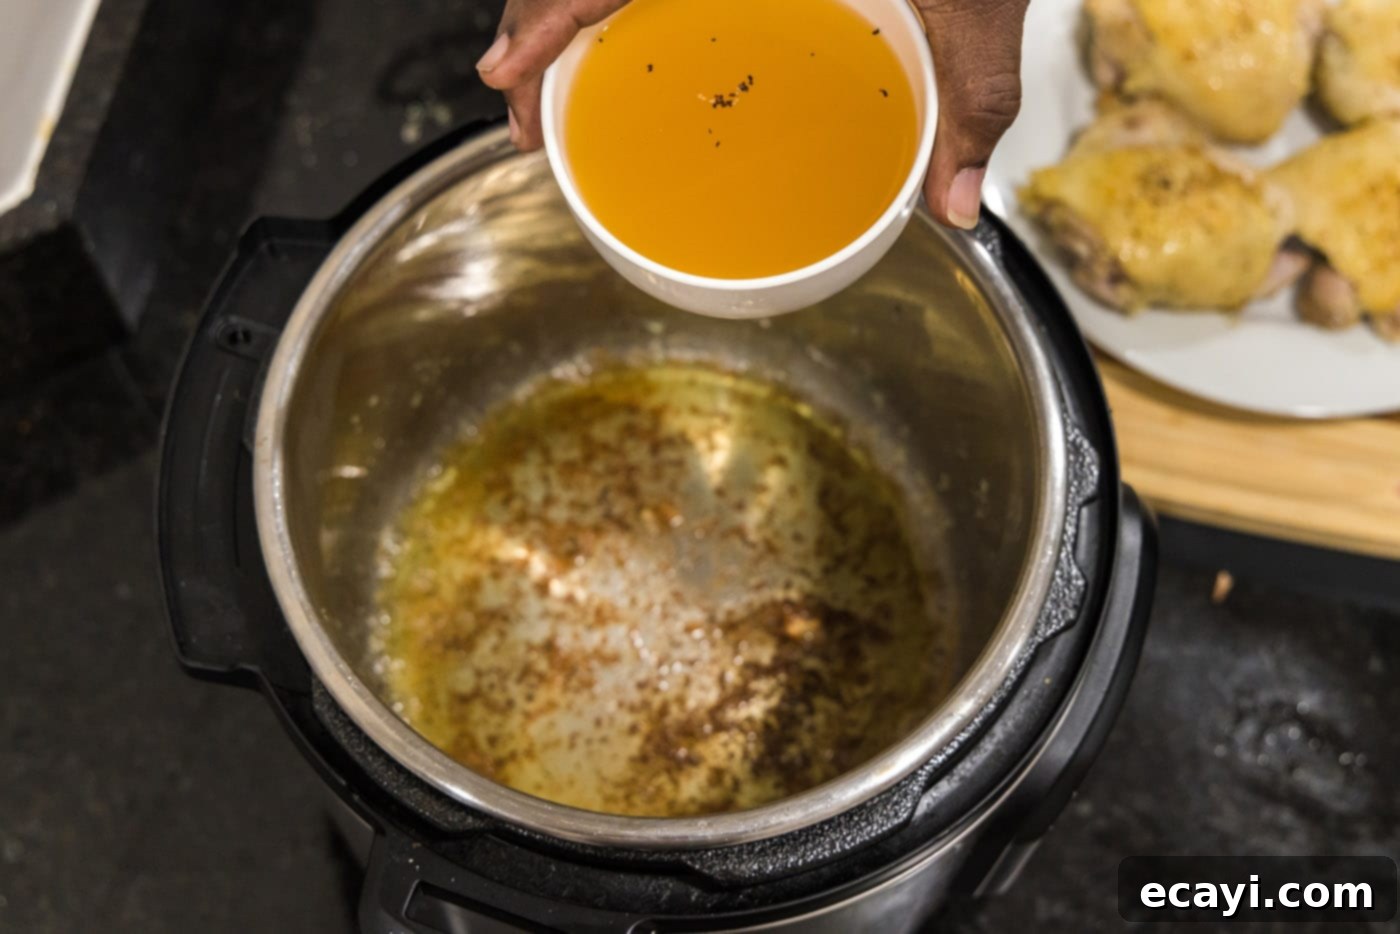
- Pour the chicken stock into the Instant Pot. Immediately use a wooden spoon or silicone spatula to scrape up all the flavorful browned bits (fond) from the bottom of the pot. This process, known as deglazing, is vital. It not only incorporates delicious flavors into your liquid but also prevents the “burn” notice during pressure cooking. Ensure the bottom is completely clear.

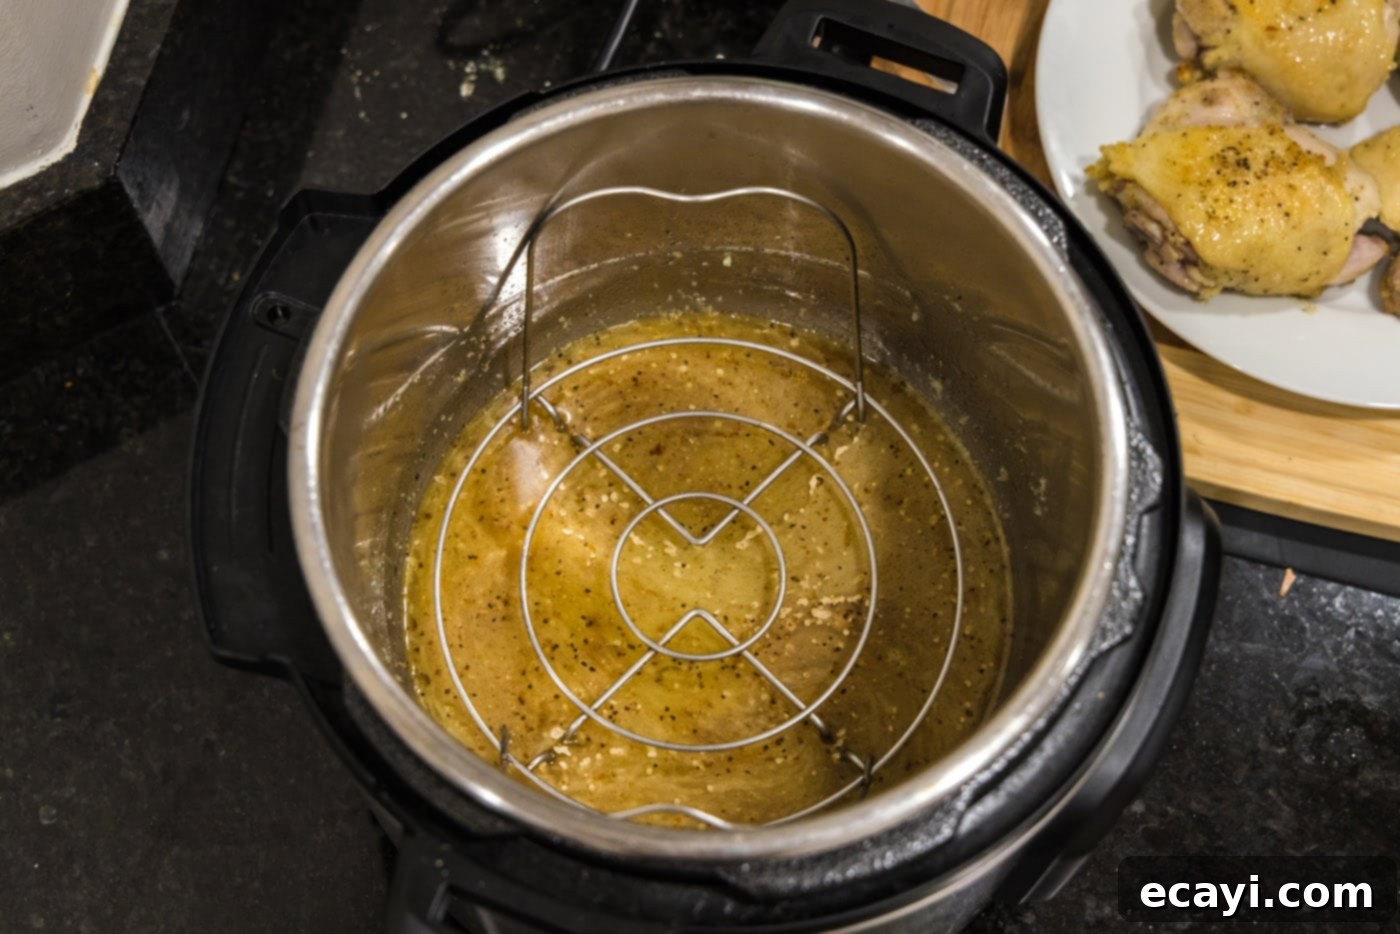
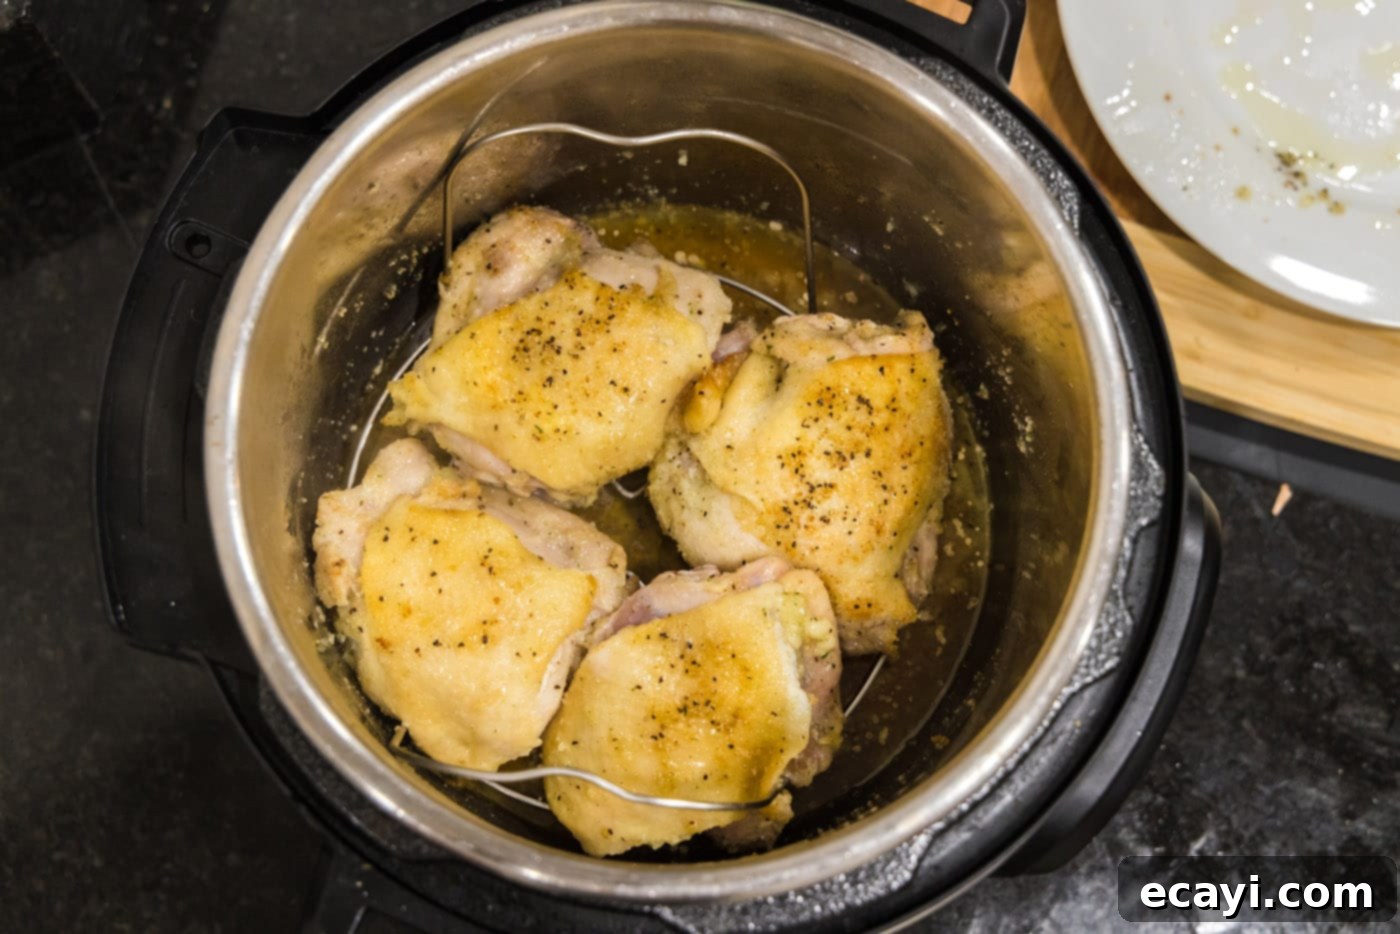
- Place the trivet (metal rack) that came with your Instant Pot into the pot, directly over the deglazed liquid. Carefully arrange the seared chicken thighs on the trivet, ensuring they are not submerged in the liquid. This allows the chicken to cook above the liquid, steaming evenly under pressure.


- Secure the Instant Pot lid, making sure it’s properly sealed. Turn the steam release valve to the “Sealing” position. Select the “Pressure Cook” or “Manual” setting and set the cooking time to 12 minutes on high pressure. Once cooking is complete, allow a 5-minute natural pressure release (NPR). This means you do nothing for 5 minutes after the cooking cycle finishes, letting the pressure drop slowly. After 5 minutes, carefully move the steam release valve to “Venting” for a quick release (QR) of any remaining pressure until the float valve drops. Once safe, open the lid, remove the chicken, and serve!
Frequently Asked Questions & Expert Tips for Instant Pot Chicken Thighs
Chicken, especially dark meat like thighs, is fully cooked and safe to eat when it reaches an internal temperature of 165°F (74°C). Always use an instant-read thermometer inserted into the thickest part of the meat, avoiding the bone, to ensure accuracy. While 165°F is the safe minimum, many find that chicken thighs taste even better when cooked to around 175-180°F (79-82°C), as the connective tissues break down further, leading to an incredibly tender and juicy result without drying out.
Absolutely, the Instant Pot is fantastic for cooking frozen chicken thighs! However, there’s a slight adjustment to the process. If you’re pressure cooking from frozen, I wouldn’t recommend seasoning the thighs beforehand, as much of the flavor will unfortunately slide off as they thaw and cook. Instead, place the frozen thighs directly on the trivet (ensure you still add the recommended chicken stock). Cook at high pressure for 15 minutes, followed by a 5-minute natural release. After cooking, you can remove the thighs, add your desired seasoning, and then use the Instant Pot’s sauté mode to quickly sear the outside, creating a delicious, seasoned, and crisp skin. This two-step method ensures both tenderness and flavor.
Yes, you can certainly use boneless chicken thighs, but you’ll need to adjust the cooking time. Boneless thighs cook faster than bone-in. Simply reduce the high-pressure cook time to 8 minutes, followed by a 5-minute natural release. While you won’t get the crispy skin if you’re using skinless boneless thighs, the meat will still be incredibly moist and tender thanks to the pressure cooking method. You can still sear them for browning and added flavor if they have skin.
Store any leftover cooked chicken thighs in an airtight container in the refrigerator for 3-4 days. To reheat, you can use a microwave for a quick warm-up, but for best results (especially if you want to retain some crispiness), reheat in an oven or air fryer at 350°F (175°C) for about 10-15 minutes, or until thoroughly heated through. This helps to prevent the chicken from becoming rubbery and can even help re-crisp the skin slightly.
The “burn” notice typically indicates that there are food particles stuck to the bottom of the inner pot, or not enough liquid, preventing proper pressure buildup. To avoid this, always ensure you thoroughly deglaze the pot after searing the chicken thighs. Use your liquid and a wooden spoon or spatula to scrape up all the browned bits (fond) from the bottom. Make sure the liquid covers the entire bottom surface before proceeding to pressure cook. If you still get a burn notice, release pressure, check the bottom, clean if necessary, add a bit more liquid, and restart.
Absolutely! The flavorful liquid left in the Instant Pot after cooking the chicken thighs makes an excellent base for a simple gravy. Once you’ve removed the chicken, switch the Instant Pot to “Saute” mode. In a separate small bowl, whisk together 1-2 tablespoons of cornstarch with an equal amount of cold water to create a slurry. Slowly whisk the slurry into the simmering liquid in the Instant Pot, stirring constantly until the gravy thickens to your desired consistency. Season with salt and pepper to taste. This adds another layer of deliciousness to your meal.
Delicious Serving Suggestions for Instant Pot Chicken Thighs
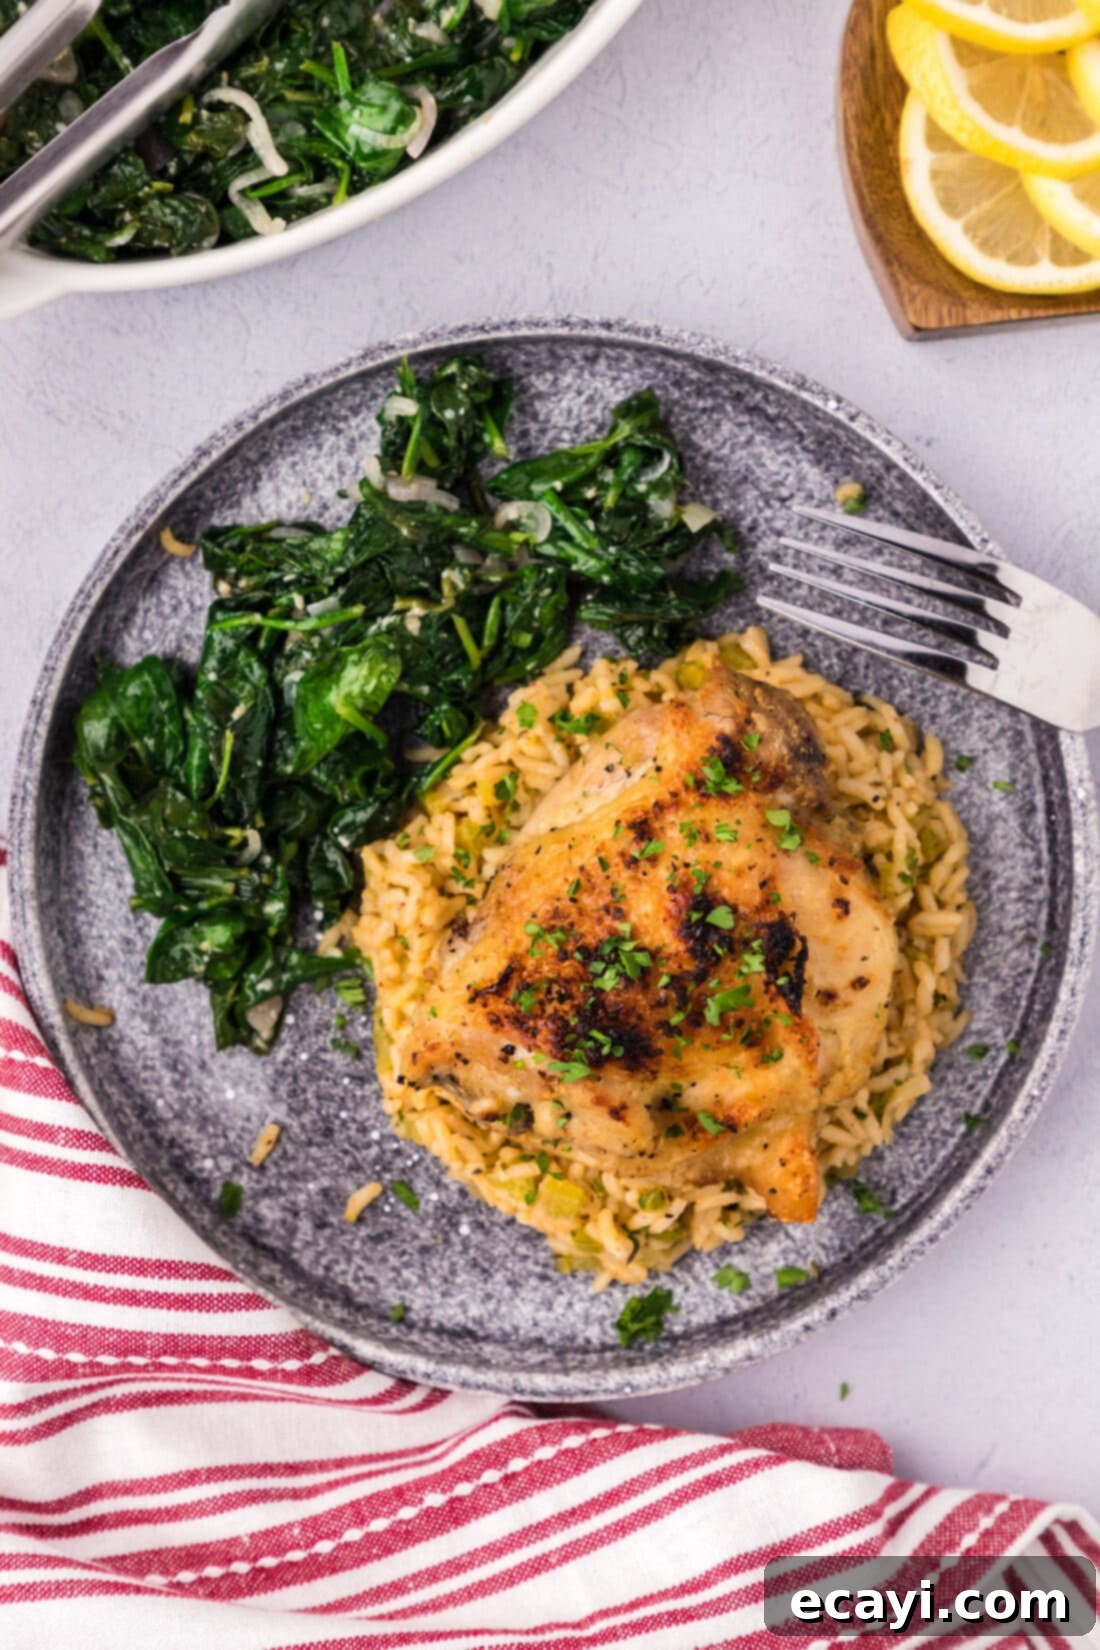
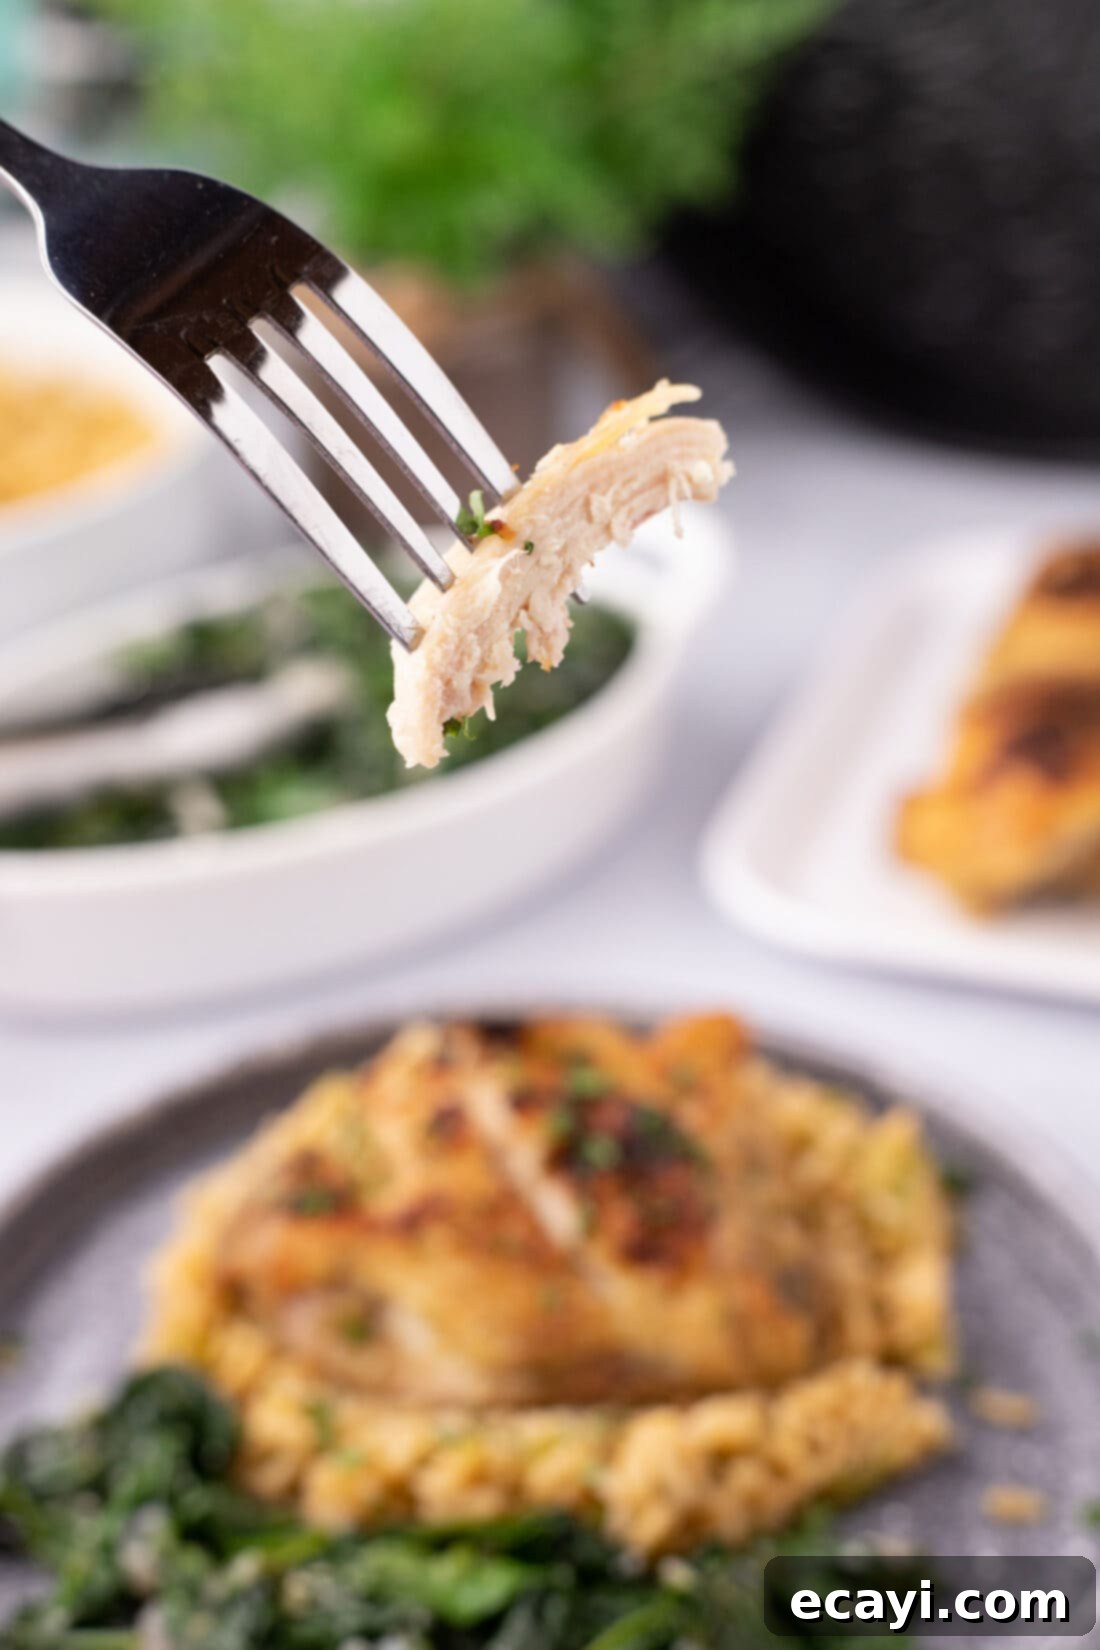
These versatile Instant Pot chicken thighs pair wonderfully with a variety of side dishes, making them perfect for any meal. For a complete and balanced dinner, consider serving them alongside hearty roasted red potatoes, crisp green beans, tender steamed broccoli, grilled asparagus, or glazed carrots. The juicy chicken also tastes incredible over a bed of fluffy rice pilaf, classic white rice, or even creamy mashed potatoes to soak up all the flavorful pan drippings. For a lighter option, a fresh, tossed dinner salad with a tangy vinaigrette offers a refreshing contrast. Don’t forget a slice of crusty bread to sop up any delicious juices!
Explore More Instant Pot Favorites
The Instant Pot is a true kitchen workhorse, capable of producing a wide array of delicious meals with minimal effort. If you love the convenience and incredible results of these chicken thighs, you’ll surely enjoy exploring more of our Instant Pot recipes:
- Fall-Off-The-Bone Instant Pot Ribs
- Quick and Healthy Instant Pot Salmon
- Tender Instant Pot Pork Chops
- Flavorful Instant Pot Mississippi Pot Roast
I love to bake and cook and share my kitchen experience with all of you! Remembering to come back each day can be tough, that’s why I offer a convenient newsletter every time a new recipe posts. Simply subscribe and start receiving your free daily recipes!

Instant Pot Chicken Thighs
IMPORTANT – There are often Frequently Asked Questions within the blog post that you may find helpful. Simply scroll back up to read them!
Print It
Pin It
Rate It
Save ItSaved!
Ingredients
- 4 Tablespoons olive oil
- 2 Tablespoons garlic salt
- 2 teaspoons onion powder
- 1 teaspoon black pepper
- 2 pounds bone-in skin-on chicken thighs
- 1 ½ cups chicken stock
Things You’ll Need
-
6 qt Instant pot
-
Tongs
Before You Begin: Important Tips for Success
- For Extra Crispy Skin: If you desire even browner and crispier skin than searing alone provides, you can place the cooked chicken thighs under the broiler for 2-3 minutes after pressure cooking. Keep a very close watch to prevent burning, as broiler heat is intense.
- Cooking Frozen Chicken Thighs: If you’re using frozen bone-in, skin-on chicken thighs, it’s best not to season them before pressure cooking, as the seasoning tends to wash off. Instead, place the frozen thighs on the trivet (ensure you still add the chicken stock). Cook at high pressure for 15 minutes with a 5-minute natural release. After cooking, remove the chicken, season it generously, and then use the Instant Pot’s sauté mode or a broiler to quickly sear the outside for that crisp, seasoned finish.
- Using Boneless Chicken Thighs: For boneless chicken thighs (whether skin-on or skinless), reduce the high-pressure cook time to 8 minutes, followed by a 5-minute natural release. The tenderness will still be exceptional, though skinless varieties won’t achieve the same crispy exterior.
Instructions
-
In a small bowl, thoroughly mix 1 tablespoon of olive oil with the garlic salt, onion powder, and black pepper. Pat your chicken thighs dry with paper towels. Rub this seasoning mixture generously over all sides of the bone-in, skin-on chicken thighs, ensuring an even coat.
-
Set your Instant Pot to the “Saute” function (normal or high). Once it displays “Hot,” add the remaining 3 tablespoons of olive oil to the inner pot.
-
Carefully place the seasoned chicken thighs, skin-side down, into the hot Instant Pot. Brown them for about 2-3 minutes per side until the skin is beautifully golden and crispy. Cook in batches if needed to avoid overcrowding.
-
Using tongs, remove the seared chicken thighs from the Instant Pot and set them aside on a plate.
-
Pour the 1 ½ cups of chicken stock into the Instant Pot. Immediately use a wooden spoon or spatula to thoroughly scrape up all the delicious browned bits (fond) from the bottom of the pot. This crucial step deglazes the pot and prevents a “burn” notice.
-
Place the metal trivet (rack) inside the Instant Pot, then arrange the seared chicken thighs on the trivet, ensuring they are elevated above the liquid.
-
Secure the Instant Pot lid and turn the steam release valve to the “Sealing” position. Select the “Pressure Cook” (or “Manual”) setting and set the timer for 12 minutes on high pressure. Once cooking is complete, allow a 5-minute natural release (NPR). After 5 minutes, carefully quick release (QR) any remaining pressure by moving the valve to “Venting” until the float valve drops. Open the lid and serve your perfectly cooked, juicy chicken thighs.
Nutrition
The recipes on this blog are tested with a conventional gas oven and gas stovetop. It’s important to note that some ovens, especially as they age, can cook and bake inconsistently. Using an inexpensive oven thermometer can assure you that your oven is truly heating to the proper temperature. If you use a toaster oven or countertop oven, please keep in mind that they may not distribute heat the same as a conventional full sized oven and you may need to adjust your cooking/baking times. In the case of recipes made with a pressure cooker, air fryer, slow cooker, or other appliance, a link to the appliances we use is listed within each respective recipe. For baking recipes where measurements are given by weight, please note that results may not be the same if cups are used instead, and we can’t guarantee success with that method.
