Effortless Instant Pot Lemon Curd: Your Guide to Perfectly Tart & Sweet Homemade Delights
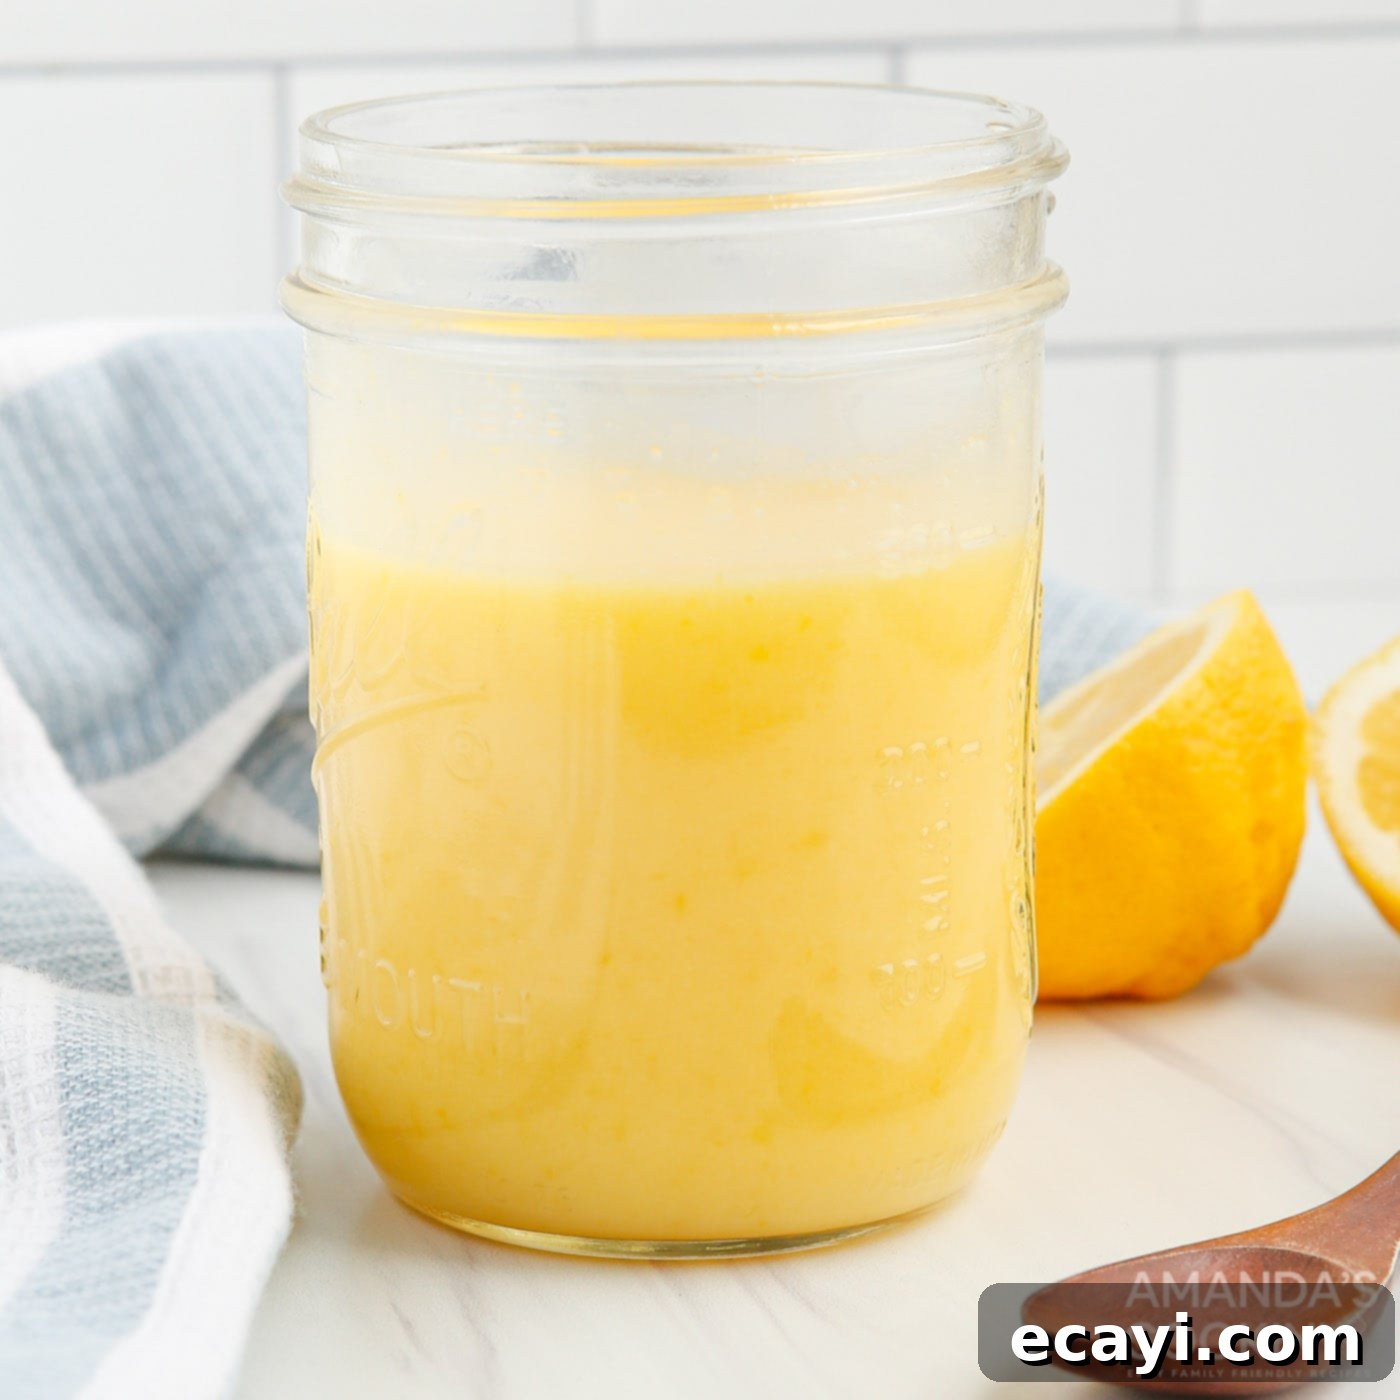
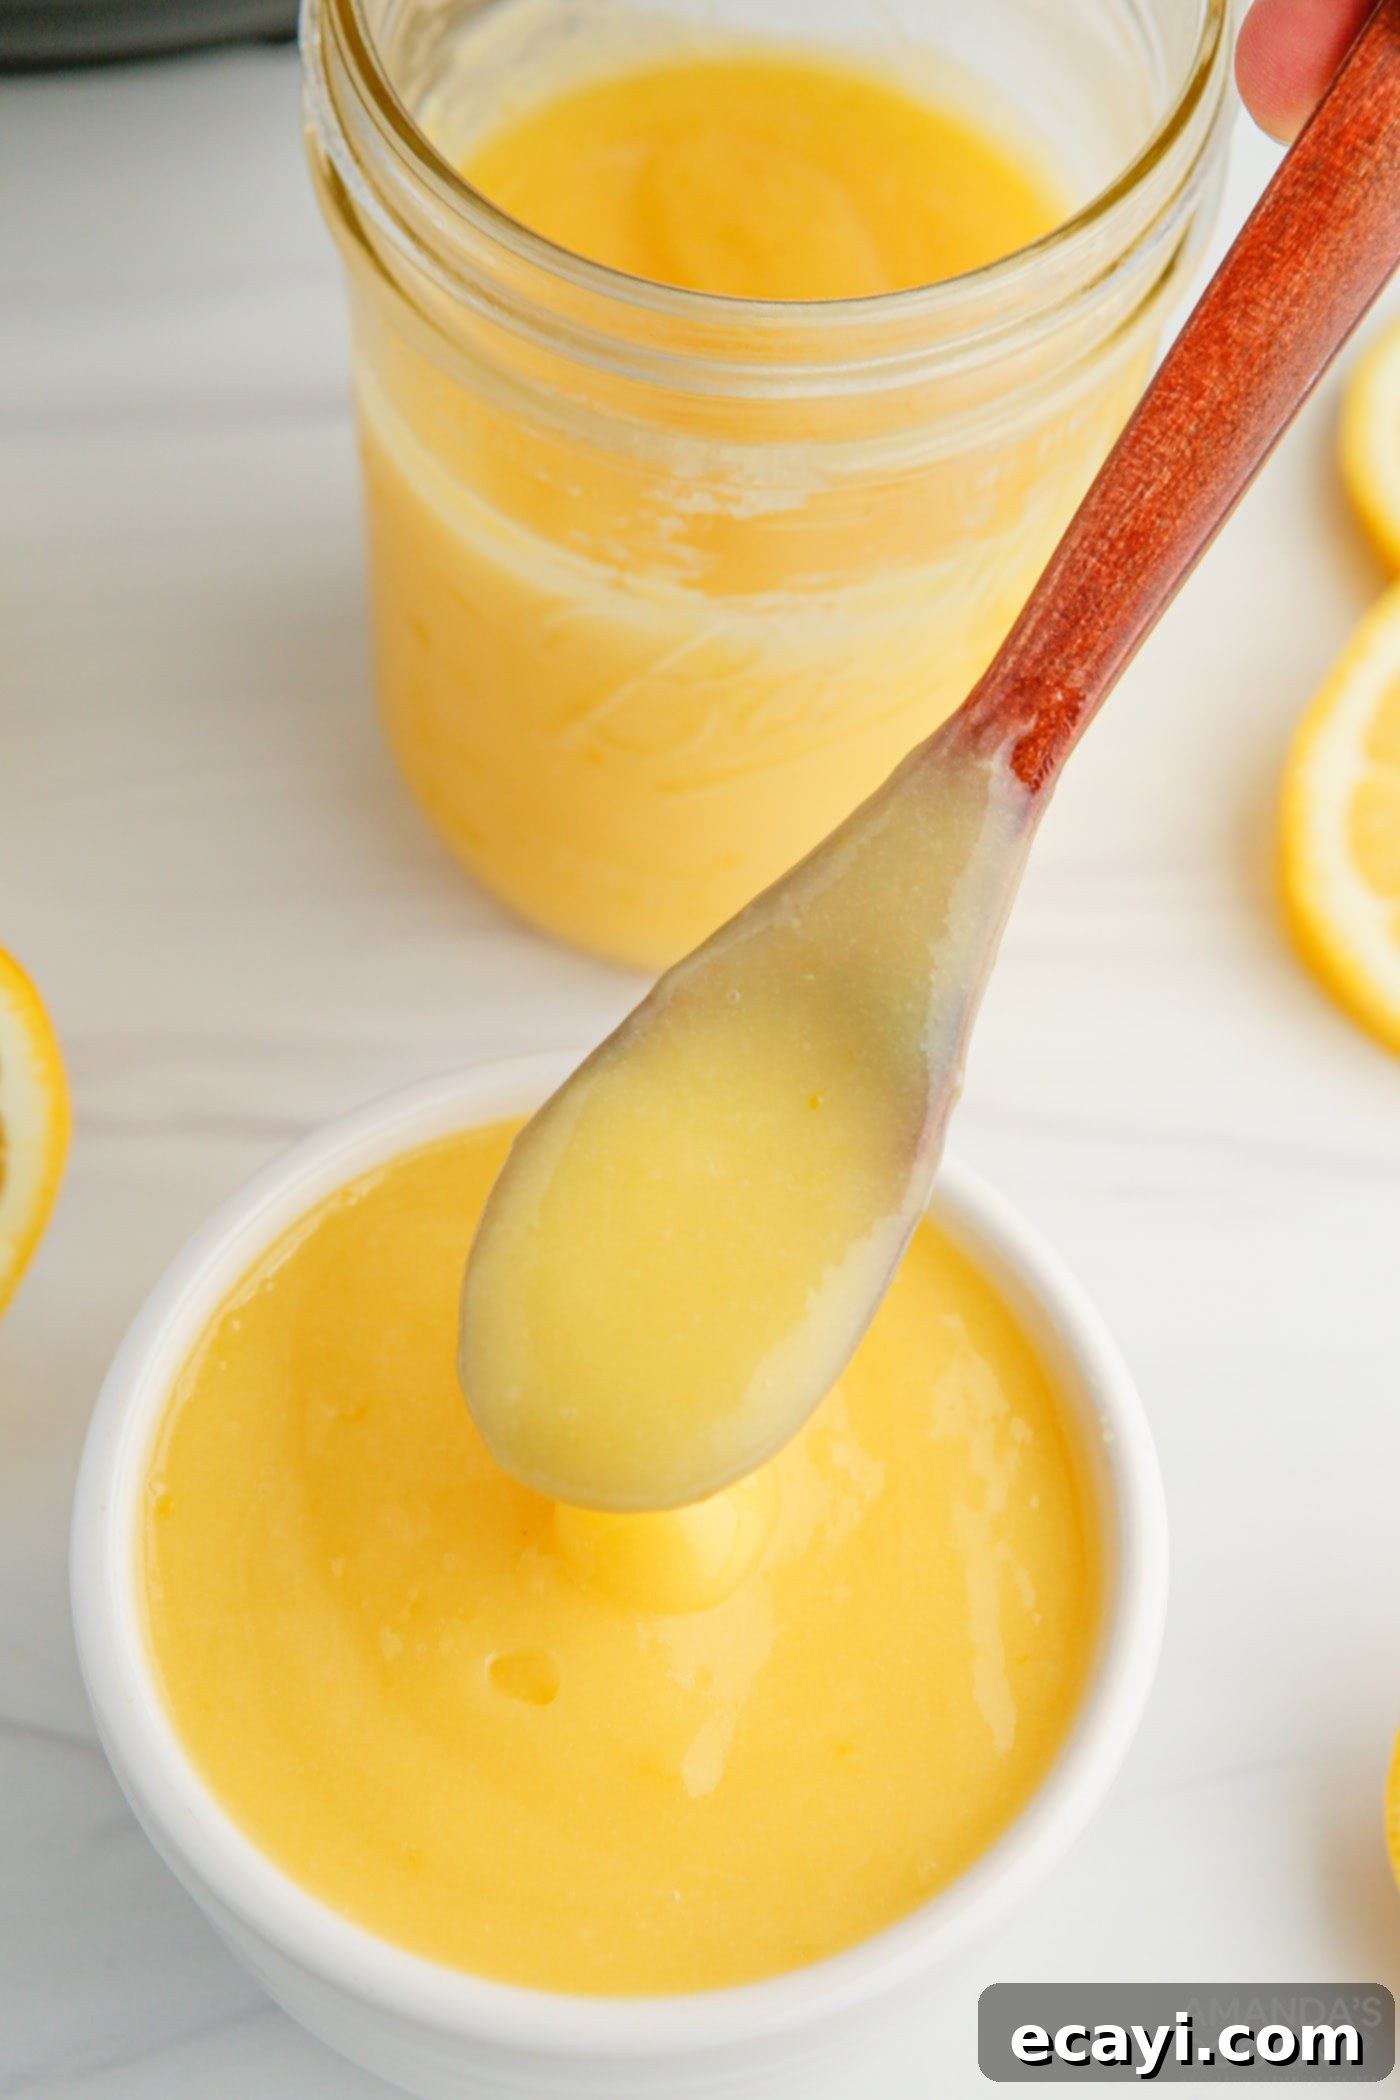
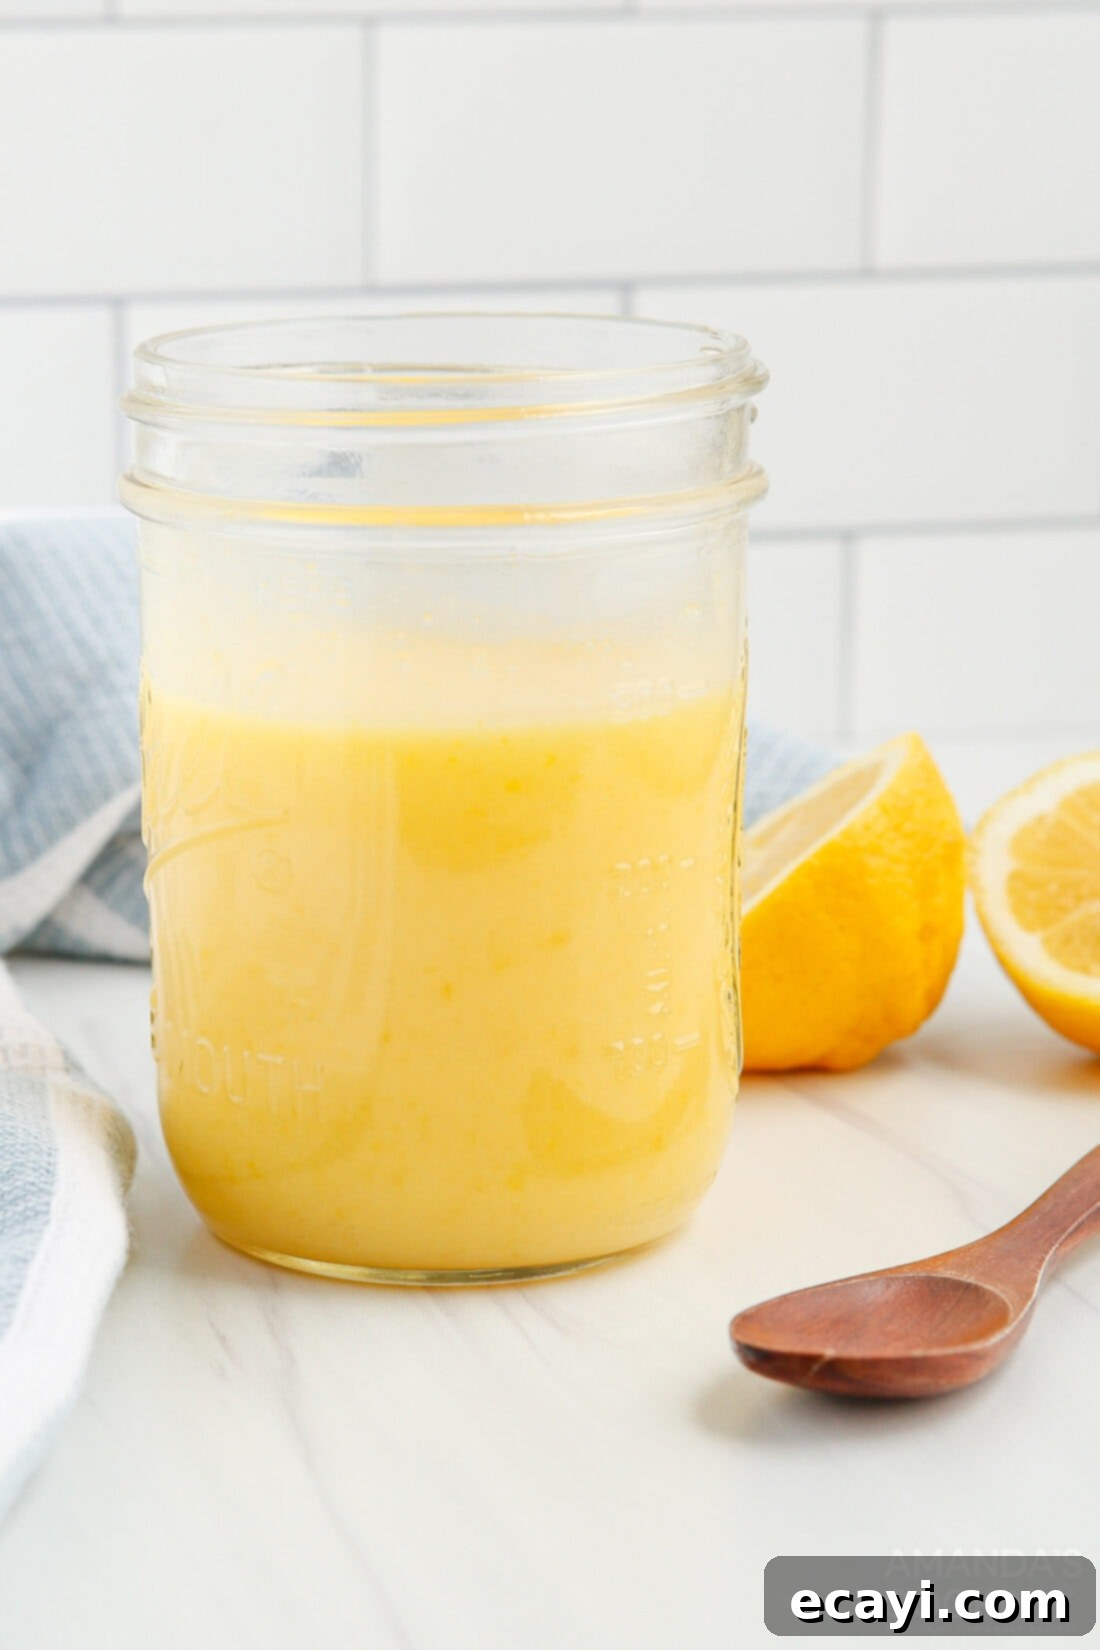
Imagine the vibrant burst of summer citrus captured in a silky-smooth, sweet-tart spread. This dream becomes a reality with our incredibly easy Instant Pot lemon curd recipe! Say goodbye to tedious stovetop stirring and hello to a quick, hands-off method that yields delectable results every time. This bright and beautiful lemon curd is an absolute game-changer, perfect for elevating a wide array of pastries, cakes, buns, and tarts with its intensely summery flavor and luxurious texture.
Whether you’re a seasoned baker or a beginner in the kitchen, this Instant Pot method will simplify your lemon curd making process, allowing you to enjoy this versatile delight with minimal effort. It’s the ideal way to add a touch of sunshine to your breakfast, brunch, or dessert creations.
Why This Instant Pot Lemon Curd Recipe Is a Must-Try
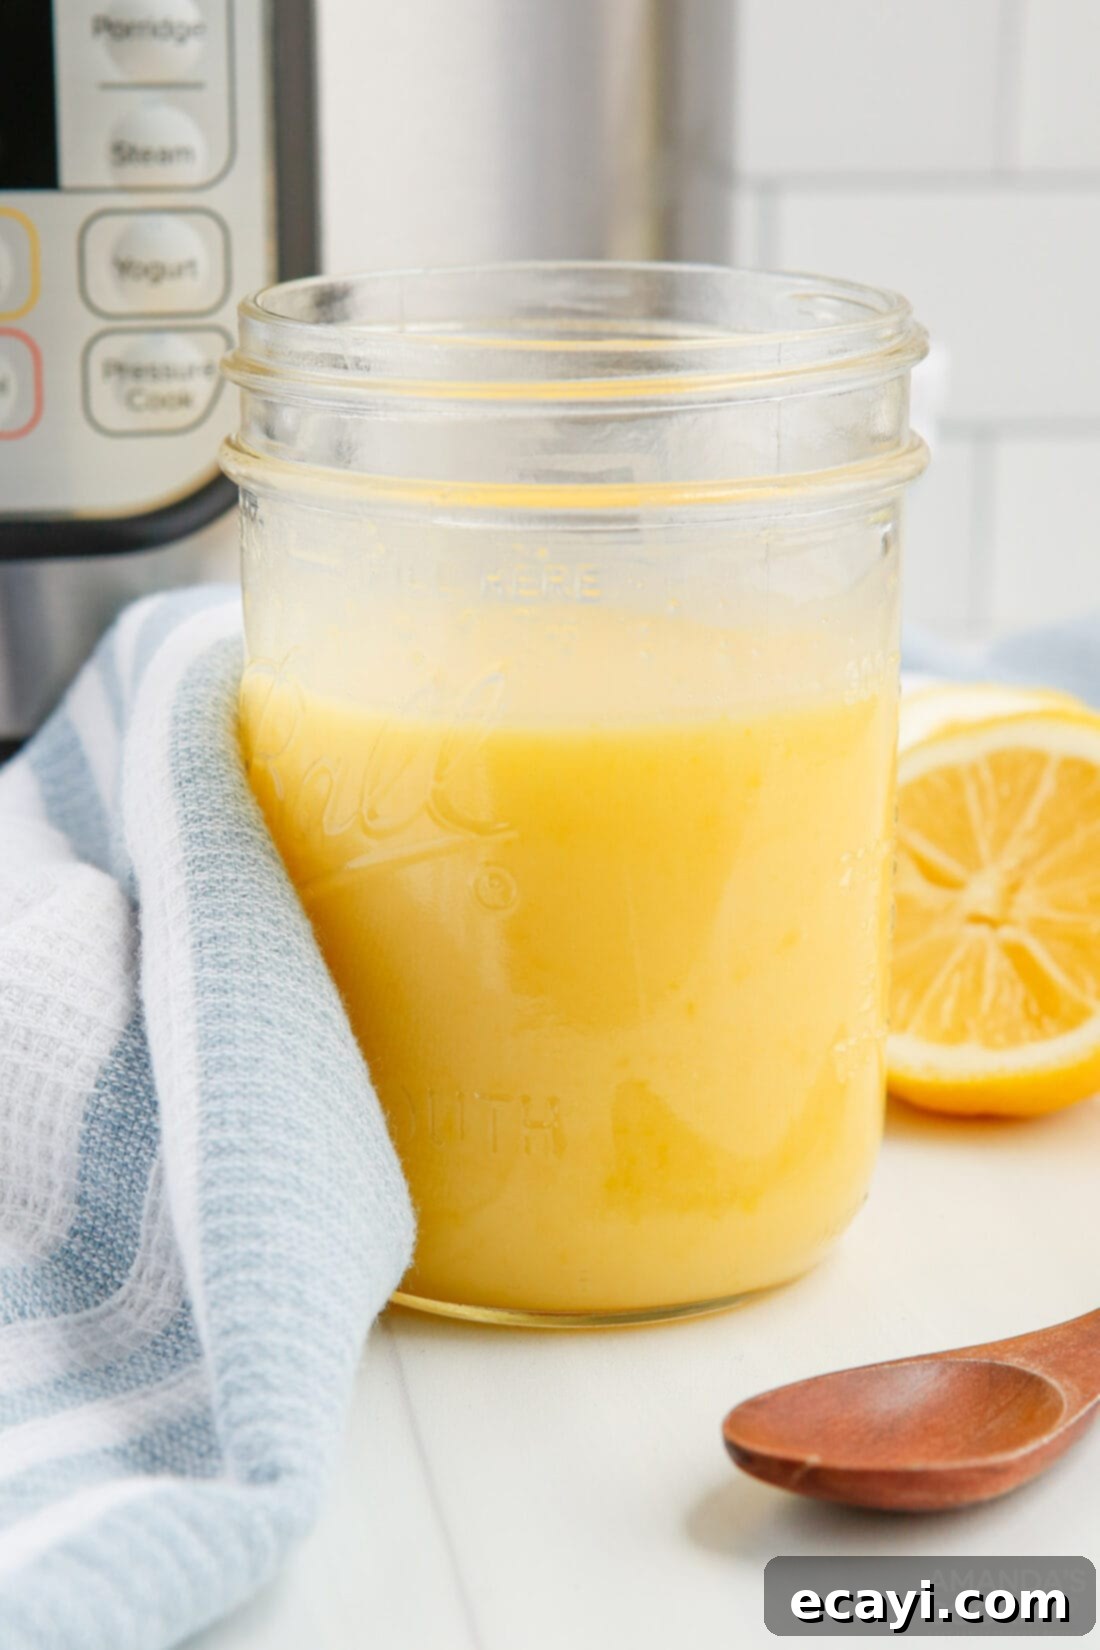
Have you ever shied away from making homemade lemon curd because of the constant stirring required on the stovetop? Those days are officially over! This Instant Pot lemon curd recipe revolutionizes the process, transforming it into a “set it and forget it” experience. The pressure cooker creates a perfectly steamy, consistent cooking environment, eliminating the risk of scorching and ensuring a beautifully smooth, lump-free curd without the endless vigilance.
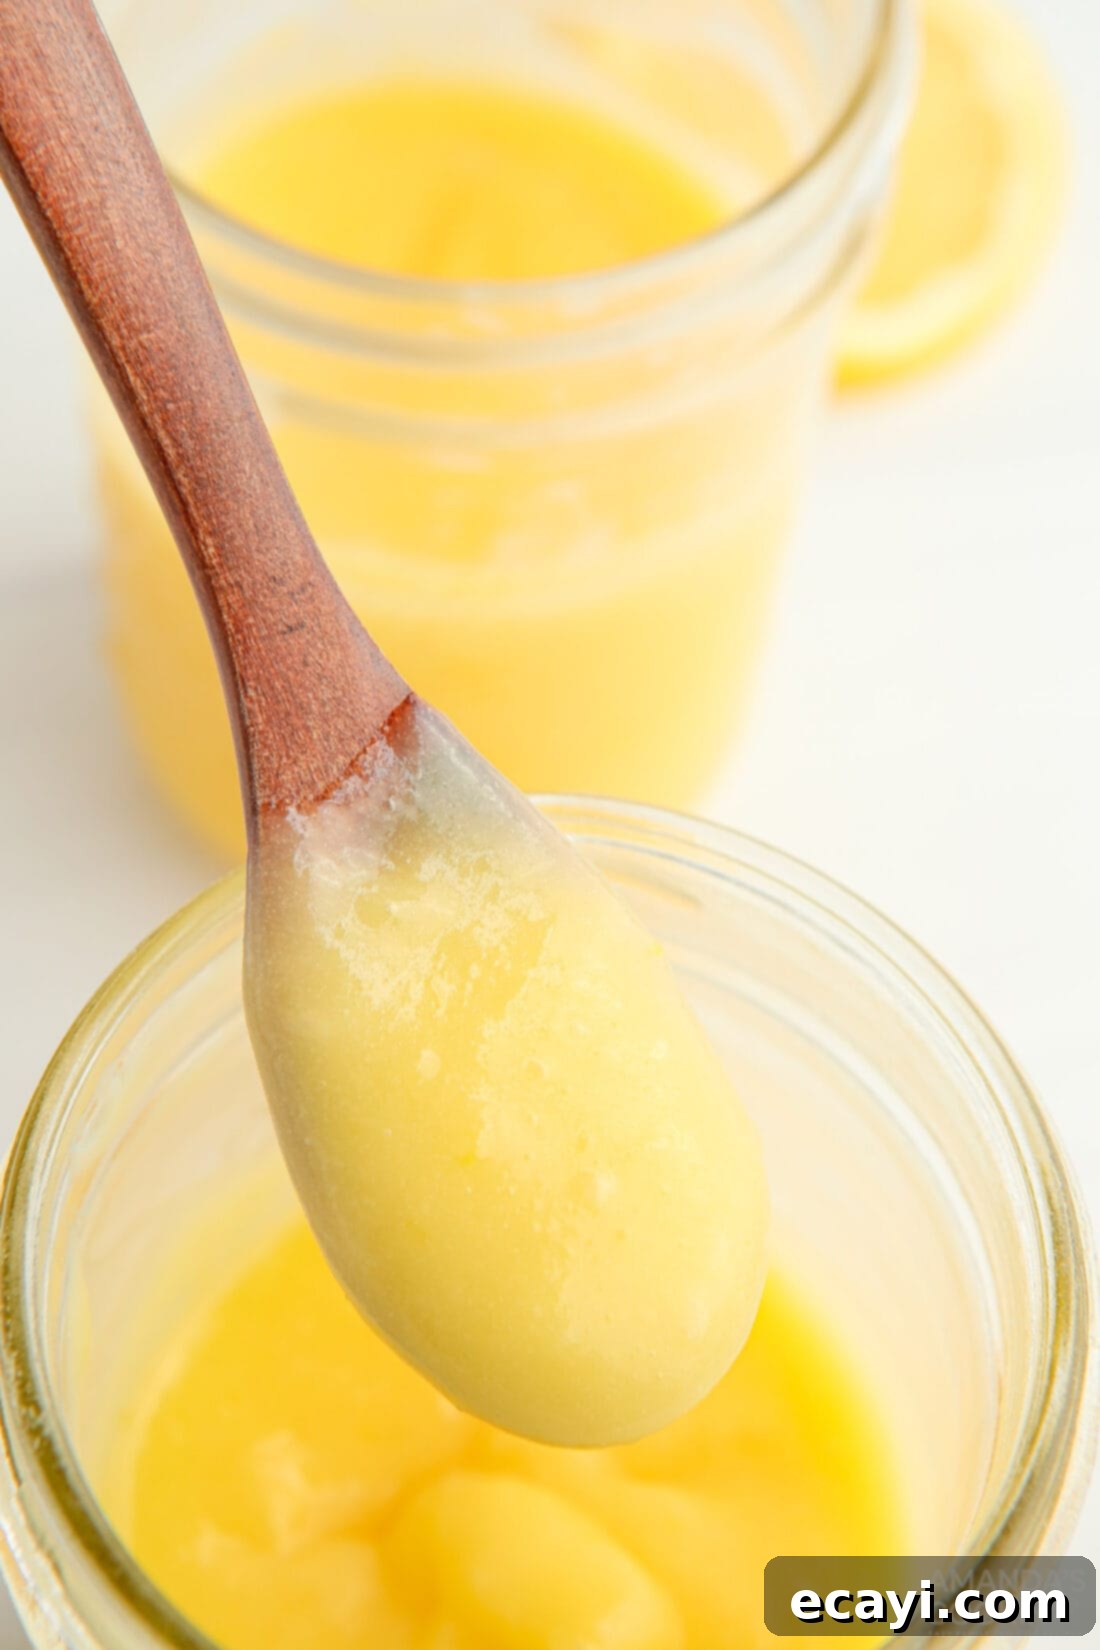
The beauty of making lemon curd in the pressure cooker lies in its efficiency and consistent results. You’ll achieve a wonderfully balanced sweet-tart flavor with minimal effort, making it ideal for busy home cooks who still want to enjoy homemade goodness. While this homemade lemon curd boasts a slightly less dense consistency than some ultra-thick store-bought varieties, it is absolutely perfect for spooning over desserts, drizzling onto pancakes, or using as a luscious filling. It’s rich, spreadable, and melts deliciously in your mouth, offering a fresh, vibrant taste that simply can’t be matched by pre-made options.
There are countless delightful ways to incorporate this bright and tangy spread into your culinary adventures. Beyond the classic uses, consider adding it to a lemon curd poke cake for an extra citrusy kick, or filling delicate thumbprint cookies for a truly special treat. The possibilities are endless when you have a batch of this vibrant, homemade lemon curd on hand!
Key Ingredients for Your Homemade Lemon Curd
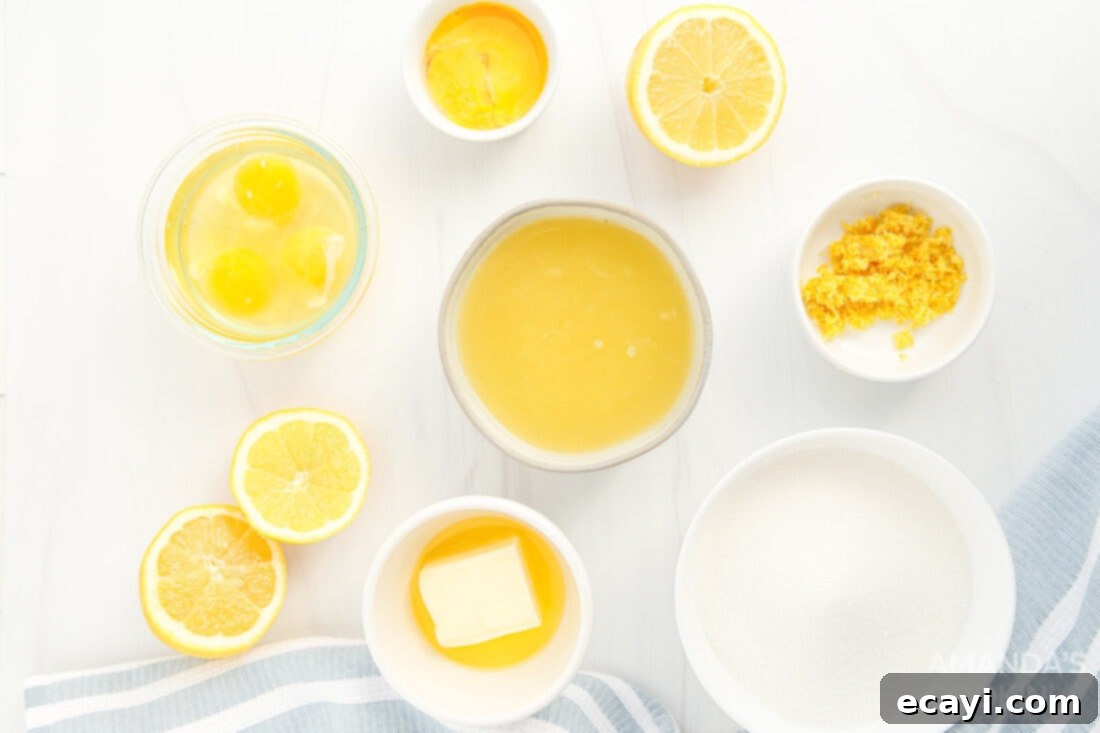
Creating this irresistible Instant Pot lemon curd requires just a handful of simple, fresh ingredients. The quality of each component truly shines through in the final product, so opt for the best you can find. For precise measurements, detailed ingredient lists, and comprehensive instructions, please refer to the printable recipe card located at the end of this post.
Ingredient Spotlight & Expert Tips for Best Results
Understanding the role of each ingredient will help you achieve the perfect lemon curd every time and even customize it to your preferences.
LEMONS – Freshly squeezed lemon juice and zest are non-negotiable for truly outstanding lemon curd. You’ll typically need about 4-5 medium-sized lemons to yield the required 3/4 cup of lemon juice. It’s always a good idea to buy a few extra, just in case, as lemon size and juiciness can vary. Look for firm lemons with smooth, bright yellow skin; avoid any with green spots or soft areas, as these can indicate a less flavorful fruit. The zest from approximately one lemon will infuse your curd with an intense citrus aroma and additional tangy notes. Remember to zest your lemons before you cut and juice them – it’s much easier!
SUGAR – Granulated sugar provides the essential sweetness that balances the tartness of the lemons. The amount of sugar is truly a matter of personal preference. Our recipe calls for about 1 cup, which strikes a lovely middle-ground – not overly sweet, nor excessively tart. We encourage you to taste and adjust the sugar slightly if you prefer a sweeter or tangier curd. You can start with a little less and add more if needed after the curd has cooked and cooled slightly, or experiment with adding a touch more initially if you know you prefer a sweeter profile.
EGGS – Eggs are crucial for the structure, richness, and thickening of your lemon curd. This recipe uses a thoughtful combination of both whole eggs and egg yolks. The egg yolks are powerhouses for thickening, contributing to that luscious, creamy texture and rich yellow color. The whole eggs, on the other hand, help to prevent the curd from becoming too dense, adding a subtle lightness and volume. This harmonious blend ensures a beautifully smooth and perfectly set lemon curd that is both rich and wonderfully spreadable.
BUTTER – Unsalted butter is preferred to control the saltiness of the final product. Melted butter is incorporated early in the process, contributing to the curd’s luxurious mouthfeel and rich flavor. It also helps to create a smoother, more emulsified product.
How to Make Perfect Instant Pot Lemon Curd: Step-by-Step Guide
These step-by-step photos and detailed instructions are provided to help you visualize each stage of making this incredible recipe. For a complete printable version, including all measurements and detailed instructions, please Jump to Recipe at the bottom of this post.
- **Prepare Your Instant Pot:** Begin by placing the trivet at the bottom of your 6 qt Instant Pot. Carefully pour 1 ½ cups of water into the bottom of the pot. This water will create the steam needed for pressure cooking and help to gently cook the lemon curd in the jars.
- **Cream Butter and Sugar:** In a separate mixing bowl, combine the granulated sugar and the melted unsalted butter. Blend these two ingredients thoroughly until the mixture is smooth, light, and creamy. This step ensures the sugar is well-incorporated and begins to dissolve, contributing to a smooth final curd.
- **Incorporate Eggs Gradually:** Add the whole eggs and then the egg yolks to the butter and sugar mixture, one at a time. Stir gently after each addition, just until combined. Avoid overmixing at this stage, as we’re aiming for incorporation rather than aeration.
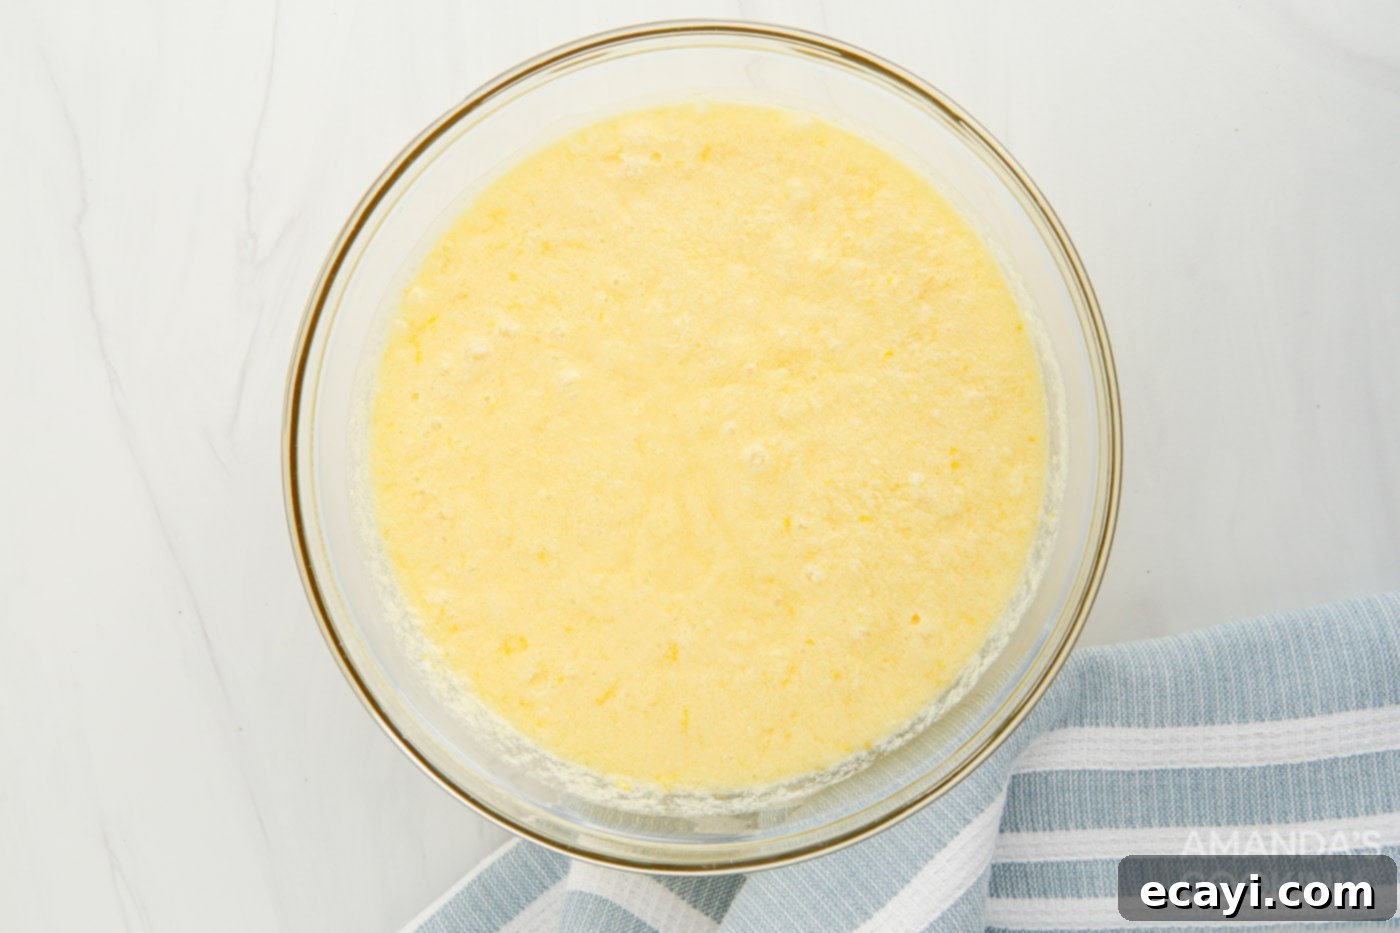
- **Add Lemon Flavor:** Stir in the freshly squeezed lemon juice and the fragrant lemon zest. Continue stirring until all the ingredients are well mixed, creating a uniform, pale yellow batter. The zest provides intense lemon oil, infusing the curd with deep citrus notes.

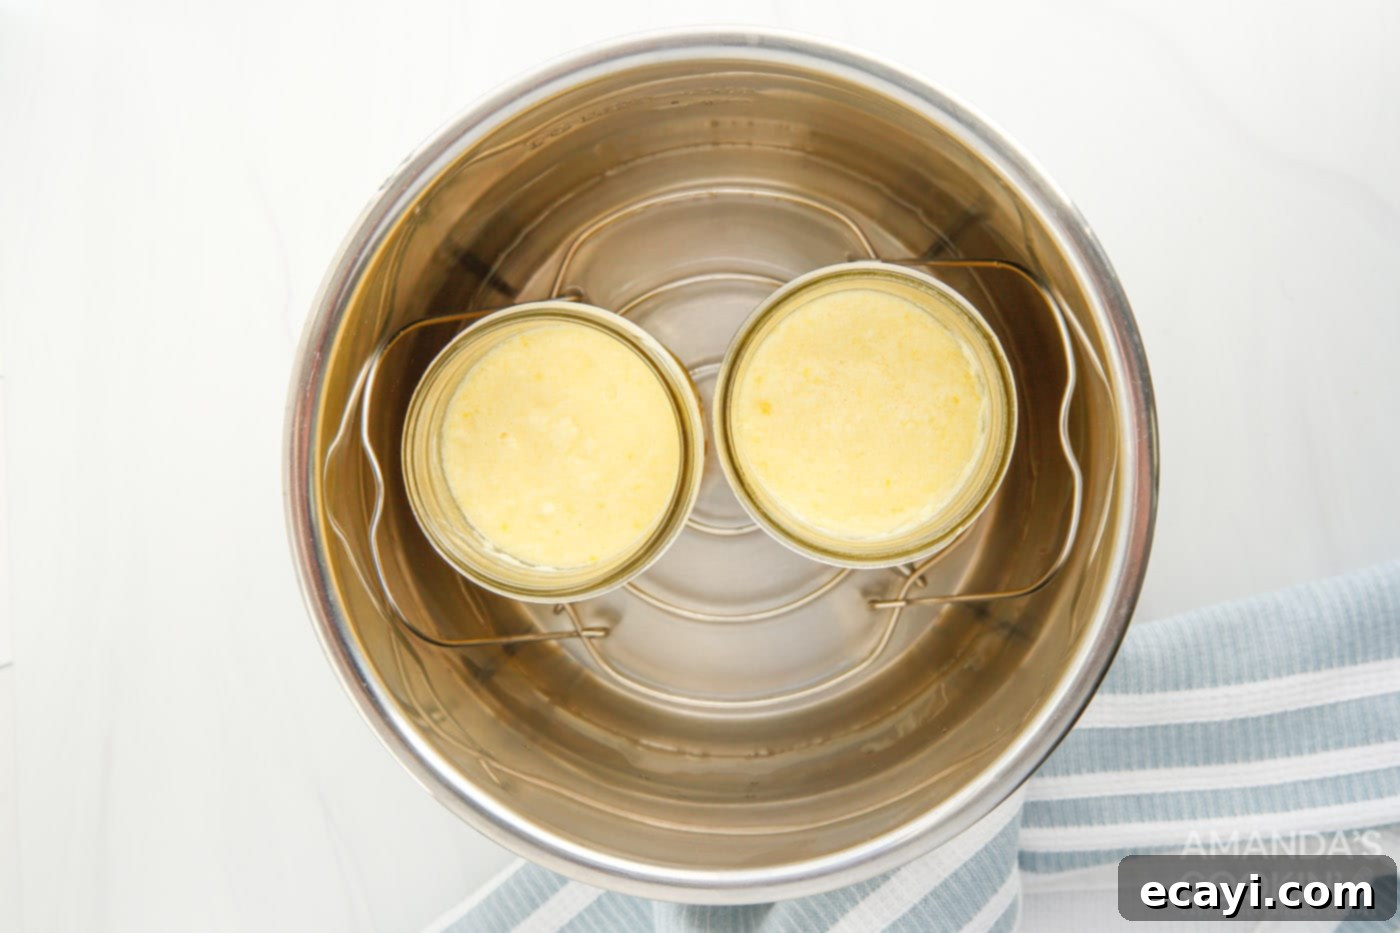
- **Fill Mason Jars:** Carefully divide and pour the lemon curd mixture into pint-sized mason jars. Fill each jar approximately halfway to three-quarters full, leaving enough headspace for expansion during cooking. Screw the mason jar lids on tightly. This sealed environment is key to the Instant Pot’s magic, ensuring even cooking and preventing water from entering the curd.

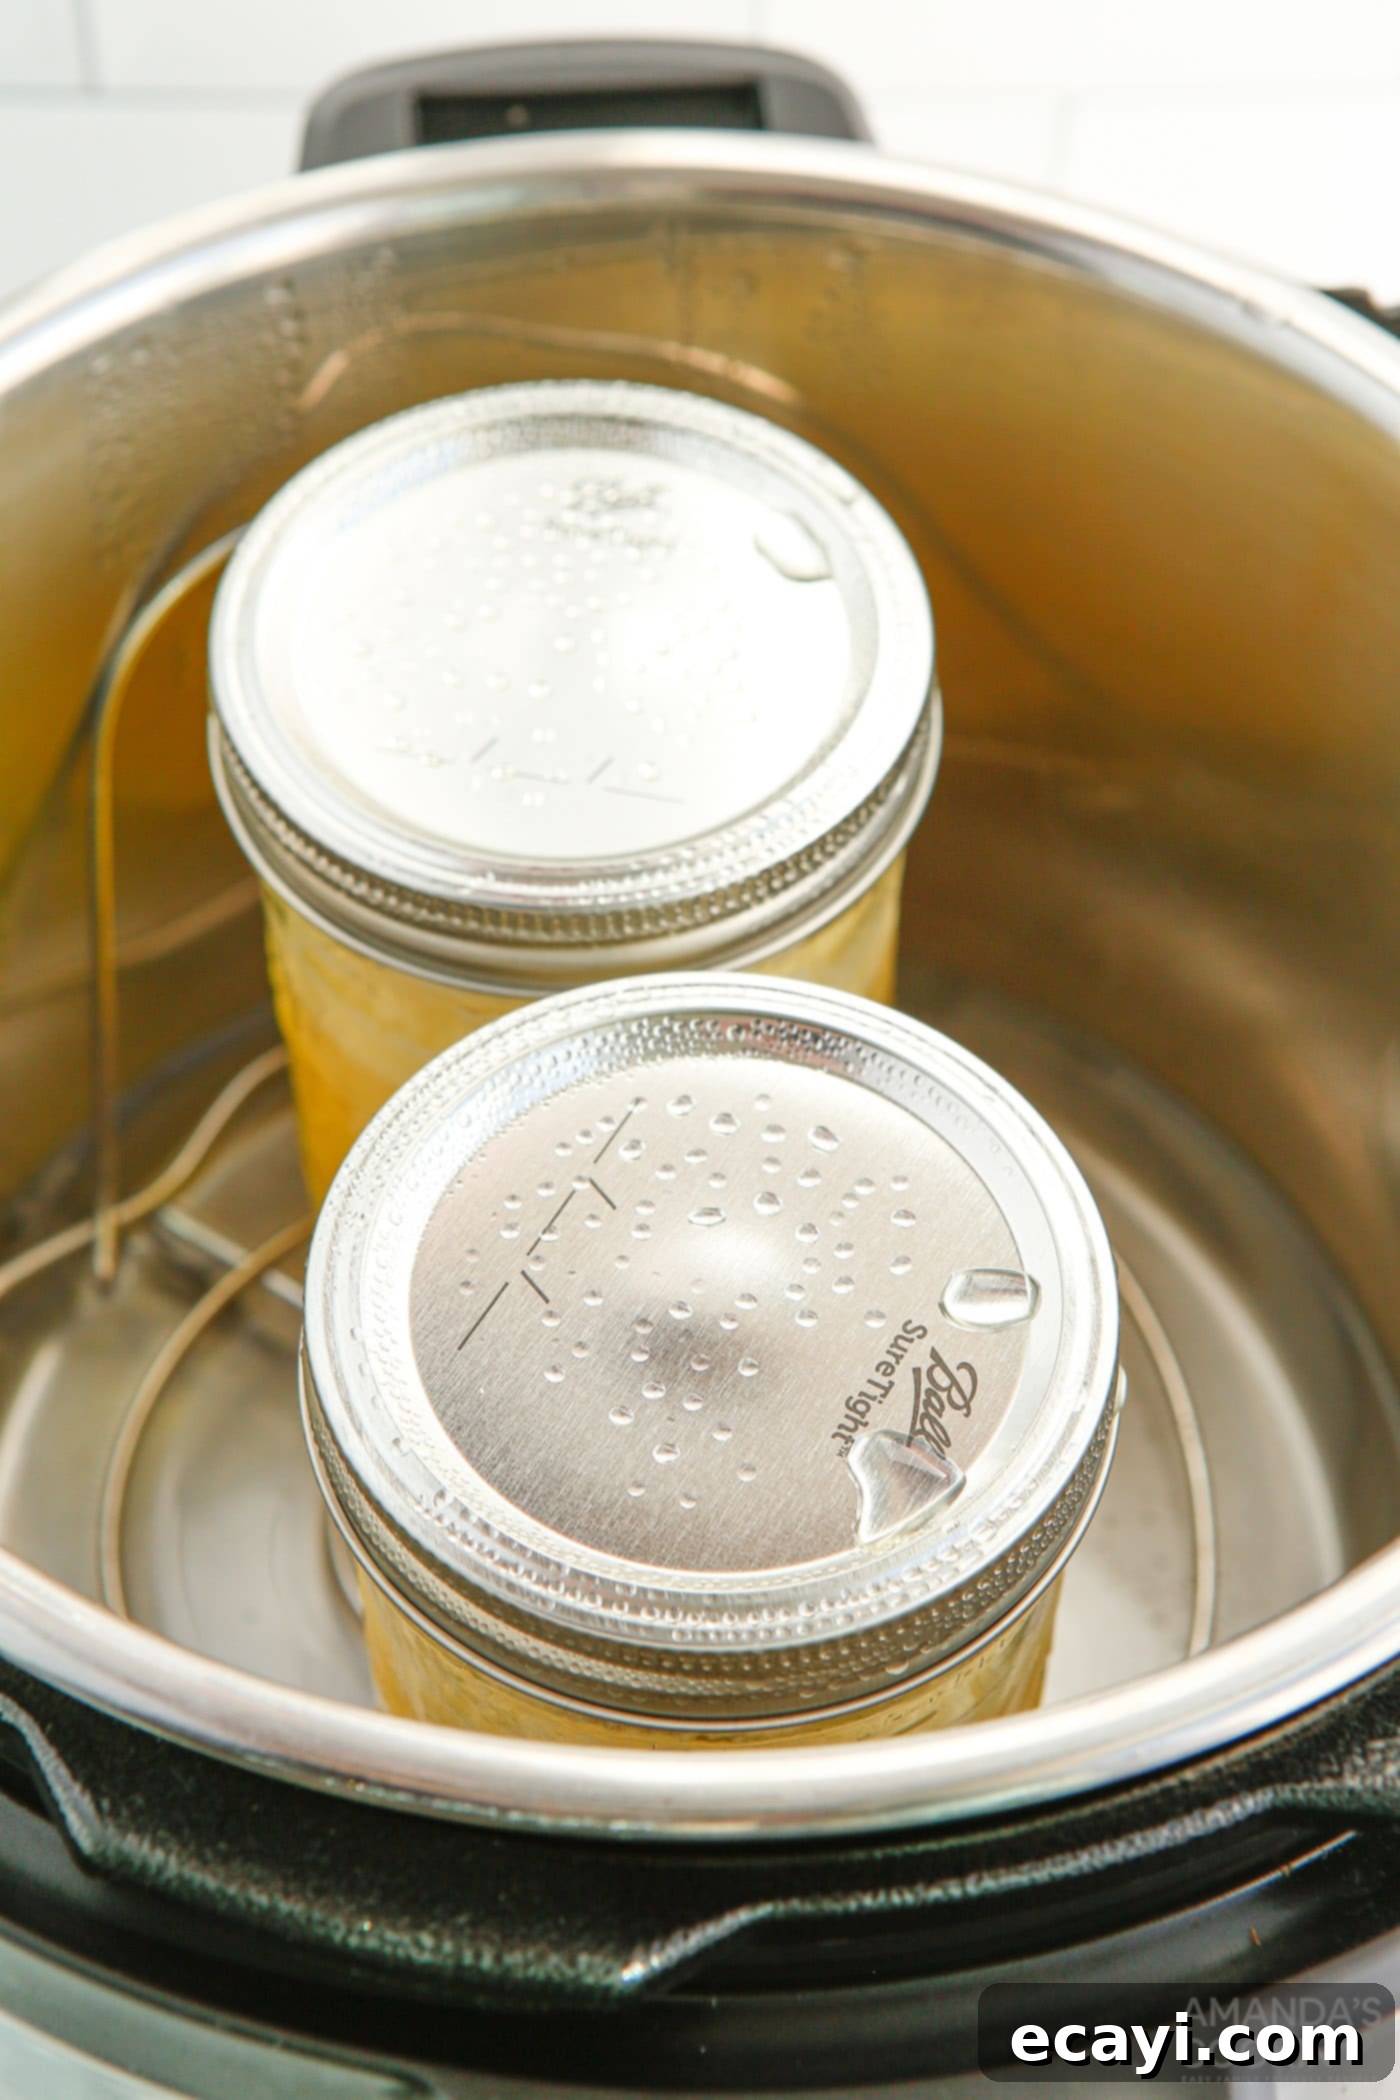
- **Pressure Cook:** Place the sealed mason jars onto the trivet inside the Instant Pot. Close the lid of the Instant Pot and ensure the steam release valve is sealed. Set your Instant Pot to manual high pressure for 10 minutes. The pressure cooking process will gently cook the curd to perfection.

- **Release Pressure & Remove Jars:** Once the cooking cycle is complete, allow the steam to naturally release for 10 minutes. This natural release helps prevent cracking of the jars and allows the curd to settle gently. After 10 minutes, quick-release any remaining steam by carefully turning the valve. Once the float valve drops, remove the lid. Carefully pull the hot jars out of the Instant Pot and remove their lids.
- **Cool and Chill:** Stir the warm curd mixture thoroughly in each jar until it becomes beautifully creamy and visibly thickened. As it cools, it will continue to thicken significantly. Allow the curd to cool on the counter for about 15 minutes before placing the jars in the refrigerator. Chill for at least one hour, or preferably longer, to achieve the ideal thick, spreadable consistency. Serve this glorious homemade lemon curd over your favorite pancakes, muffins, toast, or utilize it as a fantastic filling for tarts and other baked goods.

Frequently Asked Questions & Expert Tips for Perfect Lemon Curd
Since this Instant Pot lemon curd recipe is made without any artificial preservatives, proper storage is essential to maintain its freshness and flavor. Once cooled, transfer the curd to an airtight container or keep it sealed tightly in its mason jars. Store it in the refrigerator for up to 3-4 weeks. Always use a clean spoon when scooping out curd to prevent contamination and extend its shelf life.
Absolutely! Homemade lemon curd freezes beautifully, making it an excellent candidate for meal prep or enjoying fresh lemon flavor year-round. To freeze, pour the cooled curd into freezer-safe airtight containers or sturdy mason jars, leaving a little headspace as it may expand slightly. It can be kept in the freezer for up to 12 months. When you’re ready to use it, simply thaw the frozen lemon curd in the refrigerator overnight. Once thawed, give it a good stir to restore its creamy consistency, and enjoy!
If your lemon curd seems too runny after chilling, it’s usually due to one of a few reasons. The most common is that it wasn’t cooked long enough. The Instant Pot helps with consistency, but precise cooking time is still important. Ensure your Instant Pot reached and held high pressure for the full 10 minutes. Also, ensure your eggs and egg yolks were fresh and properly measured, as they are key thickening agents. It’s also vital to allow sufficient chilling time; the curd thickens considerably as it cools in the refrigerator. For an extra smooth curd, you can always pass it through a fine-mesh sieve after cooking to remove any tiny pieces of cooked egg or zest, though this is optional.
Yes, absolutely! The beauty of homemade lemon curd is that you can tailor it to your personal taste. If you prefer a sweeter curd, you can increase the granulated sugar by 1-2 tablespoons. For a tangier curd, you can either slightly reduce the sugar or add an additional tablespoon of lemon juice. It’s best to make these adjustments before cooking. Remember that the flavor will intensify slightly as the curd chills, so a small adjustment goes a long way.
Creative Ways to Enjoy Your Instant Pot Lemon Curd
This exquisite Instant Pot lemon curd is incredibly versatile and can transform any dish into a citrusy delight. While it’s utterly delicious simply eaten by the spoonful, there are countless ways to enjoy its bright, tangy flavor:
- Breakfast & Brunch: Drizzle it generously over fluffy pancakes, crispy waffles, or French toast. Spread it on warm toast, croissants, or flaky biscuits. Mix a spoonful into your morning yogurt or oatmeal for a refreshing twist.
- Baked Goods & Desserts: Use it as a vibrant filling for classic lemon meringue pies, tarts, or mini tartlets. Pipe it into cupcakes or layer it between cake layers for a zesty surprise. It’s fantastic in lemon sweet rolls or as a base for lemon bars. For a quick dessert, layer it with whipped cream and berries for a simple parfait or trifle.
- Cookies & Pastries: Fill thumbprint cookies or use it as a glaze for sugar cookies. Swirl it into cream cheese frosting for an amazing lemon-flavored topping on cakes or cinnamon buns.
- Unique Pairings: Blend it with mascarpone cheese for a delightful dessert dip, or even fold it into whipped cream to create a light and airy lemon mousse. Its bright flavor also pairs wonderfully with fresh fruit salads.
Feeling ambitious? This recipe can easily be doubled to ensure you have plenty of this liquid gold on hand for all your culinary endeavors, or for gifting to friends and family!
More Zesty Lemon Recipes to Brighten Your Day
If you’re a true lemon lover, then you’re in for a treat! The refreshing, tangy flavor of lemon can elevate so many dishes, from decadent desserts to savory meals. After you master this Instant Pot lemon curd, be sure to explore these other fantastic lemon-infused recipes:
- Classic Lemon Bars with Sweet Sour Cream Topping
- Refreshing Lemon Lush Dessert
- No-Bake Lemon Icebox Cake
- Elegant Lemon Blueberry Trifle
- Delicious Lemon Streusel Squares
- Convenient Lemon Meringue Pie Bars
- Creamy Lemon Cream Cheese Pudding Dessert
- Decadent Instant Pot Lemon Curd Cheesecake
- Moist Instant Pot Lemon Cake
- Light and Fluffy Lemon Baked Donuts
I absolutely adore baking and cooking, and I find immense joy in sharing my kitchen experiences and tested recipes with all of you! Remembering to check back for new culinary inspiration every day can be tricky, which is why I offer a convenient newsletter delivered straight to your inbox each time a new recipe is posted. Simply subscribe today and start receiving your free daily recipes, making it easier than ever to discover your next favorite dish!

Instant Pot Lemon Curd
IMPORTANT – There are often Frequently Asked Questions within the blog post that you may find helpful. Simply scroll back up to read them!
Print It
Pin It
Rate It
Save It
Saved!
Prevent your screen from going dark
Course:
Condiments, Dessert
Cuisine:
American
28
servings (2 Tbsp)
25
minutes
62
Amanda Davis
Ingredients
-
1
cup
granulated sugar -
6
Tbsp
unsalted butter
melted -
¾
cup
lemon juice
fresh -
2
teaspoon
lemon zest -
3
large
eggs -
2
egg yolks -
2
cups
water
for bottom of instant pot
Things You’ll Need
-
6 qt Instant Pot Duo -
2 pint size mason jars
Before You Begin
- Store curd in an airtight container or mason jar in the refrigerator for 3-4 weeks or in the freezer for up to 12 months.
Instructions
-
Place the trivet in the bottom of your Instant Pot and pour 1 ½ cups water into the bottom of the pot.
-
Blend together the sugar and butter in a mixing bowl until smooth and creamy.
-
Stir in the eggs and yolks, one at a time until just combined.
-
Add in the lemon juice and zest and stir until mixed through.
-
Divide and pour the mixture into the mason jars halfway to ¾ full. Screw the mason jar lids on tightly and place on the trivet inside the Instant Pot. Close the lid and seal the steam valve. Set the Instant Pot to manual high pressure for 10 minutes.
-
Once the lemon curd has finished cooking, allow the steam to naturally release for 10 minutes. Quick-release any remaining steam and remove the lid. Carefully pull the jars out and remove the lids.
-
Stir the curd mixture well until creamy and thickened. Allow to cool for 15 minutes before placing in the refrigerator to chill for at least one hour. Serve over your favorite pancakes, muffins, toast, or use to fill tarts and other baked goods.
Nutrition
Serving:
1
serving (2 Tbsp)
|
Calories:
62
cal
|
Carbohydrates:
8
g
|
Protein:
1
g
|
Fat:
3
g
|
Saturated Fat:
2
g
|
Polyunsaturated Fat:
1
g
|
Monounsaturated Fat:
1
g
|
Trans Fat:
1
g
|
Cholesterol:
40
mg
|
Sodium:
10
mg
|
Potassium:
17
mg
|
Fiber:
1
g
|
Sugar:
7
g
|
Vitamin A:
123
IU
|
Vitamin C:
3
mg
|
Calcium:
7
mg
|
Iron:
1
mg
Tried this Recipe? Pin it for Later!
Follow on Pinterest @AmandasCookin or tag #AmandasCookin!
The recipes on this blog are tested with a conventional gas oven and gas stovetop. It’s important to note that some ovens, especially as they age, can cook and bake inconsistently. Using an inexpensive oven thermometer can assure you that your oven is truly heating to the proper temperature. If you use a toaster oven or countertop oven, please keep in mind that they may not distribute heat the same as a conventional full sized oven and you may need to adjust your cooking/baking times. In the case of recipes made with a pressure cooker, air fryer, slow cooker, or other appliance, a link to the appliances we use is listed within each respective recipe. For baking recipes where measurements are given by weight, please note that results may not be the same if cups are used instead, and we can’t guarantee success with that method.
