The Ultimate Guide to Cleaning Your Microwave Naturally: Tips & Tricks for a Sparkling Kitchen
Is your microwave splattered with dried-on food and lingering odors? It’s a common kitchen appliance that often gets overlooked in our cleaning routines, yet it plays a crucial role in our daily lives. While convenient, microwaves can quickly become a haven for germs, food particles, and unpleasant smells if not regularly maintained. This comprehensive guide will walk you through effective, natural cleaning methods that bypass harsh chemicals, ensuring your microwave is not only spotless but also hygienic and fresh-smelling. Get ready to transform your microwave from a grimy mess to a pristine cooking companion!

Effective Strategies for Cleaning Your Microwave
Just like maintaining a clean gas grill, cleaning your microwave often feels like an “out-of-sight, out-of-mind” chore. It’s easy to forget about the interior until you open the door to heat up your favorite meal, only to be confronted with a sticky, splattered mess. Food particles, sauces, and grease can quickly accumulate on the walls, ceiling, and door, hardening over time and becoming much more difficult to remove. The good news is that restoring your microwave to its clean, original state is simpler than you might think, especially with these straightforward and natural tips. Regular cleaning not only keeps your appliance looking good but also prevents the buildup of bacteria and ensures your food heats evenly without absorbing old odors.

Prevention is Your Best Defense Against Microwave Messes
The easiest way to clean a microwave is to prevent it from getting excessively dirty in the first place. A little proactive effort goes a long way in minimizing stubborn splatters and baked-on grime. When you’re heating food in the microwave, especially liquids, sauces, or anything prone to bubbling or popping, always remember to cover it. This simple habit can drastically reduce the amount of mess inside your appliance.
There are several effective ways to cover your food:
- Plastic Wrap: A quick and easy solution, plastic wrap creates a barrier that contains splatters. Just be sure to leave a small corner vented to allow steam to escape and prevent pressure buildup.
- Paper Towels: For lighter splatters or simply to prevent general mess, a single sheet of paper towel placed over your dish can be very effective. It absorbs minor splashes and prevents them from coating the microwave interior.
- Microwave-Safe Lids: Many food containers come with their own microwave-safe lids. These are perfect for reheating leftovers.
- Reusable Vented Splatter Guards: For an eco-friendlier and more permanent solution, consider investing in a reusable vented splatter guard. These dome-shaped covers sit over your plate, preventing food from erupting onto the microwave walls while still allowing steam to escape through vents. They are typically dishwasher safe, making cleanup a breeze.
By making food covering a consistent practice, you’ll find yourself needing to deep clean your microwave much less frequently, saving you time and effort in the long run.
Incorporate a Daily or Weekly Wipe-Down Routine
Think about your kitchen cleaning habits: you likely wash your dishes daily, wipe down your countertops, and clean your stovetop after use. Why should the inside of your microwave be any different? Often, it’s because the mess is hidden behind a closed door. However, making an effort to include your microwave in your regular cleaning routine can keep it sparkling clean and prevent the build-up of tough, crusty food. If a daily wipe-down feels like too much, commit to a weekly habit instead. Consistency is key.
For a quick daily or weekly clean:
- Unplug the Microwave: Always ensure the appliance is unplugged for safety before cleaning.
- Remove the Turntable: Take out the glass turntable and its support ring. These parts are usually dishwasher-safe or can be easily hand-washed with warm, soapy water.
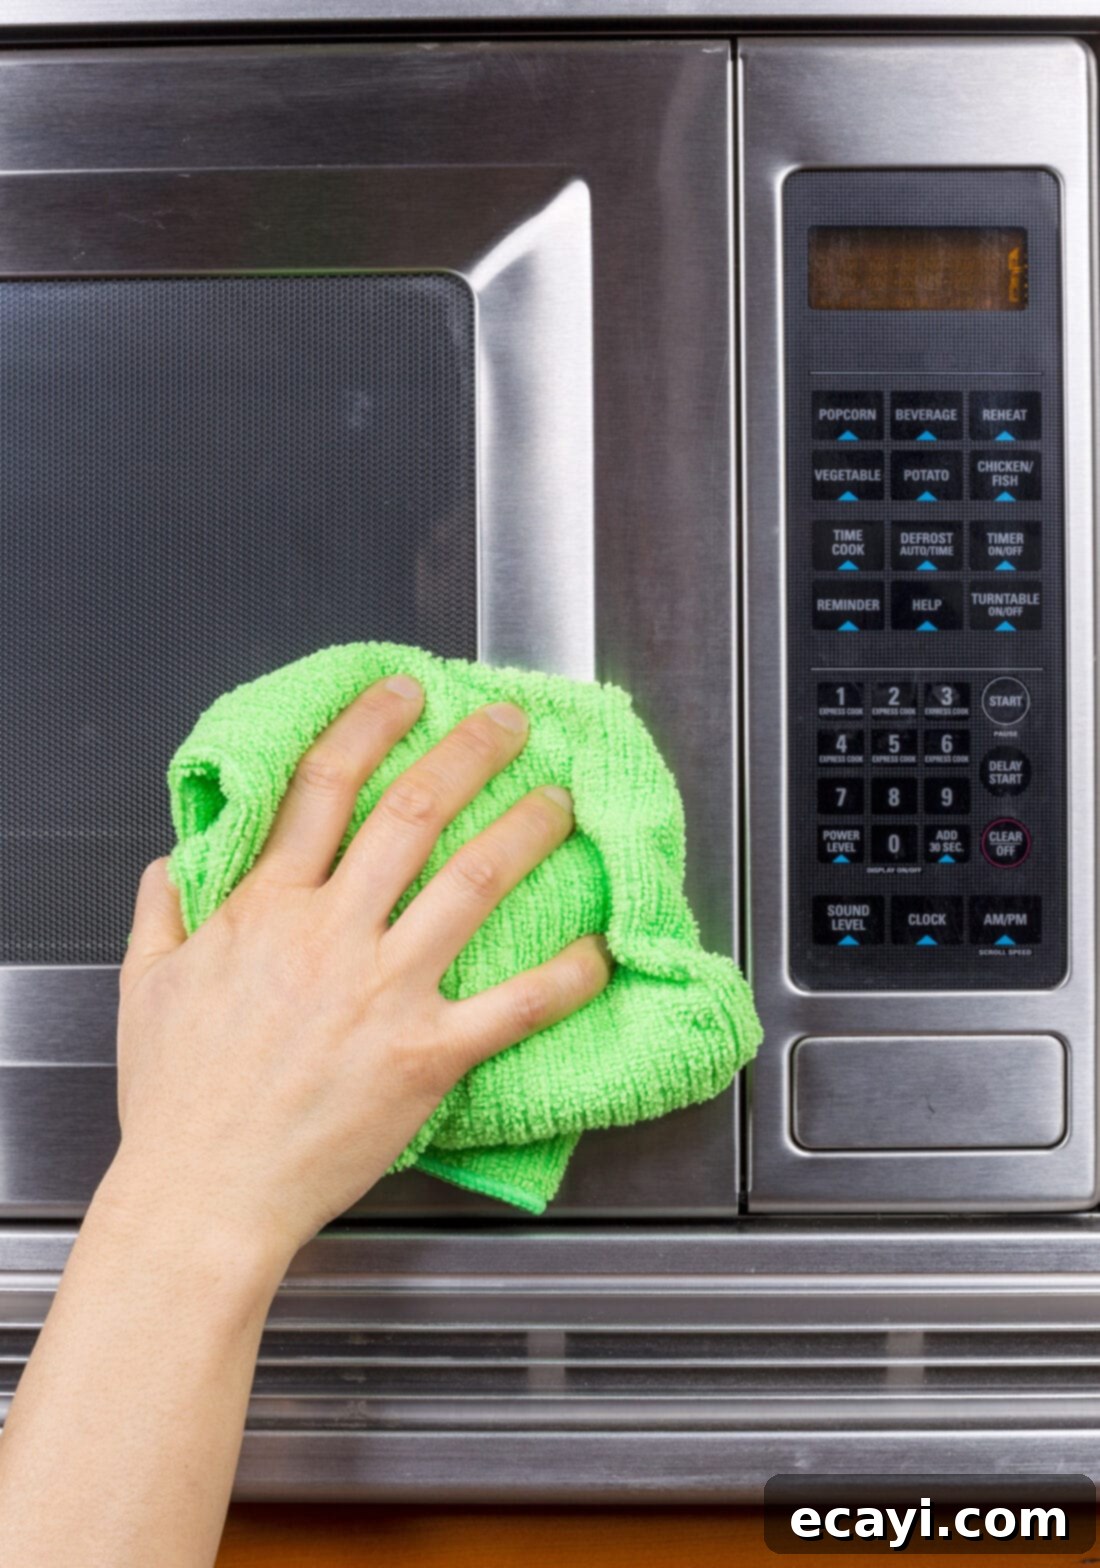
- Wipe Down Immediately: If you notice a fresh splatter, wipe it up right away with a damp sponge or a microfiber cloth. Fresh messes are significantly easier to remove than dried-on ones.
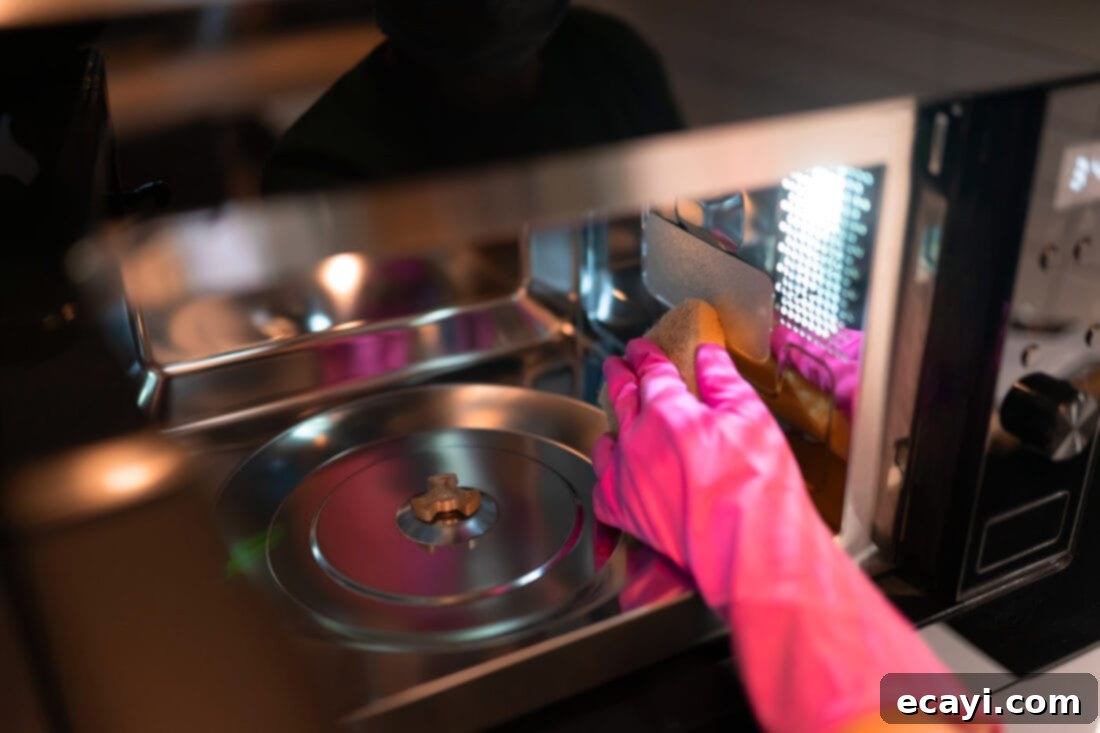
- Clean the Interior: Using a damp cloth, preferably soaked in a mild soap solution (or even just water), wipe down the inside walls, ceiling, and door. Pay attention to corners and crevices where food might accumulate.
- Don’t Forget the Exterior: Give the outside surfaces, handle, and control panel a quick wipe to remove fingerprints and smudges.
- Replace Parts and Plug In: Once everything is clean and dry, replace the turntable and plug your microwave back in.
This simple habit takes mere minutes but can dramatically improve the cleanliness and hygiene of your microwave, keeping bacteria at bay and ensuring your kitchen always feels fresh.
Steam Power: A Simple Yet Highly Effective Cleaning Method
When it comes to tackling stubborn, dried-on food splatters without resorting to harsh chemicals, steam is your best friend. This method is incredibly effective, requires minimal effort, and uses common household items. You won’t need a hammer and chisel, nor those strong-smelling cleaners from under the sink. Steam works by loosening and softening the caked-on food particles and grime, making them effortless to wipe away.
Here’s how to harness the power of steam for a sparkling clean microwave:
- Gather Your Supplies: You’ll need a microwave-safe glass bowl or a 4-cup measuring cup. Ensure it has a wide opening to allow steam to escape safely. You’ll also need plain water, oven mitts, and a paper towel or a clean, damp sponge/microfiber cloth.
- Prepare the Water: Fill your chosen bowl or measuring cup halfway with water. For an extra cleaning boost, you can add a few drops of dish soap to the water, which helps to cut through grease even more effectively.
- Heat in the Microwave: Place the bowl of water inside your microwave. Heat it on high power for approximately 5 minutes. The goal is to bring the water to a rolling boil, which will generate a significant amount of steam. You should see the inside of your microwave fogging up.
- Allow the Steam to Work: Once the 5 minutes are up and the water has boiled, *do not open the microwave door immediately*. Leave the door shut for an additional 5-10 minutes. This crucial resting period allows the steam to fully penetrate and loosen all the caked-on food and grime, making it much easier to wipe away. The longer you let it sit, the more effectively the steam will work its magic.
- Carefully Remove the Container: Using oven mitts, carefully remove the container of hot water from the microwave. Be cautious, as the bowl and its contents will be extremely hot.
- Wipe Away the Grime: Now for the satisfying part! Take your paper towel, damp sponge, or microfiber cloth and begin to wipe down the inside walls, ceiling, and door of the microwave. You’ll be amazed at how easily the grime and stuck-on food particles now wipe away. For any particularly stubborn spots, a gentle scrub with the damp cloth should suffice.
- Clean the Turntable: Don’t forget the glass turntable! Remove it and wash it separately in warm, soapy water or place it in the dishwasher.
This method is not only effective at cleaning but also sets the stage for a thorough deodorizing treatment, which we’ll cover next.

Try one of these options for deodorizing:
Lingering food odors are a common problem in microwaves. Whether it’s the smell of burnt popcorn, yesterday’s fish, or garlic from your dinner, these scents can permeate subsequent meals. Fortunately, you can effectively eliminate these unpleasant smells using natural ingredients alongside your steam cleaning process. Integrating a deodorizing agent into your steam treatment works wonders:
- White Vinegar: Add one tablespoon of white vinegar to the water before heating. Vinegar is a powerful natural deodorizer and disinfectant. Its acidic properties help neutralize odors and break down grease. While vinegar has a strong smell initially, it dissipates quickly as the microwave airs out, leaving a neutral scent. Just one tablespoon is all you need for effective results.
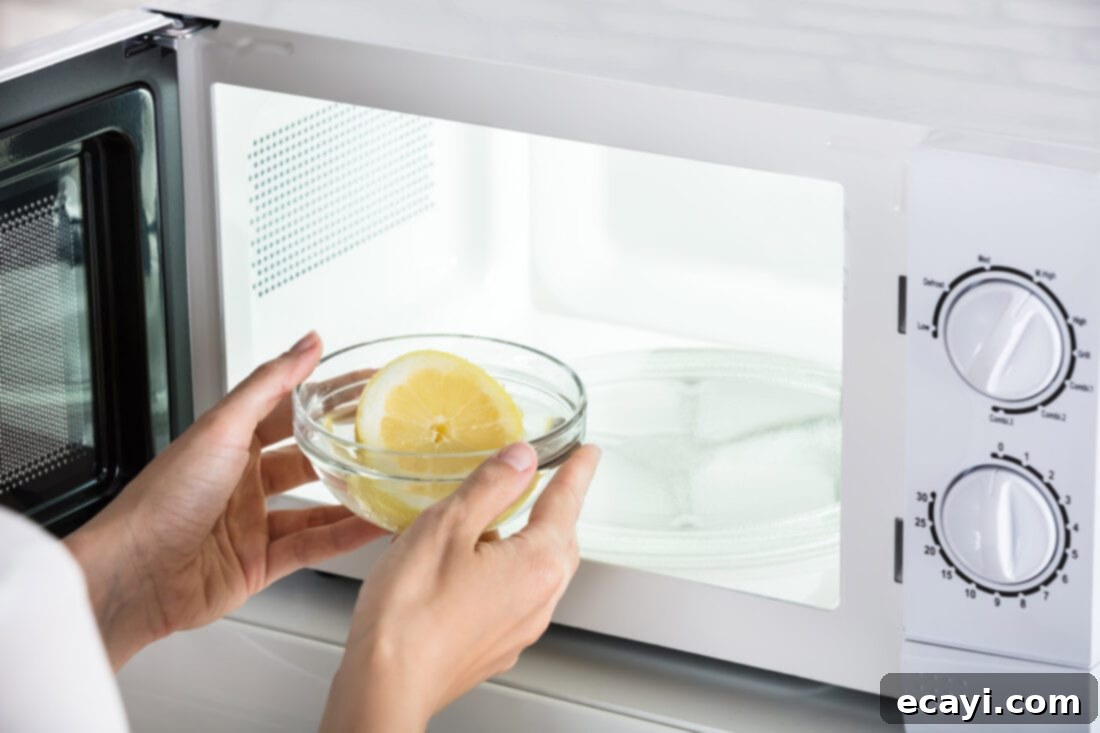
- Fresh Lemon: For a refreshing citrus scent, place a tablespoon of water on a microwave-safe plate. Halve a lemon and place it cut-side down on the plate. Heat for 1 minute. The lemon oils will release, filling your microwave with a pleasant aroma. After heating the lemon, remove it and then proceed with the regular water heating method as described above (5 minutes on high, then rest). The combination of lemon and steam will both clean and deodorize.
- Baking Soda: A known odor absorber, baking soda is excellent for neutralizing smells. Add 1 teaspoon of baking soda to the water before heating. As the water steams, the baking soda will help absorb and eliminate any trapped odors, leaving your microwave smelling clean and fresh.
- Bottled Lemon Juice: If you don’t have fresh lemons on hand, you can achieve a similar deodorizing effect by adding 1 tablespoon of bottled lemon juice to the water before heating. The citric acid will work to cut through odors and leave a light, clean scent.
After using any of these deodorizing methods, leave the microwave door ajar for a while to air it out completely, ensuring any residual steam or strong odors (like vinegar) dissipate fully.
Safety First When Cleaning Your Microwave
While natural cleaning methods are generally safe, using hot water and steam in a confined space like a microwave requires careful attention to safety. Mishandling hot water from the microwave can result in uncomfortable burns or other injuries. To ensure your safety and prevent accidents, always follow these precautions:
- Always Use Oven Mitts: When removing the dish of hot water from the microwave oven, always use thick, reliable oven mitts or heat-resistant gloves. The bowl itself, as well as the water inside, will be extremely hot and can cause severe burns if touched directly.
- Choose a Bowl with a Wide Opening: Select a microwave-safe bowl or measuring cup that has a wide opening. This design allows steam to escape gradually and safely during the heating process. Using a container with a narrow opening can cause steam to build up excessively, leading to a sudden release when opened, which can be dangerous. Pent-up steam can have explosive results, so proper ventilation during heating is crucial.
- Stand Clear of the Microwave Door: While the water is heating and during the resting period, it’s best to stand clear of the microwave door. This minimizes the risk of being exposed to a sudden burst of hot steam if any unforeseen pressure builds up, even with a wide-mouthed container. Once the process is complete and you’re ready to remove the bowl, open the door slowly and cautiously.
- Unplug Before Deep Cleaning: Although not strictly necessary for the steam method itself, always unplug your microwave before performing any thorough manual scrubbing or reaching into the appliance, especially if you plan to use cleaning solutions. This prevents accidental activation and electrical hazards.
- Allow Cooling: Give the interior surfaces of the microwave a moment to cool down slightly after the steam treatment before you start wiping. While the steam has done its work, the surfaces can still retain some heat.
By keeping these safety tips in mind, you can effectively and confidently clean your microwave without any concerns.
Stuck-on messes are undeniably more challenging to remove than fresh splatters. This is why incorporating a routine cleaning schedule is so beneficial. A quick daily wipe-down of your high-traffic appliances like the microwave not only keeps your kitchen looking clean and fresh but also significantly contributes to a more hygienic environment by keeping bacteria at bay. This essential kitchen gadget deserves a little TLC – if a daily wipe-down isn’t feasible for your busy schedule, then committing to a weekly clean will certainly do the trick, preventing grime from becoming an insurmountable task.
More Essential Kitchen Tips and Tricks
Beyond keeping your microwave sparkling, there’s a world of kitchen hacks and appliance care tips that can make your culinary life easier and more efficient. Explore these related articles for more valuable advice on maintaining your kitchen and maximizing your cooking tools:
- Slow Cooker 101: Mastering Your Crock-Pot
- How to Clean Your Gas Grill for Optimal Performance
- 13 Versatile Ways to Use A Food Processor (with 20 Recipes to Prove It!)
- 21 Kitchen Gadgets You Will Actually Use and Love
