The Best Creamy Stovetop Mac and Cheese: A Quick & Easy Homemade Recipe
If your childhood memories are filled with the familiar blue box of macaroni and cheese, get ready to elevate your comfort food game. This stovetop mac and cheese recipe is the perfect homemade alternative – a simple, incredibly cheesy dish that you can whip up anytime with minimal prep. It’s wonderfully fast, making it ideal for a quick and satisfying lunch, a weeknight family dinner, or a beloved side dish.
While this recipe focuses on speed and stove-top simplicity, if you’re planning a larger meal and prefer a hands-off approach, be sure to try our crockpot macaroni and cheese for a delicious, slow-cooked option!

Why This Stovetop Mac and Cheese Will Become Your Family’s Favorite
This recipe holds a special place in my heart, created over a decade ago when my kids were still at home and hungry for hearty, homemade meals. I had a tried-and-true homemade cheese sauce that I regularly used for vegetables like broccoli and cauliflower. One day, I simply poured it over some cooked macaroni elbows, and voilà! A new family favorite was born. This is, without a doubt, my kids’ absolute favorite macaroni and cheese recipe, and I’m confident it will become yours too.
The beauty of homemade stovetop mac and cheese lies in its unparalleled creaminess and the fresh, rich flavor that simply can’t be replicated by a box mix. It’s a true comfort food classic, perfect for those moments when you need something warm, gooey, and satisfying in a hurry. Forget artificial flavors and powdered cheese; this recipe uses real ingredients to create a decadent sauce that coats every single noodle.
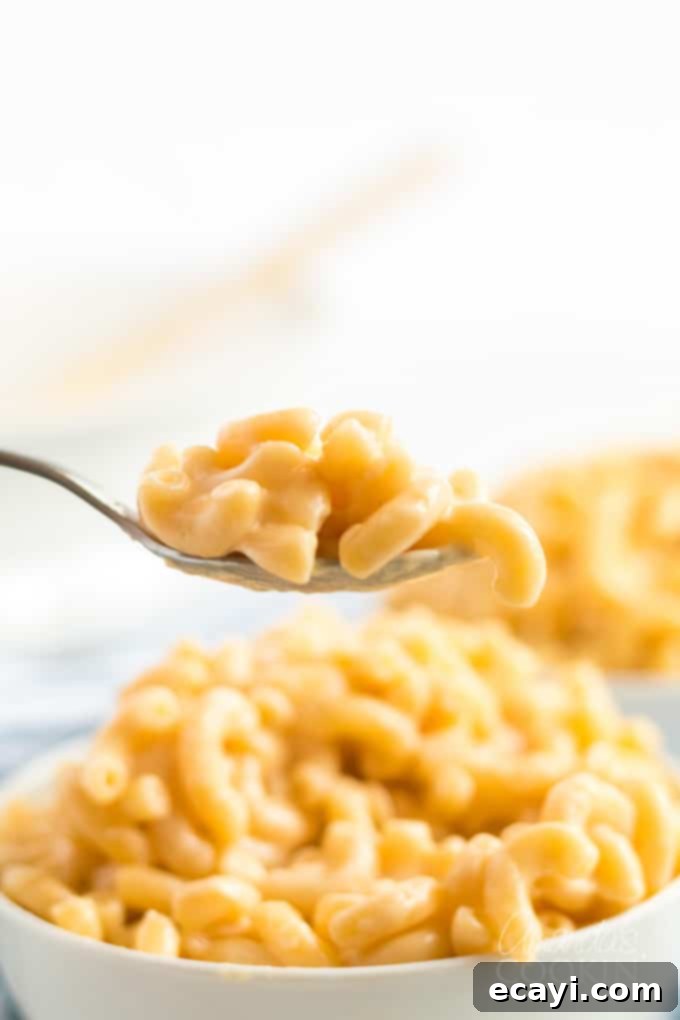
This mac and cheese is not only delicious but also surprisingly adaptable. While I adore the rich flavor of whole milk, you can certainly substitute skim milk if you’re mindful of calorie count. The most important secret to its deliciousness, however, is using your favorite type of cheese. I always opt for a good quality sharp cheddar for its robust flavor. But don’t hesitate to experiment! American cheese, any low-fat cheese, white cheddar, or even a nutty Swiss can create wonderful variations. The possibilities are endless, allowing you to tailor this classic dish to your personal taste preferences.
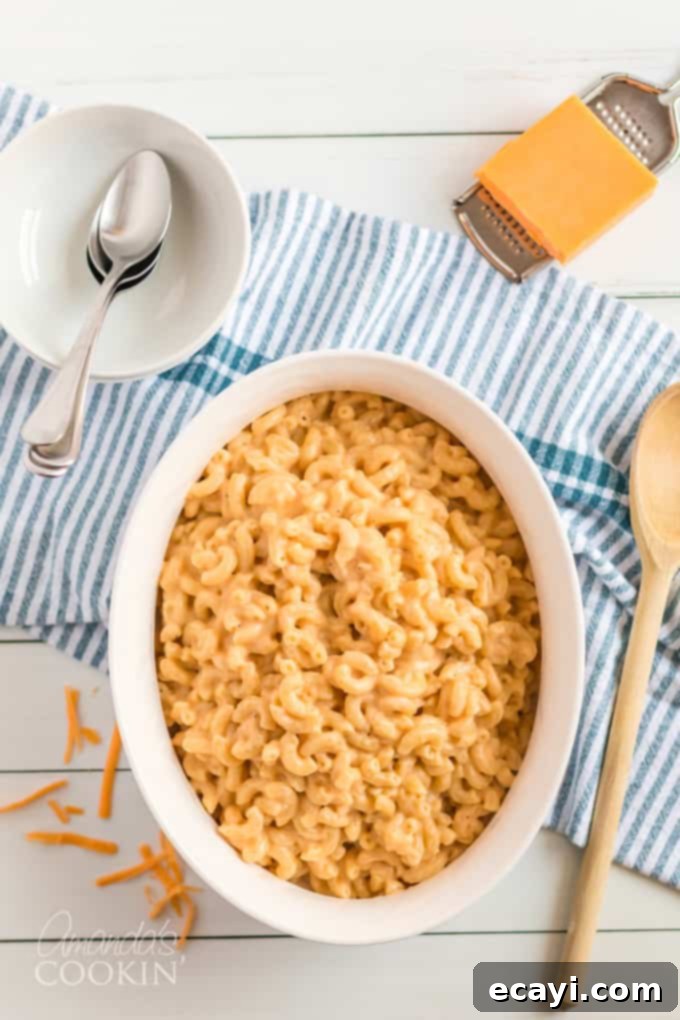
How to Master Stovetop Mac and Cheese: Step-by-Step Guide
Creating this rich and creamy stovetop mac and cheese is simpler than you might think. The key lies in a few basic steps and a homemade cheese sauce that comes together quickly. Here’s a detailed breakdown:
- Cook the Pasta: Begin by cooking your chosen pasta according to the package directions. It’s crucial to cook it to al dente, as it will continue to soften slightly when mixed with the hot cheese sauce. Overcooked pasta will result in a mushy texture.
- Melt the Butter: While the pasta is cooking, melt unsalted butter in a heavy-bottomed saucepan over low heat. A low heat prevents the butter from browning too quickly, which is important for the roux.
- Create the Roux: In a separate small dish, combine the flour, salt, pepper, paprika, and dry mustard. Once the butter is melted, slowly whisk this dry mixture into the melted butter, cooking for 1-2 minutes until a smooth paste, or roux, forms. This is the thickening agent for your cheese sauce.
- Slowly Add Milk: Continue whisking constantly as you gradually pour in the milk. This ensures a smooth sauce without lumps.
- Thicken the Sauce: Increase the heat slightly to medium-low, and continue to whisk frequently. The mixture will begin to thicken as it gently simmers. Do not allow it to come to a rolling boil; a gentle bubble is fine, but vigorous boiling can cause the sauce to break or scorch.
- Add the Cheese: Once the sauce has thickened to your desired consistency (it should coat the back of a spoon), remove it from the heat. Immediately add the shredded cheese and whisk until it’s completely melted and smoothly incorporated into the sauce.
- Combine Pasta and Sauce: Drain the cooked macaroni. It’s important NOT to rinse the pasta, as the residual starch helps the cheese sauce adhere beautifully to the noodles. Place the drained pasta in a large bowl.
- Stir and Serve: Pour the luscious cheese sauce over the macaroni and stir gently until every piece of pasta is evenly coated. Serve immediately while hot and bubbly for the ultimate comfort food experience.

Pro Tip: This recipe is perfectly scaled for a one-pound box of elbow macaroni, yielding a generous portion. If you’re cooking for fewer people, feel free to halve all the ingredients. You can also easily substitute the type of pasta noodles you use. Shells are a fantastic substitution, as their shape perfectly cradles the creamy cheese sauce, making every bite extra cheesy and delightful.
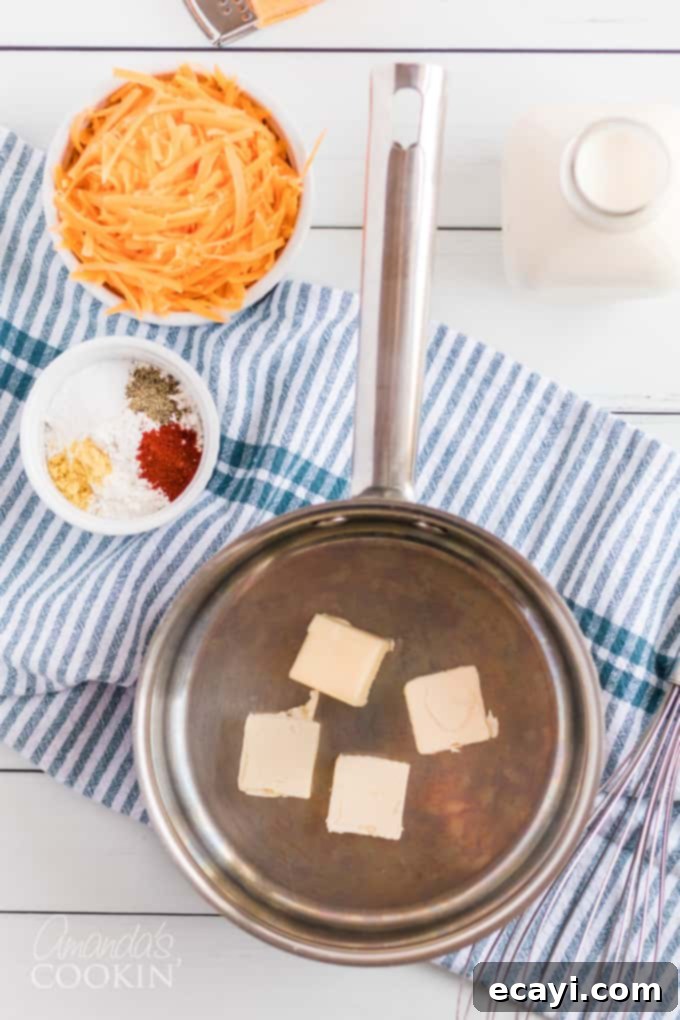
Key Ingredients for the Best Stovetop Mac and Cheese
Each ingredient plays a crucial role in creating the perfect stovetop mac and cheese. Here’s what you’ll need and some considerations for each:
- Elbow Macaroni: I typically use Barilla in the blue box, but any good quality “regular” elbow pasta will work beautifully. The small, curved shape is ideal for holding the creamy sauce. When cooking, always aim for al dente—firm to the bite. Mushy pasta is the enemy of good mac and cheese! If you’re exploring alternative pastas (like gluten-free options), please note that I haven’t specifically tested this recipe with them, so cooking times or textures may vary.
- Unsalted Butter: Butter is the foundation of our roux and adds incredible richness and flavor. While I prefer unsalted butter to control the seasoning, you can certainly use salted butter (just adjust the added salt slightly) or even margarine if that’s what you have on hand.
- All-Purpose Flour: This is essential for creating the roux, which thickens our cheese sauce. I have not tested this recipe with other forms of flour, such as whole wheat, almond, coconut, or other non-wheat flours. These can significantly alter the texture and consistency of the roux, and I cannot guarantee successful results with them.
- Salt: Simple table salt is what I use, as its fine granules dissolve easily. If you’re using Kosher salt or sea salt, remember that their granular differences mean you might need to adjust the measurement slightly to achieve the same level of saltiness.
- Pepper: Good old-fashioned black pepper adds a subtle warmth and depth. I often grind my own for maximum freshness, but pre-ground pepper works perfectly fine.
- Paprika: Regular paprika contributes a mild, earthy flavor and a beautiful color to the sauce. For a fun twist and a hint of smoky depth, consider trying smoked paprika. A tiny pinch of garlic powder could also be a delicious addition, enhancing the savory notes.
- Dry Mustard: Don’t skip this ingredient! Found in the spice aisle as a yellow powder, dry mustard doesn’t make the mac and cheese taste like mustard. Instead, it subtly enhances the cheese flavor, making it taste richer and more complex. Liquid mustard is not a suitable substitute.
- Milk: Whole milk is my choice for its richness and contribution to a luxurious, creamy sauce. However, you can easily substitute skim, 1%, or 2% milk to reduce the calorie count without significantly compromising the texture. Please note that I have only tested this recipe with cow’s milk; plant-based milks may yield different results.
- Shredded Cheddar Cheese: I highly recommend using extra sharp cheddar for the best, most robust flavor in this homemade mac and cheese. While you can use any cheese you like (pepper jack adds a fantastic kick, or a blend of Colby and Monterey Jack is lovely), I strongly advise shredding your cheese from a block yourself. Pre-shredded bagged cheese often contains an anti-caking agent (like cellulose or potato starch) that can prevent the cheese from melting smoothly, resulting in a sauce that feels and tastes gritty. Freshly shredded cheese melts into a silky-smooth dream.
Helpful Kitchen Tools for Mac and Cheese Success
Having the right tools can make your mac and cheese preparation even smoother:
- Stockpot: For boiling your pasta to perfection.
- Whisk: Essential for creating a lump-free roux and a smooth, creamy cheese sauce.
- Grater: For shredding fresh cheese from a block, which is key for the best texture.
- Measuring cups and spoons: Accurate measurements ensure consistent results every time.
Tips for Stovetop Mac and Cheese Perfection
Achieving that restaurant-quality creamy mac and cheese at home is easier than you think with these expert tips:
- Don’t Overcook Your Pasta: This is arguably the most critical tip. Cook your macaroni just until it’s al dente (still firm to the bite). It will continue to cook slightly when added to the hot cheese sauce. Overcooked pasta turns mushy and loses its structural integrity, leading to a less enjoyable texture.
- Shred Your Own Cheese: I cannot stress this enough. Pre-shredded cheeses are often coated with cellulose or starches to prevent clumping. While convenient, these agents can make your sauce gritty and prevent the cheese from melting into a silky-smooth consistency. Investing a few minutes in grating a block of cheese will pay off immensely in texture and flavor.
- Keep the Roux Moving: When making the roux, continuously whisk the butter and flour mixture for about 1-2 minutes over low heat. This cooks out the raw flour taste without browning the roux too much, which would darken your sauce.
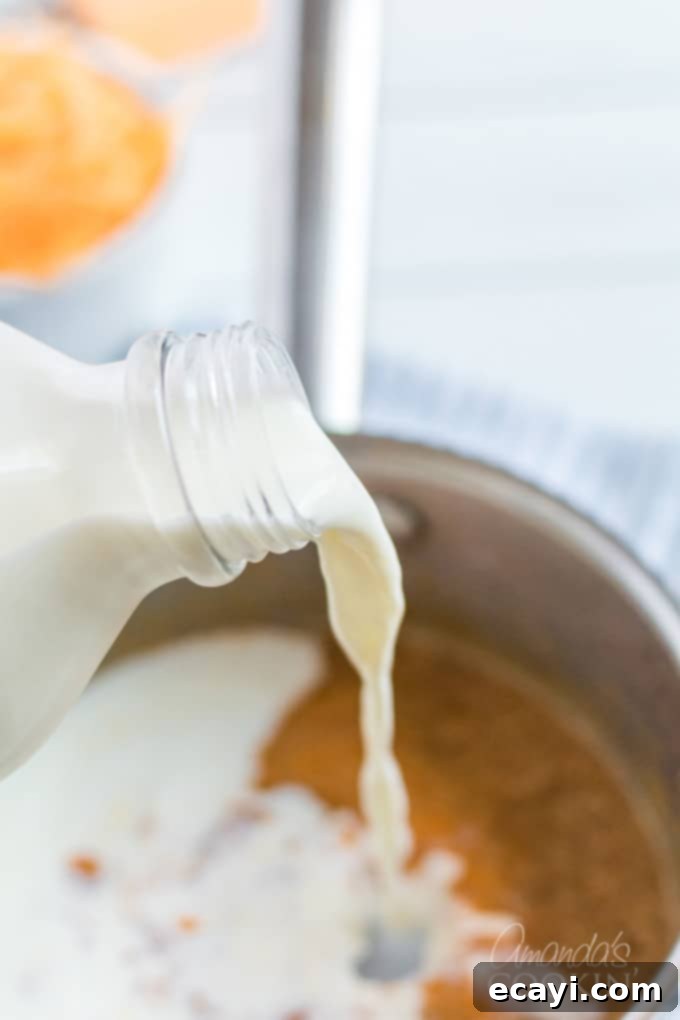
- Add Milk Slowly and Whisk Constantly: To ensure a smooth, lump-free cheese sauce, pour in the milk gradually while vigorously whisking. This helps the flour absorb the liquid evenly.
- Don’t Boil the Sauce: After adding the milk, gently heat the sauce until it thickens, whisking frequently. Avoid bringing it to a rapid boil, as high heat can cause the cheese sauce to separate or become grainy once the cheese is added. Medium-low heat is your friend.
- Serve Immediately: Stovetop mac and cheese is best enjoyed fresh off the stove. The longer it sits, the more the pasta absorbs the sauce, potentially making it less creamy.
Variations & Serving Suggestions
This stovetop mac and cheese is a fantastic base for endless customization. Here are some ideas to make it your own:
- Add Proteins: Stir in cooked, shredded chicken, crispy bacon bits, diced ham, or even browned ground beef for a heartier meal.
- Sneak in Veggies: Boost the nutritional value and flavor with additions like frozen peas, steamed broccoli florets, sautéed spinach, or finely diced bell peppers.
- Spice it Up: For a little kick, add a dash of cayenne pepper, a few drops of your favorite hot sauce, or a pinch of red pepper flakes. Smoked paprika can also add a wonderful depth.
- Cheese Blends: Don’t limit yourself to just cheddar! Try a combination of sharp cheddar with Gruyere for a sophisticated flavor, Monterey Jack for extra meltiness, or a sprinkle of Parmesan for a salty bite.
- Toppings: A sprinkle of toasted breadcrumbs, chopped fresh chives, or a dollop of sour cream can add extra texture and flavor.
Serve this delicious mac and cheese as a standalone main dish with a simple side salad, or as a comforting side to grilled chicken, barbecue ribs, meatloaf, or pulled pork. It’s truly versatile!
Storage & Reheating Homemade Mac and Cheese
If you have leftovers (a rare occurrence with this recipe!), store them in an airtight container in the refrigerator for up to 3-4 days.
To reheat, the best method is gently on the stovetop. Add a splash of milk (about 1-2 tablespoons per cup of mac and cheese) to a saucepan over low heat. Stir frequently until heated through and creamy again. You can also microwave individual portions, adding a tiny bit of milk and stirring halfway through, but be careful not to overheat, as this can make the cheese sauce separate.
This stovetop mac and cheese is a cherished recipe that I’ve been making for many years, a testament to its enduring appeal and ease. While this is our absolute favorite quick recipe, we have plenty of other fantastic macaroni and cheese options for you to explore!
- Instant Pot Macaroni and Cheese
- Traditional Baked Mac and Cheese
- Chili Mac
- Macaroni Casserole with Ham and Peas
- Butternut Squash Mac & Cheese
Be sure to check out our top ten favorite macaroni and cheese recipes here for even more cheesy inspiration!
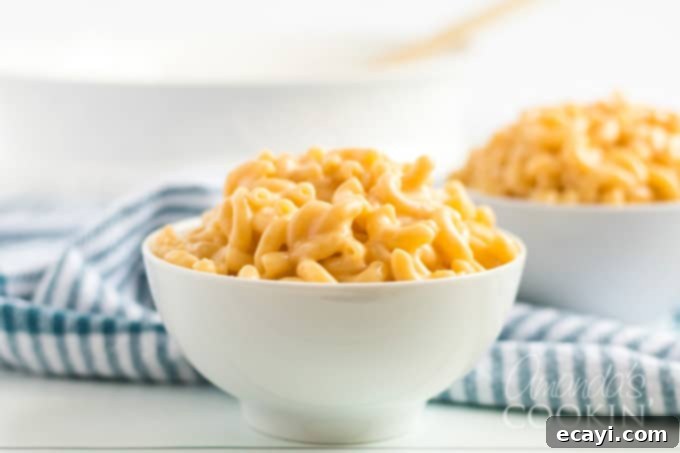

Stovetop Mac and Cheese
IMPORTANT – There are often Frequently Asked Questions within the blog post that you may find helpful. Simply scroll back up to read them!
Print It
Pin It
Rate It
Save ItSaved!
Ingredients
- 1 pound box dried elbow macaroni
- 4 tablespoon unsalted butter
- 4 tablespoon flour
- 1 teaspoon salt
- ¼ teaspoon pepper
- ¼ teaspoon paprika
- ¼ teaspoon dry mustard
- 2 cups milk
- 2 cups shredded cheddar cheese
Before You Begin
Instructions
-
Put a covered stock pot of water on to boil over high heat.
-
Meanwhile, over low heat melt the butter in a heavy bottomed saucepan.
-
While butter is melting, measure out and combine the flour, salt, pepper, paprika, and dry mustard in a small dish or bowl. When butter has melted, add the flour mixture to the butter and use a whisk to combine to make your roux.
-
Continue whisking and slowly add the milk, whisking to combine all the ingredients. Turn up the heat slightly (don’t go higher than medium-low) and whisking often, thicken the mixture. You may see occasional bubbles, and that’s ok, but you do not want it to boil, just to thicken. When thickened, remove from heat and add the shredded cheese, using the whisk to combine until melted and homogenous.
-
Drain the macaroni (do not rinse, the starch helps the cheese stick to the noodles) and place in a large bowl. Pour cheese sauce over the macaroni and stir to coat well. Serve while hot.
Nutrition
The recipes on this blog are tested with a conventional gas oven and gas stovetop. It’s important to note that some ovens, especially as they age, can cook and bake inconsistently. Using an inexpensive oven thermometer can assure you that your oven is truly heating to the proper temperature. If you use a toaster oven or countertop oven, please keep in mind that they may not distribute heat the same as a conventional full sized oven and you may need to adjust your cooking/baking times. In the case of recipes made with a pressure cooker, air fryer, slow cooker, or other appliance, a link to the appliances we use is listed within each respective recipe. For baking recipes where measurements are given by weight, please note that results may not be the same if cups are used instead, and we can’t guarantee success with that method.
This post originally appeared on this blog on Mar 21, 2010.
