Ultimate Copycat Olive Garden Breadsticks Recipe: Soft, Garlic-Buttery Perfection at Home
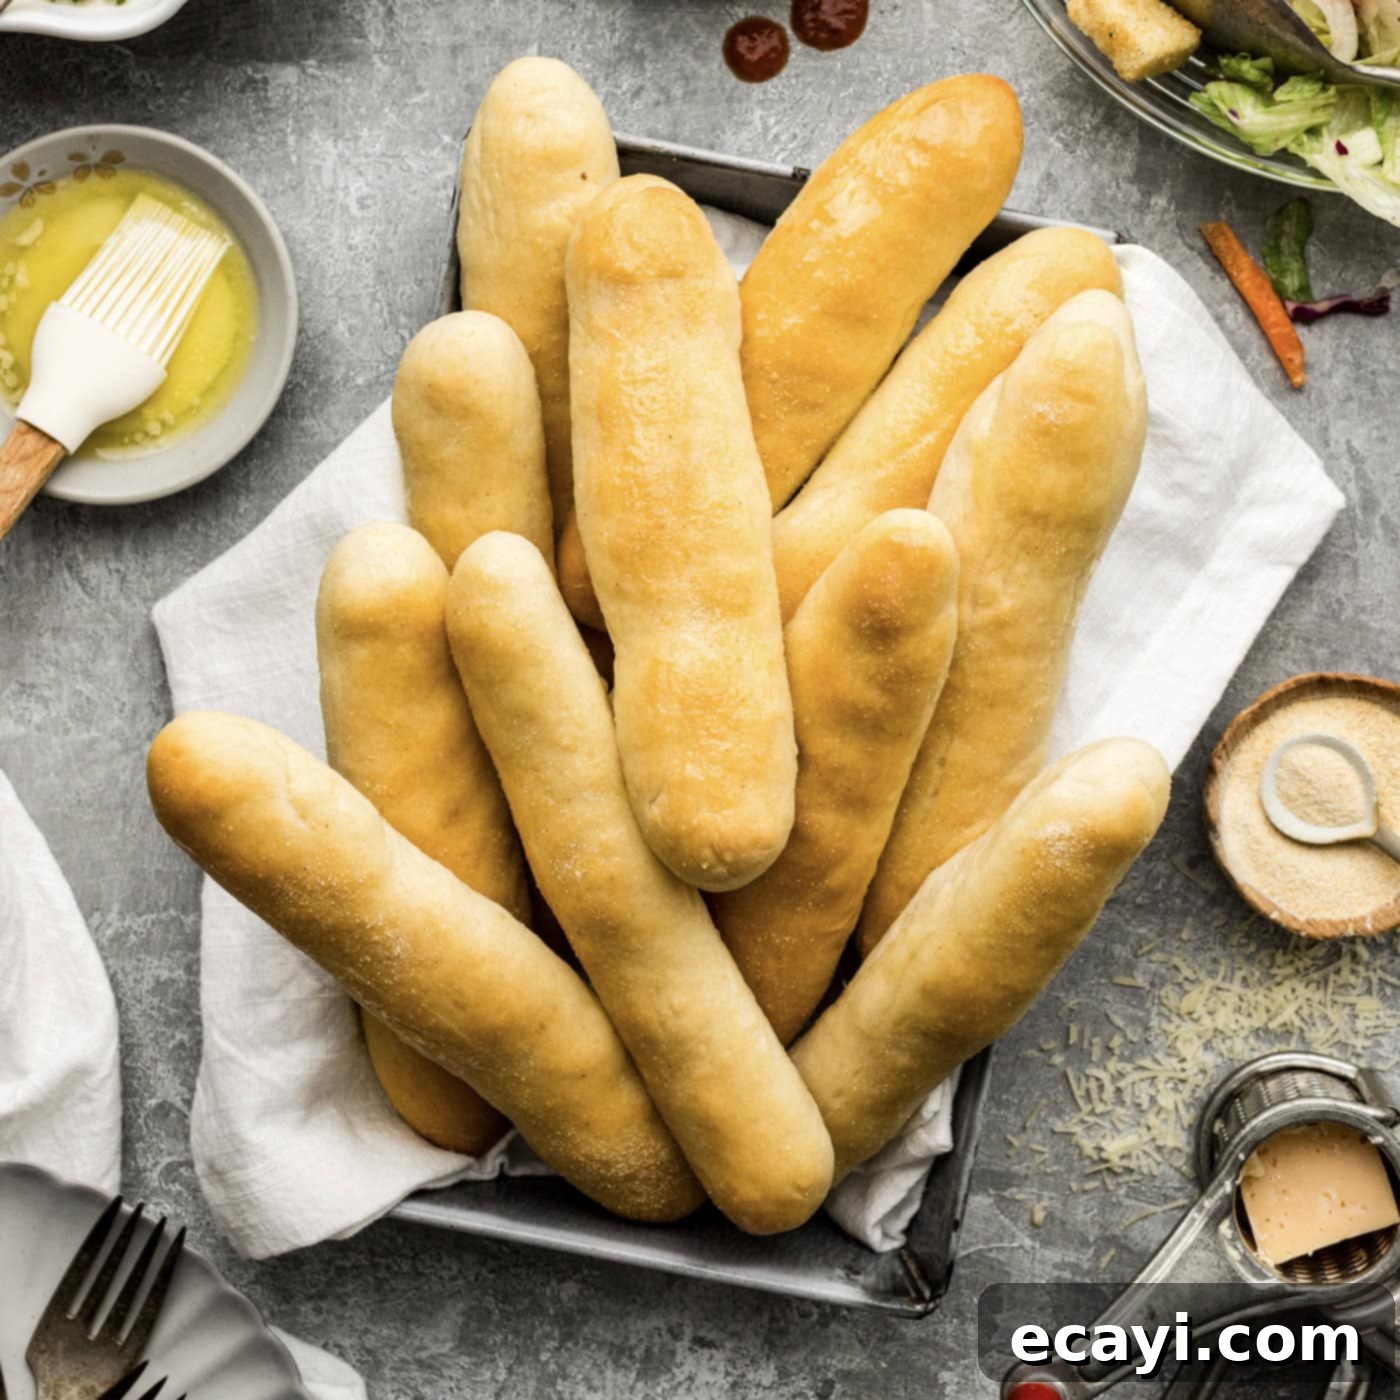
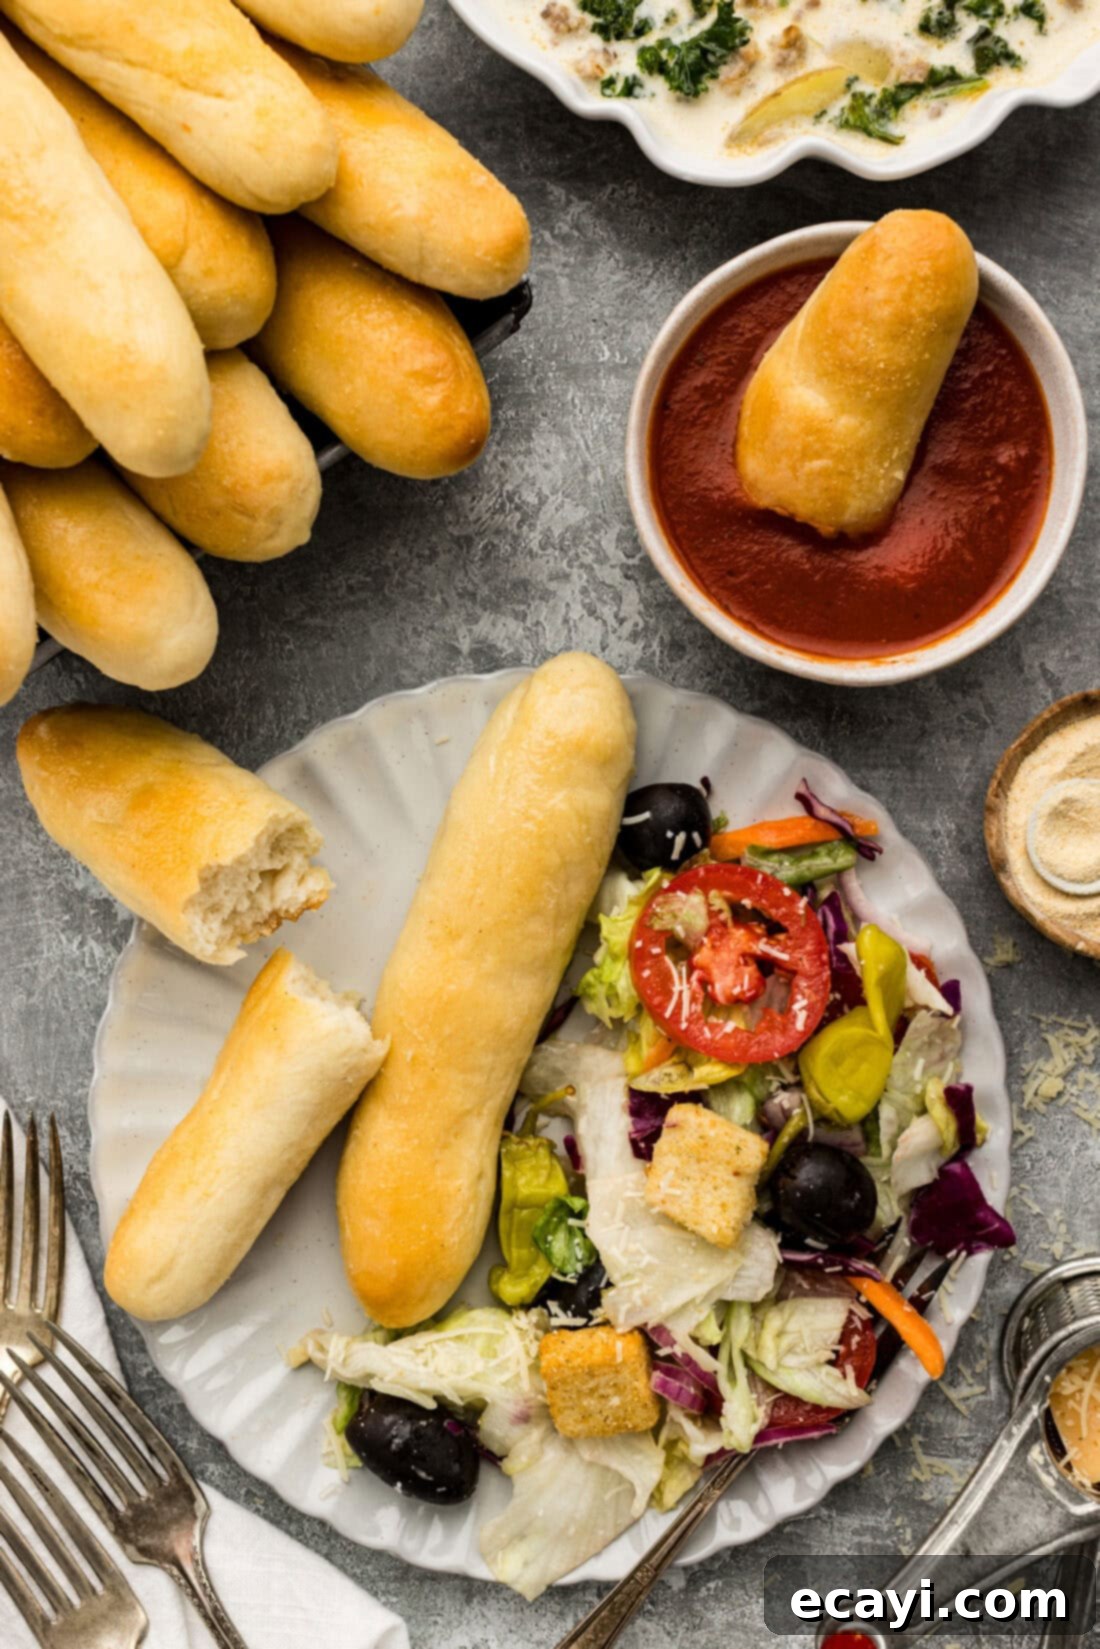
There’s nothing quite like the experience of biting into a warm, soft, and garlicky breadstick from Olive Garden. That irresistible aroma and fluffy texture make them a beloved appetizer for millions. Now, imagine recreating that exact magic right in your own kitchen! This meticulously crafted homemade Olive Garden breadsticks recipe promises to deliver those coveted warm, garlic-sprinkled breadsticks that are always pillowy soft and bursting with flavor. Forget endless trips to the restaurant; with this guide, you’ll have endless baskets of these iconic breadsticks at your fingertips.
Why This Homemade Olive Garden Breadsticks Recipe Works So Well
The allure of Olive Garden breadsticks is undeniable, and many believe the secret lies in their proprietary dough. However, the true “big, fat, juicy secret” to achieving that signature Olive Garden taste and texture isn’t necessarily the dough itself – though a good dough is crucial. It’s what happens immediately after the breadsticks emerge from the oven. The magic unfolds when they are generously brushed with melted butter and dusted with garlic salt while still piping hot. This simple yet critical step allows the warm bread to absorb the butter and garlic, creating an unparalleled soft, flavorful, and aromatic finish that truly captures the essence of the original. Any soft yeast dough can be a great base, but our preferred pull-apart dinner roll dough has consistently delivered exceptional results, regardless of how it’s shaped, making it the perfect foundation for these copycat breadsticks.
I’ve been perfecting and making this Olive Garden breadsticks recipe since 2014, and it has never once disappointed. It’s a tried-and-true method that consistently yields perfect results, making it a staple in my kitchen and a favorite among friends and family. This recipe doesn’t just replicate the taste; it brings the entire Olive Garden dining experience home. For an authentic and hearty meal, go the extra mile by pairing your freshly baked breadsticks with a comforting bowl of Zuppa Toscana or a classic Pasta Fagioli soup. You’ll feel like you’re dining at your favorite Italian-American restaurant without ever leaving your house!
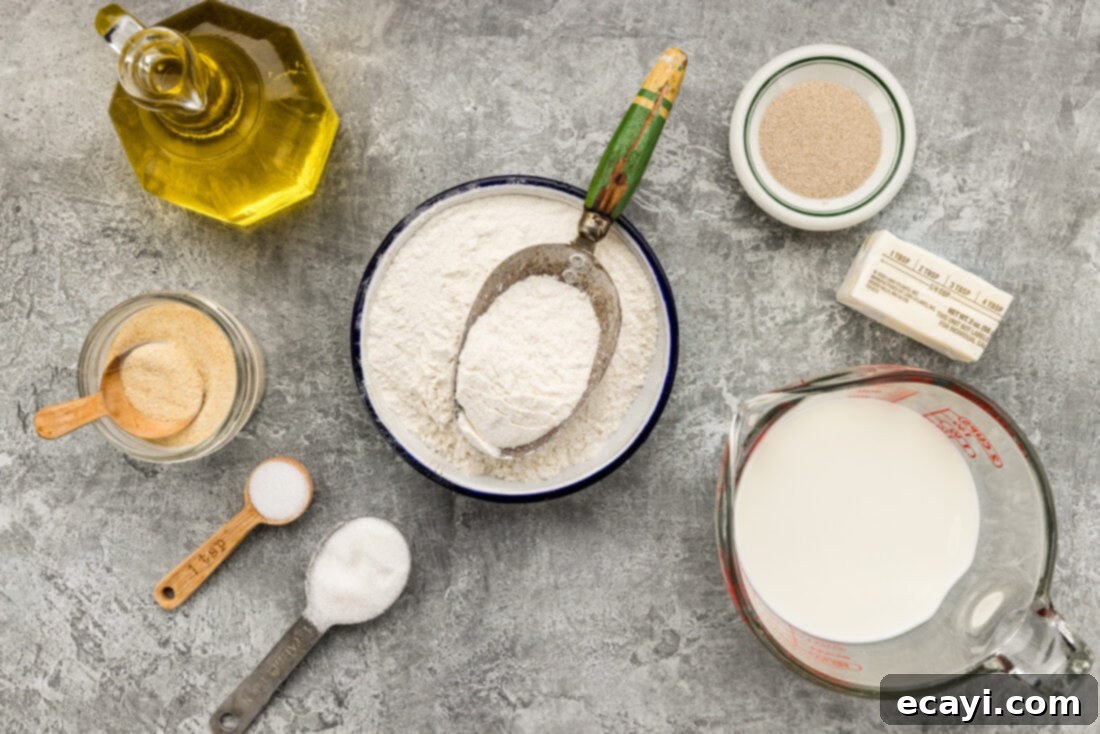
Essential Ingredients for Your Homemade Olive Garden Breadsticks
Crafting these delectable breadsticks requires a few simple ingredients, most of which you likely already have in your pantry. Each component plays a vital role in achieving that signature Olive Garden taste and texture. Here’s a detailed look at what you’ll need:
- Quick-Acting Active Dry Yeast: This is the leavening agent that makes our breadsticks wonderfully light and airy. Using quick-acting yeast speeds up the proofing process, getting you to warm breadsticks faster.
- Milk: Warm milk provides the perfect environment to activate the yeast and contributes to a richer, softer dough. Temperature is key here!
- Granulated Sugar: A small amount of sugar feeds the yeast, helping it activate properly, and also adds a touch of subtle sweetness to the breadsticks, balancing the savory garlic.
- All-Purpose Flour: The foundation of our dough, all-purpose flour provides the structure. You’ll need a good amount, plus extra for dusting your work surface.
- Extra Virgin Olive Oil: Olive oil adds moisture, elasticity, and a subtle depth of flavor to the dough, enhancing its overall texture and taste.
- Salt: Essential for flavor, salt also plays a role in controlling yeast activity and strengthening the gluten in the dough.
- Melted Butter: The glorious finishing touch! Melted butter, brushed on while hot, creates a rich, glossy exterior and helps the garlic salt adhere.
- Garlic Salt: The signature seasoning that gives Olive Garden breadsticks their iconic savory, garlicky flavor. A generous sprinkle is key!
For precise measurements and detailed instructions, refer to the printable recipe card found later in this post.
Ingredient Information and Expert Substitution Suggestions
Understanding your ingredients is crucial for baking success. Here are some detailed insights and tips for key components:
YEAST: Always double-check the expiration date of your yeast. This cannot be stressed enough! Expired yeast is, more often than not, the primary reason your dough won’t proof (rise). Fresh, active yeast is vital for light, fluffy breadsticks. If you’re unsure, you can “proof” your yeast by sprinkling it over warm milk (around 105-115°F or 40-46°C) with a pinch of sugar. If it foams and becomes bubbly within 5-10 minutes, your yeast is active and ready to go!
MILK: The temperature of your milk is critically important. It should register between 105 – 115°F (40-46°C) on a digital cooking thermometer. If the milk is too hot, it will kill the yeast, rendering it inactive and preventing your dough from rising. Conversely, if the milk is too cold, the yeast won’t activate properly, leading to the same problem. Aim for a comfortable warmth, not scorching hot. Whole milk tends to give the richest flavor and softest texture, but 2% milk works well too.
FLOUR: We recommend using unbleached all-purpose flour for this recipe. While bleached flour can work, unbleached flour often produces a better texture and flavor. The range of 3 to 3 ½ cups allows for variations in humidity and measurement. Start with 3 cups and gradually add more until the dough is soft, slightly sticky, but manageable. Avoid adding too much flour, as this can result in dense, dry breadsticks.
OLIVE OIL: Extra virgin olive oil is preferred for its robust flavor, which subtly enhances the bread. You can use regular olive oil if that’s what you have on hand, but EVOO adds a nice touch.
BUTTER & GARLIC SALT: These are the stars of the finishing act! Use real butter for the best flavor. For garlic salt, you can adjust the amount to your preference. If you only have garlic powder and regular salt, you can mix them (e.g., 3 parts salt to 1 part garlic powder) or use garlic powder after brushing with butter, then sprinkle with fine salt.
How to Make Olive Garden Breadsticks: Step-by-Step Guide
These step-by-step photos and instructions are designed to help you visualize each stage of making these delicious breadsticks. You can find the complete printable version of this recipe, including all measurements and instructions, in the recipe card at the bottom of this post. For best results, read through all steps before you begin!
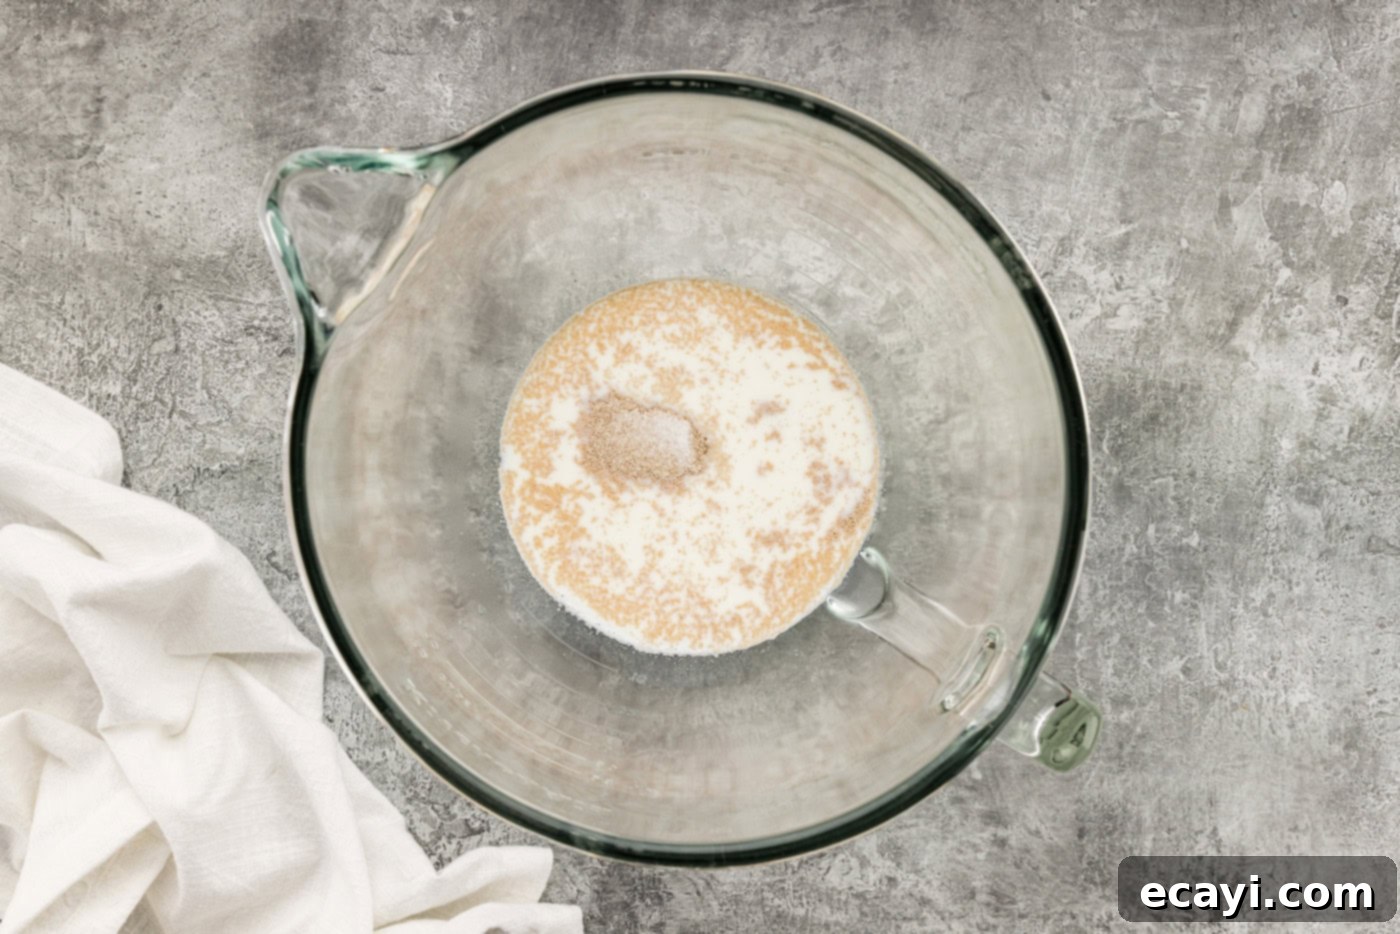
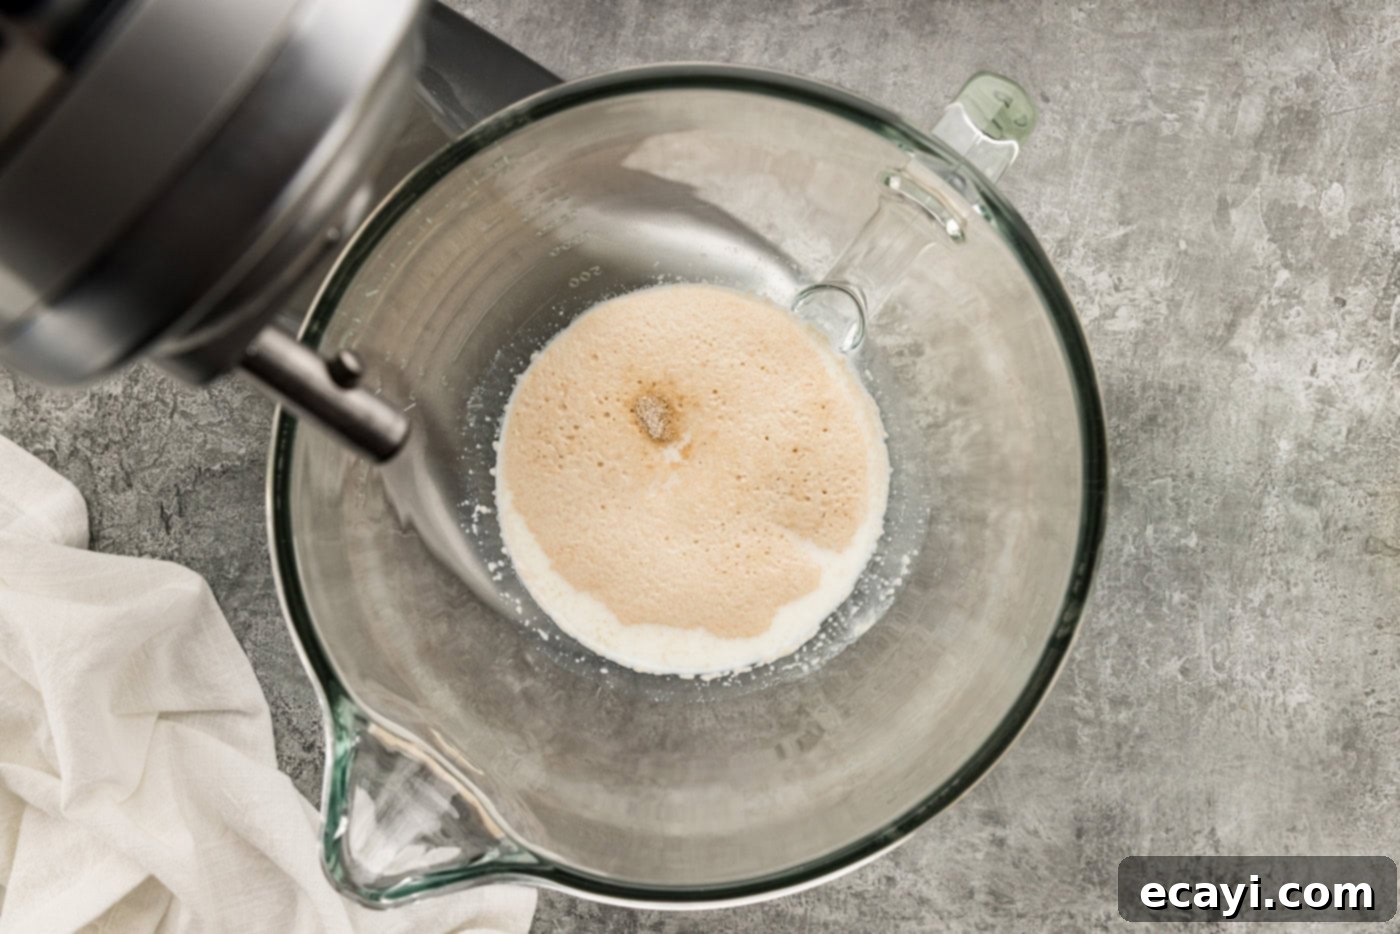
- Activate the Yeast: In the bowl of an electric stand mixer, sprinkle the yeast evenly over the warm milk (remember, 105-115°F). Then, sprinkle the granulated sugar over the yeast. Allow this mixture to proof for 3-4 minutes. You should see a foamy layer form on top, indicating the yeast is active.


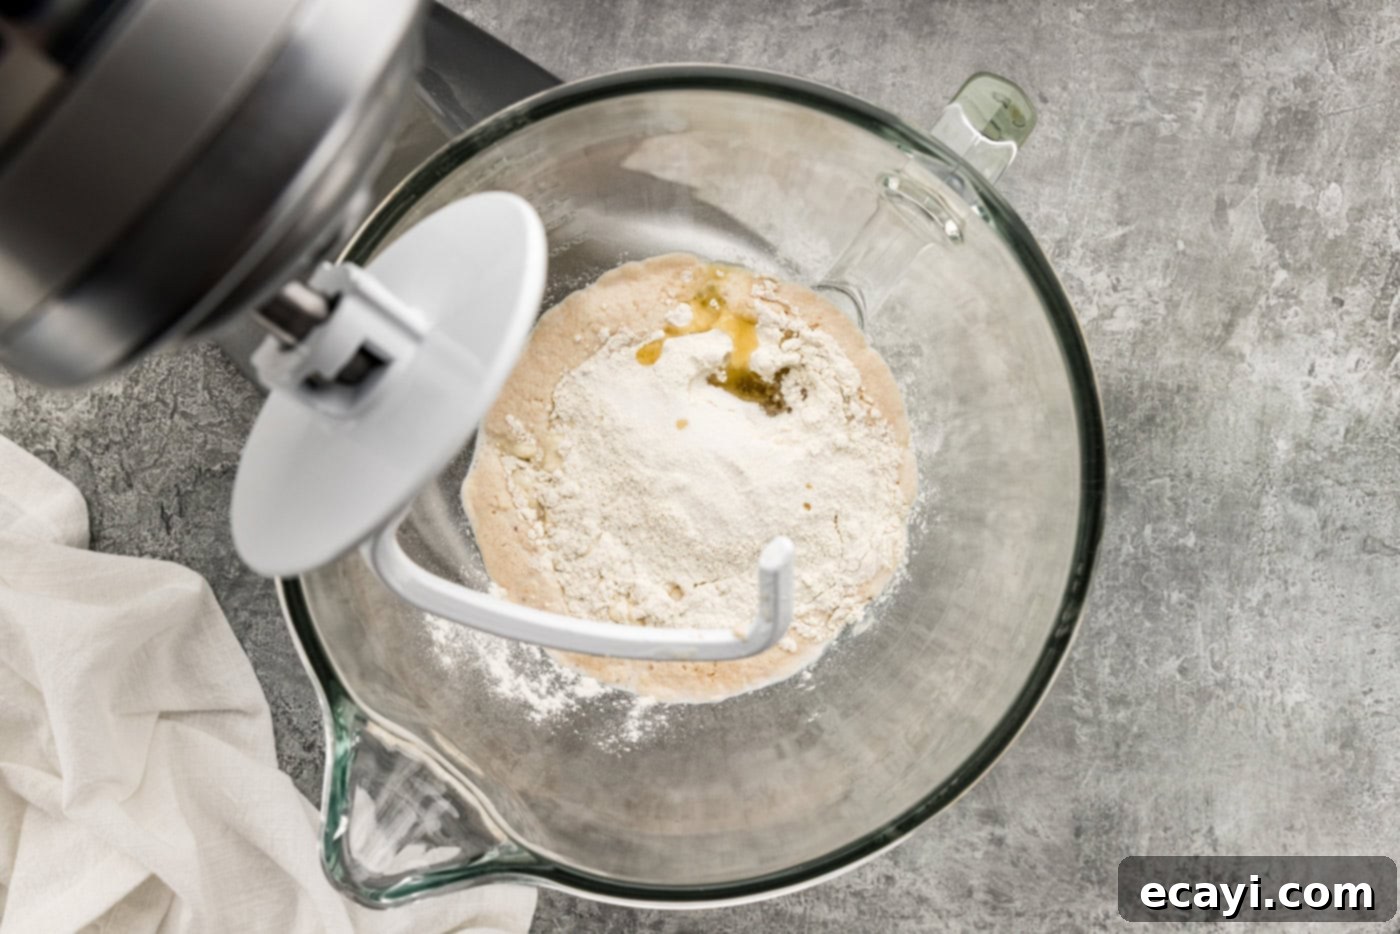
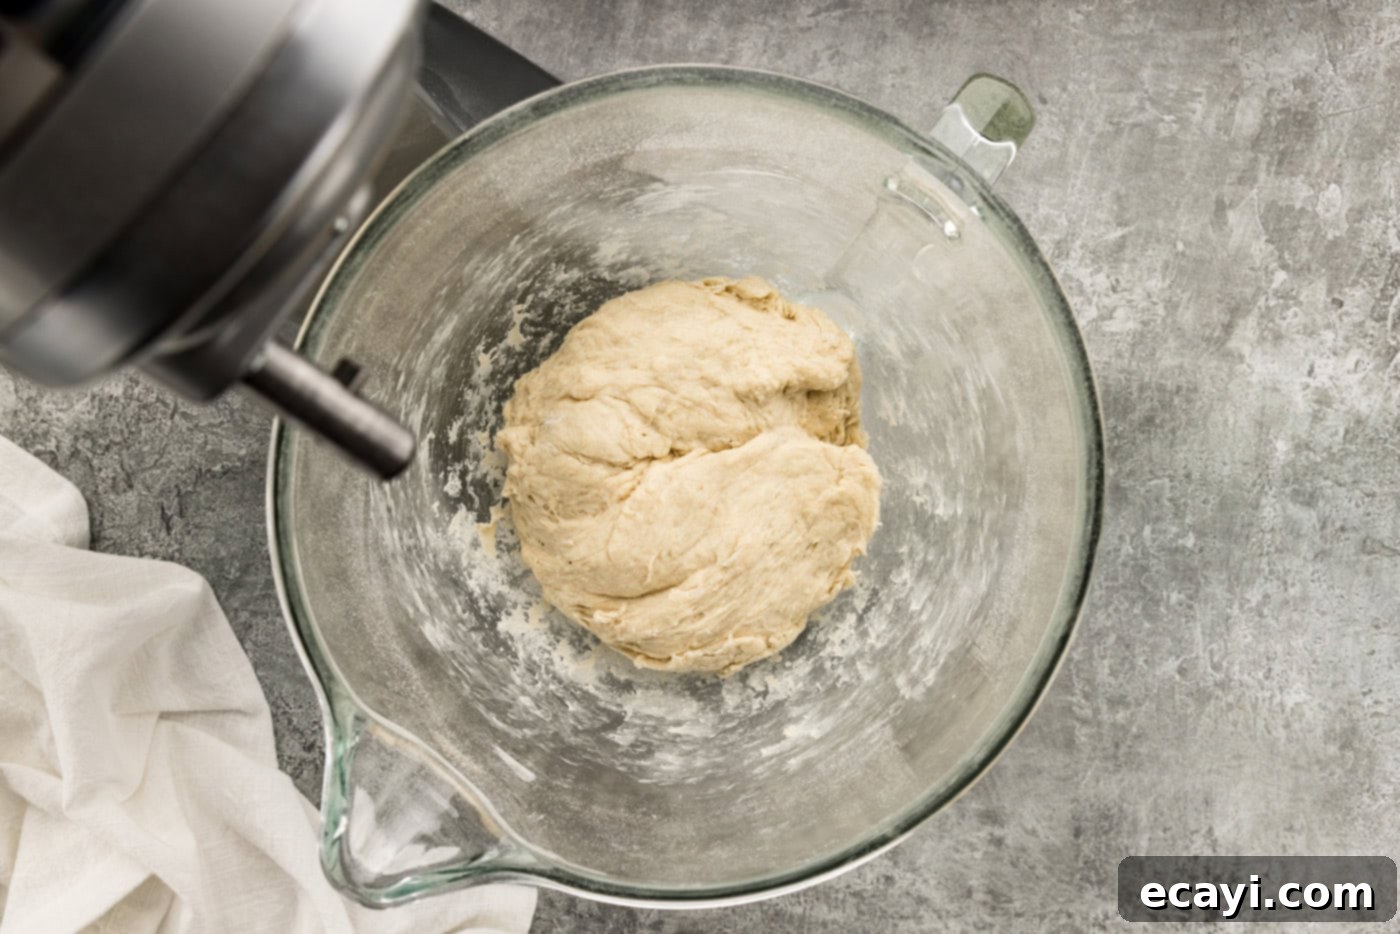
- Mix the Dough: With your mixer set to low speed and fitted with a dough hook, add 1 cup of the all-purpose flour, the olive oil, and the salt to the yeast mixture. Increase the speed to medium and beat the ingredients until the mixture is smooth and well combined. Gradually add the remaining flour, mixing only until it is incorporated. The dough should be soft, slightly sticky, but pull away from the sides of the bowl.


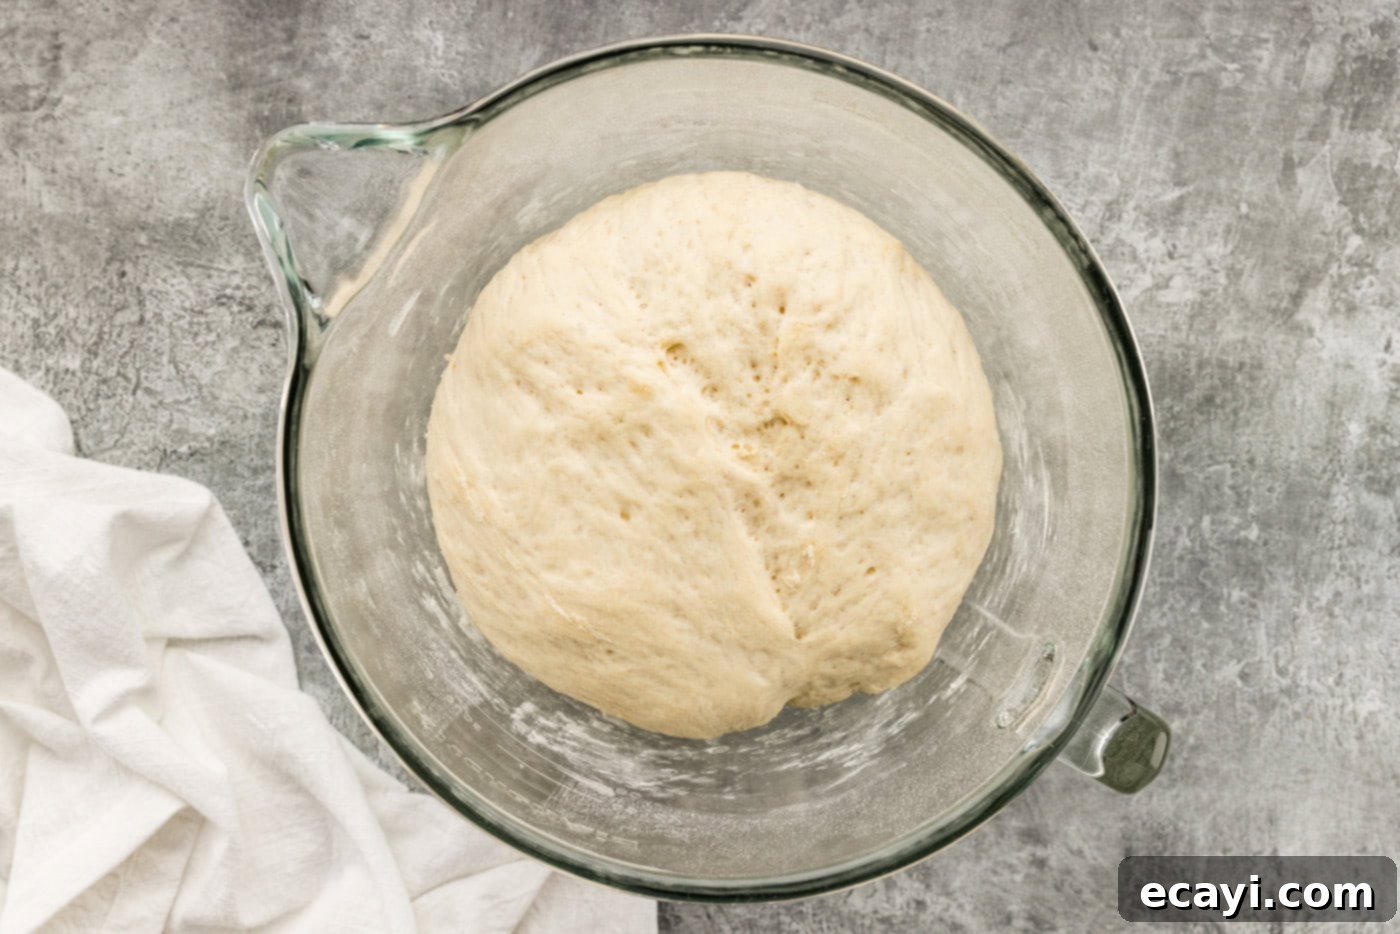
- First Rise (Proofing): Cover the mixer bowl with plastic wrap or a clean kitchen towel. Place the dough in a warm, draft-free place to rise until it has doubled in size. This typically takes about 45 minutes, but it can vary depending on the ambient temperature.

- Prepare for Baking: While the dough is rising or near the end of its rise, preheat your oven to 400°F (200°C). Line two insulated baking sheets with parchment paper. Insulated sheets help prevent the bottoms of the breadsticks from browning too quickly. If you don’t have them, you can stack two regular baking sheets together.
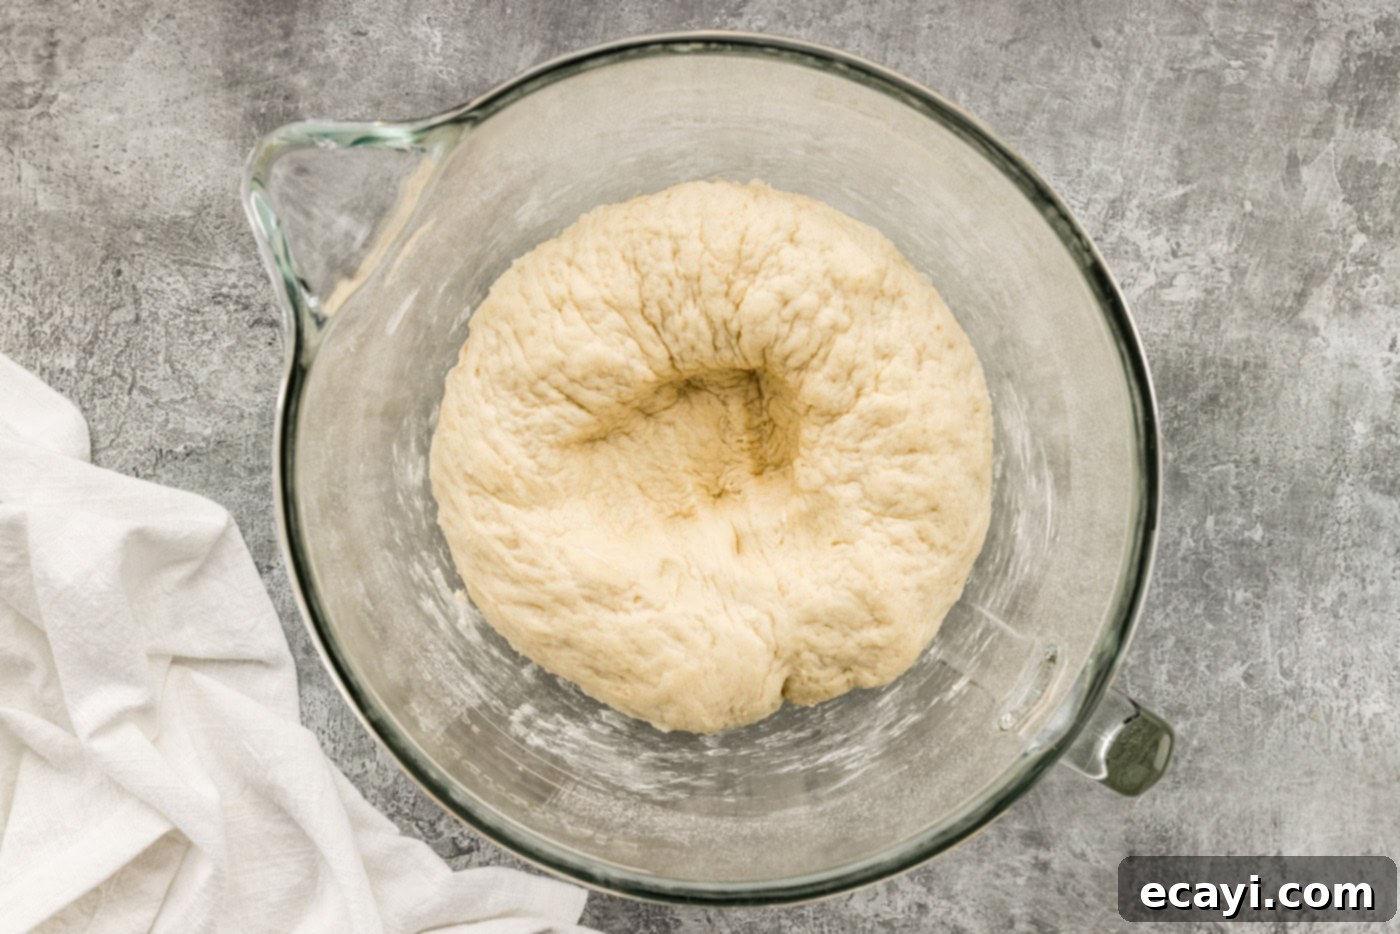
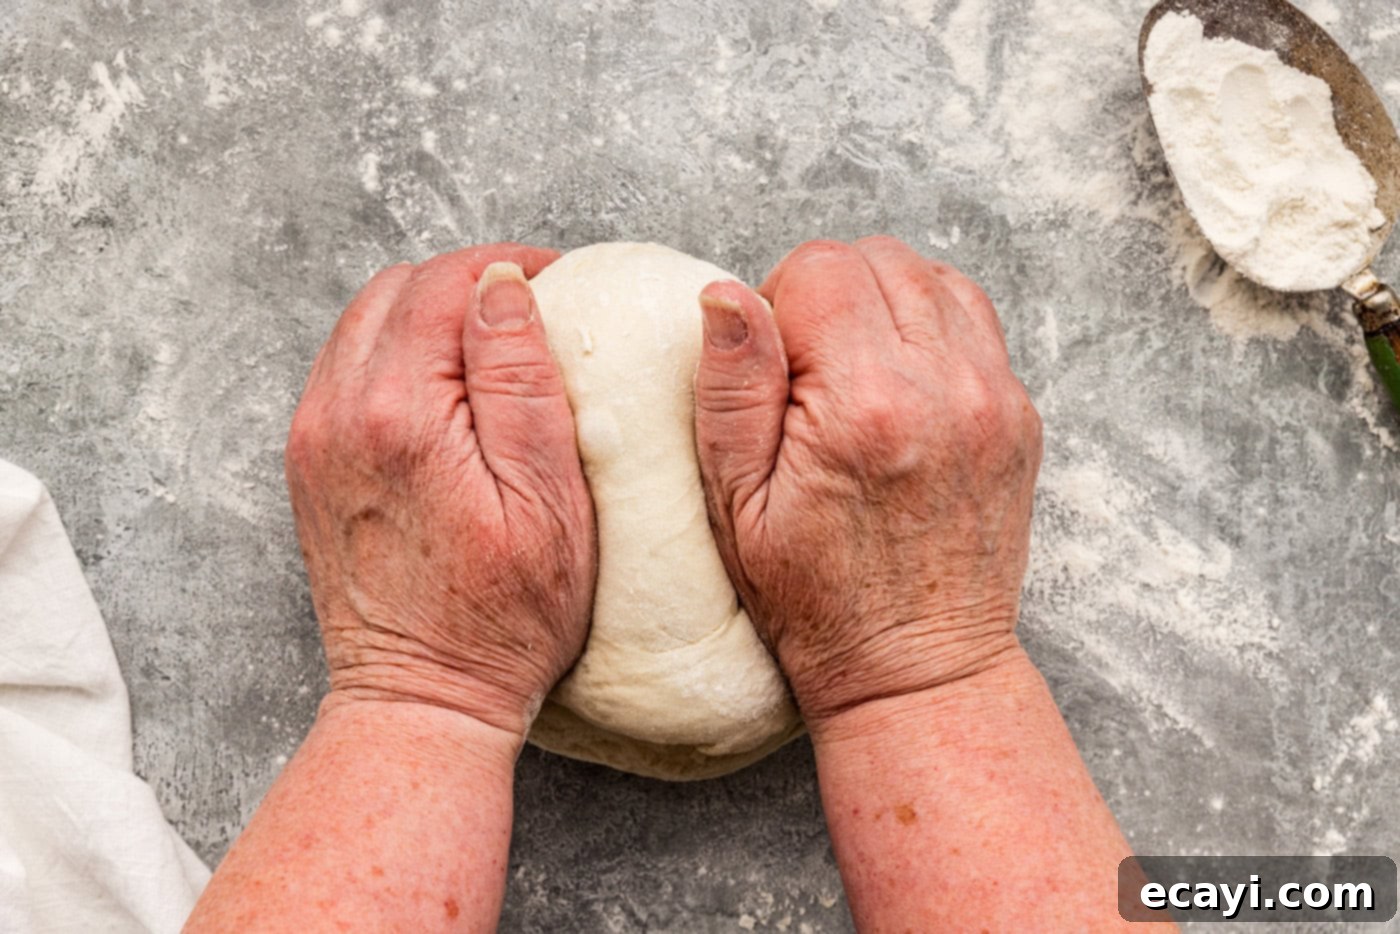
- Punch Down and Knead: Once the dough has doubled, gently punch it down to release the air. Lightly sprinkle your work surface with extra flour. Transfer the dough from the bowl to the floured surface and knead it by hand for 3-5 minutes. The dough should become soft, smooth, and very workable.


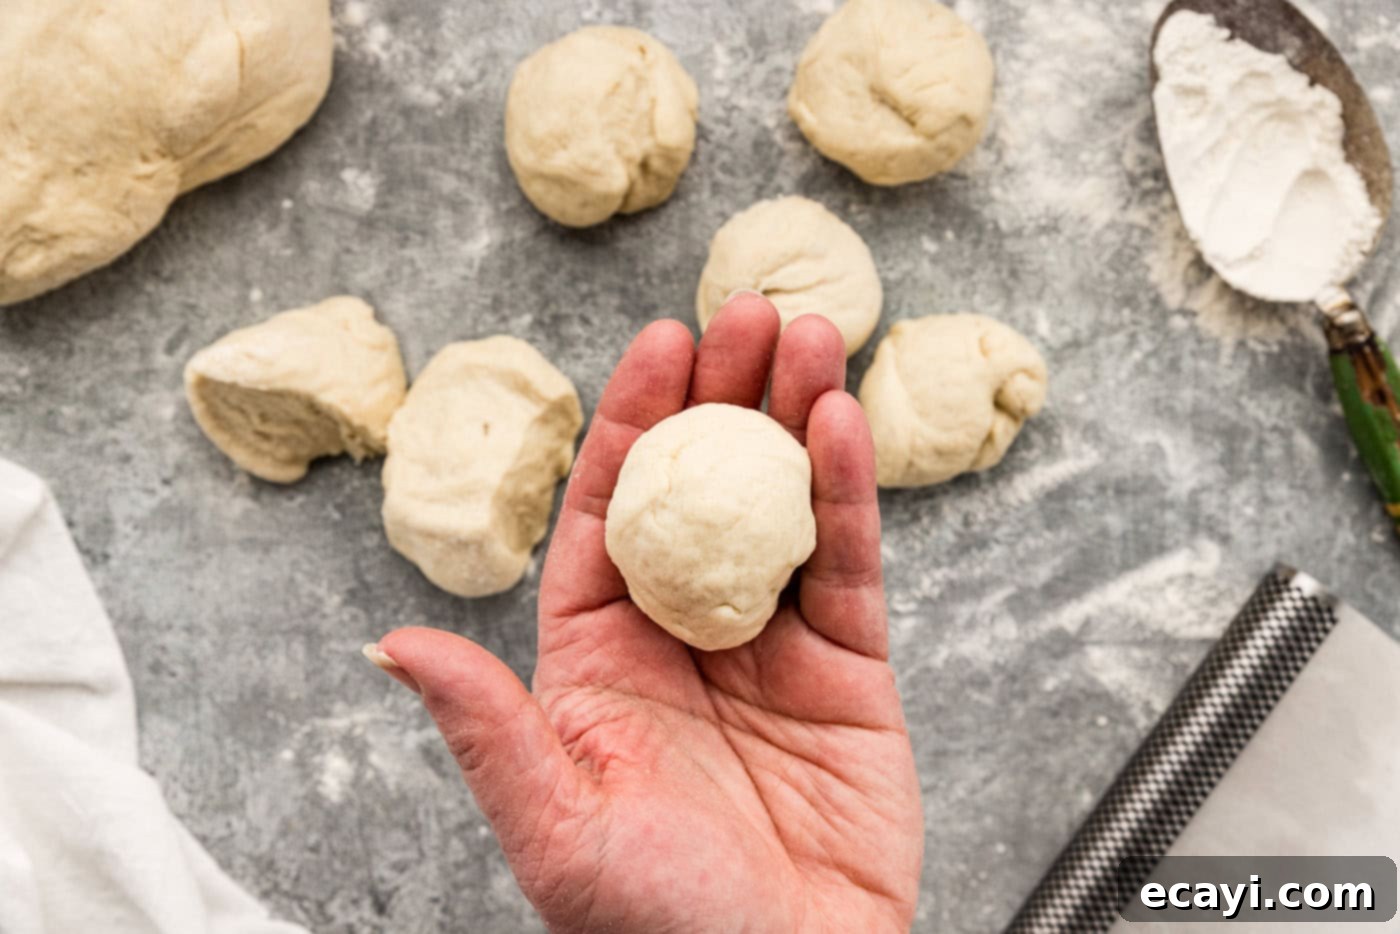
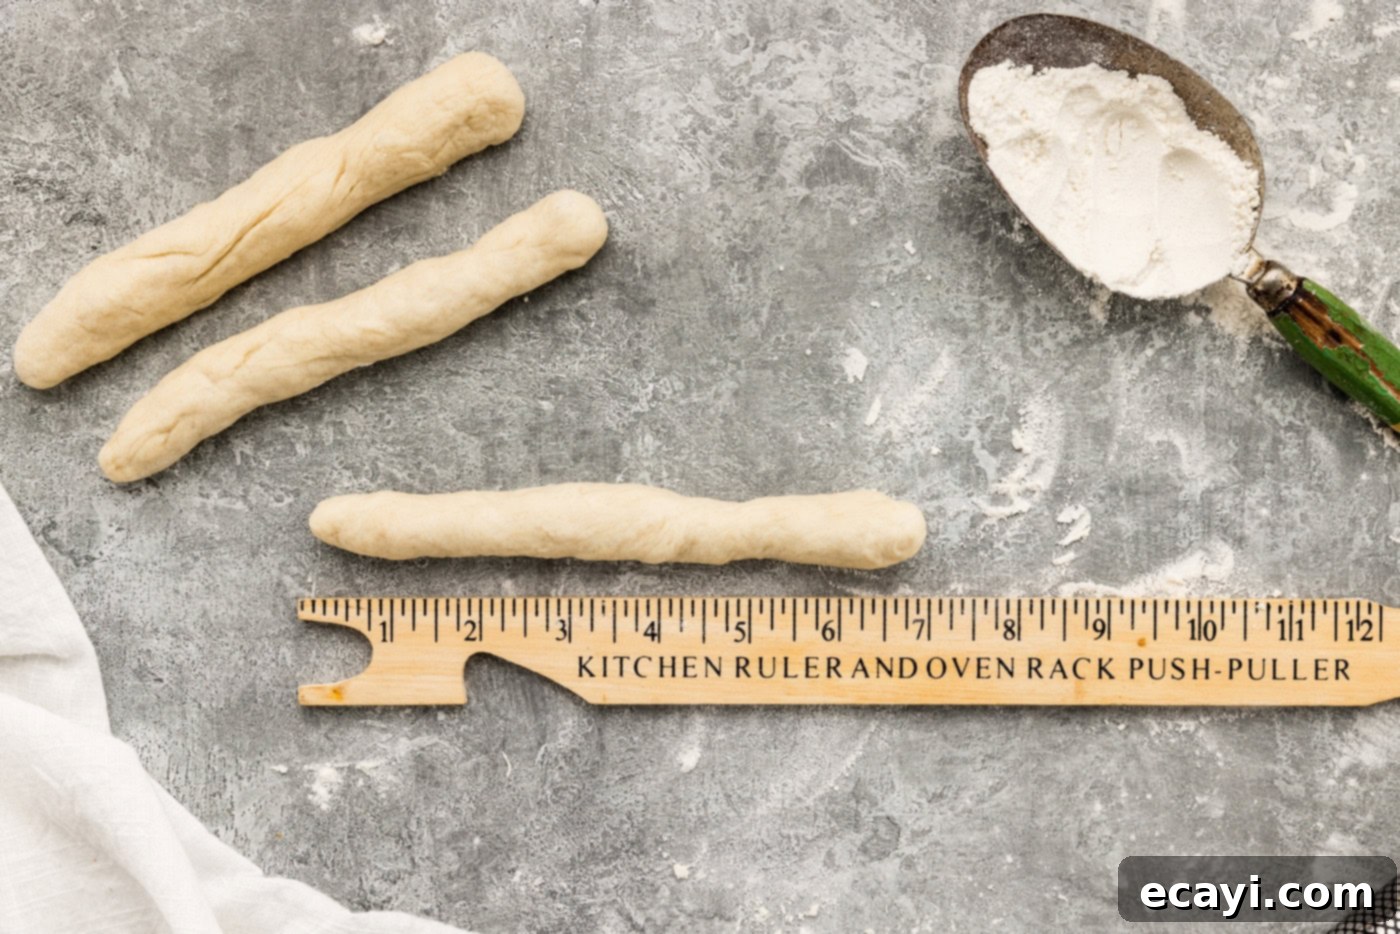
- Shape the Breadsticks: Divide the kneaded dough into 16 equal pieces. For consistency, each piece should be approximately 2 ounces. Roll each piece into a smooth ball, then gently roll it between the palms of your hands or on the work surface into a 7-inch-long stick. Arrange the shaped breadsticks on the prepared baking sheets, ensuring they are about 2 inches apart to allow for expansion. Cover them loosely and let them rise for another 15 minutes. This second, shorter rise helps them become extra soft and fluffy.


- Bake to Golden Perfection: Place the baking sheets in the preheated oven. Bake for approximately 12-13 minutes, or until the crust of the breadsticks is a beautiful light golden brown. Keep an eye on them, as oven temperatures can vary.
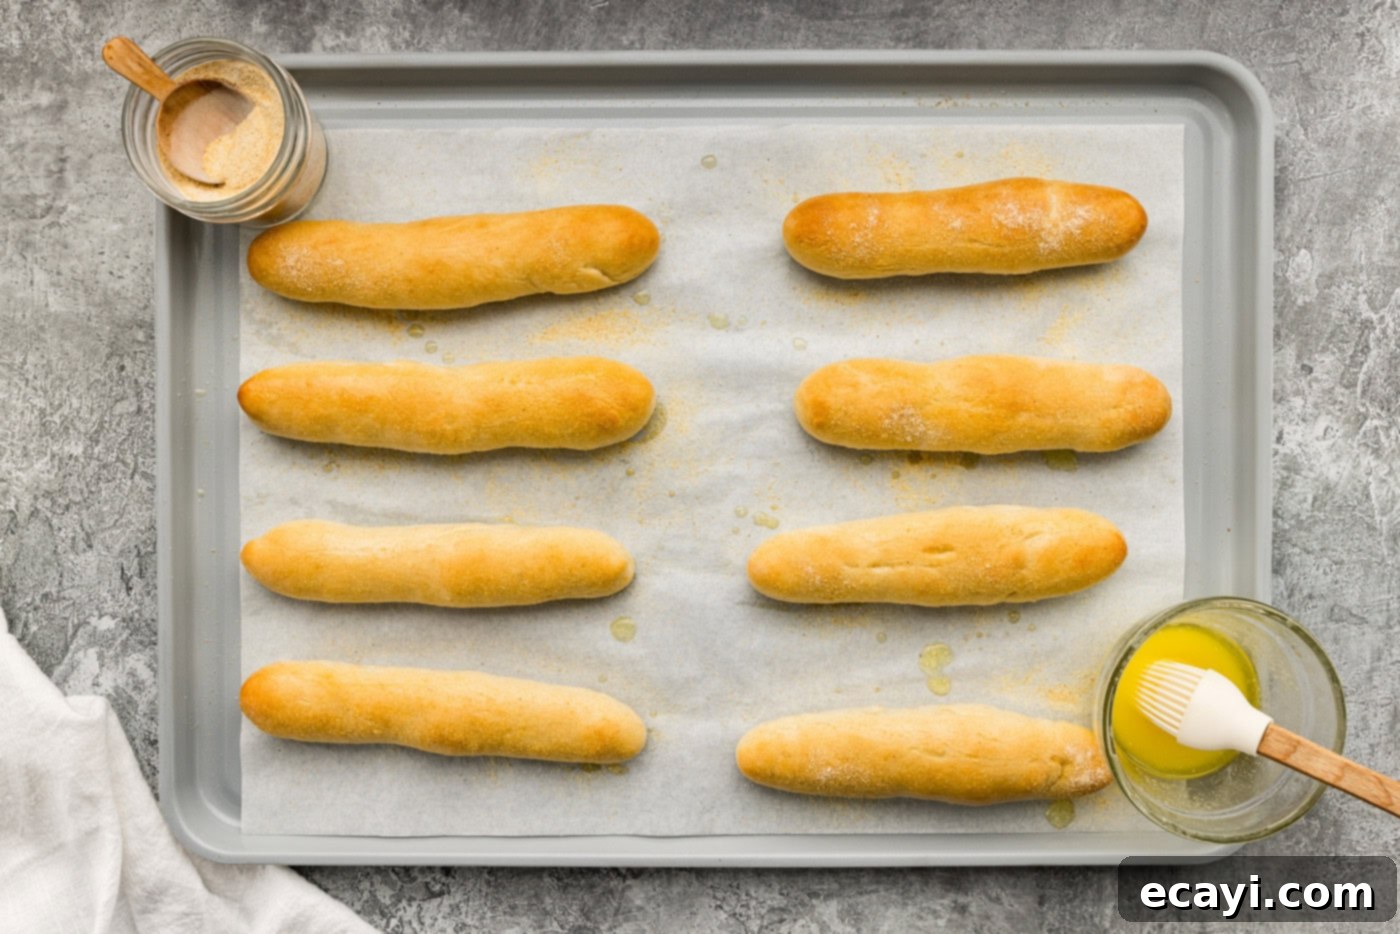
- The Olive Garden Secret Finish: As soon as you remove the breadsticks from the oven, immediately brush them generously with melted butter. While the butter is still wet, sprinkle them liberally with garlic salt. This is the magical step that infuses them with flavor and gives them their signature sheen and taste. Serve warm and enjoy!

Frequently Asked Questions & Expert Tips for Perfect Breadsticks
While these breadsticks are undeniably best served warm and steamy straight from the oven, you can absolutely store any fully cooled leftovers. Place them in an airtight container or a large ziptop bag and keep them at room temperature for up to 2-3 days. To restore their freshness and warmth, reheat them briefly in an air fryer (at 350°F for 2-3 minutes), a toaster oven, or a conventional oven (at 300°F for 5-7 minutes) until they are warmed through and soft again. Avoid microwaving, as it can make them chewy.
Yes, these breadsticks freeze beautifully, offering a convenient way to enjoy them anytime! We recommend par-baking them first (or freezing them after they are fully baked). To par-bake, place the shaped breadsticks in the oven until they form a slight crust and hold their shape, but are not yet browned (about 8-10 minutes). Allow them to cool completely. Then, arrange the cooled breadsticks on a baking sheet and flash freeze them until solid. Once solid, transfer them to a freezer-safe bag or airtight container, ensuring as much air is removed as possible, and freeze for up to 3 months.
When you’re ready to bake, place the frozen breadsticks directly on a parchment-lined cookie sheet. Bake them according to the original instructions (400°F), but keep a close eye on them, as they may require slightly less or more time to reach a light golden brown and be warmed through. Brush with melted butter and garlic salt immediately after baking.
The most common culprits for dough not rising are expired yeast or milk that is too hot or too cold. Always check your yeast’s expiration date. Ensure your milk is precisely between 105-115°F (40-46°C) using a thermometer. Also, make sure your rising environment is warm and draft-free. A slightly warm oven (turned off!) or a sunny spot can work wonders. If your kitchen is particularly cold, it might just need more time to rise.
To get consistent breadstick shapes, first divide your dough into equal portions by weight (around 2 ounces each for this recipe). Use a kitchen scale for precision. When rolling, start by gently shaping each piece into a cylinder, then use the palms of your hands to roll them evenly from the center outwards, maintaining a consistent thickness of about 7 inches in length. Don’t press too hard; a gentle, consistent motion works best.
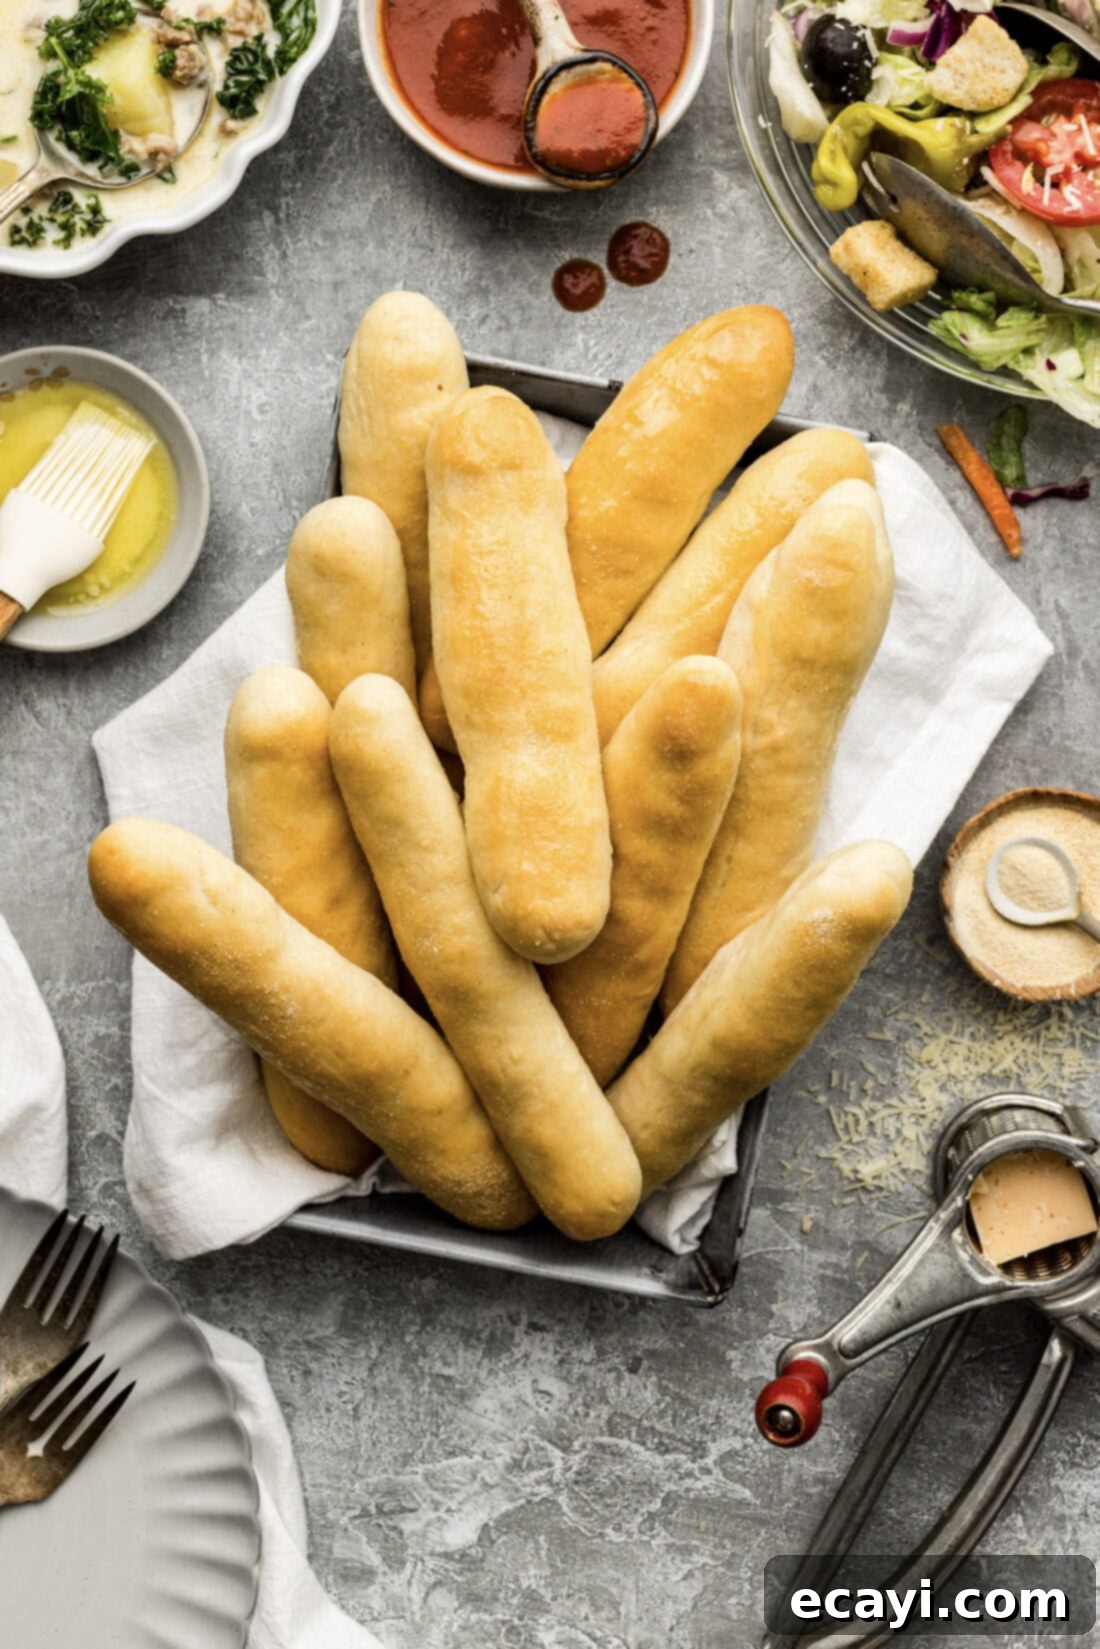
Serving Suggestions for Your Homemade Breadsticks
These copycat Olive Garden breadsticks are incredibly versatile and can accompany a wide variety of meals. Their soft texture and savory garlic flavor make them a perfect complement to many dishes:
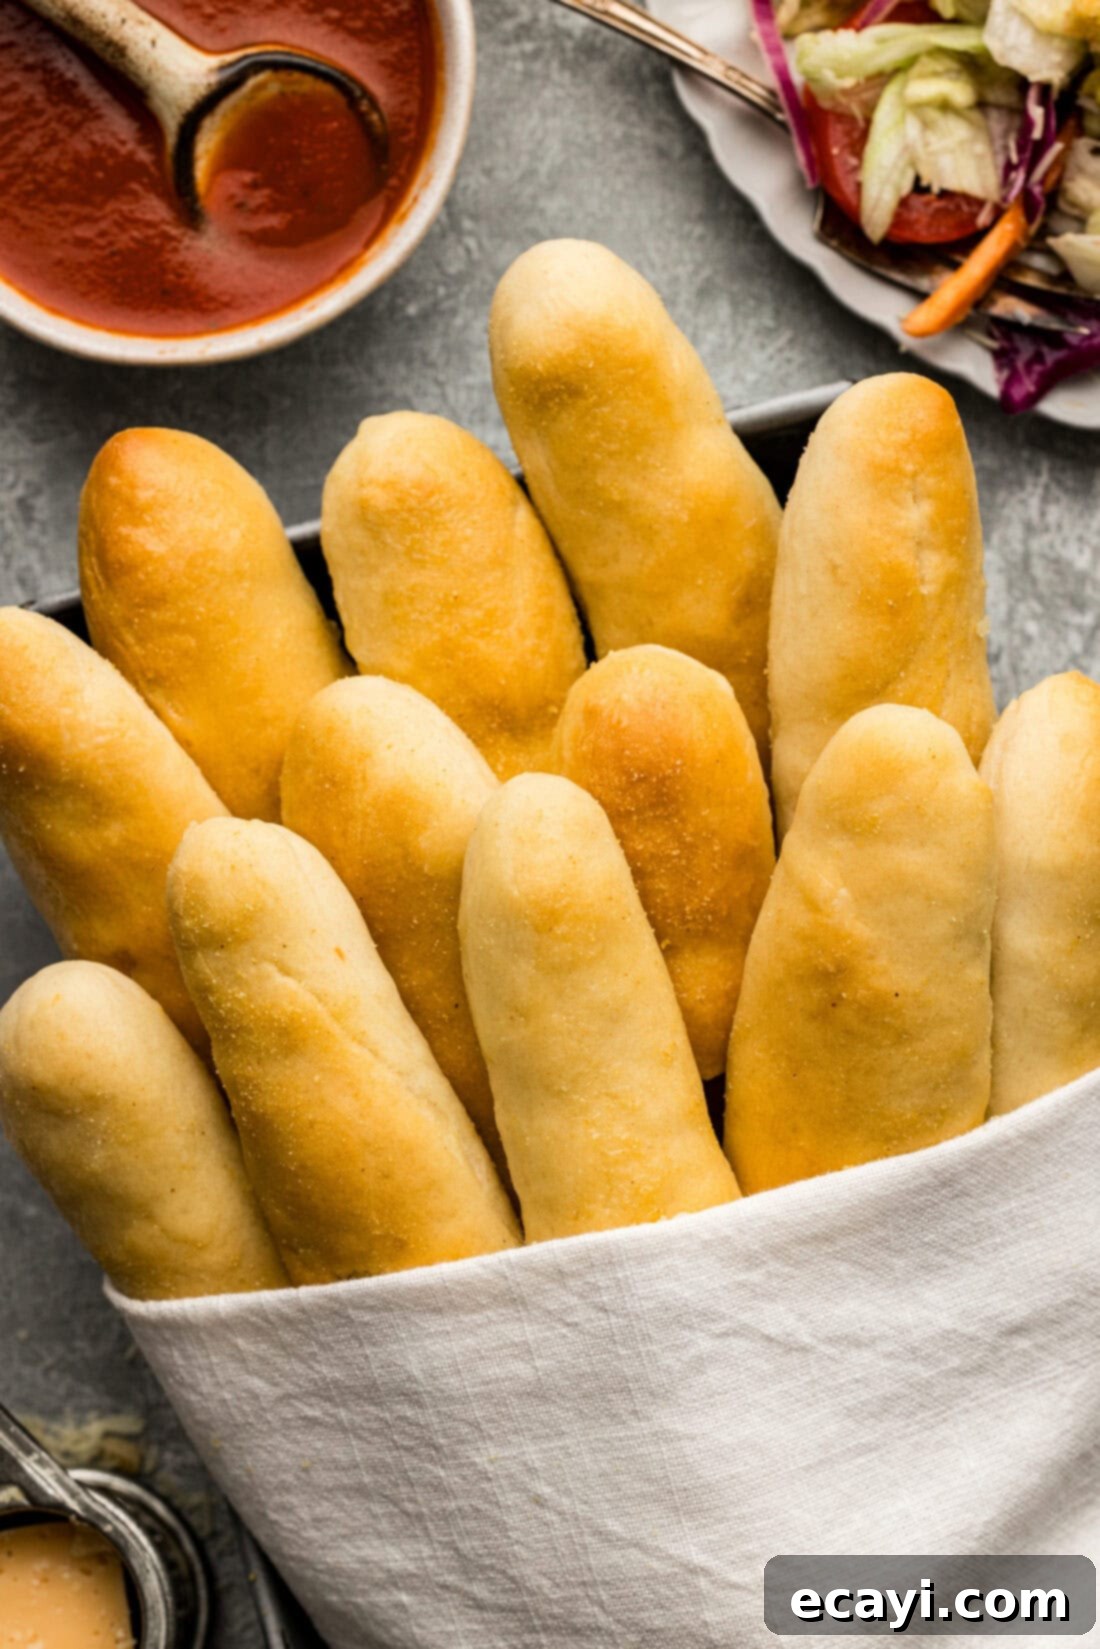
- Classic Pairing: Serve them traditionally with a hearty bowl of soup (like Zuppa Toscana or Pasta Fagioli) and a fresh garden salad for the ultimate Olive Garden at-home experience.
- Italian Mains: They are a natural fit for any pasta dish, pizza, lasagna, chicken parmesan, or manicotti. Use them to soak up delicious sauces!
- Dipping Delights: Don’t limit yourself! These breadsticks are fantastic for dipping into marinara sauce, creamy alfredo sauce, or even a rich vodka sauce.
- Appetizer Spread: Serve them as part of an appetizer platter with various dips and spreads for gatherings.
- Garlic Bread Alternative: They can easily replace traditional garlic bread alongside any meal where you’d typically serve it.
More Delicious Copycat Olive Garden Recipes to Try
If you love recreating restaurant favorites at home, explore these other popular Olive Garden copycat recipes from our kitchen:
- Copycat Olive Garden Peach Iced Tea
- Hearty Olive Garden Copycat Zuppa Toscana
- Creamy Olive Garden Chicken Gnocchi Soup
- How to Make Authentic Bruschetta
I love sharing my passion for baking and cooking, and I’m always experimenting with new recipes to bring to your table! To ensure you never miss out on a delicious new creation or a valuable kitchen tip, I offer a convenient newsletter delivered straight to your inbox every time a new recipe posts. Simply subscribe here and start receiving your free daily recipes, inspiration, and culinary adventures!

Olive Garden Breadsticks
Soft, pillowy, copycat Olive Garden breadsticks kissed with melted butter and garlic salt as the finishing touch. This easy recipe brings the taste of your favorite restaurant right to your home.
Course: Appetizer, Breads
Cuisine: American, Italian
Servings: 16 breadsticks
Total Time: 1 hr 15 mins
Calories: 152 kcal per breadstick
Author: Amanda Davis
Ingredients
- 1 package quick-acting active dry yeast (4 tsp, or 0.2 ounces)
- 1 ⅓ cup milk, warmed to 105-115°F degrees (40-46°C)
- 1 Tablespoon granulated sugar
- 3 to 3 ½ cups all-purpose flour (390g – 455g), plus extra for dusting work surface
- 3 Tablespoons extra virgin olive oil
- 1 teaspoon salt
- 2-3 Tablespoons melted butter
- Garlic salt, for sprinkling
Things You’ll Need
- Stand mixer with a dough hook
- Insulated baking sheets (or two regular baking sheets stacked)
- Parchment paper
- Digital cooking thermometer
Before You Begin – Important Notes
- If you don’t have insulated baking sheets, simply double up on regular baking sheets (stacking one on top of the other). This technique helps to prevent the bottom of the breadsticks from browning too quickly.
- Always confirm that your yeast is not expired. Inactive or expired yeast is the most frequent cause of dough failing to rise.
- Accurately test the temperature of your milk. It must be between 105 – 115°F (40-46°C) as measured by a digital cooking thermometer. Milk that is too hot will kill the yeast, while milk that is too cold will prevent it from activating, both leading to a dough that won’t proof.
Instructions
- Activate Yeast: Sprinkle the quick-acting active dry yeast over the warm milk (105-115°F) in an electric mixer bowl. Then, sprinkle the granulated sugar over the yeast. Allow this mixture to proof for 3-4 minutes until it becomes foamy.
- Combine Ingredients: With the mixer on low speed, add 1 cup of the all-purpose flour, 3 Tablespoons of extra virgin olive oil, and 1 teaspoon of salt. Increase the speed to medium and beat until the mixture is smooth.
- Form Dough & First Rise: Gradually beat in the remaining flour until just incorporated, forming a soft dough. Cover the bowl and let the dough rise in a warm, draft-free place until it has doubled in size, which should take approximately 45 minutes.
- Preheat Oven: While the dough rises, preheat your oven to 400°F (200°C). Line two insulated baking sheets with parchment paper.
- Punch Down & Knead: Lightly flour your work surface. Punch down the risen dough and transfer it to the floured surface. Knead the dough by hand for 3-5 minutes, or until it becomes soft, smooth, and workable.
- Shape Breadsticks & Second Rise: Divide the dough into 16 equal pieces, roughly 2 ounces each. Roll each piece into a ball, then roll it between your palms or on the surface into a 7-inch-long stick. Place the sticks on the prepared baking sheets, spaced about 2 inches apart. Cover and let rise for another 15 minutes.
- Bake: Bake the breadsticks in the preheated oven for 12-13 minutes, or until they are light golden brown on the crust.
- The Signature Finish: Immediately upon removing them from the oven, generously brush the hot breadsticks with 2-3 Tablespoons of melted butter. While the butter is still wet, sprinkle them liberally with garlic salt. Serve warm and fresh.
Expert Tips & FAQs Summary
- Breadsticks are best served fresh and warm. Store cooled leftovers in an airtight container at room temperature for 2-3 days. Reheat in an air fryer, toaster oven, or conventional oven to restore warmth and softness.
- To freeze: Par-bake breadsticks until they form a slight crust (not browned). Cool completely, then flash freeze on a baking sheet until solid. Transfer to a freezer bag for up to 3 months. Bake from frozen according to original instructions, adjusting time as needed.
Nutrition Facts (per breadstick)
Serving: 1 breadstick | Calories: 152kcal | Carbohydrates: 23g | Protein: 4g | Fat: 5g | Saturated Fat: 2g | Polyunsaturated Fat: 0.5g | Monounsaturated Fat: 2g | Trans Fat: 0.1g | Cholesterol: 6mg | Sodium: 165mg | Potassium: 64mg | Fiber: 1g | Sugar: 2g | Vitamin A: 77IU | Vitamin C: 0.001mg | Calcium: 30mg | Iron: 1mg
Tried this Recipe? Pin it for Later!
Follow on Pinterest @AmandasCookin or tag #AmandasCookin!
This post originally appeared on this blog on Oct 8, 2014, and has since been extensively updated with new photos, expanded content, detailed expert tips, and enhanced instructions to ensure the best possible homemade Olive Garden breadsticks experience.
