Easy Pumpkin Slab Pie Recipe: Your Go-To Holiday Dessert for a Crowd
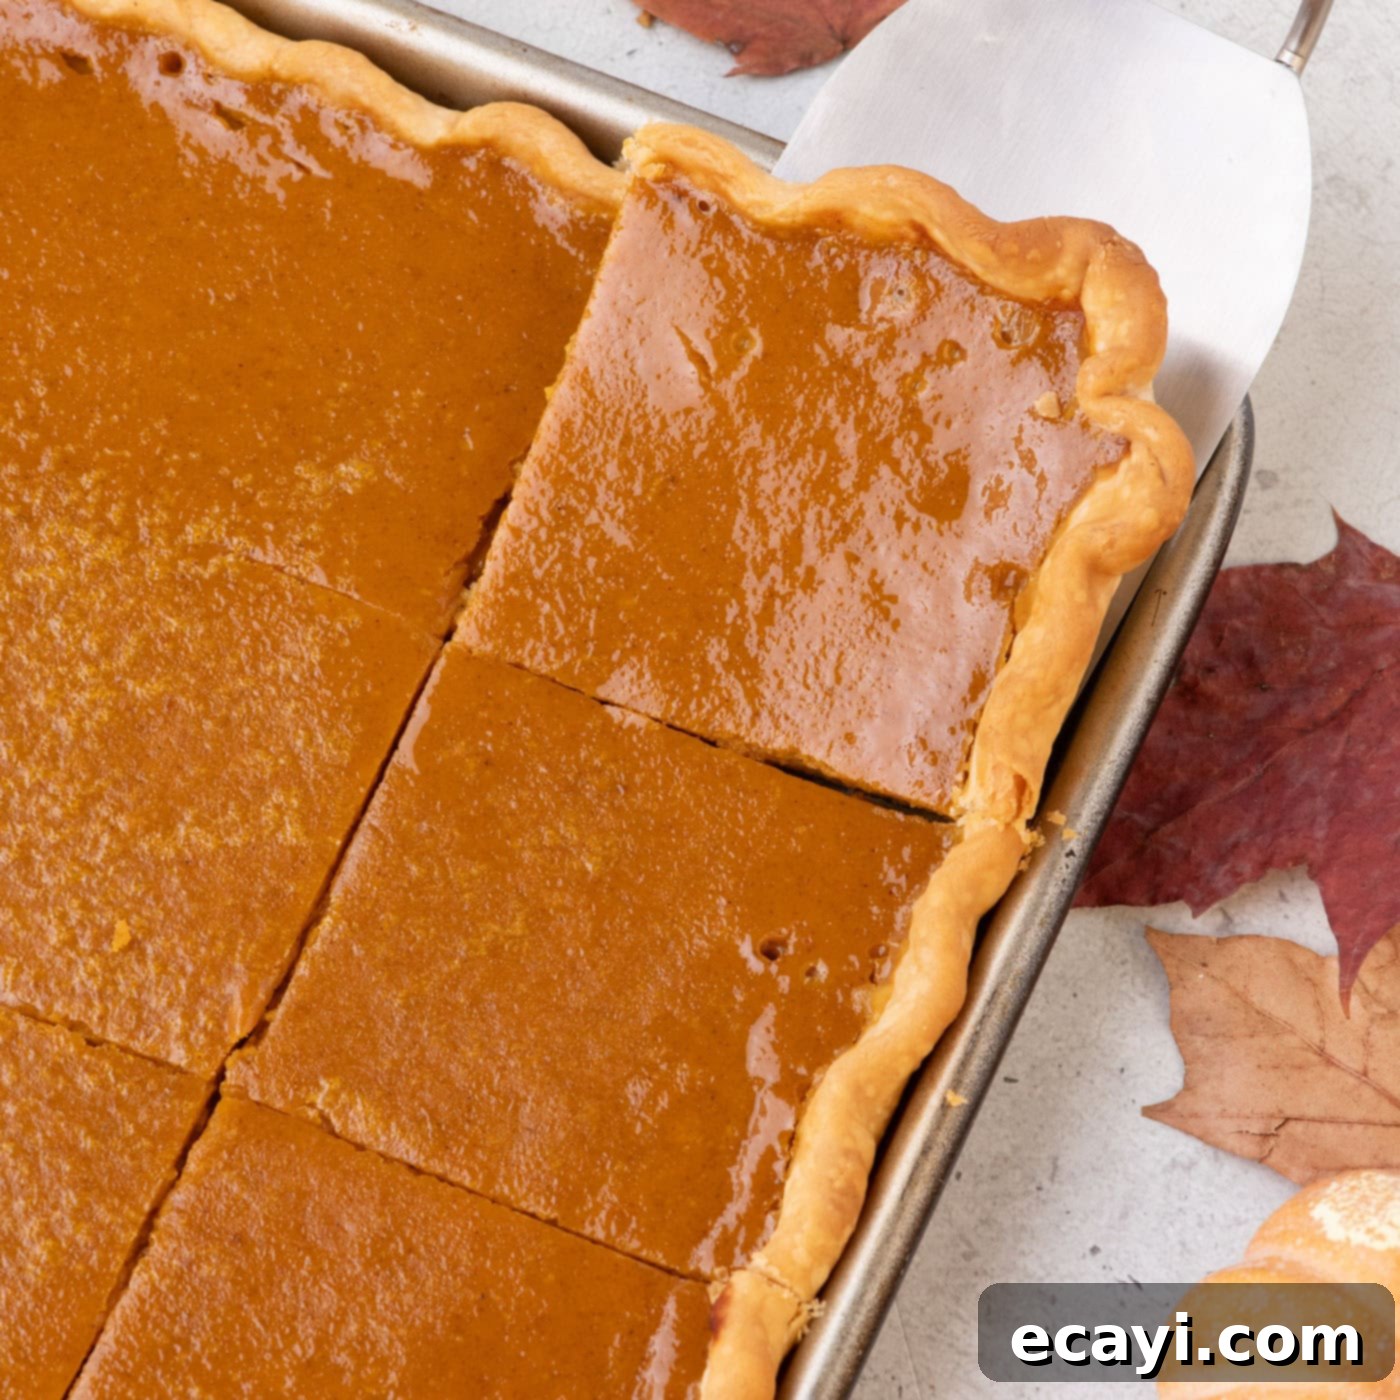
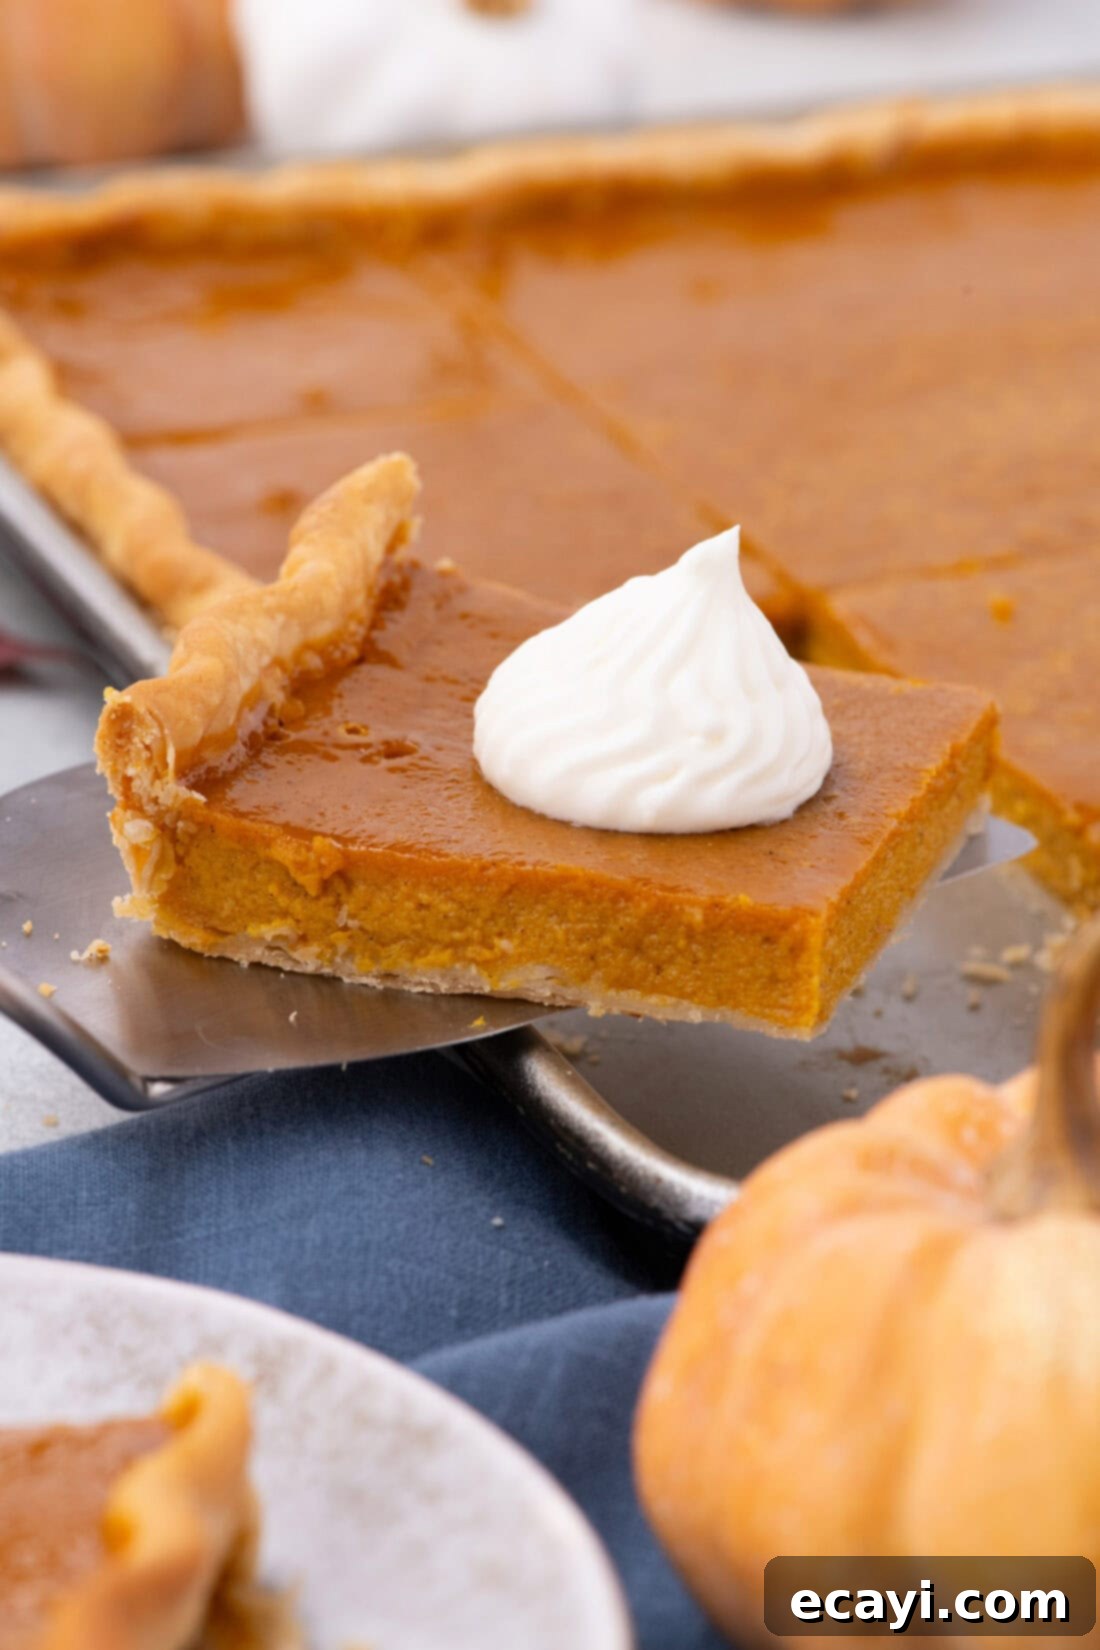
Imagine the delightful aroma of warm spices filling your kitchen, followed by the sight of a golden-brown, flaky pie crust cradling a creamy, rich pumpkin filling. This isn’t just any pumpkin pie; it’s an **easy pumpkin slab pie**, generously topped with swirls of homemade whipped cream. Perfectly designed for feeding a large gathering, this recipe simplifies holiday baking without compromising on that quintessential fall flavor. It’s destined to become a Thanksgiving favorite and a staple for any autumn celebration.
Why This Easy Pumpkin Slab Pie is a Must-Make
Our easy pumpkin slab pie recipe stands out as the ultimate fall dessert, especially when you need to serve a crowd. It leverages the convenience of a refrigerated pie crust, high-quality canned pure pumpkin, and a symphony of warm spices, all enhanced by a subtle hint of bourbon and rich vanilla. This combination creates a dessert that’s not only incredibly flavorful but also remarkably stress-free to prepare.
Slab pies are my secret weapon for parties and holiday gatherings, particularly when catering to an extensive guest list. Unlike traditional round pies, they are baked in a jelly roll pan, resulting in a thinner, more manageable slice. This is absolutely ideal after a hearty holiday meal when everyone is craving something sweet but perhaps not an overly heavy portion. The rectangular shape also makes them incredibly easy to slice into uniform portions, ensuring everyone gets a perfectly shaped piece.
The beauty of this recipe lies in its simplicity and scalability. By using readily available ingredients and straightforward steps, you can create a truly impressive dessert without spending hours in the kitchen. Furthermore, slab pies are excellent make-ahead options. You can prepare and bake the pie a day in advance, allowing the flavors to meld and deepen, which is a huge advantage during busy holiday preparations. In fact, I often prepare two different slab pies – a classic apple slab pie and this irresistible pumpkin version – to offer variety for Thanksgiving dessert, providing both traditional and crowd-pleasing options.
The warm, inviting aroma of pumpkin pie spice, coupled with the creamy texture of the filling and the crispness of the crust, makes this a comforting and festive treat. It’s a guaranteed crowd-pleaser that brings a touch of homemade warmth to any autumn or winter table, perfect for family reunions or simple cozy evenings.
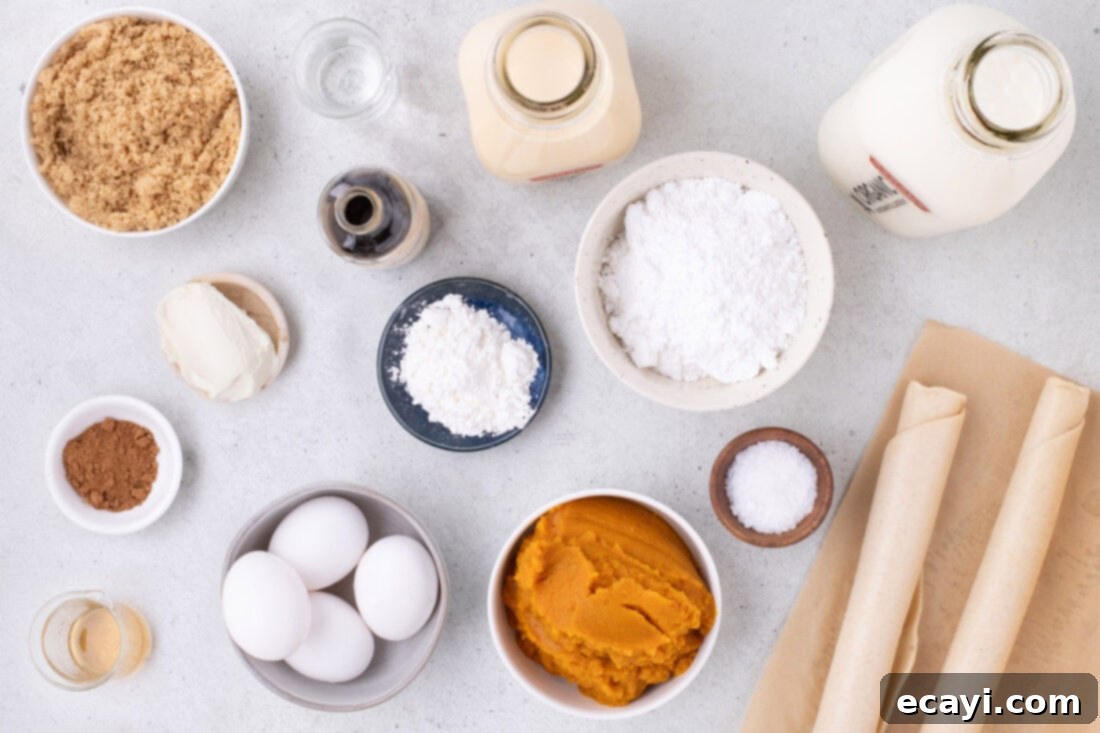
Key Ingredients for Your Delicious Pumpkin Slab Pie
Before you begin your baking adventure, take a moment to gather all the necessary ingredients. Having everything prepped and measured ensures a smooth and enjoyable cooking process. You’ll find a complete list of precise measurements, all required ingredients, and detailed instructions in the printable recipe card located at the very end of this post.
Ingredient Spotlight & Smart Substitutions
Choosing the right ingredients can make a significant difference in the final outcome of your pumpkin slab pie, ensuring both flavor and perfect texture. Here’s a closer look at key components and helpful substitution suggestions:
PUMPKIN: For the best results in this recipe, it’s crucial to understand that not all canned pure pumpkin is created equal. I highly recommend sticking with a reputable brand like Libby’s. Their pumpkin puree is notably thick, dense, and consistent, which is paramount for a perfectly set pie filling that isn’t watery. Many other brands can contain more liquid, leading to a runny or less stable pie that struggles to hold its shape. Always ensure you are using pure pumpkin puree and not pumpkin pie filling, which already contains pre-mixed spices and sweeteners that can alter the flavor profile of this carefully balanced recipe.
BOURBON/RUM: Adding a tablespoon of bourbon or amber-colored rum isn’t just for a subtle alcoholic kick; it profoundly intensifies the warm, earthy, and sweet flavors of the pumpkin and spices. The alcohol helps to draw out and deepen these aromatic notes, adding a layer of sophisticated depth and complexity to the pie that elevates it beyond the ordinary. While highly recommended for its flavor-enhancing qualities, if you prefer to omit alcohol for any reason, you can substitute the bourbon or rum with an additional 1 teaspoon of pure vanilla extract. The vanilla will still provide a lovely aromatic note and a touch of sweetness.
CRUST: To keep this recipe convenient and beginner-friendly, we’ve opted for two premade, refrigerated pie crusts. This choice significantly reduces preparation time and effort, making holiday baking much more enjoyable and accessible, especially when you have many other dishes to prepare. These store-bought crusts provide a reliable, flaky base without the fuss of making dough from scratch. However, if you’re an experienced baker or simply enjoy the process of crafting your own pastry, feel free to make your homemade pie crust from scratch. If you choose this route, you will likely need to double your standard single pie crust recipe to adequately cover the larger surface area of a jelly roll pan effectively and provide enough dough for decorative edges.
How to Craft Your Perfect Pumpkin Slab Pie
These step-by-step photos and detailed instructions are designed to help you visualize each stage of the recipe, ensuring your success. For a complete printable version, including all measurements and a condensed instruction list, you can Jump to Recipe at the bottom of this page.
Preparing the Flaky Slab Pie Crust
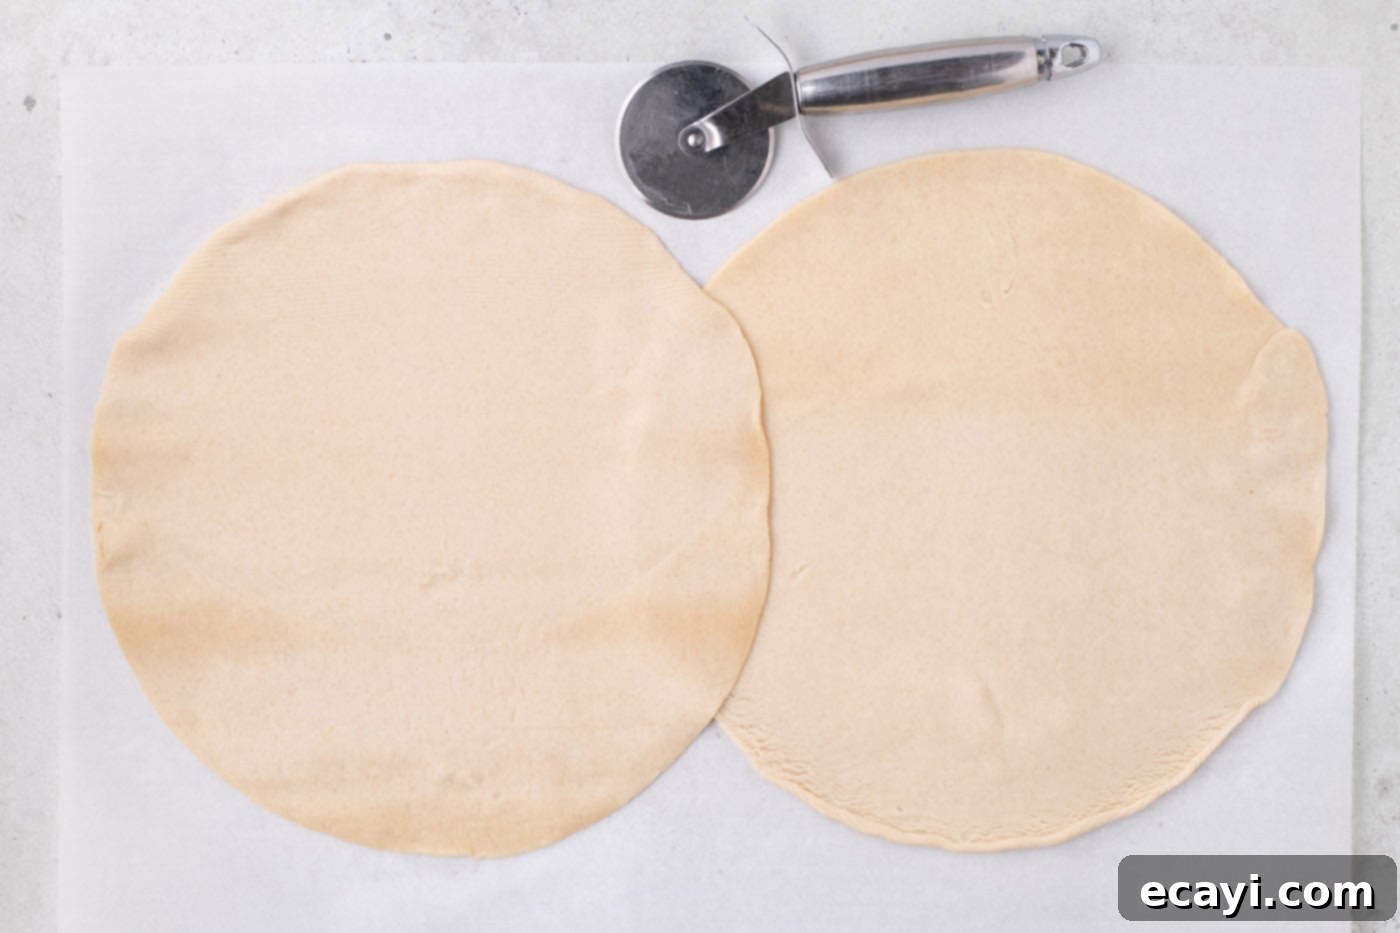
- Prepare the Crust Base: Begin by carefully removing the two refrigerated pie crusts from their packaging. Lay them out on a lightly floured surface or, for even easier cleanup and transfer, on a large sheet of parchment paper. Overlap the two circular crusts in the center by approximately 1 inch. This overlap is crucial for creating a seamless, single, larger rectangular dough that will fit your pan.
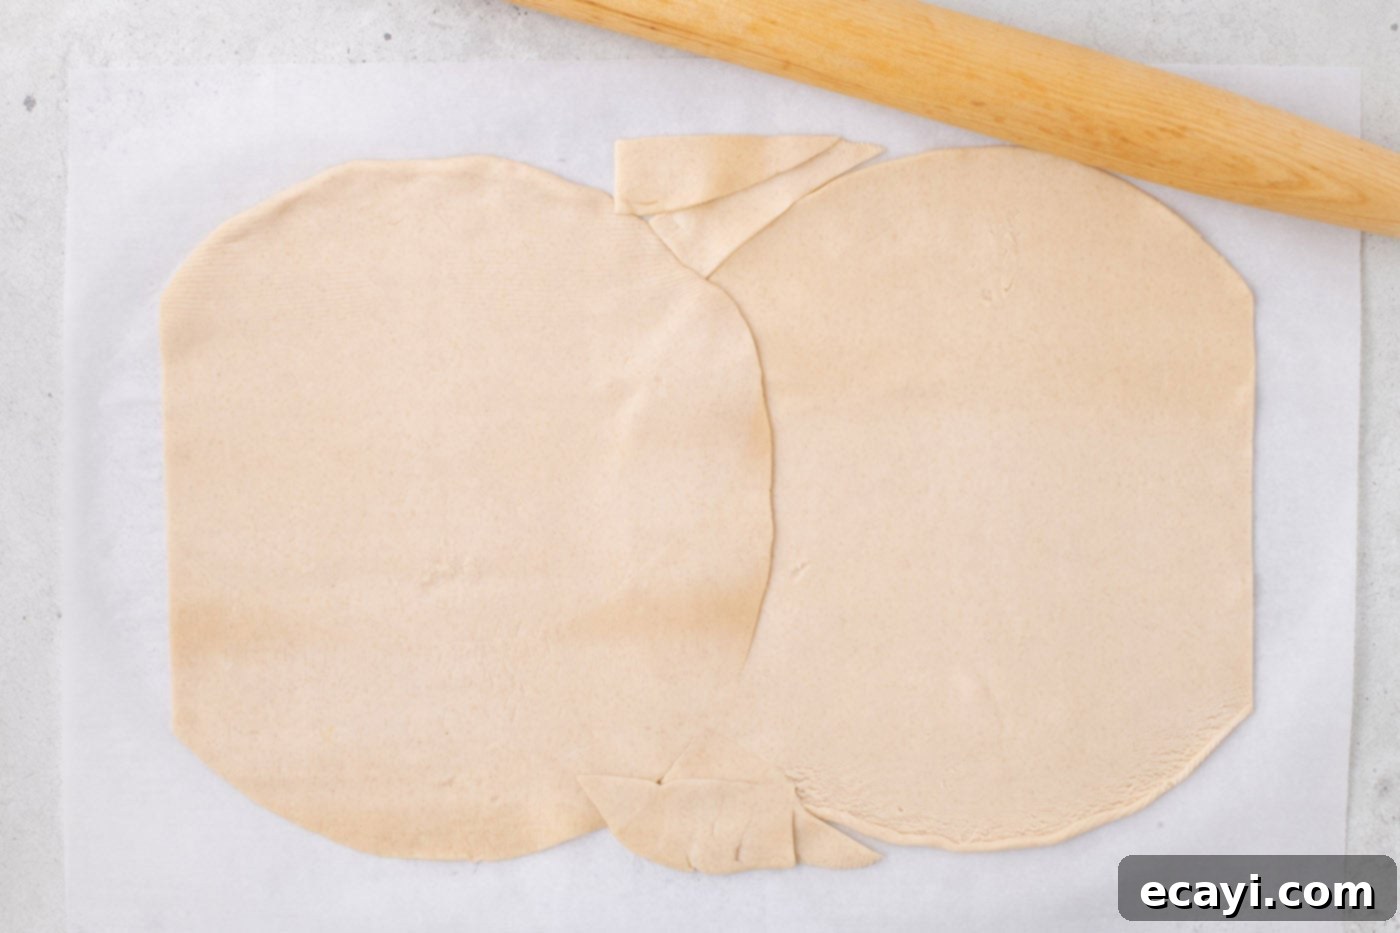
- Shape the Dough: To begin shaping, trim about one inch from the outer two straight sides of each circular crust. These trimmed scraps aren’t waste; strategically place them into the empty spaces at the top and bottom of your overlapped dough. This intelligent placement ensures you have enough dough to roll into a comprehensive rectangle that will perfectly fit your jelly roll pan.

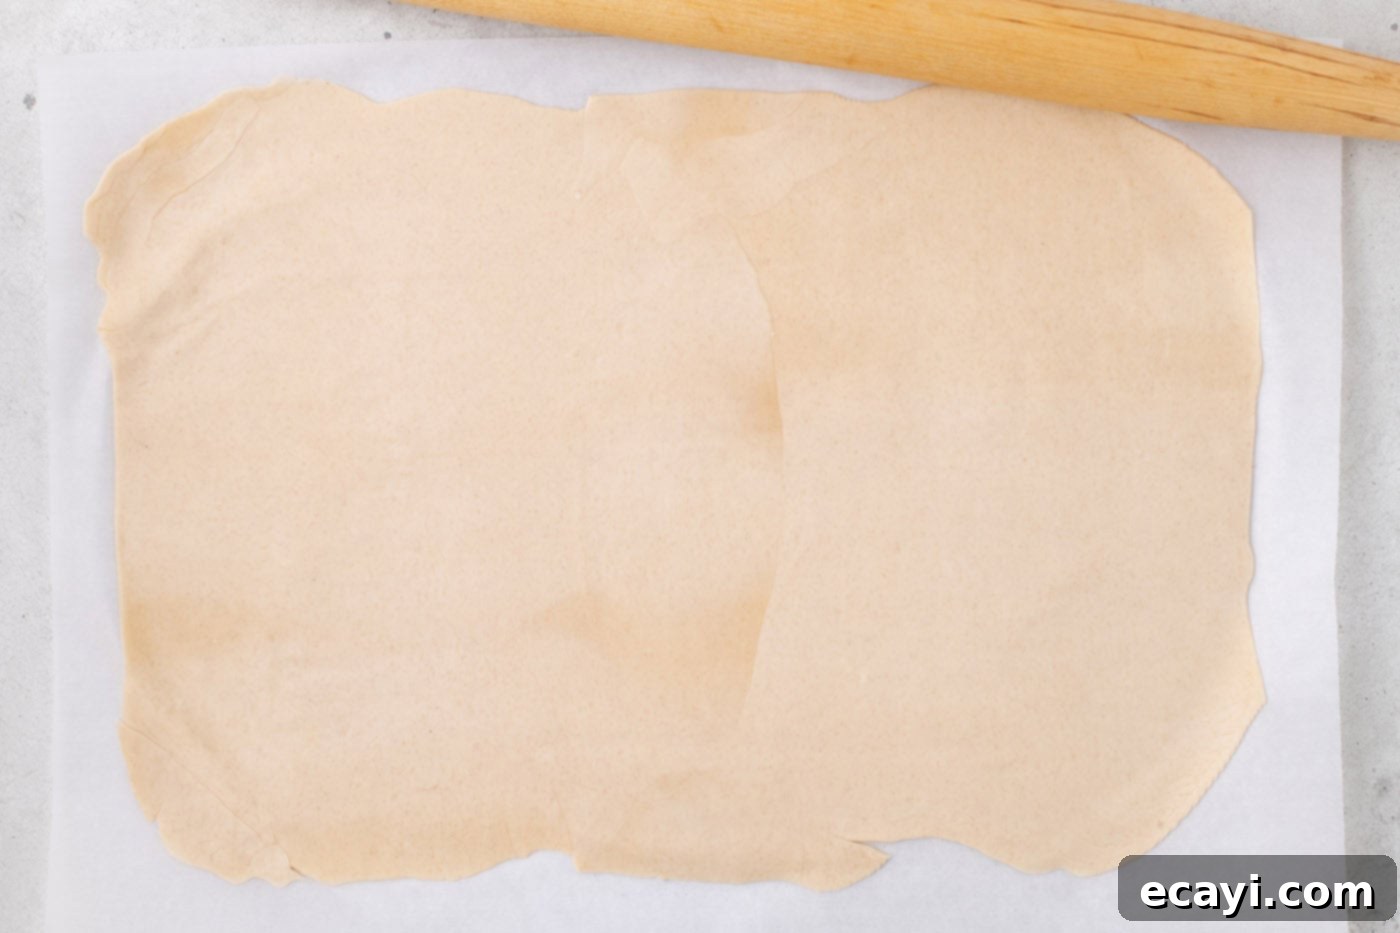
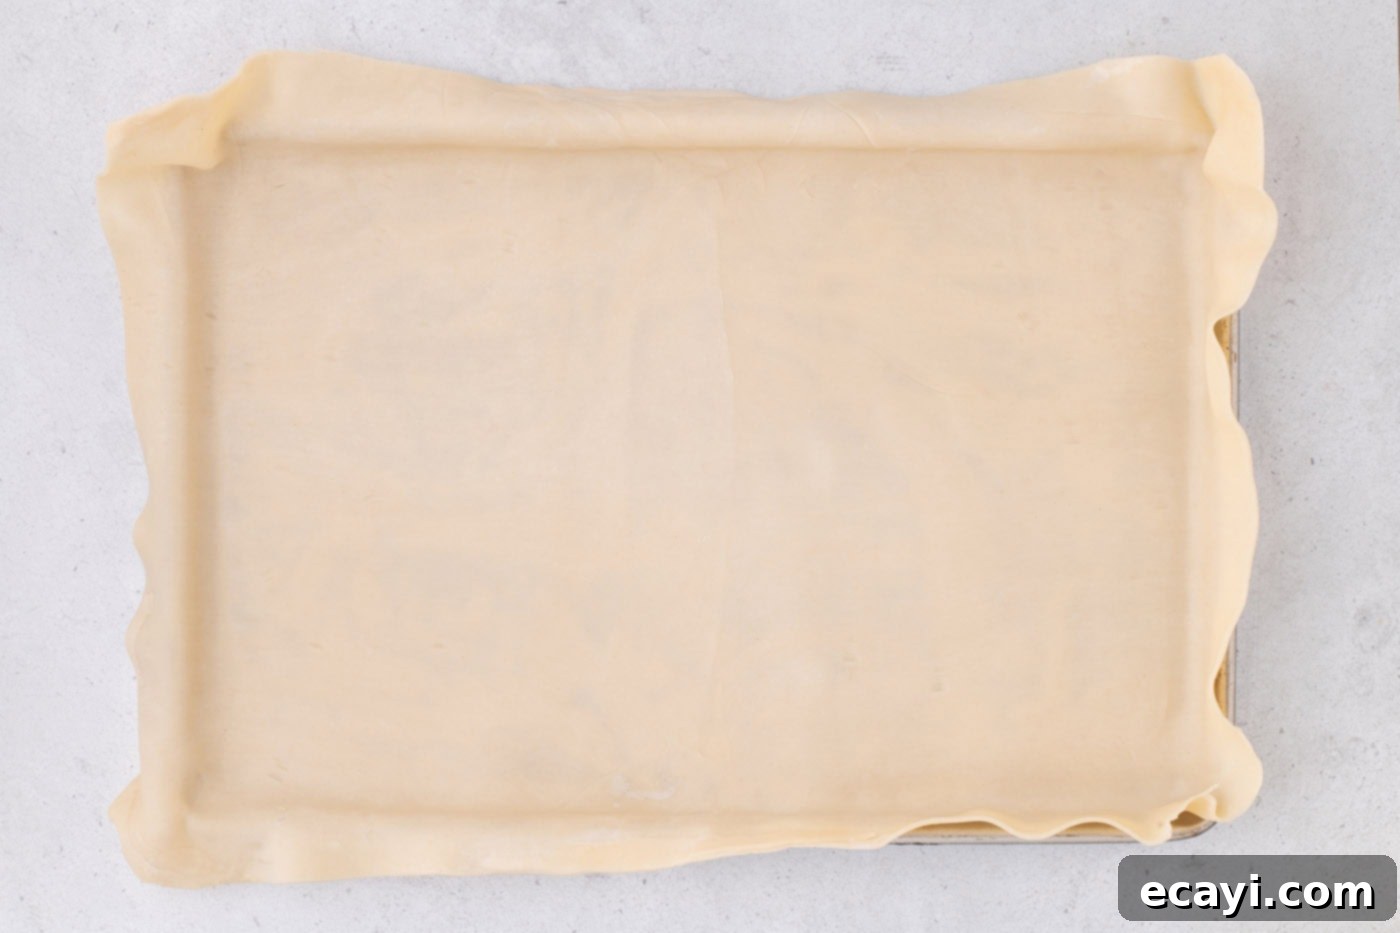
- Roll to Size: Using a rolling pin, gently and evenly roll out the combined dough. Your objective is to achieve a rectangle that is roughly 3 inches larger than your jelly roll pan in both its width and height. This essential extra margin will provide ample dough for creating the beautiful, decorative fluted edge. Once rolled to the correct dimensions, carefully trim the edges straight to form a neat, clean rectangle. Set aside any small remaining dough scraps; they might be useful later for patching any unforeseen holes.

- Transfer to Pan: This step requires a gentle hand. Carefully drape the rolled dough over your rolling pin. This method makes transferring it to a lightly greased jelly roll pan significantly easier and helps prevent tearing. Carefully unroll the dough, letting it sink naturally into the contours of the pan. Take extra care to gently guide it into all the corners, as the dough will be quite thin and delicate. If any small holes or cracks appear during this process, simply use your reserved dough scraps to deftly patch them up.

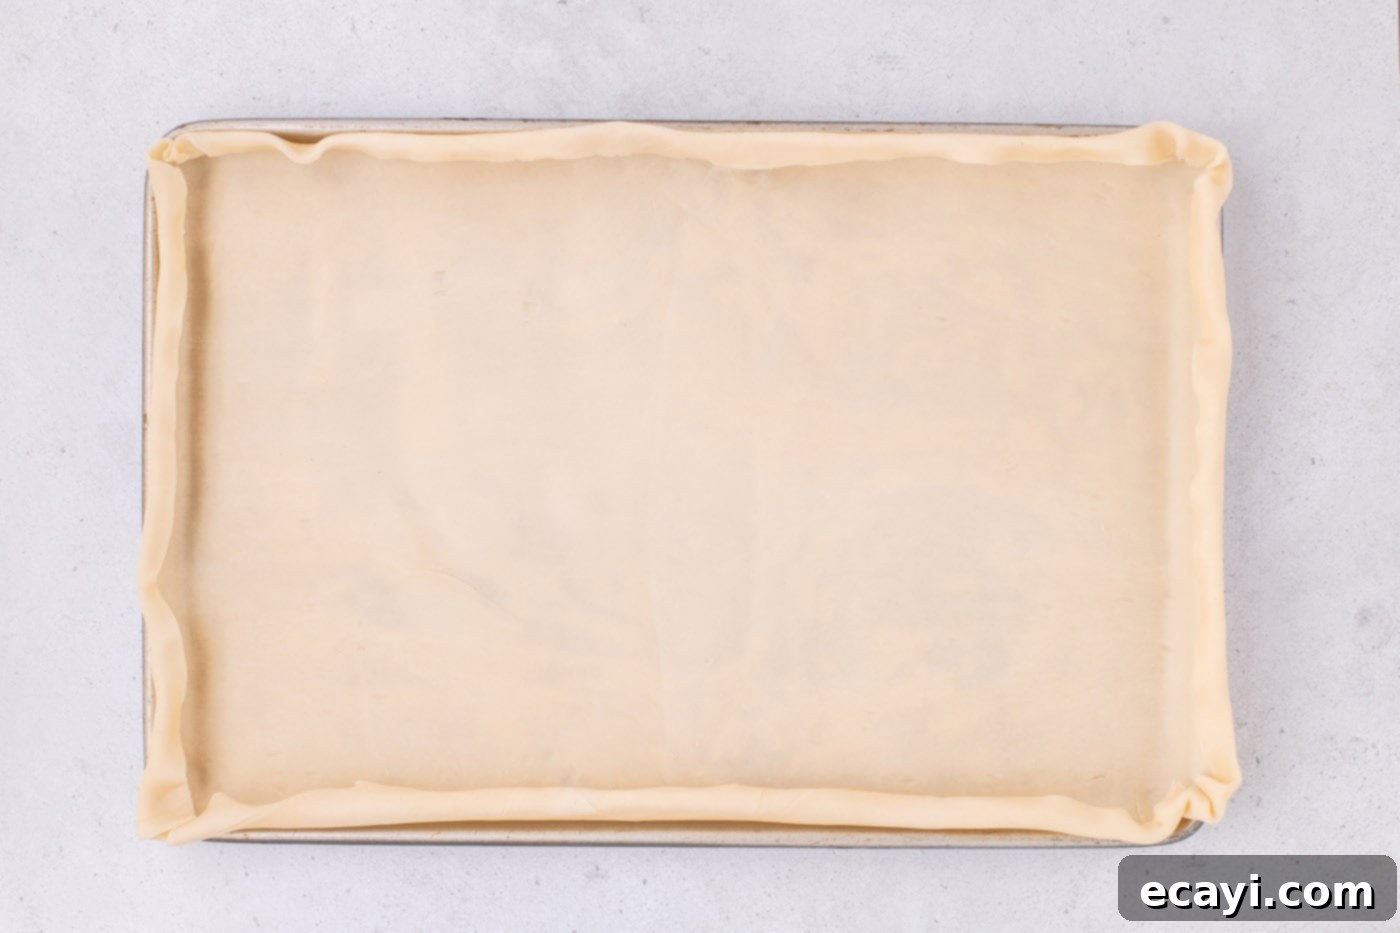
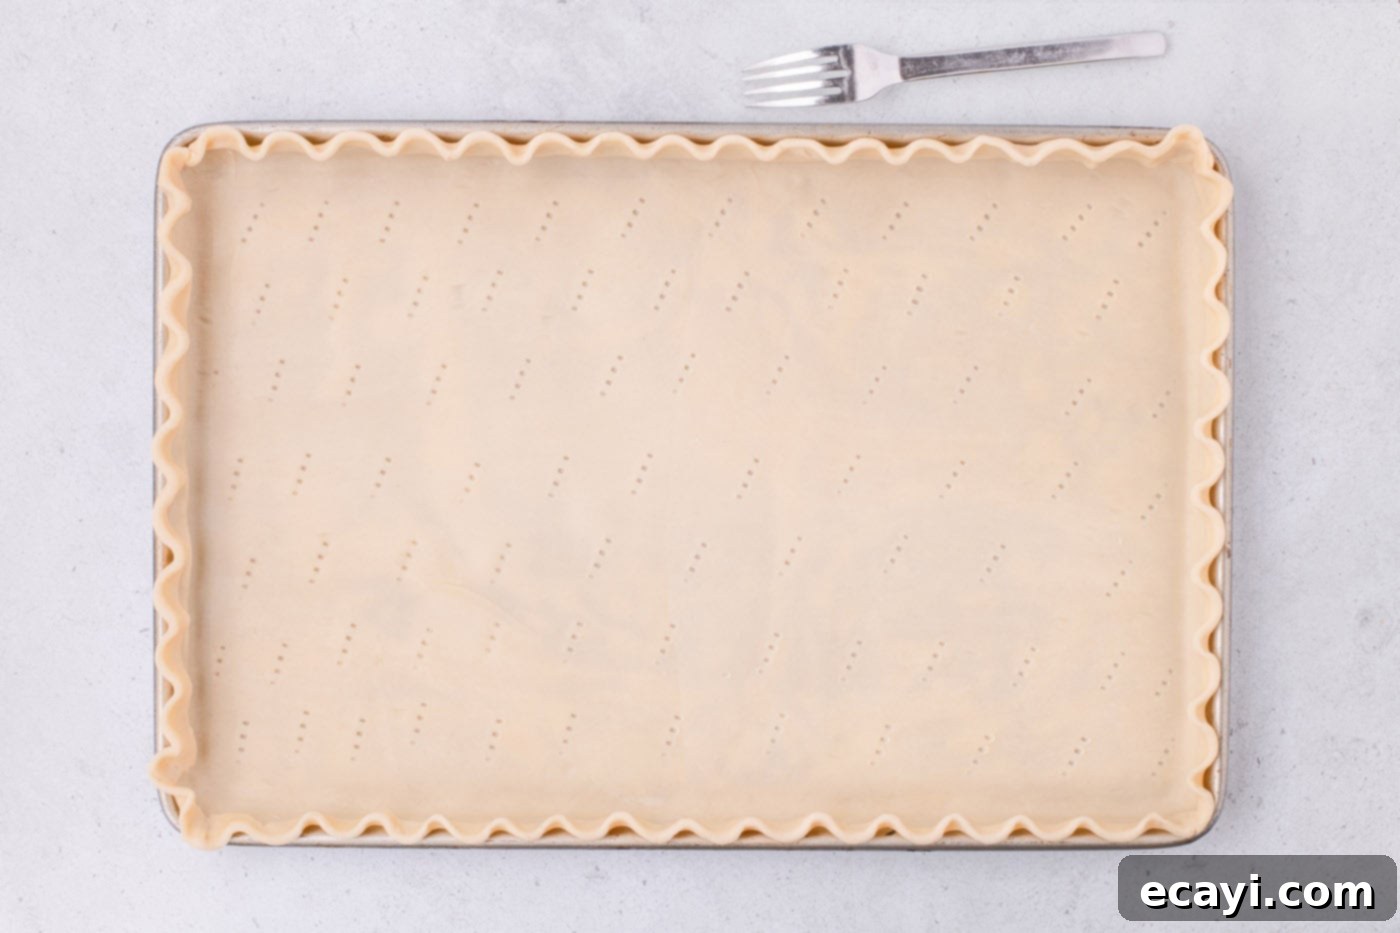
- Create Fluted Edges: To create a beautiful, sturdy, and classic pie edge, fold the excess dough hanging over the pan’s edges inwards, onto itself. This technique creates a thicker, more robust border that will hold its shape much better during baking. Then, using your thumb and two index fingers, pinch along the entire outer edge of the dough to form a decorative scalloped or fluted pattern. Finally, prick the bottom of the dough liberally with a fork; this prevents the crust from puffing up excessively and creating a large air pocket during blind baking.


- Chill the Crust: Once the crust is meticulously shaped and fluted, place the entire jelly roll pan with the dough into the refrigerator to chill for a minimum of 2 hours. For the absolute best possible results and to ensure those beautiful fluted edges hold their shape exquisitely during baking, chilling it overnight is even better. This crucial chilling step prevents the butter in the dough from melting too quickly in the oven, thus preventing shrinkage and helping to maintain its desired flaky texture.
Crafting the Rich Pumpkin Filling & Assembling Your Pie
- Preheat Oven & Prep Baking Sheet: Preheat your oven to a precise 425°F (218°C). As the oven heats up, place a sturdy baking sheet (one that is larger than your jelly roll pan) inside the oven. This preheated baking sheet will help conduct heat evenly and intensely to the bottom of your pie crust, ensuring a perfectly golden and crisp base, preventing a soggy bottom.
- Separate Eggs: Carefully separate the yolk from the white of one large egg. Place the egg yolk into your main filling bowl, and set the egg white aside in a small bowl, as it will be used later for a specialized egg wash on the crust edges.
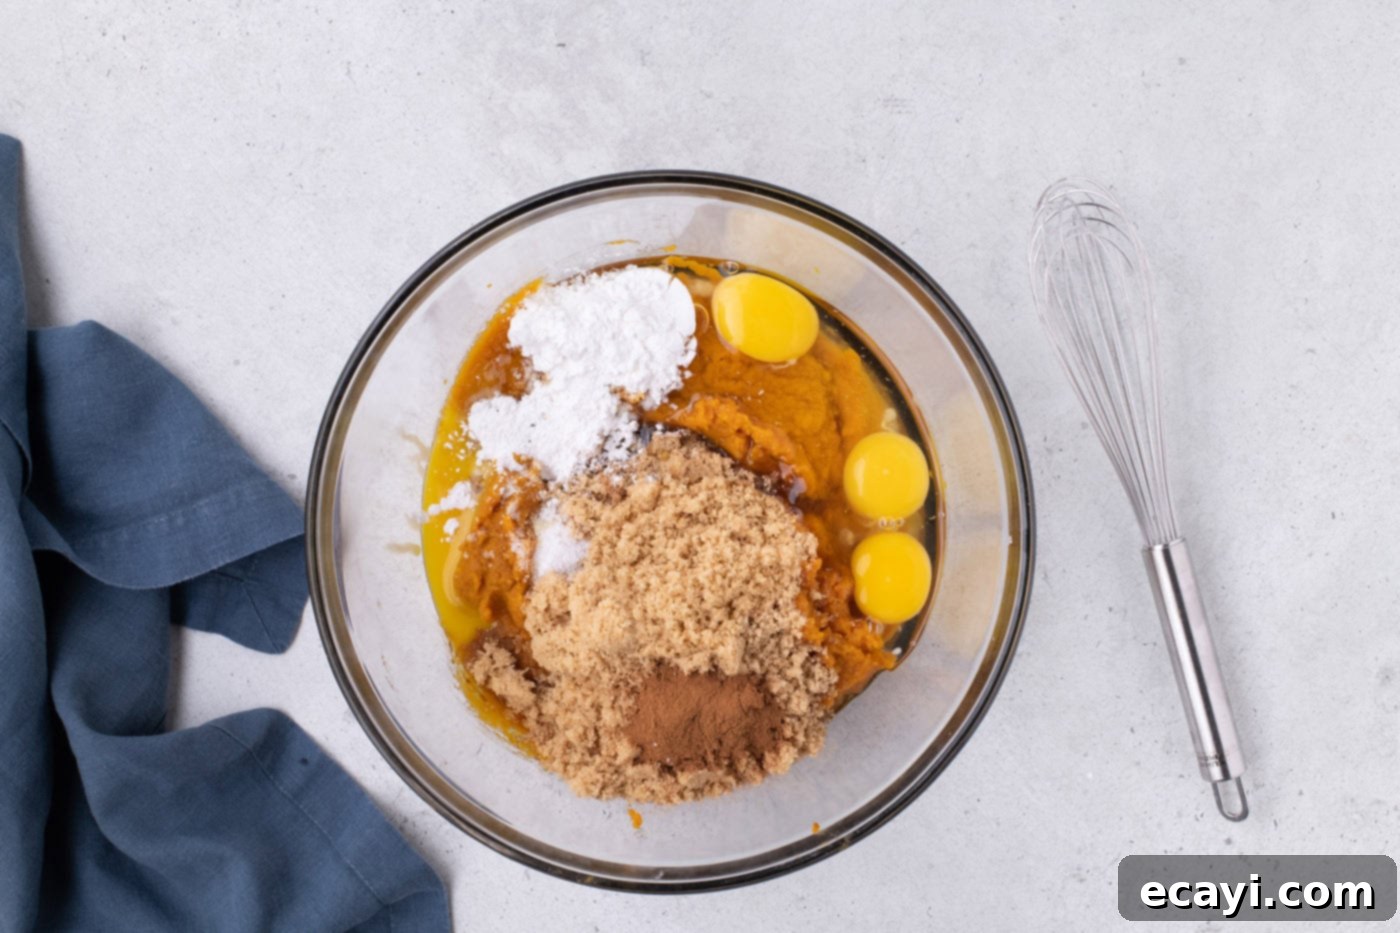
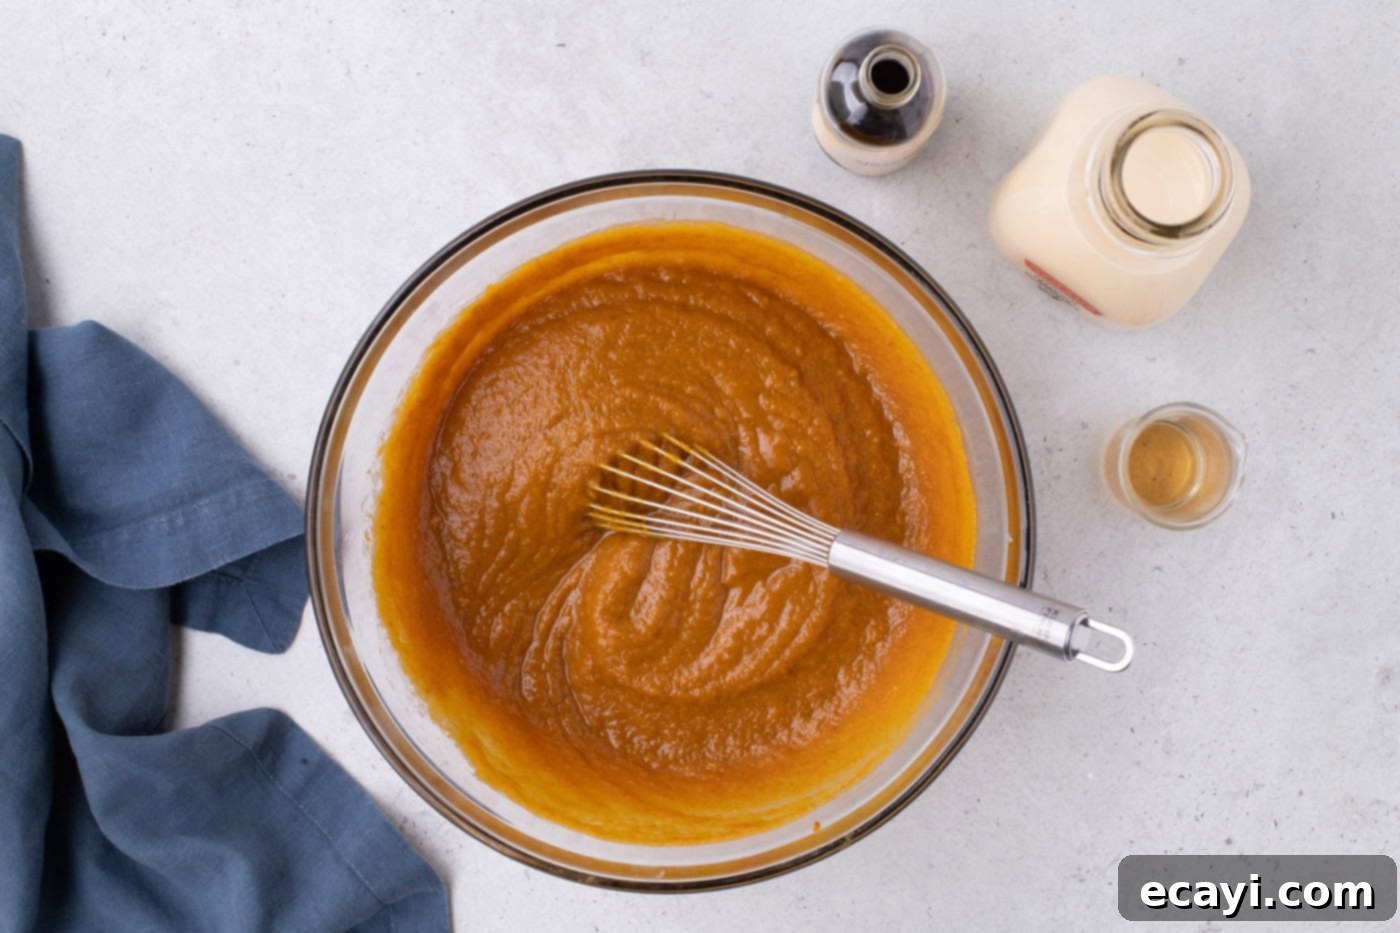
- Mix Dry Ingredients & Pumpkin: While the oven reaches its target temperature, begin preparing the luxurious pumpkin filling. In a large mixing bowl, thoroughly whisk together the pure pumpkin puree, light brown sugar, three whole eggs (plus the reserved egg yolk from step 2), cornstarch, pumpkin pie spice, and salt. Continue mixing until all ingredients are well combined and the mixture appears completely smooth and uniform.


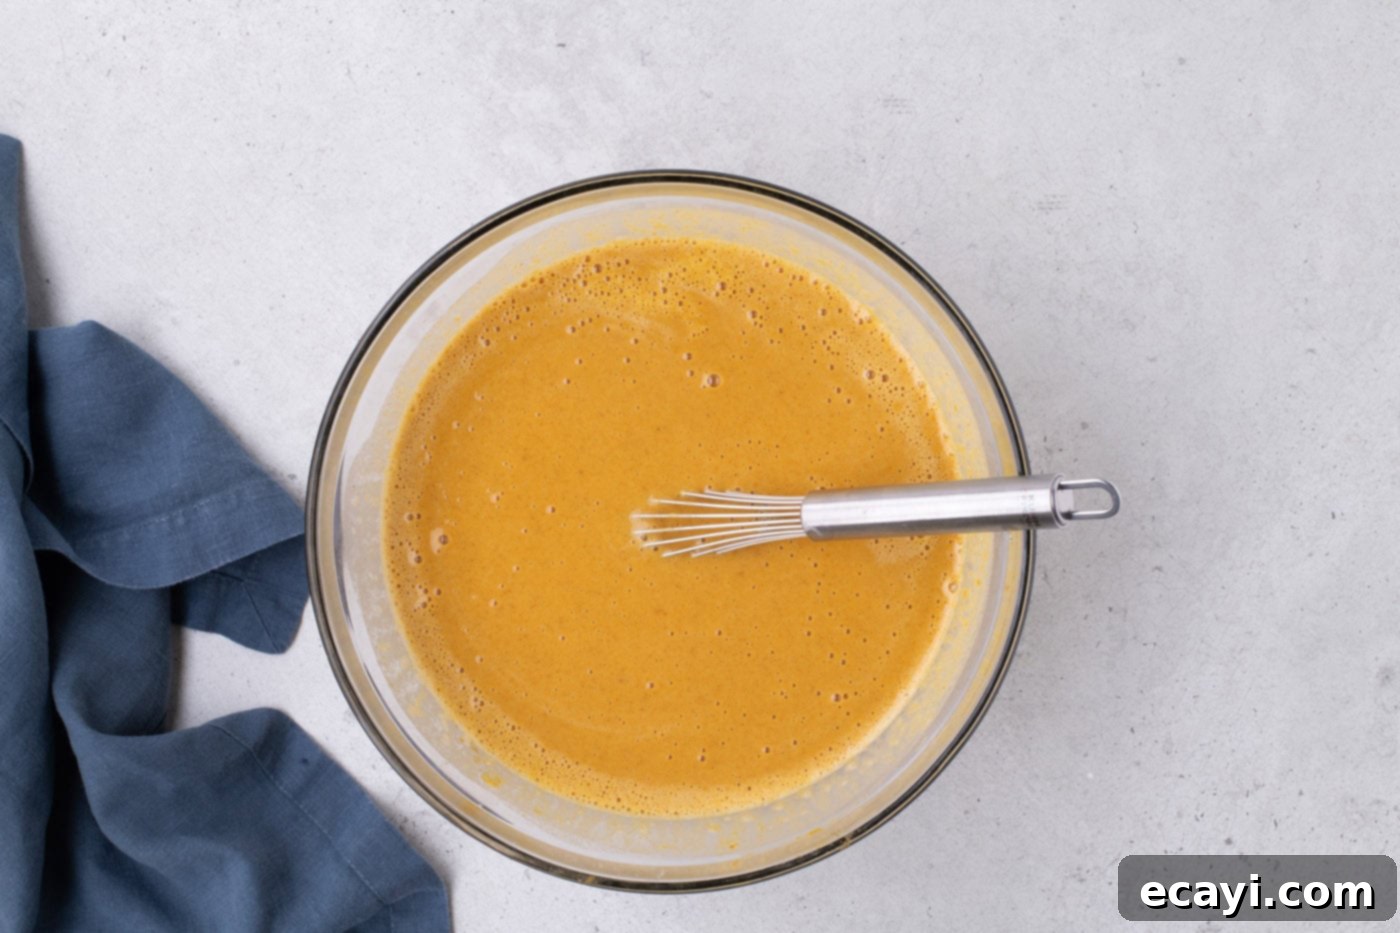
- Add Liquids: Once the initial pumpkin mixture is smooth and lump-free, gently incorporate the evaporated milk, your chosen bourbon or rum (if you’re using it), and the pure vanilla extract. Whisk thoroughly again until all the liquid ingredients are fully integrated, creating a uniform, creamy, and silky filling ready for the crust.

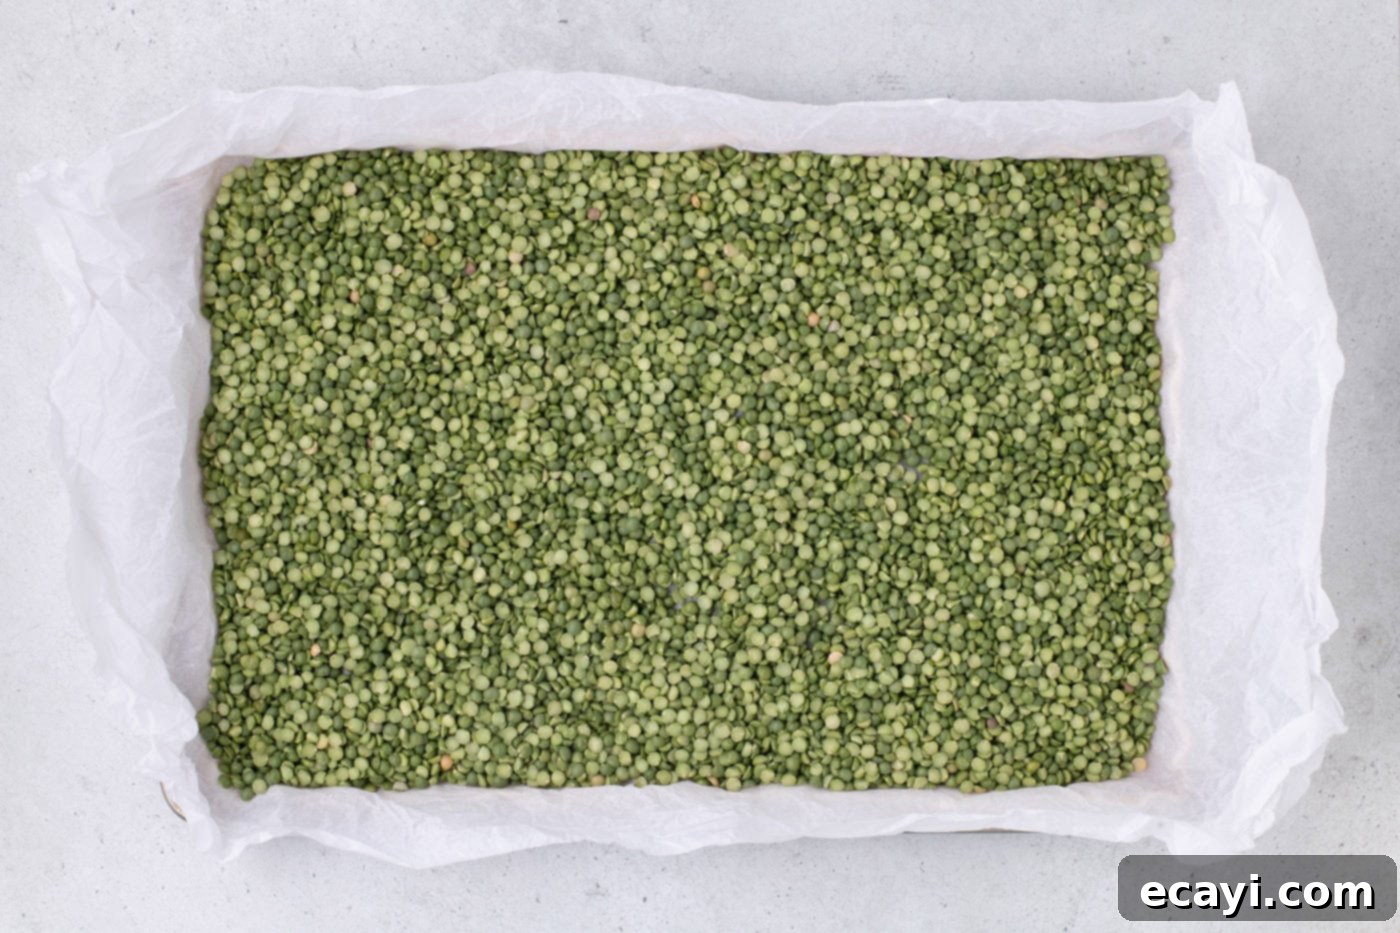
- Prepare for Blind Baking: Retrieve your beautifully chilled pie crust from the refrigerator. Lay a sheet of parchment paper over the base of the dough, carefully molding it to fit the contours of the pan without disturbing the fluted edges. Evenly distribute pie weights (or dried beans/rice) on top of the parchment paper. These weights are essential as they prevent the crust from bubbling up or shrinking excessively during the blind baking process.

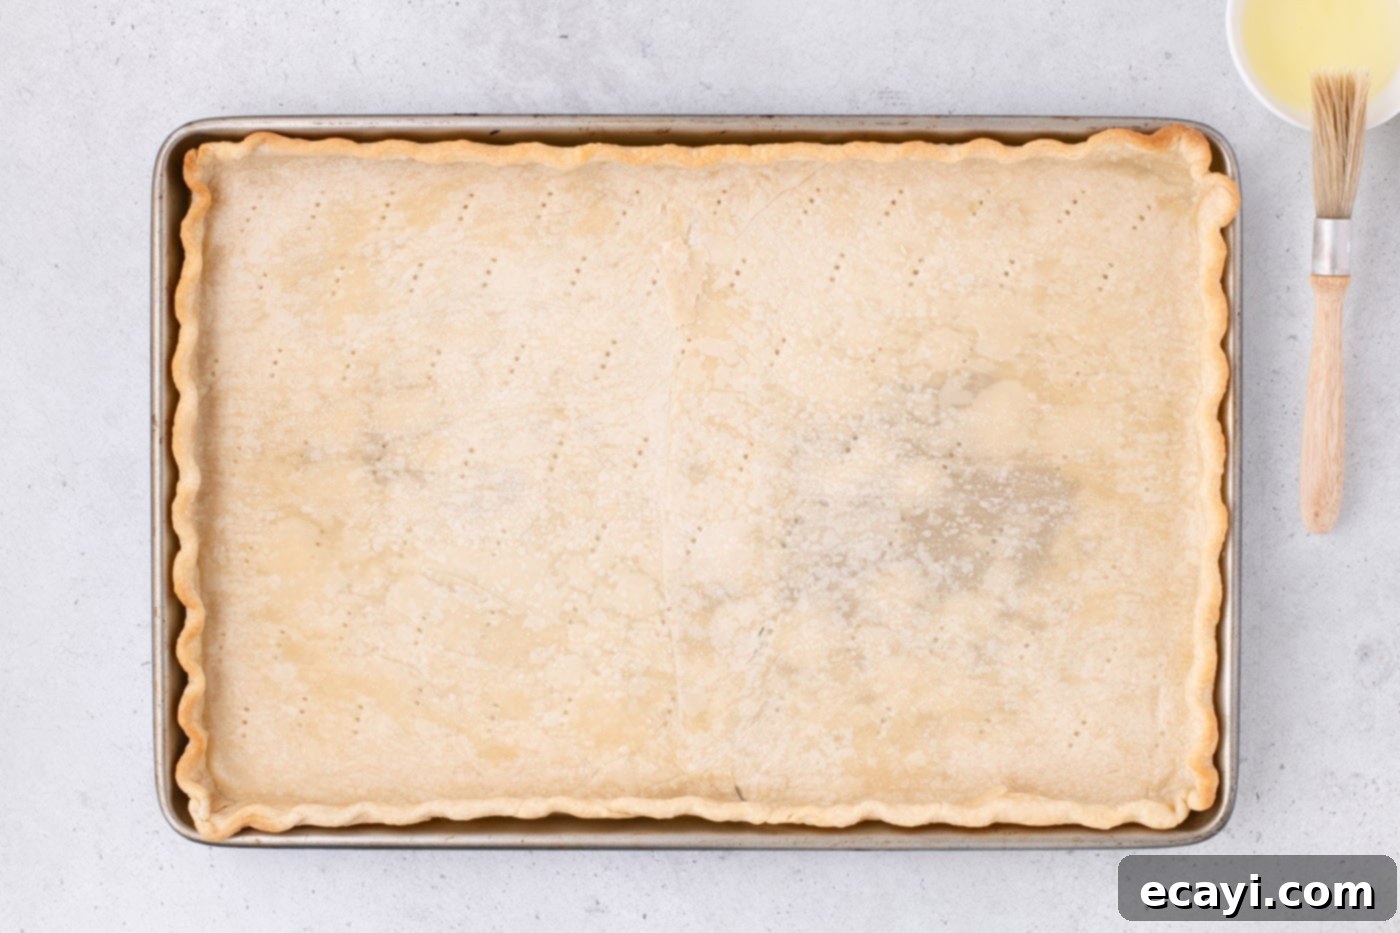
- Blind Bake the Crust: Carefully place the jelly roll pan with the weighted crust onto the preheated baking sheet in the oven. Blind bake for 10-15 minutes until the crust is lightly golden, appears set, and is slightly dry to the touch. Remove the pan from the oven and place it on a wire rack to cool slightly. Carefully remove the parchment paper and pie weights. Reduce your oven temperature to 350°F (175°C) for the final bake.

- Egg Wash the Edges: In the small bowl, whisk the reserved egg white with 1 tablespoon of water until well combined. Lightly brush this egg wash mixture onto the fluted edges of the par-baked pie dough. This step provides a beautiful golden sheen to the crust and helps it crisp up further, adding an appealing finish to your pie.
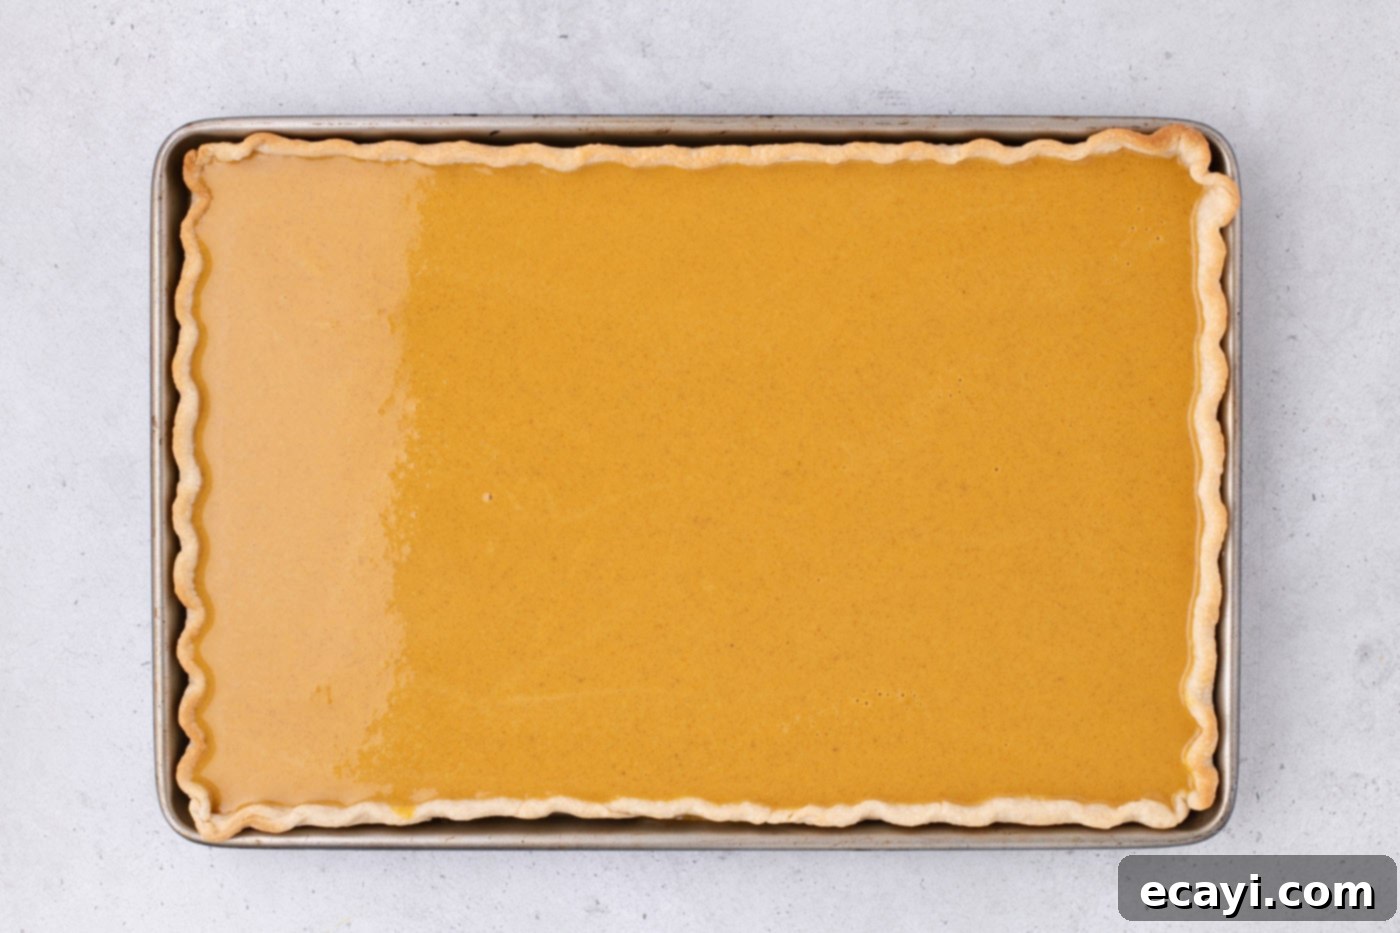
- Fill the Pie: Carefully and evenly pour the prepared pumpkin filling into the par-baked crust. Ensure the filling is spread uniformly to guarantee even cooking and setting. It’s important to avoid overfilling; the filling should rest just slightly below the level of the crust’s edges to prevent any spillage during baking as the filling will puff up.

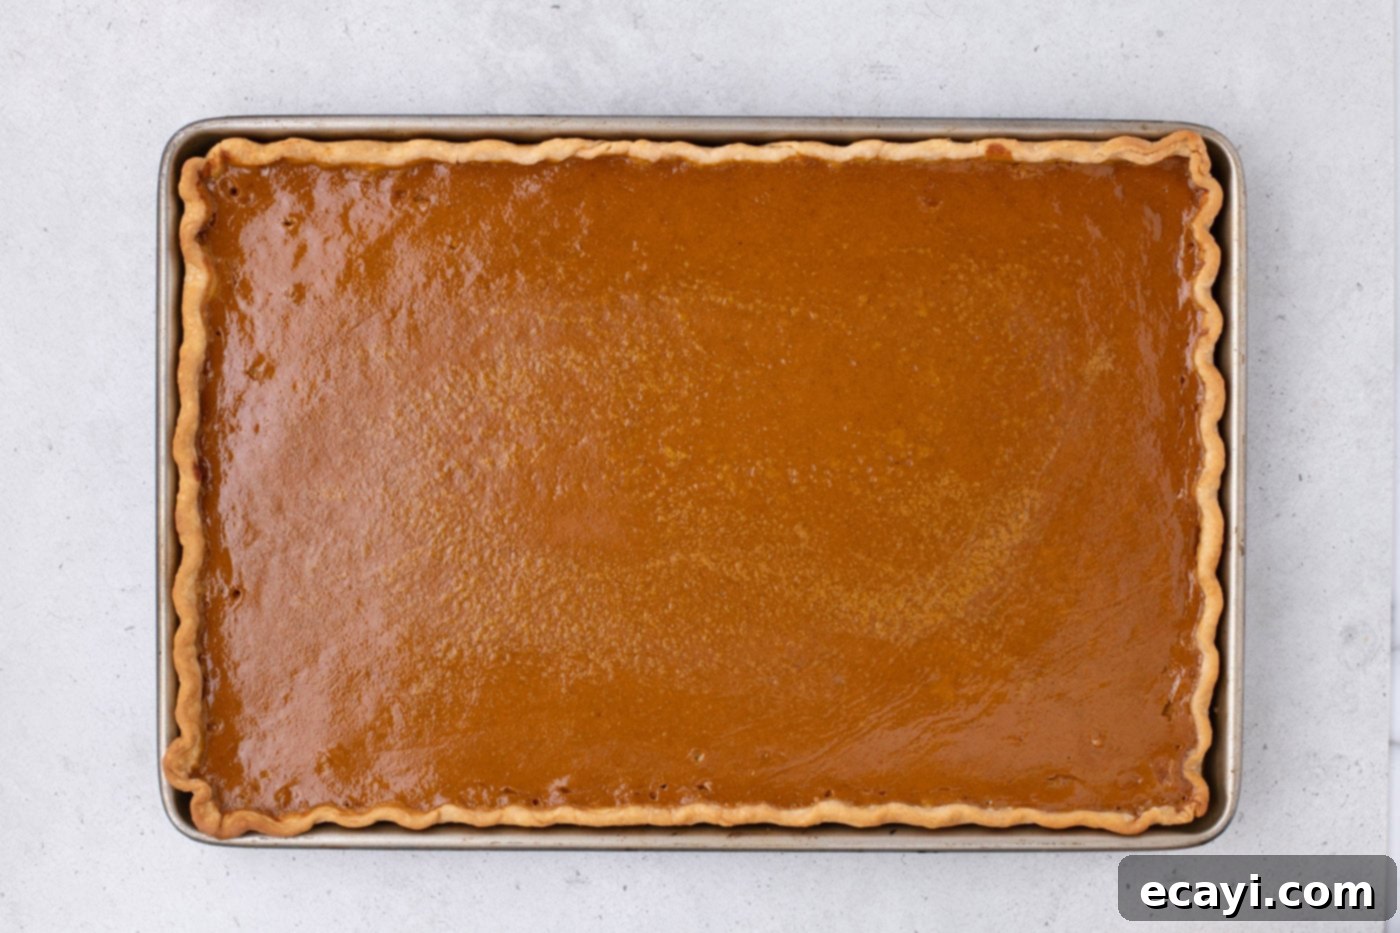
- Final Bake: Return the jelly roll pan to the oven, placing it back onto the preheated baking sheet. Bake for approximately 40 minutes, or until the pumpkin filling is mostly set but still exhibits a slight, subtle jiggle in the very center when gently shaken. This slight jiggle is the perfect indicator that the pie is cooked through but not overbaked, and it will firm up beautifully as it cools. Remove the pan from the oven, transfer it to a wire rack, and allow it to cool completely at room temperature before serving. Cooling completely is absolutely vital for the filling to set properly and prevent cracking.

Perfect Homemade Whipped Cream for Garnish
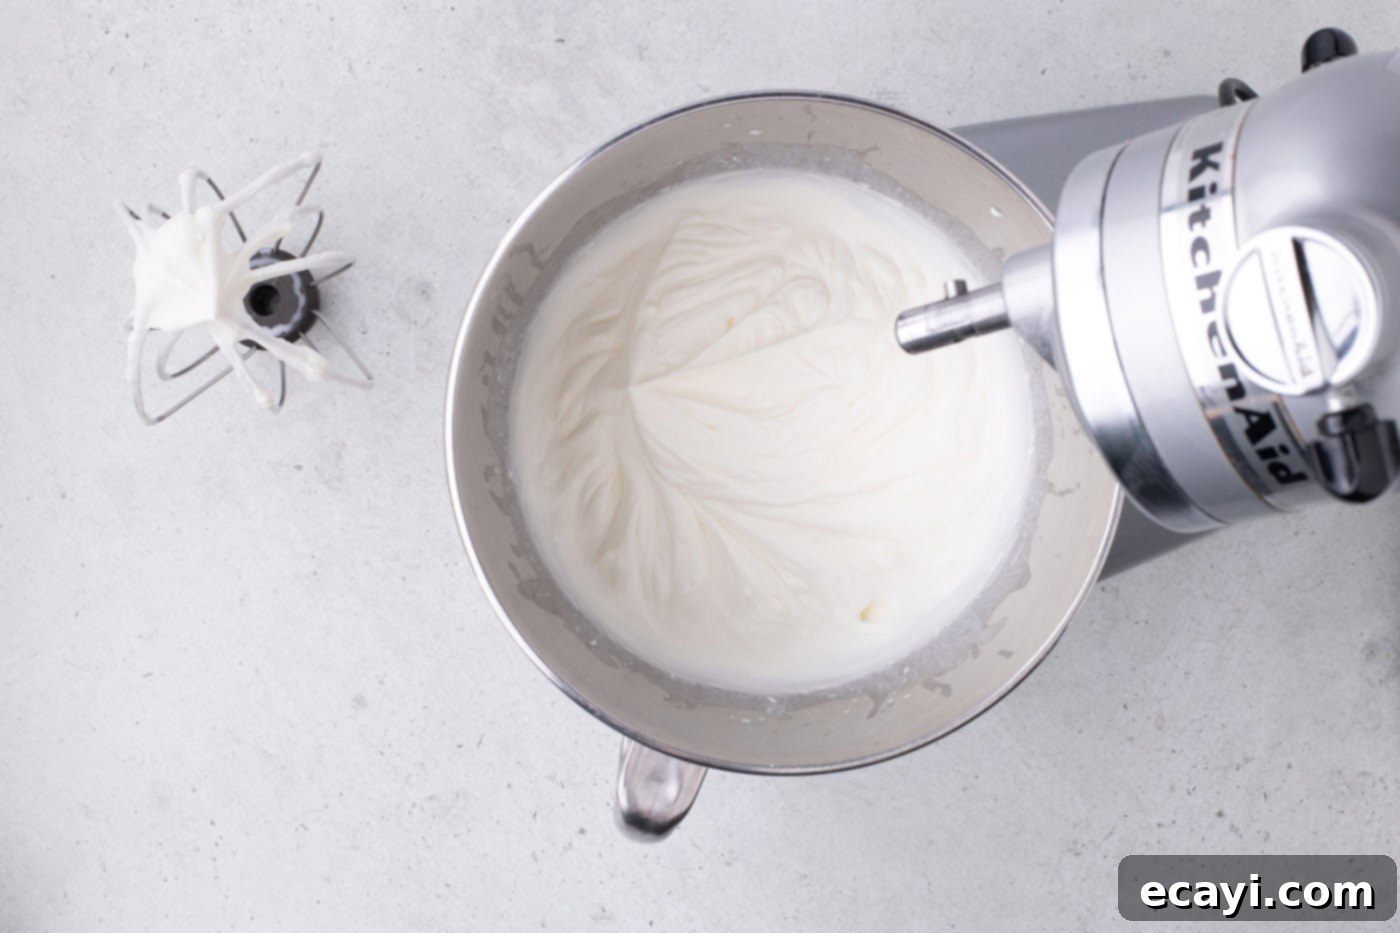
- Whip Cream Cheese & Cream: In a large, chilled mixing bowl, combine ½ cup of the heavy cream with the softened cream cheese. Using a handheld mixer (or the whisk attachment on a stand mixer), beat the mixture until it is completely smooth and free of any lumps, ensuring a velvety texture. Then, add the powdered sugar and the remaining heavy cream to the bowl. Increase the mixer speed to medium-high and continue to beat until soft peaks form. Be careful not to overmix, or the cream can become grainy or separate.

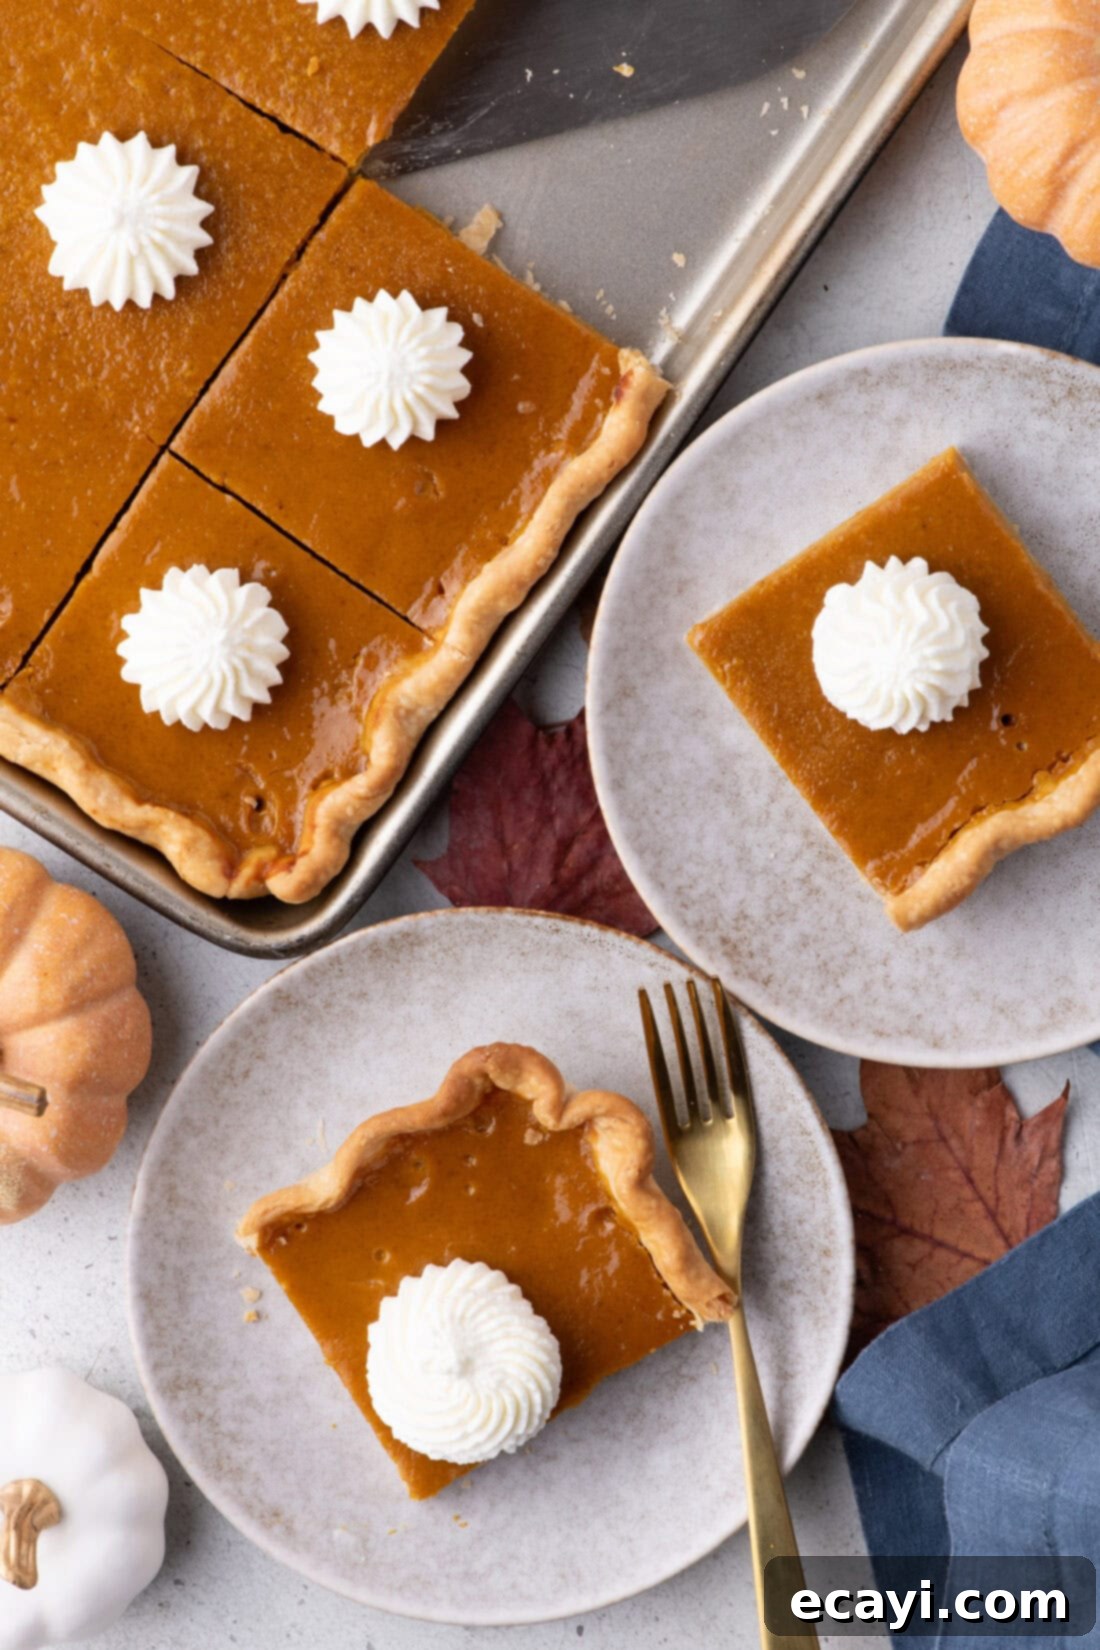
- Serve: Once your pumpkin slab pie has cooled completely and is perfectly set, cut it into generous, even slices (squares or rectangles work best for slab pies). Just before serving, top each slice with a dollop or an elegant piped swirl of your freshly made whipped cream. This light, airy, and slightly tangy topping perfectly complements the rich, warmly spiced pumpkin flavor, making each bite a delightful experience.
Frequently Asked Questions & Expert Tips for Success
While fresh pumpkins are wonderful for many culinary applications, for this specific pumpkin slab pie recipe, it’s highly recommended to stick with canned pure pumpkin. Fresh pumpkins typically contain significantly more water and varying moisture levels than their canned counterparts, which can lead to a pie filling that is too runny, fails to set properly, or has an inconsistent texture. As previously mentioned, opt for a thick, high-quality brand like Libby’s to ensure the best possible texture and consistency for your pie filling.
The key to a perfectly baked pumpkin pie is to look for a specific visual cue: a slight, gentle jiggle in the center. To check, gently tap the side of the pan; the filling should appear mostly set around the edges but still have a soft, subtle wobble in the very middle, almost like gelatin. If the entire pie is very wobbly or appears liquid in the center, it needs more time. Return it to the oven and bake in additional 5-minute increments, checking after each interval, until you achieve that ideal slight jiggle.
To keep your pumpkin slab pie fresh and delicious for as long as possible, allow it to cool completely at room temperature before storing. Once thoroughly cooled, loosely wrap any uneaten portions directly in plastic wrap or transfer them to an airtight container. The pie will remain delightful for up to 5 days when stored in the refrigerator. It’s important to remember that whipped cream can soften and weep over time, so for the best presentation and texture, only add the whipped cream garnish just before you are ready to serve each individual slice.
Absolutely, making pumpkin slab pie ahead of time is highly encouraged, especially for navigating busy holiday schedules! You can fully prepare, bake, and allow the slab pie to cool completely up to a full day in advance. Once cooled, gently cover the entire pie with plastic wrap (being careful not to disturb the topping if already applied, though it’s best to add cream fresh) and store it in the refrigerator. Preparing it ahead of time not only significantly reduces stress on the day of your event but also allows the rich, comforting flavors of the pumpkin and spices to meld and develop even further, resulting in an even more delicious and harmonious dessert experience.
Pro Tips for an Unforgettable Pumpkin Slab Pie
- Chilling is Key for the Crust’s Integrity: After you’ve shaped and meticulously fluted your pie dough, it will be warm and pliable from handling. To prevent unwanted shrinking during baking and to ensure those beautiful fluted edges hold their decorative shape, it is absolutely essential to refrigerate the dough for a minimum of 2 hours. Chilling it overnight is even better, as it allows the butter to firm up completely. For a quicker option if you’re short on time, you can place the pan in the freezer for about 30-45 minutes.
- Maintain Fluted Edges During Blind Baking: Those lovely fluted edges have a natural tendency to ‘relax’ and flatten in the oven’s heat. To minimize this, ensure your dough is thoroughly chilled and that your oven is precisely at the optimal temperature before you begin blind baking. An inexpensive oven thermometer can be a baker’s best friend, confirming your oven’s true internal temperature and preventing heat fluctuations that can negatively impact crust integrity.
- Even Heat for a Crispy Bottom: For a perfectly golden and gloriously evenly baked pie crust bottom that stands up to the moist filling, I always recommend placing a sturdy baking sheet (one larger than your jelly roll pan) in the oven during the entire preheating phase. As the oven heats up, so does the metal baking sheet, creating a hot, consistent surface beneath your pie. This consistent bottom-up heat distribution ensures your pie crust cooks thoroughly, preventing the dreaded soggy bottom.
- Mastering Parchment for Blind Baking: When preparing to blind bake the crust, take a moment to crinkle your parchment paper into a tight ball a few times before carefully unfurling it. This simple, yet effective, trick makes the parchment much more pliable and cooperative, allowing it to sit snugly and conform better within the contours of your pie pan, especially around the edges. Always be gentle when laying the parchment down, avoiding any accidental damage to those delicate fluted sides you worked so hard to create.
- Avoid Overfilling at All Costs: Depending on the specific dimensions and depth of your jelly roll pan, you might find yourself with a tiny bit of extra filling. It’s crucial not to overfill the pie. Only pour enough filling into your prepared crust so that it rests just slightly below the level of the crust edges. The pumpkin filling contains eggs and will naturally puff up a bit during baking, and overfilling can lead to unsightly, sticky leaks over the sides of your beautifully fluted crust.
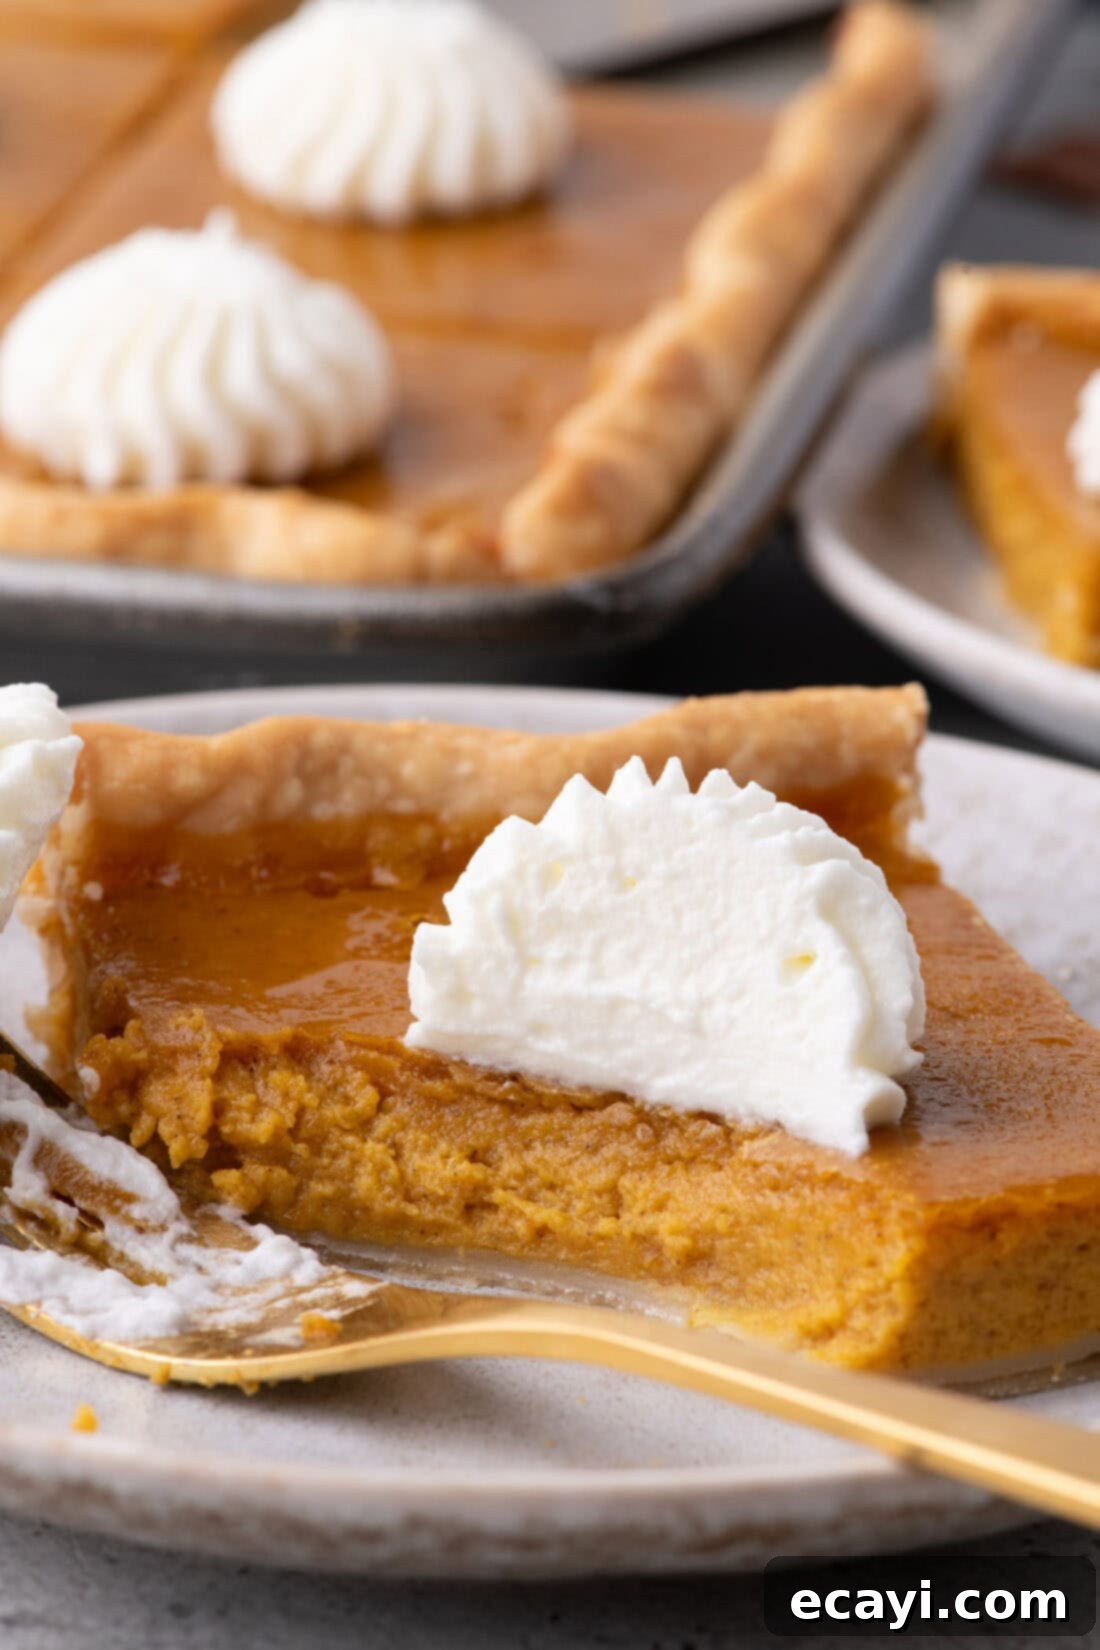
Serving Your Delicious Pumpkin Slab Pie
Once your easy pumpkin slab pie has cooled completely and is perfectly set, it’s ready for its grand debut! Slice it into neat squares or elegant rectangles, making it incredibly simple to serve to a crowd. The ideal accompaniment is a generous dollop or a beautifully piped swirl of fresh homemade whipped cream, which adds a light, airy contrast to the rich filling. For the best flavor and texture, serve this comforting dessert chilled. It’s perfect on its own as a delightful after-dinner treat or enjoyed alongside a warm cup of coffee, fragrant tea, or a festive glass of spiced cider.
More Delightful Fall & Holiday Desserts
- Apple Slab Pie
- Mini Pumpkin Pies
- Strawberry Slab Pie
- Mini Pumpkin Cheesecakes
- Pecan Pie Brownies
I love to bake and cook and share my kitchen experience with all of you! Remembering to come back each day can be tough, that’s why I offer a convenient newsletter every time a new recipe posts. Simply subscribe and start receiving your free daily recipes!
Pumpkin Slab Pie
IMPORTANT – There are often Frequently Asked Questions and Expert Tips within the blog post that you may find helpful. Simply scroll back up to read them!
Print It
Pin It
Rate It
Save ItSaved!
Ingredients
- 14.1 ounce refrigerated pie crust
- 4 large eggs divided
- 30 ounces pure pumpkin two 15 ounce cans such as Libby’s
- 1 ¾ cups light brown sugar packed
- 2 Tablespoons cornstarch
- 2 teaspoons pumpkin pie spice
- ½ teaspoon salt
- 2 ½ cups evaporated milk
- 1 Tablespoon Bourbon or amber-colored rum
- 1 teaspoon pure vanilla extract
- 1 Tablespoon water
Whipped Cream Garnish
- 2 cups heavy whipping cream divided
- 2 Tablespoons cream cheese at room temperature
- 1 cup powdered sugar
Things You’ll Need
-
15×10 jelly roll pan
-
Pie weights
-
Hand mixer or stand mixer
Before You Begin
- Avoid Overfilling: Depending on the dimensions (depth) of your jelly roll pan, you may have extra filling. Don’t overfill the pie; only pour as much filling into your pie crust so it rests just below the level of the edges. The filling will puff up during baking, and you don’t want the filling leaking over the edges.
- Choose the Right Pumpkin: Not all canned pure pumpkin is equal. Stick with Libby’s brand, as it is thick. Many other brands contain more liquid which can make for a runny pie filling.
- Chill Your Dough: The fluted edges will tend to ‘relax’ during par-baking. It’s important to properly chill the dough (at least 2 hours, preferably overnight) and only par-bake when the oven is at its optimal temperature to keep as much of the fluted shape as possible. An oven thermometer is the best indicator of your oven’s actual temperature.
Instructions
Preparing the Flaky Slab Pie Crust
-
Remove the pie crusts from their packaging and place them on a lightly floured (or parchment-lined) surface. Overlap the two pie crust circles in the center by about 1 inch.
-
Trim one inch from the outer two sides of each circle and place the scraps in the empty spaces at the top and bottom.
-
Roll out the dough to a rectangle 3 inches larger than your jelly roll pan (in width and height). Trim the edges straight. Set any scraps aside for later use.
-
Carefully drape the dough over the rolling pin and transfer it to a lightly greased jelly roll pan. Let the dough sink into the pan and gently guide it into the corners (the dough will be thin, so take care when doing this). Use any leftover scraps to fill in holes.
-
Fold the dough hanging over the edges, in on itself (this will provide the support for making your fluted edging). Using your thumb and two index fingers, pinch along the outer edges of the dough to form a scalloped or fluted pattern. Prick the bottom of the dough with a fork.
-
Place the jelly roll pan in the refrigerator to chill for at least 2 hours (or, better, overnight).
TIP: After shaping, the dough will be warm, so it’s important to refrigerate it for a minimum of 2 hours (but best overnight) before blind baking. You can also speed up the chilling process by freezing the dough.
Preparing the Filling and Assembling
-
Preheat the oven to 425°F (218°C). While it preheats, place a baking sheet larger than your jelly roll pan in the oven.
TIP: To achieve an evenly baked pie crust, placing a baking sheet (larger than your jelly roll pan) in the oven during preheating helps create even heat distribution, allowing your pie crust to cook perfectly from the bottom.
-
Separate the yolk from the white of one egg and set them both aside.
-
While the oven is preheating, make the filling by whisking the pumpkin, brown sugar, 3 eggs, egg yolk, cornstarch, pumpkin pie spice, and salt until smooth.
-
Once combined, add the evaporated milk, bourbon or rum (if using), and vanilla extract. Whisk again to combine thoroughly.
-
Lay a sheet of parchment paper over the base of the chilled pie dough and place pie weights on top.
-
Par-bake the crust by blind baking it for 10-15 minutes. Place the jelly roll pan on a wire rack to cool and remove the parchment paper and pie weights. Reduce the oven temperature to 350°F (175°C).
-
Whisk the reserved egg white and water together and lightly brush this mixture on the edges of the dough for a golden finish.
-
Pour the pumpkin filling evenly onto the par-baked crust, ensuring it’s spread smoothly.
-
Place the pie back in the oven on the preheated baking sheet and bake for approximately 40 minutes, or until the filling is mostly set but still slightly jiggly in the center. Remove the pan from the oven, set it on a wire rack, and allow it to cool completely before serving to ensure it sets properly.
TIP: The pie is done when the filling still has a slight jiggle but is not wobbly. If yours is wobbly, return it to the oven and bake for additional 5-minute increments.
How to Make the Whipped Cream Garnish
-
Combine ½ cup of the heavy cream and the cream cheese with a handheld mixer (or stand-up mixer with the whisk attachment), and mix until smooth. Add the powdered sugar and remaining heavy cream. Increase the speed and mix until soft peaks form, being careful not to overmix.
-
Top the cooled slices of pumpkin pie with the fresh whipped cream just before serving for the best texture and appearance.
Expert Tips & FAQs
- Make Ahead Advantage: This pumpkin slab pie is an ideal make-ahead dessert. You can prepare, bake, and allow the pie to cool completely up to a day in advance. Once cooled, gently cover the top with plastic wrap and transfer it to the refrigerator. This allows the flavors to truly mingle and deepen. Remember to reserve the fresh whipped cream topping until you are just about ready to serve.
- Optimal Storage: To store any uneaten pumpkin slab pie, loosely wrap it in plastic wrap or place it in an airtight container. It will keep beautifully in the refrigerator for up to 5 days, making it perfect for enjoying festive leftovers. Always dollop or pipe the fresh whipped cream just before serving to maintain its light and airy texture.
- Checking for Doneness: The pie is done baking when the filling appears mostly set, but a slight, gentle jiggle remains in the very center. If the entire pie is still wobbly, return it to the oven for additional 5-minute baking increments until the desired consistency is achieved.
- Pumpkin Puree Quality: For the most reliable results, stick with a high-quality, thick canned pure pumpkin brand, such as Libby’s. Brands with a higher water content can lead to a thinner, less robust pie filling.
- Preventing a Soggy Bottom: The technique of blind baking the crust and placing the jelly roll pan on a preheated baking sheet are vital steps to ensure a crisp, flaky bottom crust that perfectly complements the creamy filling.
Nutrition
The recipes on this blog are tested with a conventional gas oven and gas stovetop. It’s important to note that some ovens, especially as they age, can cook and bake inconsistently. Using an inexpensive oven thermometer can assure you that your oven is truly heating to the proper temperature. If you use a toaster oven or countertop oven, please keep in mind that they may not distribute heat the same as a conventional full sized oven and you may need to adjust your cooking/baking times. In the case of recipes made with a pressure cooker, air fryer, slow cooker, or other appliance, a link to the appliances we use is listed within each respective recipe. For baking recipes where measurements are given by weight, please note that results may not be the same if cups are used instead, and we can’t guarantee success with that method.
