Homemade Pumpkin Hand Pies: The Perfect Fall Dessert Recipe
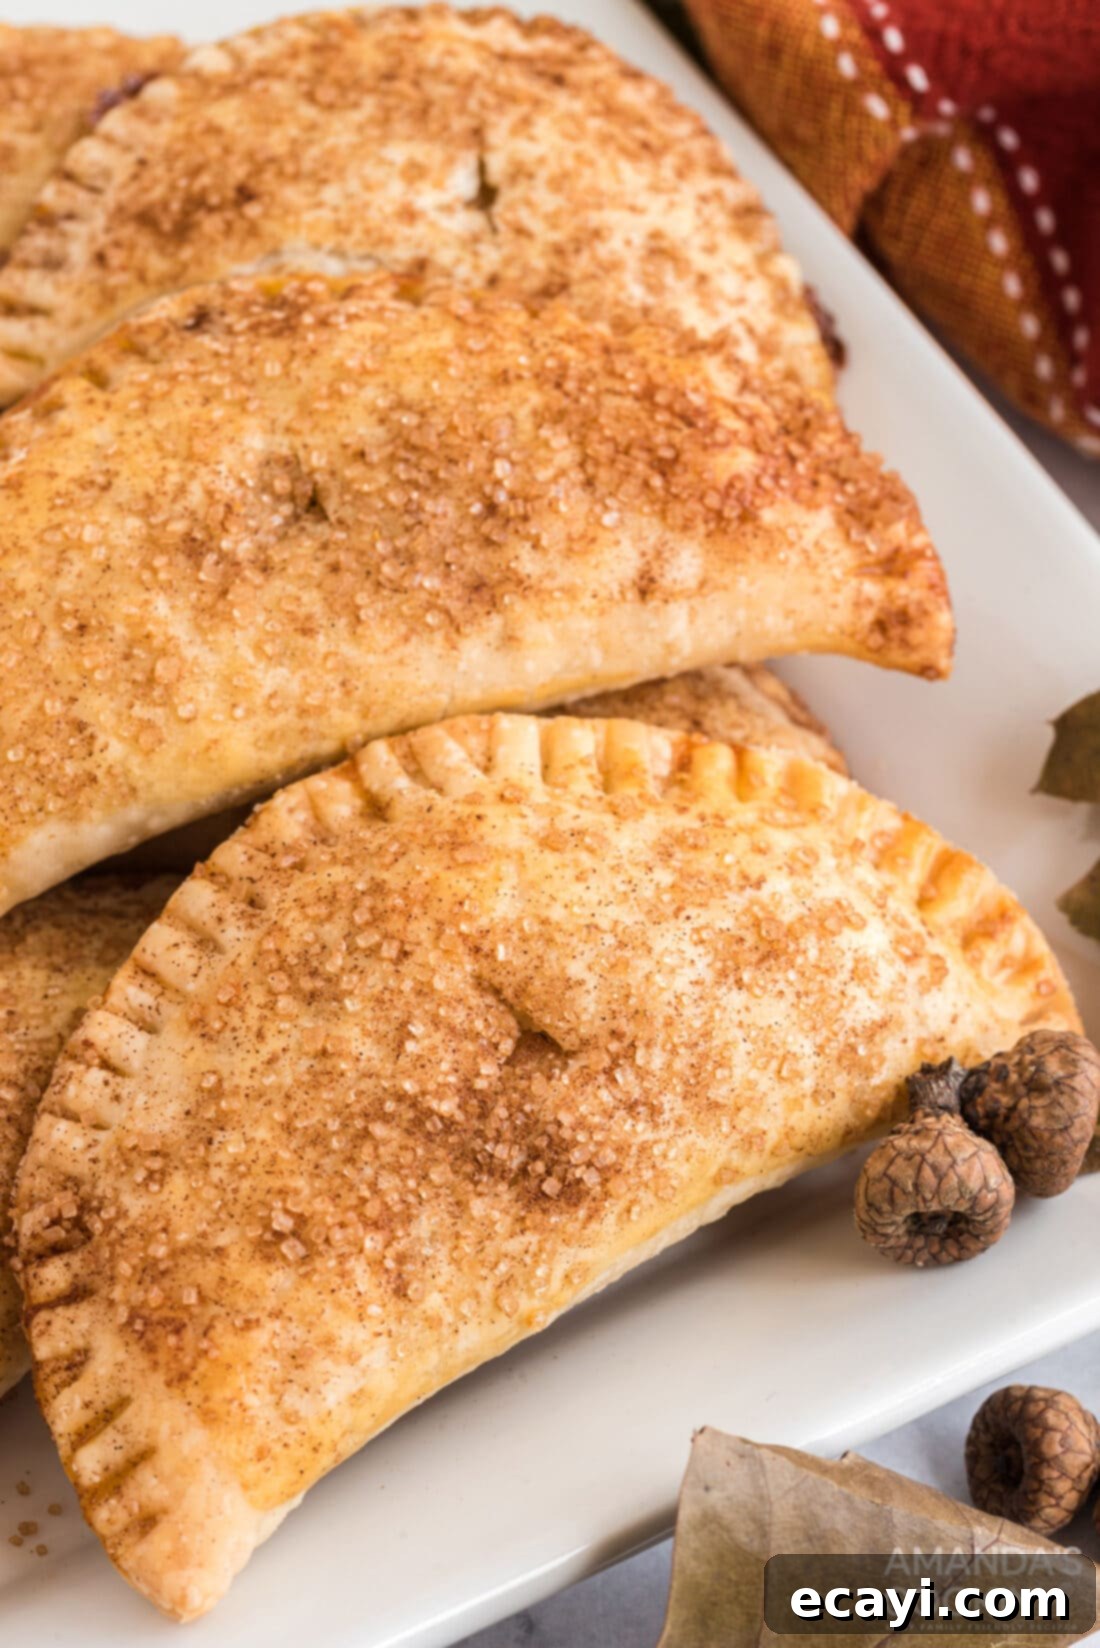
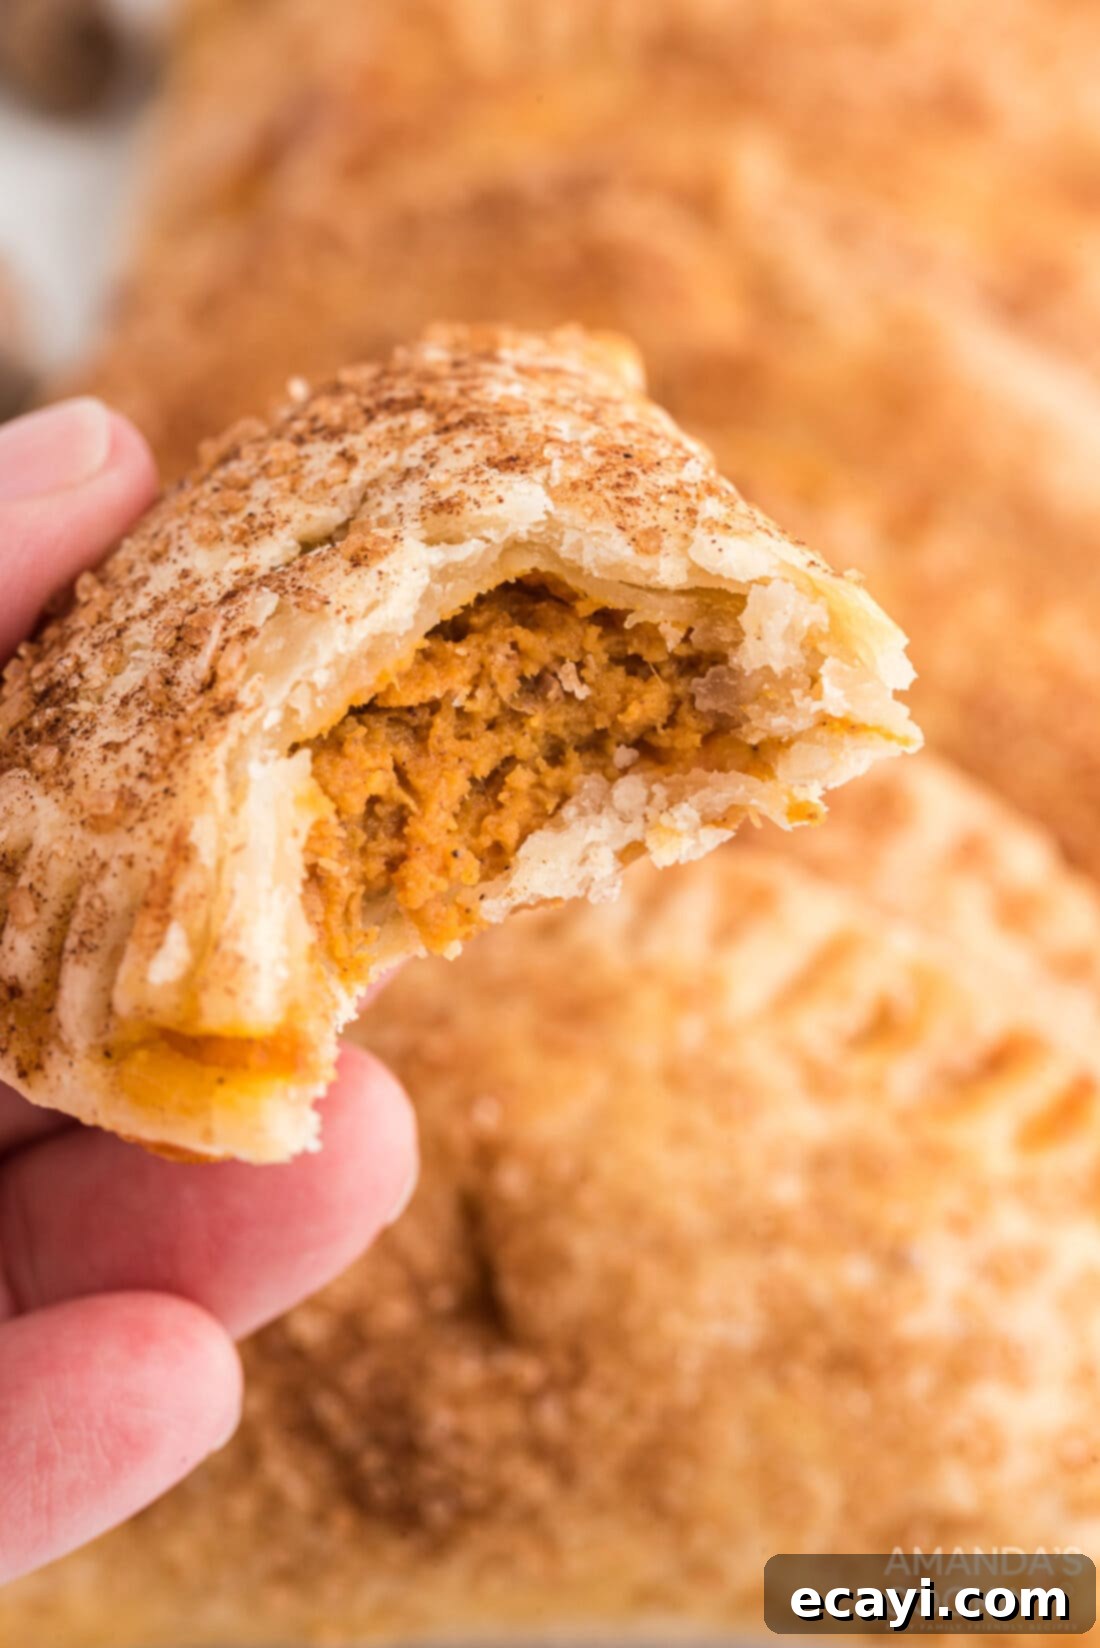
As autumn leaves begin to fall and the air turns crisp, there’s no treat quite as comforting and delightful as pumpkin hand pies. These individual-sized delights encapsulate all the flavors of fall in a convenient, portable package. Imagine a tender, flaky pie crust embracing a luscious, spiced pumpkin filling, all brushed with an egg wash for a golden sheen and finished with a sprinkle of cinnamon sugar. These mini pumpkin pies are not only irresistibly delicious but also remarkably simple to make, thanks to a filling that requires just four core ingredients. Whether you’re looking for a quick seasonal bake or a charming dessert for gatherings, these hand pies are sure to become a cherished fall tradition.
Why You’ll Love This Easy Pumpkin Hand Pie Recipe
Fall officially calls for all things pumpkin and apple, and these pumpkin hand pies are the quintessential treat to celebrate the season. While we love a classic pumpkin pie, these hand pies offer a unique blend of convenience and charm that makes them truly special. The individual serving size eliminates the need for plates and forks, making them perfect for picnics, potlucks, lunchboxes, or simply enjoying on the go. They are essentially mini, portable versions of your favorite pumpkin pie, but with an enhanced flaky crust-to-filling ratio that many prefer.
What sets this recipe apart is its incredible simplicity. The rich, aromatic pumpkin spice filling comes together with just four ingredients, streamlining your baking process without compromising on flavor. The balance of sweetness is spot-on, making them suitable for breakfast with a cup of coffee or tea, a midday snack, or a delightful dessert after dinner. For those who can’t get enough of seasonal hand pies, be sure to explore our apple hand pies for double the deliciousness in your autumn baking repertoire!
From Thanksgiving feasts to everyday indulgences, these hand pies fit every occasion. They’re a fantastic way to introduce the warmth of pumpkin spice to friends and family, and their charming appearance makes them a hit with both children and adults. Plus, the ease of preparation means you can whip up a batch whenever the craving for fall flavors strikes.
Essential Ingredients for Your Pumpkin Hand Pies
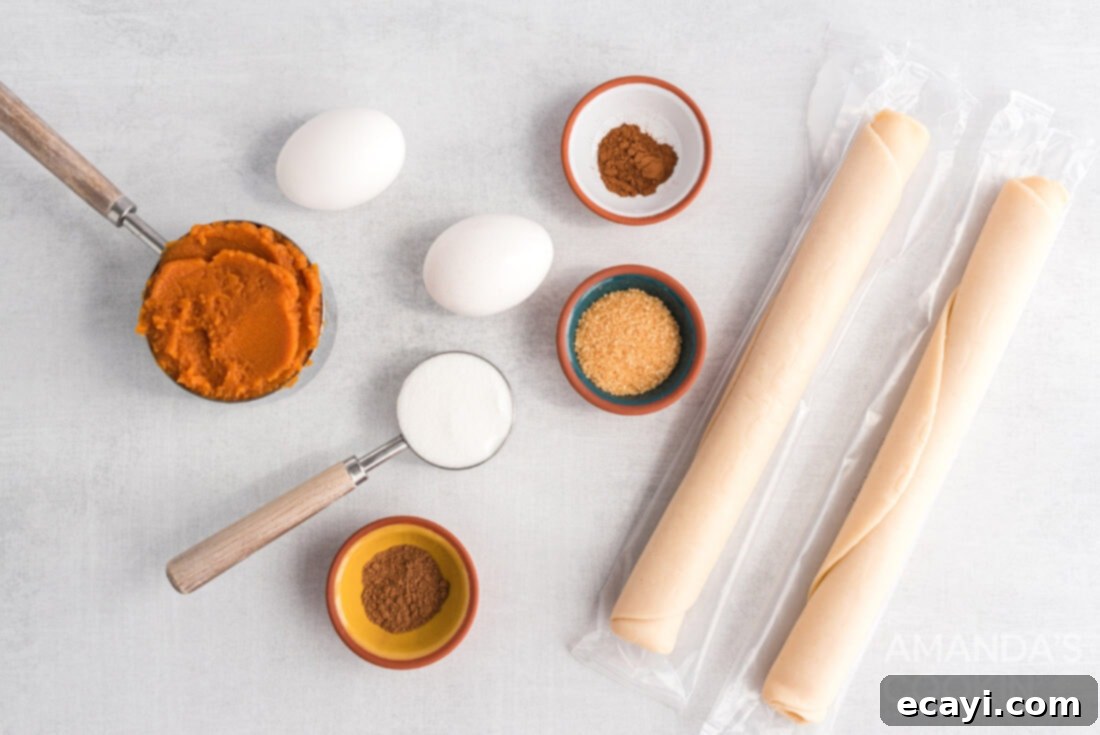
Crafting these delightful pumpkin hand pies requires a selection of readily available ingredients, ensuring a hassle-free baking experience. Below, you’ll find a comprehensive list of what you’ll need. For precise measurements and step-by-step instructions, refer to the printable recipe card located at the end of this post.
Ingredient Information and Smart Substitutions
Understanding each ingredient’s role and knowing possible substitutions can make your baking even more enjoyable and adaptable:
- CRUST: For ultimate convenience and consistent results, we highly recommend using a store-bought refrigerated pie crust. It’s inexpensive, widely accessible, and saves valuable prep time. However, if you enjoy the process of making dough from scratch, feel free to use your favorite homemade double pie crust recipe. Just ensure it’s rolled to an even thickness (about 1/8 to 1/4 inch) for optimal flakiness.
- FILLING: The star of these hand pies is a simple yet incredibly flavorful four-ingredient filling. It consists of:
- Egg: Acts as a binder, helping the filling set and hold its shape.
- Pumpkin Puree: Ensure you use pure pumpkin puree, not pumpkin pie filling. Pumpkin puree is 100% cooked pumpkin, while pie filling contains added sugars and spices.
- Granulated White Sugar: Provides the perfect touch of sweetness to balance the pumpkin. Adjust to your taste if you prefer a less sweet or sweeter pie.
- Pumpkin Spice: This blend of cinnamon, nutmeg, ginger, and cloves delivers that quintessential fall aroma and taste. If you don’t have a pre-mixed pumpkin spice, you can easily create your own with individual spices.
Substitution Tip: If you only have canned pumpkin pie filling on hand, you can certainly use it! In this case, you should omit the pumpkin spice and the egg called for in the filling ingredients section of the recipe card, as the pie filling already contains these components. This simplifies the recipe even further.
- EGG WASH: A lightly beaten egg brushed over the pies before baking is crucial for several reasons. It gives the crust a beautiful golden-brown color and a lovely sheen, enhancing the visual appeal. It also aids in sealing the edges of the pies if they’re not quite sticking together.
- CINNAMON SUGAR: A simple mix of turbinado sugar (or granulated sugar) and cinnamon sprinkled on top adds an extra layer of sweetness, spice, and a delightful textural crunch to the finished pies.
Step-by-Step Guide: How to Make Perfect Pumpkin Hand Pies
These step-by-step photos and detailed instructions are designed to help you visualize each stage of making this delicious recipe. For a quick reference, you can Jump to Recipe to access the printable version of this recipe, complete with precise measurements and instructions at the bottom of the page.
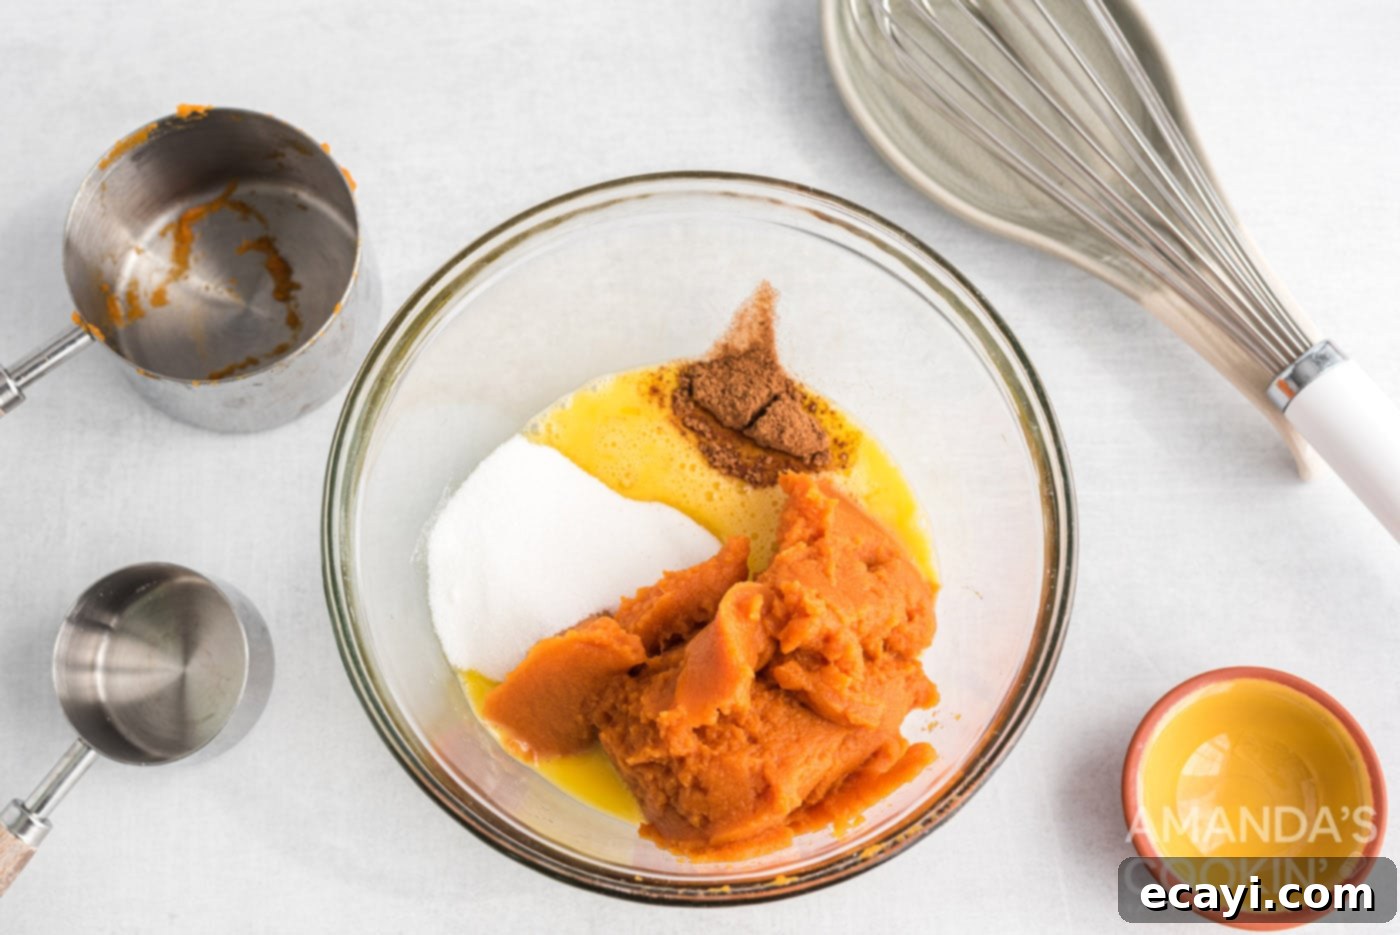
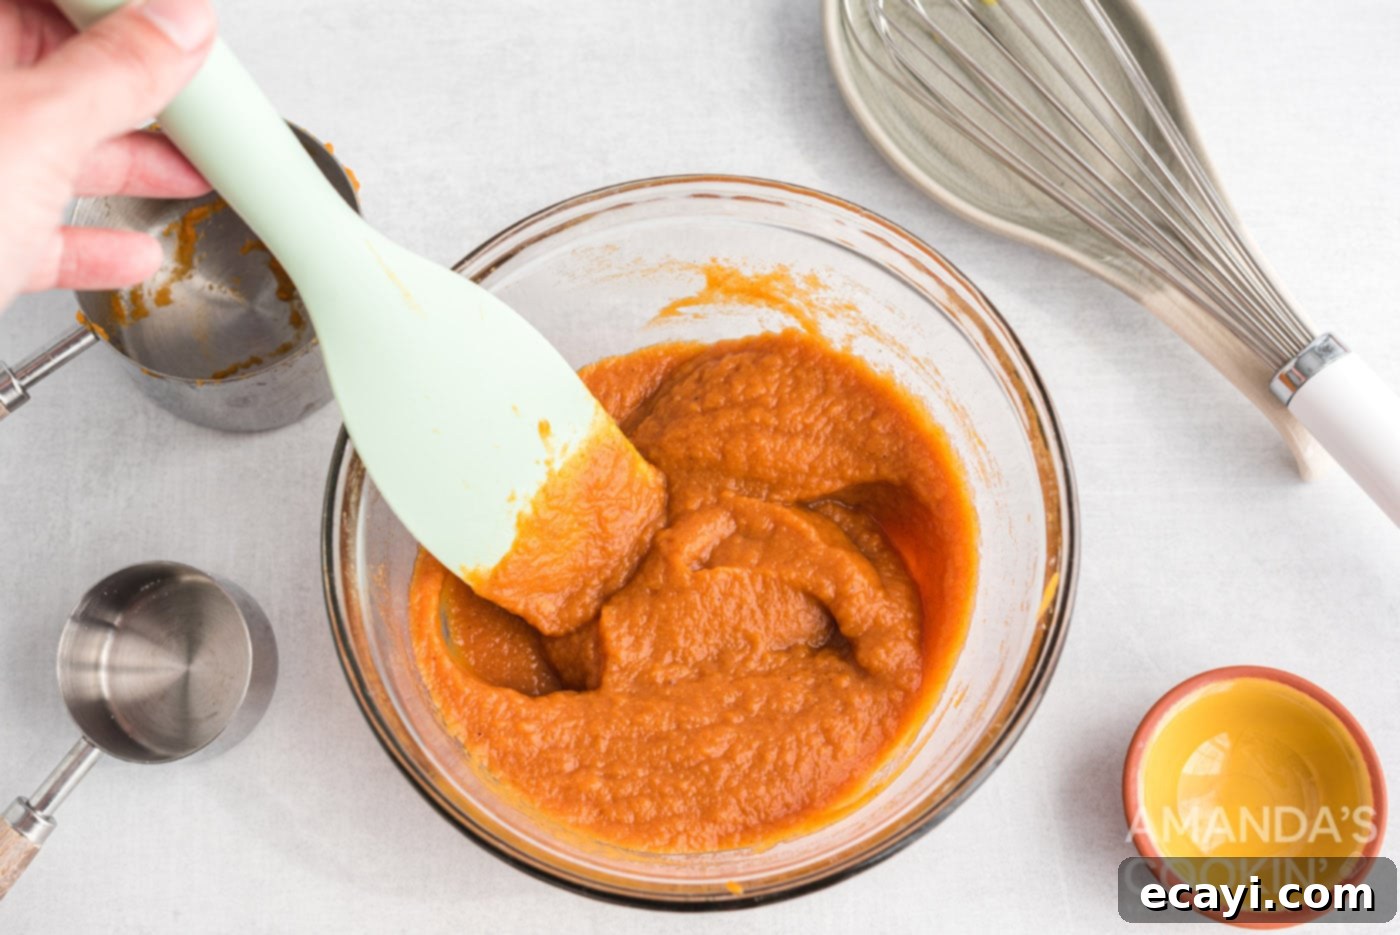
- Prepare the Pumpkin Filling: Preheat your oven to 400°F (200°C). In a small mixing bowl, beat one large egg until well combined. Add the pumpkin puree, granulated white sugar, and pumpkin spice to the bowl. Stir all the ingredients together thoroughly until a smooth, uniform mixture is formed. Once mixed, refrigerate the filling while you prepare the crust. This helps it firm up slightly, making it easier to work with.


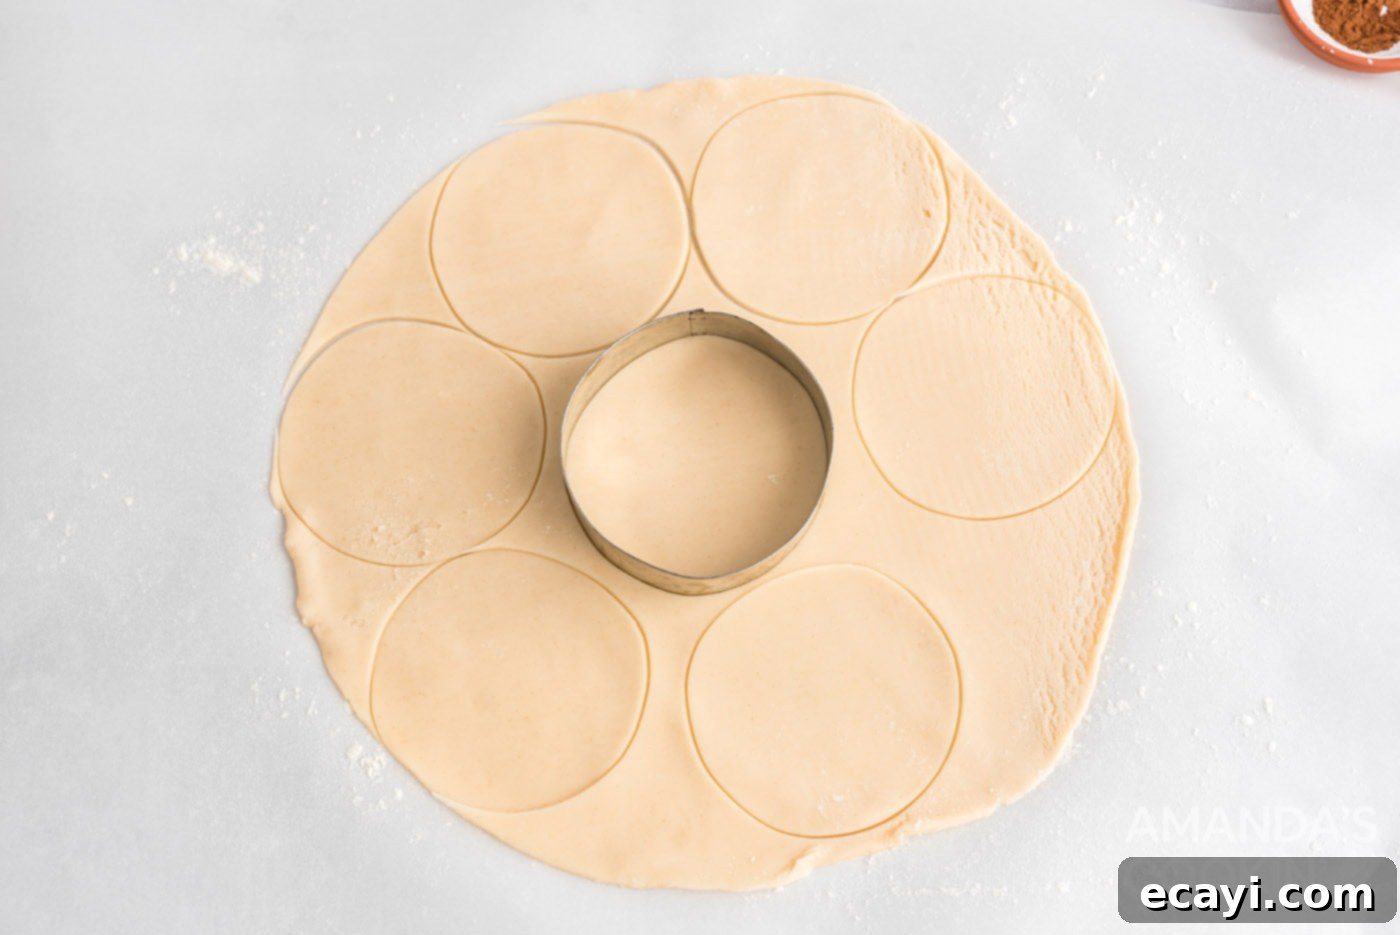
- Cut the Pie Crust Circles: Lightly flour a clean work surface. Carefully unroll the refrigerated pie crust onto the floured surface. If you’re using homemade dough, ensure it’s rolled out to an even thickness, ideally between 1/8 to 1/4 inch thick. Using a biscuit cutter or a cookie cutter of your desired size (a 3-5 inch diameter works well for individual hand pies), cut out as many circles as possible from the dough. Gather any dough scraps, gently re-roll them, and cut out additional circles until all the dough has been utilized. Avoid overworking the dough during re-rolling to maintain its flakiness.

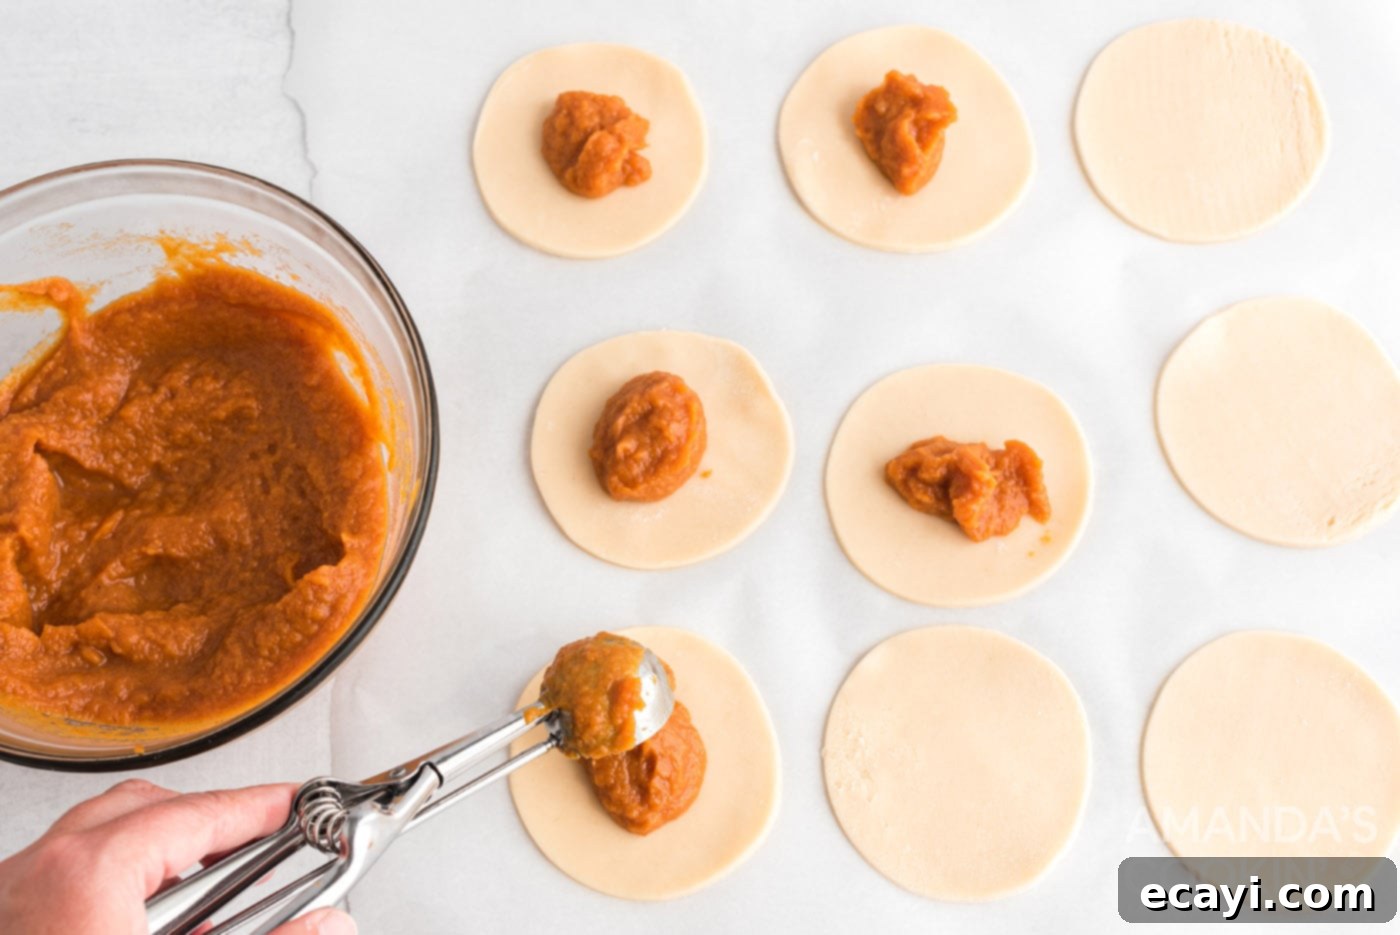
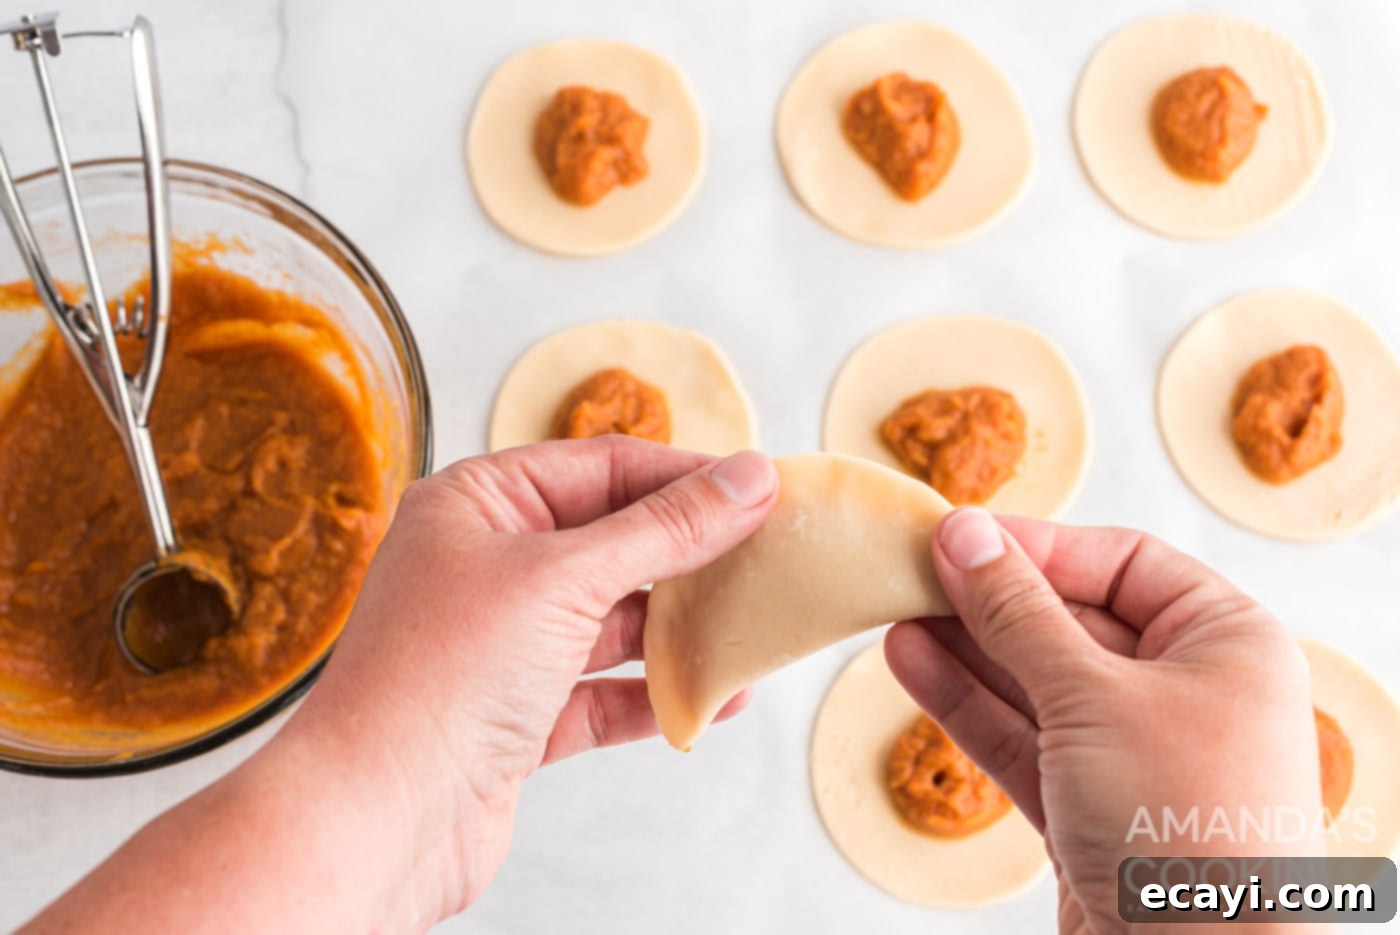
- Fill and Seal the Hand Pies: Take a dollop of the chilled pumpkin mixture (about a heaping tablespoon for a 5-inch circle) and place it onto the center of each pie crust circle. Make sure to leave a clear border of at least 1/3-inch around the edge of the dough. Gently fold each circle in half, creating a half-moon shape. To seal, firmly pinch the edges together with your fingers, or use the tines of a fork to create a decorative crimped edge. If you find the edges are not sticking together easily, lightly moisten the border with a bit of beaten egg (from the egg wash egg) before pressing them closed. This extra moisture acts as glue.


- Prepare Cinnamon Sugar and Glaze: In a small, separate bowl, combine the sugar (turbinado or granulated) and cinnamon, mixing well. This blend will add a beautiful finish to your hand pies.
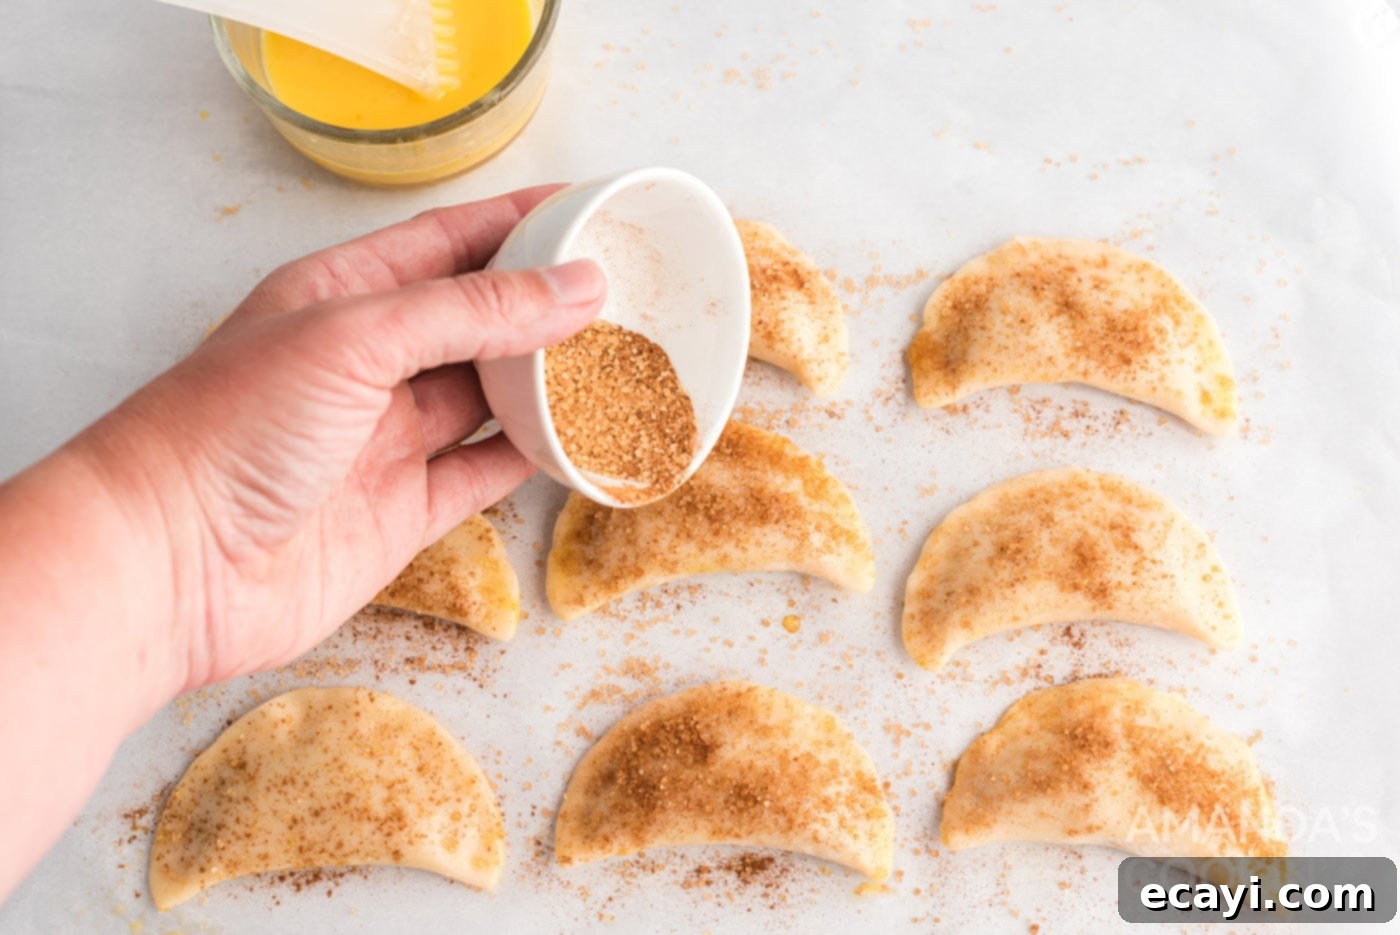
- Brush and Sprinkle: Once all your hand pies are assembled, gently brush the tops of each pie with the lightly beaten egg. This egg wash will give them that desirable golden crust. Immediately after brushing, generously sprinkle the cinnamon-sugar mixture over each pie.

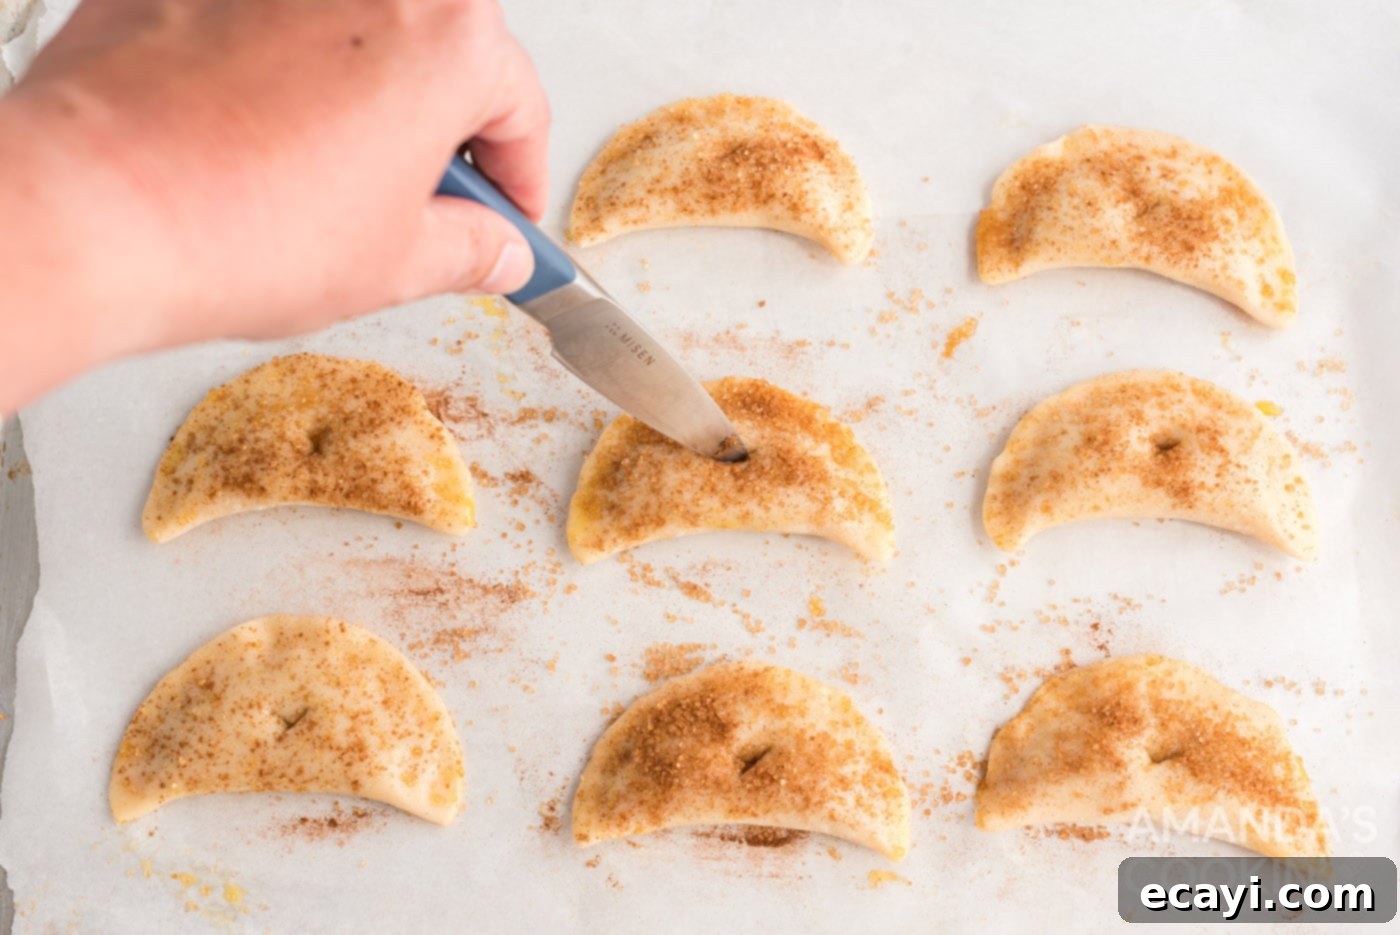
- Vent and Bake: Using a sharp knife or the tines of a fork, carefully cut a small slit or two into the top of each pie. These vents allow steam to escape during baking, preventing the pies from puffing up excessively and ensuring a crispier crust. Arrange the prepared hand pies on a cookie sheet lined with parchment paper for easy cleanup. Bake for 15 minutes, or until the crusts are beautifully golden brown and the filling is bubbly. Baking times may vary slightly depending on your oven and the size of your hand pies, so keep an eye on them.

Frequently Asked Questions & Expert Tips
Yes, absolutely! You can easily substitute the pumpkin puree with canned pumpkin pie filling. If you choose to do so, remember to omit the pumpkin spice and the egg specifically called for in the filling’s ingredients list below in the recipe card, as these components are already pre-mixed into the pumpkin pie filling. This makes the preparation even quicker!
While these delightful mini pies are truly best enjoyed fresh and warm from the oven, you can certainly store any leftovers. Place them in an airtight container and keep them in the refrigerator for up to 3-4 days. For best results when reheating, a quick warm-up in a toaster oven or conventional oven can help restore some of their crispness.
Yes, these hand pies freeze beautifully! There are two main ways to freeze them:
- Freezing Unbaked Pies: To freeze prepped (unbaked) hand pies, arrange them in a single layer on a baking sheet and place them in the freezer. Once they are mostly frozen solid (this prevents them from sticking together), transfer them to a freezer-safe Ziploc bag or an airtight container. They can be stored in the freezer for up to 2 months. When you’re ready to bake, thaw them overnight in the refrigerator, then proceed with the egg wash and cinnamon sugar sprinkle before baking as directed.
- Freezing Baked Pies: Allow baked hand pies to cool completely. Wrap each pie individually in plastic wrap, then place them in an airtight freezer bag or container. They will last for up to 1 month. To reheat, you can warm them from frozen in a preheated oven (around 300°F/150°C) until heated through, or thaw them in the refrigerator and then warm.
Absolutely! While the classic filling is wonderful, you can experiment with additions. Mini chocolate chips are a fantastic complement to pumpkin and can be stirred into the filling. A small amount of cream cheese (softened) can also be blended in for a richer, tangier flavor, or you can even add a touch of maple syrup for a different kind of sweetness.
Whether using store-bought or homemade crust, keeping the dough cold is key to flakiness. Work quickly to prevent the butter from melting. Don’t overwork the dough when rolling or re-rolling scraps, as this develops gluten and can lead to a tough crust. Chilling the assembled pies for 10-15 minutes before baking can also help them hold their shape and promote flakiness.
Delightful Serving Suggestions
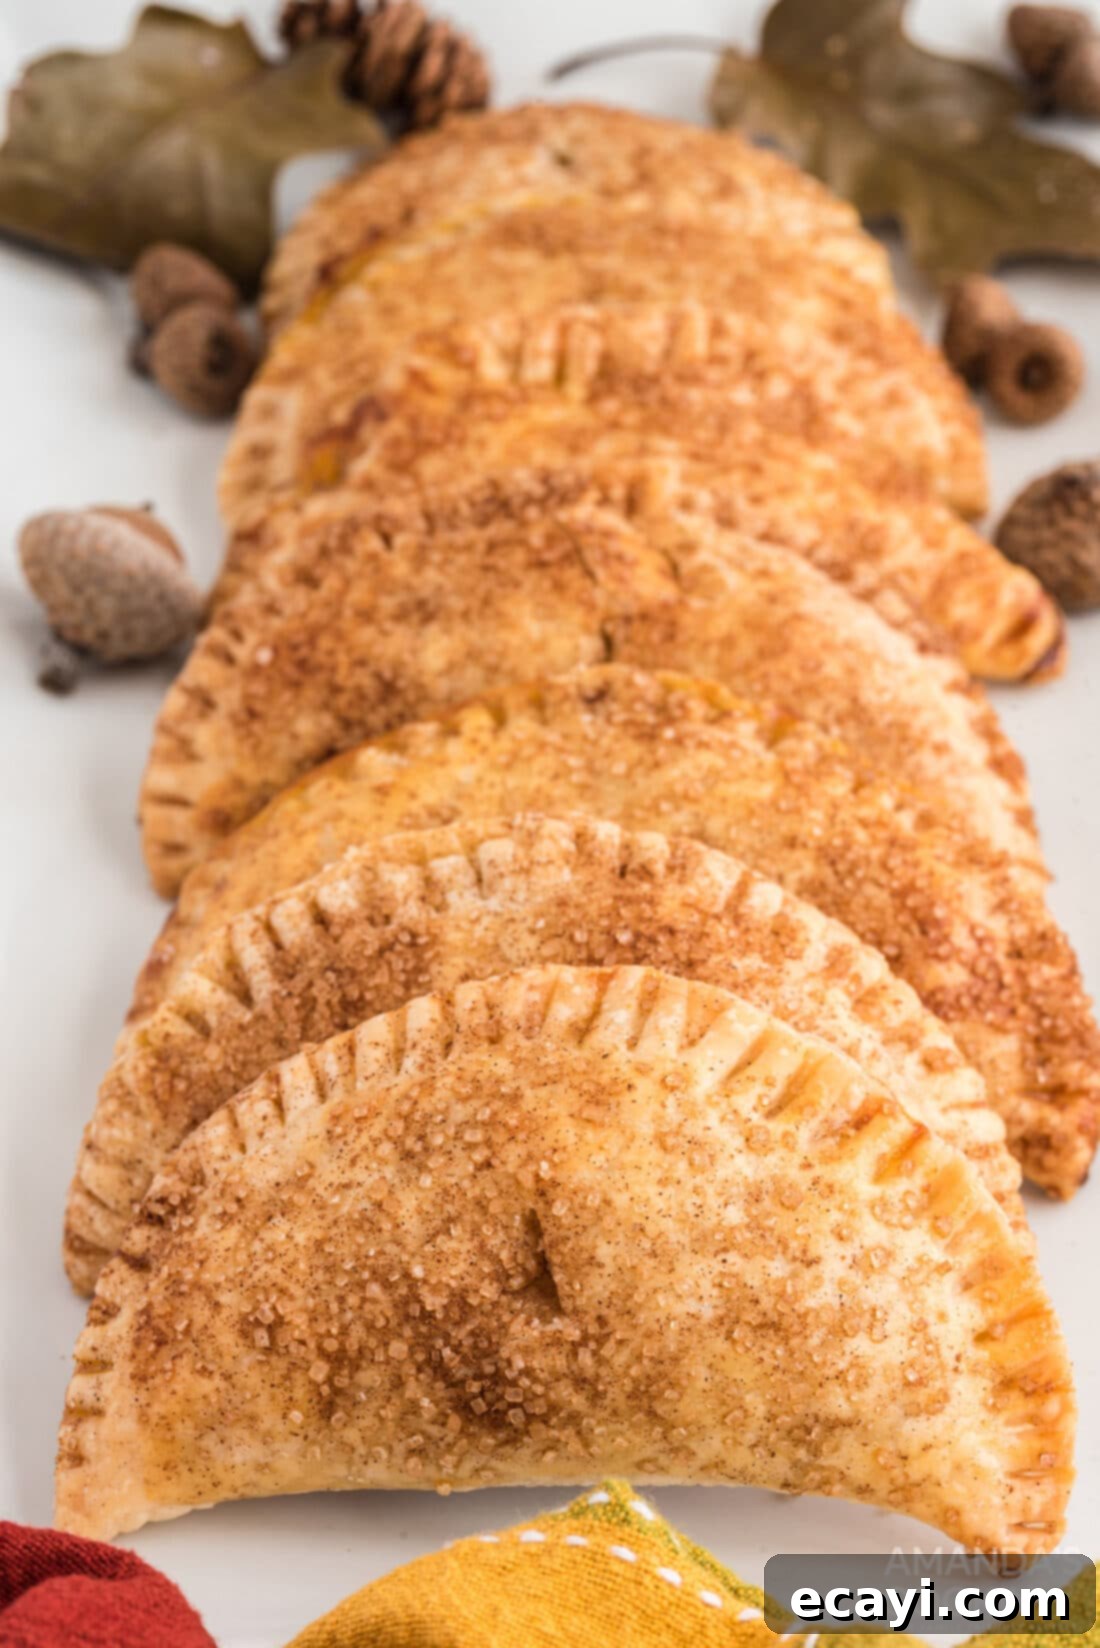
Pumpkin hand pies are incredibly versatile and can be enjoyed in numerous ways. They make fantastic personal desserts for after dinner, a thoughtful addition to school or work lunchboxes, or a charming treat to bring to a party or gathering. Their individual size makes them inherently appealing and easy to share.
While the simple egg wash and cinnamon sugar sprinkle provide a perfect finish, don’t hesitate to get creative with other toppings! Drizzle them with a simple powdered sugar glaze (made by whisking powdered sugar with a touch of milk or water), a warm caramel sauce, or even a dollop of whipped cream or a scoop of vanilla ice cream for an extra indulgent experience. They are wonderful served warm, but are equally delicious at room temperature.
Hand pies are celebrated for their adaptability, effortlessly transitioning between sweet and savory fillings. Beyond these pumpkin delights, consider exploring variations like Taco Hand Pies, Pineapple Empanadas, or Lemon Blueberry Hand Pies to broaden your culinary horizons. Each offers a unique burst of flavor, proving the endless possibilities of these portable pastry pockets.
Explore More Pumpkin-Inspired Recipes
If you’re as enamored with pumpkin as we are, you’re in luck! The fall season is a prime time to experiment with this versatile squash. Here are some more of our favorite pumpkin recipes to keep your kitchen filled with cozy aromas and delicious treats:
- Pumpkin Roll
- Pumpkin Magic Cake
- Pumpkin Spice Donuts
- Pumpkin Cake Mix Cookies
- No Bake Pumpkin Cheesecake
- Pumpkin Cinnamon Rolls
I love to bake and cook and share my kitchen experience with all of you! Remembering to come back each day can be tough, that’s why I offer a convenient newsletter every time a new recipe posts. Simply subscribe and start receiving your free daily recipes!

Pumpkin Hand Pies
IMPORTANT – There are often Frequently Asked Questions within the blog post that you may find helpful. Simply scroll back up to read them!
Print It
Rate It
Save ItSaved!
Ingredients
For the filling:
- 1 large egg
- 1 cup pumpkin puree
- ¼ cup white sugar
- 1 teaspoon pumpkin spice
For the pies:
- 1 box of refrigerated pie crust or homemade double crust
- 1 large egg lightly beaten (for egg wash)
- 1 tablespoon turbinado sugar
- ½ teaspoon cinnamon
Before You Begin
- When cutting your pie dough, you can use any shape cutter you like. A 3-inch or 5-inch round cutter is common, yielding around 10 good-sized pies. Different sizes will, of course, affect the yield. For smaller, party-friendly pies, a smaller cutter is ideal. To speed things up, a pizza cutter can be used to cut the dough into rectangles, which is particularly useful for re-rolling and cutting scraps. We sometimes add mini chocolate chips to our second batch of pies (made from re-rolled scraps) for a delicious pumpkin-chocolate combination!
- The amount of filling will depend on the size of your dough discs. Aim for a heaping tablespoon for larger discs, ensuring you leave at least a 1/3-inch border around the perimeter. This border is essential for proper sealing. Once filled, fold the dough in half and pinch the edges firmly with your fingers or use a fork to crimp them. If the dough seems reluctant to stick, a light brush of beaten egg (from your egg wash) along the edge before sealing will act as a good adhesive.
Instructions
-
Preheat oven to 400°F (200°C). In a small bowl, beat 1 egg. Add pumpkin, sugar and pumpkin spice; stir to combine. Refrigerate until ready to use.
-
On a lightly floured surface, unroll pie crust. If using homemade crust, dough should be between 1/8-1/4 inch thick. Cut into circles using a biscuit or cookie cutter. Repeat with remaining pie crust and re-roll scraps until all the dough has been used.
-
Place a dollop of pumpkin mixture on each circle, keeping a 1/3-inch border around the disc, and fold the circle in half. Seal by pinching with fingers or crimping with a fork. If edges are not sticking together, lightly moisten with beaten egg first.
-
In a small bowl, mix turbinado sugar and cinnamon together. Brush pies with the beaten egg (for egg wash), then sprinkle with the cinnamon-sugar. Using a knife or fork, cut a small slit in the top of each pie for venting. Place on a parchment-lined cookie sheet and bake for 15 minutes, or until golden brown.
Nutrition
The recipes on this blog are tested with a conventional gas oven and gas stovetop. It’s important to note that some ovens, especially as they age, can cook and bake inconsistently. Using an inexpensive oven thermometer can assure you that your oven is truly heating to the proper temperature. If you use a toaster oven or countertop oven, please keep in mind that they may not distribute heat the same as a conventional full sized oven and you may need to adjust your cooking/baking times. In the case of recipes made with a pressure cooker, air fryer, slow cooker, or other appliance, a link to the appliances we use is listed within each respective recipe. For baking recipes where measurements are given by weight, please note that results may not be the same if cups are used instead, and we can’t guarantee success with that method.
This post originally appeared here on Sept 18, 2017, and has since been updated with new photos and expanded content to provide even more helpful tips and information.
