Master the Perfect Reverse Sear Ribeye: Juicy, Tender, and Crispy Every Time
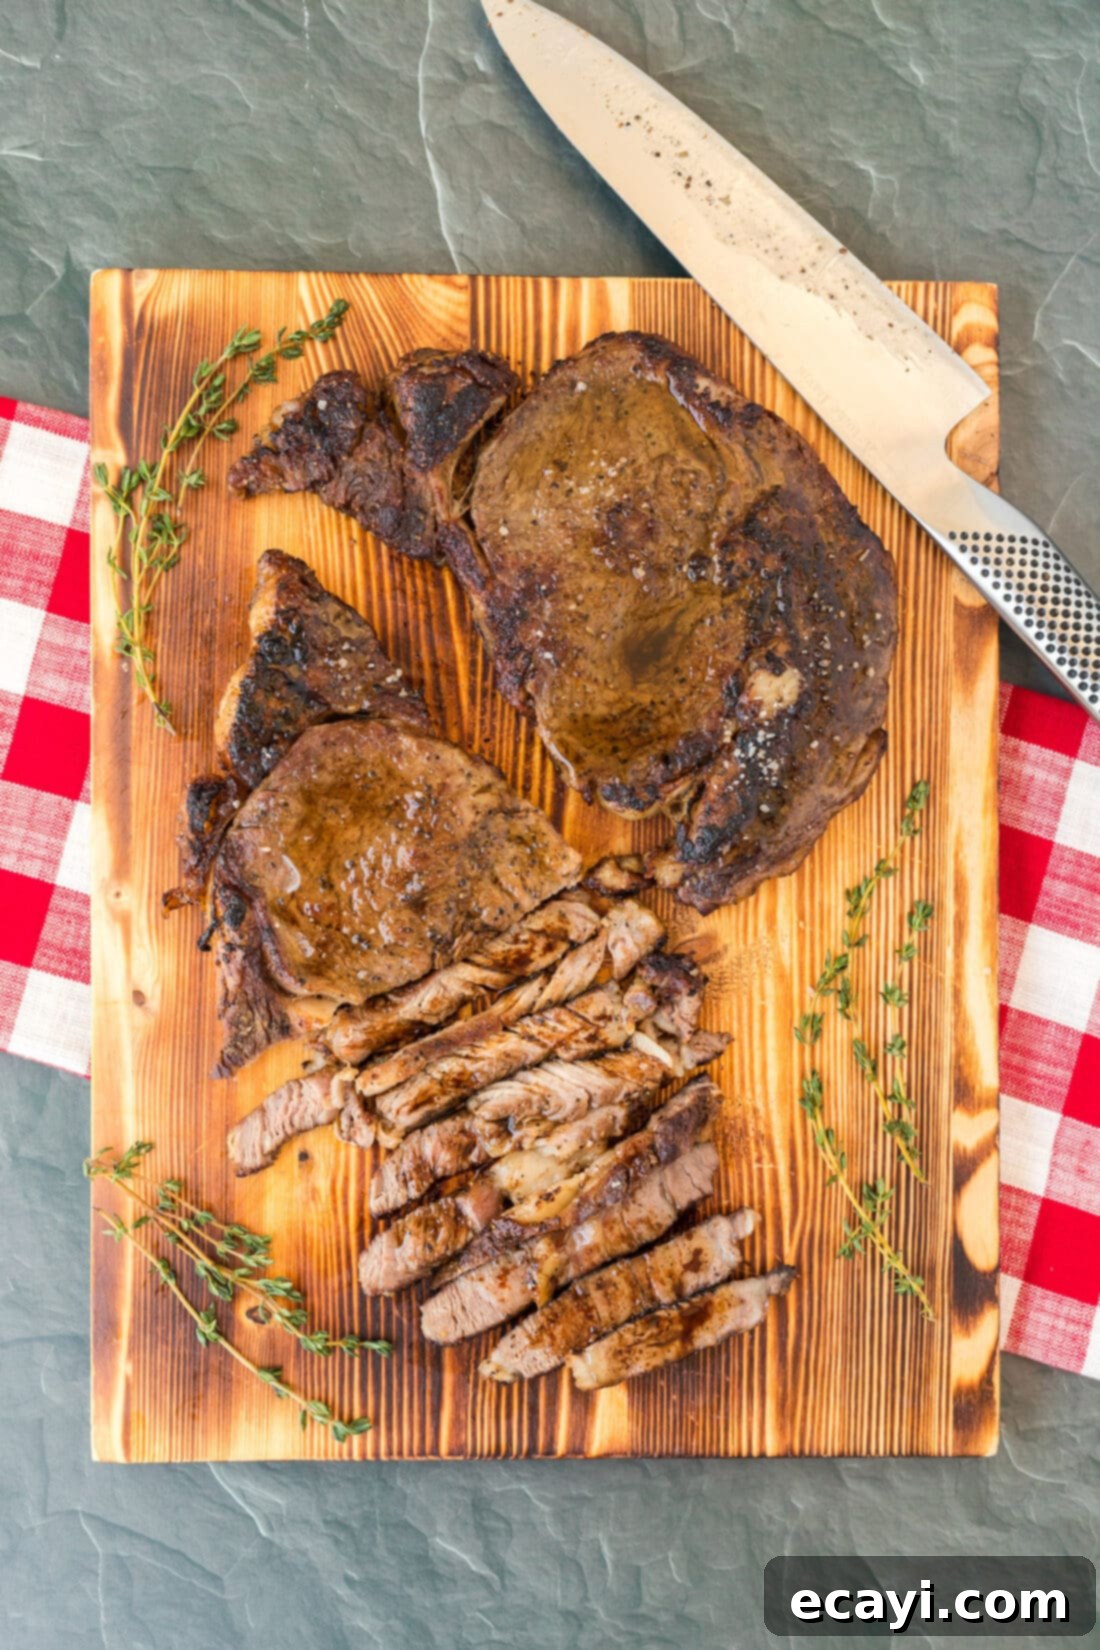
Prepare to elevate your steak game with the reverse sear ribeye method, a technique guaranteed to deliver an ultra-juicy, perfectly crusted steak that truly melts in your mouth. This foolproof approach eliminates guesswork, ensuring restaurant-quality results right in your own kitchen. Say goodbye to unevenly cooked steak and hello to an impeccably tender, beautifully seared masterpiece every single time.
Why the Reverse Sear Method is Your New Go-To for Steak Perfection
You might be familiar with traditional searing methods or perhaps even our smoked ribeye steak recipe, which starts with smoking and finishes with a sear. However, the reverse sear ribeye technique stands out for its unmatched ability to produce consistently tender results with a gorgeous, dark crust. This comprehensive, step-by-step tutorial is designed to make you a master of this easy, perfectly cooked steak method.
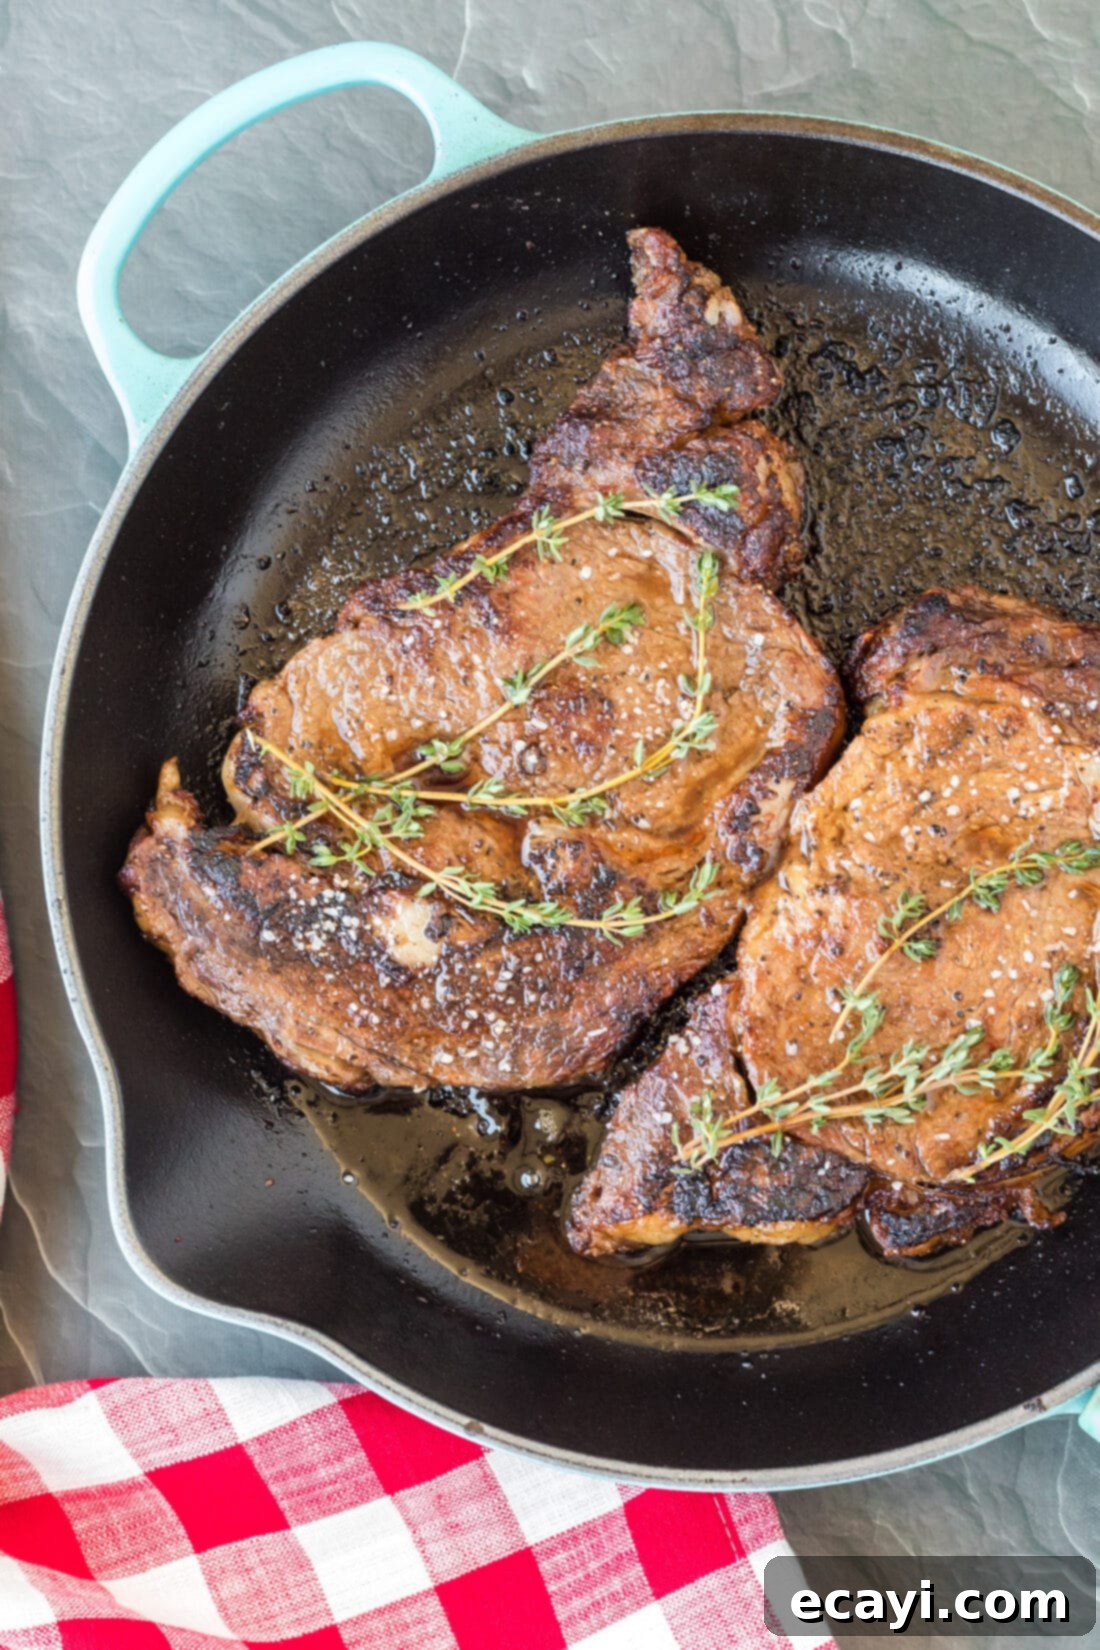
If you’ve never experienced the magic of reverse searing a ribeye, you’re about to discover a whole new level of incredibly tender and flavorful beef. The name “reverse sear” literally describes the process: instead of searing first and then cooking, you reverse the order. This method begins by gently baking the steak in the oven at a lower temperature, bringing it up to your desired internal temperature slowly and evenly. This slow initial cook ensures the steak cooks through without developing a large gray band around the edges, resulting in edge-to-edge perfection. Once the steak reaches its target temperature, it’s transferred to a sizzling hot cast iron skillet to develop that irresistible, deeply browned crust through intense searing. This approach maximizes the Maillard reaction, a chemical process responsible for the rich flavors and aromas characteristic of perfectly cooked meat, without overcooking the interior.
The primary advantage of the reverse sear is precision. By cooking the steak slowly in the oven, you have greater control over the internal temperature, making it nearly impossible to overcook. This gentle heat allows the collagen in the meat to break down slowly, leading to exceptional tenderness. When the searing phase happens quickly at the end, it focuses solely on creating a fantastic crust without significantly raising the internal temperature, preserving the steak’s juicy core. This two-stage process guarantees a steak that is both incredibly tender on the inside and wonderfully crispy on the outside, a true culinary delight.
Essential Ingredients for Your Perfect Ribeye
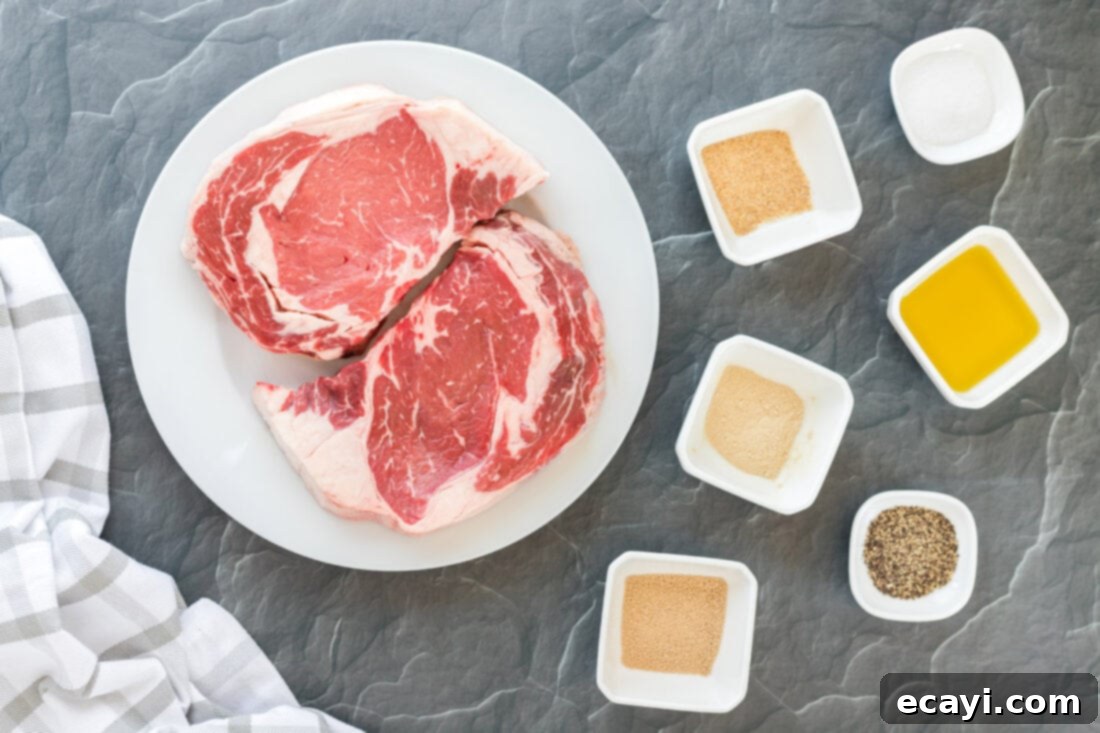
Achieving a phenomenal reverse sear ribeye requires just a few quality ingredients. While the full list with precise measurements is available in the printable recipe card at the end of this post, here’s a detailed look at what you’ll need and why each component is important.
Ingredient Info and Substitution Suggestions
- STEAK: For the best reverse sear experience, look for 2 high-quality ribeye steaks, totaling approximately 2 pounds, with each steak being about 1 to 1 1/2 pounds. The ideal thickness is crucial here – aim for 1½ to 2 inches thick. Thicker steaks allow for more even cooking in the oven before the sear, preventing the interior from overcooking. Ribeye is chosen for its excellent marbling, which contributes significantly to its tenderness and flavor. While ribeye is highly recommended, other thick-cut steaks like New York strip or porterhouse can also be used with this method. Just be aware that cooking times might vary slightly based on the cut and its fat content.
- OLIVE OIL: Extra virgin olive oil acts as a binder for the spice rub, ensuring it adheres well to the steak. It also helps in creating a flavorful crust during the initial oven bake. For searing, however, consider a high smoke point oil like avocado oil, grapeseed oil, or canola oil, especially if you’re not using butter in the pan.
- BROWN SUGAR: Granulated brown sugar adds a subtle sweetness and helps promote caramelization during the searing process, contributing to a richer crust and deeper flavor. You can substitute with an equal amount of granulated white sugar or omit it if you prefer a less sweet profile, though the caramelization effect might be reduced.
- ONION POWDER & GRANULATED GARLIC: These provide aromatic depth and classic savory notes that complement beef wonderfully. Using powdered/granulated forms ensures an even coating and prevents burning during the high-heat sear, unlike fresh garlic or onion. Feel free to adjust quantities to your preference or add other savory spices like smoked paprika or chili powder for an extra kick.
- SALT & BLACK PEPPER: These are the foundational seasonings that enhance all other flavors. Use freshly ground black pepper for the best aroma. For salt, a coarse sea salt or kosher salt is ideal for developing a good crust. Ensure generous seasoning as much of it forms the crust.
Mastering the Reverse Sear Ribeye: Step-by-Step Instructions
These step-by-step photos and instructions are designed to help you visualize the entire process of making this incredible recipe. For a convenient printable version with exact measurements and instructions, you can Jump to Recipe at the bottom of this post.
- Prepare for Baking: Preheat your oven to 400°F (200°C). Place a wire rack over a sturdy baking sheet. This setup is crucial as it allows air to circulate around all sides of the steak, ensuring even cooking and preventing the bottom from steaming. Bring your ribeye steaks out of the refrigerator at least 30-60 minutes before cooking to allow them to come closer to room temperature. This helps them cook more evenly from edge to edge.
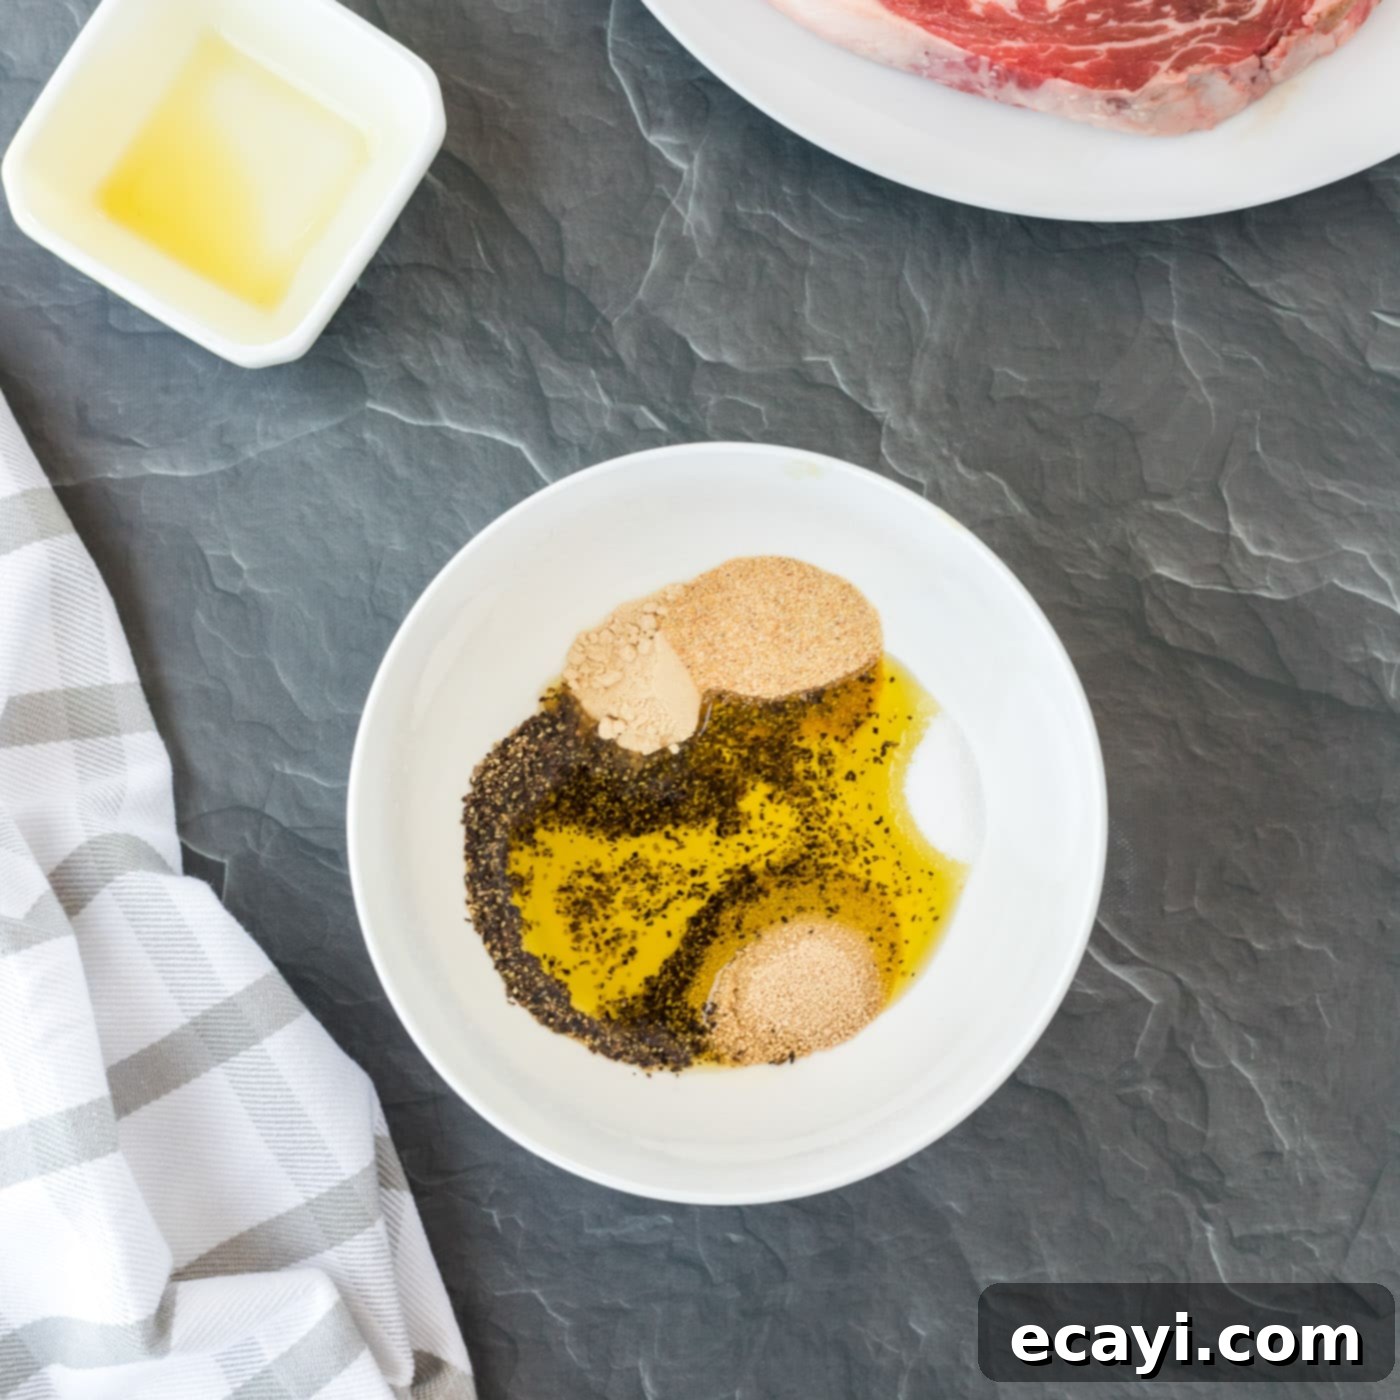
- Craft the Flavorful Rub: In a small bowl, combine the olive oil, brown sugar, onion powder, granulated garlic, salt, and black pepper. Mix thoroughly until you have a thick, paste-like rub. This seasoning blend will penetrate the meat and create a delicious outer layer.

Mixing the aromatic spice rub for the steak. - Season the Steak Generously: Using gloved hands (or thoroughly clean hands), meticulously rub the oil and spice mixture all over the entire surface of each ribeye steak. Ensure every inch is covered to maximize flavor and crust development.
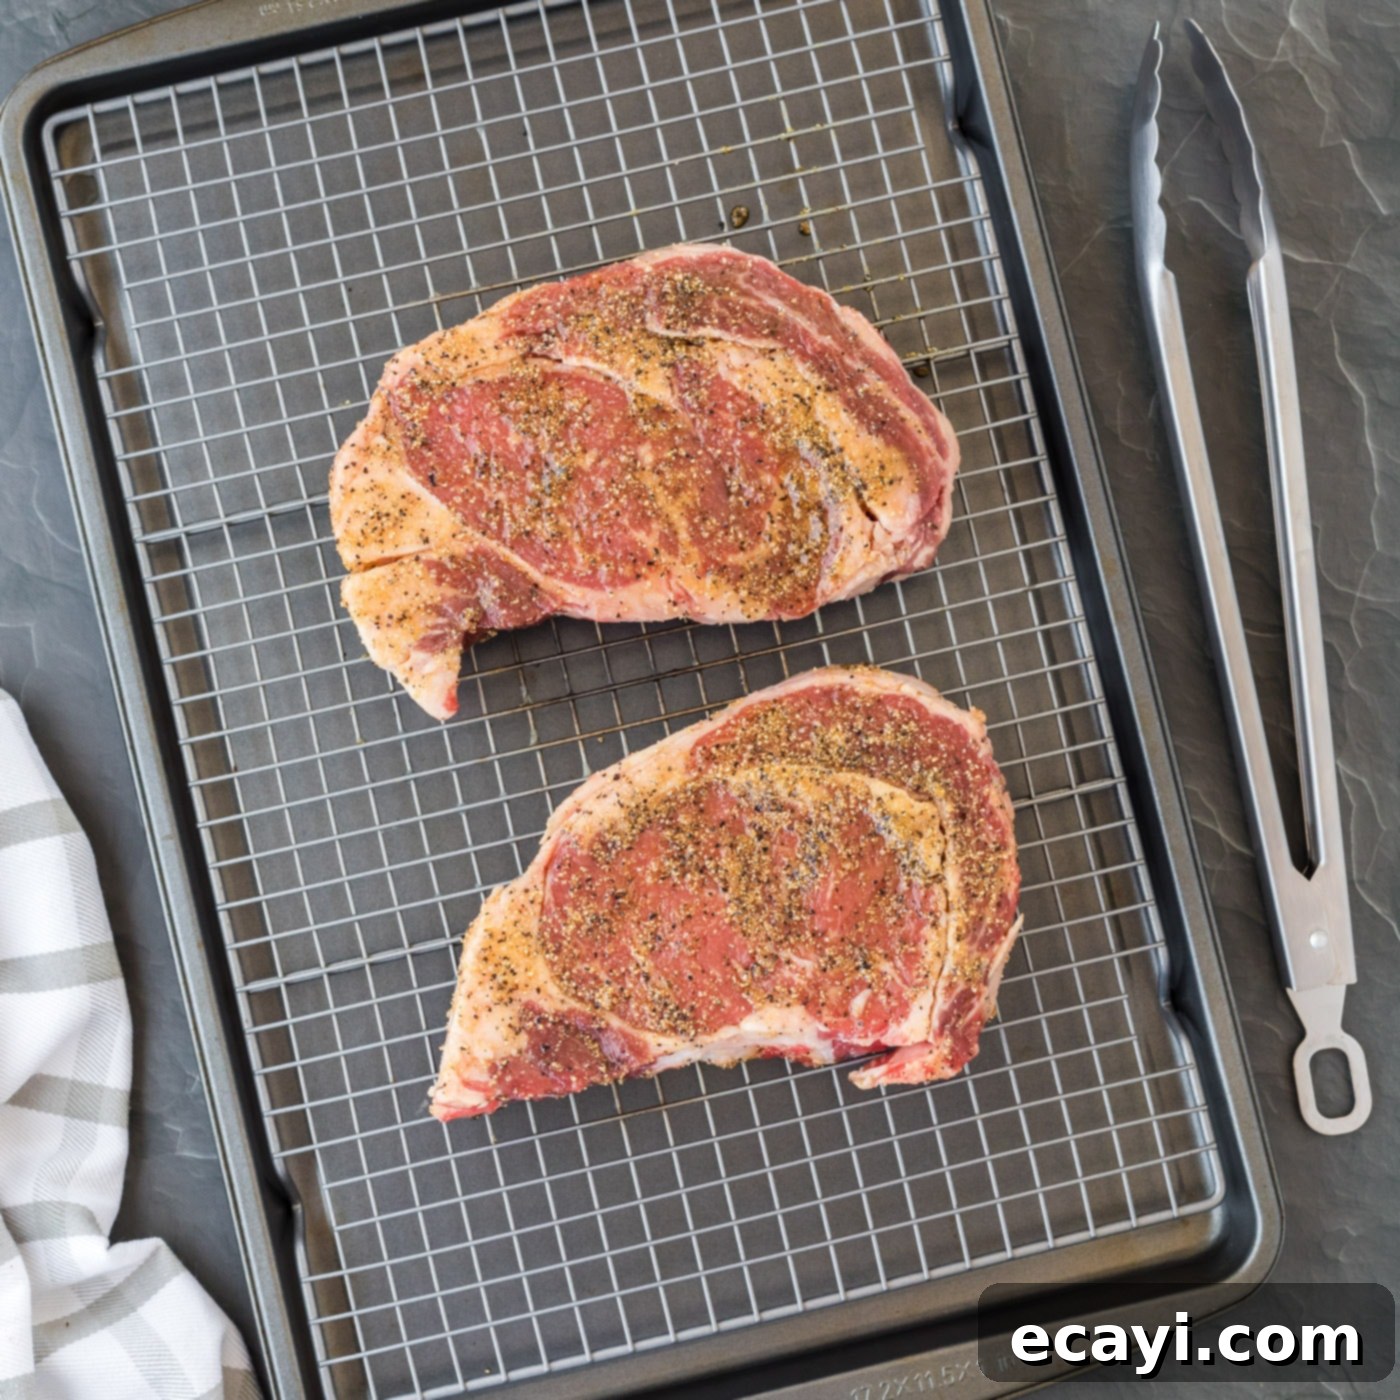
- Oven Baking Setup: Place the thoroughly seasoned steaks directly on the wire rack that is positioned over your baking sheet. This ensures excellent airflow and helps prevent one side from becoming soggy.

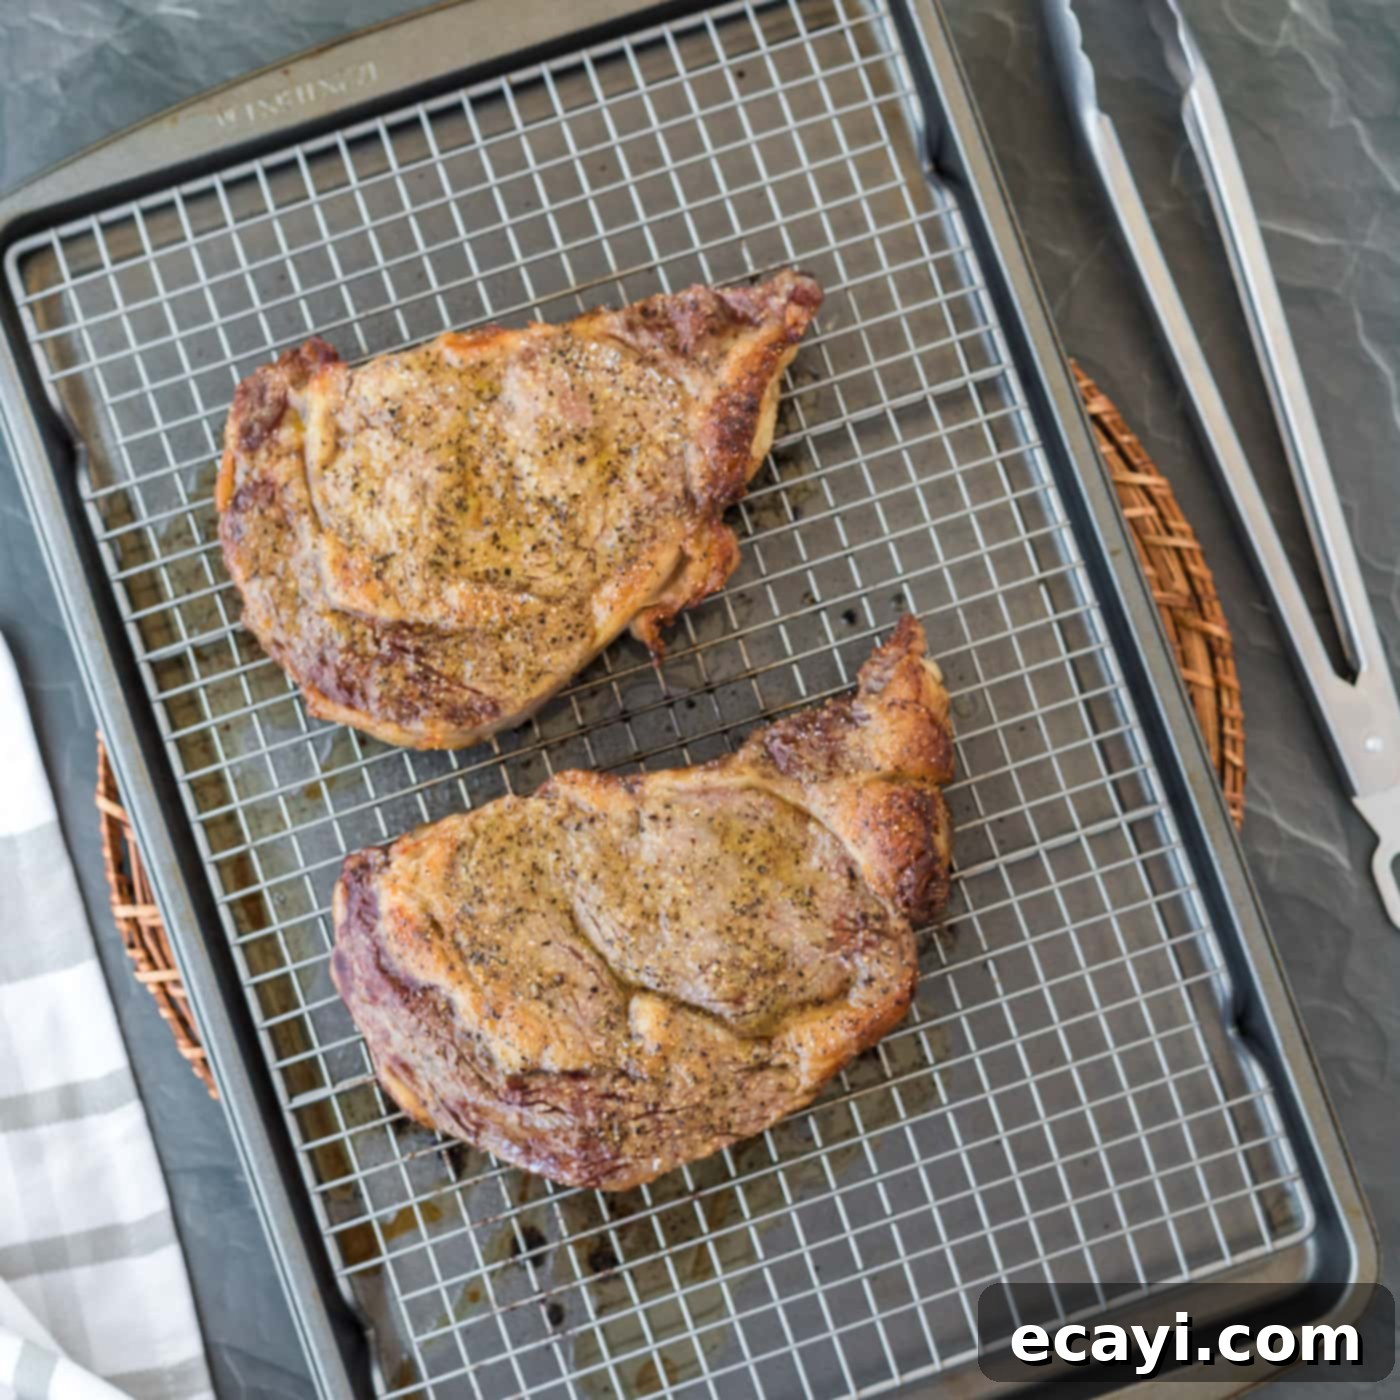
Seasoned ribeye ready for the oven on a wire rack. - Slow Bake to Perfection: Bake the steaks in the preheated oven for approximately 15-20 minutes. The exact timing will depend on the thickness of your steaks and your desired level of doneness. For medium doneness, aim for an internal temperature around 135-140°F (57-60°C) before searing. Use an instant-read meat thermometer inserted into the thickest part of the steak for accurate readings. Remember, the steak will continue to cook during the searing process.

The steak after its initial slow bake in the oven. - Prepare for Searing: About 3-4 minutes before your oven timer for the steaks is up, place a cast iron skillet on the stovetop over high heat. Let it preheat thoroughly until it’s smoking slightly. It’s crucial that the skillet is bone dry and scorching hot – do not add oil or butter at this stage. A screaming hot pan is key for developing a deep, rich crust.
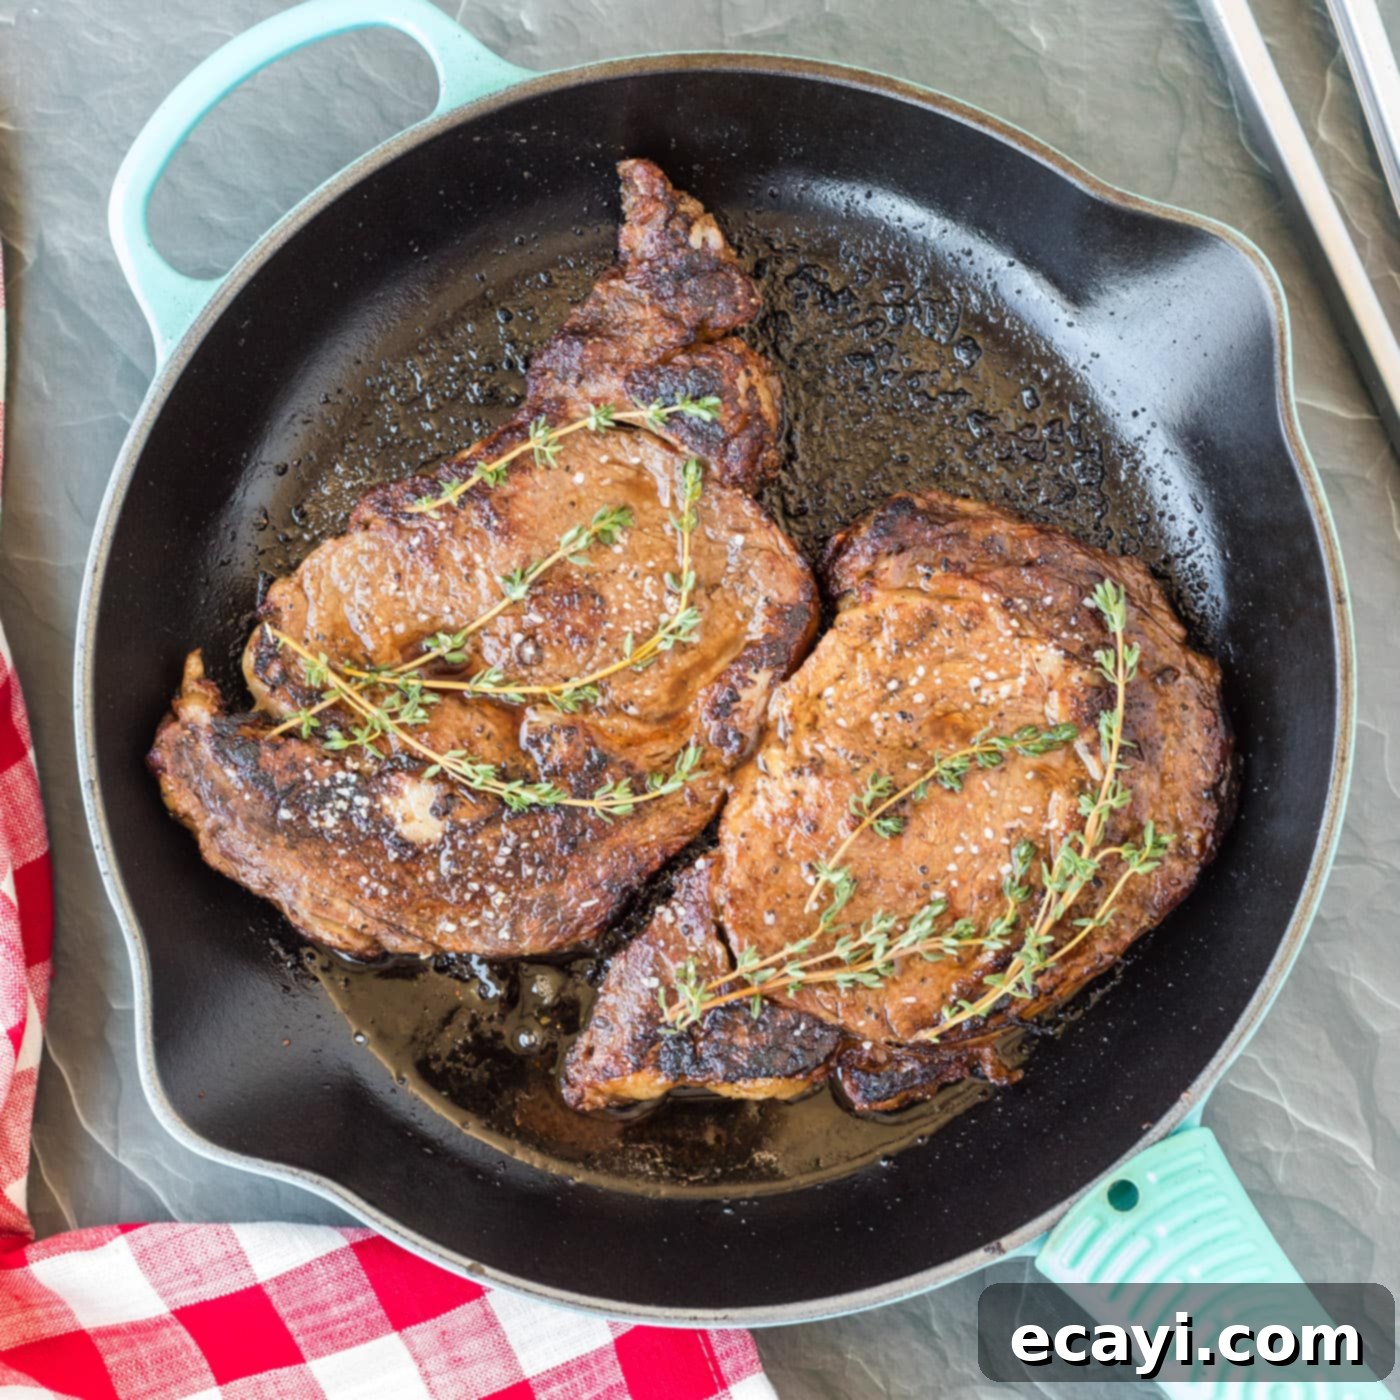
- Achieve the Golden Crust: Carefully remove the steaks from the oven and immediately transfer them to the preheated, hot cast iron skillet. Sear the steaks for 2-4 minutes on each side, turning occasionally to achieve your desired level of crust. During this searing phase, you can add a tablespoon of butter, a sprig of fresh rosemary, and a few cloves of smashed garlic to the pan, basting the steak with the melted butter for an extra layer of flavor.
- The Crucial Resting Period: Once seared to perfection, remove the steaks from the skillet and place them on a clean cutting board. Allow them to rest uncovered for at least 5-10 minutes. It’s important NOT to cover the steaks with foil, as this will trap steam, soften the crust you just worked hard to create, and allow the steak to continue cooking excessively. Resting allows the juices within the meat to redistribute evenly, resulting in a more tender and juicy bite. Skipping this step will result in juices running out when you slice, leaving you with a drier steak.
Frequently Asked Questions & Expert Tips for Success
Using an instant-read thermometer inserted into the thickest part of the beef is the most accurate way to gauge doneness. Keep in mind that the temperature will rise by a few degrees during the resting period (carryover cooking). Here’s a general guide for final desired doneness:
- Rare: 125-130°F (52-54°C)
- Medium-Rare: 130-135°F (54-57°C) – often considered ideal for ribeye.
- Medium: 135-140°F (57-60°C)
- Medium-Well: 140-145°F (60-63°C)
- Well-Done: 150°F (66°C) and above (note: well-done may not fully benefit from the reverse sear’s tenderness advantages).
For reverse searing, remove the steak from the oven 5-10 degrees *below* your target final temperature before searing, as the high heat sear will bring it up to the desired level.
Several factors contribute to a phenomenal crust:
- Dry Steak: Pat the steak very dry with paper towels before applying the rub. Moisture is the enemy of searing, as it will steam the steak instead of searing it.
- Hot Skillet: Ensure your cast iron skillet is smoking hot before adding the steak. This creates an immediate, intense heat necessary for the Maillard reaction.
- High Smoke Point Oil (Optional): If you choose to add a thin layer of oil to the pan before searing, use one with a high smoke point (like avocado or grapeseed oil) to prevent burning. Alternatively, adding butter during the sear is excellent for flavor and basting.
- Don’t Overcrowd: Only sear one or two steaks at a time, ensuring there’s enough space in the pan. Overcrowding will lower the pan temperature and lead to steaming rather than searing.
Absolutely! While ribeye is exceptional for reverse searing due to its marbling and thickness, this technique works wonderfully for other thick-cut steaks like New York strip, porterhouse, T-bone, or even filet mignon. Adjust the oven baking time based on the steak’s thickness and your desired doneness, always relying on your meat thermometer.
Yes, you can apply the spice rub to your ribeye steaks up to 24 hours in advance and store them uncovered on a wire rack in the refrigerator. This allows for a “dry brining” effect, which helps tenderize the meat and allows the flavors to penetrate deeper. Just be sure to bring them to room temperature for at least 30-60 minutes before placing them in the oven.
Delectable Serving Suggestions for Your Ribeye
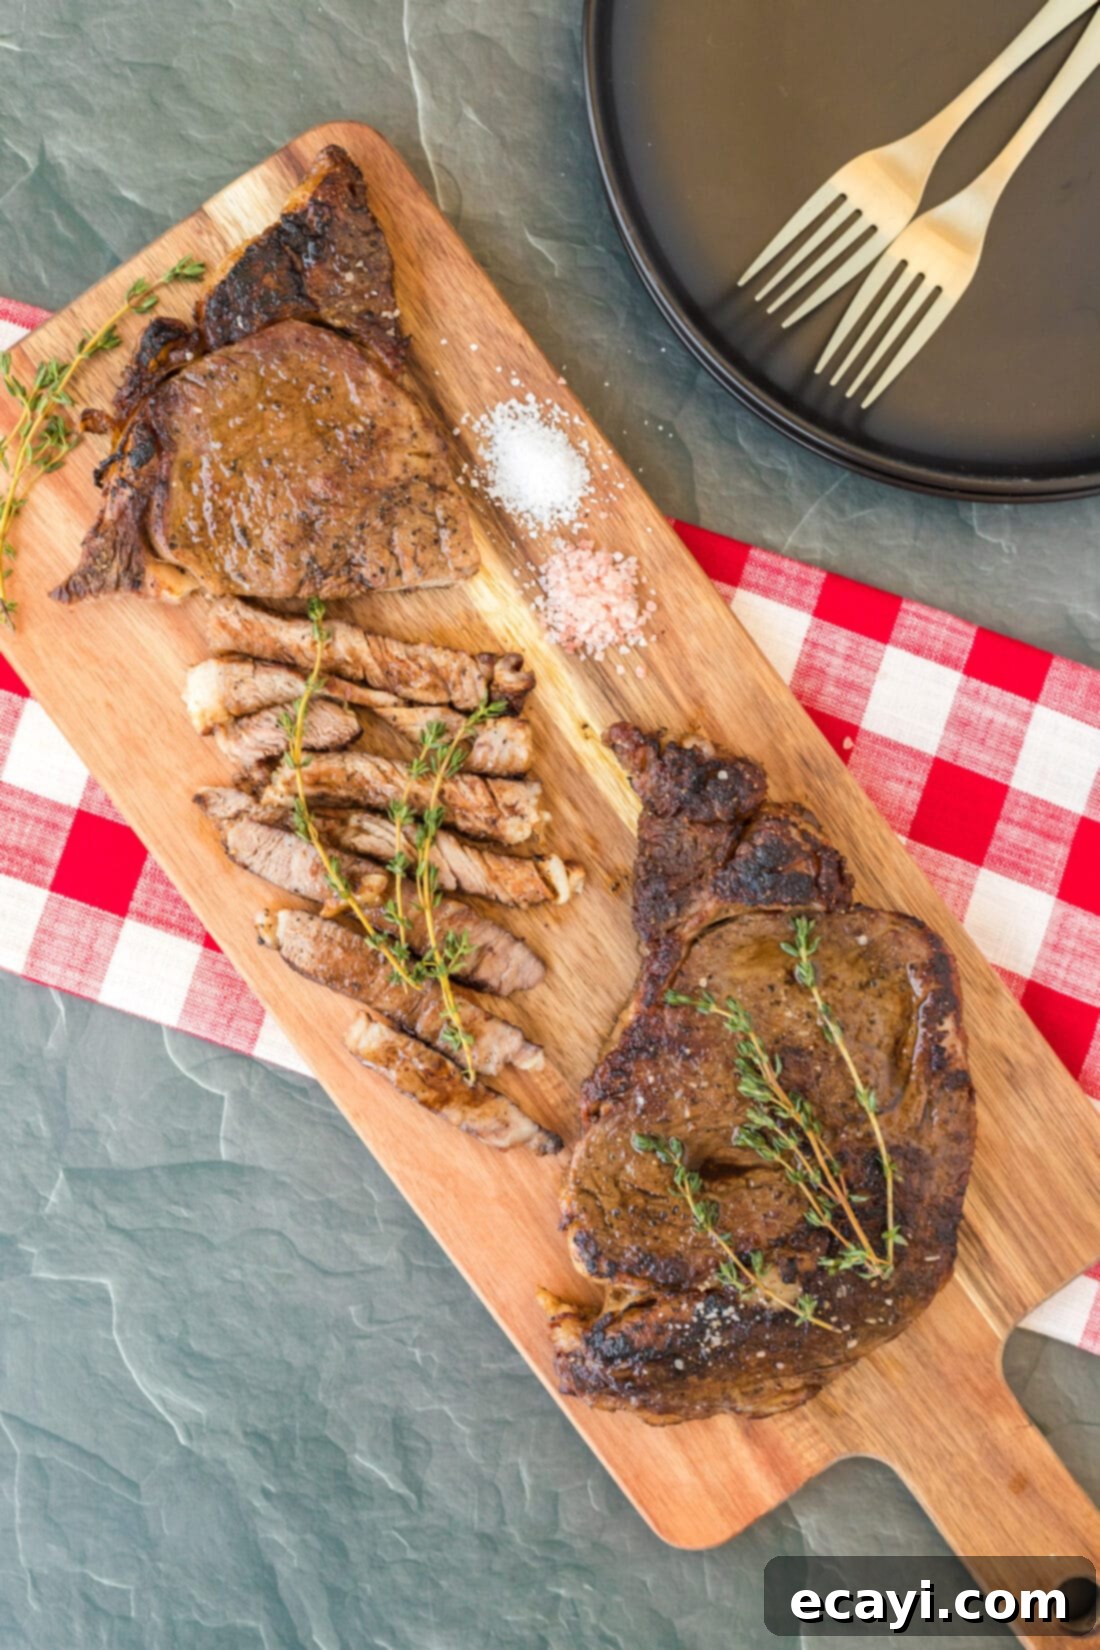
A perfectly cooked reverse sear ribeye deserves equally delicious accompaniments. Serve your masterpiece alongside classic comfort dishes like creamy crockpot mashed potatoes or crispy roasted potatoes. For a touch of freshness, consider roasted carrots, tender asparagus, sweet corn, or vibrant green beans. A simple, crisp side salad with a tangy vinaigrette also provides a beautiful contrast to the rich steak. Don’t forget a rich sauce like a red wine reduction, a dollop of compound butter, or a vibrant chimichurri to truly elevate the experience. Enjoy this gourmet meal!
Discover More Irresistible Beef Recipes
- Salisbury Steaks
- Oven Beef Ribs
- Oven Swiss Steak
- Crockpot Beef Burgundy
- Ground Beef Stroganoff
- Veal Chops
I love to bake and cook and share my kitchen experience with all of you! Remembering to come back each day can be tough, that’s why I offer a convenient newsletter every time a new recipe posts. Simply subscribe and start receiving your free daily recipes!

Reverse Sear Ribeye
IMPORTANT – There are often Frequently Asked Questions within the blog post that you may find helpful. Simply scroll back up to read them!
Print It
Pin It
Rate It
Save ItSaved!
Ingredients
- 2 ribeye steaks 2 pounds, around 1 1/2 – 2 inches thick
- 1 ½ Tablespoons olive oil
- 1 Tablespoon granulated brown sugar
- 1 Tablespoon onion powder
- 1 Tablespoon granulated garlic
- 2 teaspoons salt
- 2 teaspoons black pepper
Things You’ll Need
-
Cast iron skillet
-
Wire cooling racks
-
Baking sheets
-
Tongs
-
Instant Read Meat Thermometer
Before You Begin
- Look for 2 pounds of ribeye steak, about 1 pound each steak. They should be 1 1/2 – 2 inches thick for the best results. Depending on the thickness of your steak and the doneness you prefer, you can adjust the oven baking time. Our instructions target a medium doneness with a perfect crust.
- For optimal results, ensure your ribeye steaks are brought to room temperature for 30-60 minutes before placing them in the oven. This promotes more even cooking throughout the steak.
- Always pat your steaks very dry with paper towels before applying the spice rub. Excess moisture prevents a good sear and crispy crust.
Instructions
-
Preheat oven to 400°F (200°C). Place a wire rack over a baking sheet to allow for even air circulation around the steak. Bring steaks to room temperature for 30-60 minutes before cooking.
-
In a small bowl, mix together the olive oil, granulated brown sugar, onion powder, granulated garlic, salt, and black pepper to form a paste.
-
Using gloved hands, thoroughly rub the oil and spice mixture all over the entire surface of the ribeye steaks, ensuring full coverage.
-
Place the prepared steaks on the wire rack over the baking sheet.
-
Bake in the preheated oven for 15-20 minutes, or until the internal temperature reaches 135-140°F (57-60°C) for medium doneness, using an instant-read thermometer.
-
About 3-4 minutes before the steaks are done in the oven, preheat your cast iron skillet over high heat until it’s sizzling hot and lightly smoking. Do not add oil or butter to the pan at this stage.
-
Carefully remove the steaks from the oven and immediately transfer them to the scorching hot skillet. Sear for 2-4 minutes on each side, turning occasionally, until a beautiful, deep brown crust forms to your desired level of crispiness.
-
Remove the seared steaks to a clean cutting board and allow them to rest uncovered for 5-10 minutes. Do not cover with foil, as this will steam the crust and cause the steak to continue cooking excessively. Resting is crucial for juicy results.
Nutrition
The recipes on this blog are tested with a conventional gas oven and gas stovetop. It’s important to note that some ovens, especially as they age, can cook and bake inconsistently. Using an inexpensive oven thermometer can assure you that your oven is truly heating to the proper temperature. If you use a toaster oven or countertop oven, please keep in mind that they may not distribute heat the same as a conventional full sized oven and you may need to adjust your cooking/baking times. In the case of recipes made with a pressure cooker, air fryer, slow cooker, or other appliance, a link to the appliances we use is listed within each respective recipe. For baking recipes where measurements are given by weight, please note that results may not be the same if cups are used instead, and we can’t guarantee success with that method.
