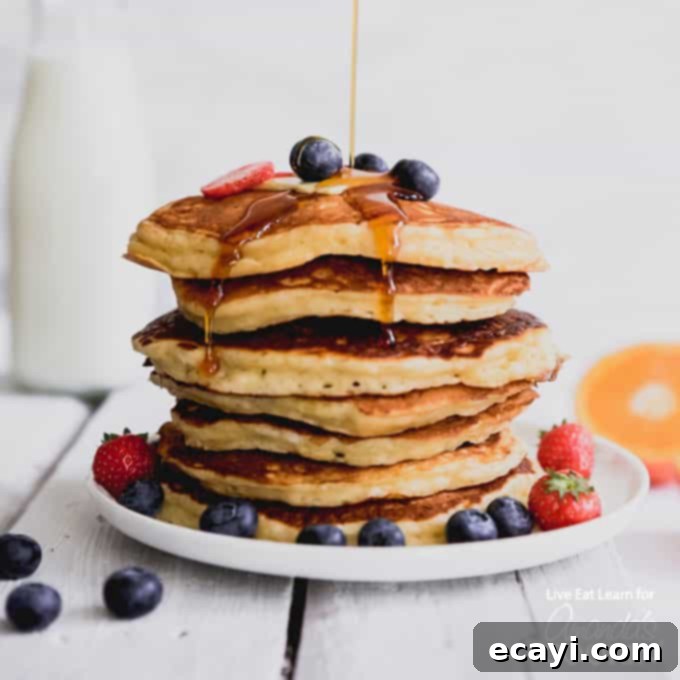
Mastering Fluffy Buttermilk Pancakes: Your Easy Homemade Recipe Guide
Say goodbye to those store-bought boxed pancake mixes and elevate your weekend breakfast game with this incredible classic Buttermilk Pancakes recipe! You’ll discover that learning how to make truly fluffy, delicious pancakes from scratch is surprisingly easy. Once you taste these homemade buttermilk beauties, you’ll wonder why you ever settled for anything less.
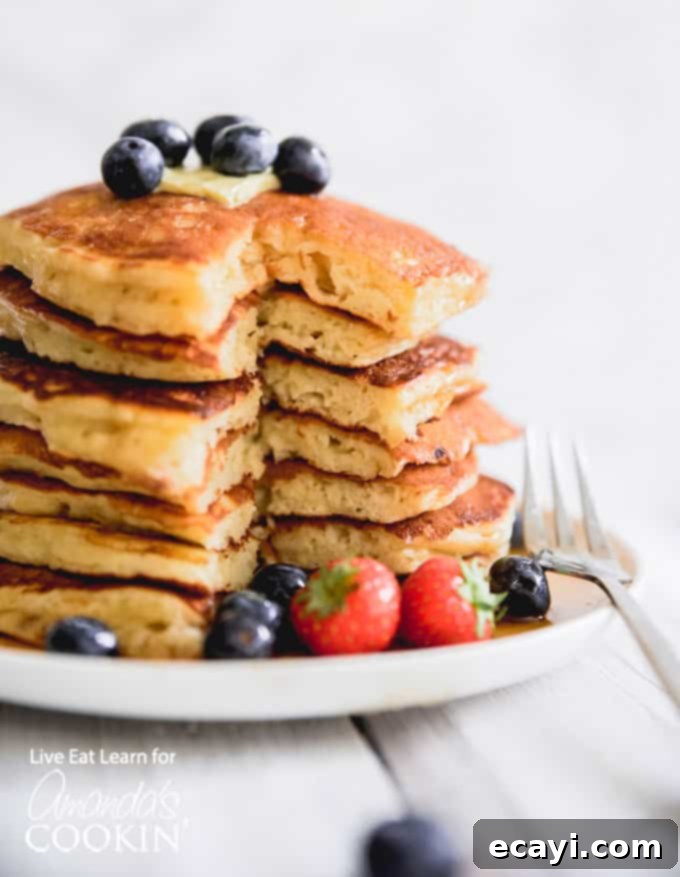
Unleashing the Deliciousness of Classic Buttermilk Pancakes
I completely understand the reliance on convenience. For years, I, too, used to depend heavily on mixes like Bisquick or a ready-made Master Mix for all my breakfast baking needs. In my mind, creating pancakes with a box mix was making homemade pancakes. That perception shifted dramatically when I moved to Europe and found that beloved boxed pancake mix wasn’t readily available to satisfy those inevitable Saturday morning cravings.
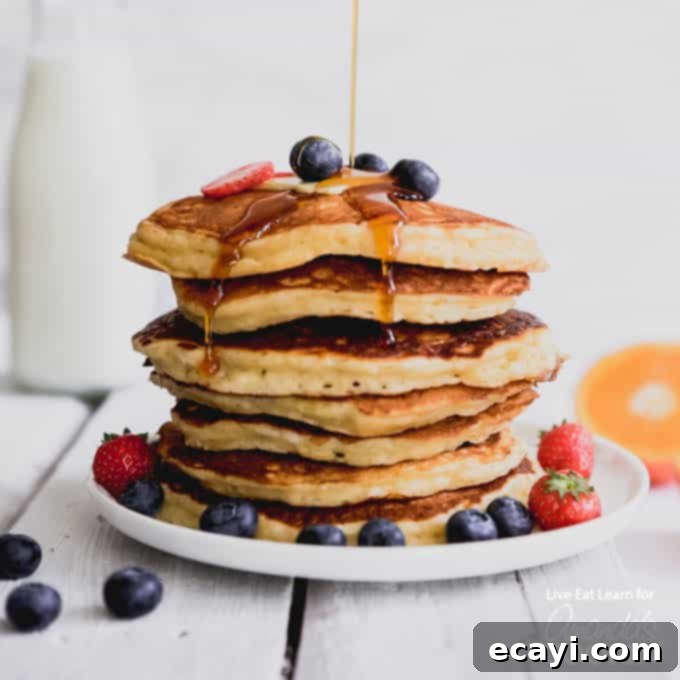
Necessity, as they say, is the mother of invention. So, I did what once seemed impossible: I made pancakes entirely from scratch. This experience was a revelation! I quickly realized that you likely already have all the simple ingredients required to whip up incredibly amazing homemade pancakes, eliminating the need for yet another bulky box cluttering your pantry. Today, I’m thrilled to share my absolute favorite Saturday morning breakfast recipe: the best Classic Buttermilk Pancakes you’ll ever taste!
Why Choose Homemade Buttermilk Pancakes Over a Mix?
The appeal of a box mix is undeniable – just add water or milk, and you’re good to go. However, the difference in taste and texture when you make buttermilk pancakes from scratch is monumental. Homemade pancakes boast an unparalleled freshness, a delicate fluffiness, and a rich flavor that boxed versions simply cannot replicate. You have full control over the quality of your ingredients, avoiding artificial flavors, preservatives, and excessive sugar. Plus, there’s a unique satisfaction that comes from creating something so delicious with your own hands. It’s a small effort for a huge reward, transforming a mundane breakfast into a memorable experience.
Related Post – For another fantastic breakfast idea, check out our Sheet Pan Breakfast Pizza!
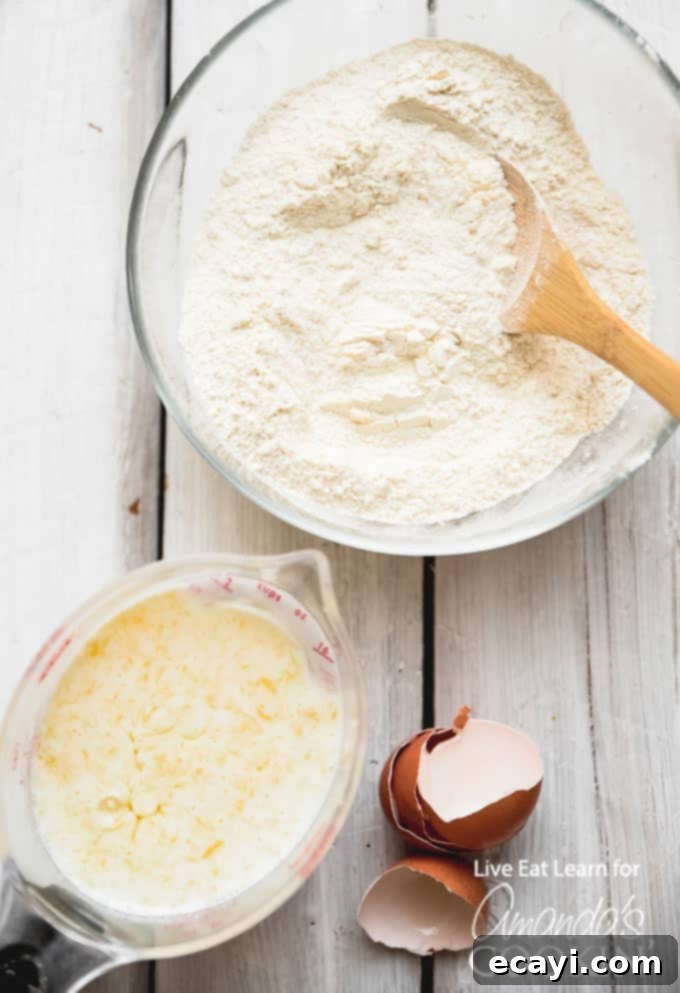
Essential Ingredients for Fluffy Buttermilk Pancakes:
To embark on your journey to homemade pancake perfection, gather these basic yet powerful ingredients. Each plays a crucial role in achieving that sought-after fluffy texture and rich flavor:
- 2 cups all-purpose flour: The foundation of our pancakes. Ensure it’s fresh for best results.
- 3 Tbsp granulated sugar: Adds a touch of sweetness and helps with browning.
- 2 tsp baking soda: This is where the magic happens! It reacts with the buttermilk’s acidity to create lift and airiness.
- ½ tsp salt: Balances the flavors and enhances the sweetness.
- 2 cups buttermilk: The star ingredient! Its acidity is key for activating the baking soda, resulting in tender, fluffy pancakes.
- 2 large eggs: Bind the ingredients together, add richness, and contribute to the structure.
- 3 Tbsp unsalted butter: Melted butter adds incredible flavor and moisture, making the pancakes wonderfully tender.
Recommended Kitchen Tools for Effortless Pancake Making:
While you don’t need a gourmet kitchen to make great pancakes, having a few key tools can make the process even smoother:
- Mixing bowl: A large bowl is essential for combining ingredients without spillage.
- Rubber spatula: Ideal for gently folding ingredients and scraping down the sides of the bowl.
- Large saute pan or griddle: A non-stick surface is best for easy flipping and perfectly golden pancakes.
- Measuring cups and spoons: Accuracy in measurement is key for consistent results.
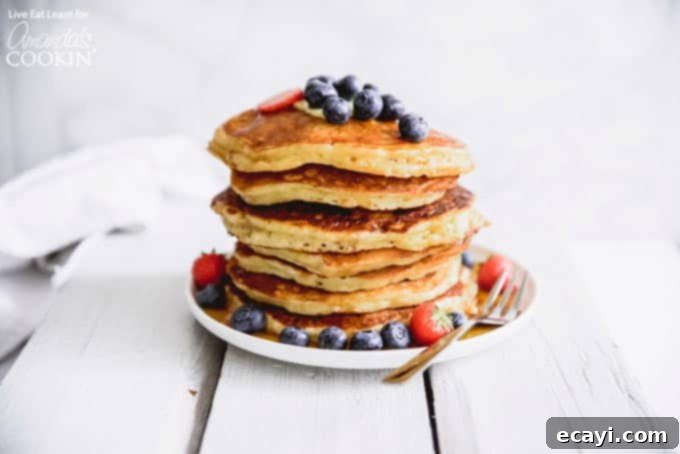
Your Step-by-Step Guide to Making Homemade Buttermilk Pancakes:
Creating these delightful pancakes is a straightforward process. Follow these steps carefully for consistently perfect, fluffy results every time:
- Prepare the Dry Ingredients: In a large mixing bowl, combine your all-purpose flour, granulated sugar, baking soda, and salt. Use a whisk to thoroughly mix these ingredients together, ensuring an even distribution. This step is crucial because it prevents pockets of unmixed leavening agent or seasoning in your final pancakes.
- Combine the Wet Ingredients: In a separate bowl, whisk together the buttermilk, large eggs, and melted unsalted butter. Make sure your melted butter has cooled slightly before adding it to the eggs to prevent them from scrambling. Whisk until all the wet ingredients are well incorporated.
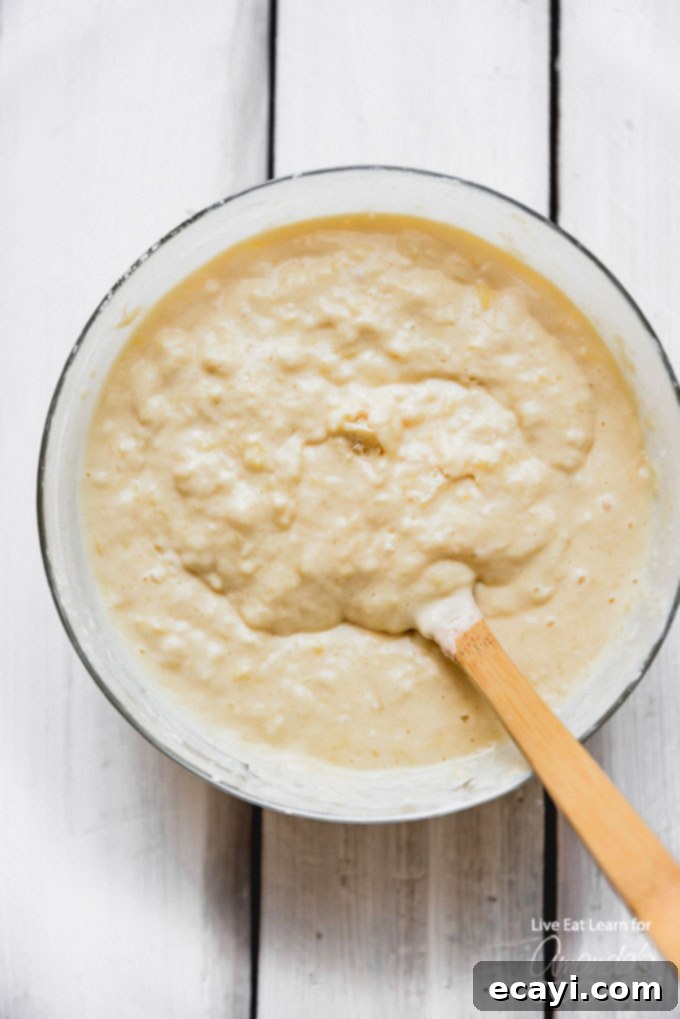
- Gently Combine Wet and Dry Mixtures: Pour the wet buttermilk mixture into the bowl with the dry ingredients. Using your rubber spatula, gently stir until the ingredients are mostly combined. It’s absolutely okay – and even desirable – to have some small lumps in the batter. The key here is to avoid overmixing. Overmixing develops the gluten in the flour, leading to tough, chewy pancakes instead of light and fluffy ones. A few strokes until just combined is all you need.
- Cook the Pancakes: Lightly grease a large saute pan or griddle (a non-stick pan works best) and set it over medium heat. Allow the pan to heat up evenly. Once hot, spoon 1/4 cup portions of pancake batter into the pan. Cook each pancake until you see bubbles begin to form on the surface and the edges look set. Peek underneath to ensure the bottom is a beautiful golden brown.
- Flip and Finish Cooking: Carefully flip the pancakes using a spatula. Continue cooking on the second side for another 1-2 minutes, or until it is also golden brown and cooked through. The exact cooking time will depend on your stove and pan.
- Keep Pancakes Warm: As you cook batches of pancakes, you’ll want to keep them warm. Set your oven to 200 degrees F (93 degrees C). Place a wire rack on an oven-safe baking sheet and transfer cooked pancakes to the rack, then place them in the warm oven. This keeps them toasty without making them soggy, allowing everyone to enjoy warm pancakes together.
The Magic of Buttermilk: Why It’s Indispensable for Fluffy Pancakes
You might be wondering, “why buttermilk specifically for pancakes?” The simple answer is, “because, MAGIC!” Buttermilk truly works wonders for making your pancakes incredibly fluffy, tender, and light. The secret lies in its unique properties.
Buttermilk is acidic, and this acidity reacts beautifully with the baking soda (a base) in our recipe. This acid-base reaction produces carbon dioxide gas, which creates tiny air pockets within the batter as it cooks. These trapped air bubbles are what give buttermilk pancakes their characteristic lift and airy, cake-like texture, all without needing to add any baking powder. This interaction results in pancakes that are not only lighter but also possess a subtle tanginess that enhances their overall flavor profile.
Don’t have fresh buttermilk on hand? No problem! You can use buttermilk made from powder, or even easily make your own homemade buttermilk substitute. Simply combine 1 cup of cow’s milk (dairy milk works best) with 1 tablespoon of white vinegar or lemon juice. Let it sit for about 5-10 minutes until it slightly thickens and curdles. This “faux” buttermilk will provide the necessary acidity to react with the baking soda, giving you fantastic results. Once your buttermilk is ready, it’s as simple as mixing everything together and cooking your way to golden, delicious pancakes!
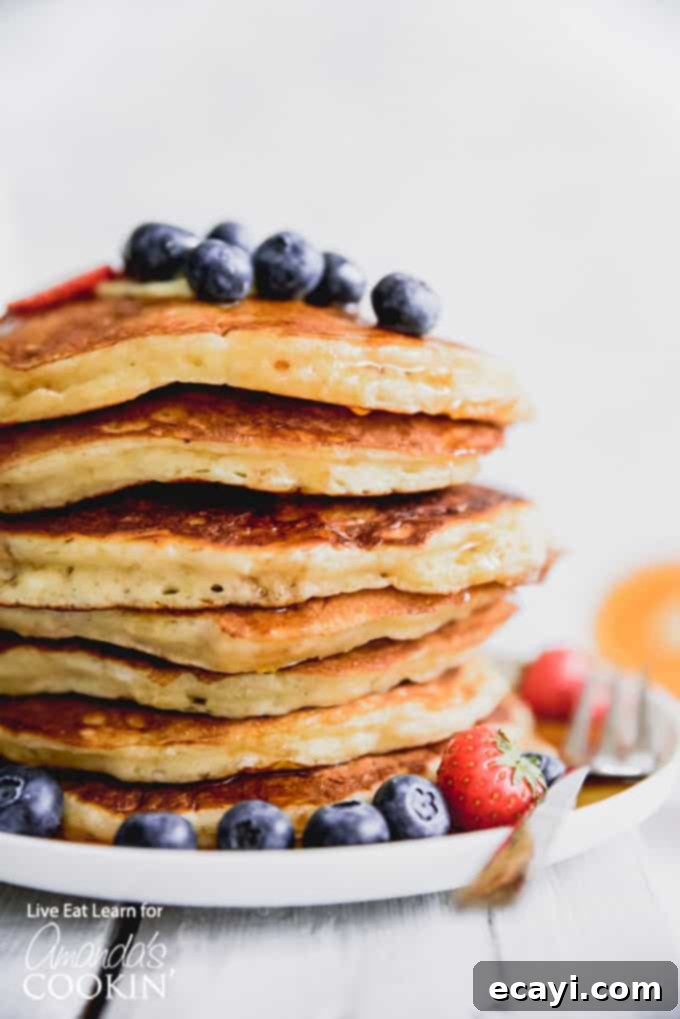
Tips for Achieving Pancake Perfection
- Do Not Overmix: This is the golden rule for fluffy pancakes. Stir just enough to combine the wet and dry ingredients. Lumps are your friends; they indicate that you haven’t overmixed the batter, which keeps the gluten from developing too much and resulting in tough pancakes.
- Allow the Batter to Rest: If you have time, let your pancake batter rest for 5-10 minutes after mixing. This allows the flour to fully hydrate and the gluten to relax, leading to an even more tender pancake.
- Proper Pan Temperature: Heat your pan or griddle to medium heat. A pan that’s too hot will burn the outside before the inside cooks, while a pan that’s too cool will yield greasy, flat pancakes. Test the temperature by flicking a few drops of water onto the surface; if they sizzle and evaporate immediately, it’s ready.
- Watch for Bubbles: Don’t flip too early! Wait until you see plenty of bubbles forming on the surface of the pancake and the edges appear set. This indicates that the bottom is cooked and ready for flipping.
- Use Consistent Portions: For uniformly sized pancakes, use a 1/4 cup measuring cup or an ice cream scoop to spoon the batter onto the griddle.
Elevate Your Pancake Experience with More Delicious Ideas and Toppings:
While classic buttermilk pancakes are fantastic on their own, they also serve as a perfect canvas for creativity. Explore these ideas for delicious variations and toppings:
- Fruity Additions: Stir in fresh blueberries, sliced bananas, or diced apples directly into the batter before cooking.
- Chocolate Indulgence: Add chocolate chips (mini or regular) for a sweet treat.
- Nutty Crunch: Sprinkle in chopped pecans or walnuts for added texture.
- Classic Toppings: Maple syrup, fresh butter, whipped cream, and fresh berries are always a hit.
- Creative Syrups: Try a homemade berry compote, chocolate syrup, or even a drizzle of caramel.
- Pineapple Pancakes with Coconut Syrup: A tropical twist for a sunny breakfast.
- Fluffy Beer Pancakes (you read that right!): An unexpected ingredient for surprisingly light and flavorful pancakes.
- Flourless Banana Pancakes: A gluten-free friendly option that’s naturally sweet and wholesome.
- Rainbow Pancakes: Fun and colorful, perfect for special occasions or brightening any morning.
- Apple Pancakes: Warm, comforting, and full of cinnamon-spiced apple goodness.
Storage and Reheating Homemade Pancakes
Have leftover pancakes? No problem! They store and reheat beautifully, making them perfect for meal prepping quick breakfasts during the week.
To store: Allow pancakes to cool completely. Stack them with a piece of parchment paper between each pancake to prevent sticking. Place them in an airtight container or a freezer-safe bag. They will keep in the refrigerator for up to 3-4 days or in the freezer for up to 1-2 months.
To reheat:
- Microwave: Place 1-2 pancakes on a microwave-safe plate. Heat for 30-60 seconds, or until warm.
- Toaster: For crispy edges, pop frozen or refrigerated pancakes directly into a toaster on a medium setting.
- Oven/Toaster Oven: Place pancakes on a baking sheet and heat at 350°F (175°C) for about 5-10 minutes, or until heated through.
Classic Buttermilk Pancakes
IMPORTANT – There are often Frequently Asked Questions within the blog post that you may find helpful. Simply scroll back up to read them!
Print It
Rate It
Save ItSaved!
Ingredients
- 2 cups all-purpose flour
- 3 Tbsp granulated sugar
- 2 tsp baking soda
- ½ tsp salt
- 2 cups buttermilk
- 2 large eggs
- 3 Tbsp unsalted butter melted
Instructions
-
Stir together flour, sugar, baking soda, and salt in a large bowl. In a separate bowl whisk buttermilk, eggs, and melted butter.
-
Add buttermilk mixture to the dry ingredients, stirring until mostly combined (some lumps in the batter is okay, do not overstir).
-
Lightly grease a large saute pan and set over medium heat. Spoon 1/4 cup portions of pancake batter into the pan, cooking until you see bubbles form on top and bottom is golden brown. Flip and continue cooking until golden brown.
-
Set oven to 200 degrees F. Keep cooked pancakes warm by setting on an oven-safe baking sheet and placing in the oven.
Nutrition
The recipes on this blog are tested with a conventional gas oven and gas stovetop. It’s important to note that some ovens, especially as they age, can cook and bake inconsistently. Using an inexpensive oven thermometer can assure you that your oven is truly heating to the proper temperature. If you use a toaster oven or countertop oven, please keep in mind that they may not distribute heat the same as a conventional full sized oven and you may need to adjust your cooking/baking times. In the case of recipes made with a pressure cooker, air fryer, slow cooker, or other appliance, a link to the appliances we use is listed within each respective recipe. For baking recipes where measurements are given by weight, please note that results may not be the same if cups are used instead, and we can’t guarantee success with that method.
