Fluffy Bunny Butt Pancakes: The Ultimate Adorable Easter Breakfast for Families!
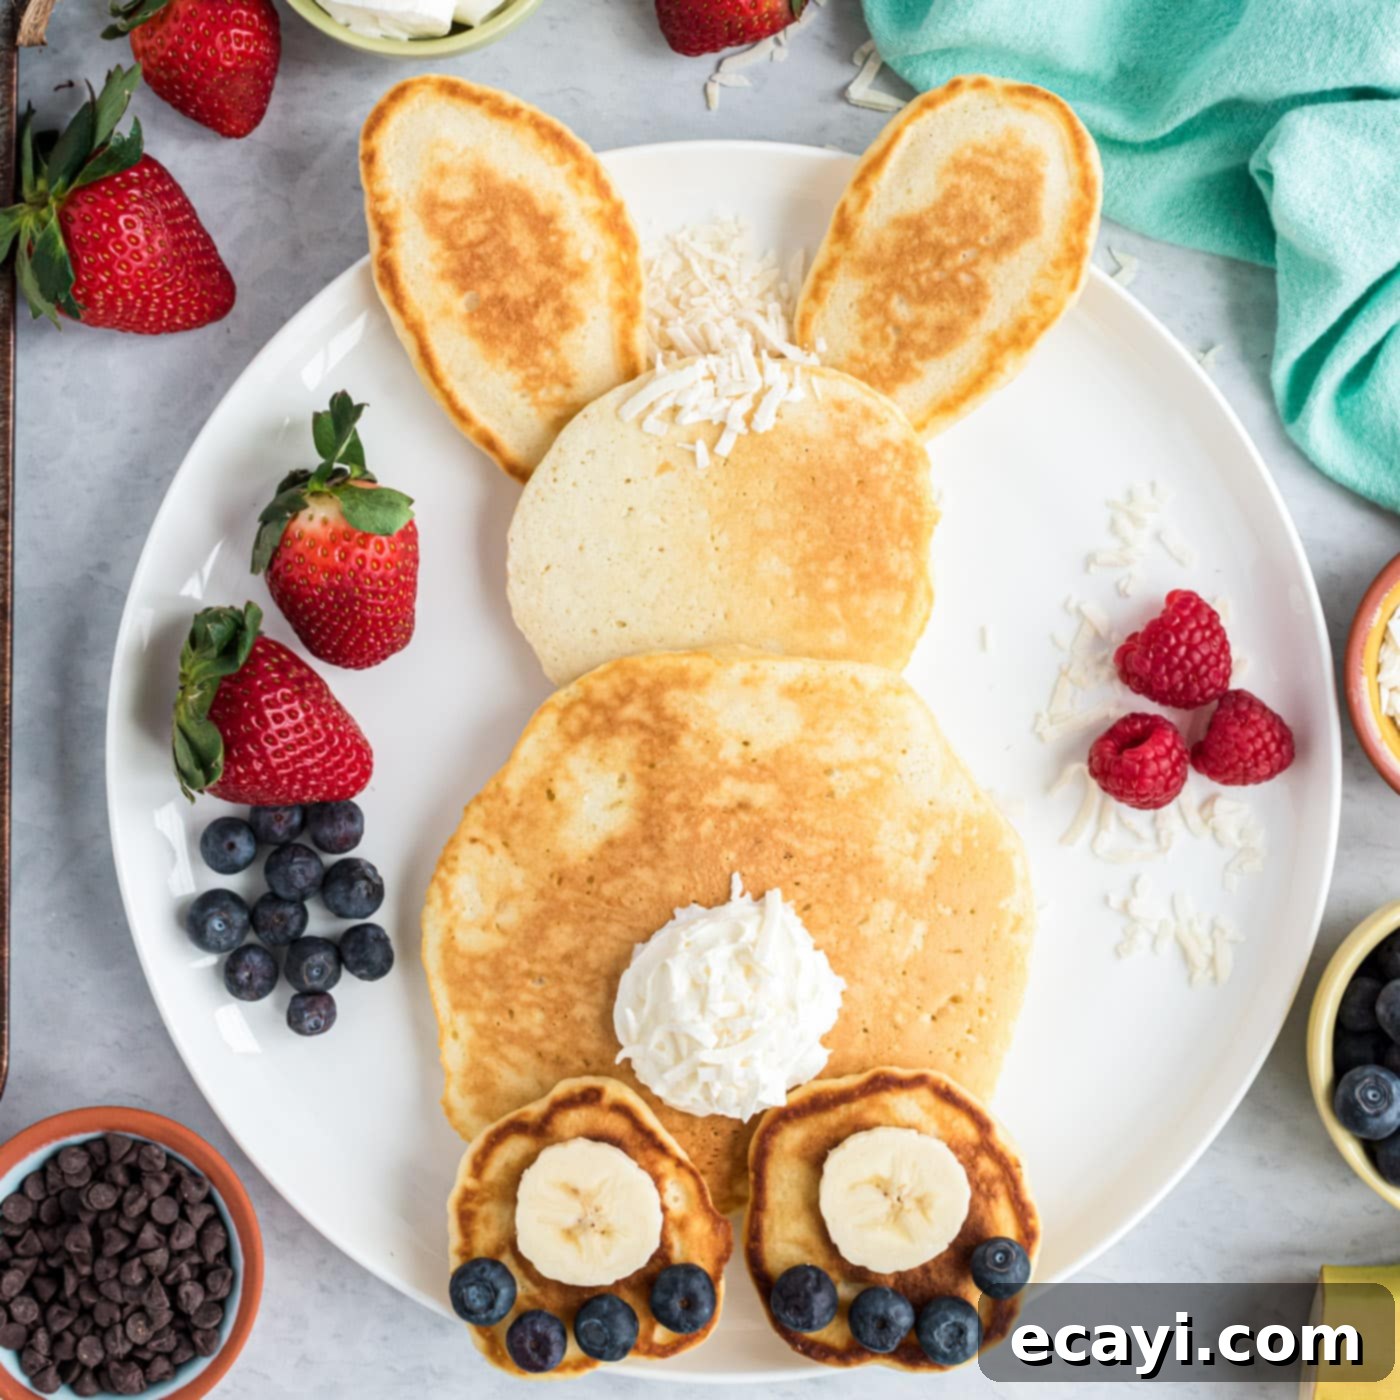
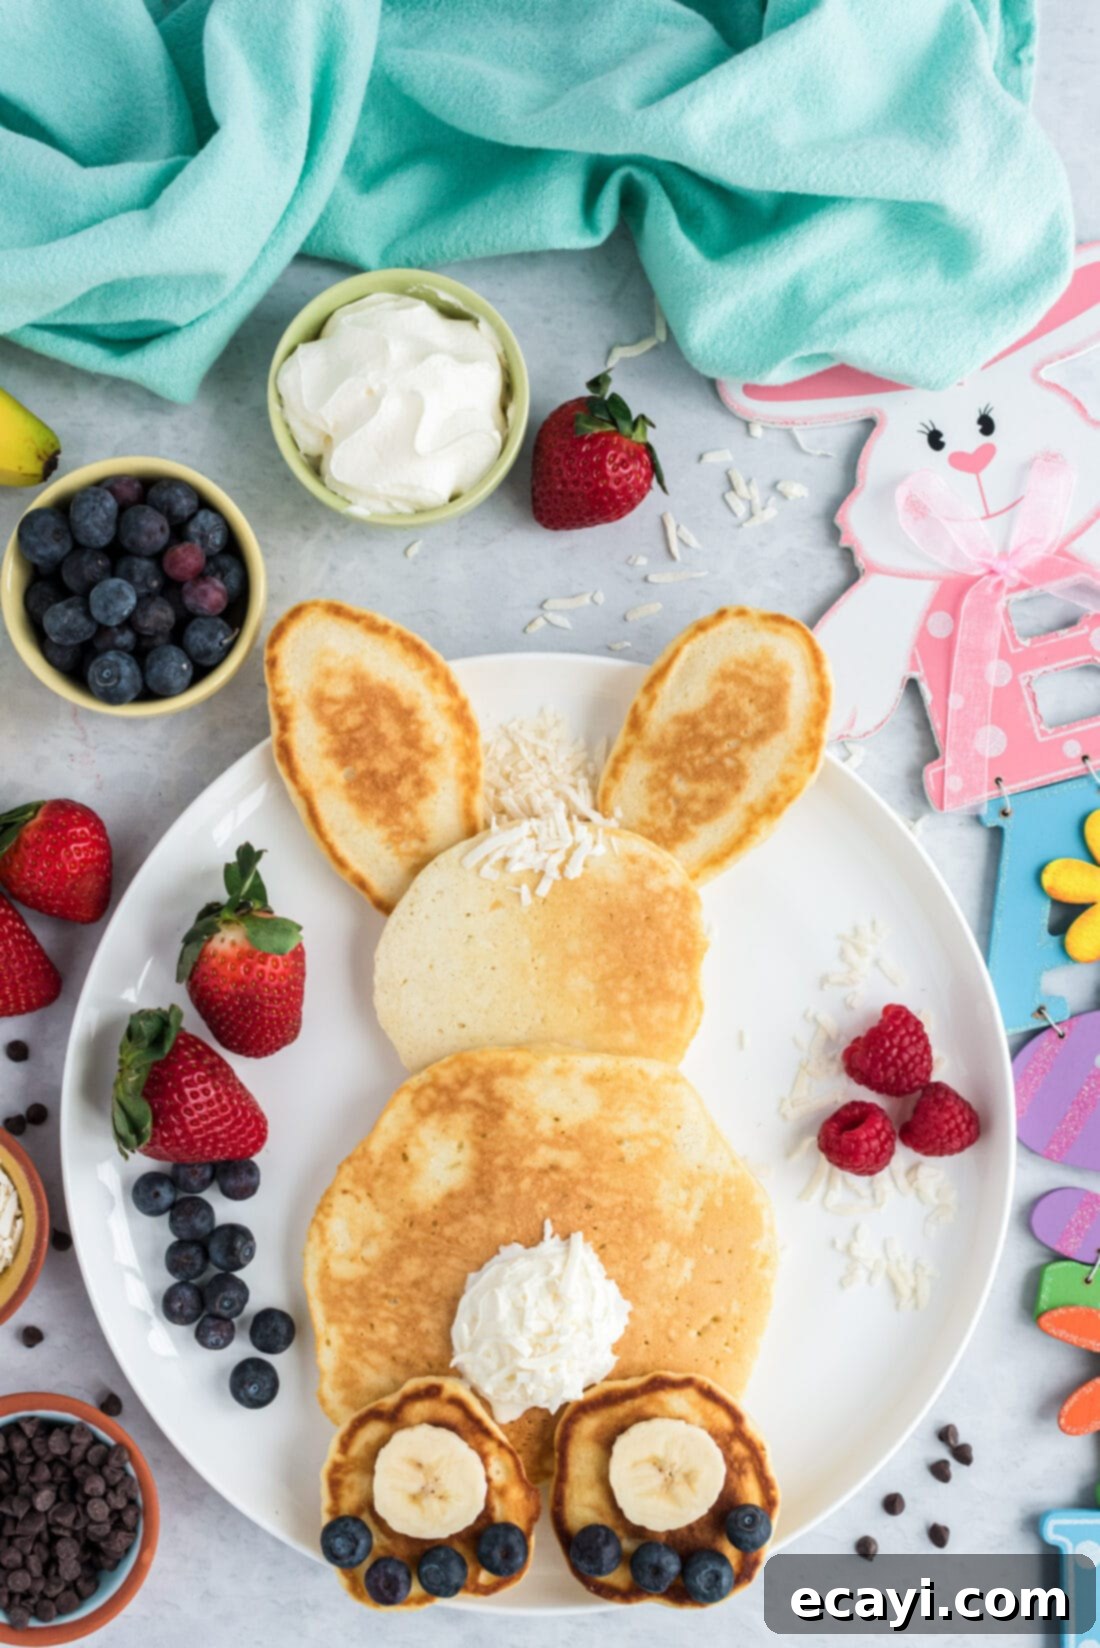
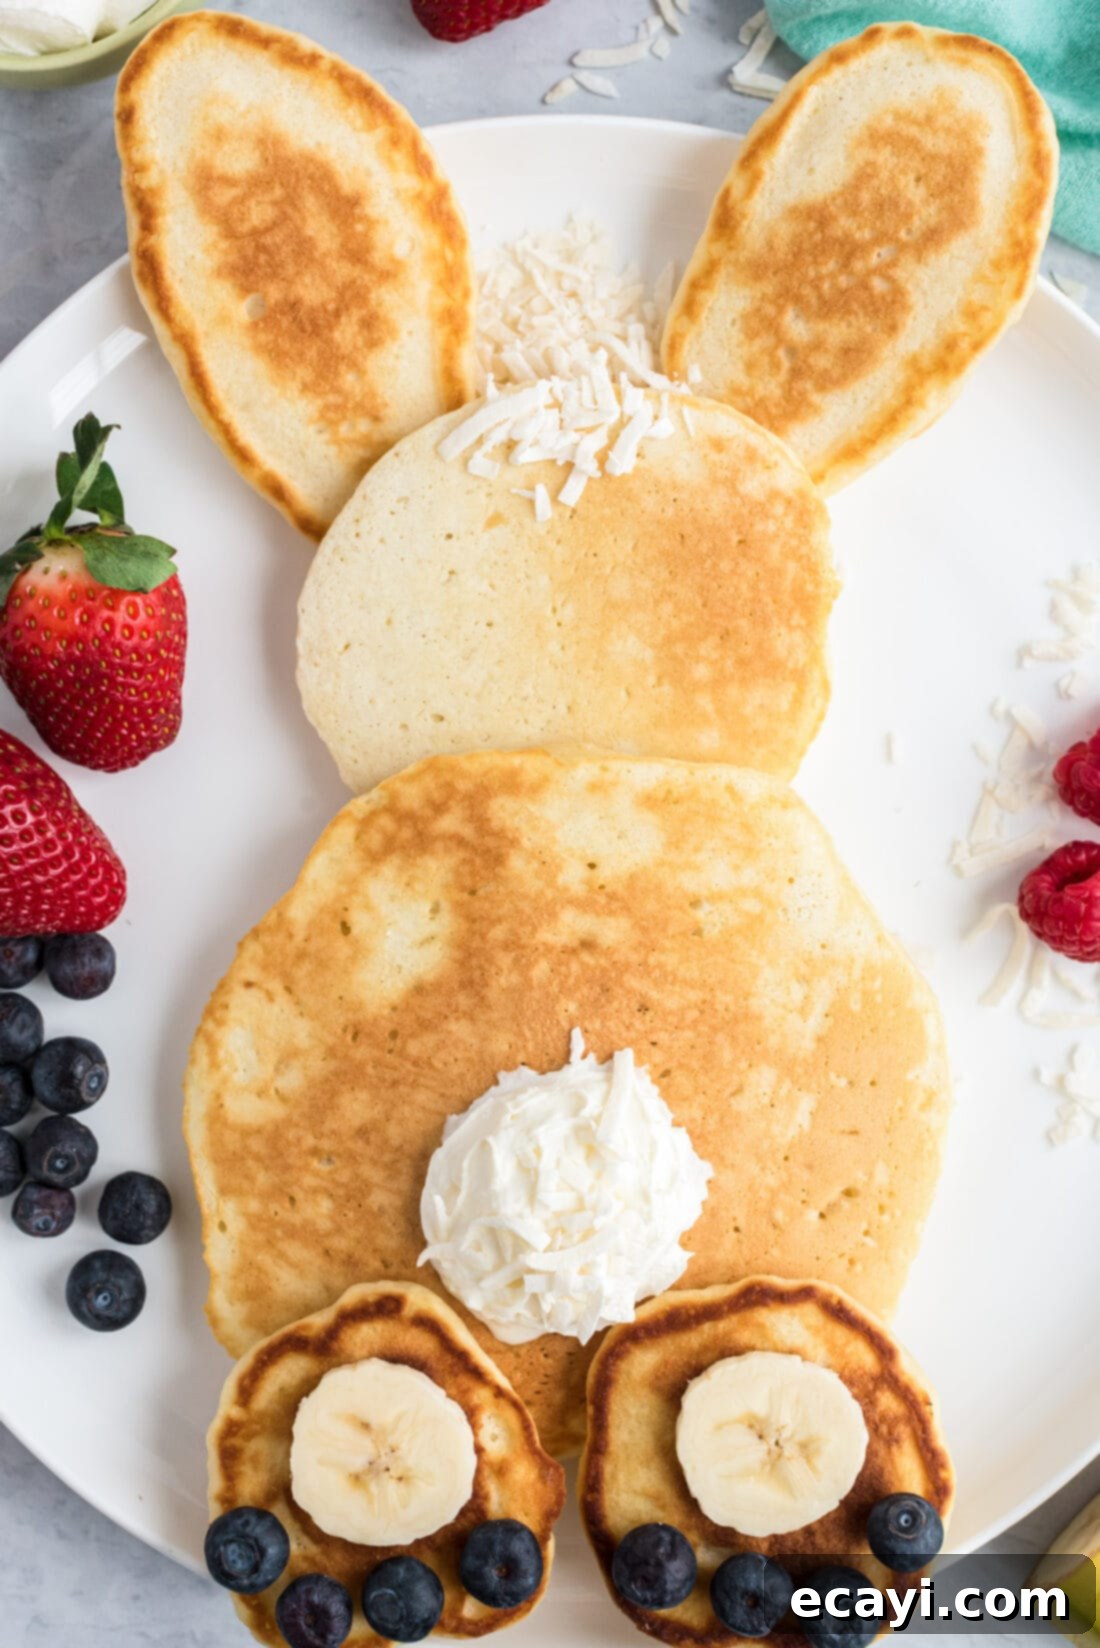
Get ready to hop into Easter morning with the most delightful and adorable breakfast treat: Fluffy Bunny Butt Pancakes! These incredibly soft and thick buttermilk pancakes are artfully arranged to resemble an Easter bunny’s behind, complete with whimsical fruit feet and a dollop of fluffy whipped cream for a tail. Adorned with your favorite fresh berries and a sprinkle of coconut, these pancakes are not just a meal; they’re a magical Easter experience that kids and adults alike will cherish. Imagine the smiles at the breakfast table when these festive creations are served – they’re truly the perfect way to celebrate the holiday!
Easter morning often calls for something special, something that evokes joy and creates lasting memories. While the thought of a complicated holiday breakfast can be daunting, these bunny butt pancakes offer a charming solution that’s both fun to make and incredibly delicious. They’re an imaginative twist on a classic breakfast staple, transforming ordinary pancakes into an extraordinary holiday centerpiece. Whether you’re planning a quiet family breakfast or hosting a larger Easter gathering, these pancakes are guaranteed to be a crowd-pleaser and a delightful conversation starter.
Why These Bunny Butt Pancakes Are a Must-Try for Easter
Is there a more enchanting way to kick off your Easter celebration than with a plate full of these whimsical bunny butt pancakes? We think not! This recipe isn’t just about creating a cute presentation; it’s built upon our cherished classic buttermilk pancake recipe, ensuring every bite is a triumph of flavor and texture. The pancakes themselves are famously thick, wonderfully fluffy, and incredibly soft, thanks to the magic of buttermilk. This acidic ingredient reacts perfectly with baking soda, yielding a light, airy crumb that melts in your mouth.
Beyond their deliciousness, the sheer adorableness of the “bunny behind” arrangement makes this recipe truly stand out. It transforms a simple breakfast into an interactive, festive activity. Kids will absolutely light up at the sight of these playful pancakes, and they’ll love helping to arrange the fruit feet and fluffy whipped cream tails. This isn’t just breakfast; it’s a sweet, engaging tradition waiting to be born in your home. Imagine the annual photos of your little ones decorating their own bunny pancakes – these are the moments that truly make Easter special. It’s an effortless way to infuse holiday spirit into your morning meal, creating joy for both children and the young-at-heart!
Gather Your Ingredients for Adorable Pancakes
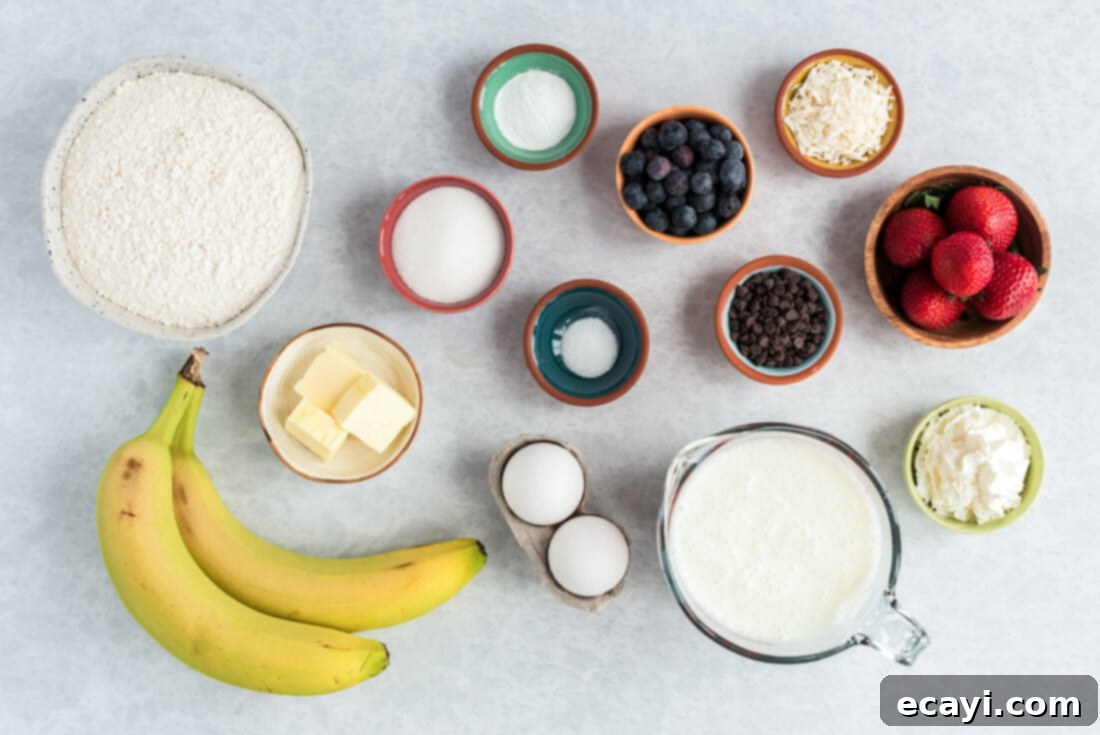
Before you begin your culinary adventure, ensure you have all the necessary ingredients on hand. This recipe uses readily available pantry staples to create the softest, fluffiest pancakes imaginable. You’ll find a complete list of measurements, ingredients, and detailed instructions in the printable recipe card at the very end of this post. Having everything prepped and ready before you start will make the cooking process smooth and enjoyable, especially when little hands are eager to help!
Ingredient Spotlight & Creative Substitutions
Let’s dive deeper into the ingredients that make these bunny butt pancakes truly exceptional, along with some helpful substitution suggestions to fit your preferences or what you have on hand:
PANCAKES – The foundation of these delightful bunnies is our homemade classic buttermilk pancake recipe. Its unparalleled softness and fluffiness are largely attributed to its star ingredient: buttermilk. The acidity in buttermilk reacts with baking soda to create a light, tender crumb without the need for additional leavening agents like baking powder. If you don’t have buttermilk, you can easily make your own by adding 1 tablespoon of lemon juice or white vinegar to 1 cup of regular milk, stirring, and letting it sit for 5-10 minutes until it slightly curdles. While this homemade recipe is our absolute favorite, a good quality pre-packed pancake mix can certainly be used in a pinch for convenience. For an extra festive twist and a hint of spring flavor, consider using our delicious carrot cake pancakes recipe as the base – imagine bunny butt carrot cake pancakes!
ADDITIONS & DECORATIONS – This is where the magic happens and your creativity can truly shine!
- For the Feet: We opted for banana slices, which provide a soft, sweet contrast and an ideal shape. However, feel free to get creative! Thin strawberry slices work beautifully for a pop of color, or you could spread a small amount of Nutella or peanut butter in a paw shape for a different flavor and texture. A dollop of whipped cream can also mimic a soft paw pad.
- For the Toes: Tiny blueberries are perfect for creating adorable bunny toes. Alternatively, small blackberries, raspberries, or even chocolate chips would be charming and delicious. You could also use mini M&Ms for a burst of color.
- For the Tail: The quintessential bunny tail! A generous scoop of freshly whipped cream or a pat of softened whipped butter makes for a perfectly fluffy tail. To enhance the “bunny” texture, sprinkle some shredded coconut shavings on top of the whipped cream tail. You can even add a tiny pinch of coconut shavings on top of the bunny’s head (if you make a head) for a little tuft of hair, adding an extra layer of charm to your presentation. Consider using a piping bag with a star tip for a more defined, whimsical tail.
- Optional Enhancements: Don’t stop there! Drizzle your assembled bunnies with maple syrup, chocolate sauce, or a light dusting of powdered sugar. A few edible flower petals or sprinkles around the plate can also elevate the festive look.
Crafting Your Adorable Bunny Butt Pancakes: A Step-by-Step Guide
These step-by-step photos and detailed instructions are designed to help you visualize each stage of making this delightful recipe. For a convenient printable version of this recipe, complete with precise measurements and comprehensive instructions, simply Jump to Recipe at the bottom of the page.
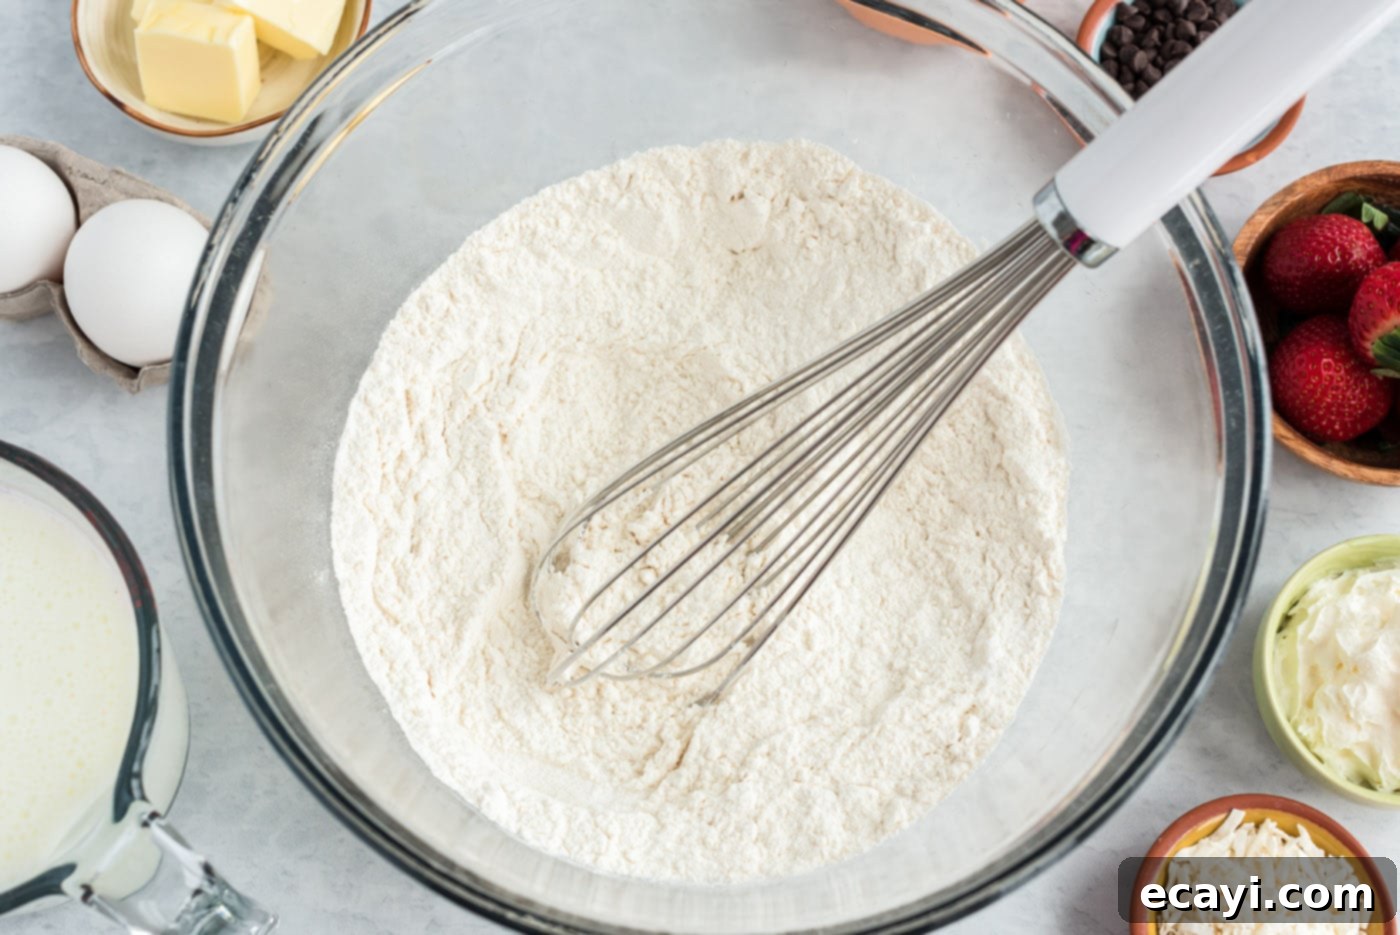
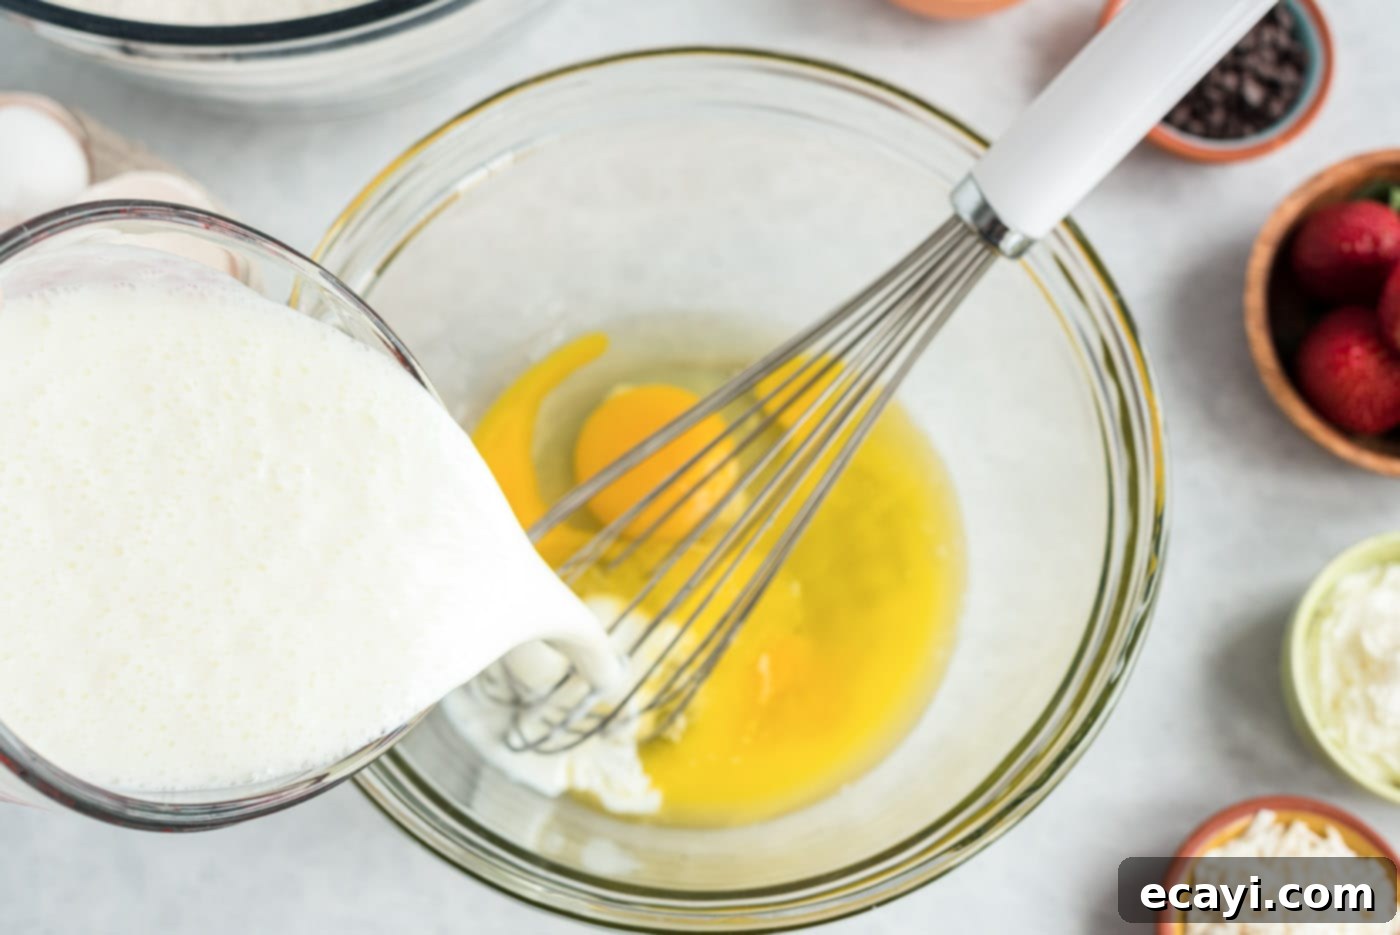
- Combine Dry Ingredients: In a large mixing bowl, thoroughly stir together the all-purpose flour, granulated sugar, baking soda, and salt. Make sure these dry ingredients are well-combined to ensure even distribution in your pancakes. In a separate medium-sized bowl, whisk together the buttermilk, large eggs, and melted butter until smooth. This ensures the wet ingredients are evenly mixed before being introduced to the dry components.
EXPERT TIP – To keep your pancakes warm and fluffy as you cook the rest of the batch, preheat your oven to a low 200 degrees F (95 degrees C). As each pancake cooks, transfer it to a baking sheet lined with parchment paper and place it in the warm oven. This trick is a game-changer for serving a warm, cohesive breakfast!


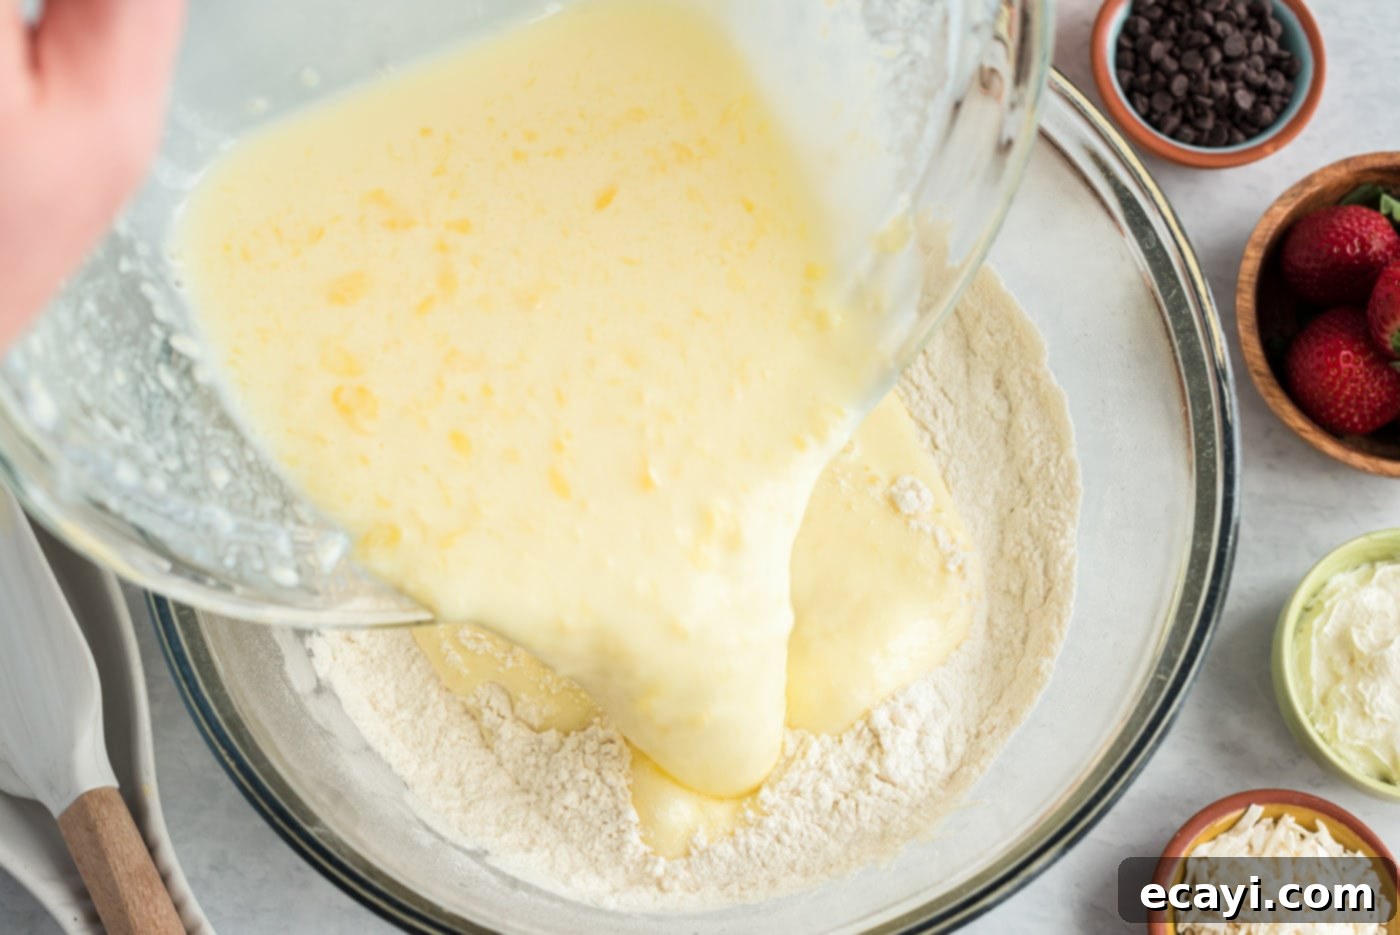
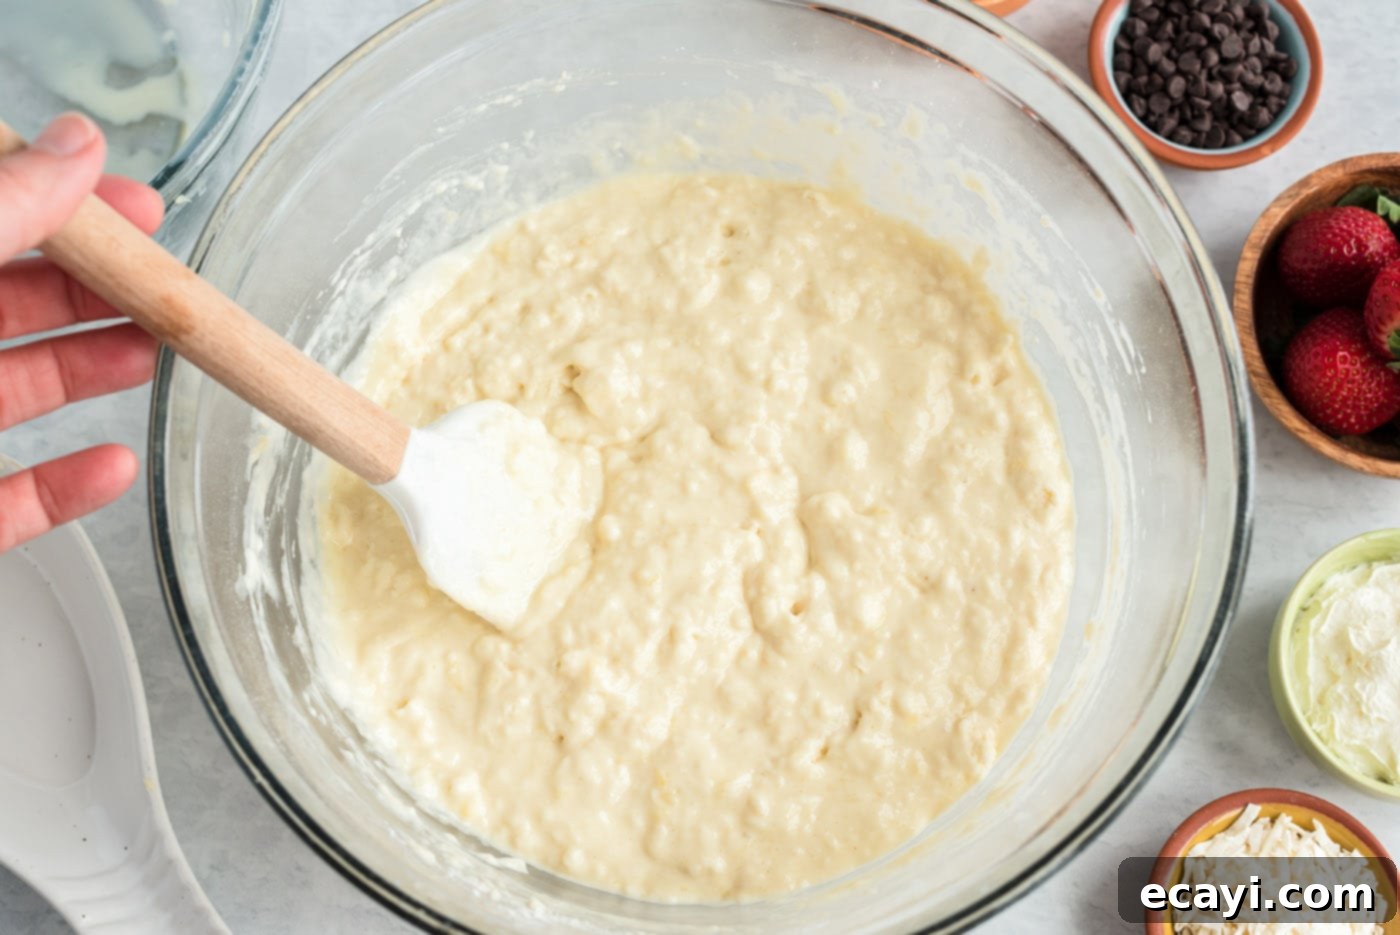
- Mix Wet and Dry: Pour the buttermilk mixture into the bowl containing your dry ingredients. Stir gently until they are just mostly combined. A few small lumps in the batter are perfectly normal and even desirable for tender pancakes – the key is not to overstir. Overmixing develops the gluten in the flour, which can lead to tough, rubbery pancakes instead of the desired light and fluffy texture. Aim for just enough mixing to bring everything together.


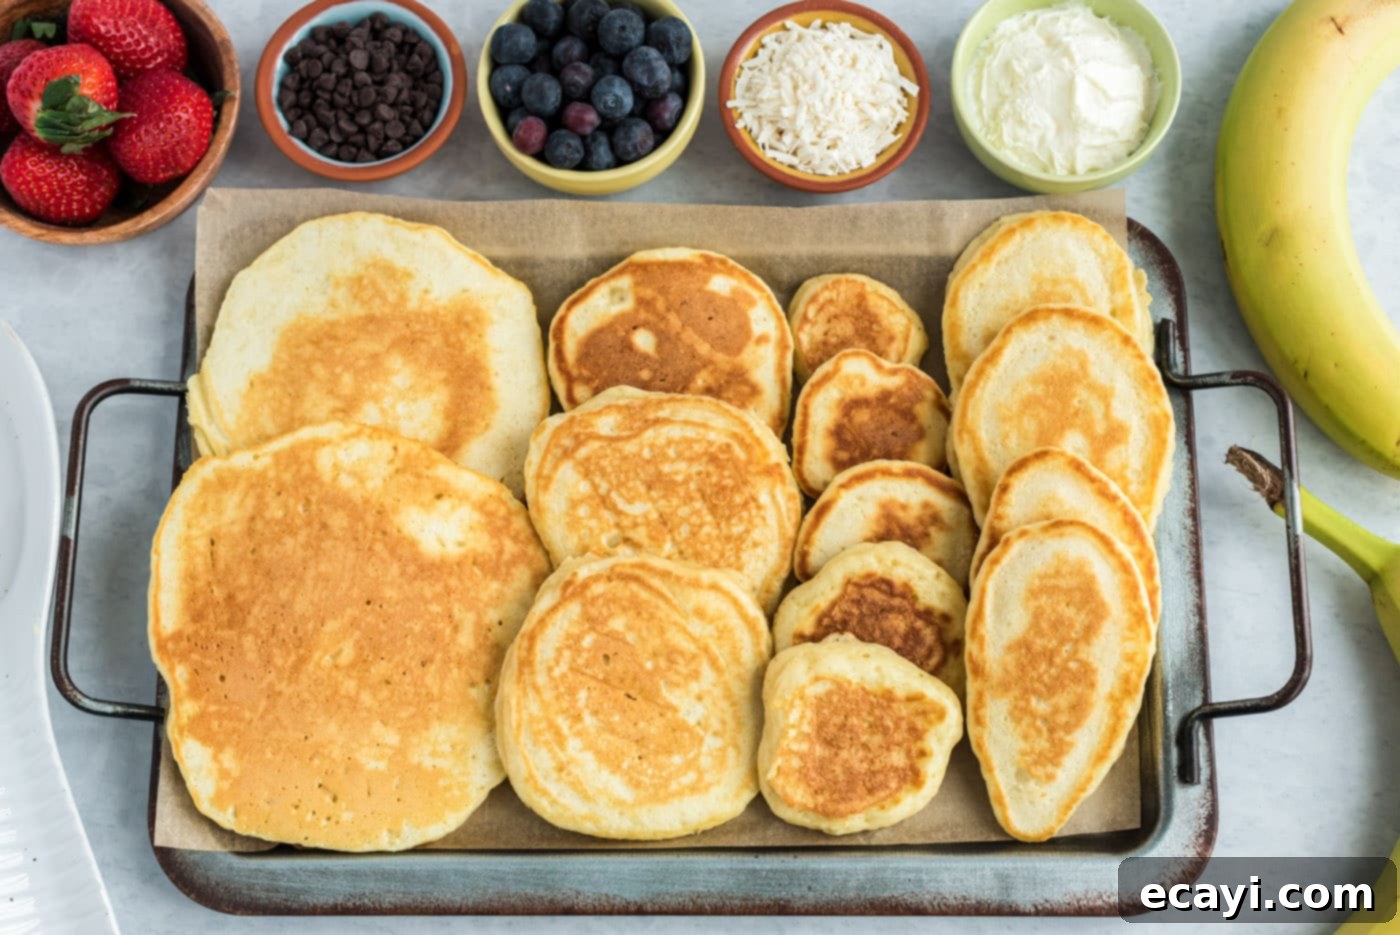
- Cook the Bunny Body: Lightly grease a large skillet or griddle and place it over medium heat. It’s crucial for the pan to be at the right temperature; a drop of water should sizzle and evaporate immediately. Begin by making the largest pancake, which will serve as the bunny’s body. Use approximately 1/4 to 1/2 cup of batter per body, depending on your desired bunny size. Pour the batter onto the hot skillet, forming a perfect circle. Cook until you see numerous bubbles forming on the surface and the edges appear set. Carefully flip the pancake with a spatula and continue cooking until the bottom side is also golden brown and cooked through. Remove the cooked body pancake and place it on your parchment-lined baking sheet in the preheated oven to keep warm.
- Form the Bunny Head: For the bunny’s head, spoon about half the amount of batter you used for the body into the pan. Cook this smaller pancake in the same manner as the body, ensuring it’s golden brown on both sides and cooked evenly. Transfer it to the oven to stay warm.
- Create the Feet: Now for the adorable feet! Scoop even smaller portions of pancake batter into the pan. Each bunny butt pancake requires two feet, so aim for uniformly sized small, round pancakes. You should be able to fit approximately 4 feet into the pan at a time, allowing for efficient cooking. Cook until golden brown on both sides, then add them to your warming tray in the oven.
- Shape the Ears: Lastly, create the bunny’s ears. Spoon the pancake batter into the pan, forming elongated oval shapes. Be patient as you gently coax the batter into the desired ear form.
EXPERT TIP – For perfectly shaped ears, try pouring a small amount of batter and then slightly tipping the pan at an angle. This allows the batter to gently droop and spread into a natural, elongated ear shape. This recipe typically yields 2 full bunny butt pancake sets, with a few extra small pancakes left over which are perfect for a chef’s snack or additional decoration!

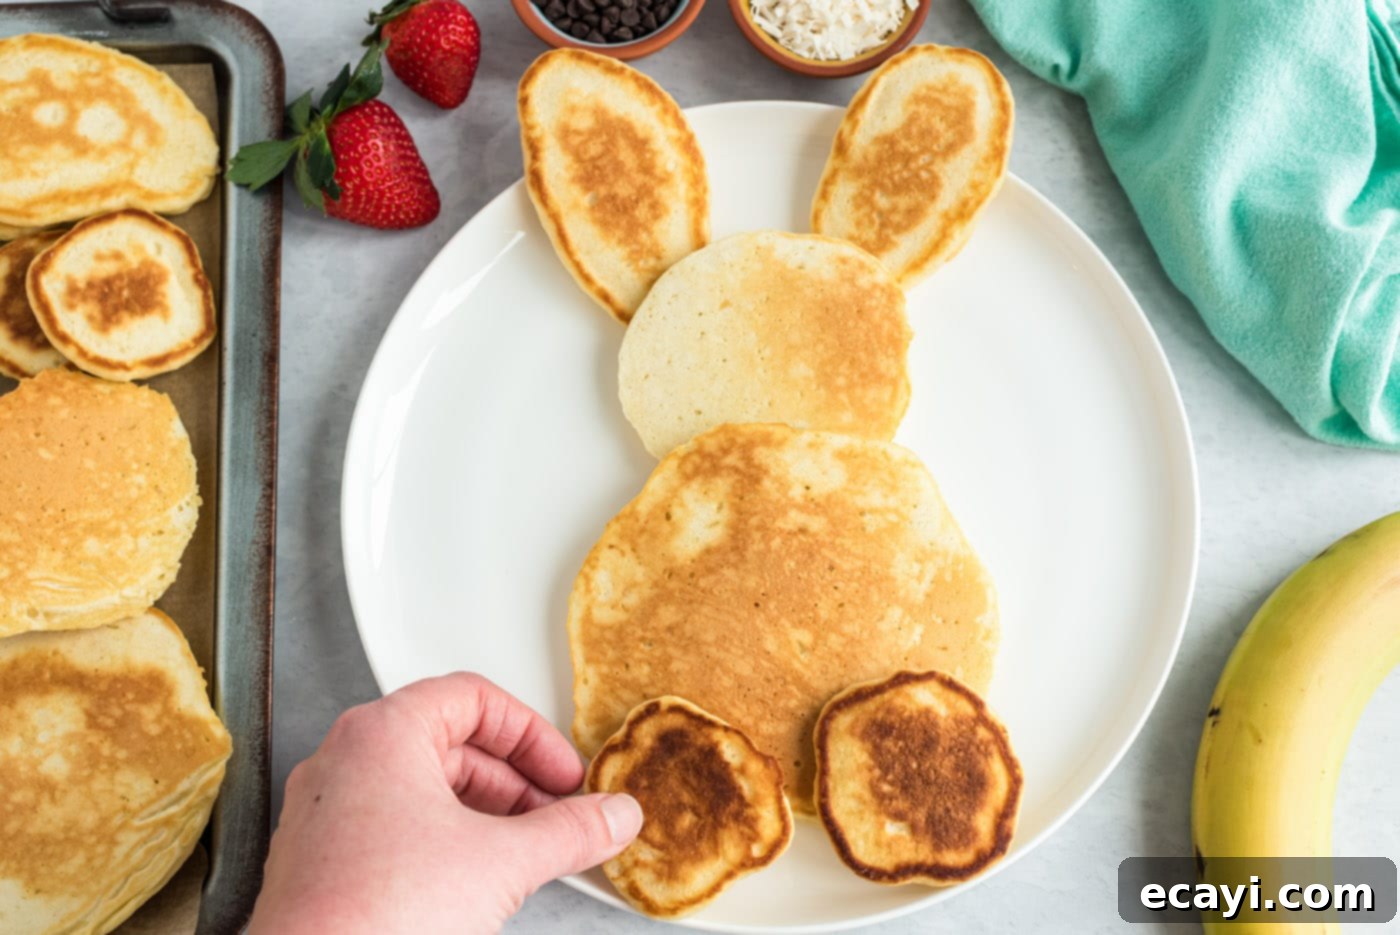
- Assemble Your Bunny: It’s time for the grand reveal! On a serving plate, start by placing the largest pancake (the bunny’s body) slightly off-center. Next, gently tuck the smaller head pancake just above the body, partially overlapping it. Position the oval-shaped ears by tucking them slightly under the head, making them appear to emerge from behind it. Now, place the two smaller foot pancakes on top of the body, near the bottom. The most exciting part: add a generous dollop of whipped cream to the center of the bunny’s body to create that iconic fluffy tail. For detailed paws, place a banana slice on each foot, then arrange 3-4 blueberries on top of the banana slice to mimic tiny toes. Your adorable bunny butt pancake is now complete and ready to bring smiles! Enjoy this festive masterpiece!

Frequently Asked Questions & Expert Tips for Perfect Pancakes
For this specific homemade buttermilk pancake recipe, we highly recommend it! Buttermilk is the secret to achieving that incredibly light, fluffy, and cakey texture without needing baking powder. The acidity in the buttermilk reacts with the baking soda to create the perfect rise and tender crumb. If you don’t have store-bought buttermilk, you can easily make a substitute by adding 1 tablespoon of lemon juice or white vinegar to 1 cup of regular milk and letting it sit for 5-10 minutes until it slightly curdles. However, if you prefer, you can certainly use your favorite pancake recipe in place of ours and adapt the bunny assembly steps.
Yes, absolutely! To make these bunny butt pancakes gluten-free, we recommend using a high-quality gluten-free all-purpose flour blend (look for one that specifically states it’s suitable for baking). Alternatively, our flourless banana pancakes recipe offers a fantastic naturally gluten-free base that would also work wonderfully for this festive design.
Yes, you can! You can mix the dry ingredients together and store them in an airtight container. For the wet ingredients, whisk them together and store in a separate airtight container in the refrigerator for up to 24 hours. When you’re ready to cook, simply combine the wet and dry mixtures. For best results, it’s ideal to mix the wet and dry ingredients just before cooking to maintain optimal fluffiness from the baking soda reaction.
If you happen to have any leftover pancakes (which is unlikely given how delicious they are!), allow them to cool completely. Stack them with parchment paper in between to prevent sticking, then store them in an airtight container or freezer bag in the refrigerator for up to 2-3 days. To reheat, you can place them on a baking sheet in a 350°F (175°C) oven for about 5-7 minutes, toast them lightly in a toaster, or warm them in the microwave for 30-60 seconds until heated through. We recommend adding fresh decorations upon reheating.
The most common mistakes are overmixing the batter, which leads to tough pancakes, and cooking on too high a heat, resulting in burnt outsides and raw insides. Always stir the batter until just combined (lumps are fine!), and cook on medium heat. Don’t crowd the pan, and wait for bubbles to form on the surface before flipping. Also, ensure your skillet is preheated evenly for consistent results.
Delightful Serving Suggestions for Your Easter Breakfast
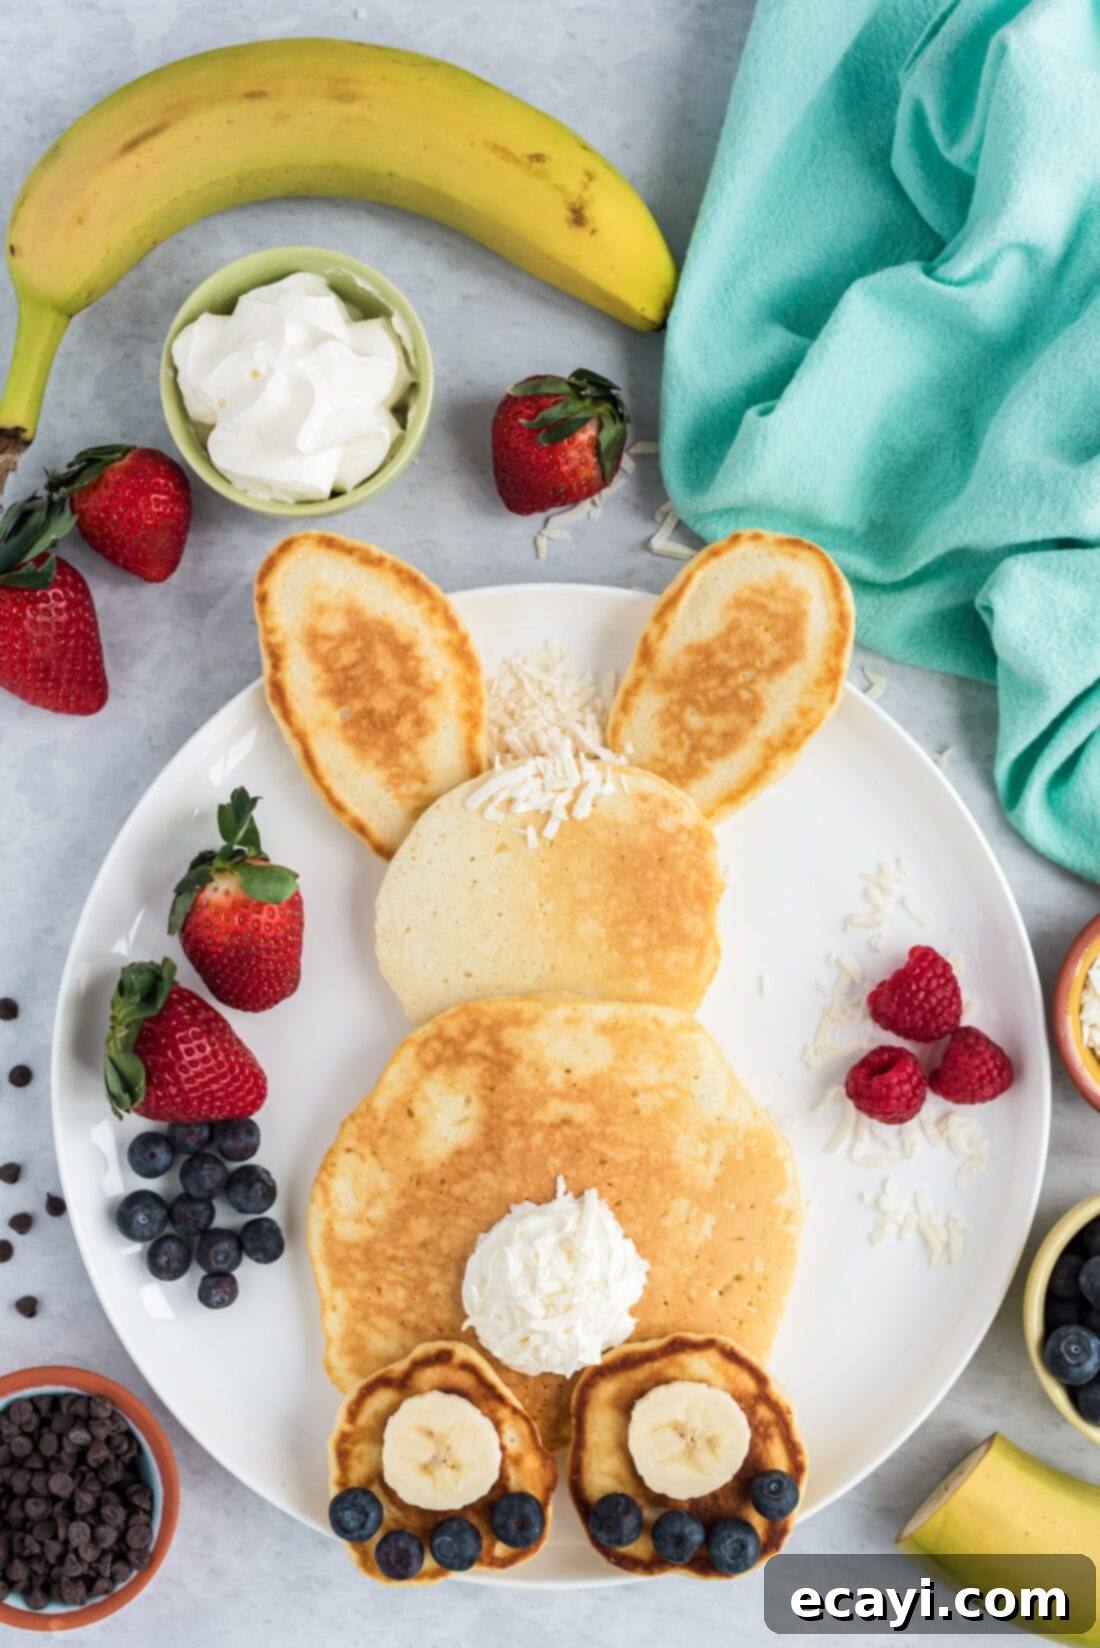
These adorable bunny butt pancakes are a feast for the eyes and the palate, making them perfect for your Easter morning spread. If you have children, they will absolutely adore these pancakes and will have a blast helping with the final, fun step of decorating the feet and tails. It’s an engaging activity that brings the whole family into the spirit of the holiday!
Serve your warm, freshly made bunny butt pancakes with a generous drizzle of high-quality maple syrup – pure maple syrup truly elevates the flavor. For an extra touch of indulgence, a pat of softened butter or a sprinkle of powdered sugar makes them even more irresistible. Consider offering a variety of additional toppings on the side, such as extra fresh berries (strawberries, raspberries, and blackberries add beautiful color), chocolate chips, or even a side of fruit compote. For the adults, why not elevate the celebration with a festive mimosa? The bright, bubbly drink pairs wonderfully with the sweet pancakes, creating a truly luxurious Easter brunch experience. And don’t forget a side of crispy bacon or savory sausage links to round out the meal for a perfect balance of sweet and savory.
Explore More Festive Easter Recipes
Looking for more ways to fill your Easter holiday with deliciousness? We have a collection of charming and tasty recipes perfect for celebrating spring and the Easter season. From cute treats to delightful main dishes, you’ll find plenty of inspiration to make your holiday memorable. Discover these other fantastic Easter creations:
- Sweet Bunny Rolls
- Fun Easter Dirt Cake
- Classic Rice Krispie Nests
- Elegant Carrot Cake Trifle
- Charming Bird Nest Cookies
- Adorable Bunny Butt Cupcakes
- Delightful Easter Bunny Pull Apart Bread
I absolutely love to bake and cook, and my greatest joy is sharing my kitchen experiences and delicious recipes with all of you! Remembering to come back and check for new recipes each day can sometimes be tough, which is why I offer a convenient newsletter delivered right to your inbox every time a new recipe posts. Simply subscribe today and start receiving your free daily recipes – never miss out on a tasty creation!
Bunny Butt Pancakes
IMPORTANT – There are often Frequently Asked Questions within the blog post that you may find helpful. Simply scroll back up to read them!
Print It
Pin It
Rate It
Pin It
Rate It
Save ItSaved!
Ingredients
- 2 cups all-purpose flour
- 3 Tbsp granulated sugar
- 2 tsp baking soda
- ½ tsp salt
- 2 cups buttermilk
- 2 large eggs
- 3 Tbsp unsalted butter melted
For Decoration
- 1 banana sliced
- 16 blueberries
- 1 Tbsp whipped cream 1-2 Tbsp for the tail
- 2 Tbsp coconut shavings
Things You’ll Need
-
Large skillet
-
Mixing bowls
-
Measuring cups and spoons
Before You Begin
- This recipe will yield 2-3 full bunny butt pancakes depending on the size you make. You can make them smaller to yield 3-4 total, or simply double the recipe.
- You can use fresh or from-powder buttermilk (or even make your own buttermilk by combining 1 cup of cow’s milk with 1 tablespoon of lemon juice and letting it sit for 5-10 minutes).
- Set oven to 200 degrees F so you can place the cooked pancakes on a baking sheet in the oven to keep warm while you make the others. This ensures all your bunnies are warm when ready to serve.
- We used banana slices for the feet but you can also use strawberry slices, Nutella, peanut butter, or even whipped cream for the palms. Consider using a small, round cookie cutter to make perfect circles if desired.
- For the toes, blueberries, blackberries, raspberries, or chocolate chips can be used. Experiment with different colors and sizes for varying effects.
- For the tail, you can either use a scoop of whipped butter or whipped cream. Optionally top the tail with coconut shavings for a textured, fluffy look, as well as on top of the bunny’s head for a little tuft of hair.
Instructions
-
In a large bowl, stir together the flour, sugar, baking soda, and salt until well combined. In a separate medium bowl, whisk the buttermilk, eggs, and melted butter until smooth.
-
Add the wet buttermilk mixture to the dry ingredients. Stir gently until just mostly combined; it’s okay if there are some lumps in the batter, as overstirring can make pancakes tough.
-
Lightly grease a large skillet or griddle and place over medium heat. To create the bunny’s body, pour approximately 1/4 to 1/2 cup of batter into the pan, forming the largest pancake. Cook until bubbles appear on top and the bottom is golden brown. Flip and continue cooking until the other side is also golden brown and cooked through. Remove the pancake and place it on a parchment-lined baking sheet in a warmed oven (preheated to 200°F) to keep warm.
-
Next, make the bunny’s head. Spoon about half the amount of batter used for the body into the pan and cook it in the same way, ensuring it’s golden on both sides. Transfer to the oven.
-
For the bunny’s feet, scoop even smaller portions of pancake batter into the pan. Each bunny butt pancake will need two feet. You should be able to cook about 4 feet at a time. Cook until golden brown and place them in the warmed oven.
-
Finally, form the bunny ears. Spoon batter into the pan to create oval shapes. For a nicely shaped ear, you can slightly tip the pan at an angle to allow the batter to droop down. Cook until golden brown.
-
To assemble your bunny, place the large body pancake on a serving plate. Tuck the smaller head pancake just above it, slightly overlapping. Add the oval ears by tucking them gently under the head. Position the two small foot pancakes on top of the body. Finish by adding a generous dollop of whipped cream for the tail, then place a banana slice on each foot and 3-4 blueberries on the banana slice for toes. Enjoy your charming Easter breakfast!
Nutrition
The recipes on this blog are tested with a conventional gas oven and gas stovetop. It’s important to note that some ovens, especially as they age, can cook and bake inconsistently. Using an inexpensive oven thermometer can assure you that your oven is truly heating to the proper temperature. If you use a toaster oven or countertop oven, please keep in mind that they may not distribute heat the same as a conventional full sized oven and you may need to adjust your cooking/baking times. In the case of recipes made with a pressure cooker, air fryer, slow cooker, or other appliance, a link to the appliances we use is listed within each respective recipe. For baking recipes where measurements are given by weight, please note that results may not be the same if cups are used instead, and we can’t guarantee success with that method.
