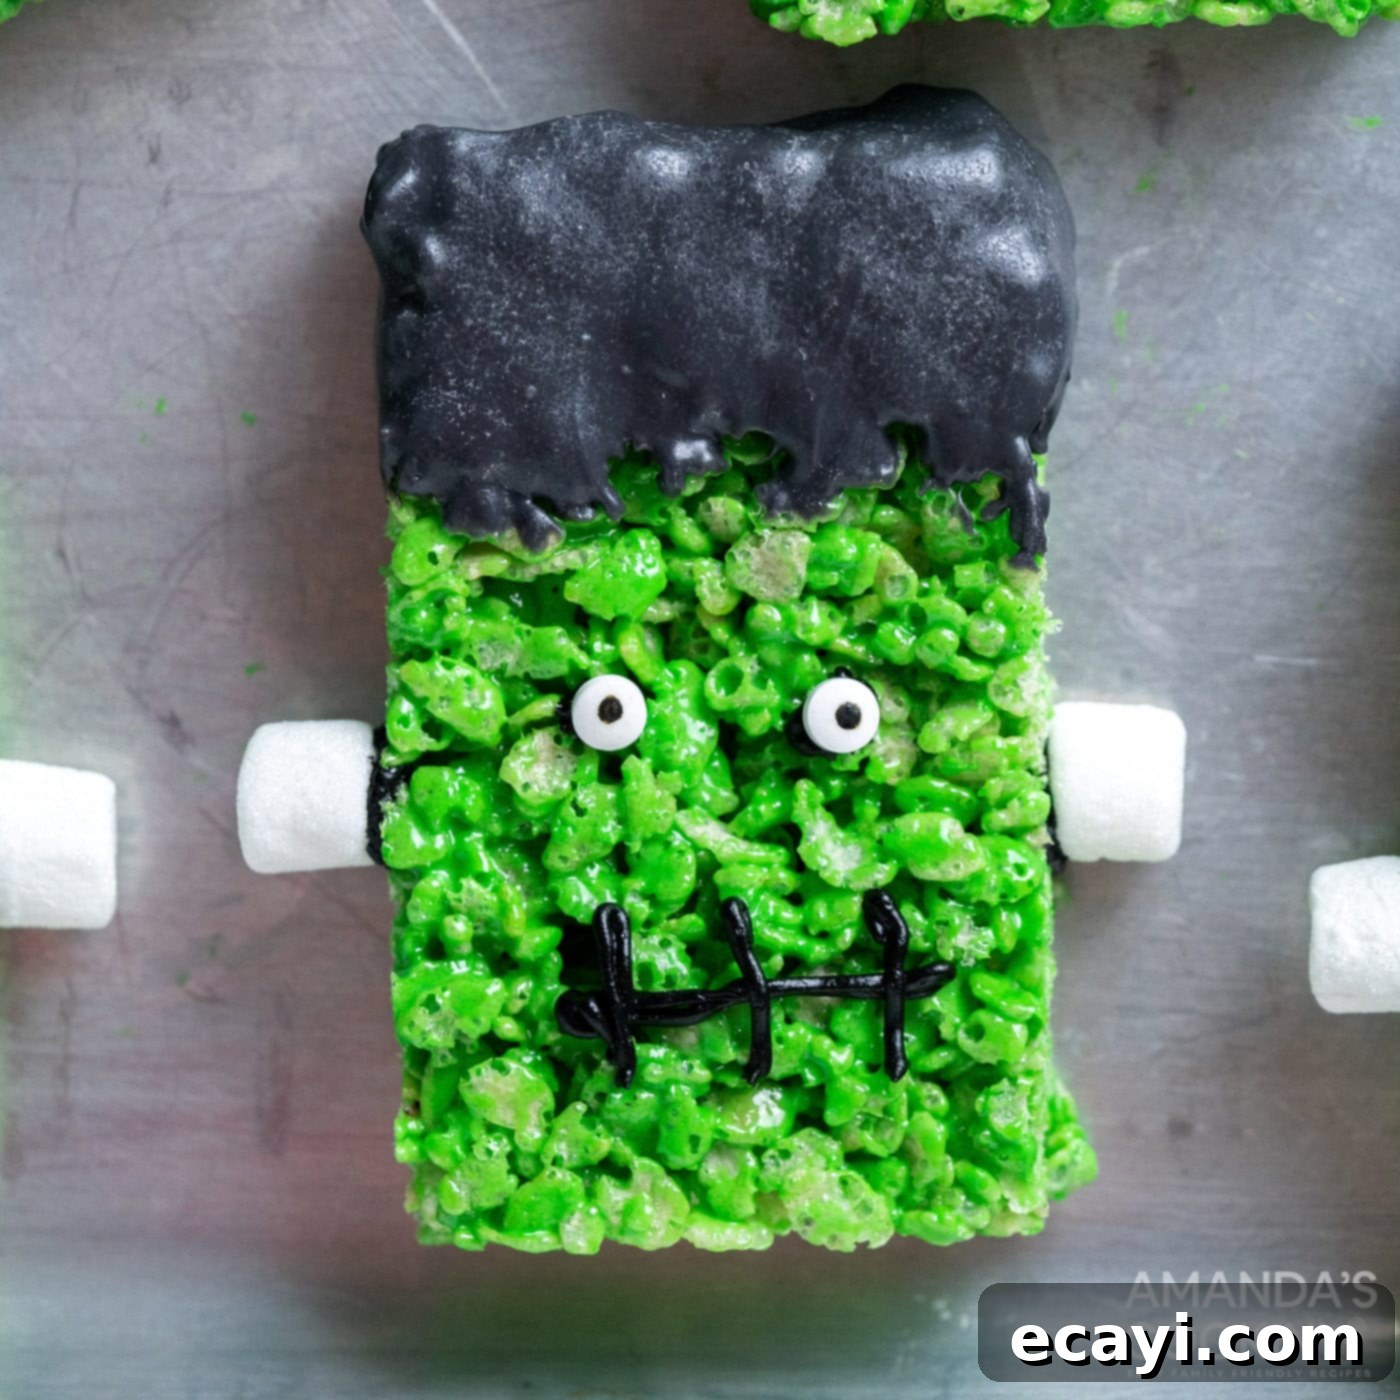
Spooktacularly Simple: How to Make Adorable Frankenstein Rice Krispie Treats for Halloween
Get ready to unleash your inner mad scientist (and your sweet tooth!) with these incredibly easy and utterly adorable Frankenstein Rice Krispie Treats. Forget the fright; these green monsters are soft, chewy, and the perfect kid-friendly Halloween dessert. They’re a fantastic way to bring some festive fun into your kitchen, whether you’re planning a ghoulish gathering or just looking for a simple, no-bake project with the little ones.
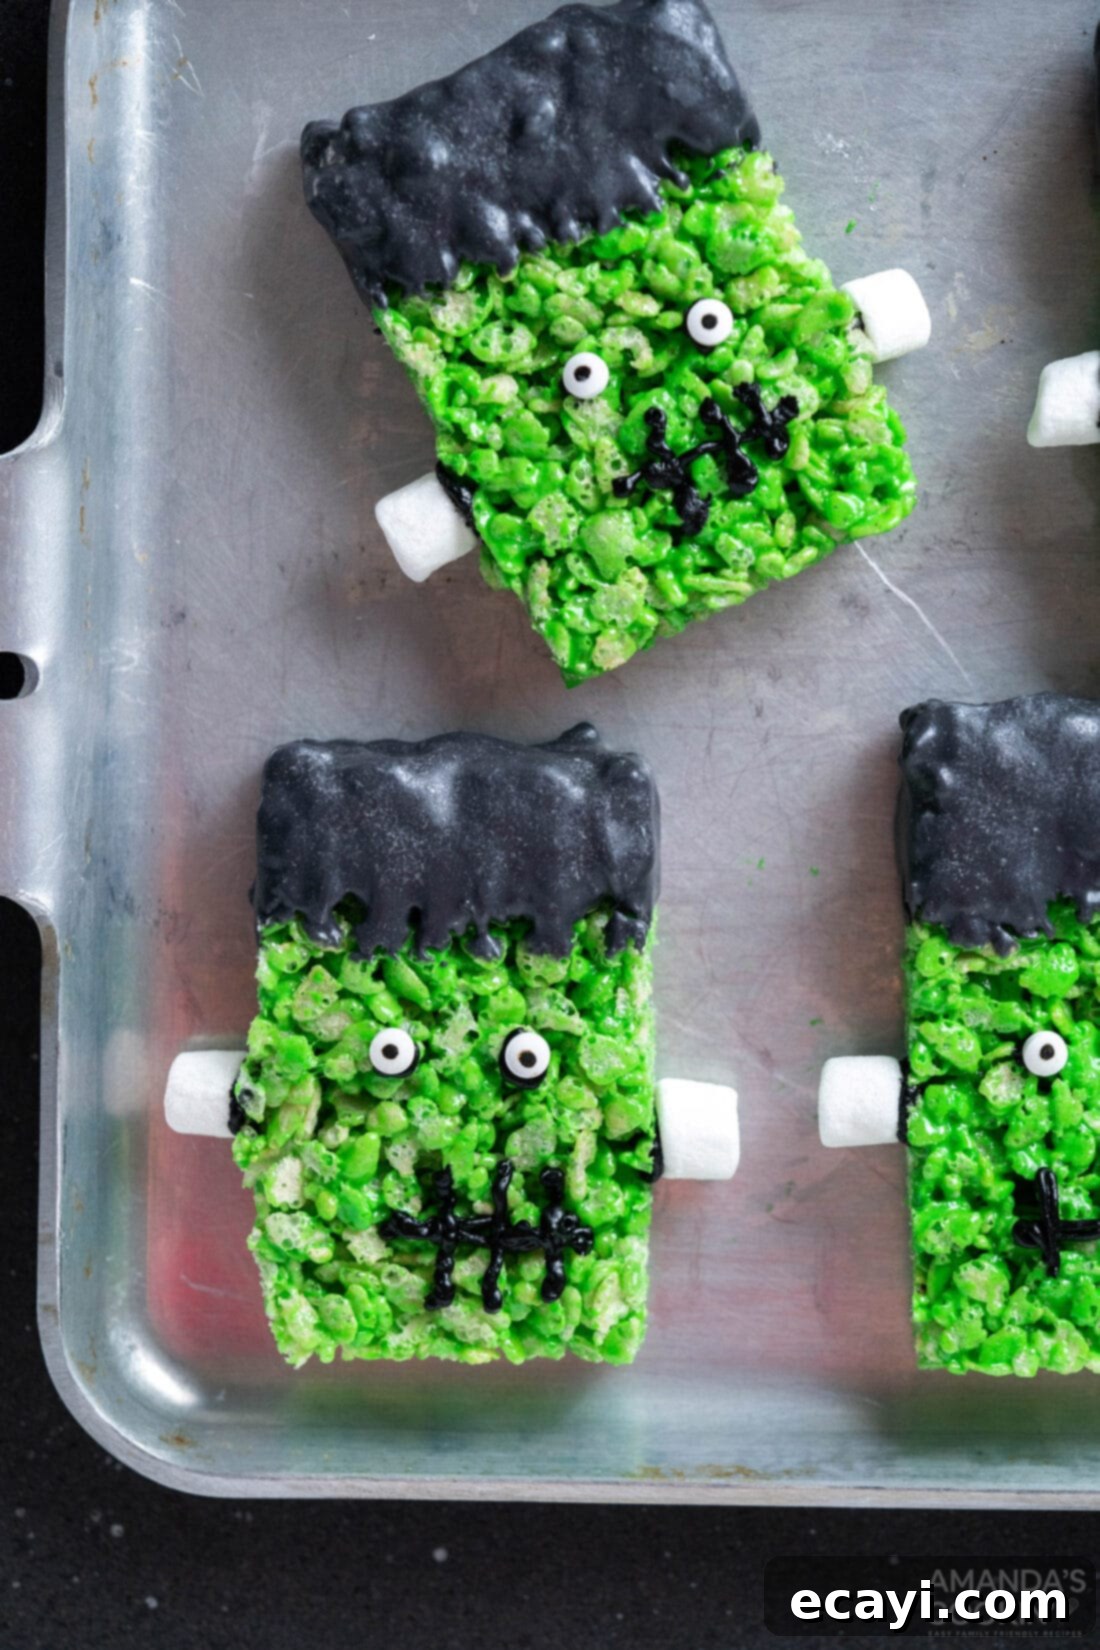
Why These Frankenstein Rice Krispie Treats Are a Must-Make
There’s something inherently charming about turning a classic, beloved treat into a festive masterpiece. If you’re a fan of our other Halloween food ideas, like our cute rice krispie pumpkins, then you’ll absolutely love making these adorable little Frankenstein Rice Krispie Treats. This recipe isn’t just about creating a delicious dessert; it’s about crafting an experience.
What makes these Frankenstein treats truly special and a go-to for the Halloween season? Firstly, they are incredibly kid-friendly. The process of mixing, pressing, and especially decorating, offers a wonderful opportunity for children to get hands-on in the kitchen. From stirring the gooey green marshmallows to carefully placing the candy eyeballs, every step is a chance for creative expression and family bonding. This makes them ideal for classroom treats, school bake sales, or as the star dessert at your next Halloween party.
Secondly, these vibrant green monsters are made using the traditional Rice Krispie treat method, meaning they are incredibly simple to prepare and require no baking. This ease of preparation makes them accessible for even novice bakers and ensures you can whip up a batch (or two!) in under an hour. Despite their simplicity, they boast a delightful spooky flair that will impress party guests and delight anyone who takes a bite. Imagine the smiles when these soft, chewy, and perfectly themed Halloween treats are served!
Beyond their ease and visual appeal, these Frankenstein Rice Krispie Treats tap into a comforting nostalgia. Rice Krispie treats are a childhood favorite for many, and transforming them into spooky characters adds a fresh, exciting twist to a timeless classic. They are the perfect balance of sweet, crunchy, and marshmallow-y, making them an irresistible addition to any Halloween celebration or simply a fun afternoon activity at home.
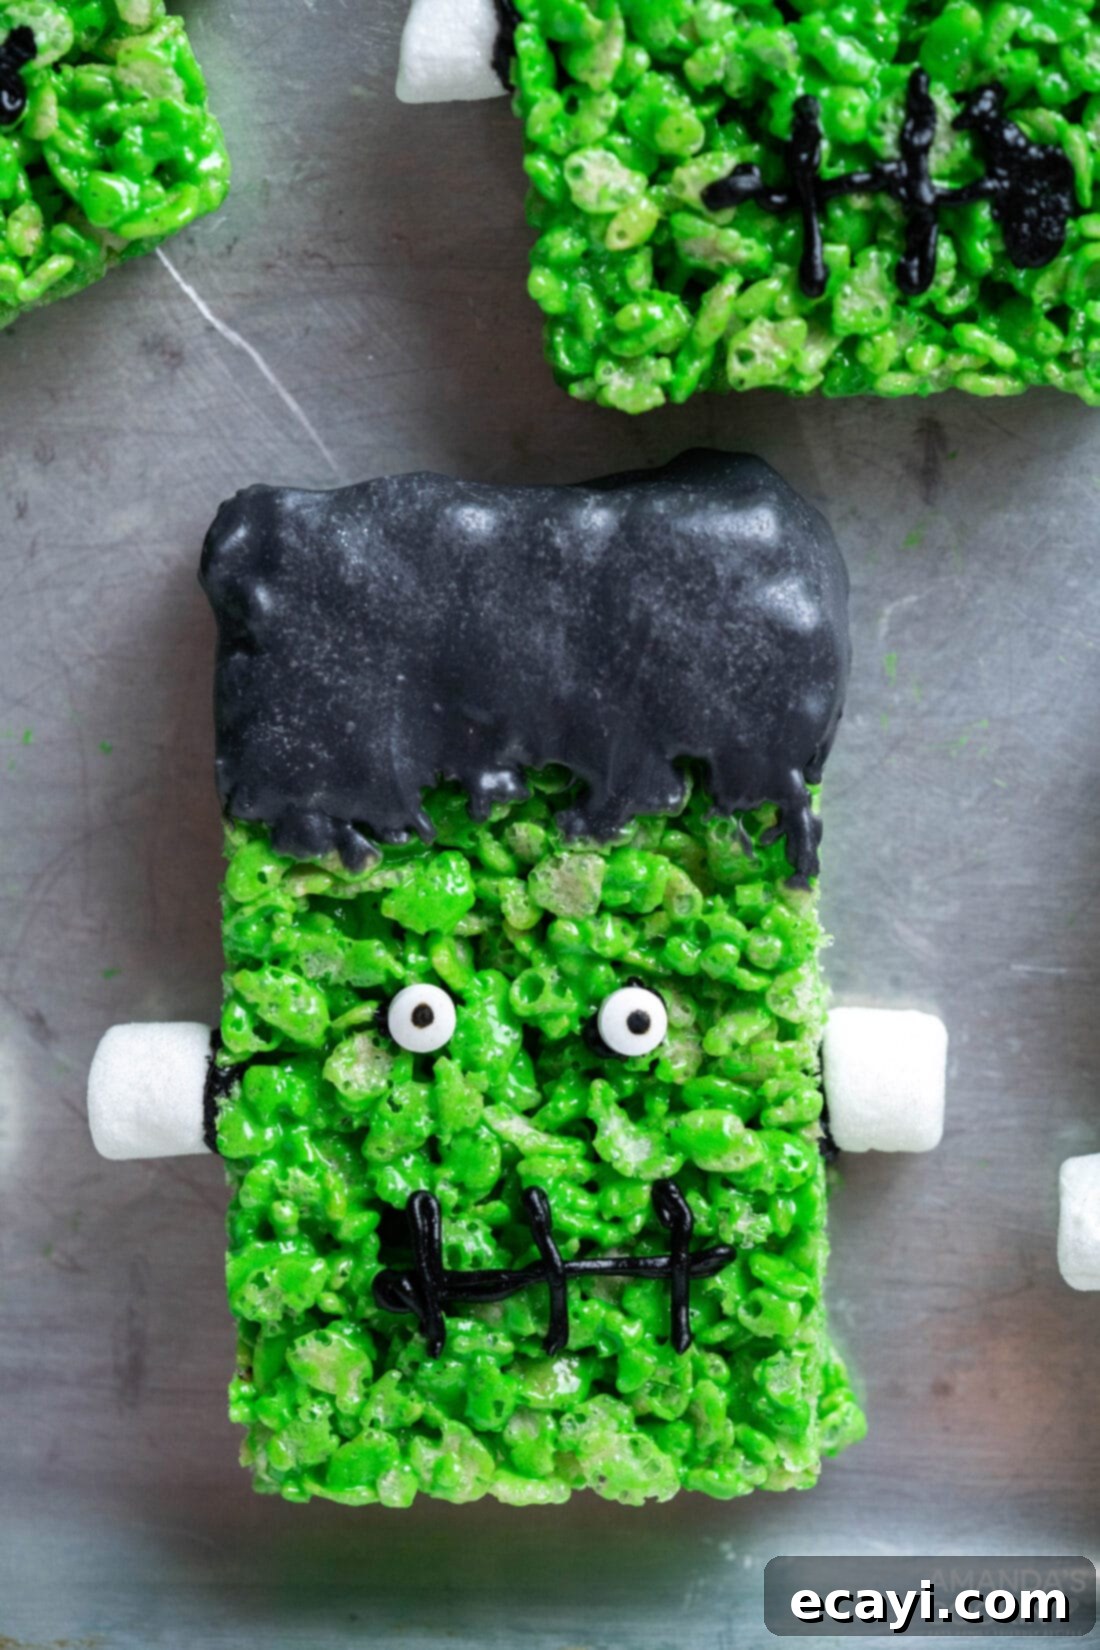
Essential Ingredients for Your Frankenstein Rice Krispie Treats
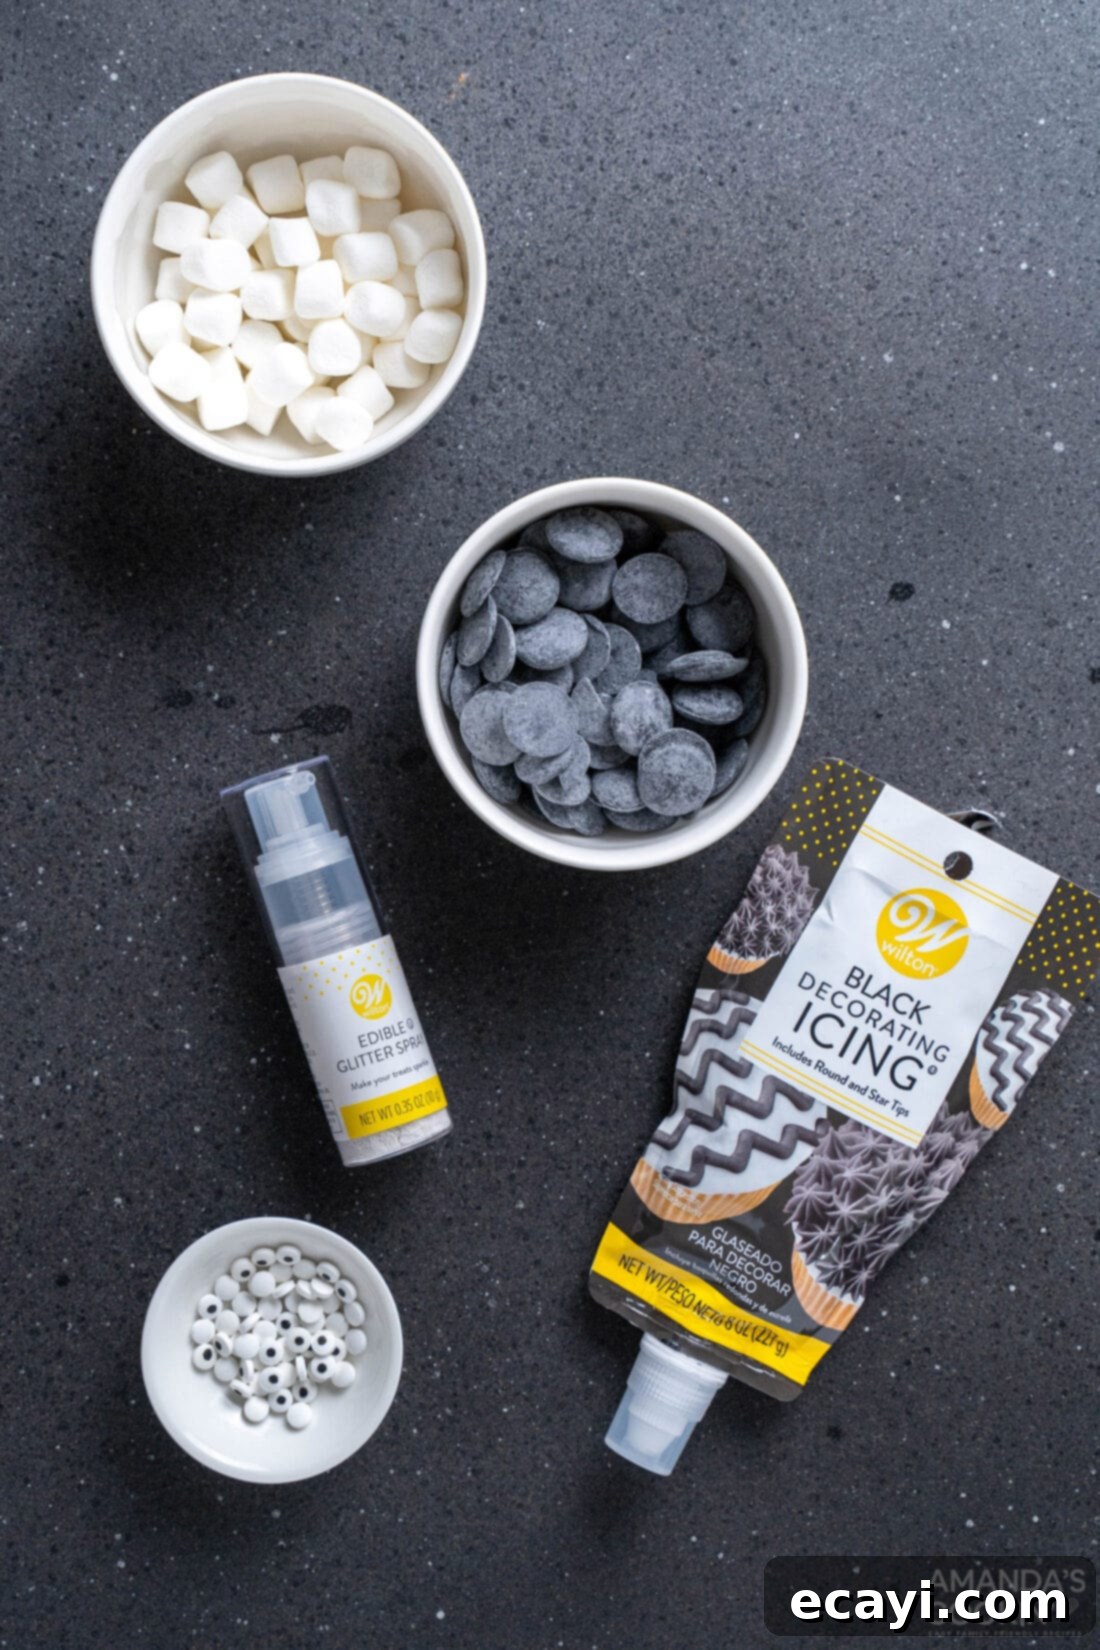
Crafting these iconic green monster treats requires just a handful of simple ingredients, most of which you probably already have in your pantry. For all exact measurements, step-by-step instructions, and a printable recipe card, be sure to scroll down to the end of this post.
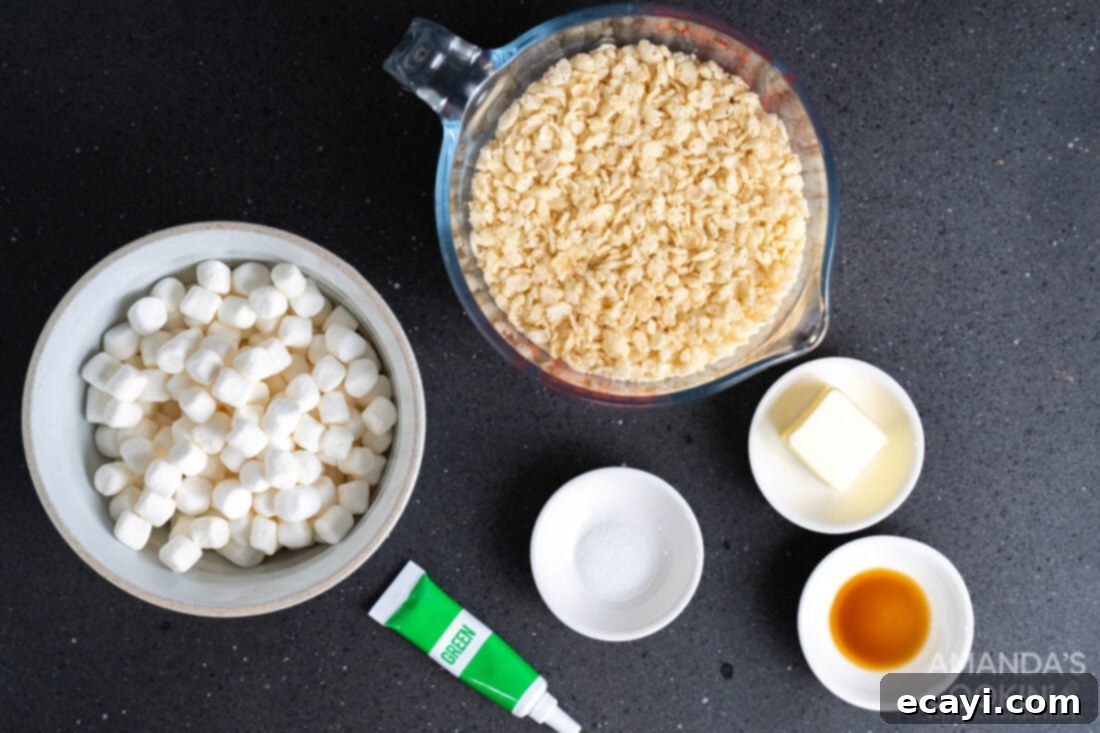
Ingredient Spotlight & Smart Swaps
Let’s dive a little deeper into the ingredients that make these Frankenstein Rice Krispie Treats so wonderfully chewy, green, and fun! Understanding each component will help you achieve the best results and allow for creative substitutions.
RICE KRISPIES CEREAL: The foundation of our treats! You’ll need classic rice krispie cereal for that signature light and crunchy texture. While name-brand cereals are often preferred for their consistent quality, feel free to use off-brand “crispy rice” style cereal if you prefer. Just ensure it’s fresh for optimal crunch. The unique airy texture of rice krispies is what gives these treats their delightful chewiness when combined with melted marshmallows.
MINI MARSHMALLOWS: These are the sticky binder that holds everything together. Mini marshmallows melt more quickly and evenly than larger ones, which is crucial for preventing overcooking (and thus, hard treats). For best results, use fresh marshmallows – stale ones can sometimes lead to a tougher consistency. If you only have large marshmallows, you can use them, but you’ll need to cut them into smaller pieces to speed up melting time.
UNSALTED BUTTER: Butter adds a rich, creamy flavor and helps the marshmallows melt smoothly without sticking to the pan. We recommend unsalted butter so you can control the overall saltiness of the treats. If you only have salted butter, simply omit the additional ⅛ tsp of salt from the recipe.
VANILLA EXTRACT: A touch of vanilla extract elevates the flavor, adding a warm, comforting note that complements the sweetness of the marshmallows. Use a good quality pure vanilla extract for the best taste.
SALT: A small pinch of salt is vital to balance the sweetness of the marshmallows and vanilla, enhancing all the flavors in the treat. Don’t skip it!
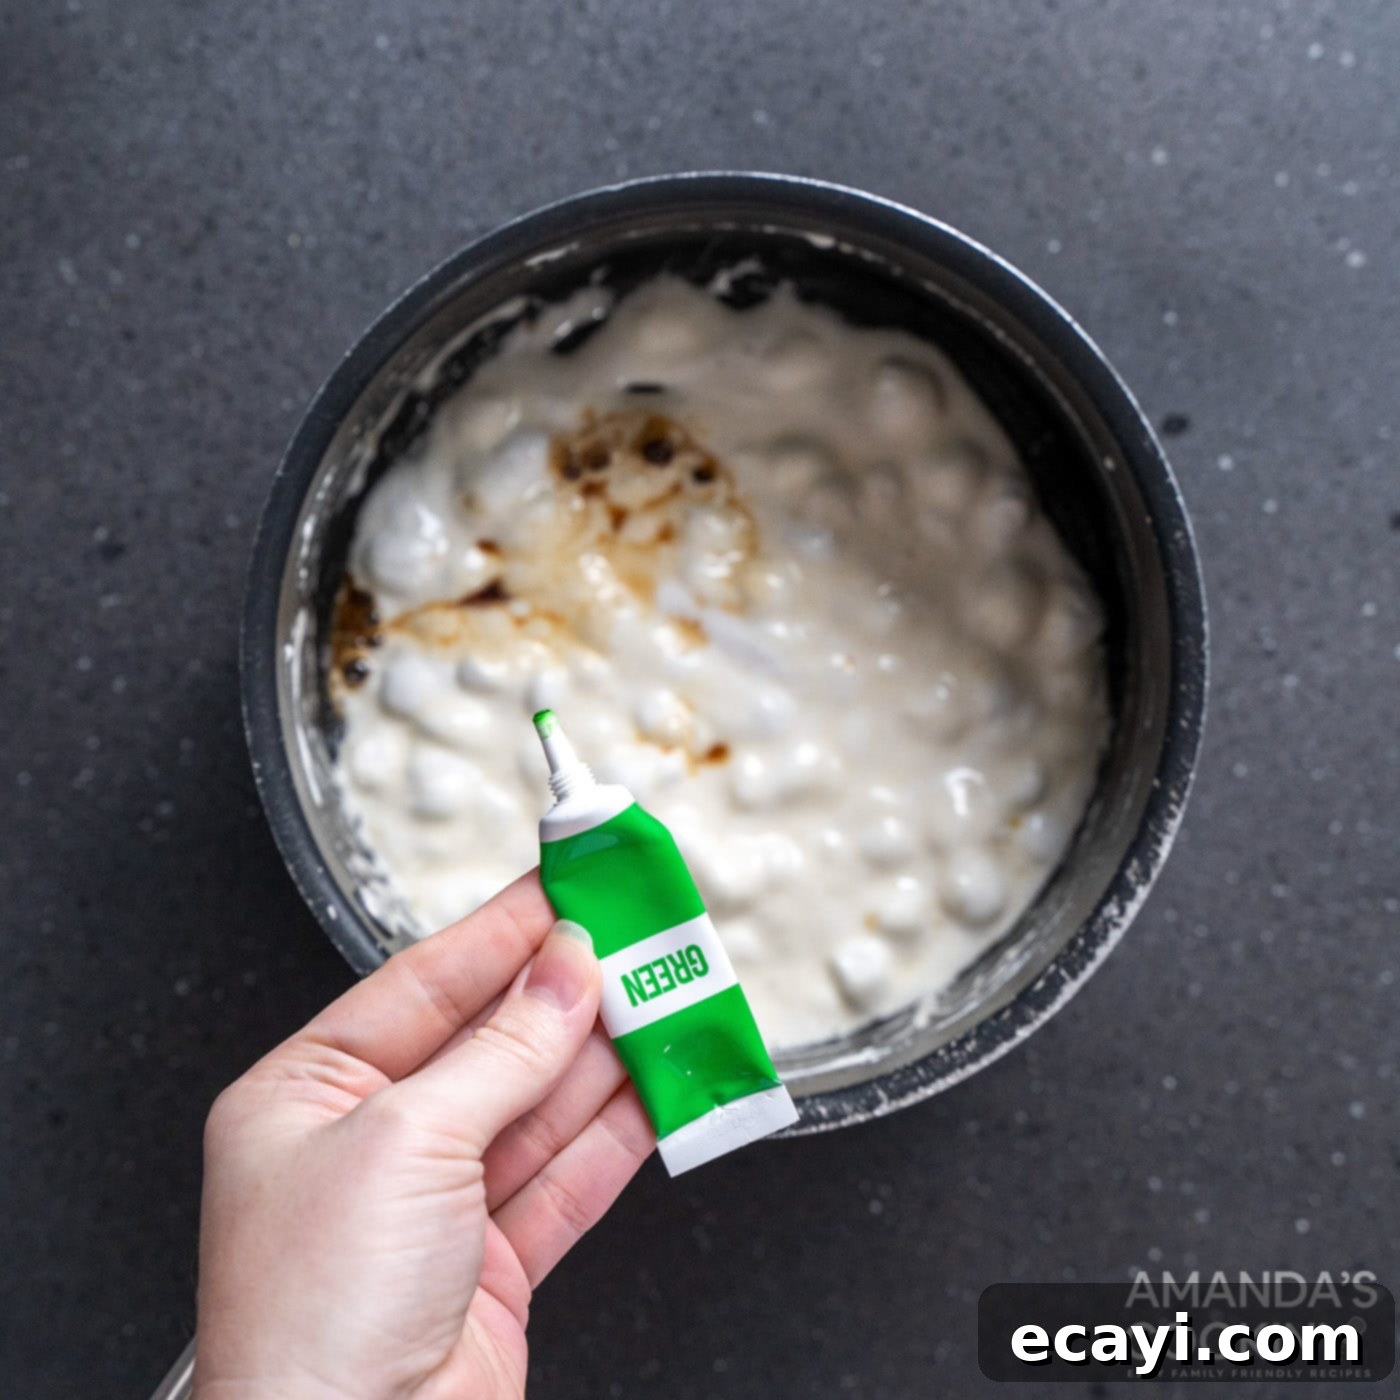
GREEN GEL FOOD COLORING: This is where our Frankenstein monsters get their iconic hue! We *highly recommend* using gel food coloring over liquid food coloring. Gel colors are far more concentrated, producing a vibrant, consistent green without adding excess moisture to your mixture, which can alter the texture of your treats. A little goes a long way, so start with a small amount and add more until you achieve your desired Frankenstein green.
DECORATION ELEMENTS: These are the fun finishing touches that bring our monsters to life!
- BLACK CANDY MELTS: Used to create Frankenstein’s iconic “hair.” Black candy melts melt smoothly and set quickly, providing a crisp, chocolate-like finish. You can melt them in a double-boiler or carefully in the microwave. If you can’t find black candy melts, you could use dark chocolate chips (though they might not set as hard or be as opaque) or even black decorating frosting applied more thickly.
- CANDY EYEBALLS: These are essential for giving your Frankenstein treats character! They are readily available in most baking aisles or online, especially around Halloween. Their playful look is perfect for this whimsical dessert.
- BLACK DECORATING FROSTING: This acts as both glue for the eyes and the tool for drawing on mouths and scars. A tube of ready-made black frosting with a fine tip is ideal for precise details. If you prefer to make your own, a simple buttercream tinted black will work, piped through a small round tip.
- MINI MARSHMALLOWS (for “bolts” or “ears”): These create Frankenstein’s neck bolts, adding another layer of classic character. You’ll need 12 total, two for each treat.
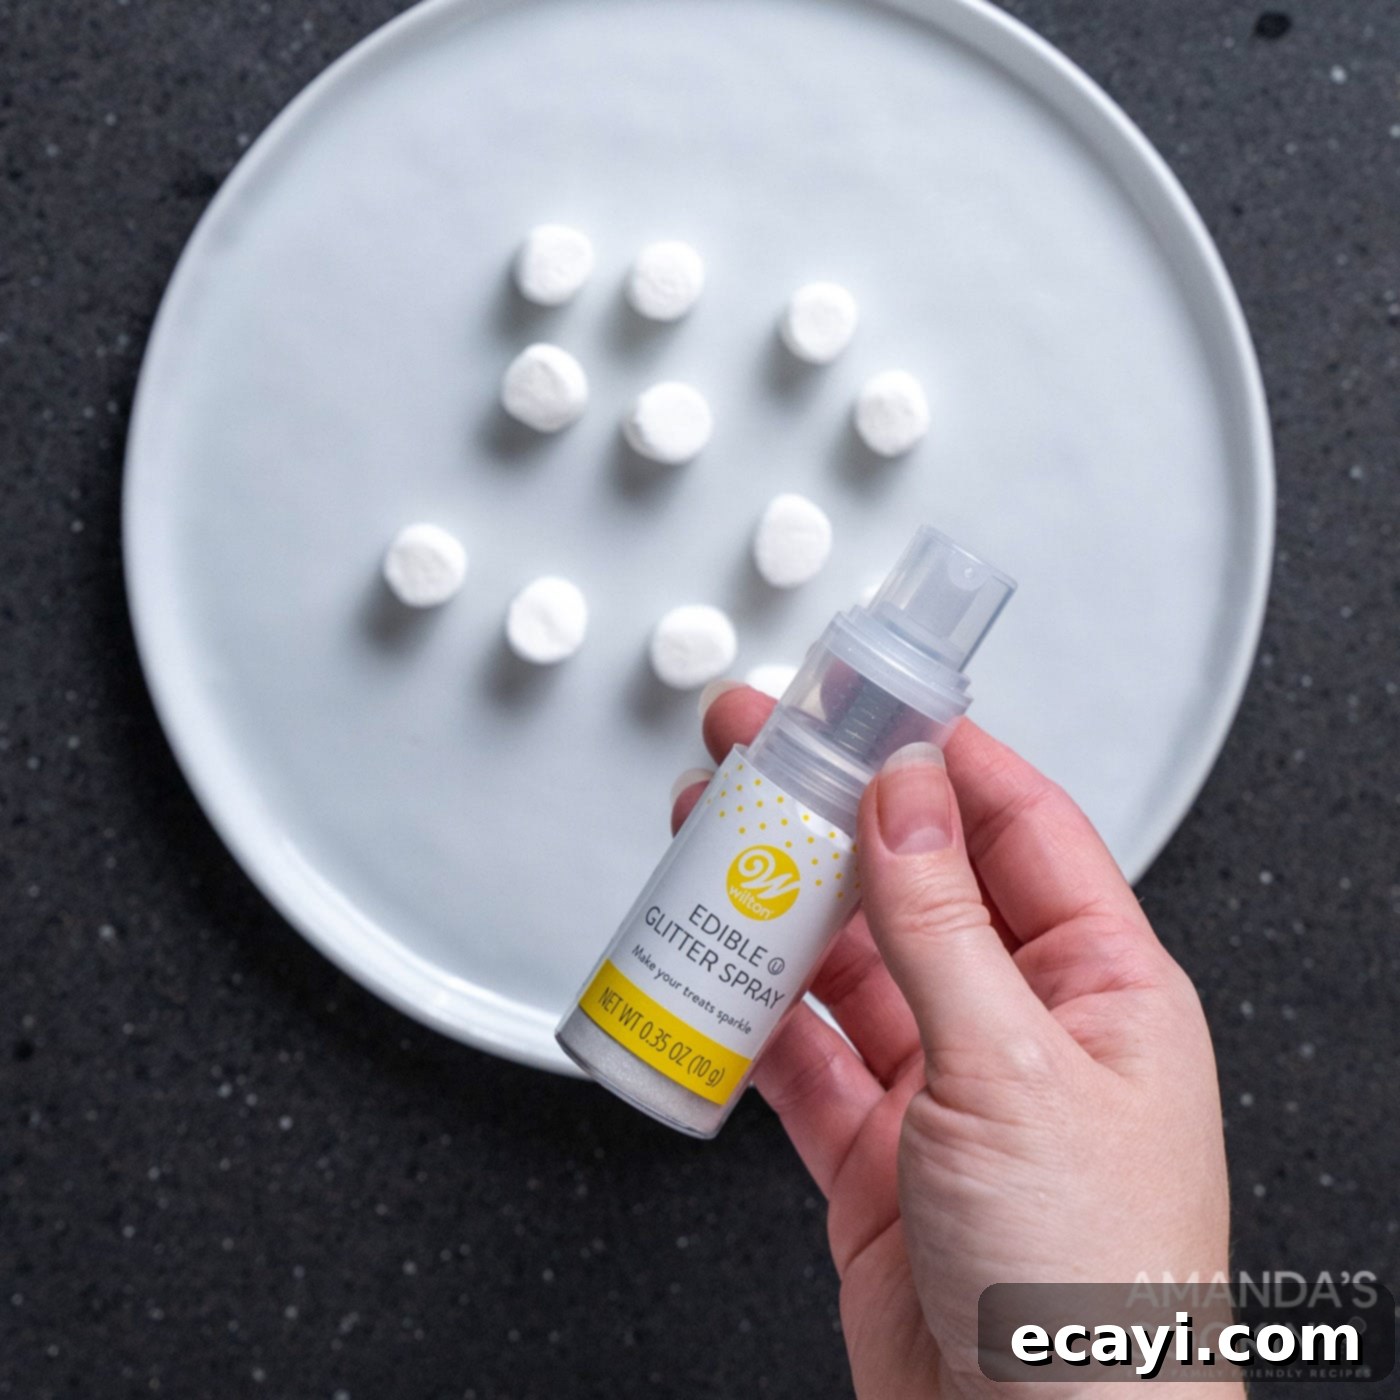
- EDIBLE SILVER GLITTER SPRAY: This optional element adds a subtle shimmer to the “bolts,” making them appear metallic. It’s purely for aesthetic appeal. If you don’t have it, or prefer a less sparkly look, you can certainly omit it. Alternatively, for a different texture and taste, you can substitute the mini marshmallows for short pretzel sticks, which also make great “bolts” and add a salty crunch!
Step-by-Step Guide to Crafting Your Frankenstein Rice Krispie Treats
These step-by-step photos and detailed instructions are here to help you visualize how to make this delightful Halloween recipe. For the complete printable version of this recipe, including all measurements and instructions, simply Jump to Recipe at the bottom of this page.
- Prepare Your Pan: First, line an 8×8-inch baking dish with two pieces of parchment paper. Arrange the paper so that it overhangs all four sides of the pan. This creates “handles” that will make it incredibly easy to lift the entire batch of treats out once cooled. Lightly spray the parchment paper with coconut oil spray or a non-stick cooking spray to ensure nothing sticks.
- Melt the Butter: In a medium-sized saucepan, melt the unsalted butter over medium heat. Once the butter is melted and sizzling slightly, reduce the heat to low. This is crucial for preventing the marshmallows from burning or becoming too hard.
- Add Marshmallows: Stir in the mini marshmallows. Continue to cook, stirring continuously with a spatula or spoon, until they are *almost* but not quite fully melted. You want them mostly gooey with a few small marshmallow lumps still visible. This usually takes about 30 seconds on low heat. Overheating marshmallows can lead to tough rice krispie treats, so keep a close eye on them!
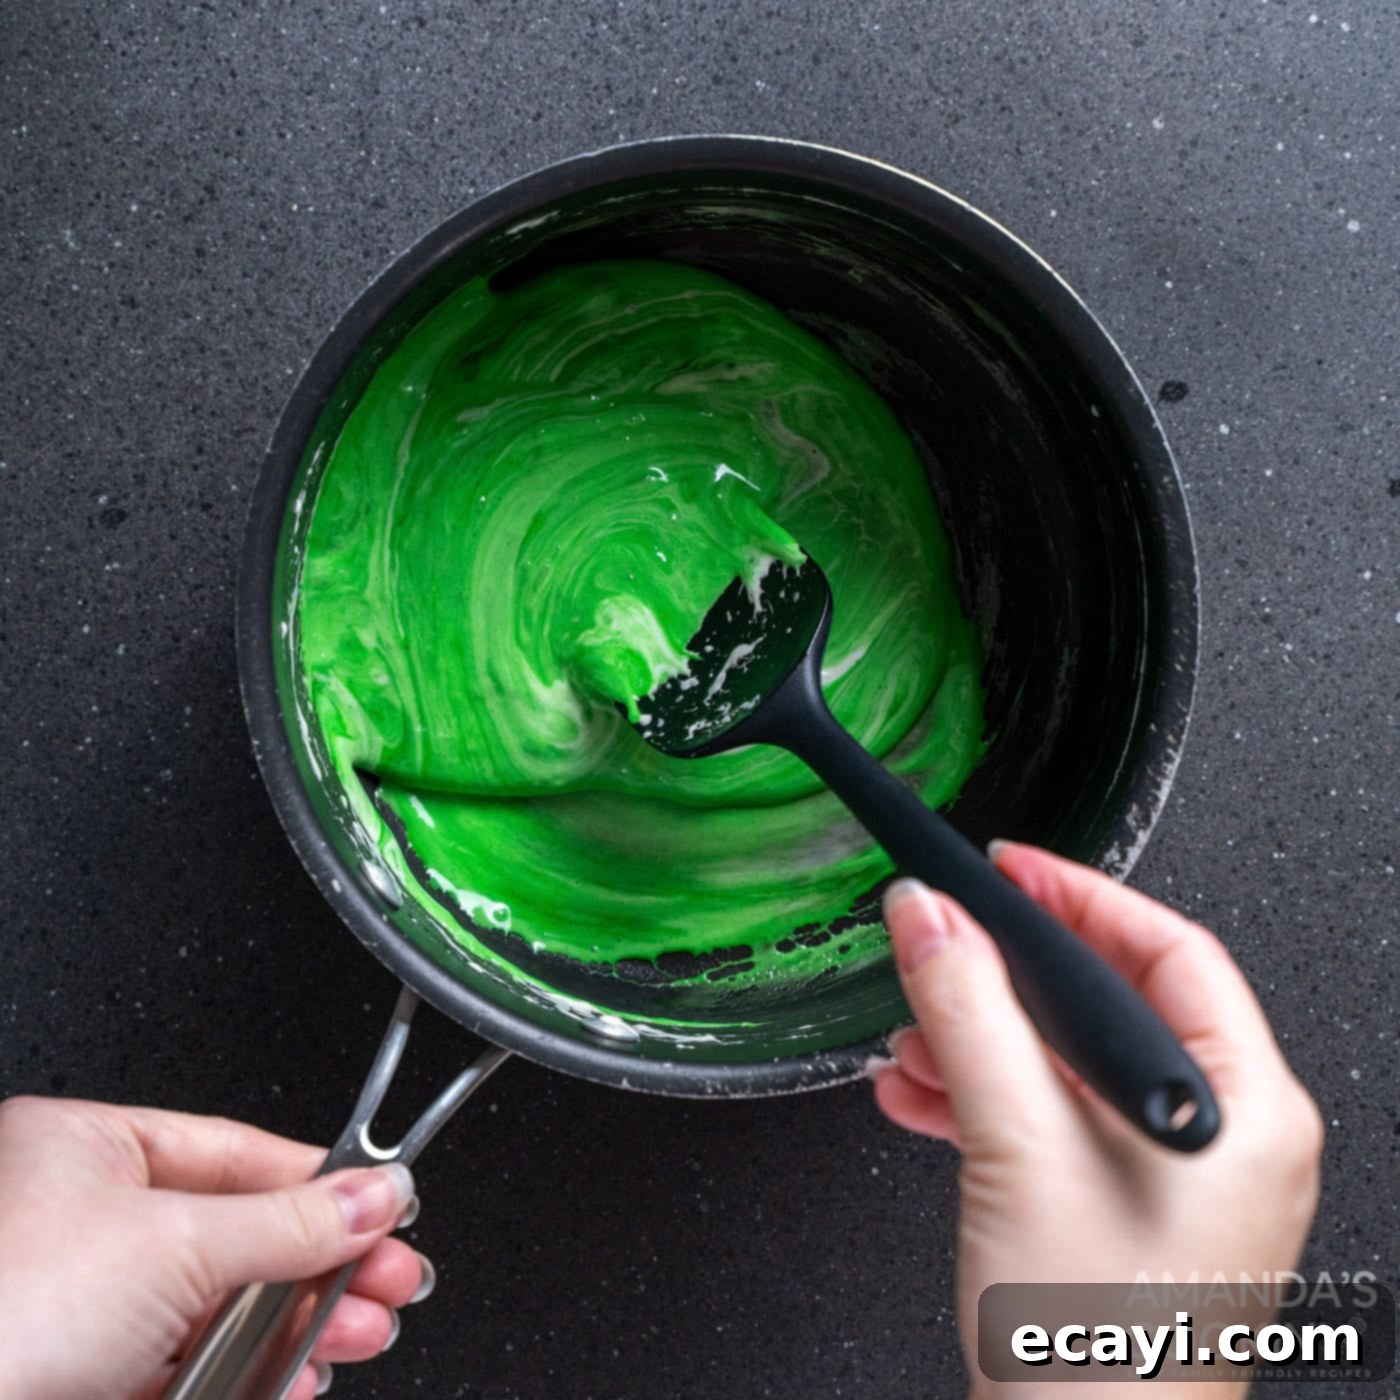
- Flavor and Color: Remove the saucepan from the heat immediately. Stir in the vanilla extract, salt, and the green gel food coloring. Mix thoroughly until the color is evenly distributed and the mixture is a vibrant Frankenstein green. The residual heat from the pan will help melt any remaining marshmallow lumps.
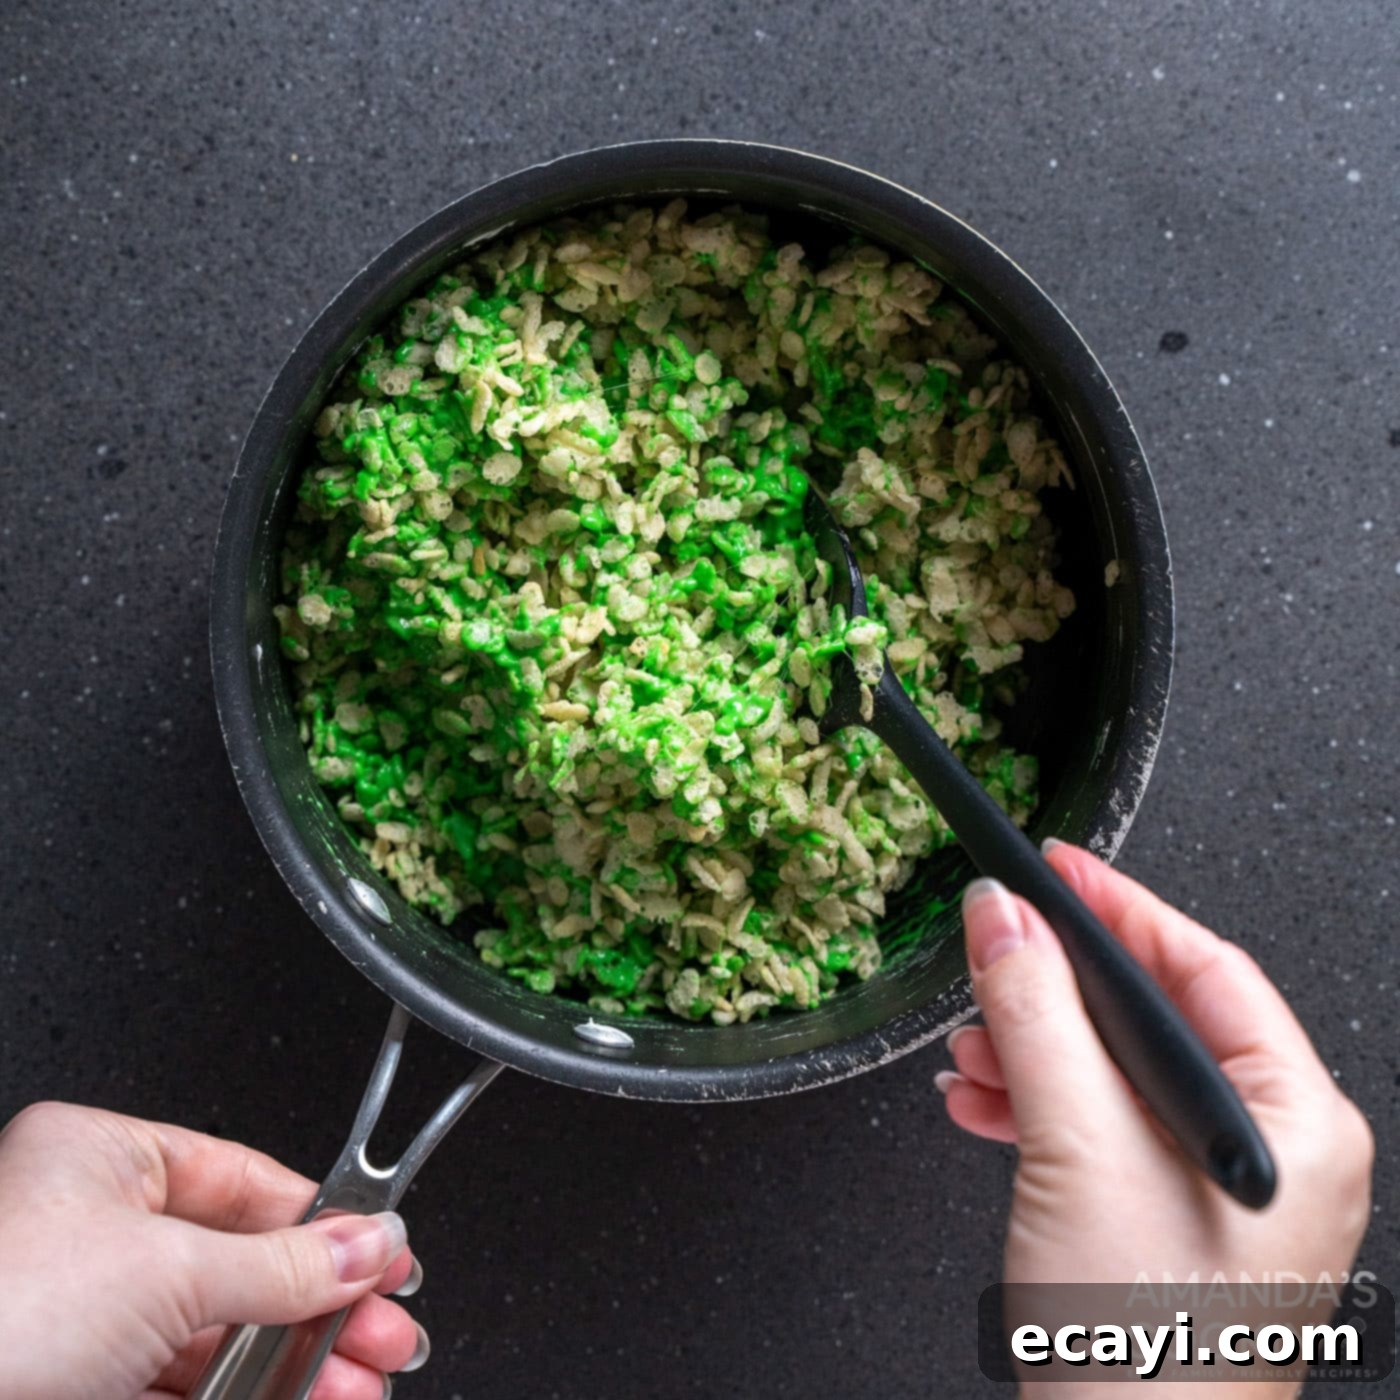
- Combine with Cereal: Now, pour the rice krispies cereal into the green marshmallow mixture. Use your spatula to gently fold the cereal into the mixture until every piece is well-coated. Be careful not to crush the cereal, as this will prevent your treats from being light and airy.
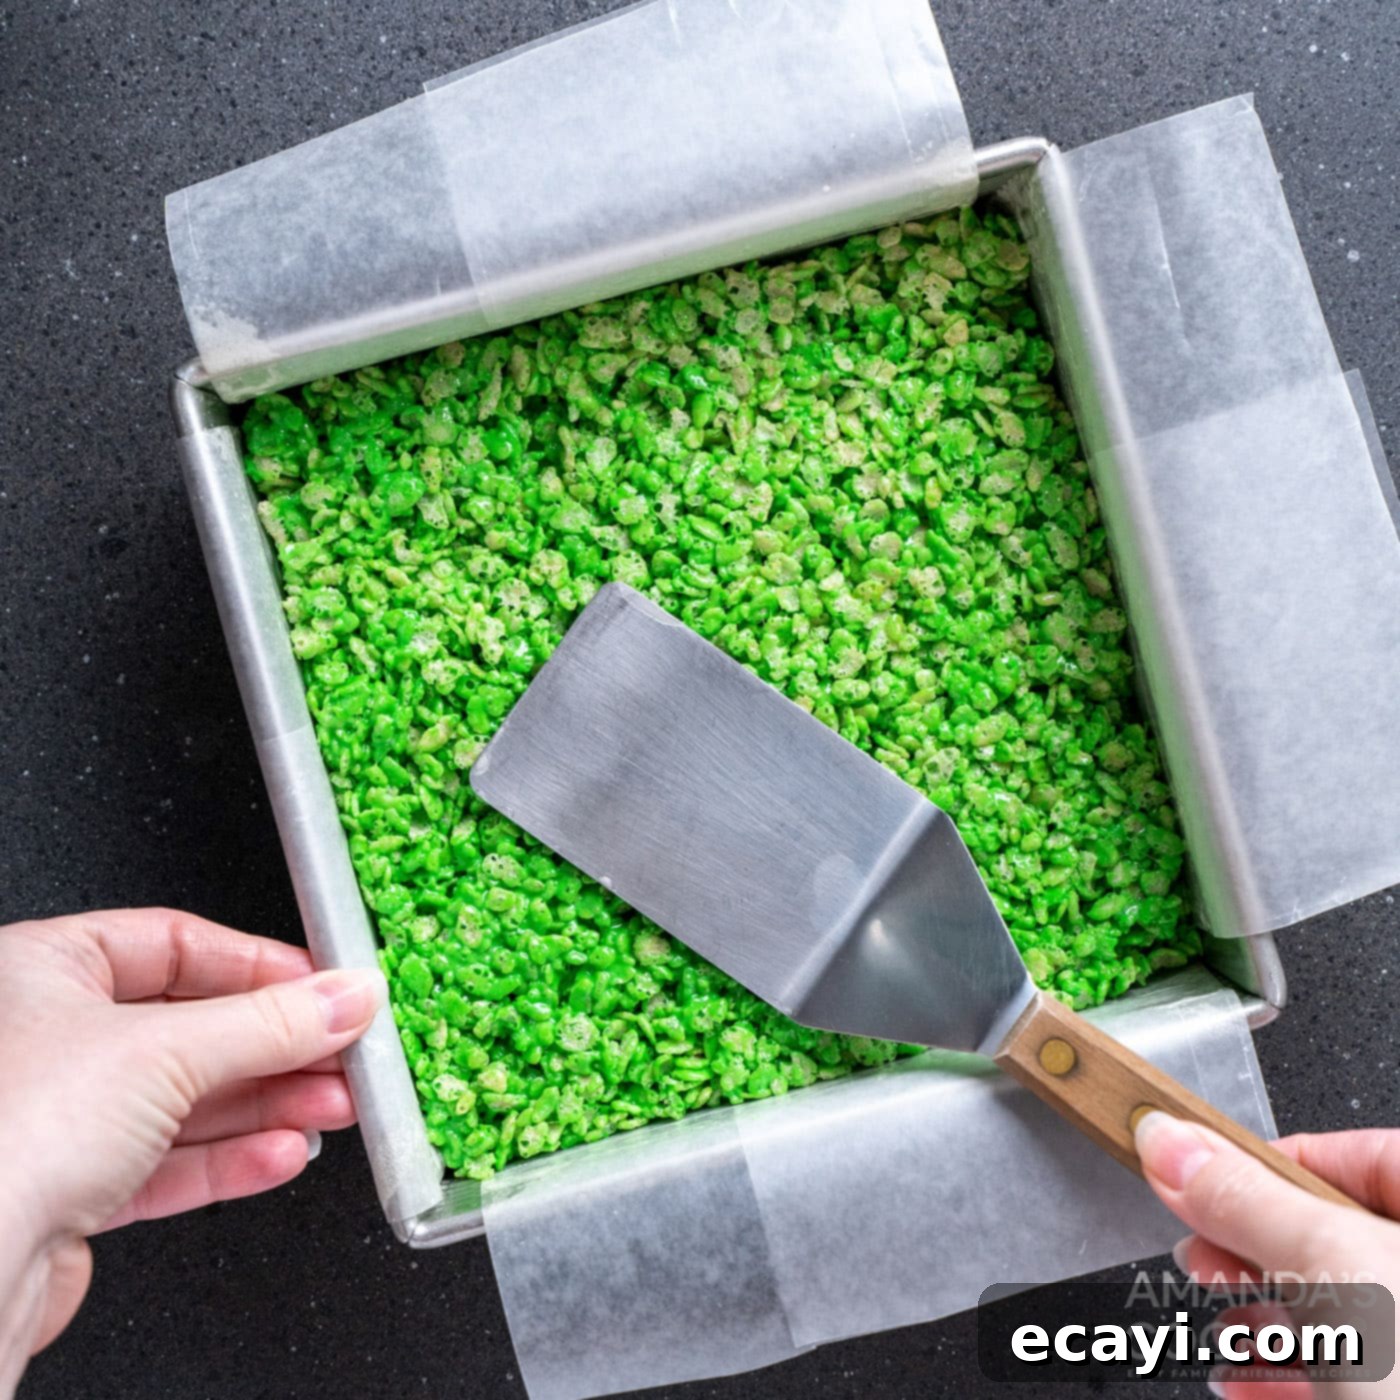
- Press into Pan: Transfer the cereal mixture into your prepared baking pan. Lightly spray a thin metal spatula (or your hands) with coconut oil spray to prevent sticking. Gently press the mixture into an even layer in the pan. Avoid pressing too hard, as this can compress the cereal and make the treats dense and hard instead of soft and chewy.
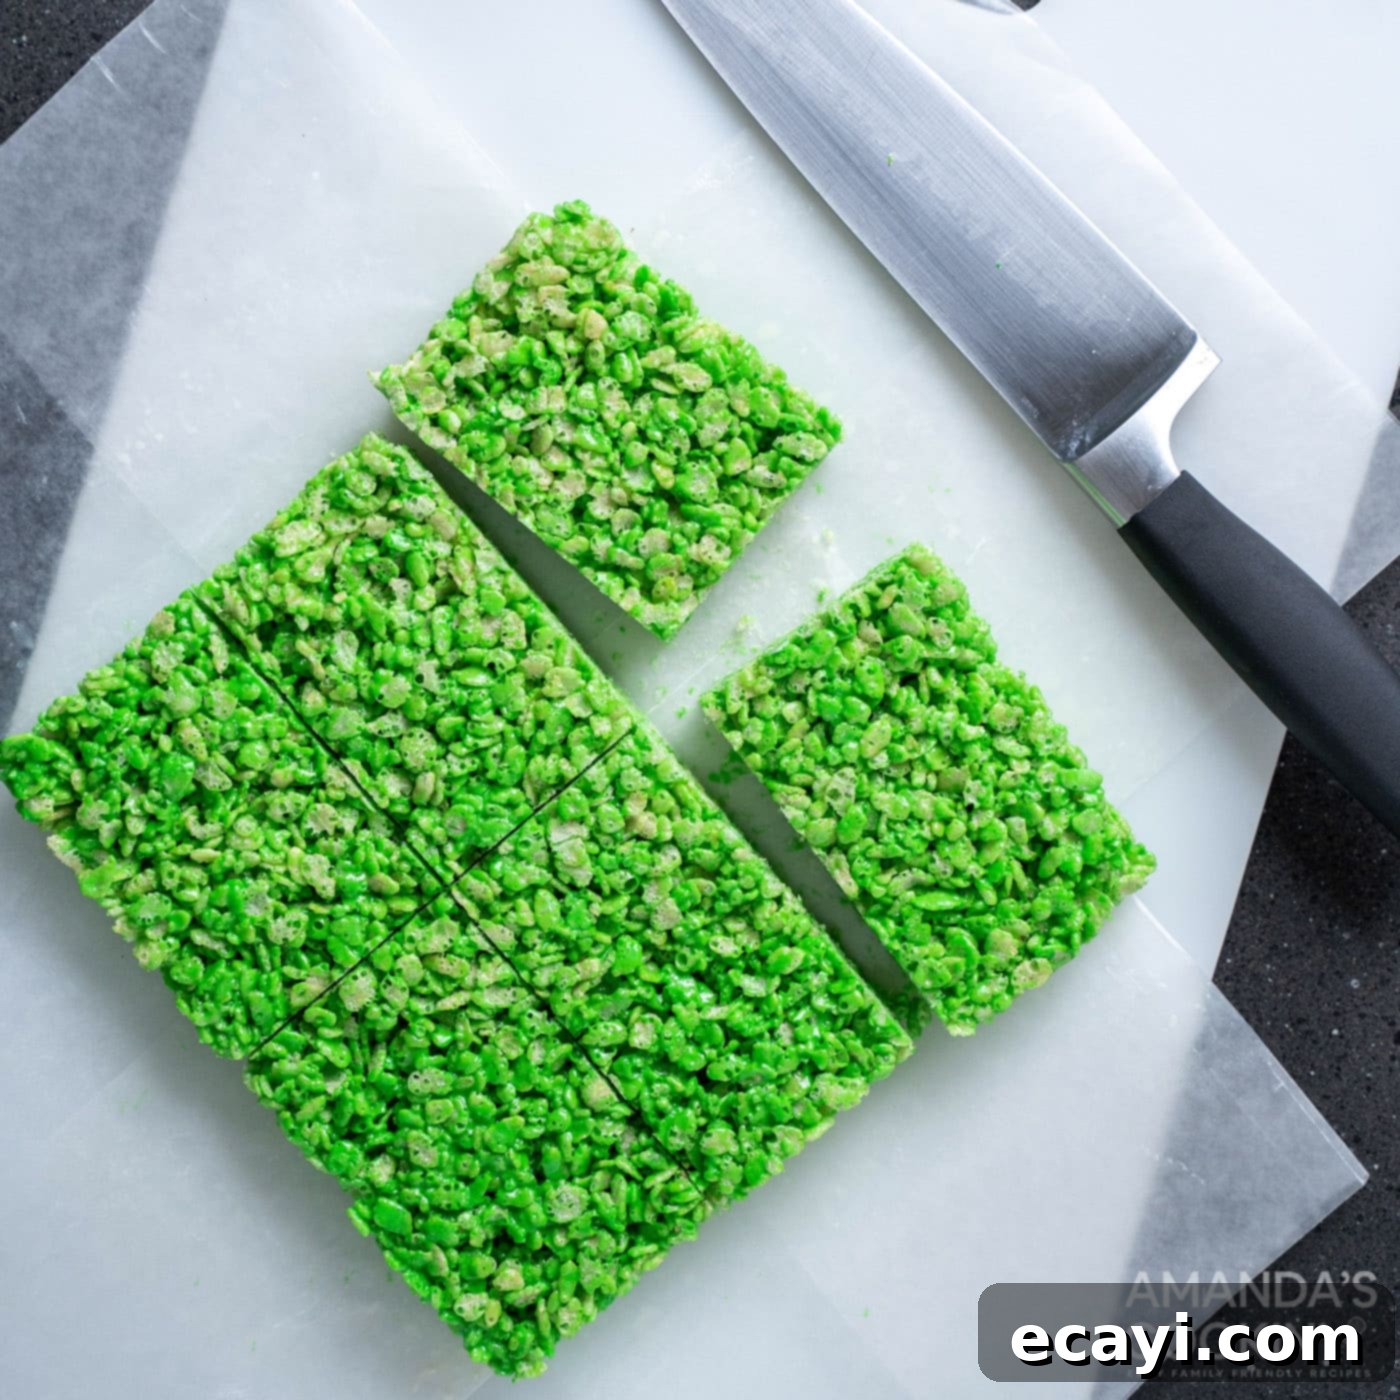
- Cool and Cut: Allow the rice krispie treats to cool completely at room temperature. This can take about 30-60 minutes. Once fully cooled and firm, use the parchment paper overhangs to lift the entire slab out of the pan. Place it on a cutting board and cut it into 6 equal rectangular pieces. For neat cuts, you can use a greased knife.
- Decorate the “Bolts”: To prepare Frankenstein’s “bolts,” lightly spray the 12 mini marshmallows with edible silver glitter spray. This step is optional but adds a fun, metallic sheen.
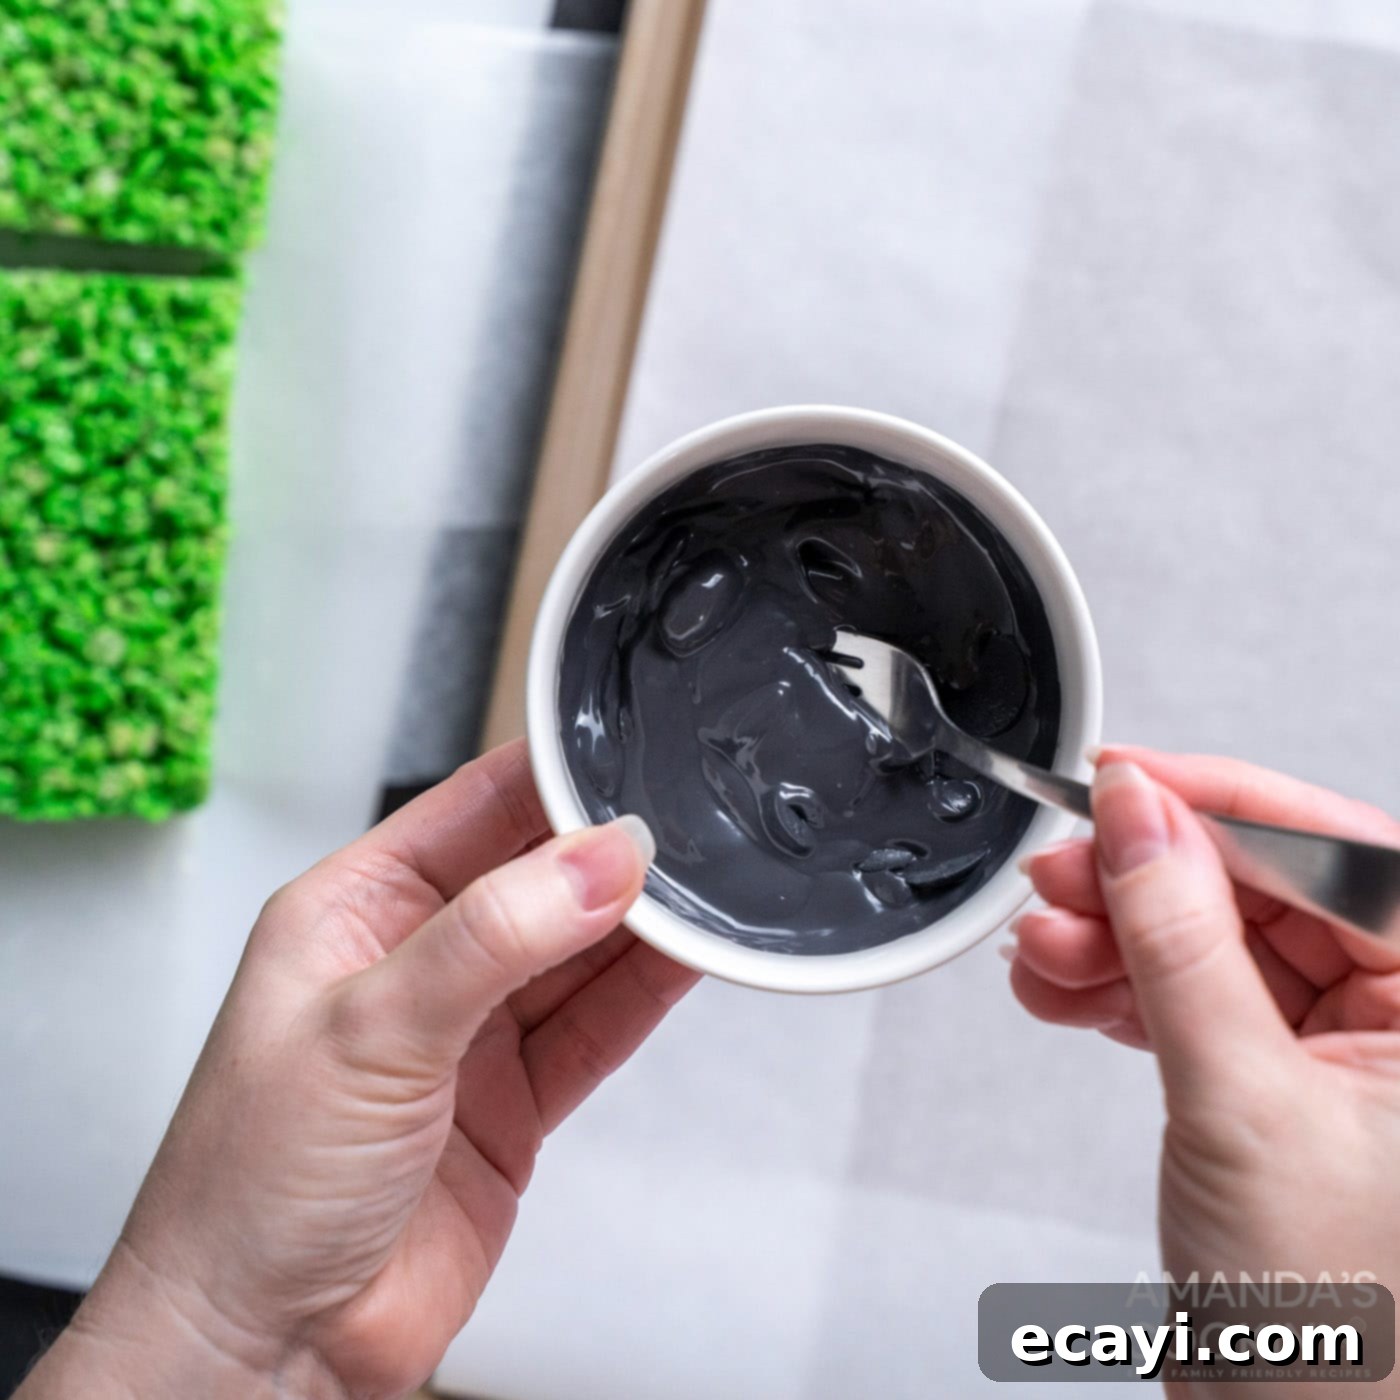
- Melt Candy Melts: Melt the black candy melts. You can do this in a double-boiler over simmering water or in a microwave-safe bowl, heating in 20-30 second intervals, stirring well after each, until smooth and completely melted. Be careful not to overheat.
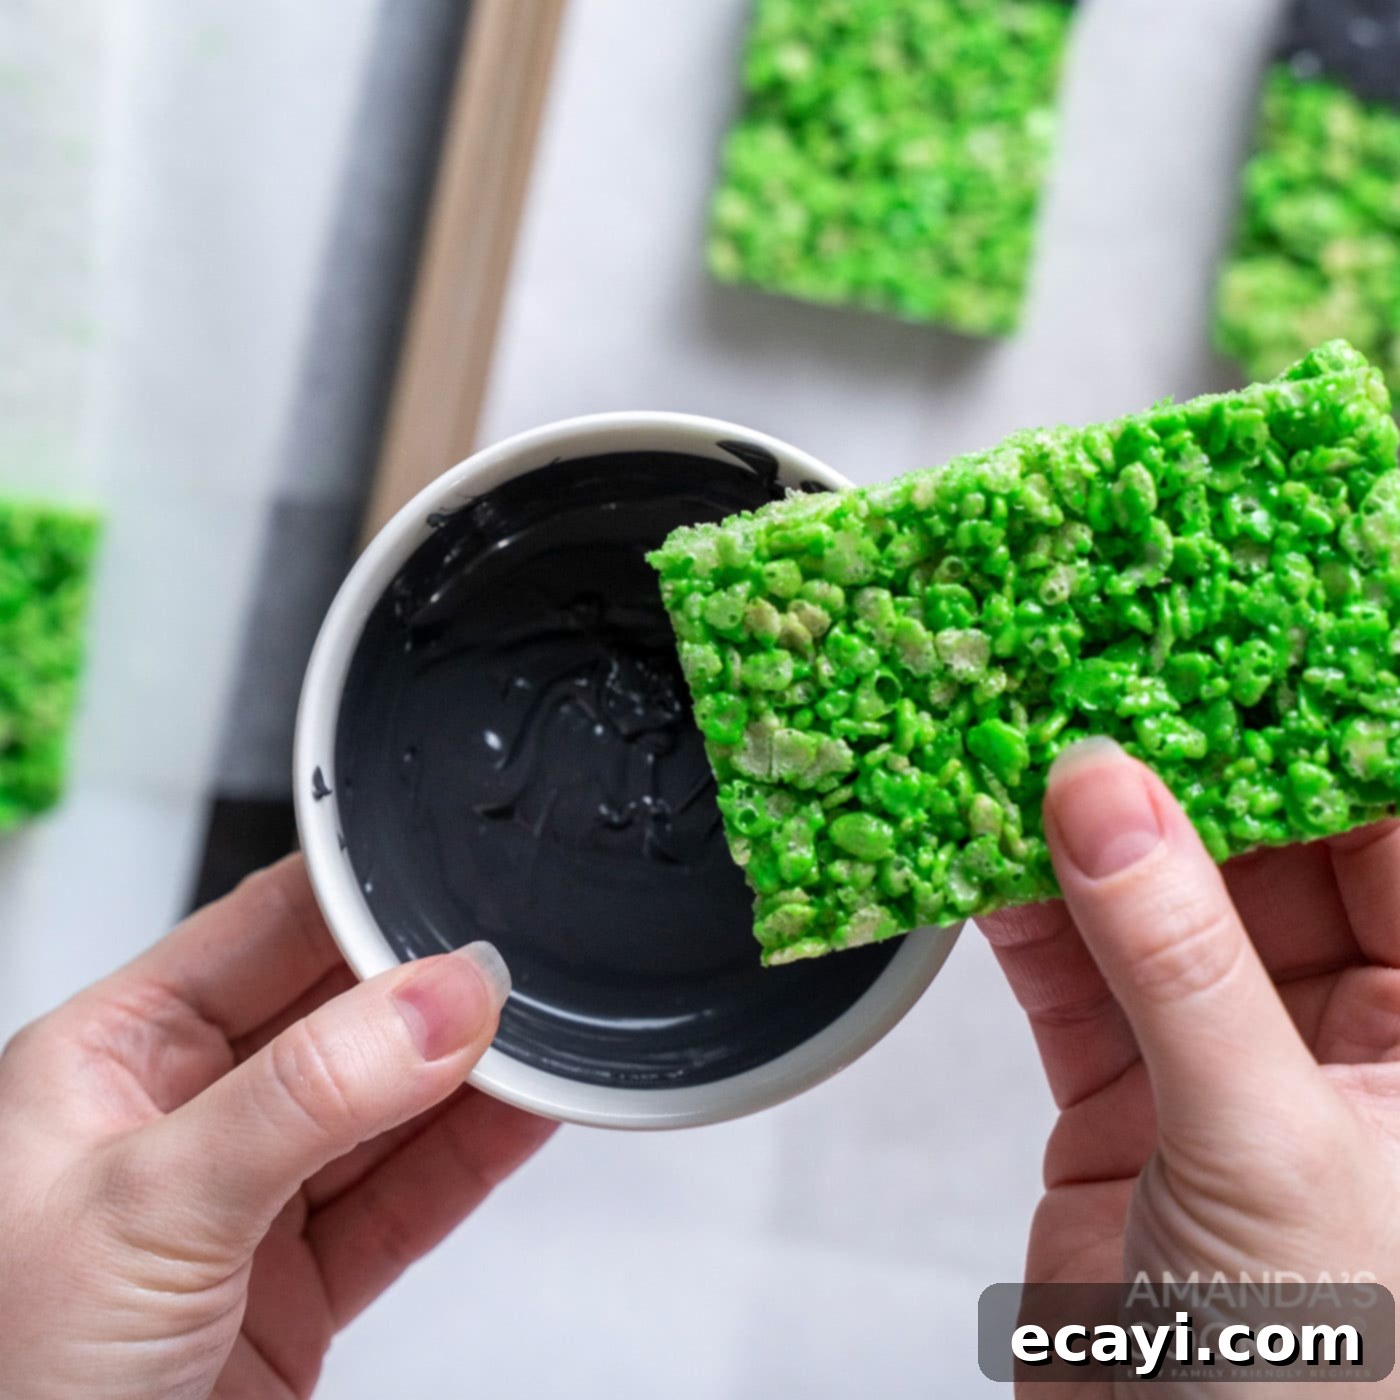
- Add Frankenstein’s Hair: Dip the top inch or so of each green rice krispie treat into the melted black candy melts. Allow any excess to drip off, then place each treat on a parchment-lined baking tray or wire rack to set. This creates the “hair” for your Frankenstein monsters.
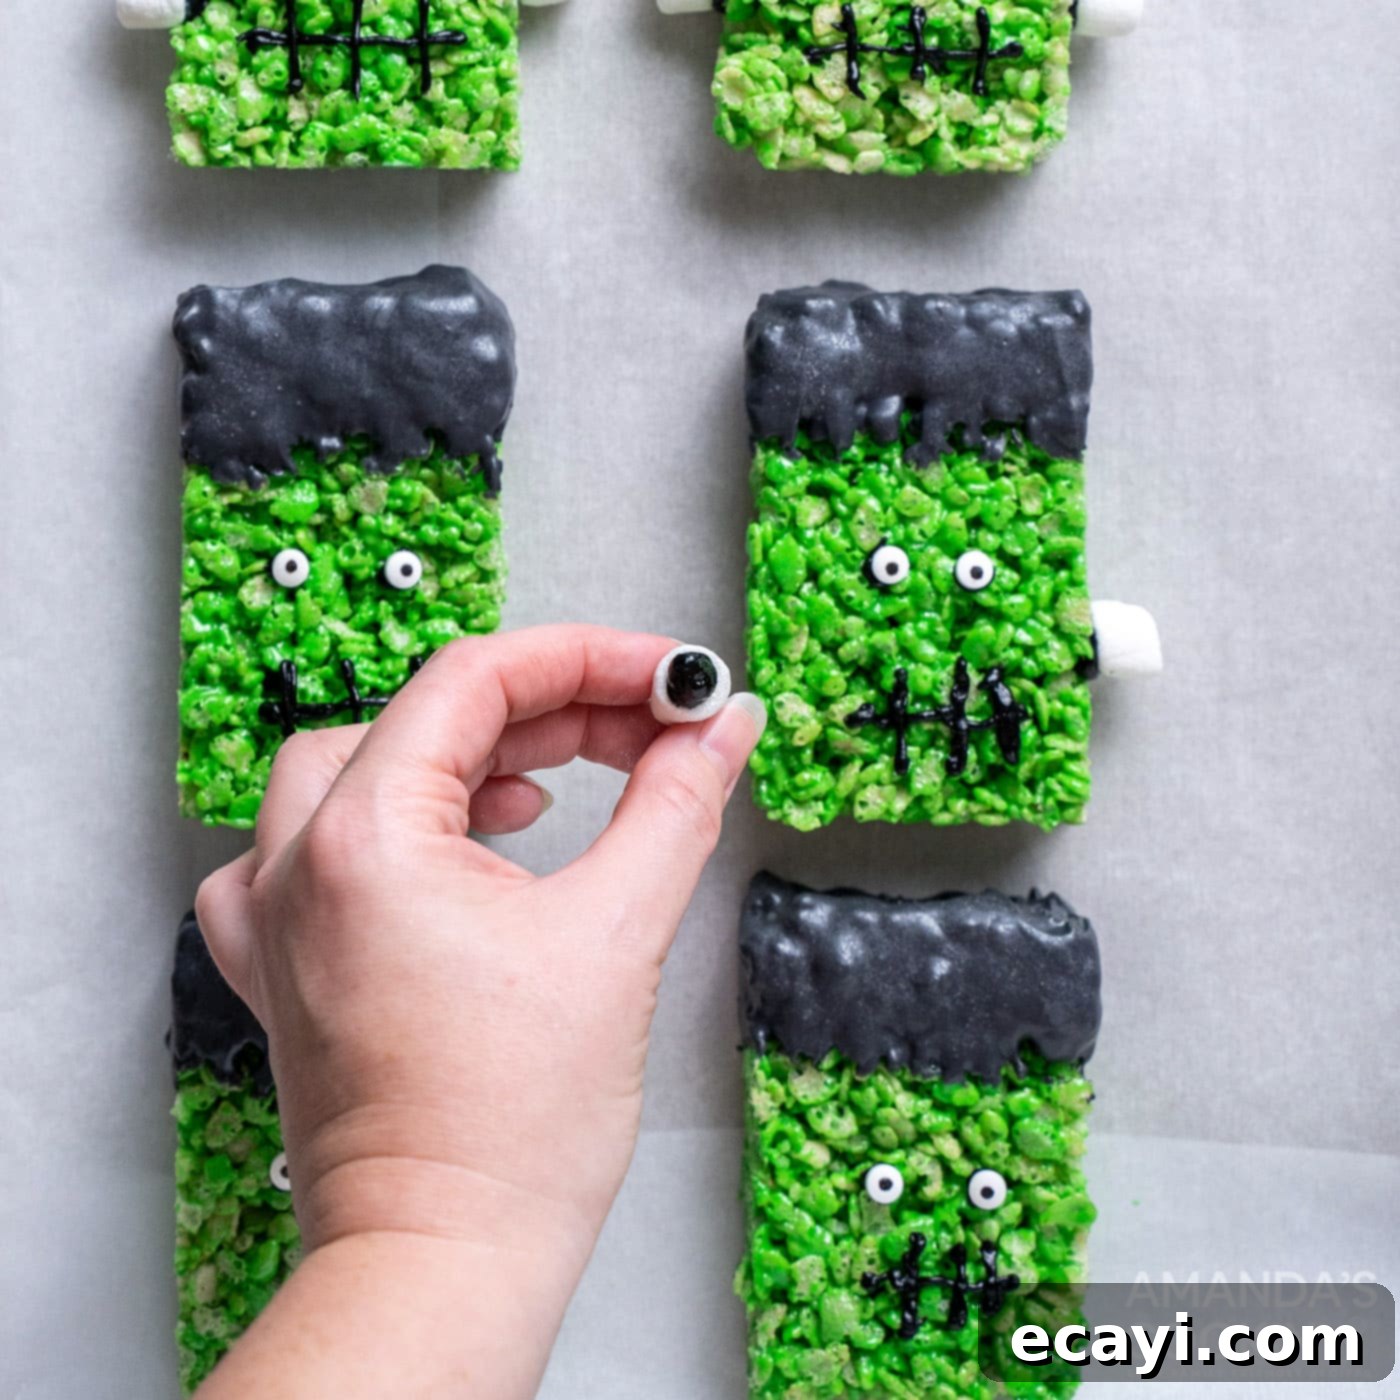
- Attach the Eyes: Once the black candy melt “hair” has set, use a small dab of black decorating frosting as “glue” to stick two candy eyeballs onto each Frankenstein face. Position them where Frankenstein’s eyes would typically be.
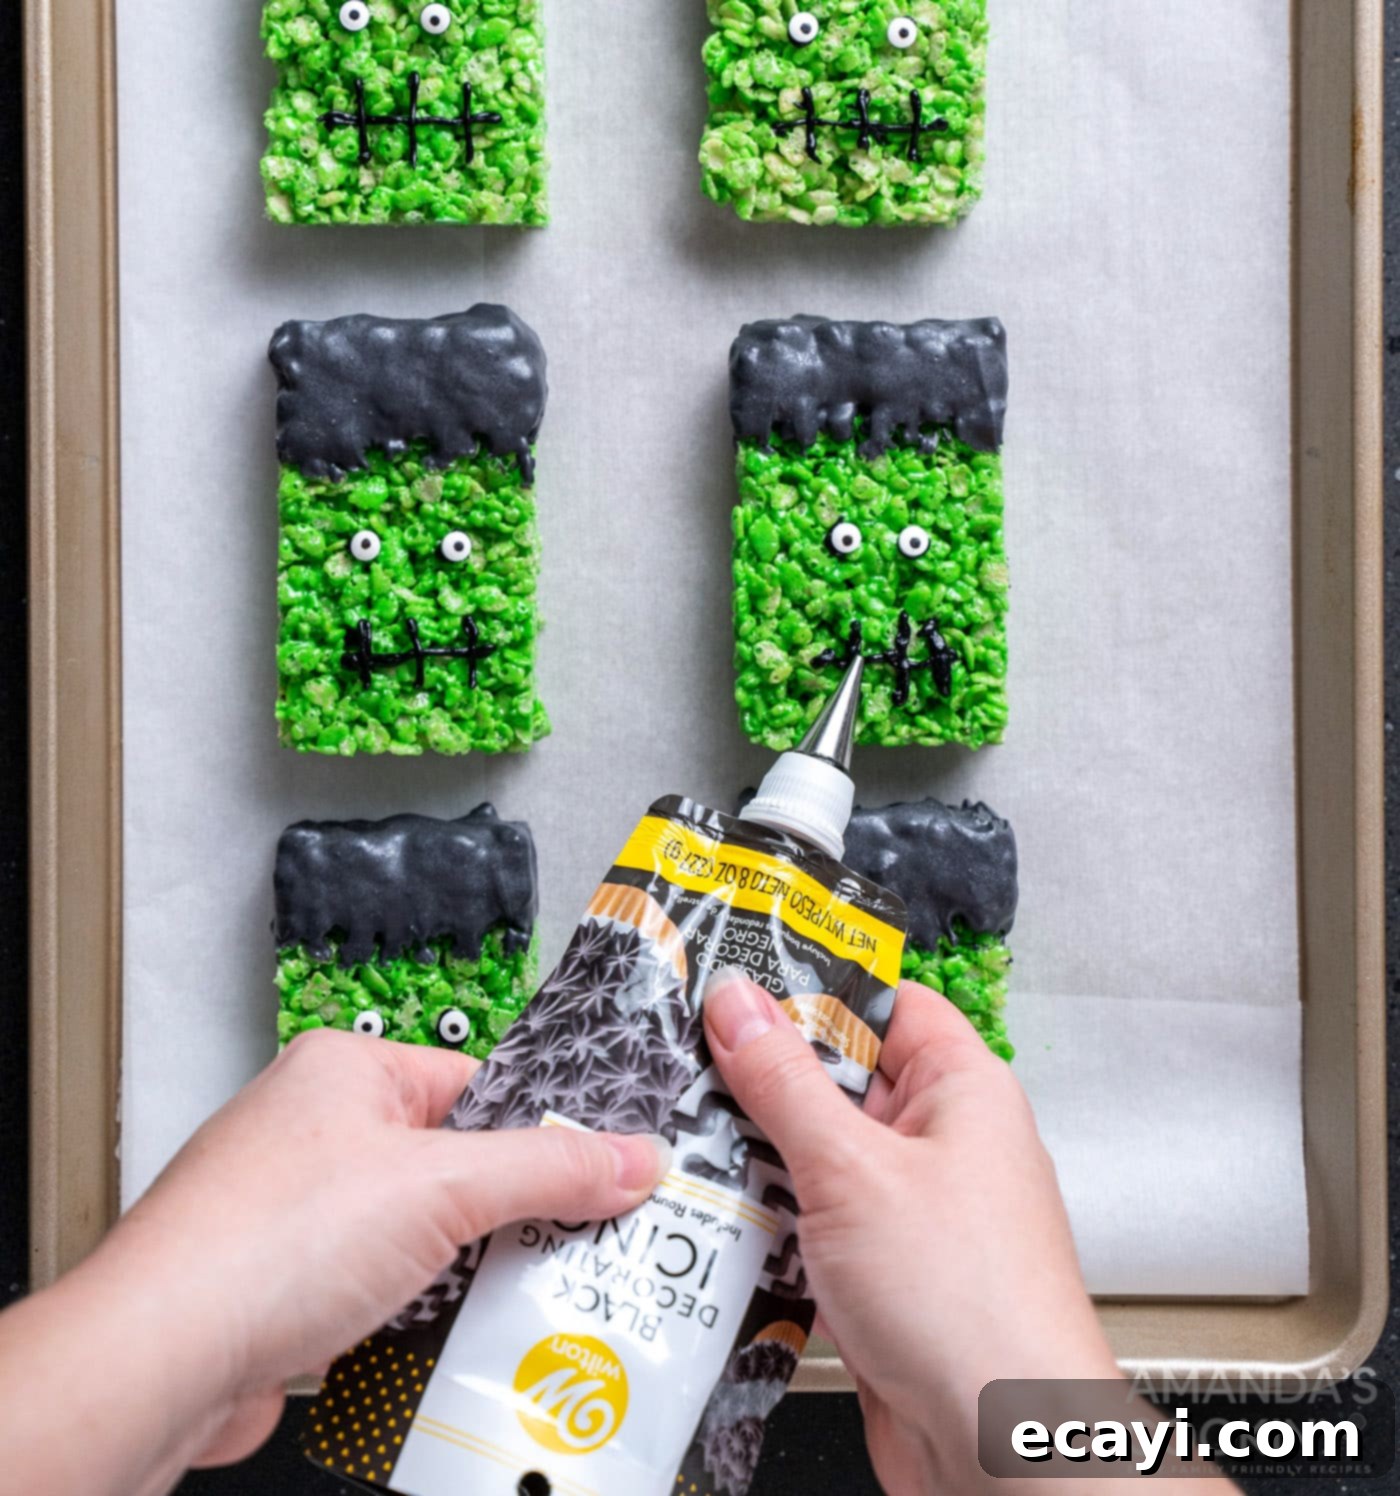
- Draw the Mouth and Scars: Using the black decorating frosting, draw a stitched mouth on each face. You can add a small zig-zag line for the mouth and then a few small vertical lines for stitches. Feel free to add any other “scar” details for extra character.
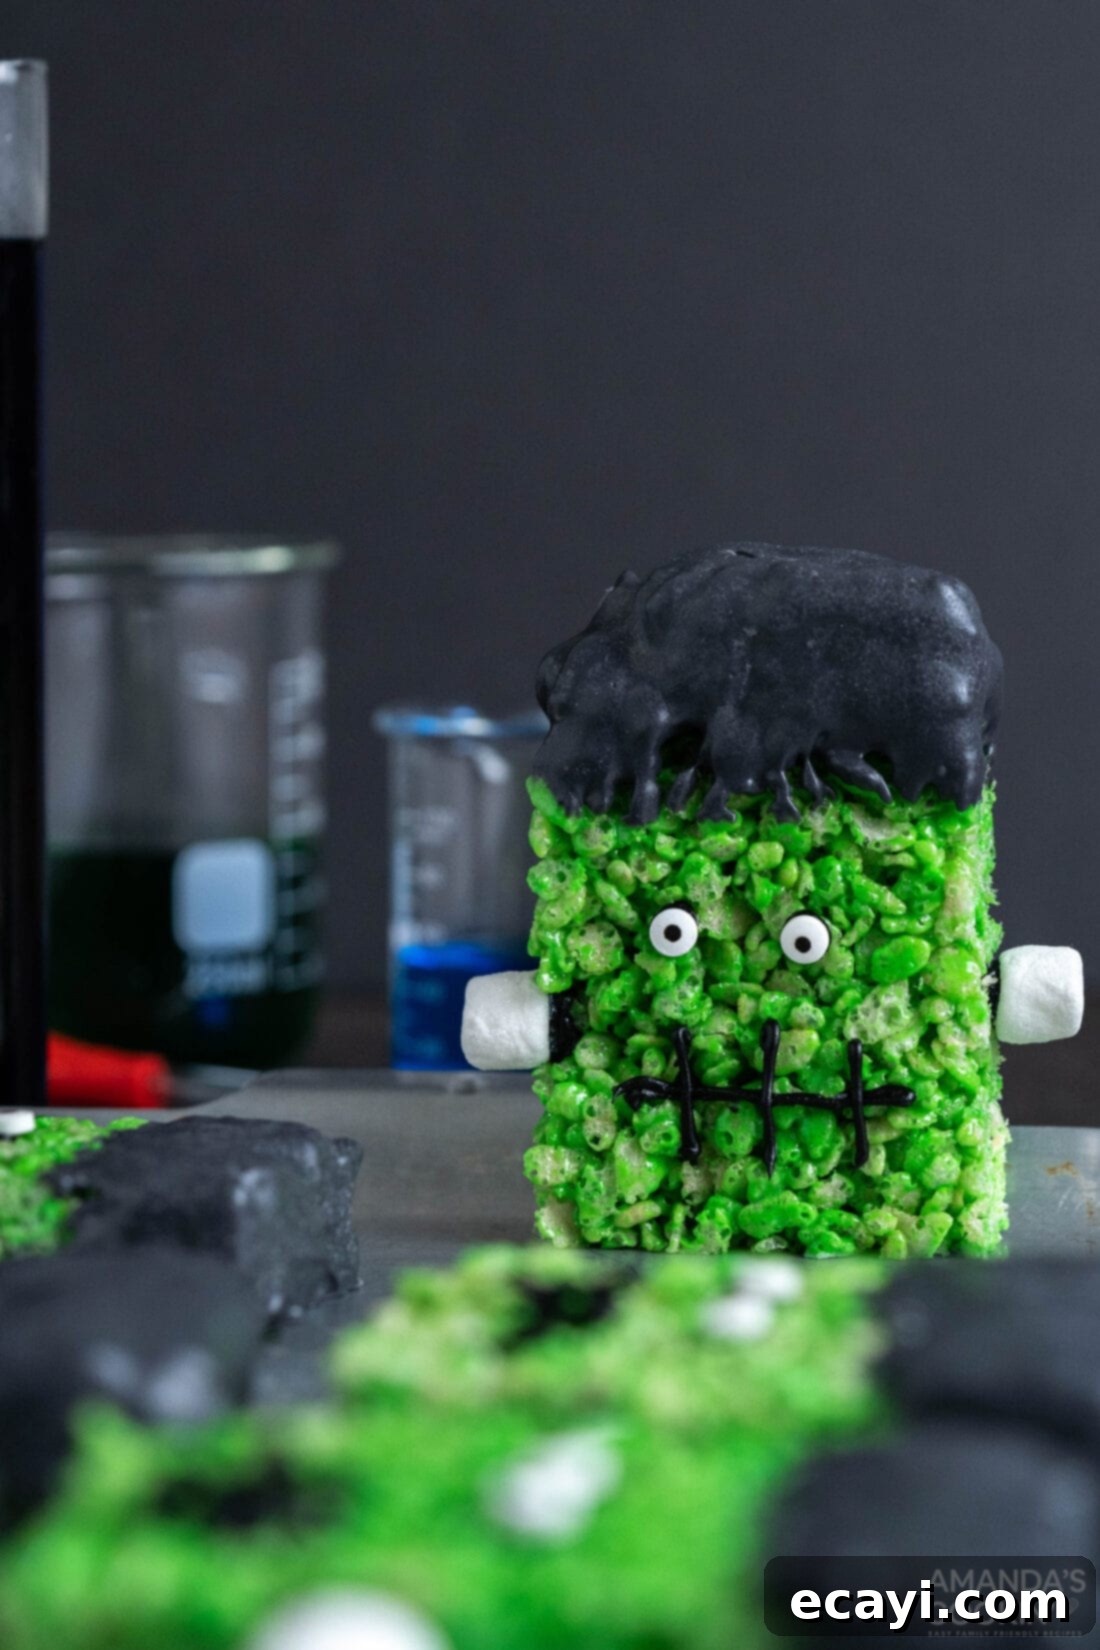
- Add the Bolts/Ears: Finally, use a tiny bit more black frosting to attach one glitter-sprayed mini marshmallow (or pretzel stick) to each side of the treats, near the top, to create Frankenstein’s iconic neck “bolts.”
- Set and Serve: Allow all the frosting and candy melt decorations to set completely before serving. This will prevent smudges and ensure your Frankenstein monsters look their best!
Frequently Asked Questions & Expert Tips for Perfect Frankenstein Treats
Here are some common questions and expert advice to help you master these adorable Halloween delights:
To ensure your Frankenstein Rice Krispie Treats remain delightfully soft and chewy, proper storage is key. Always store them in an air-tight container at room temperature. A cool, dry place is best; avoid the refrigerator, as the cold can cause them to harden and lose their signature chewiness. When stored correctly, they should stay fresh and delicious for about 2-3 days. If you’re planning to make them ahead of time for an event, we recommend preparing them no more than one day in advance to maintain optimal freshness and texture.
The most common reason for hard Rice Krispie Treats is overheating the marshmallows. When marshmallows are cooked at too high a temperature or for too long, the sugar crystals can become tough. Ensure you melt the butter over medium heat, then immediately reduce to low when adding marshmallows. Stir continuously and remove from heat as soon as they are *almost* melted, with a few small lumps remaining. The residual heat will finish the job. Also, avoid pressing the mixture too firmly into the pan, as this compacts the cereal and can lead to a denser, harder treat.
Absolutely! While Frankenstein is traditionally green, you can certainly experiment with other food coloring to create different monster variations. Purple for a spooky vampire, blue for an ice monster, or even multi-colored layers could be fun. Just remember to use gel food coloring for the best results and vibrant hues!
For perfectly neat slices, ensure your Rice Krispie Treat slab is completely cooled and firm before cutting. For a super clean edge, you can lightly grease your knife with a little cooking spray or butter, or run it under hot water and wipe it dry between cuts. A large, sharp chef’s knife works best.
Yes, these Frankenstein Rice Krispie Treats are perfect for bake sales! They are individually portioned, don’t require refrigeration, and their adorable, festive appearance makes them highly appealing. For bake sales or gifting, wrap each treat individually in cellophane bags and tie with a fun Halloween ribbon.
Creative Ways to Serve Your Spooky Treats
These Frankenstein Rice Krispie Treats are incredibly versatile and perfect for a variety of Halloween festivities. Here are a few serving suggestions to make them even more memorable:
- Halloween Party Centerpiece: Arrange them on a platter with other spooky snacks like Ghost Brownies or Witch Finger Cookies for an eye-catching dessert table.
- School & Classroom Treats: Their individual portions make them ideal for school parties or a fun, themed snack. Just be sure to check for any allergen policies.
- “You’ve Been Booed” Baskets: Add these adorable monsters to your “You’ve Been Booed” basket to spread some Halloween cheer to your neighbors and friends.
- Midday Snack or Dessert: Enjoy them simply as a fun, festive snack after school or as a delightful dessert after dinner.
- Gift Giving: Wrap individual treats in clear cellophane bags, tie them with orange or black ribbons, and hand them out as party favors or small gifts to friends and family.
- Themed Beverage Pairing: Serve alongside a vibrant green “Frankenstein Punch” or a spooky Frankenstein Margarita (for adults) to complete the monster-themed experience.
More Halloween Recipes to Delight and Fright!
Looking for more hauntingly good recipes to celebrate the spooky season? We’ve got you covered with a collection of fun and festive Halloween treats and dishes:
- Ghost Brownies
- Mummy Meatloaf
- Witch Finger Cookies
- Halloween Candy Apples
- Jalapeno Popper Mummies
- Vampire Sandwich Cookies
- Marshmallow Frankensteins
- Frankenstein Margarita
- Halloween Dirt Cups
I love to bake and cook and share my kitchen experience with all of you! Remembering to come back each day can be tough, that’s why I offer a convenient newsletter every time a new recipe posts. Simply subscribe and start receiving your free daily recipes!
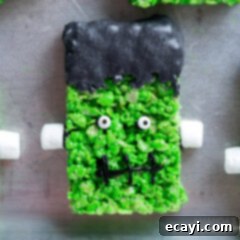
Frankenstein Rice Krispie Treats
IMPORTANT – There are often Frequently Asked Questions within the blog post that you may find helpful. Simply scroll back up to read them!
Print It
Pin It
Rate It
Save ItSaved!
Ingredients
For the Rice Krispie Treats
- 2 Tbsp unsalted butter
- 2 cups mini marshmallows
- ½ tsp vanilla extract
- ⅛ tsp salt
- ½ Tbsp green gel food coloring
- 3 cups rice krispies cereal
For Decoration
- 12 mini marshmallows (for bolts)
- edible silver glitter spray (optional)
- ¾ cup black candy melts
- 12 candy eyeballs
- black decorating icing
Equipment You’ll Need
-
8×8 baking pan
-
Medium Saucepan
-
Spatula
-
Parchment Paper
Before You Begin: Important Notes for Success
- The edible glitter spray is entirely optional and serves only for aesthetic sparkle. For a different texture and flavor on the “bolts,” you can easily substitute the mini marshmallows with small pretzel sticks, which also add a delicious salty crunch.
- Crucial Tip: It is paramount not to overheat the marshmallows when melting them. Overheated marshmallows can cause your rice krispie treats to become hard and overly chewy instead of wonderfully soft. Melt them slowly over low heat, stirring constantly, and remove from heat as soon as they are mostly melted, with a few small lumps still visible.
- When pressing the mixture into the pan, be gentle! Pressing too firmly will compact the cereal and result in dense, hard treats. A light touch ensures a perfectly soft and chewy texture.
Instructions
-
Line an 8 by 8-inch baking dish with 2 pieces of parchment paper, ensuring it hangs over all four sides for easy removal. Lightly spray the parchment paper with coconut oil spray.
-
Melt the butter in a medium saucepan over medium heat. Reduce the heat to low, then stir in the mini marshmallows. Cook and stir continuously until the marshmallows are almost, but not quite, fully melted (this should take approximately 30 seconds). Do not overheat.
-
Remove the saucepan from the heat. Stir in the vanilla extract, salt, and green gel food coloring until well combined and the mixture is a vibrant green.
-
Add the rice krispies cereal to the green marshmallow mixture. Stir gently until all the cereal is thoroughly coated.
-
Pour the cereal mixture into the prepared pan. Use a thin metal spatula, lightly sprayed with coconut oil, to gently spread it out into an even layer. Avoid pressing too hard.
-
Allow the treats to cool completely at room temperature. Once cooled, use the parchment paper to lift the slab from the pan and cut it into 6 equal rectangular pieces.
-
To prepare for decoration, lightly spray the 12 mini marshmallows (for the bolts) with edible silver glitter spray, if using.
-
Melt the ¾ cup of black candy melts in a double-boiler or a microwave-safe bowl (heating in short intervals and stirring until smooth).
-
Dip the top inch (or slightly more, to create the “hair”) of each rice krispie treat into the melted black candy. Place each dipped treat on a parchment-lined baking tray to set.
-
Once the black candy has set, use the black decorating frosting as an adhesive to stick two candy eyeballs onto each Frankenstein face.
-
With the black frosting, carefully draw a stitched mouth on each face. You can also add small scars if desired.
-
Finally, use a small dab of black frosting again to attach one glitter-sprayed mini marshmallow (or pretzel stick) to each side of the treats, near the top, to complete the “bolts” for each Frankenstein monster.
-
Allow all the frosting and candy decorations to set completely before serving. Enjoy your adorable and delicious Frankenstein Rice Krispie Treats!
Nutrition Information
The recipes on this blog are tested with a conventional gas oven and gas stovetop. It’s important to note that some ovens, especially as they age, can cook and bake inconsistently. Using an inexpensive oven thermometer can assure you that your oven is truly heating to the proper temperature. If you use a toaster oven or countertop oven, please keep in mind that they may not distribute heat the same as a conventional full sized oven and you may need to adjust your cooking/baking times. In the case of recipes made with a pressure cooker, air fryer, slow cooker, or other appliance, a link to the appliances we use is listed within each respective recipe. For baking recipes where measurements are given by weight, please note that results may not be the same if cups are used instead, and we can’t guarantee success with that method.
